After editing my images in lightroom, I wanted to try out the concept of making a joiner out of my collection of images. I wanted to follow a similar concept to that of what David Hockney does.
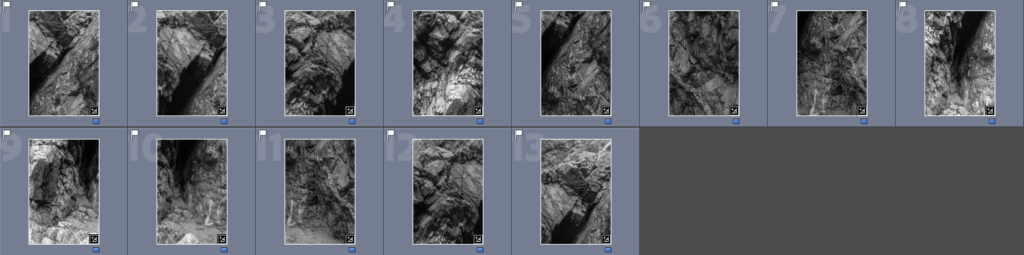
Contact sheets:

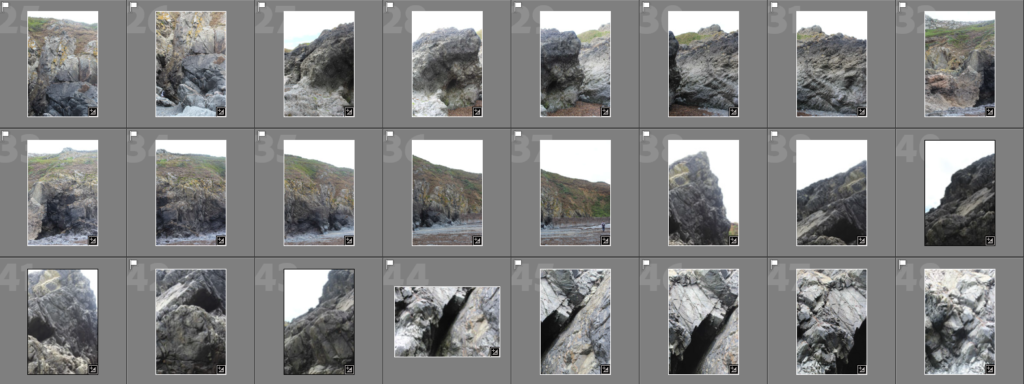


After selecting all of the images I wanted to use to compose my joiners, I chose one image from a joiner group and edited it to my liking. Once that was done I synced up the edited settings so that every image was edited exactly the same.
I then colour coded certain images into separate groups as to keep the joiners all together and to not get any mixed up.


Process of making the joiners:
In order to make the joiners, I needed to open up on one of the images included in the joiner and then select ‘Automate’ and ‘Photomerge’.
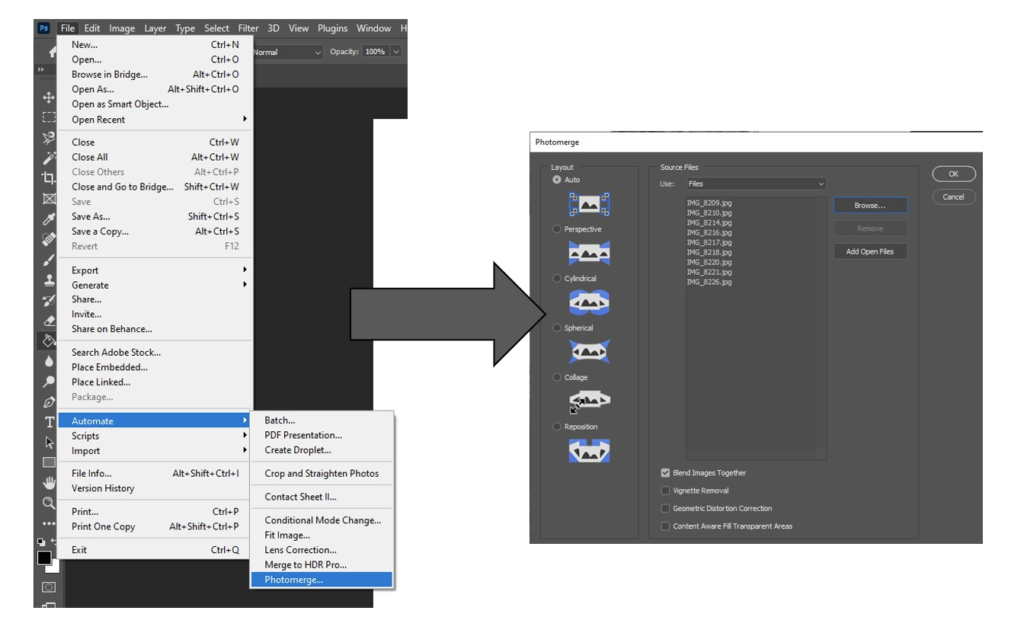
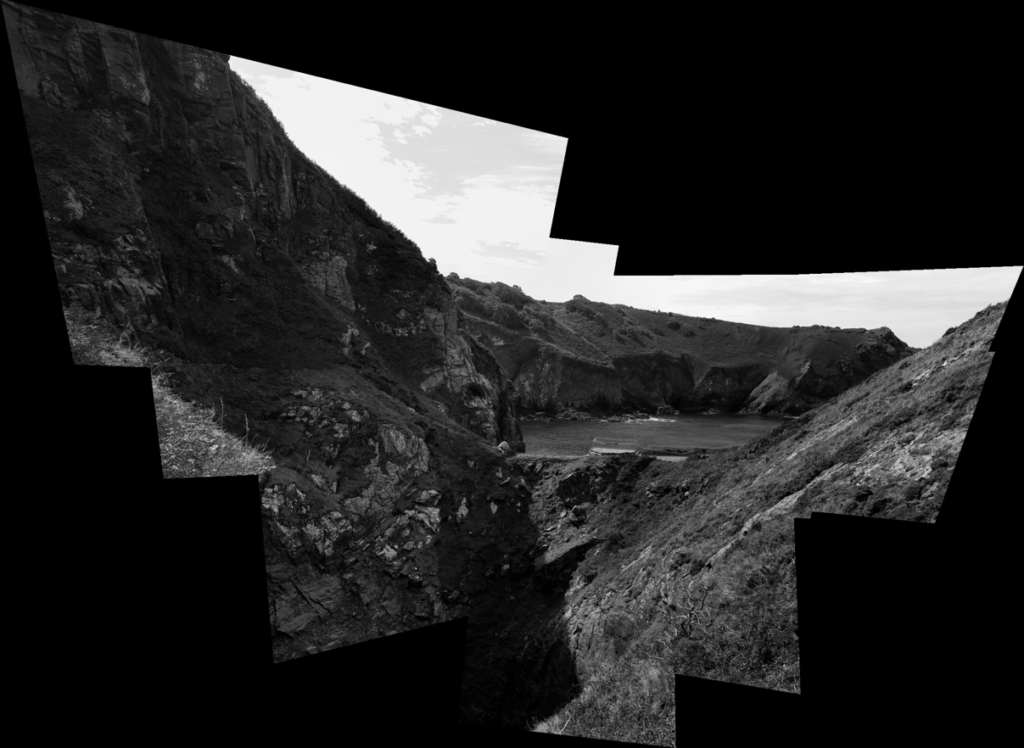
After selecting those I would need to click ‘browse’ and select all the images I would like to combine as a joiner. After selecting ‘Ok’, it would merge all of my images into a joiner.
—- Failed joiners —-


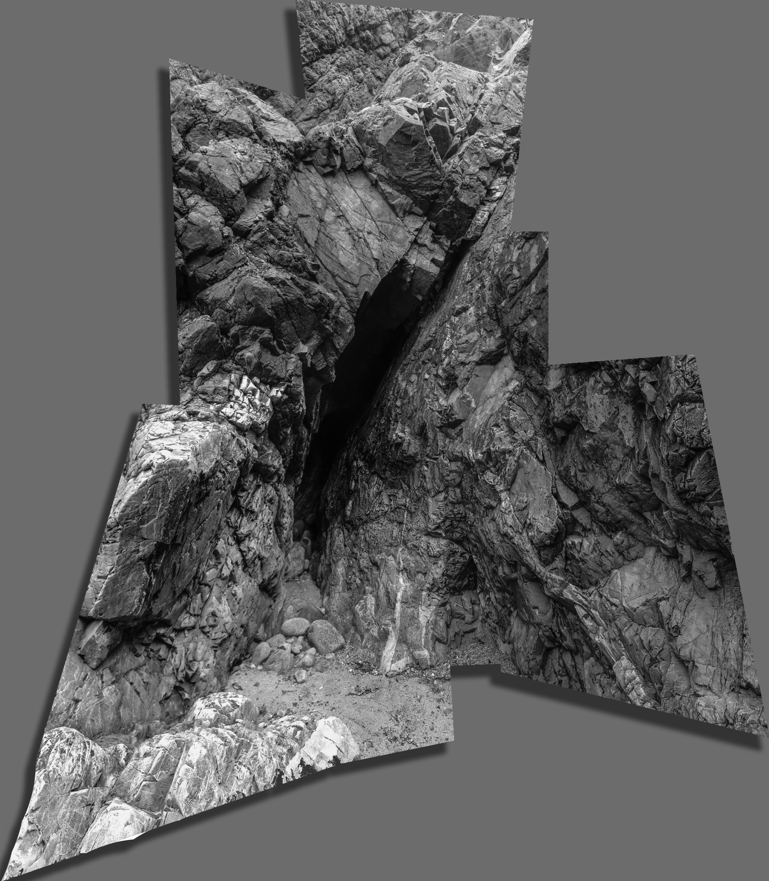
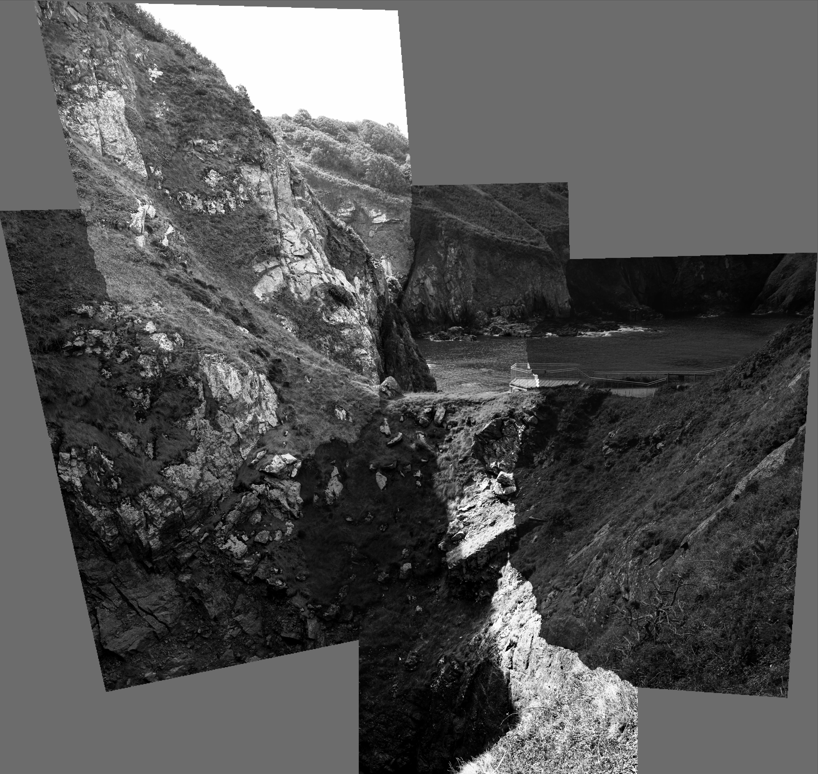
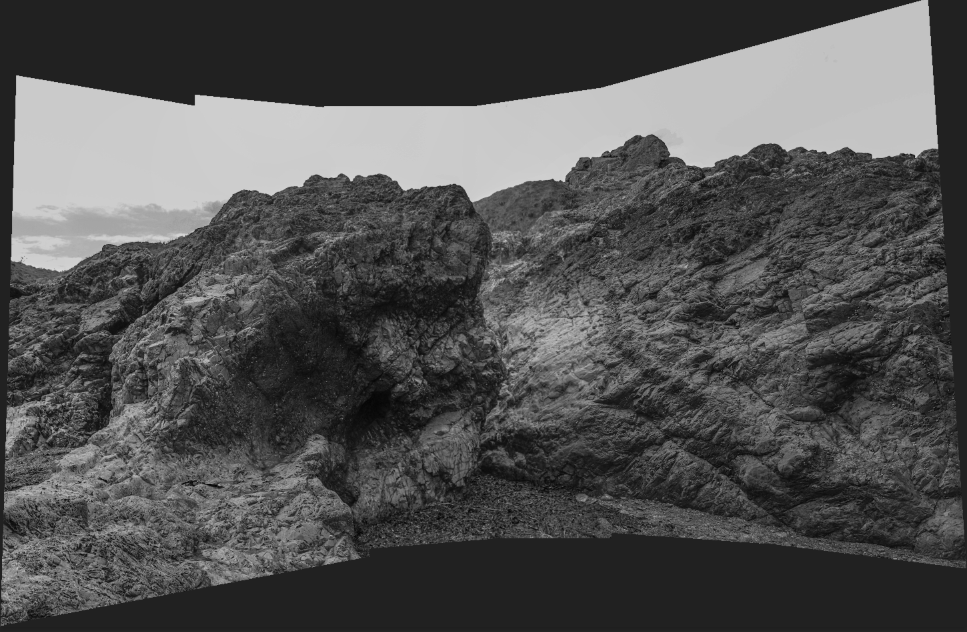
—- Successful joiners —-


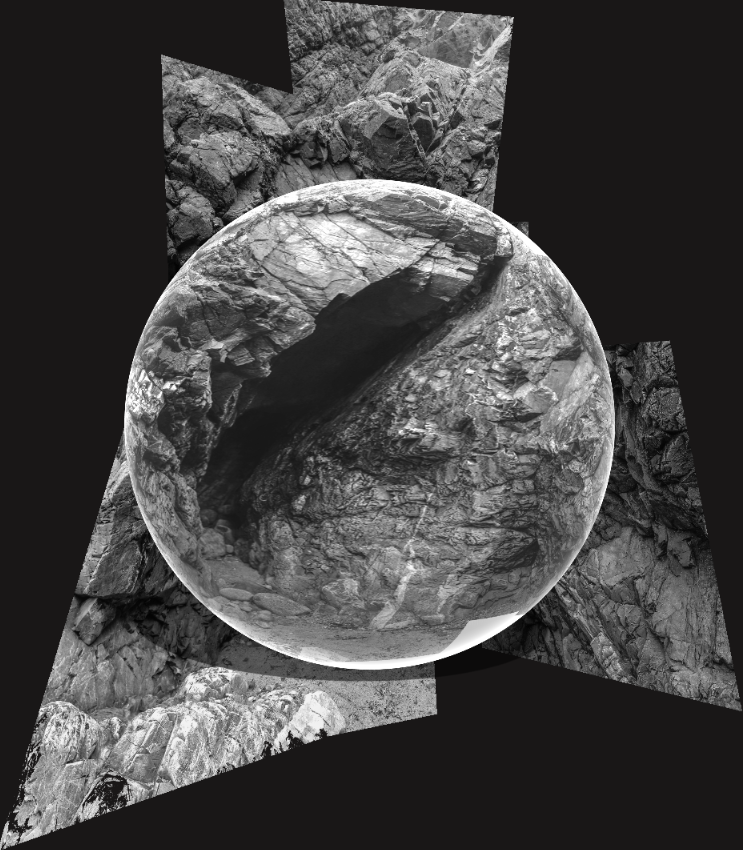
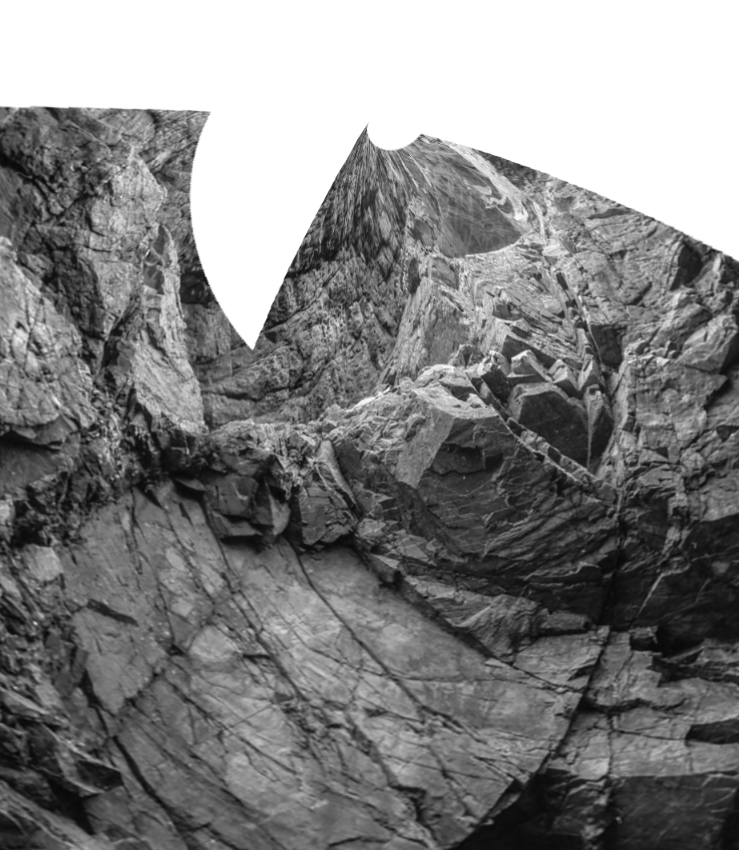
3D Joiners experiments
After making my 2D joiners, I decided to take the oppurtunity to experiment with the finalised joiner a bit more and to make them into 3D joiners. There were many different types of 3D formats I could choose between so I took the time to go through a few of them to see if any were to my liking.
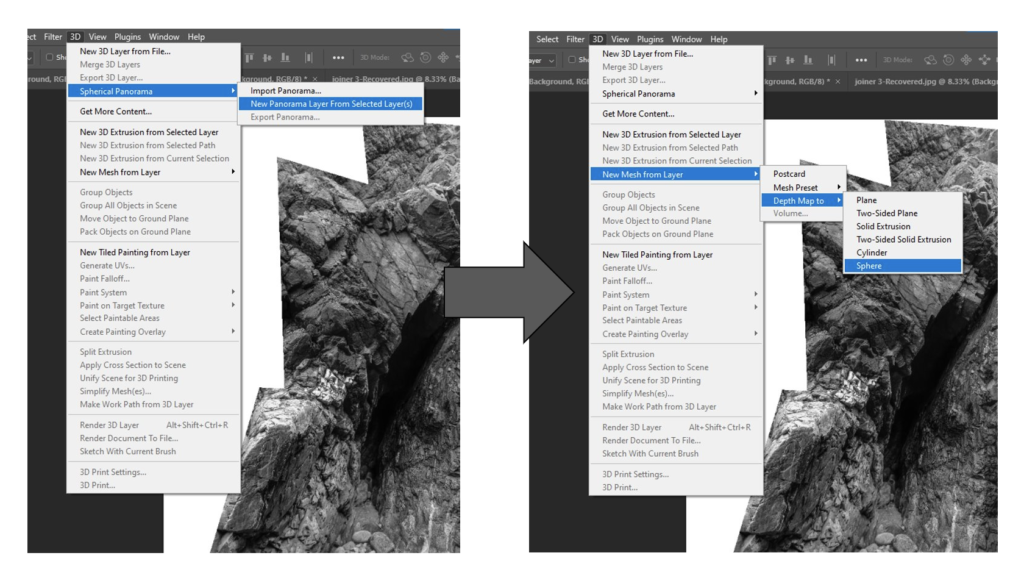
Results of the 3D joiner experiments —–