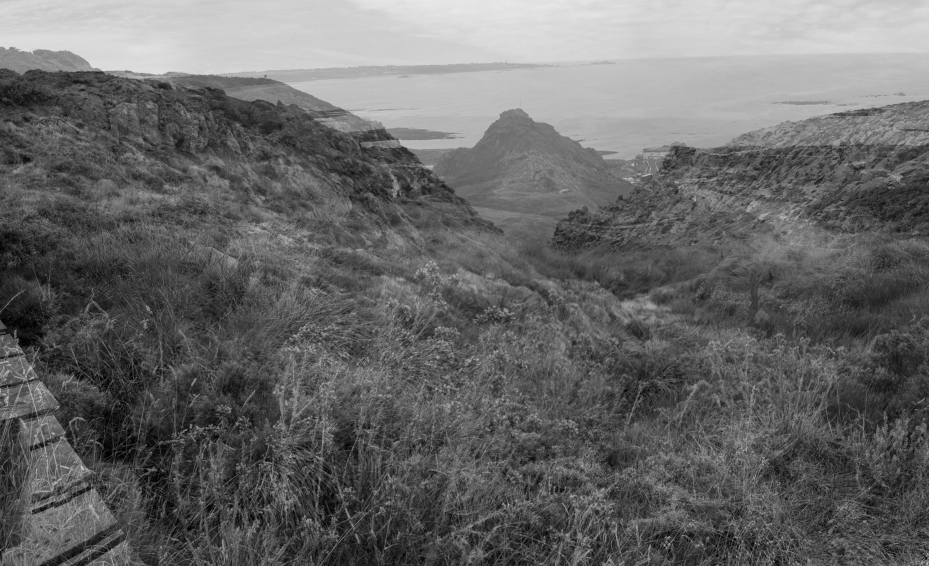
After selecting my images for my joiners in Yellow and red, I edited one image from a set in the desired way. In this case, it was black and white.
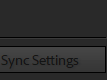
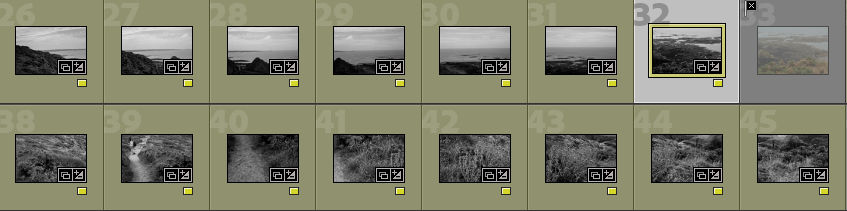
After selecting the one I had just edited, I then selected all of the images for that joiner, then clicked ‘Sync Settings. This edited all of the images in the same way. This was helpful for my joiners with lots of images, which would have been very time-consuming to edit separately.
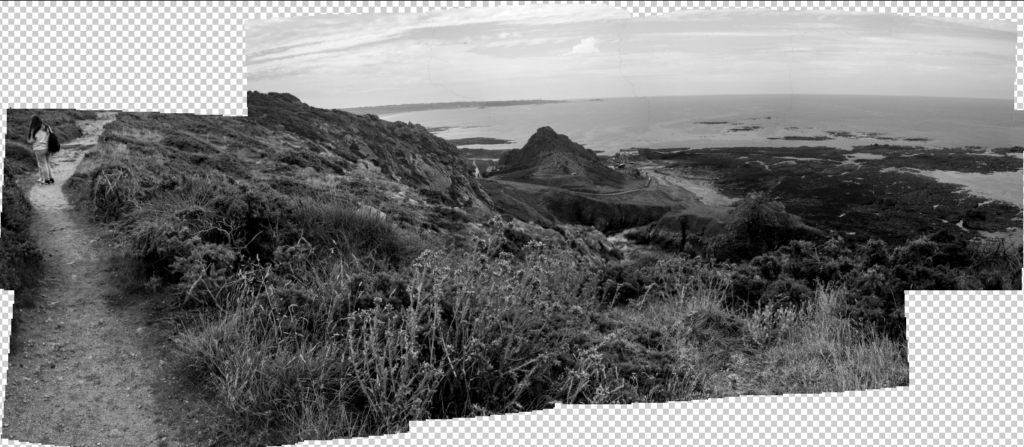
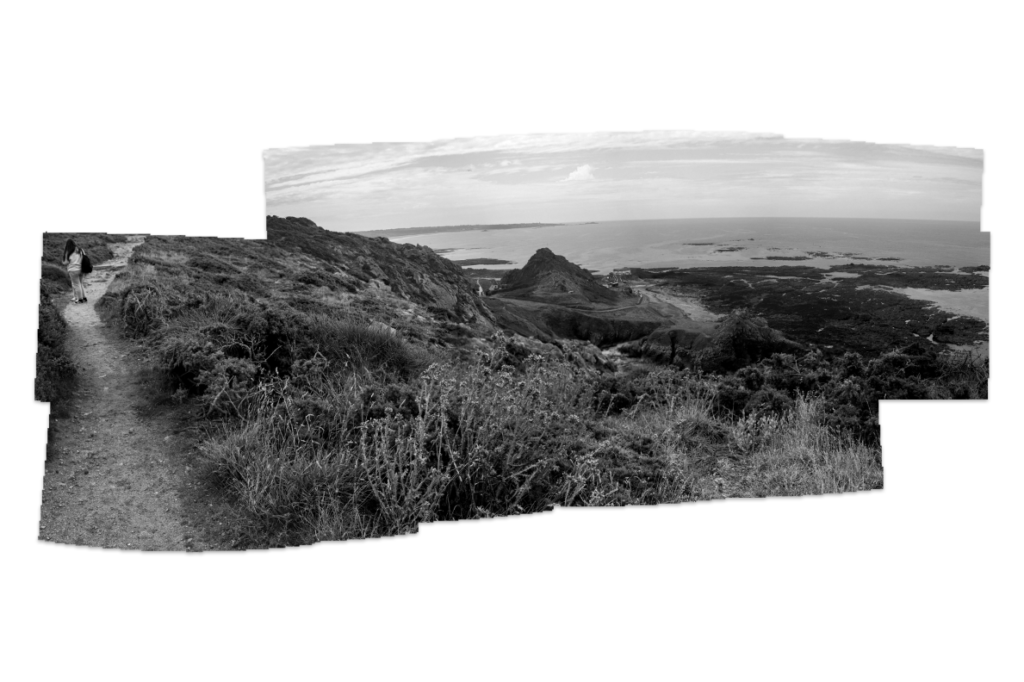
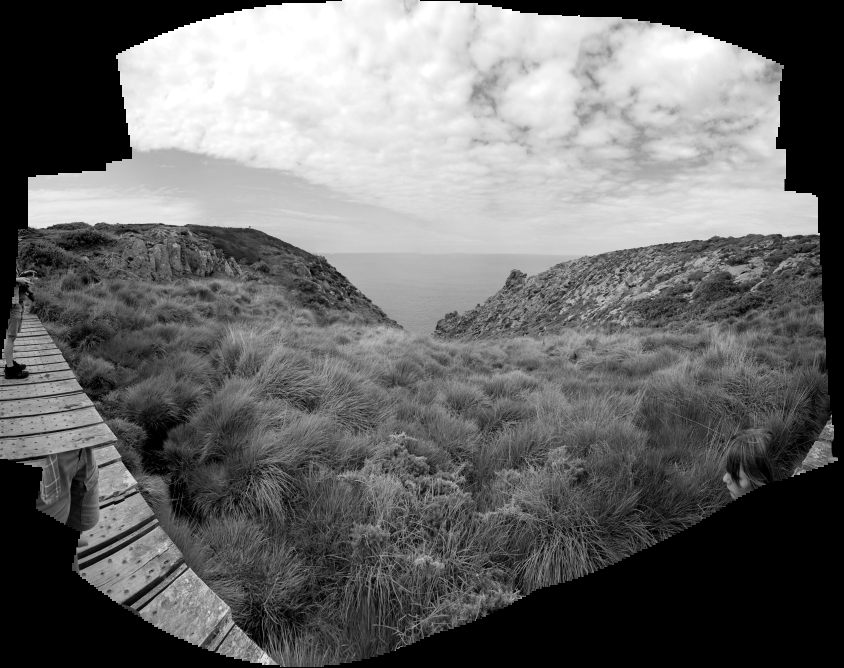
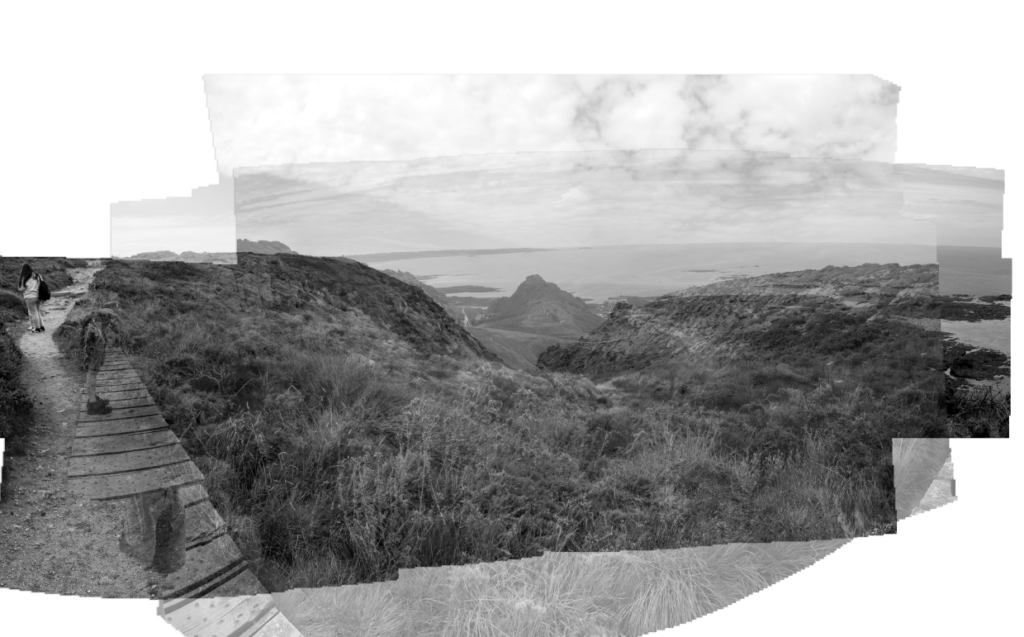
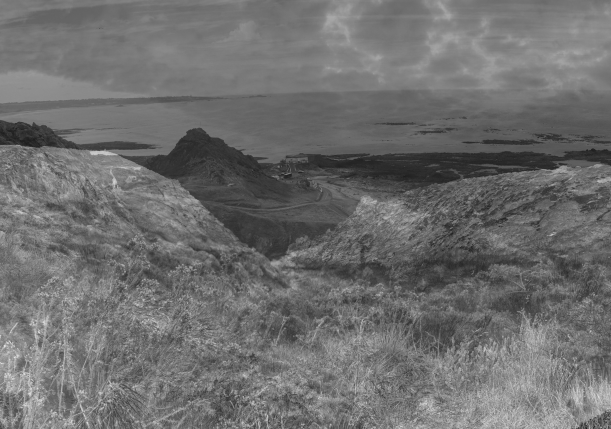
My final joiner.
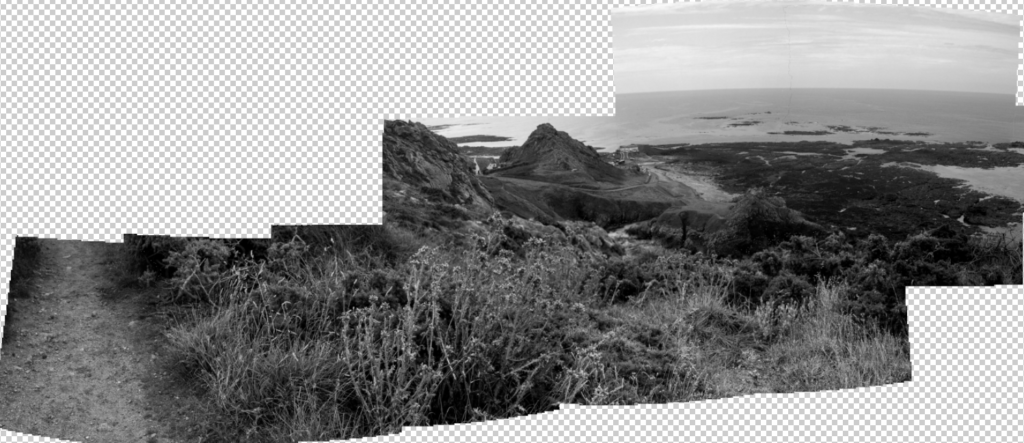
Here I tried removing and selecting random images from this joiner to create a different composition.
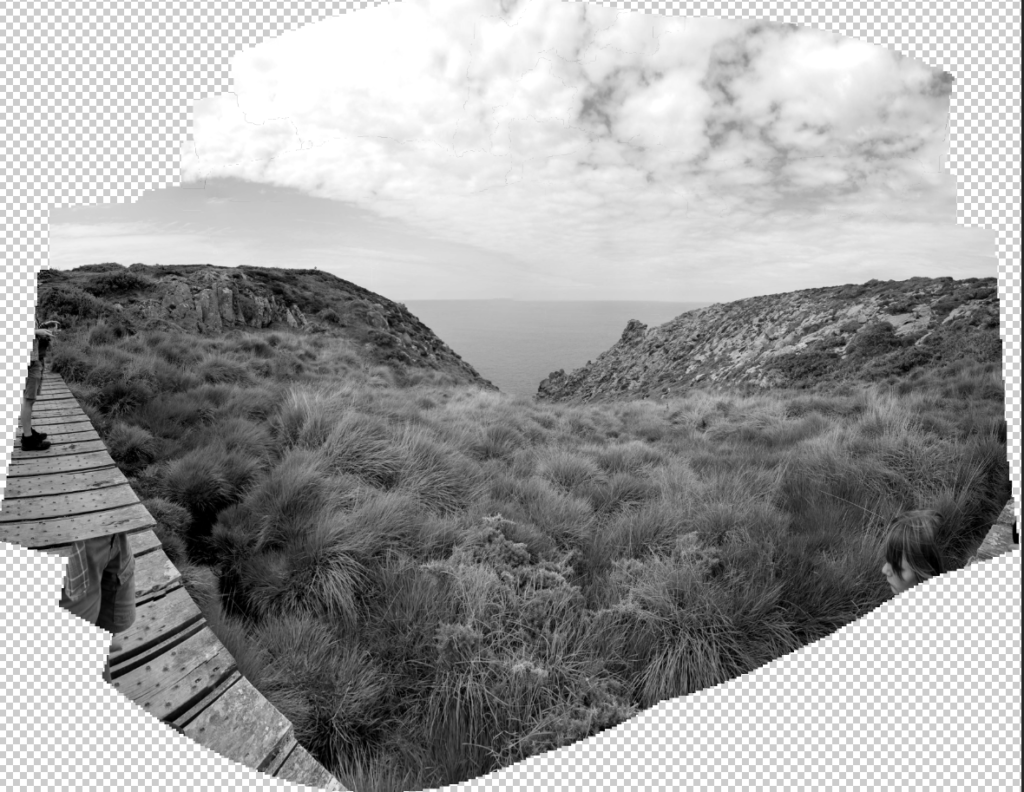
My second joiner – I like the way the true perspective of the cliffs have been manipulated – this links to the idea of space and perspective that are present in David Hockney’s joiners.
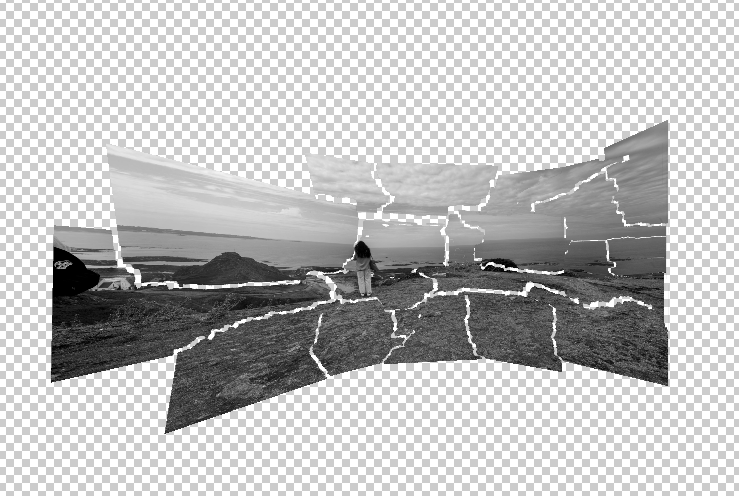
This joiner with a black background.
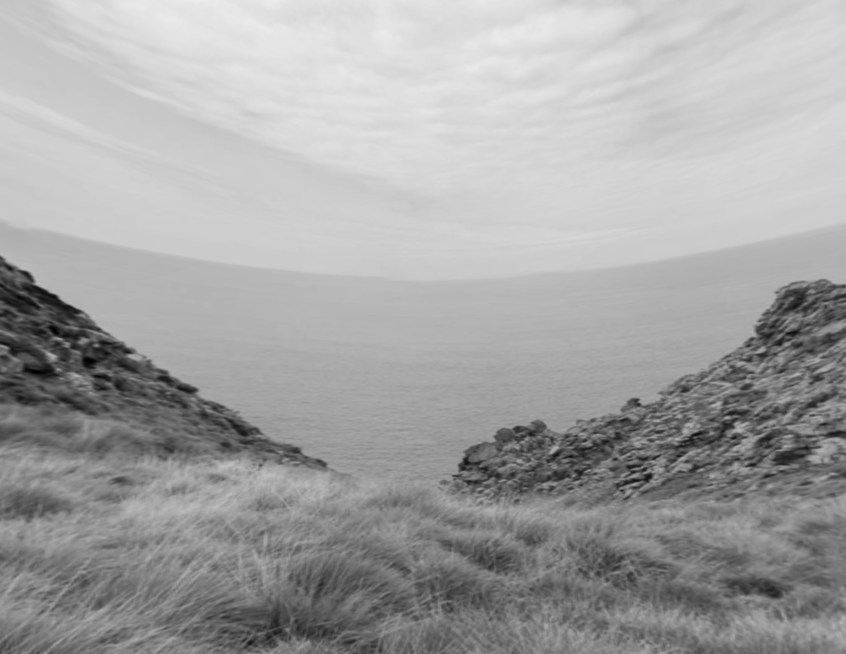
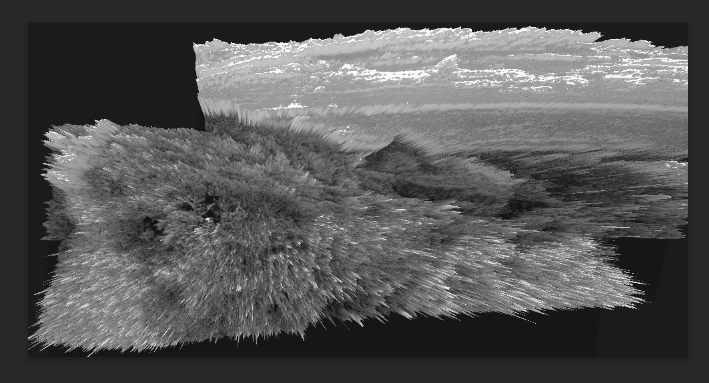
This is my joiner as a 3D sphere
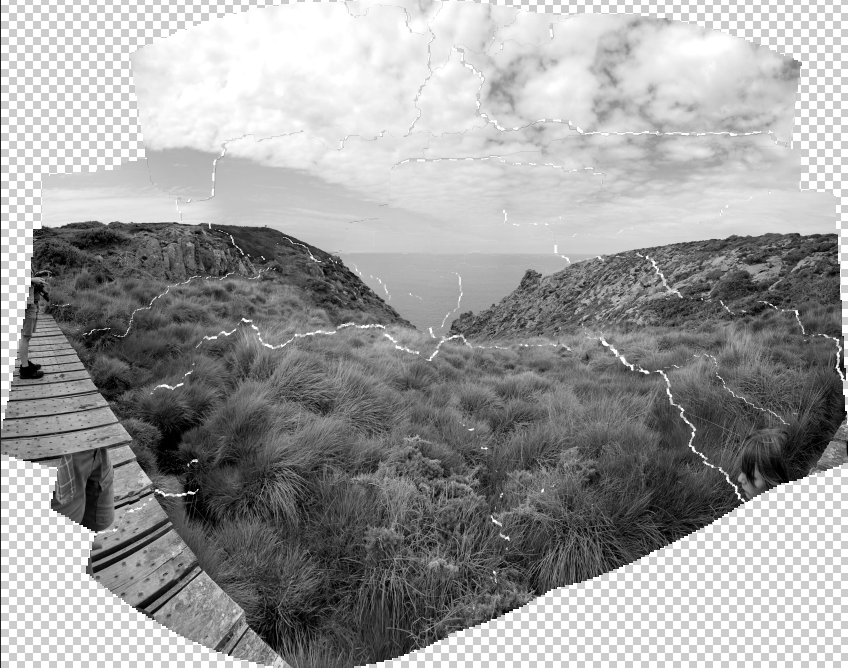
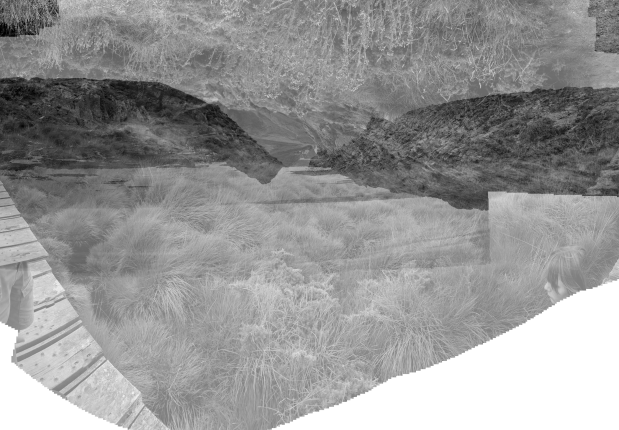
Here I tried moving parts of my joiner around to create a ripped, disjointed effect.
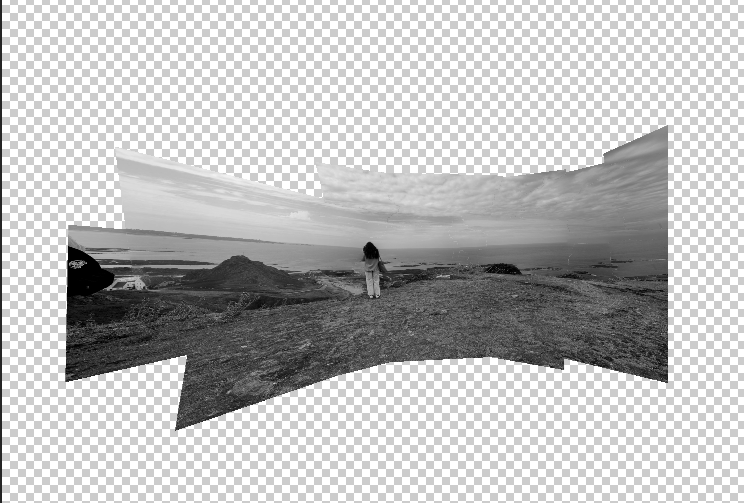
This was a less successful joiner – I had not taken pictures of the right side and the horizon enough, so the horizon became wonky and blurry.
Here I cropped the joiner at the right, to remove most of the unsuccessful part of the joiner. I then ripped the parts of the joiner up. I don’t think this was that successful as an experiment.
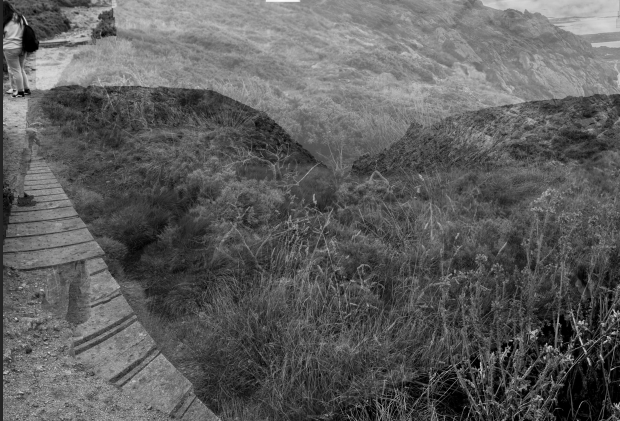
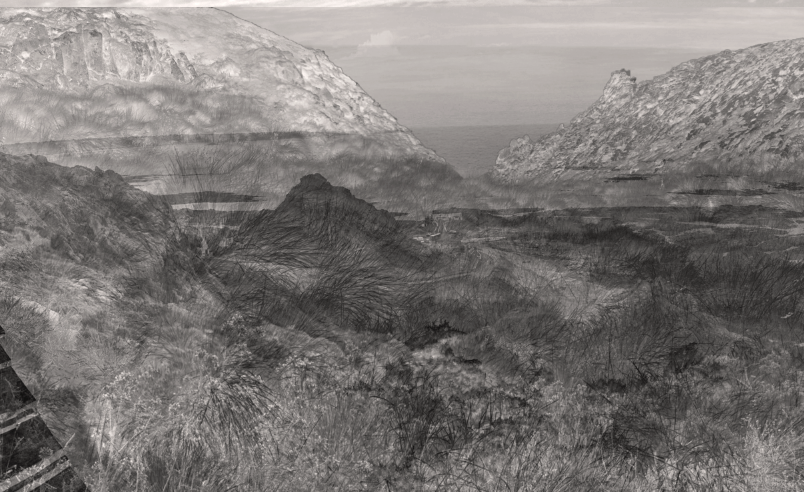
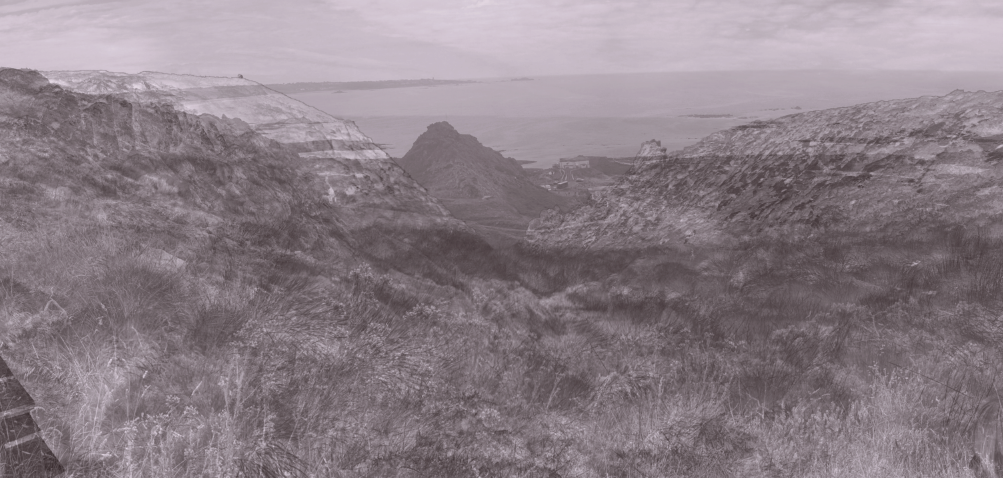
Here I added one joiner on top of another, changing the opacity to show the different landscape underneath.
Experimenting with cropping of multiple exposures.
Different arrangement of multiple exposure.
Turning one joiner upside down and enlarging the two.
Inverting one joiner and enlarging both joiners, different opacities.
Final Joiners