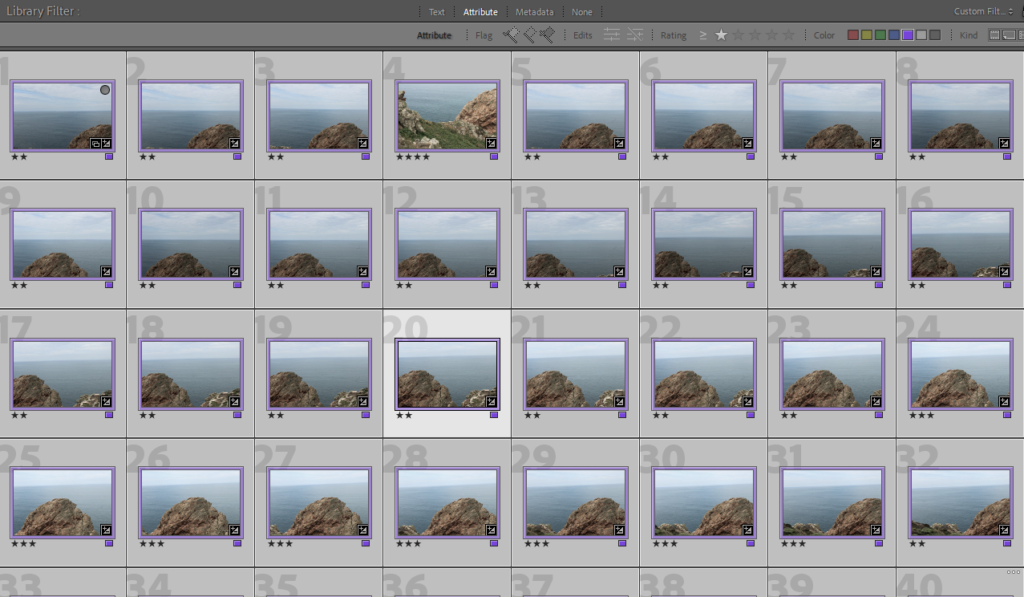
Firstly i gathered all my possible joiner photos together and colour coded them so they wouldn’t get lost or mixed up.

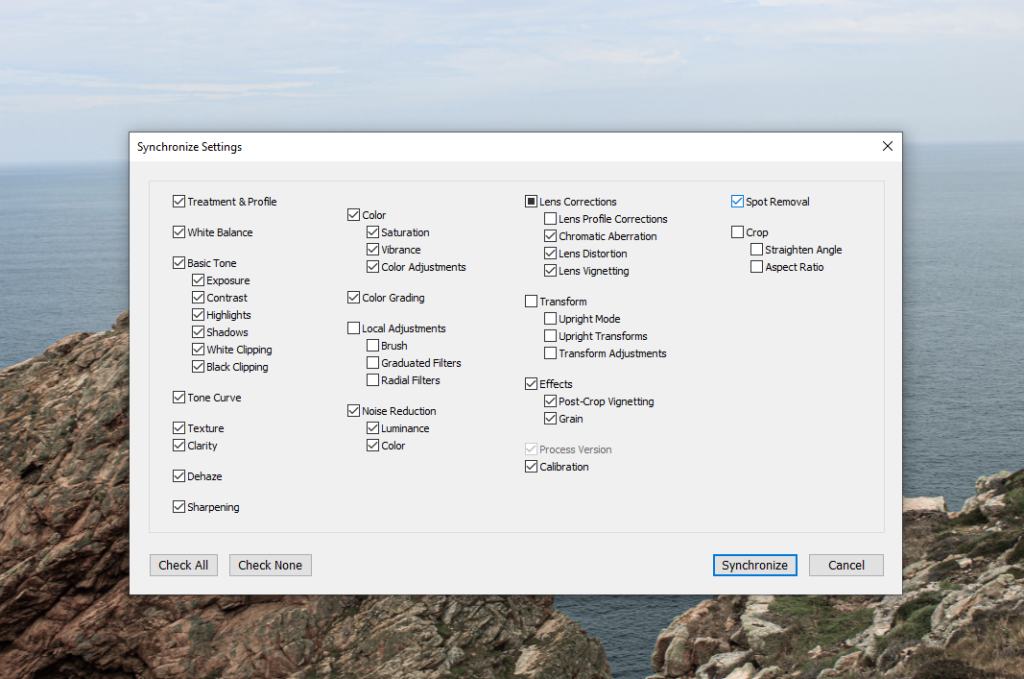
I edited some of the photos with exposure contrast etc. Then grouped them all together to apply the same settings for each photo.

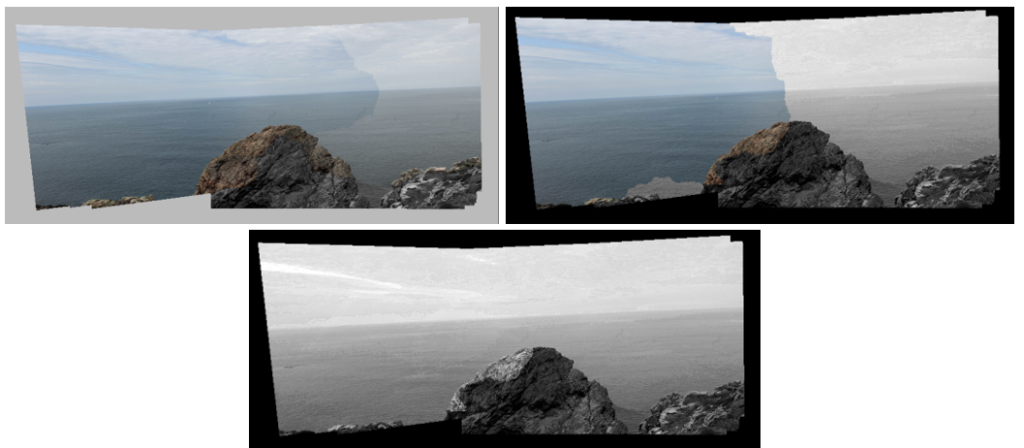
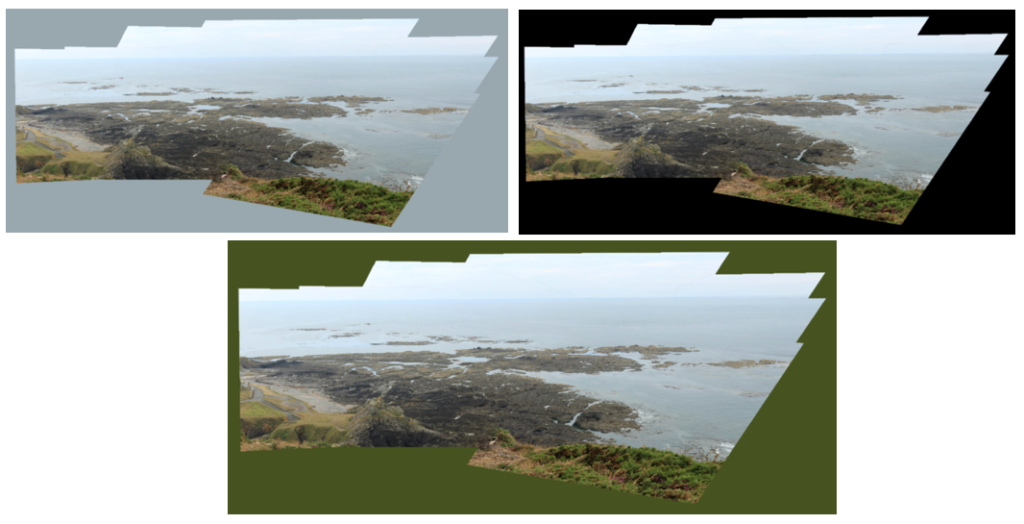
To create my joiner, i went on photoshop, clicked automate then photomerge. I selected my images and pasted them into the file.
JOINER #1

JOINER #2

JOINER #3

COMPARISON

I chose to compare this David Hockney joiner with my own because of how different they are. They are both landscape, taken during the day in colour, but also have many differences. Hockneys joiner was taken from above however mine was from looking straight on. In my photos there are no noticeable shadows, however in Hockneys there is a shadow from a tree cast over the pool water. Another difference is background and borders. Hockneys photo has no background, but has white squares around each image, a feature that my joiner does not have.

Eve, there are a few posts missing both from before summer and since we started the new academic year in Sept. You must show more commitment and produce more work – especially making sure that you attend all lessons on a weekly basis. We need to see improvement immediately and expect the work below to be done by Tue 20 Sept.