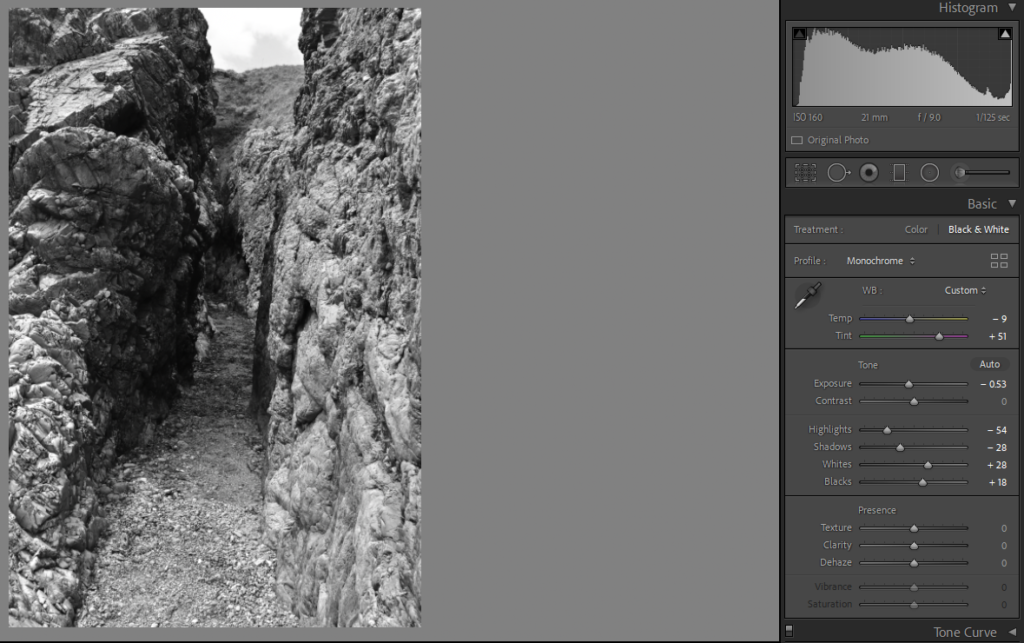
For my first experimentation, which I will do in the style of David Hockney, I will use the photos which I took during the photoshoot in L’Etacq. I began by selecting the images which I took to create a joiner and began by adjusting the settings of one image and this is where I was able to fix the lighting where it may be slightly overexposed, define the details of the rocks and turn into black and white.
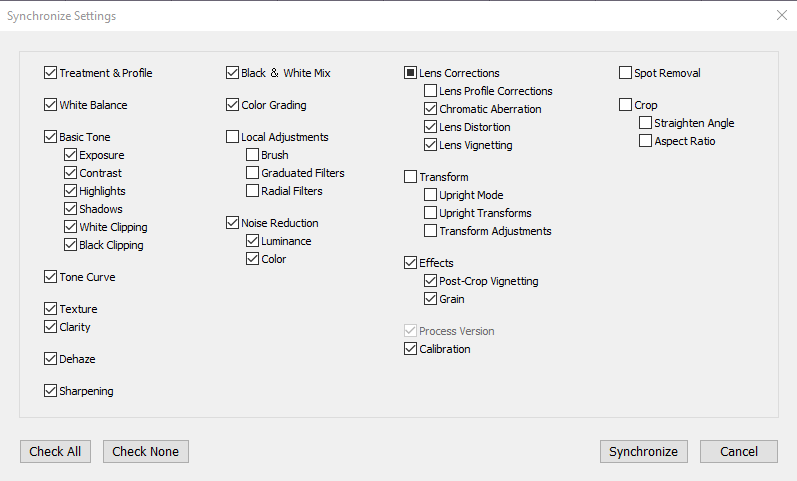
After editing one photo, I then selected all the other images which I will use and selected the ‘Sync Settings’ button which applied all of the edited settings from the first image to the others, which you can see ticked in the boxes above, so that when I create the joiner on photoshop they will all look similar and this will help them to work well together as they will all be synchronised.
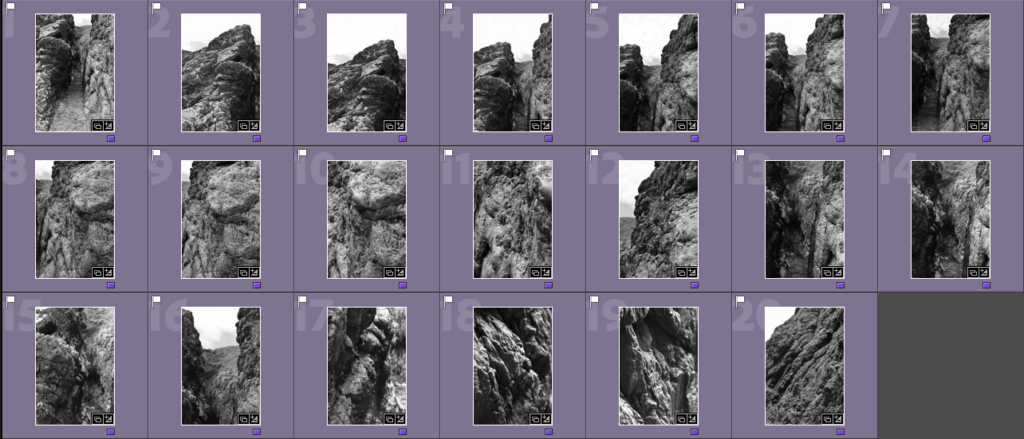
Here is all of the 20 images which I will use for my joiner having the applied settings from the first image to them. I think that these came out quite successful as the smaller details of the rocks are defined, which I wanted to do as it will add a layer of depth into the joiner and the contrast of the black and white filter helps this effect too. I then made a ‘joiner’ folder in Adobe Lightroom which helped me to organise them clearly, and exported them into a folder on the media drive so that I can access them easily when I go to create the joiner on photoshop.
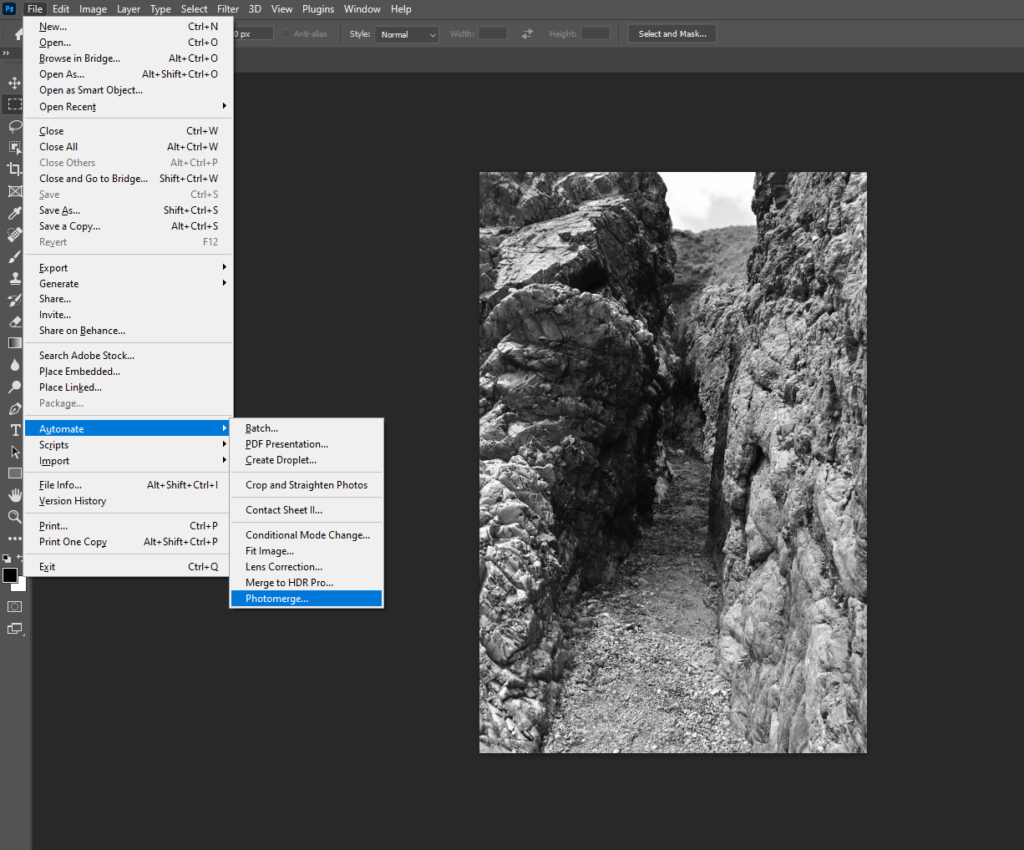
Once in photoshop, I chose ‘File’ then ‘Automate’ and then ‘Photomerge’ where I select all the images which I placed into a folder beforehand as it makes my work more organised. After selecting the 20 images which I will use, I selected the normal joiner effect from the selection there was and then Adobe Photoshop begins to put the photos together.
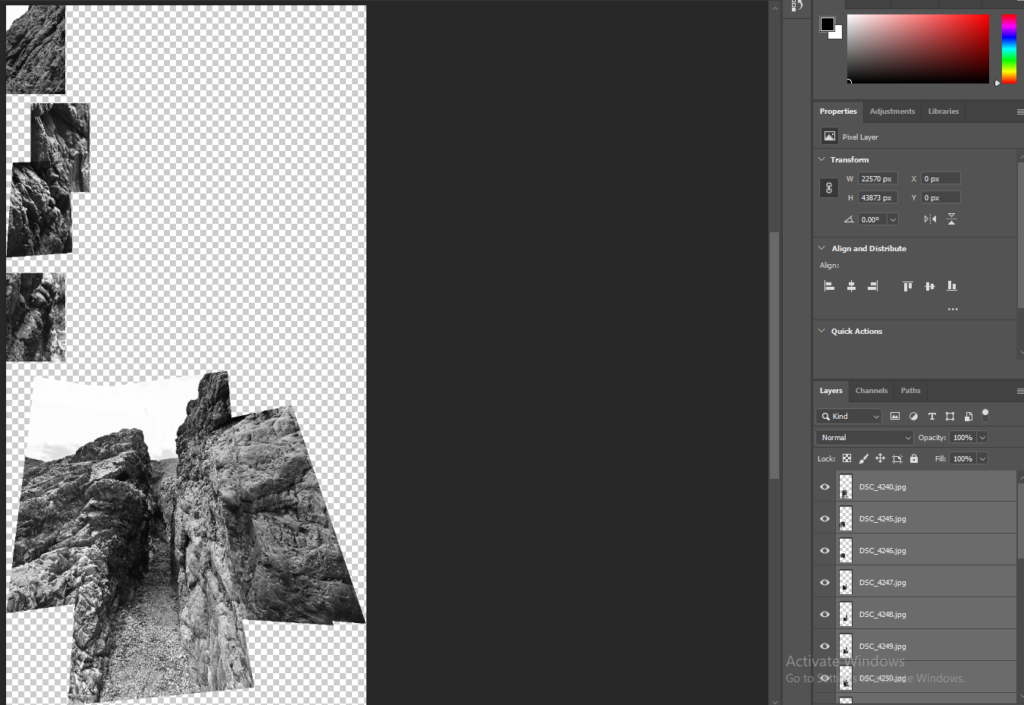
After it has loaded, this is what is created and I think that the computer wasn’t able to locate where the photos at the top are supposed to go as they are quite detailed that is why they have been placed at top. When making my next few examples of experimentation of joiners in different ways, I will consider what photos I will use more and make sure there is a clear link between them so that they can be joined together on the computer easier.
More examples of joiners –
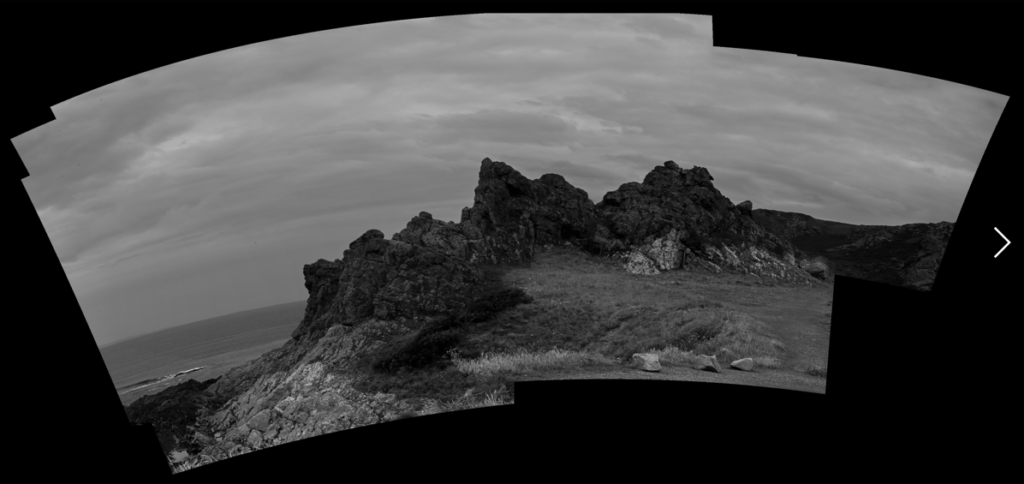
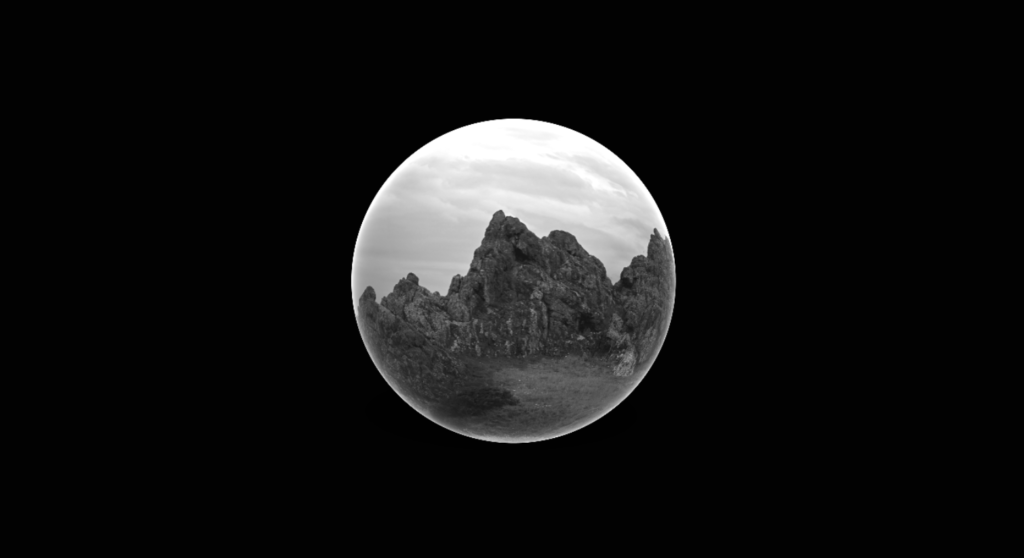
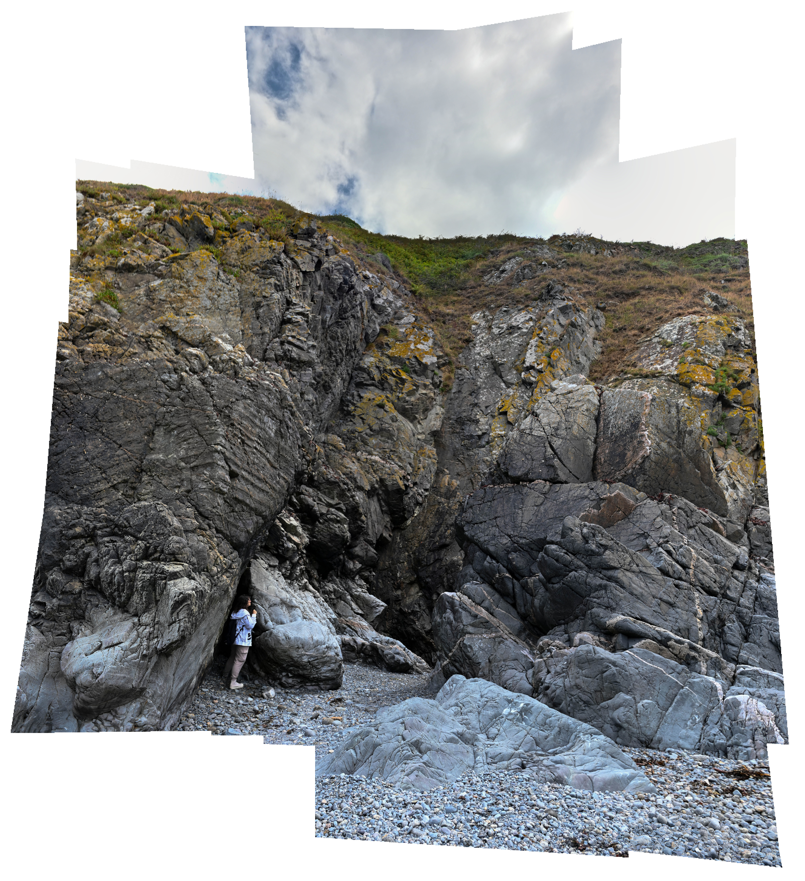
I repeated the process above to create these joiners with a different selection of pictures in black and white and colour, I was also able to select different options for the way the joiner turned out, such as: adding a background colour, changing it into a 3D effect and changing the depth/perspective.
1)
2)
3)
4)
Images to use for exhibition –
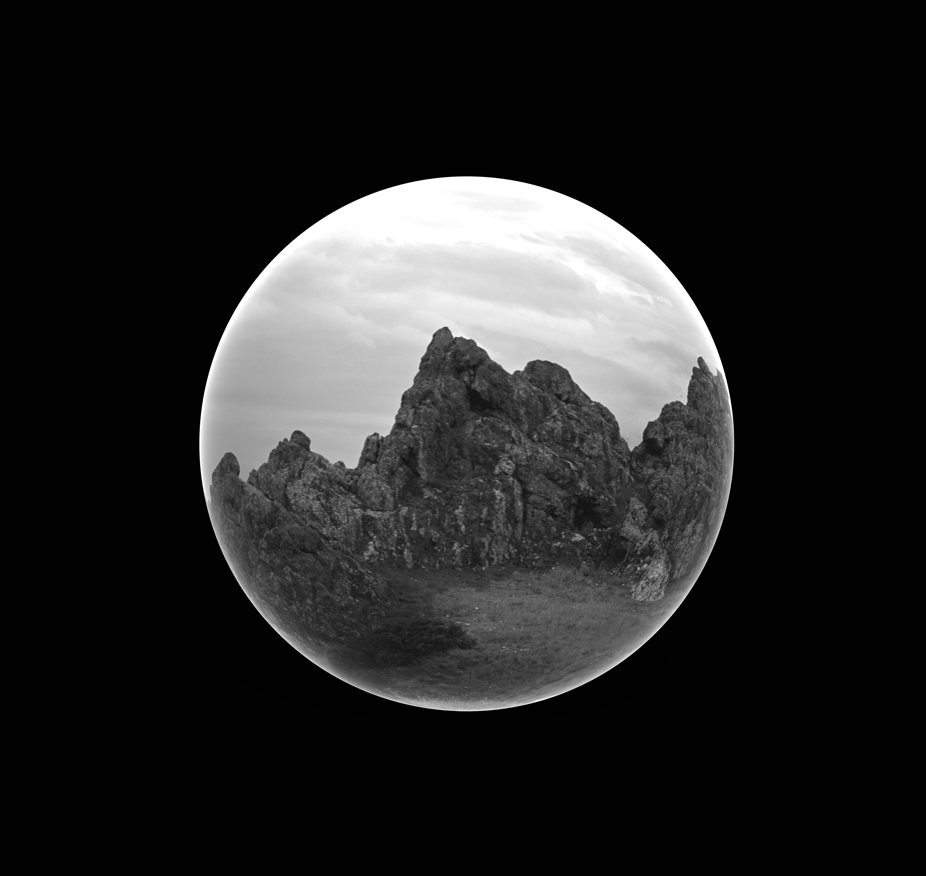
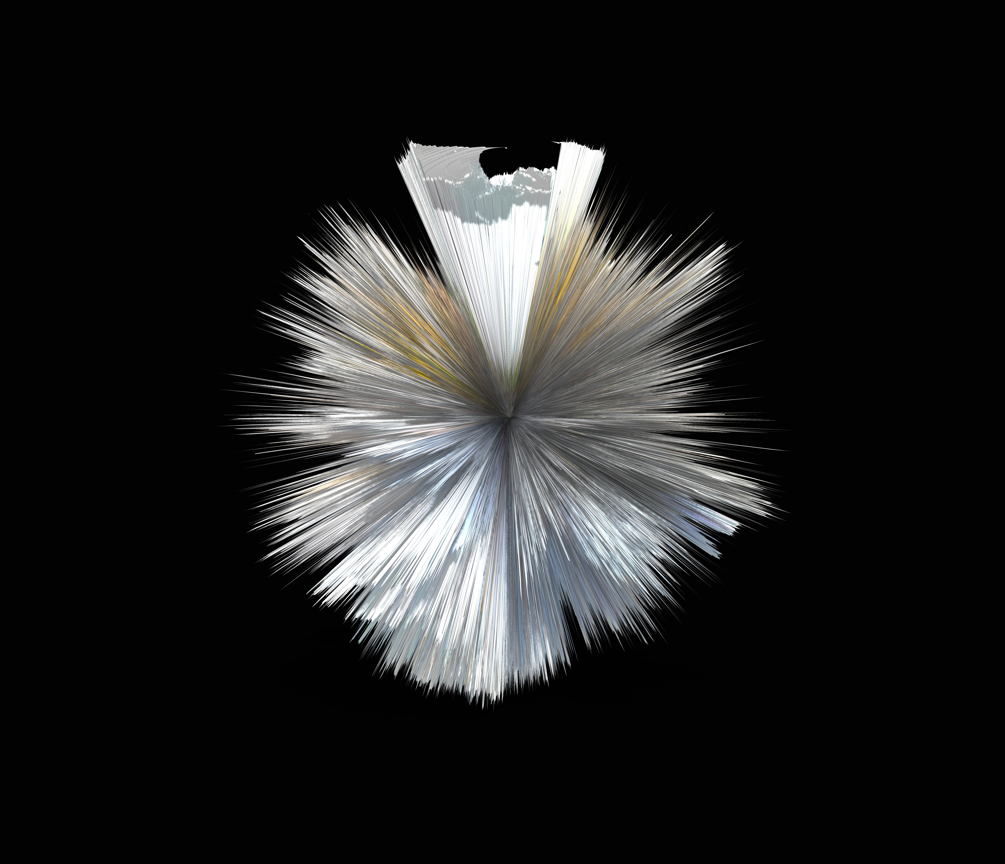
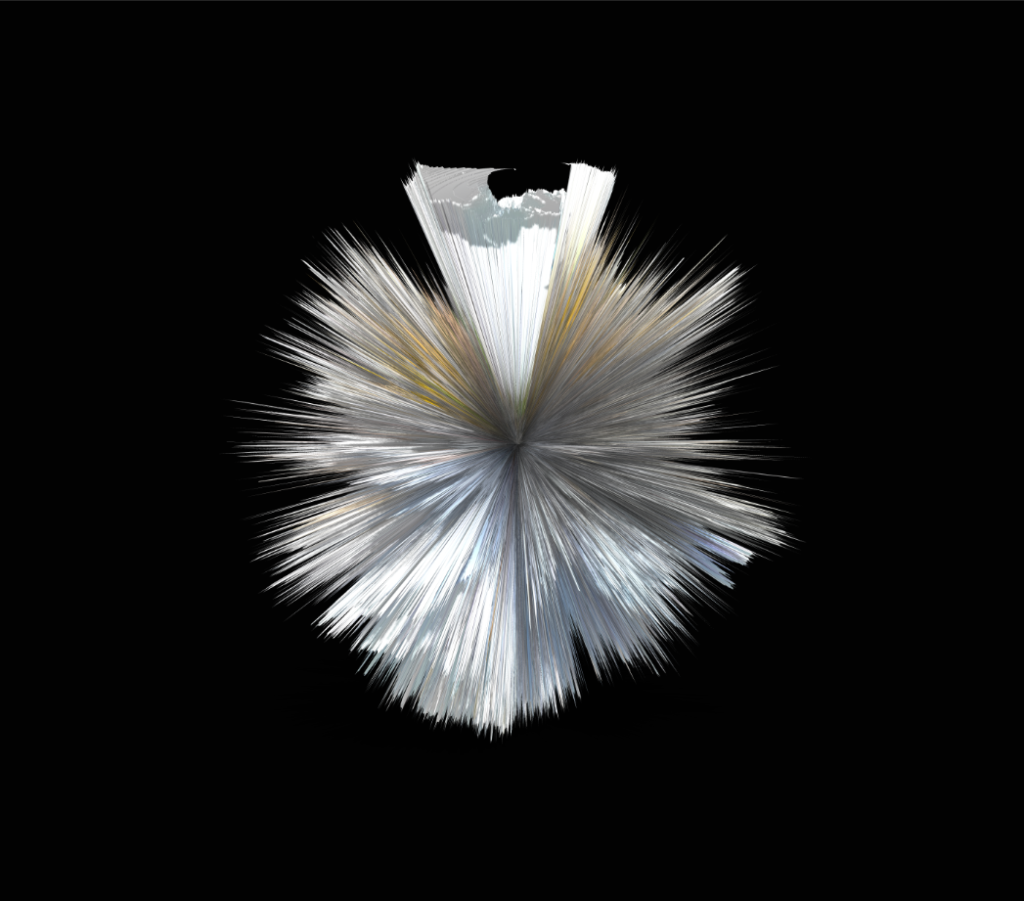
These are the two images which I have chosen to be a part of the exhibition ‘My Rock’ that is taking place for the Link Gallery at the Jersey Museum. I edited these two images beforehand on Adobe Lightroom then brought them into Photoshop. This is where I was able to transform the top photo, of a rockface, into a joiner then use a ‘Mesh Pre-set’ of Sphere, which I really like as it can resemble a snow globe which are used to represent different places and their scenery. Then for the photo below of a morphed rockface I used a ‘Depth Map’ which distort the photo into a sphere which has all different angles from the photos which I have used. I liked this pre-set depth map because it is unusually shaped and if you saw the photo before it was transformed you would be able to see the different aspects of the photo.
