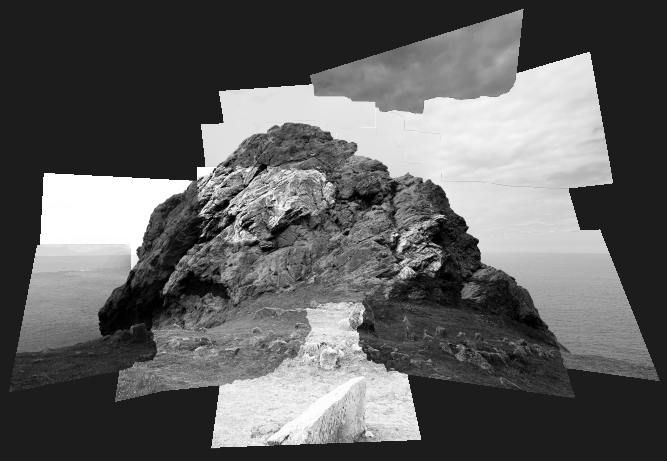
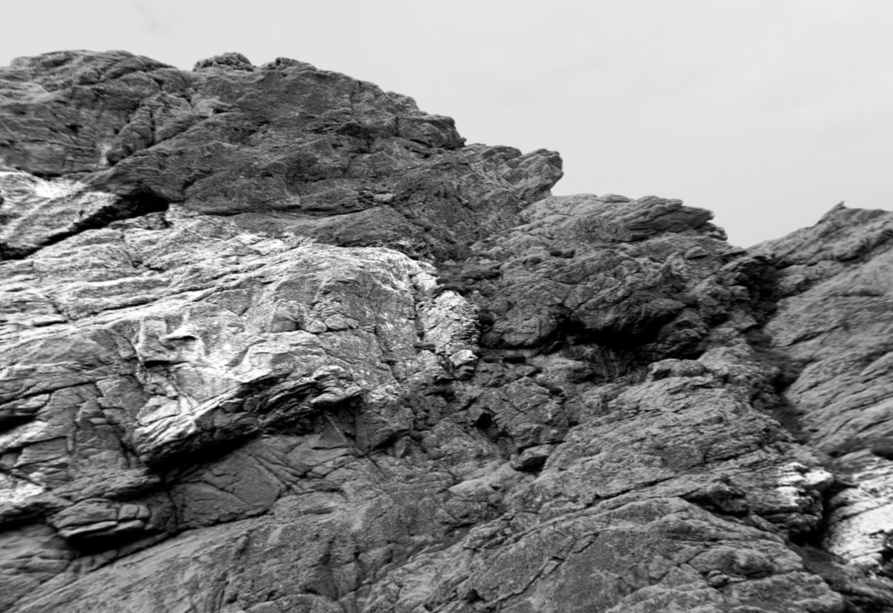
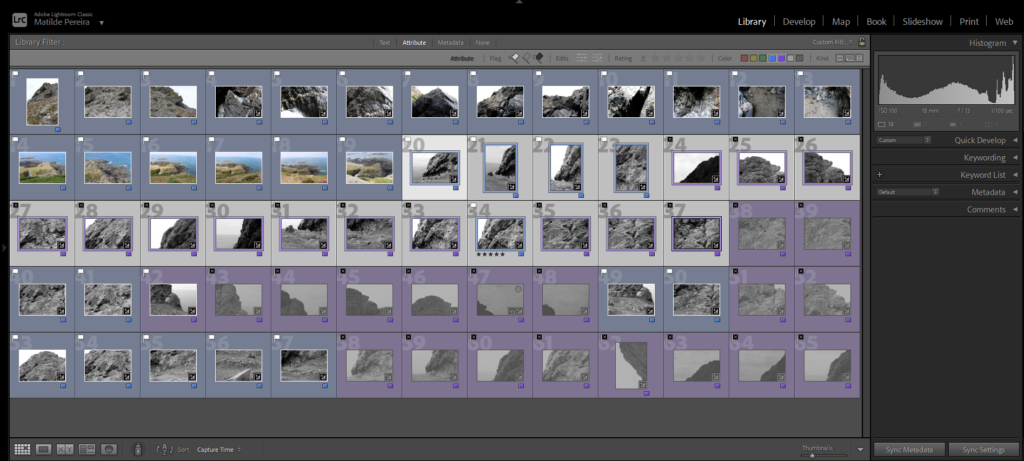
In order to create my joiners, I began by looking through all of my photos and giving them a colour label of blue or purple, I used blue to label the photos that are in focus and purple to label the blurrier image. I did this to make it easy to differentiate the photos I wanted to turn into joiners from my other images.
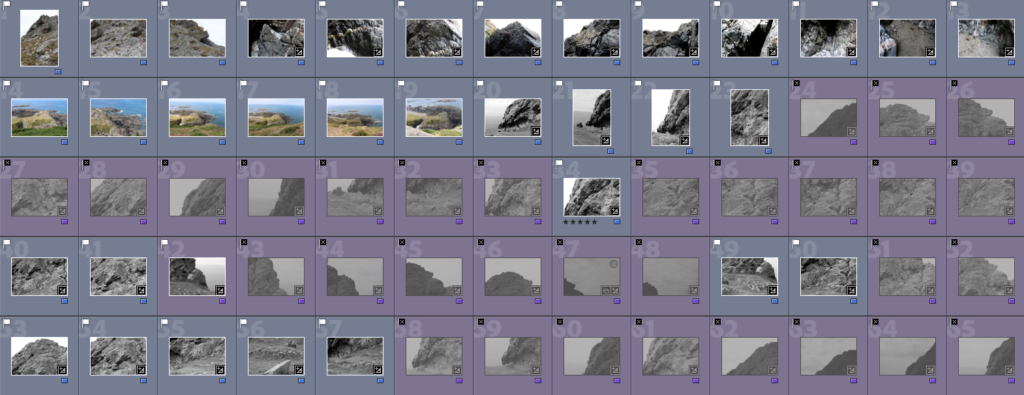
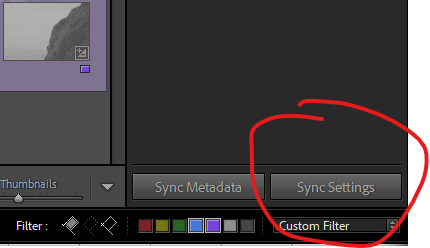
I then edited an image per joiner and used the ‘sync settings’ tool on Lightroom to ensure all the photos in each joiner would be edited the same way, therefore making each joiner have the same look. This ensured that each photo within the joiners wouldn’t be overexposed and would be ready to export into photoshop.
Making My Joiners
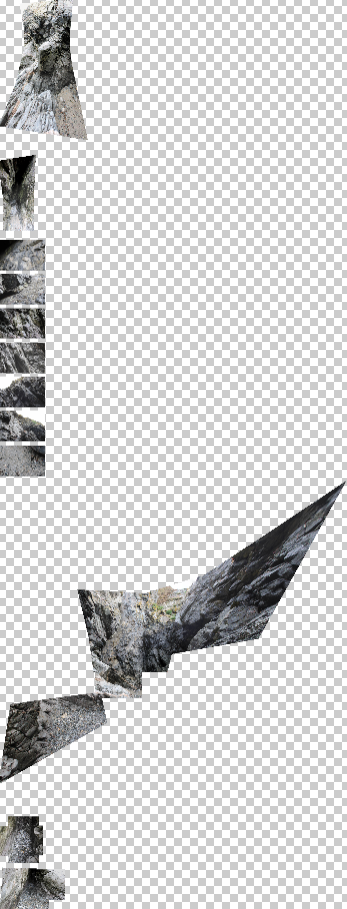
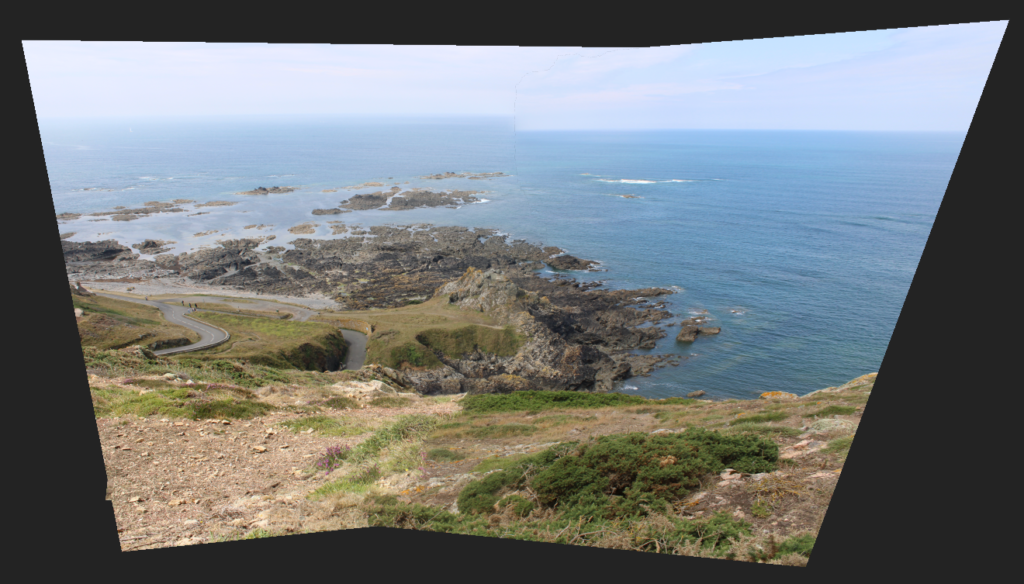
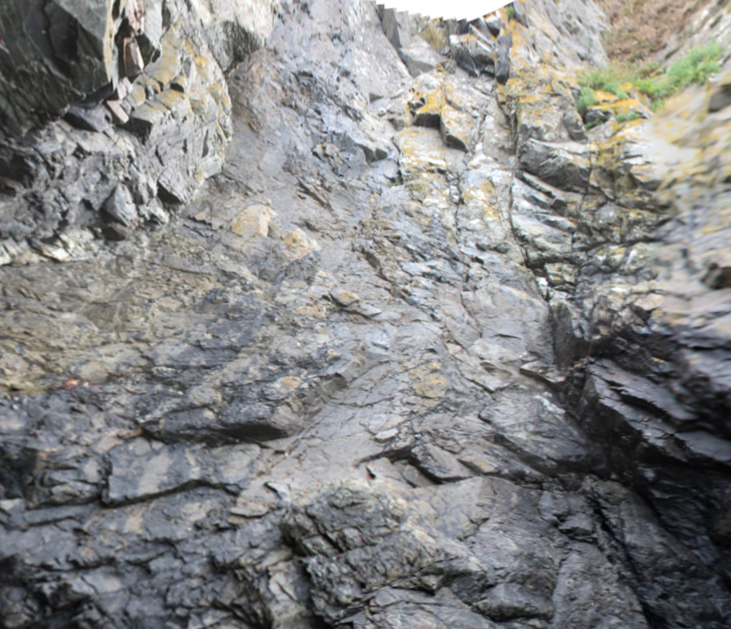
Some of my experiments did not go well as photoshop separated my photos into different mini joiners instead of creating one full landscape. However, I did managed to make some successful joiners which I like after being more selective with my images.

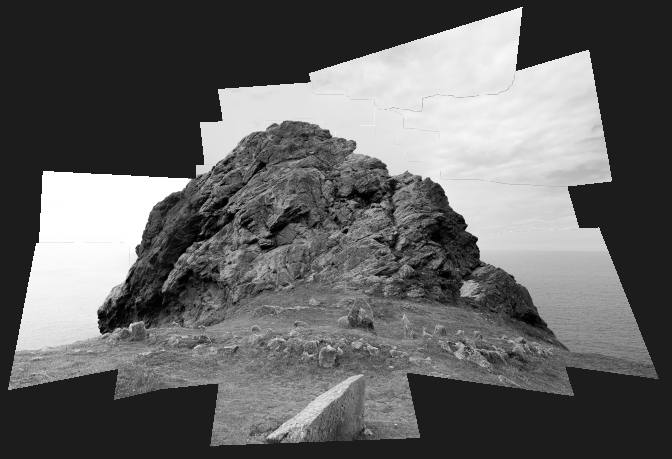

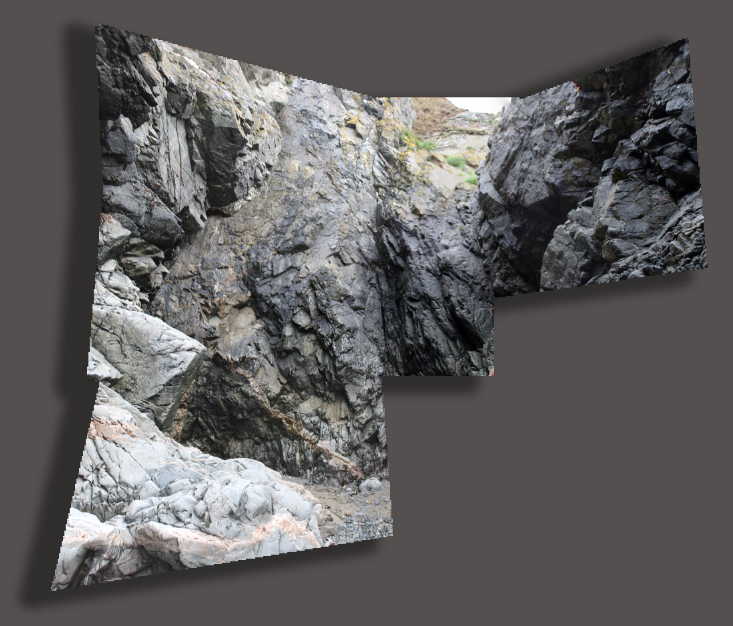
3d Experiments:
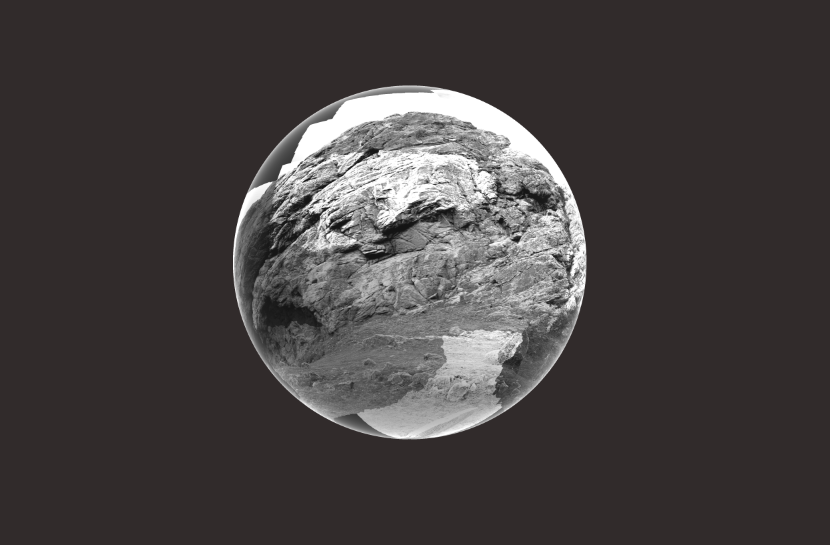
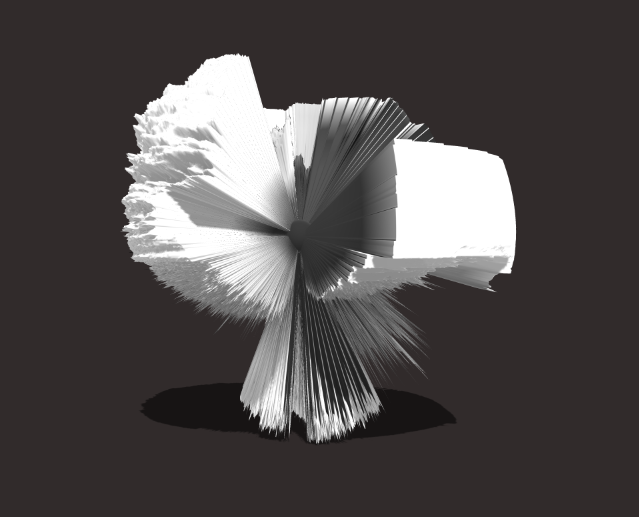
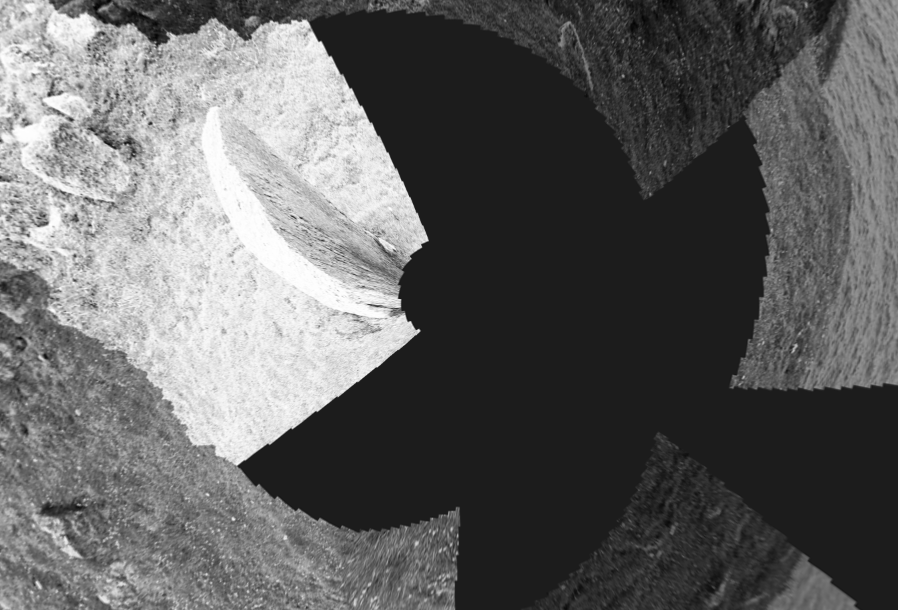
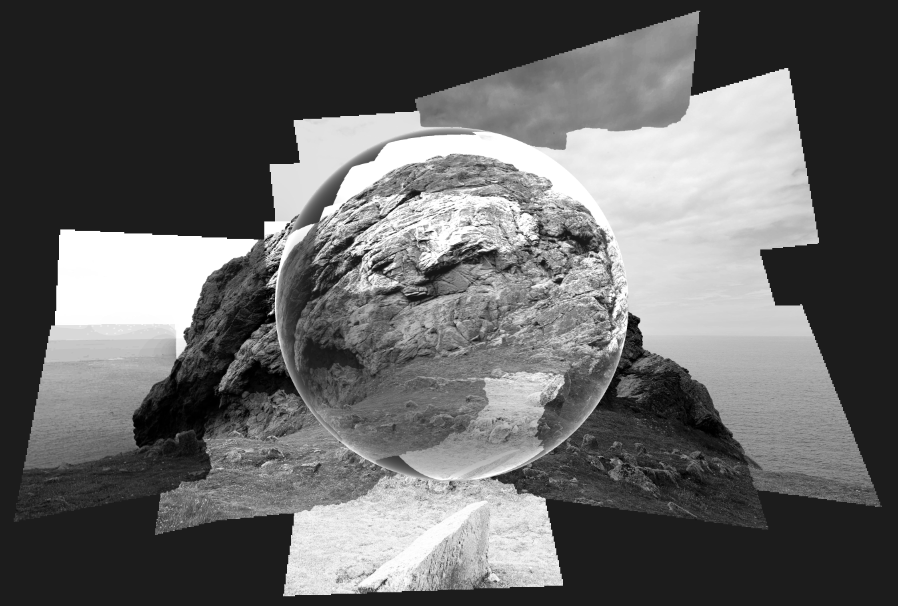
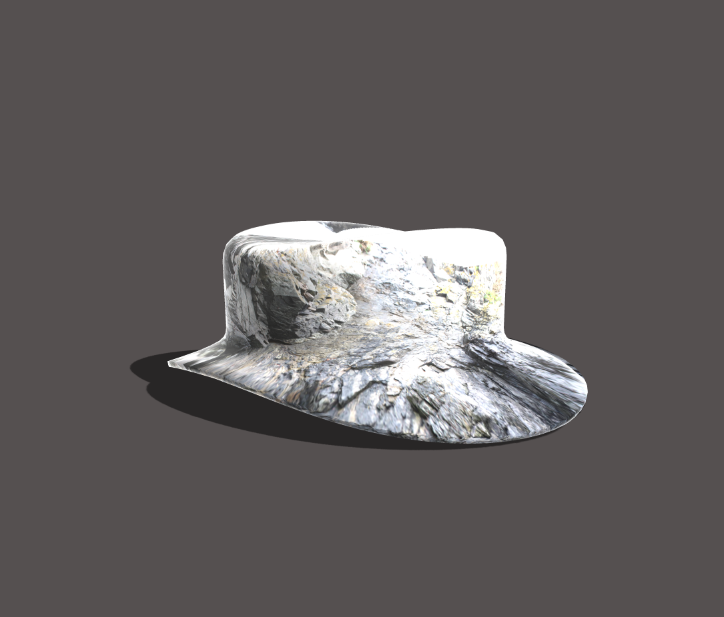
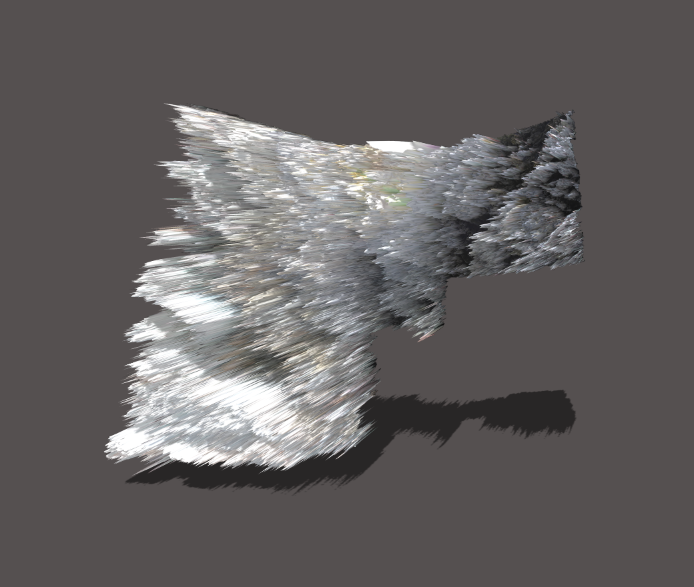
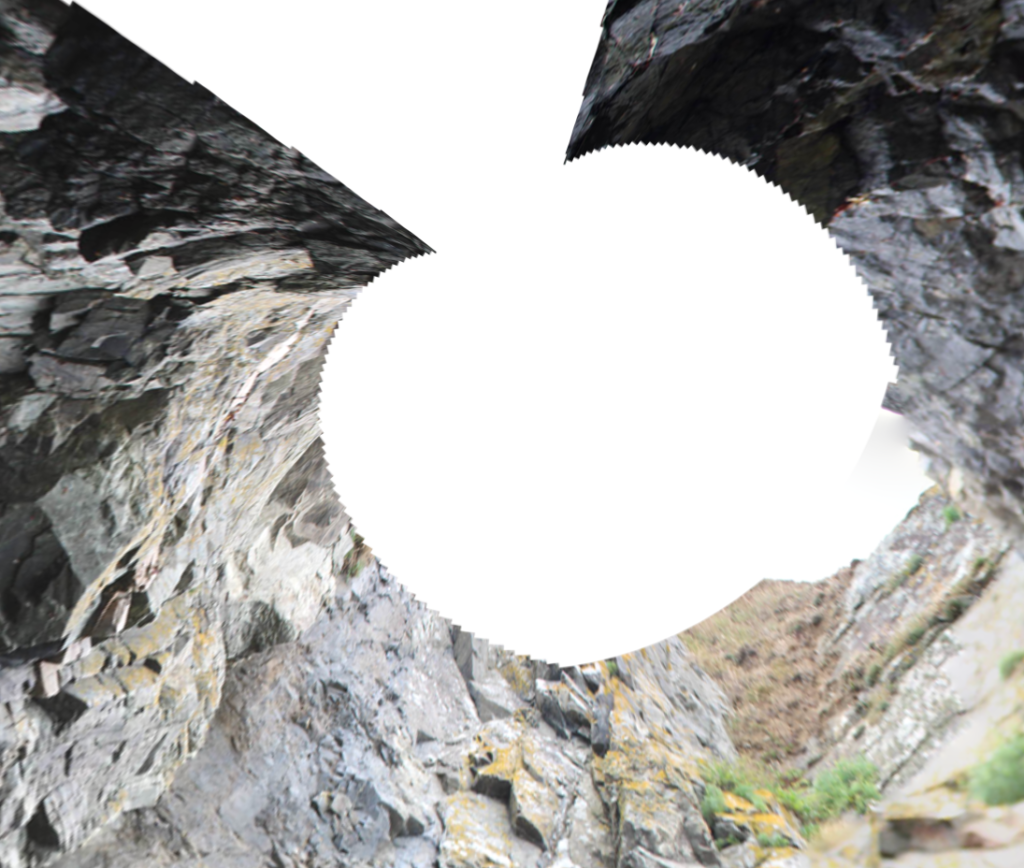
I decided to make some 3D experiments using photoshop using their 3D options which included making spherical panoramas, making mesh presets and making depth maps in order to make my joiners to look more interesting.

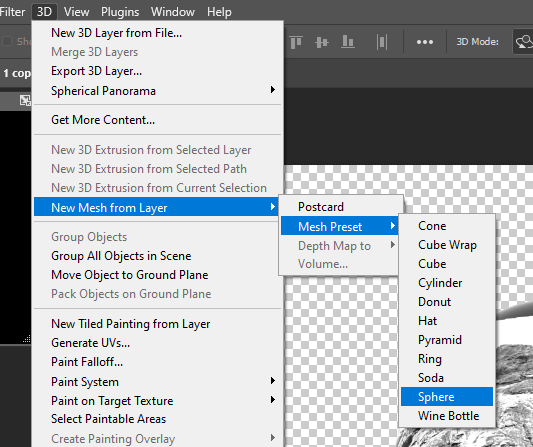
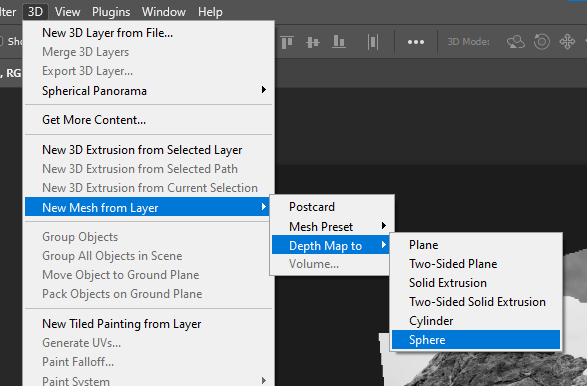
—– Experimenting with one joiner: ——————————–

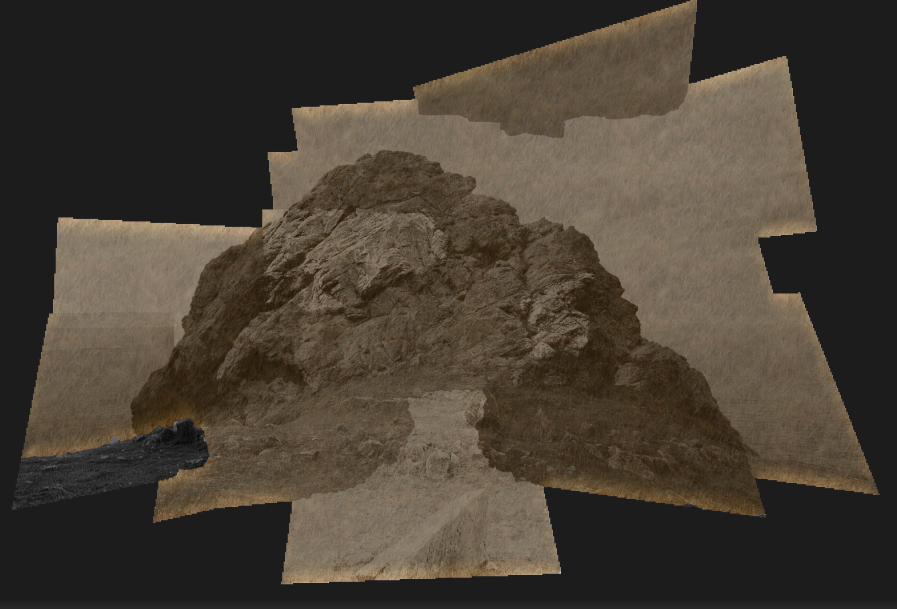
—– Experimenting with another joiner: ——————————–
