
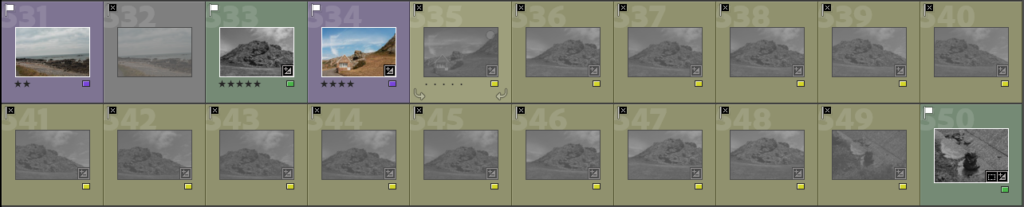
To begin making my Joiner I selected around 15 images from Lightroom and exported them into a specific joiner folder. I colour co-ordinated my joiner images into a yellow collection so I can be more organised. I made sure all selected image were applied with the same editing tools to not ruin my joiner by having coloured images involved.
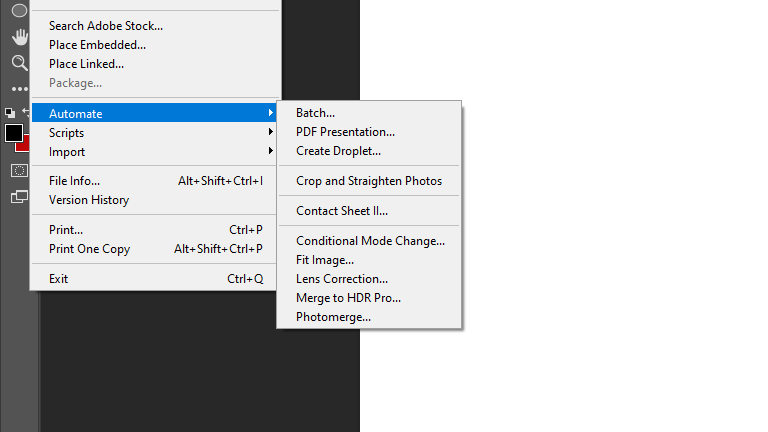
I exported my joiner images into photoshop through the Photomerge tool to create my joiner. I believe this is the most effective way of creating a joiner instead of using the manual way because it neatly forms all the other images together in a very effective way.
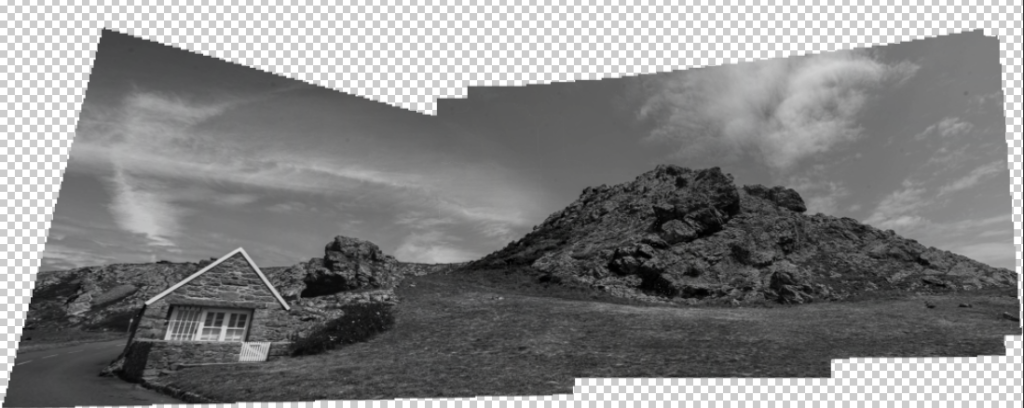
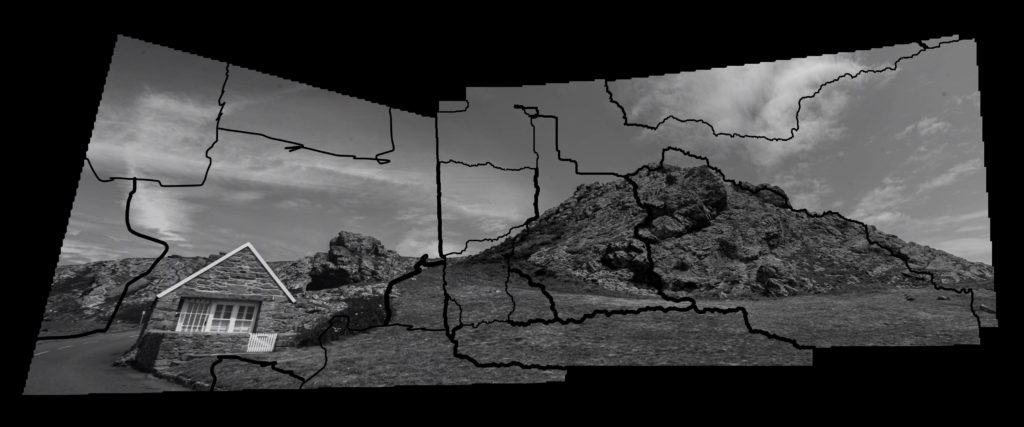
Here is how it created my joiner:
Simple edits:
Stroke 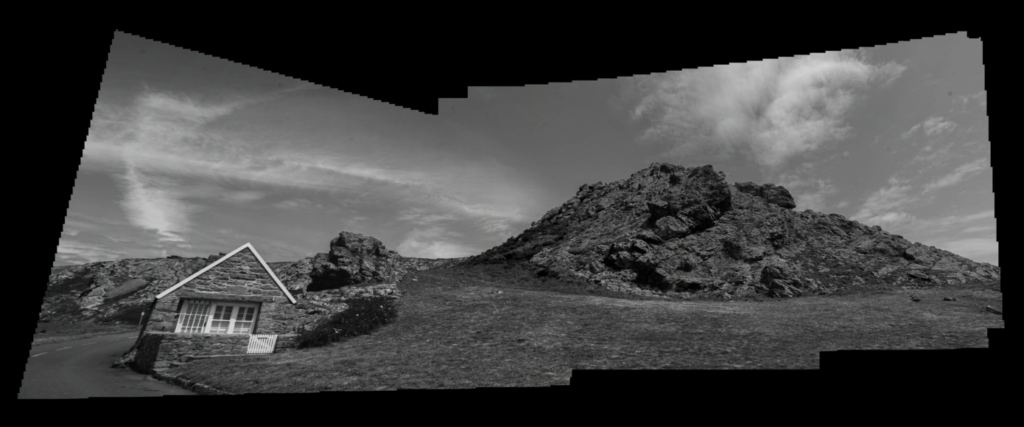
Blur
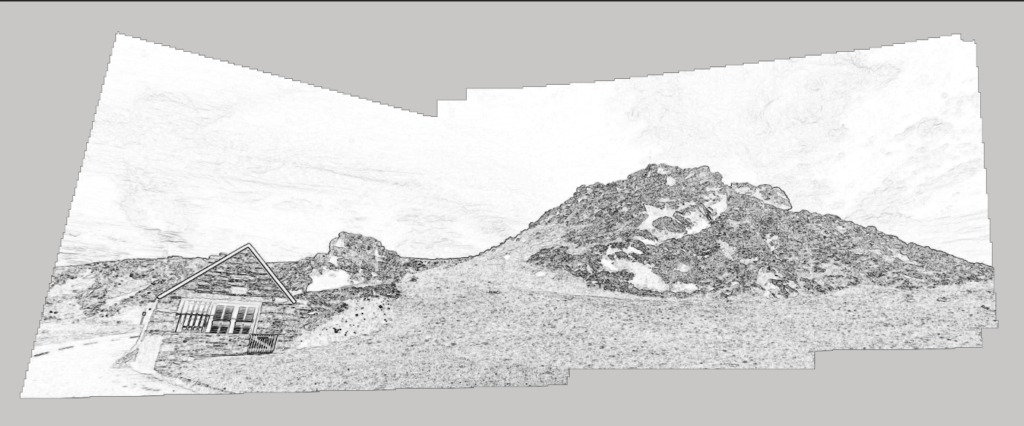
Find Edges 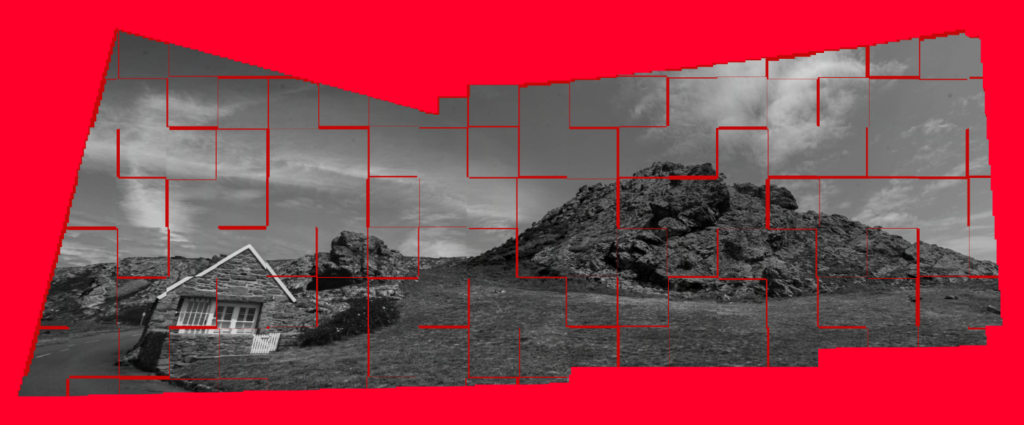
Tiles

Ripple
Background colour experimentation:
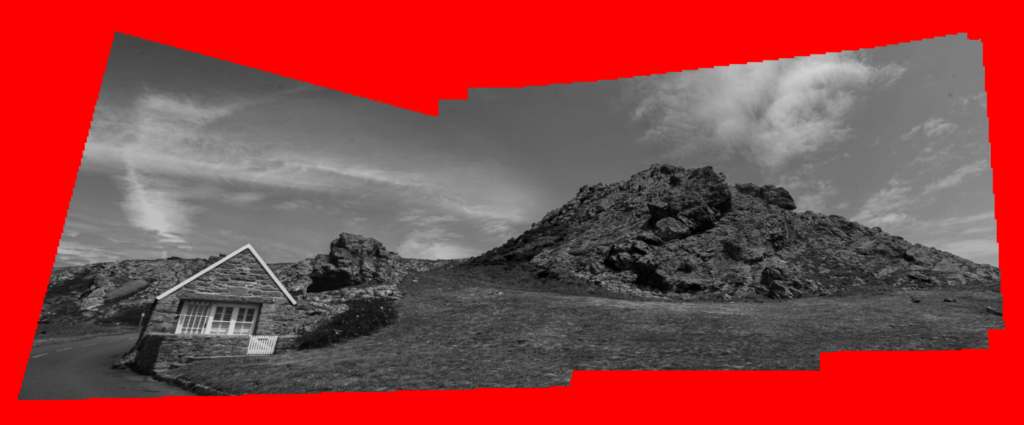
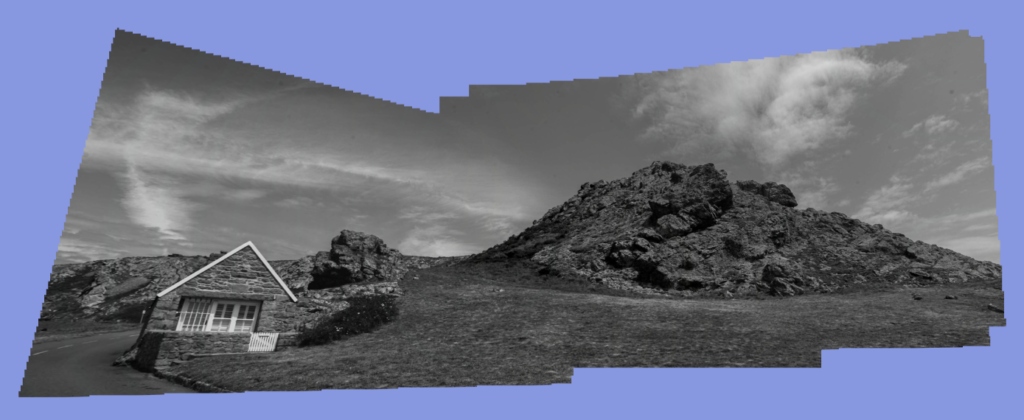
Red 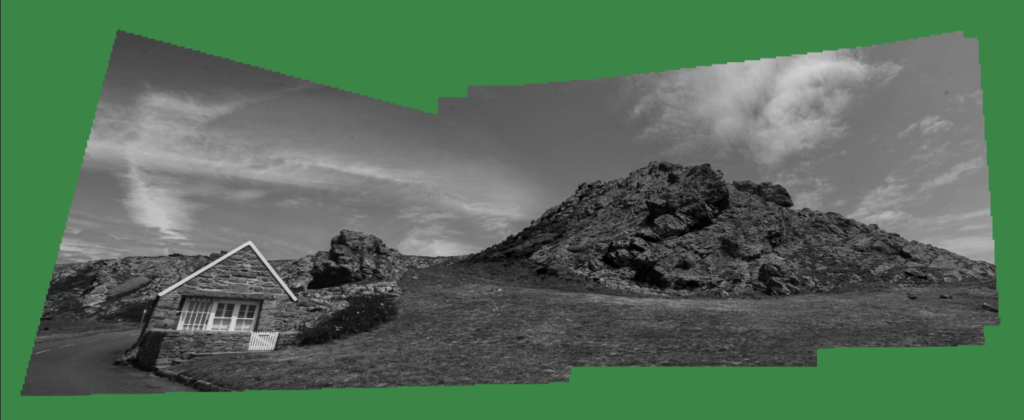
Green
Purple 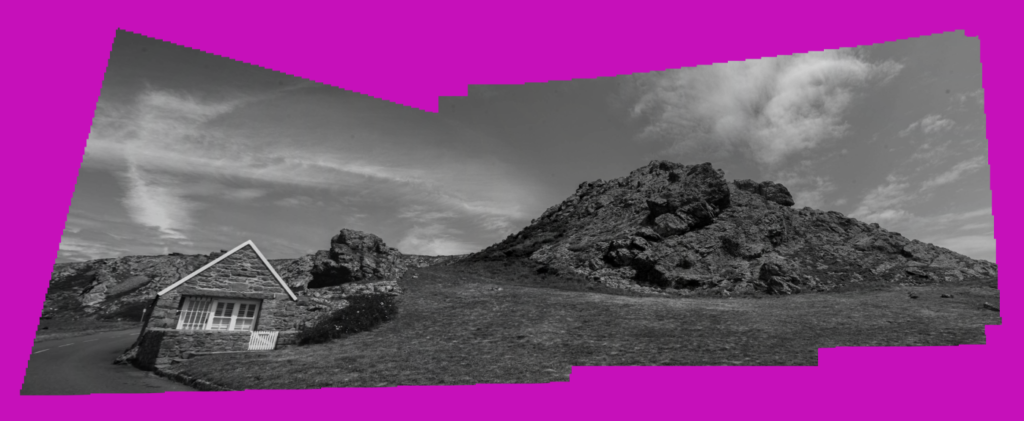
Pink

Yellow 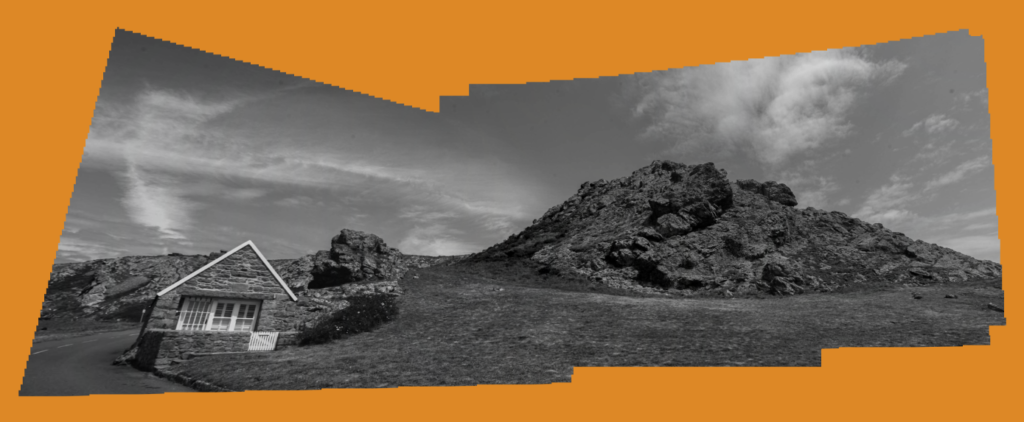
Orange
Evalution
I like the way most of these joiners turned out especially the ones with simple effects. During my experimentation I focused on using one main image that I chose to use throughout all my experiment. I chose this joiner because it was the best out of all the other outcomes I tried to produce due to the wide span of scenery. The use of the bright and vibrant colours made the joiners seem more ‘joyful’ and makes the monochrome joiner have great contrast towards the colours. For the next time I create a joiner I am going to experiment further with 3d objects and creating my own joiner manually instead of the automatic photoshop way.