Making My Joiners

After selecting my images for my joiners in Yellow and red, I edited one image from a set in the desired way. In this case, it was black and white.

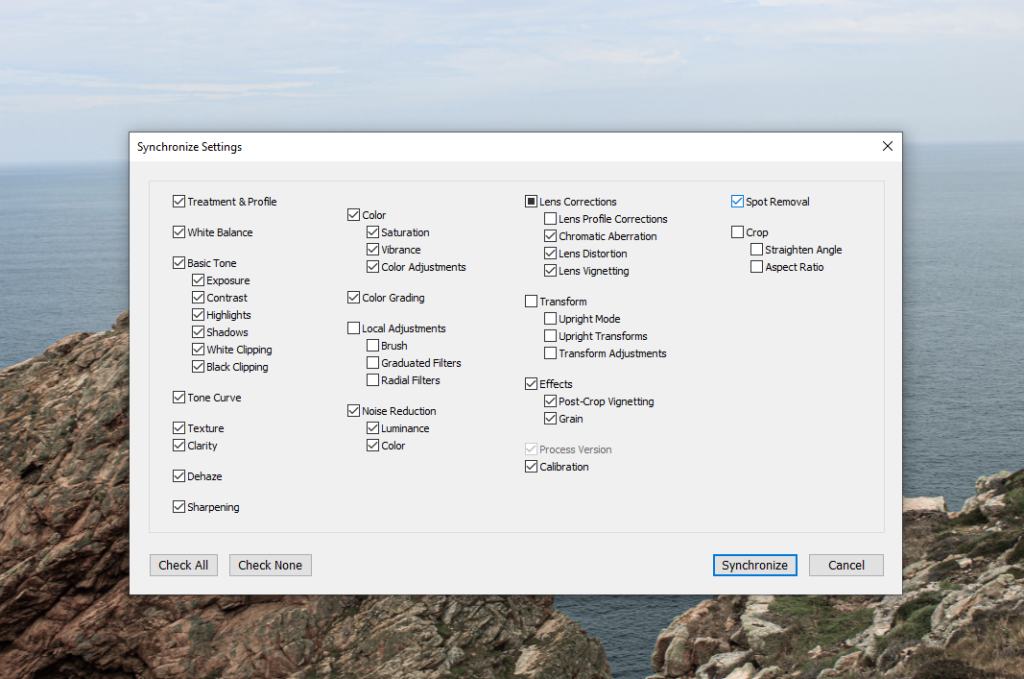
After selecting the one I had just edited, I then selected all of the images for that joiner, then clicked ‘Sync Settings. This edited all of the images in the same way. This was helpful for my joiners with lots of images, which would have been very time-consuming to edit separately.

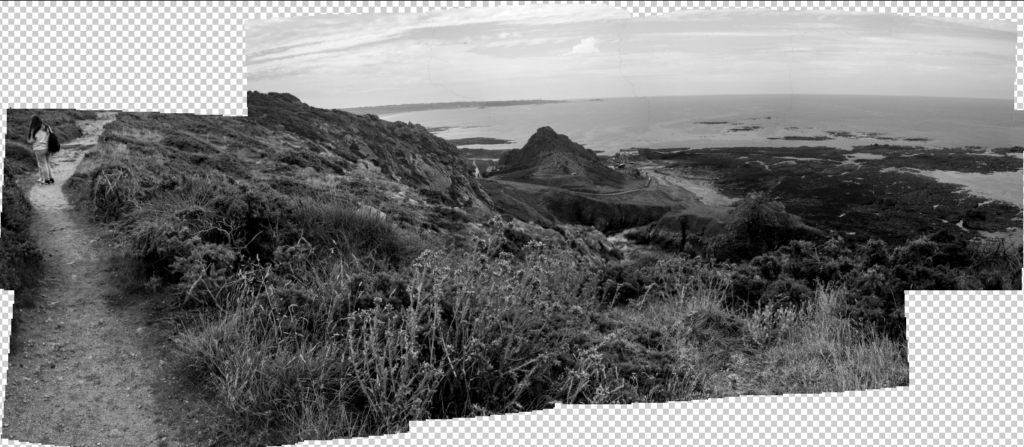
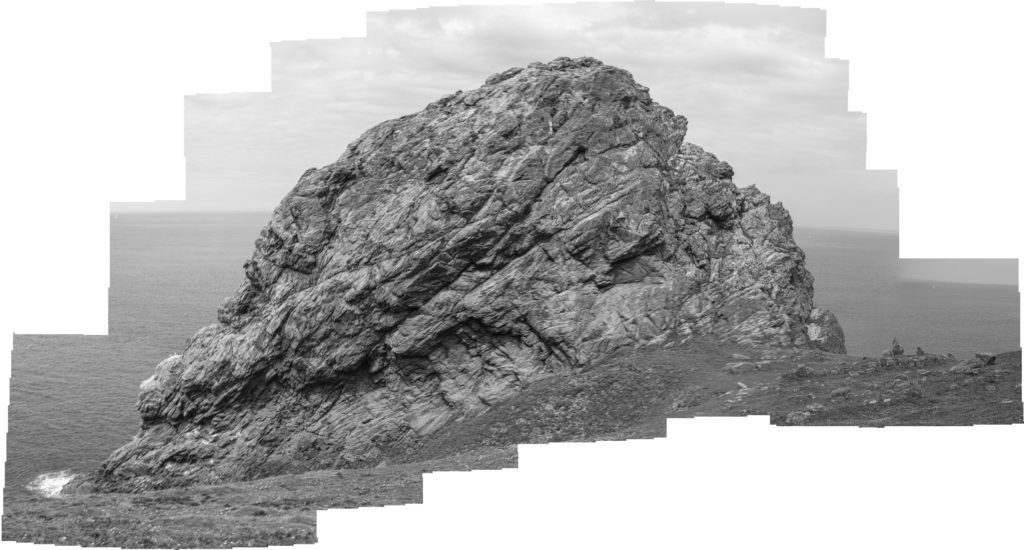
My final joiner.
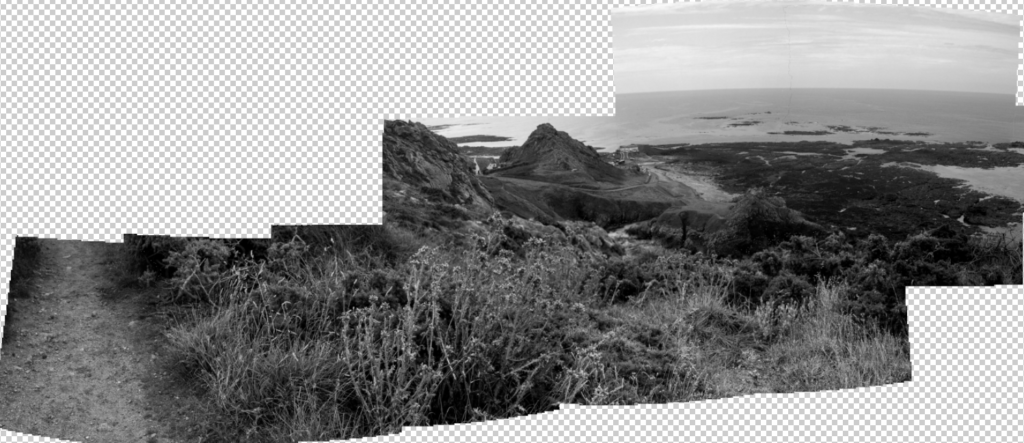
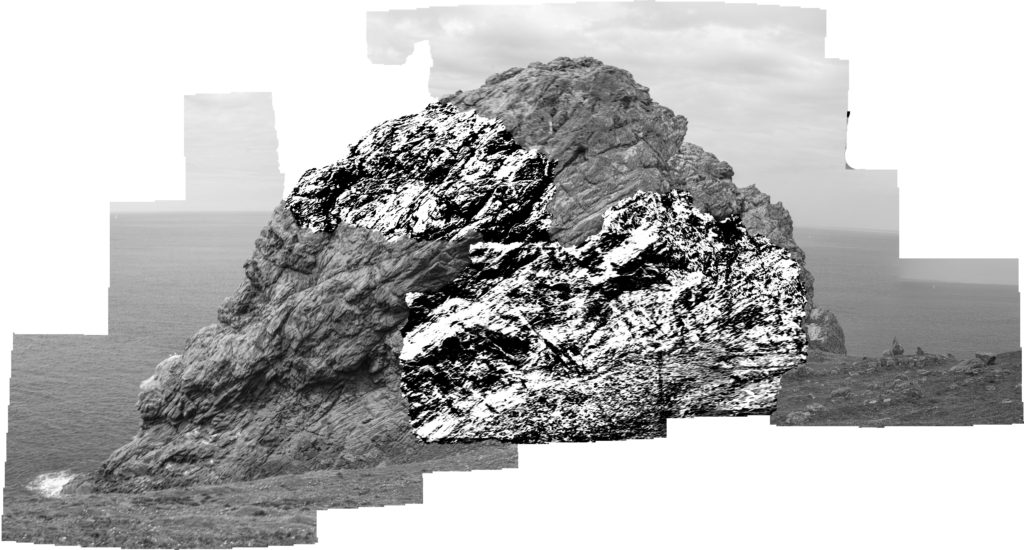
Here I tried removing and selecting random images from this joiner to create a different composition.
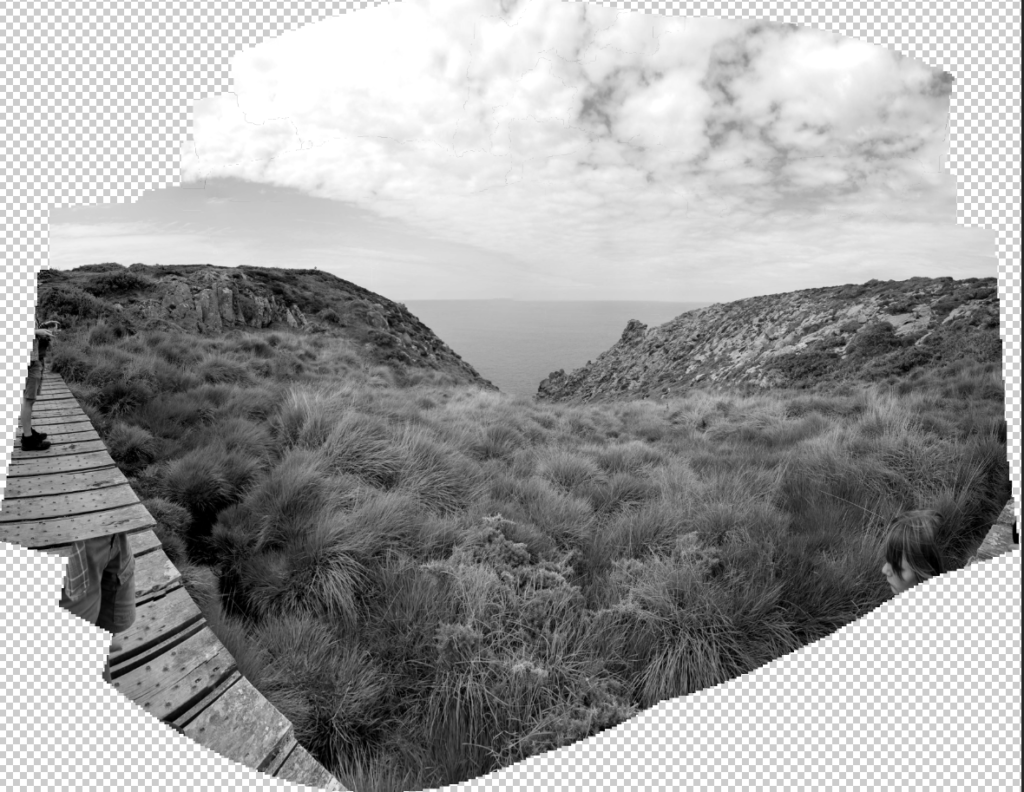
My second joiner – I like the way the true perspective of the cliffs have been manipulated – this links to the idea of space and perspective that are present in David Hockney’s joiners.

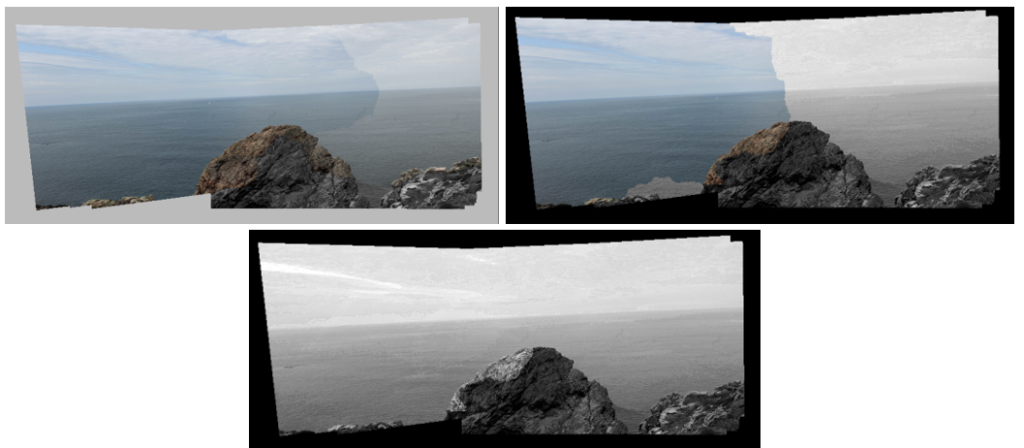
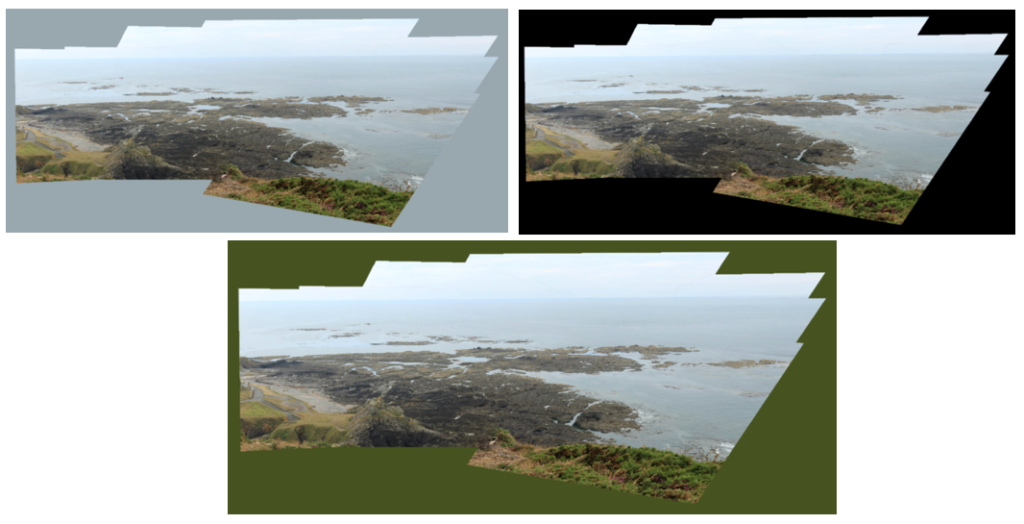
This joiner with a black background.

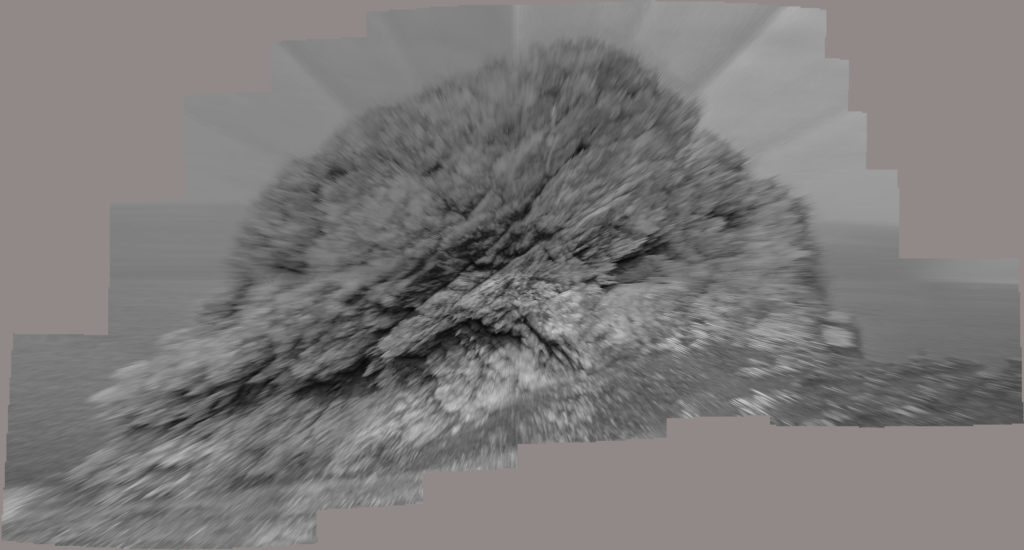
This is my joiner as a 3D sphere

Here I tried moving parts of my joiner around to create a ripped, disjointed effect.

This was a less successful joiner – I had not taken pictures of the right side and the horizon enough, so the horizon became wonky and blurry.

Here I cropped the joiner at the right, to remove most of the unsuccessful part of the joiner. I then ripped the parts of the joiner up. I don’t think this was that successful as an experiment.
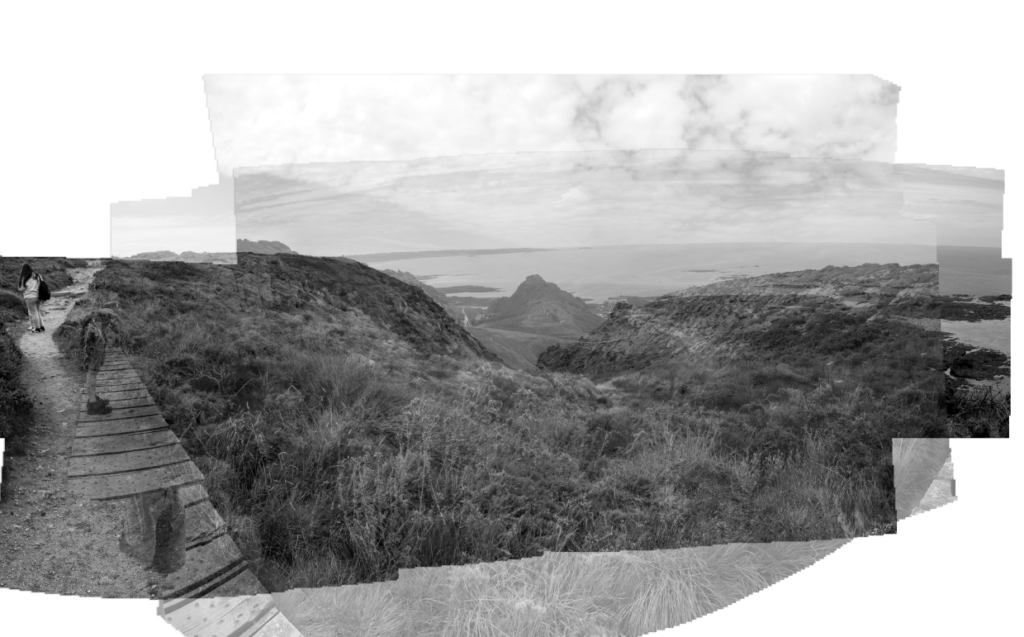
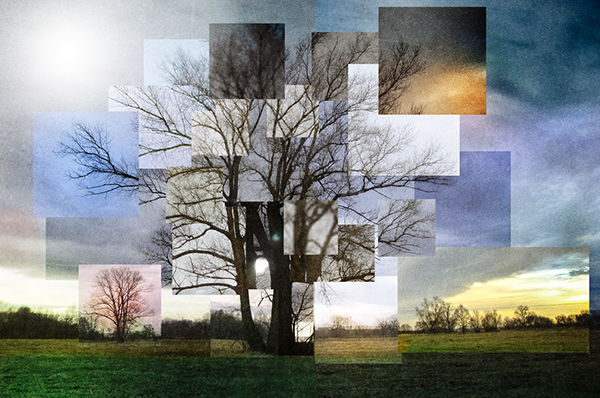
Here I added one joiner on top of another, changing the opacity to show the different landscape underneath.

Experimenting with cropping of multiple exposures.

Different arrangement of multiple exposure.

Turning one joiner upside down and enlarging the two.

Inverting one joiner and enlarging both joiners, different opacities.

Final Joiners
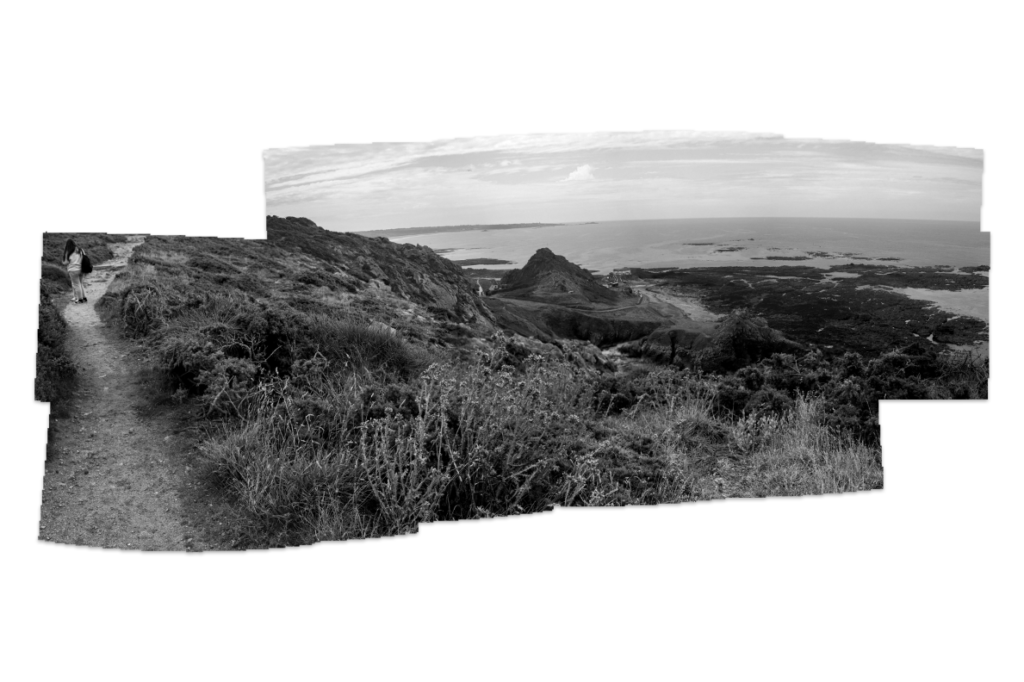
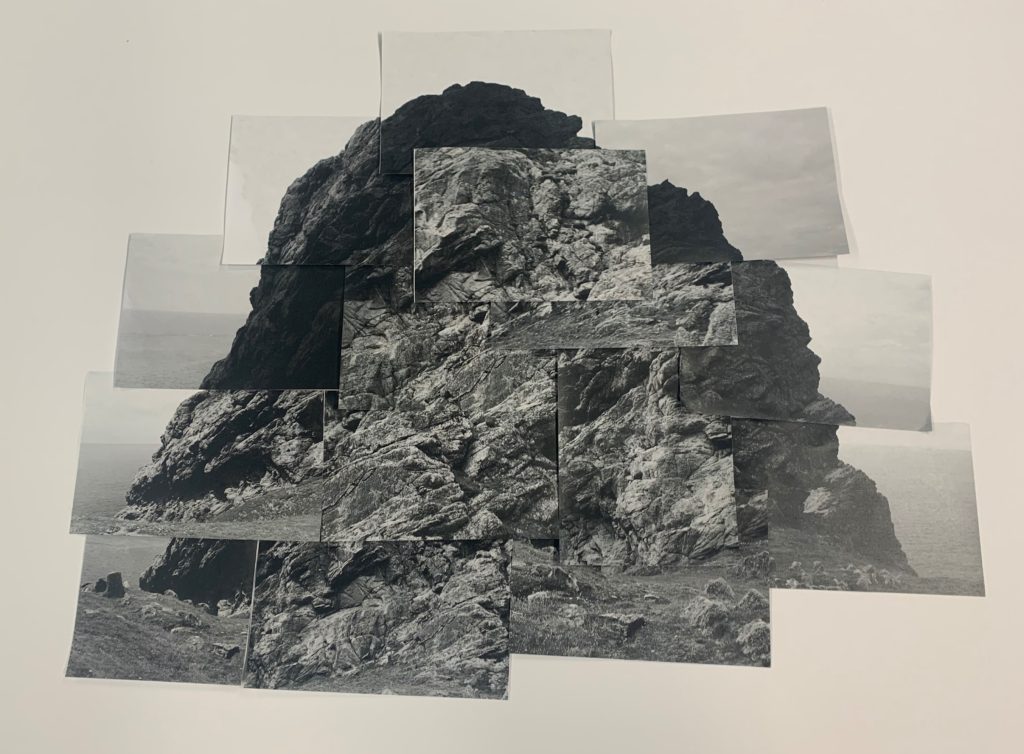
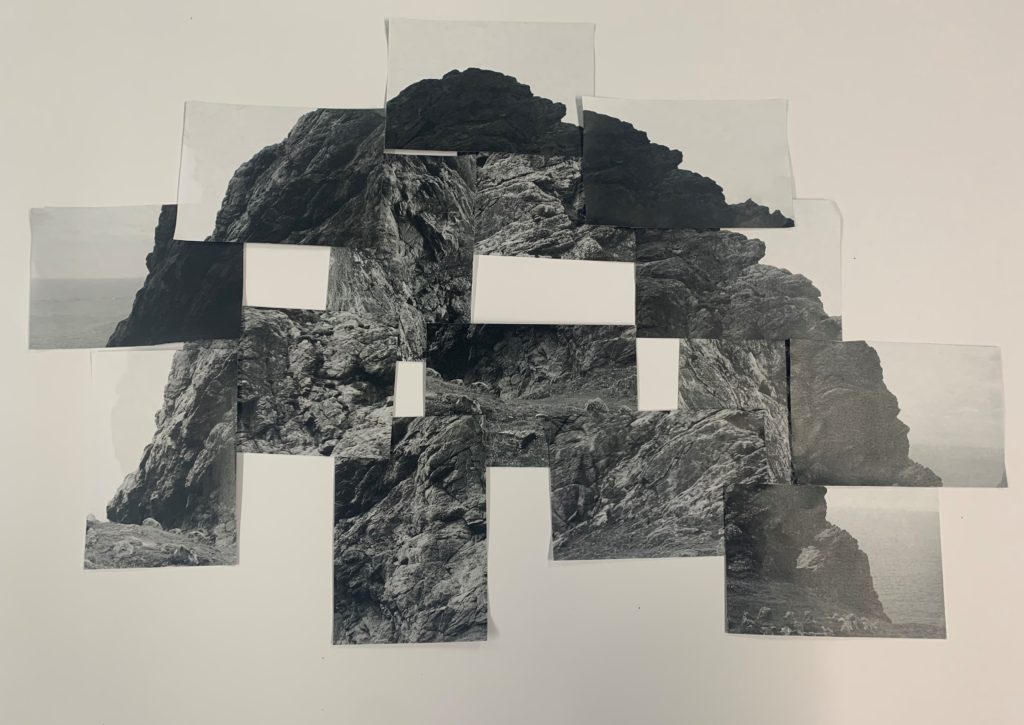
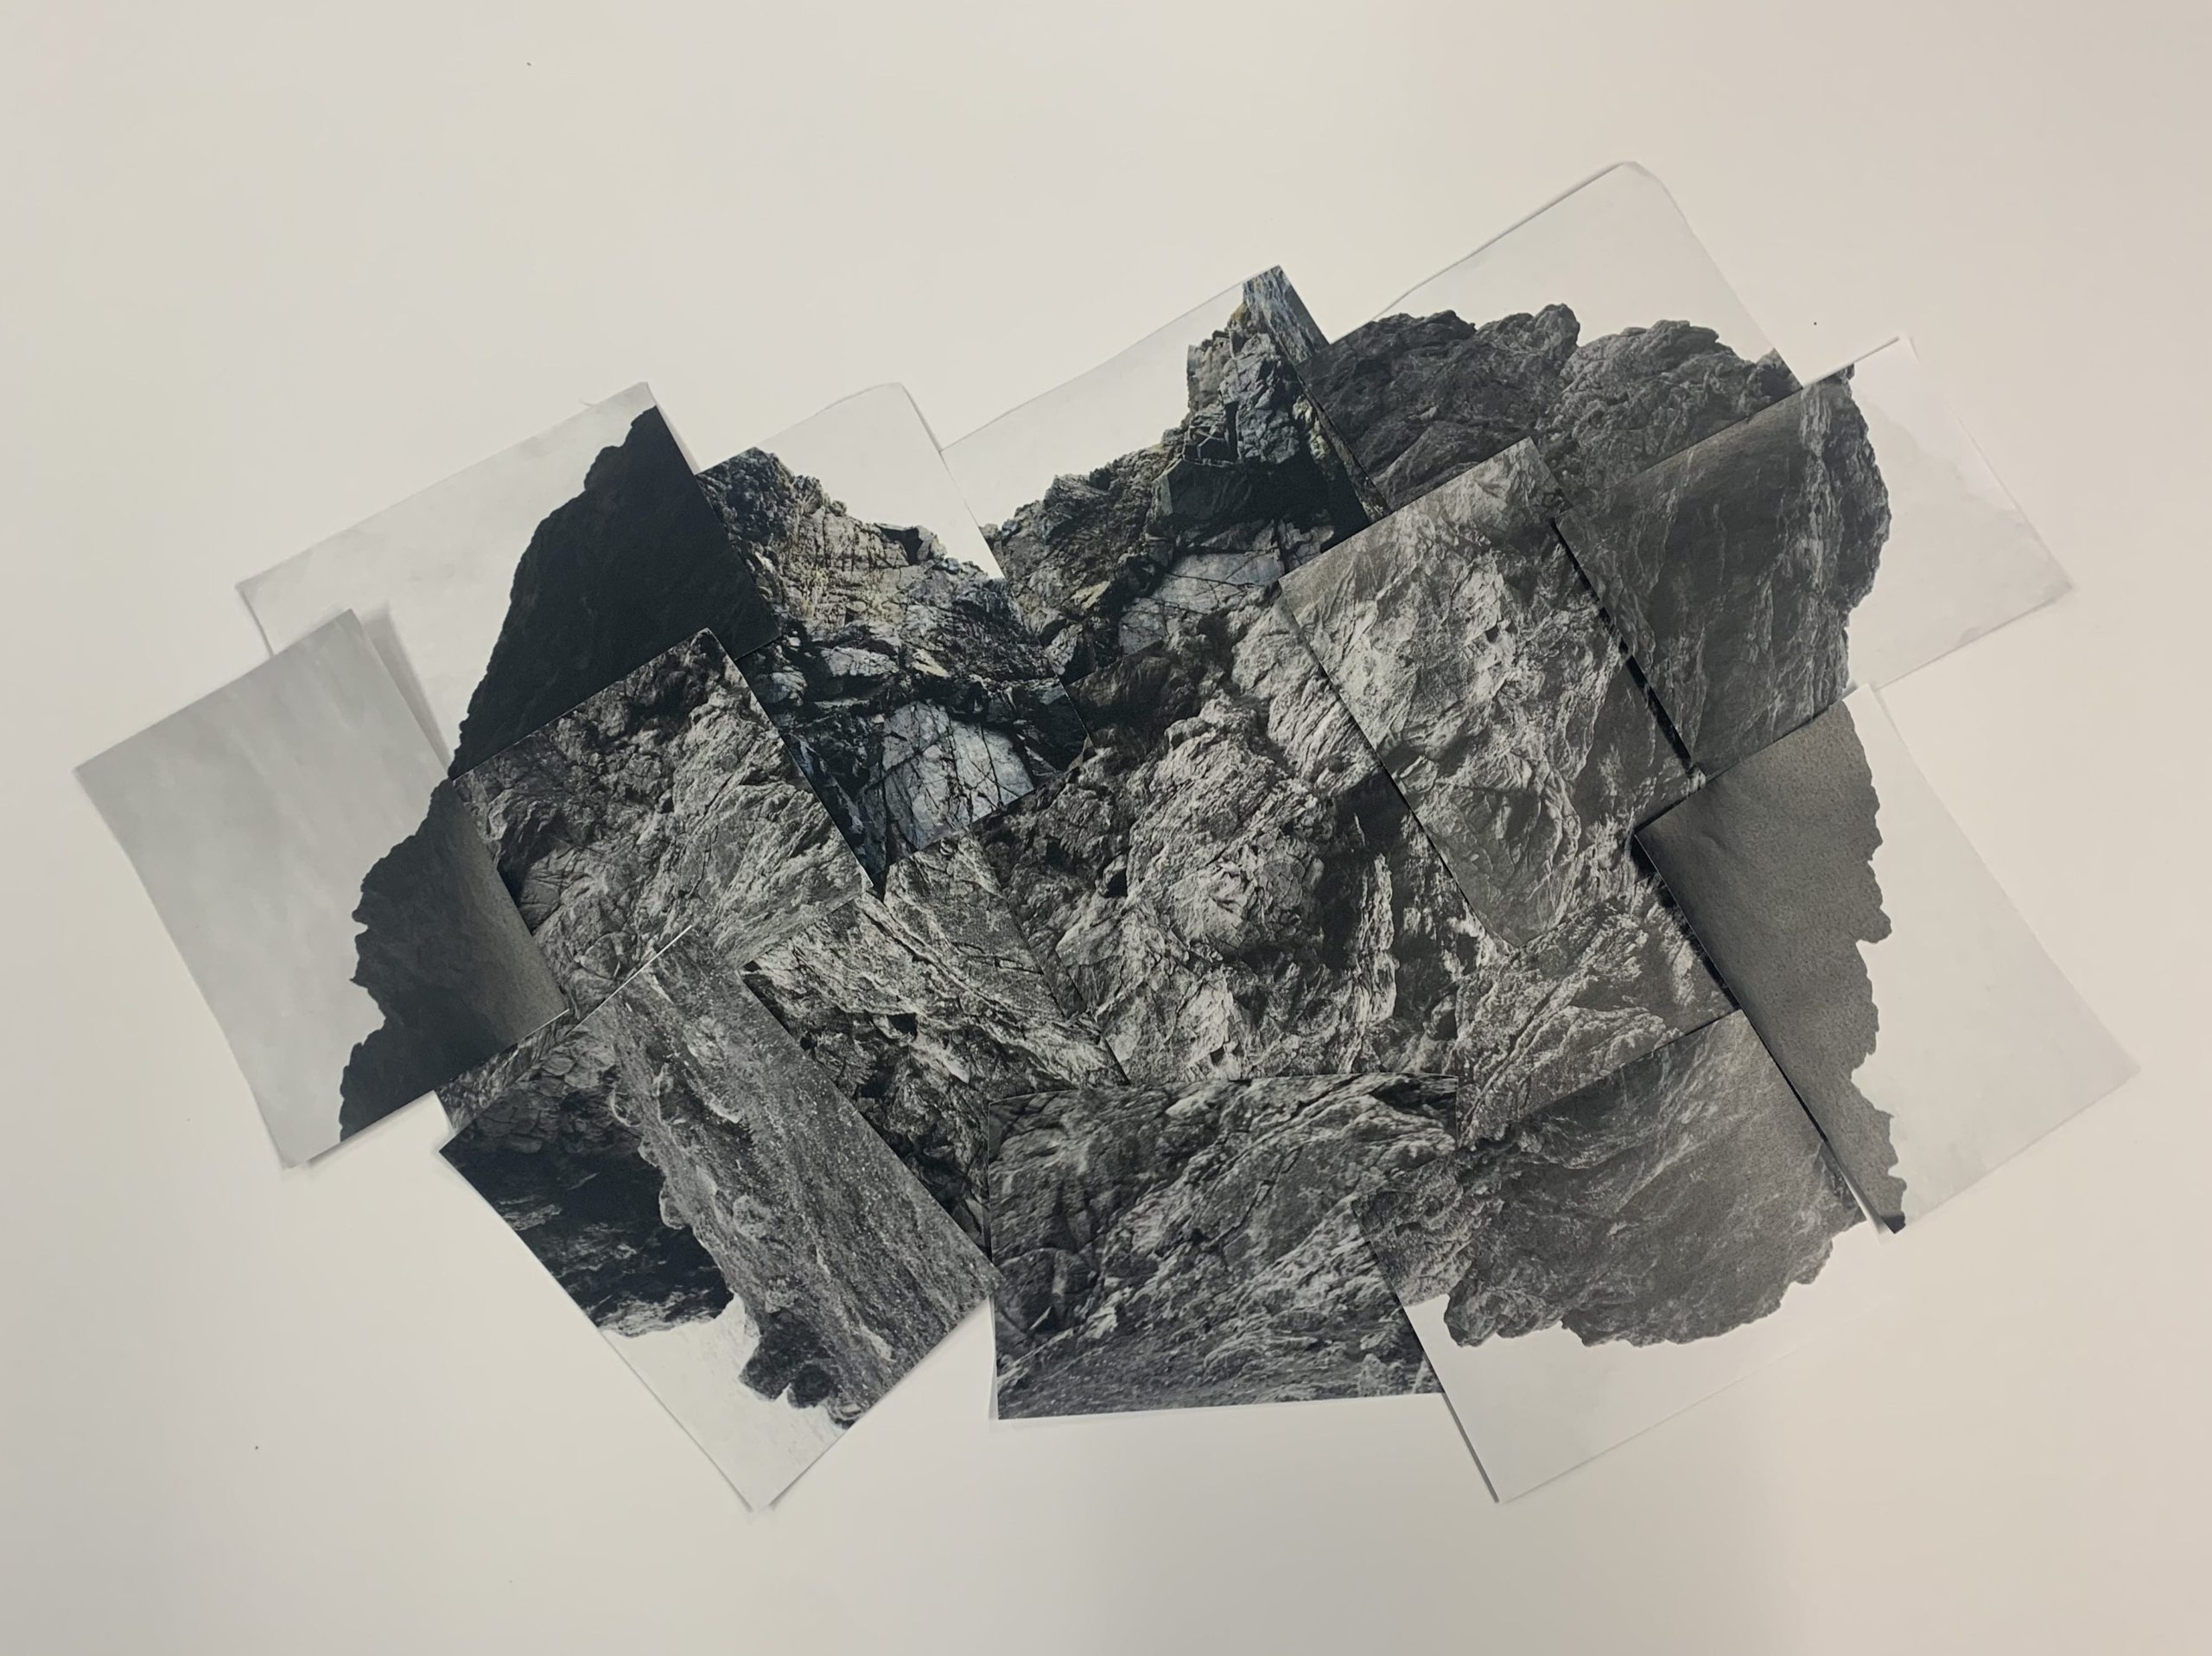
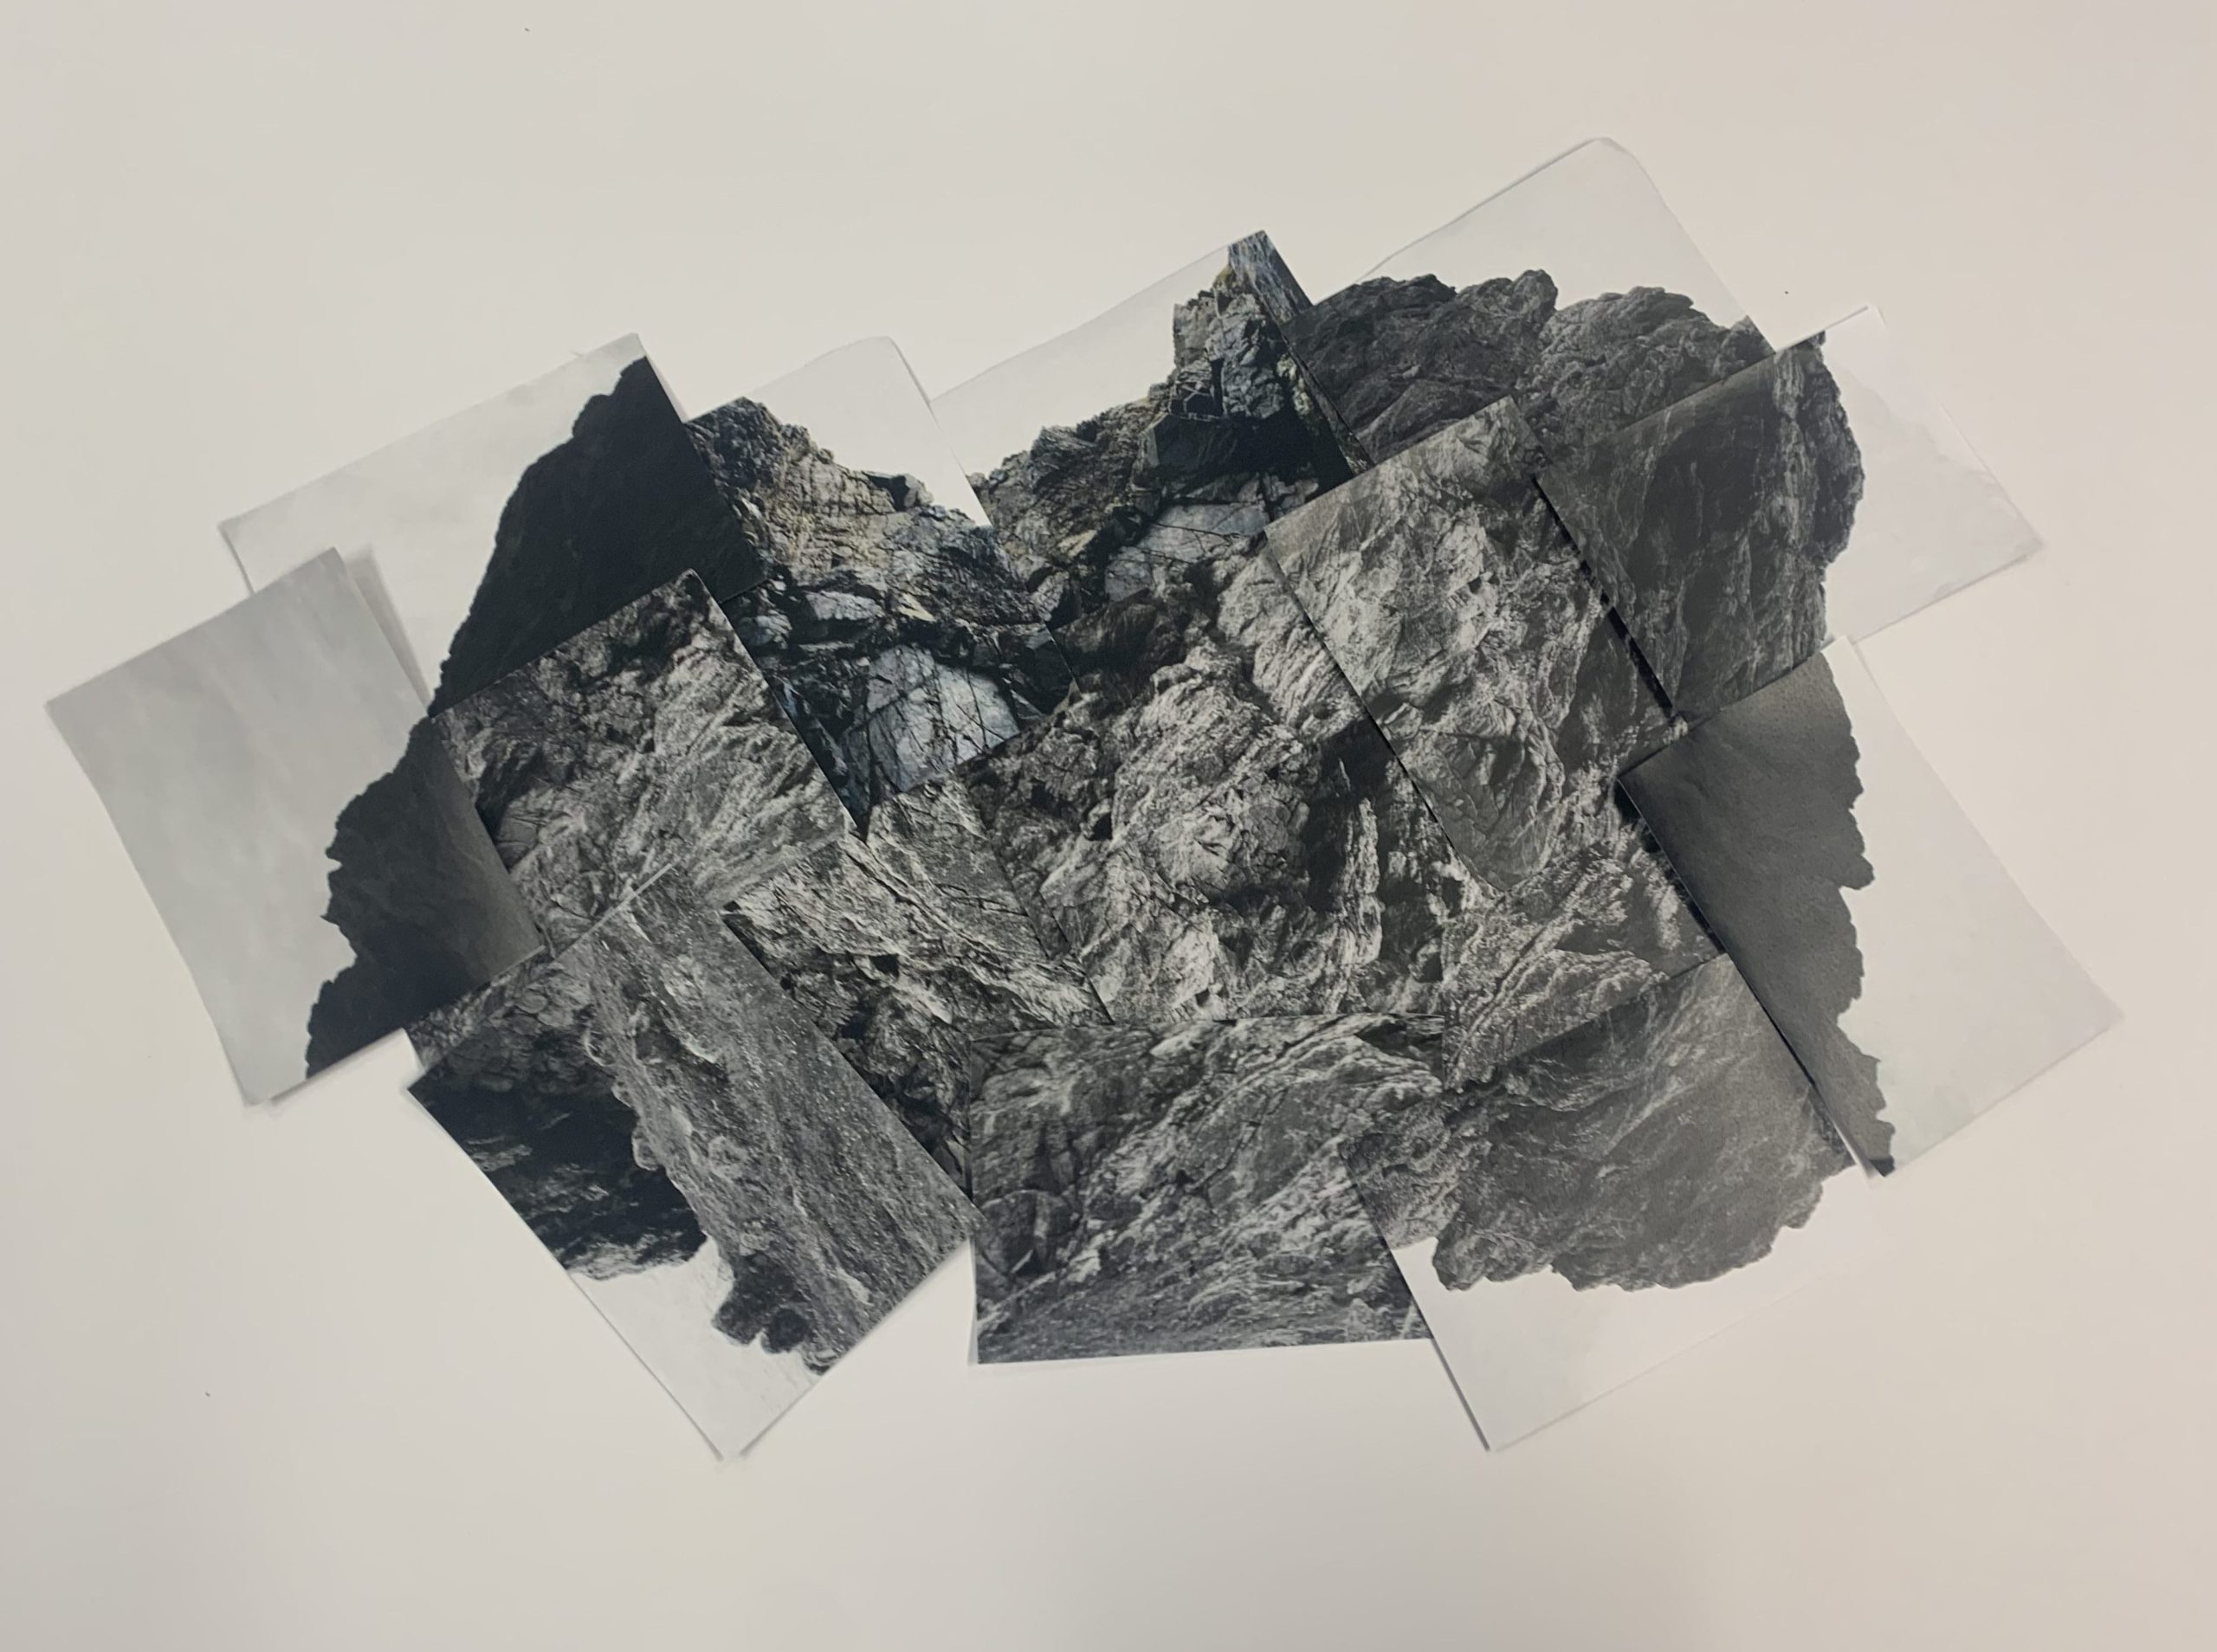
Manual Joiners

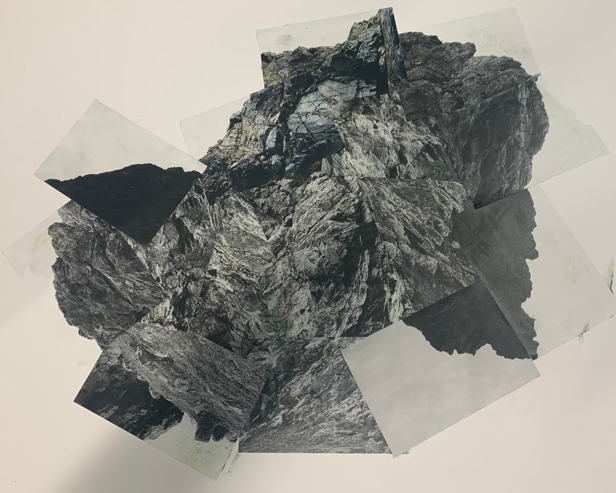
In order to make my work seem more like Hockney’s, I decided to make some manual joiners by printing off my photos and rearranging them in in a variety of ways in order to create a new and unique rock. It took some trial and error as some of the pieces looked out of place but eventually I collaged my images in a way I liked and stuck it down.

Some of my ideas and experiments:

Experiment 1
Experiment 2
Experiment 3
Experiment 4
Experiment 5
This image has an empty alt attribute; its file name is image-358-edited.png
Final Joiner

Process + Evaluation :

Final Joiner

I like how my final joiner came out and found the process of making it quite enjoyable but quite time consuming as I didn’t know whether I wanted my photos to line up perfectly and look like the original rock I photographed or whether I wanted to create something new and more abstract but I eventually positioned & angled the photos to create an almost round shape which I found visually interesting. I think the contrast between some of the images helps brings the piece together as it adds more character, the darker shadows blending in to certain aspects of the joiner whilst standing out next to others.

Overall, I think my attempt at making a joiner manually has been successful as I didn’t rely on recreating the original rock into a big photograph but instead created my own image, similar to how Hockney himself does with his own work. There are still aspects I could improve on such as being more careful when sticking down my images as I tended to glue down my photos at an odd angle which led me to have to re-shape parts of the image in order to make it not look out of place. This also led to me smudging a lot of the glue, making it look less professional and a little bit messy. However, I am content with my final piece and enjoyed the process of making it.

MY ROCK: JOINER EVALUATION

Final Outcomes

Evaluation

These are my 3 favourite final outcomes from the edits I created from my joiner of la pinnacle. These are my 3 favourite edits because, I think they are very unique and can easily attract the attention of a viewer from the colours and the filters/editing used to create them. Overall I am very happy with how the original joiner came out, as well as all of the edits that I had created. I was sceptical with how the joiner was going to come out as I did not think I took enough photos for it, but it came out very well. I believe that my edits are very good and I am very happy with them as I believe they are very eye catching to viewers and they are also quite unique edits. Altogether I would give myself an 8/10 on the joiner project. To improve on this project, I would have taken more photos for the joiner, as well as taken joiner pictures of other parts of the landscape to create multiple joiners rather than just a single joiner.

joiner


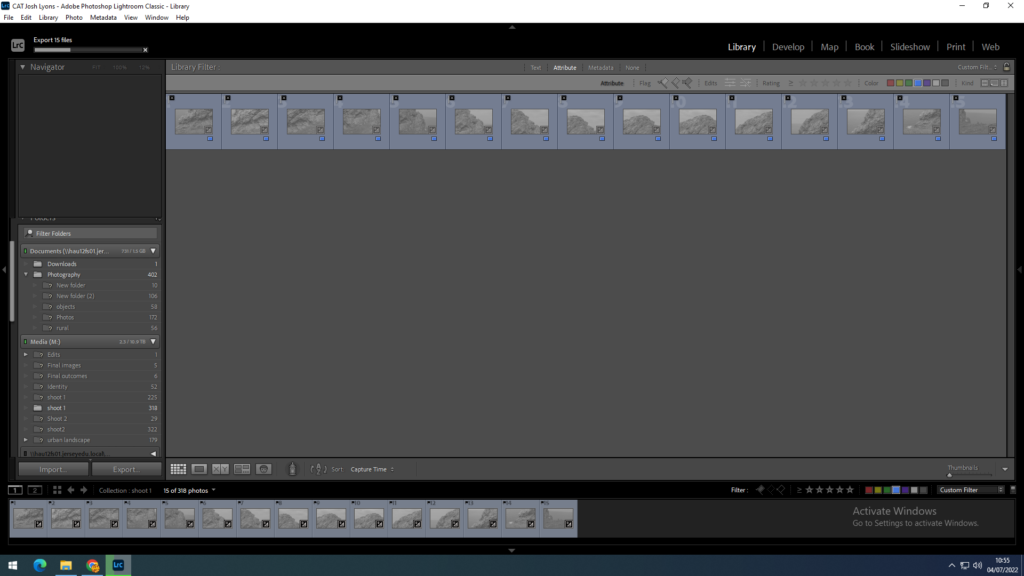
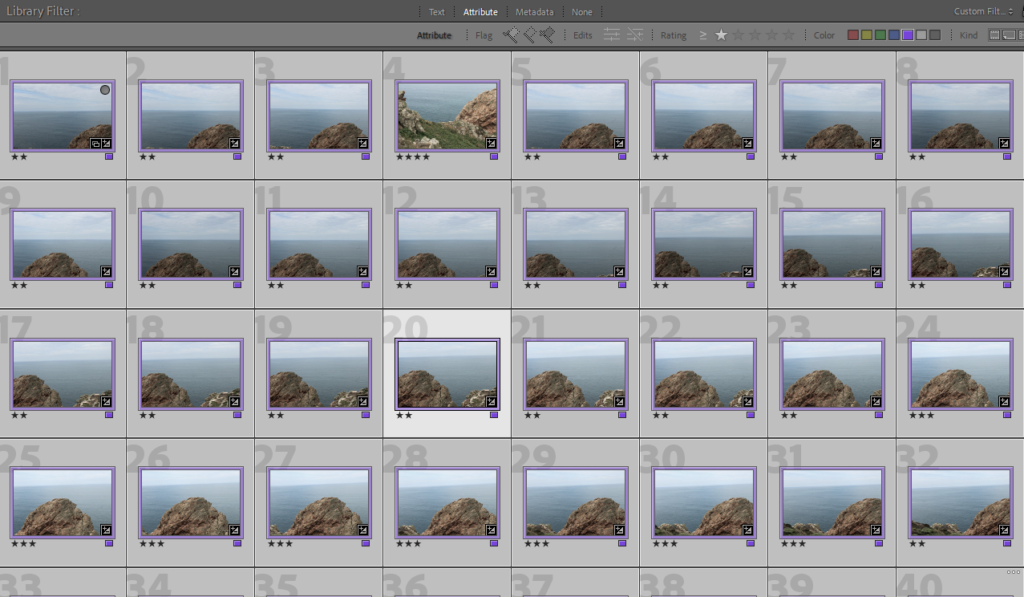
i found my images and set a purple colour label to distinguish my joiner from the rest of my image. then i edited 1 image and synced the rest so that the whole joiner will have the same edits.

I put my images into the file automate photo merge then I put my images into the photo merge which

under file automate photo merge then I put my my images into this section then the computer

I then reedited my image to be black and white and resynchronized the images to re do it and create the same image but in black and white.

This image has an empty alt attribute; its file name is image-198.png

this is the end product of the black and white joiner i have created.

david hockney artist reference

David Hockney | The Metropolitan Museum of Art

was a English painter born on July 9, 1937 (age 84 years). the painter was inspired by the old masters of Western art to start photography. his photography style came from cubism, he created joiners which used many smaller images put together to create a greater abstract image.

cubism photography on Behance
Pool Rorschachs inspired by David Hockney — Annabelle Agnew Photography

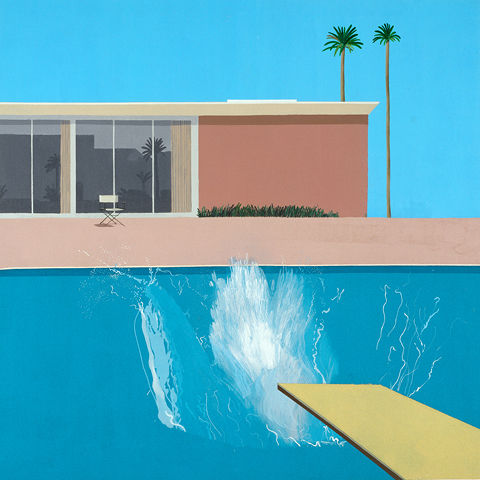
these image show David Hockenys joiner that he made by rearranging them by hand because he was before the digital age. I like the way the square grid distorts the more organic shaped swimming pool. the persons swimming stroke has been documented in many positions in on overall piece.

geopark contextual studie

What is a Site of Special Interest?
A (SSI) or a Site of Special Scientific Interest (SSSI) in Great Britain broadly mean the same thing; they are conservation designations placed on sites to protect their special biological or geological features. Some areas, such as the sand dunes of Les Blanches Banques or the heathlands of Les Landes can encompass entire landscapes and are familiar to most Island residents, who visit them for walking and enjoying the wildlife and landscape.

Jersey has 22 SSIs the first was designated in 1996. one of them is st Aubin’s fort

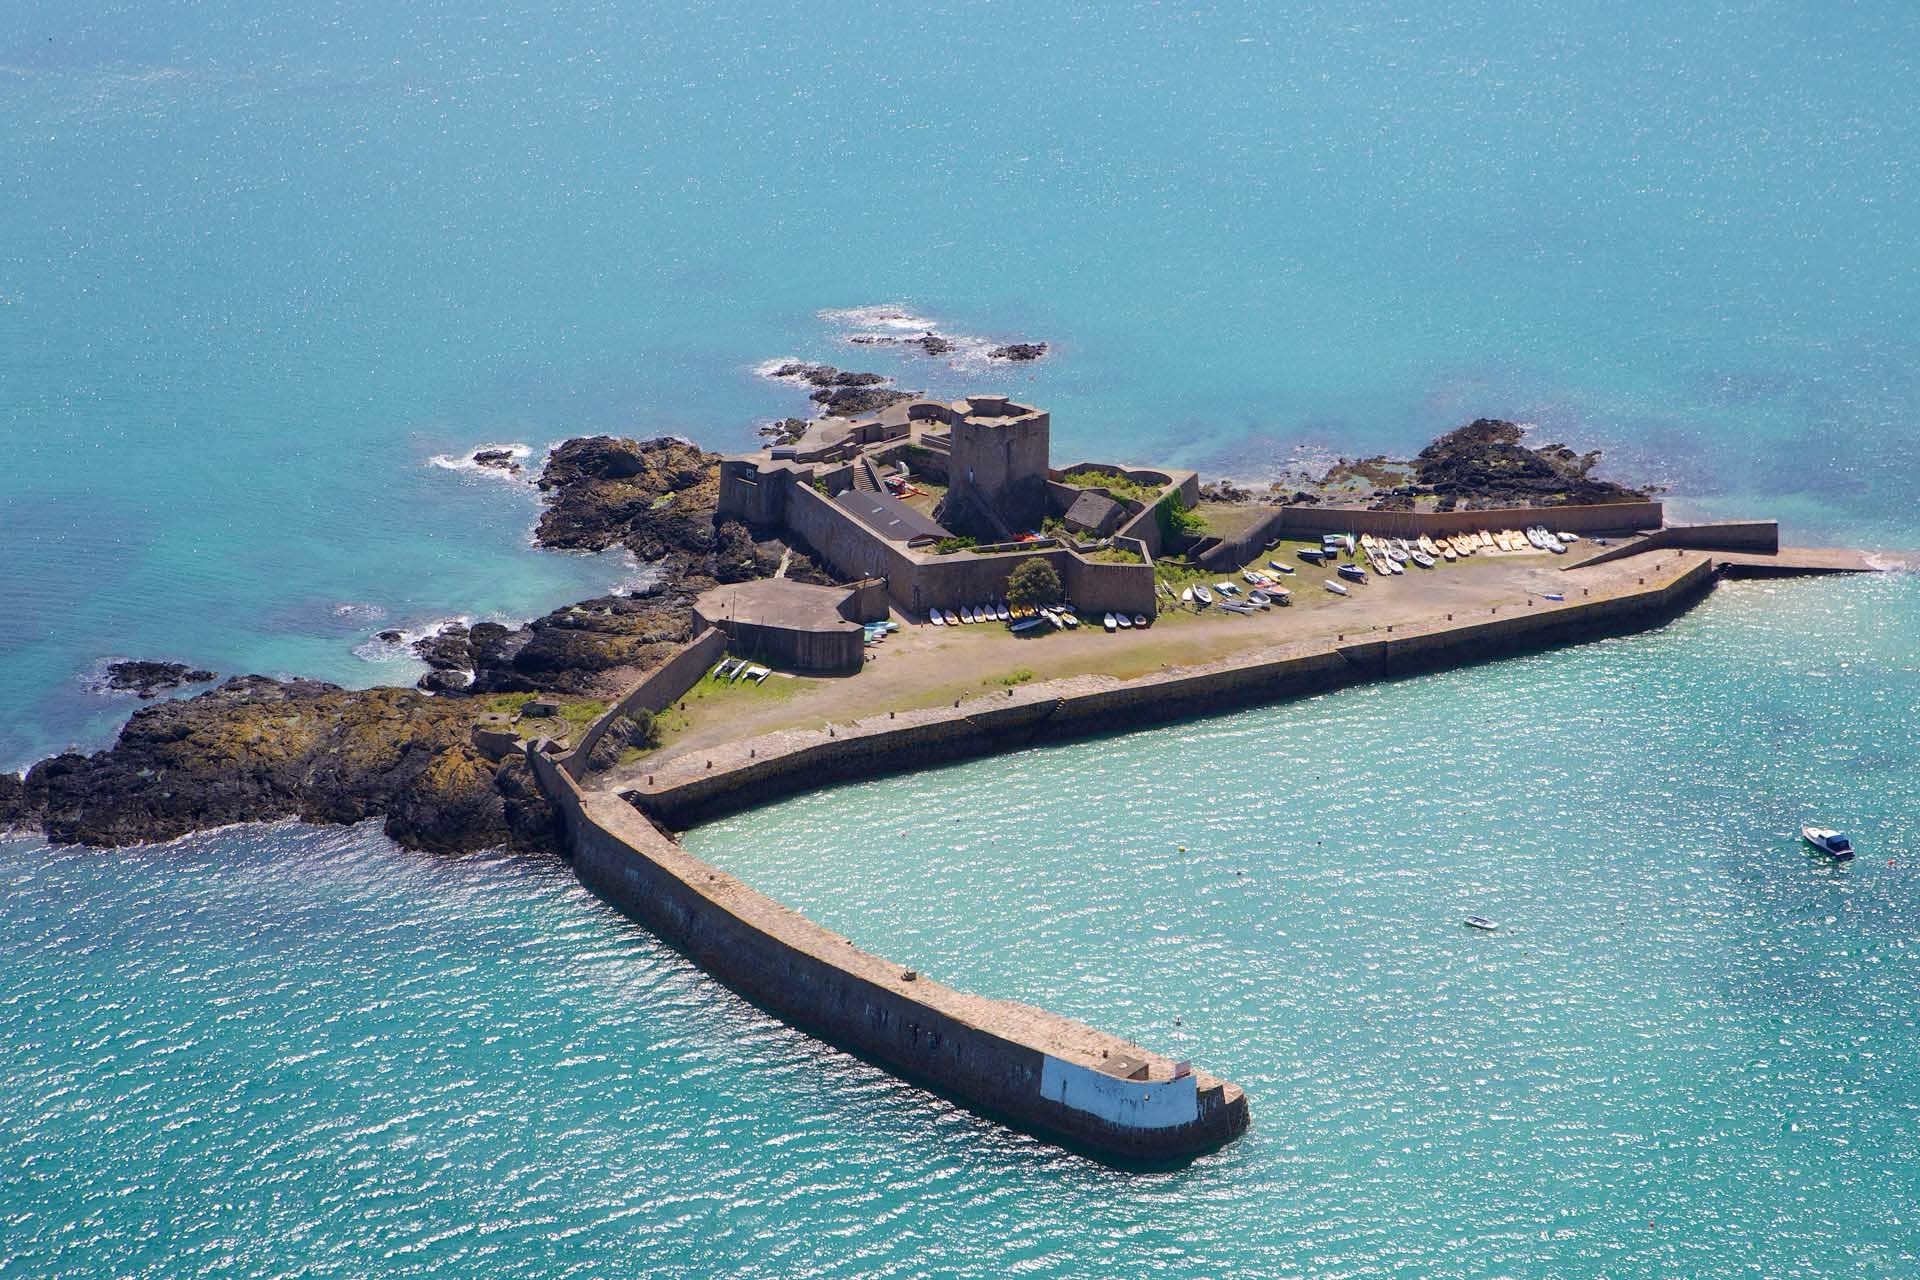
Aerial view of St Aubin's Fort prints - Andy Le Gresley Photography

ST Aubin’s fort was originally built in 1540 to defend Jerseys main port at the time it was then added to and used by the Germans in 1940-45.

this shows where I took my images from on the photoshoot. I started taking shots looking up at le Grande l’etacq then I went out the top to get a better point of view along the cliffs. then I went down to stinky bay and explored the coast line and the interesting curves created by the coastal erosion. The ravine and crevasse provided a lot of substance for me to focus my lens on. we walked along the cliff paths taking photos of the protruding rocks along the coast line to le Pinnaccle.

MY ROCK: Joiners
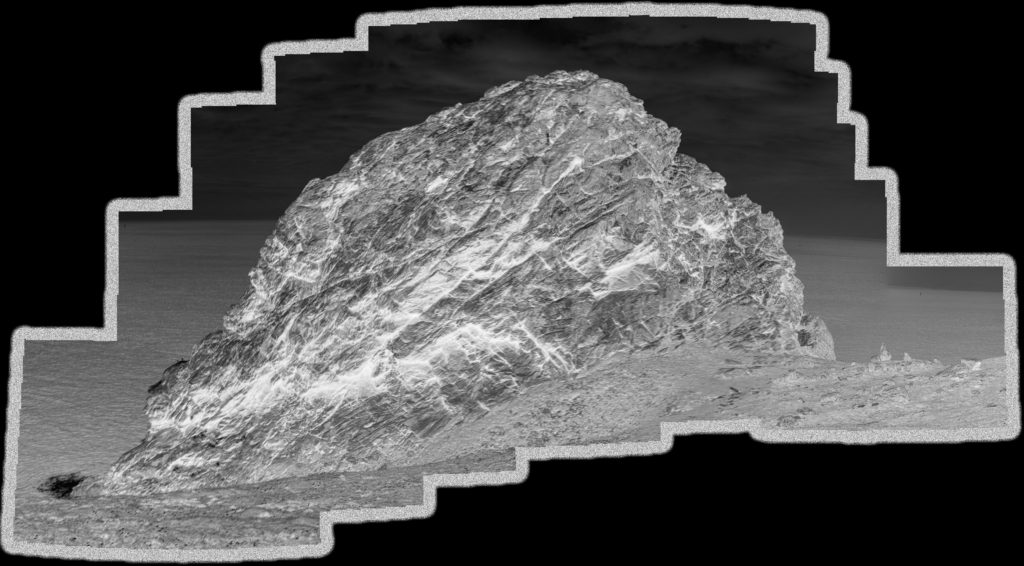
Joiner

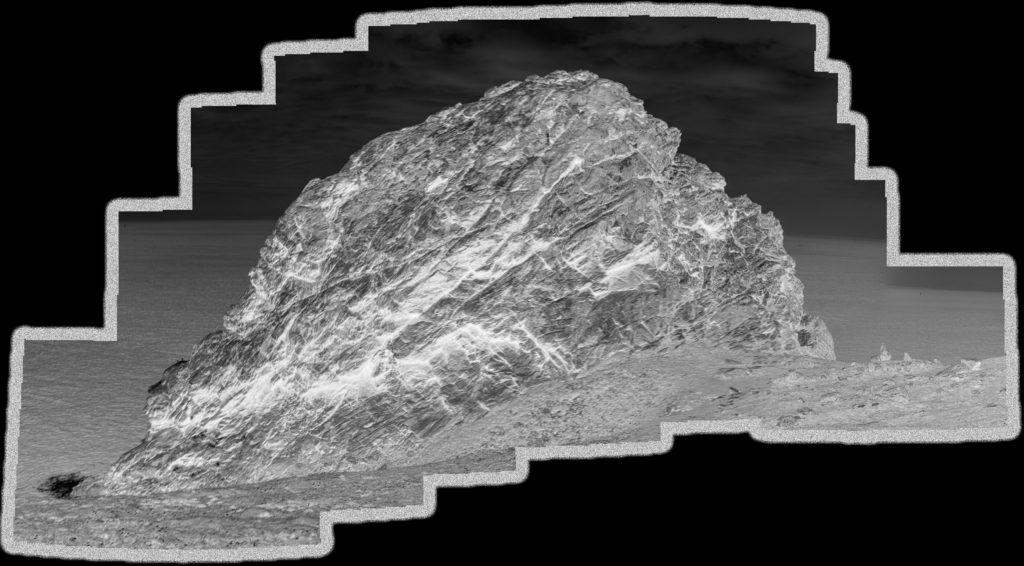
To create my joiner, I used 15 images of the rock Le Pinnacle down at L’etaq. I made the images black and white and changed different settings shown below to make the image look more interesting, I then used the automate feature on Lightroom to copy the settings to the other 14 images.

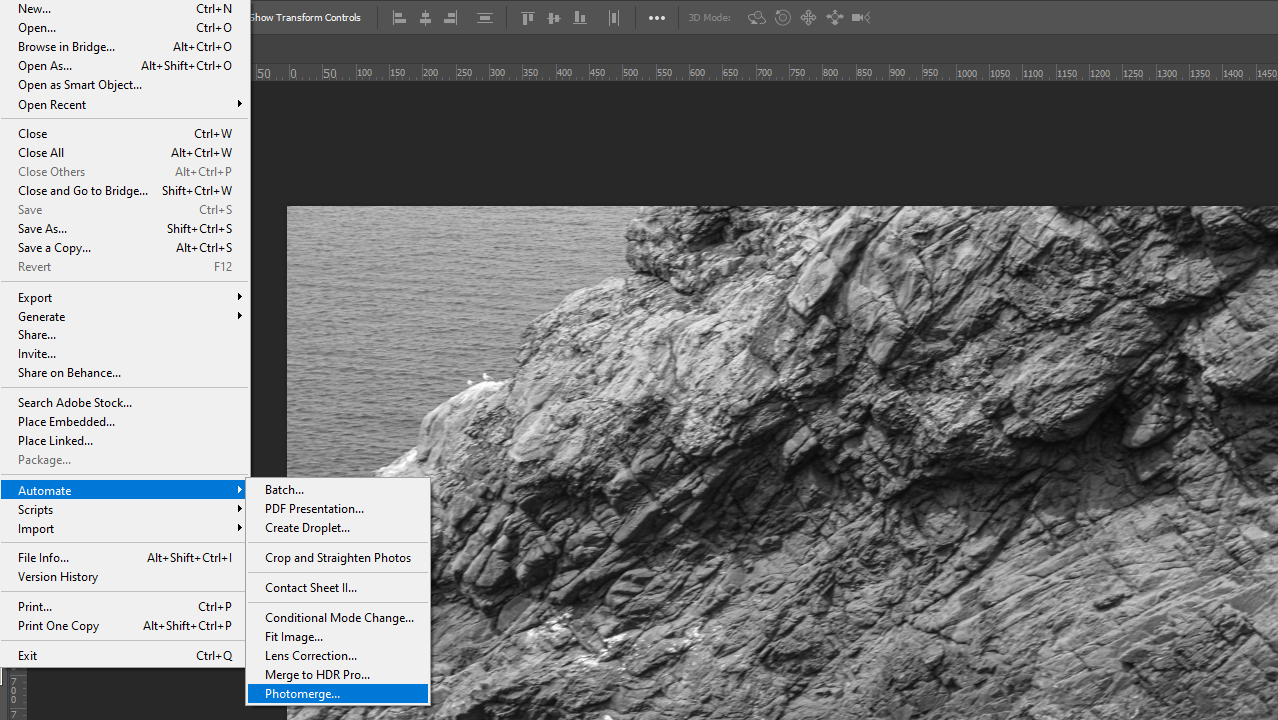
I then imported these images into Photoshop to create the joiner. To do this I used the Photomerge setting shown below, or by going File – Automate – Photomerge. after doing this Photoshop automatically created the joiner for me.

Final Joiner image

Joiner edits

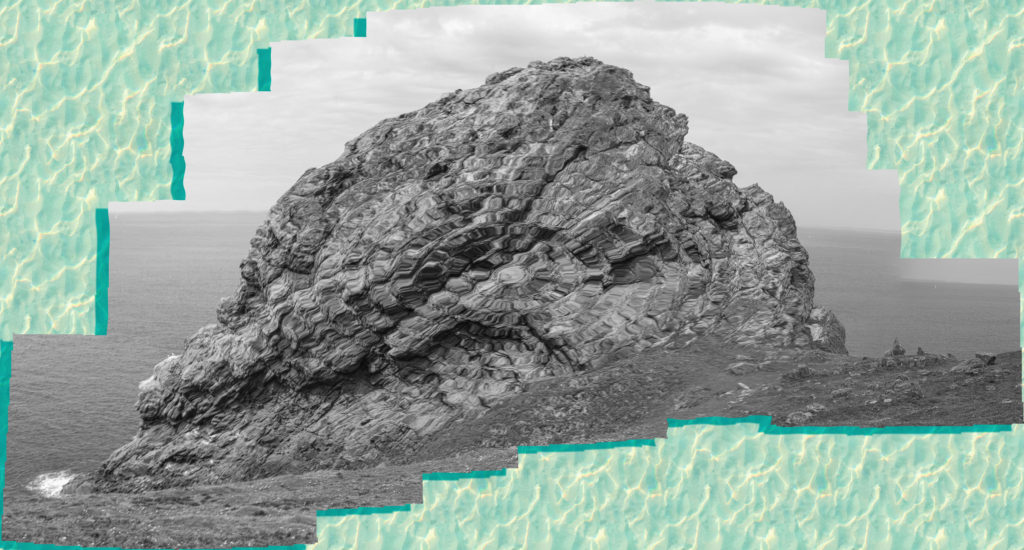
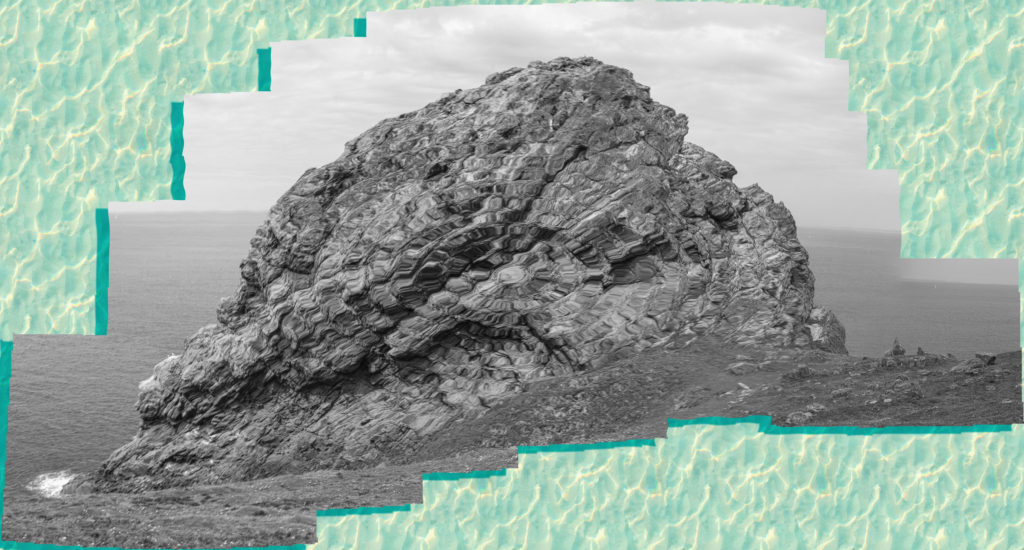
For edits of this joiner, I decided to experiment with changing the contrasts and other settings of each of the different layers in order to create unique images. I also experimented by adding patterns to each of the layers to create a unique effect. I also experimented with choosing different layout options to create the joiner.

Simple edits

Complex edits

experimentation field trip

I liked the way I edited this image to proved a deeper range of colours to the image but I decided to experiment with this image in black and white, overall I decided I like the colour image better because the contrast between cold blue sea and the warm yellowy granite.

Another image I edited until I was happy with it but then i decided to experiment with the Midtones to proved a tinted colour to the image. I chose a reddish pink which brings out the rich colour in the dirt holding the conglomerate together. i liked this image a lot but i thought a more natural look was better suited to the image.

I chose image to put in black and white which gave it a dead pan aesthetic with high contrast between the lighter bolder and darker coloured background. I experimented with changing the tonal curves to change the overall colour of the image. i liked the red effect as it looks alien as if it doesn’t belong in our planets natural environment.

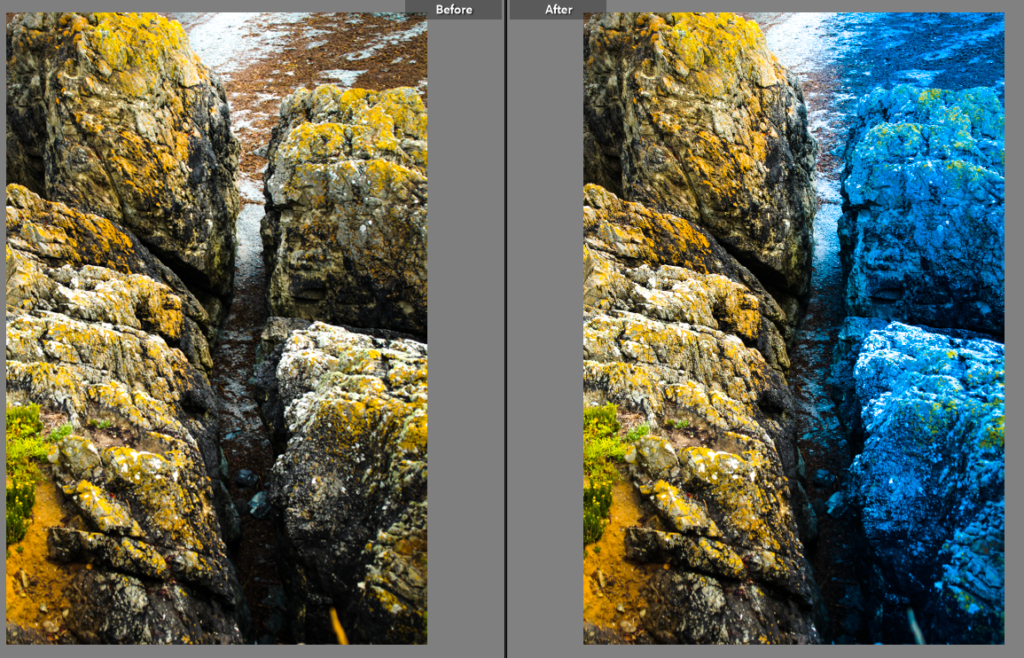
I really like this image of a crevasse which I increased the vibrance to bring out the yellow from the lichen on the rocks. I then used the graduate filter tool and decreased the temp to give a warm side and a cold side to the image with a gap in the middle represented by the divide created by coastal erosion. i liked the way this image turned out.

I liked the effect i created on the last image so I tried a similar effect on another image i placed the graduate filter tool in the centre of the life ring then decreased the temp and increase the hue this created a multi colour effect between the life ring and its surroundings which I thought was very interesting.

photoshoot 1: L’etacq

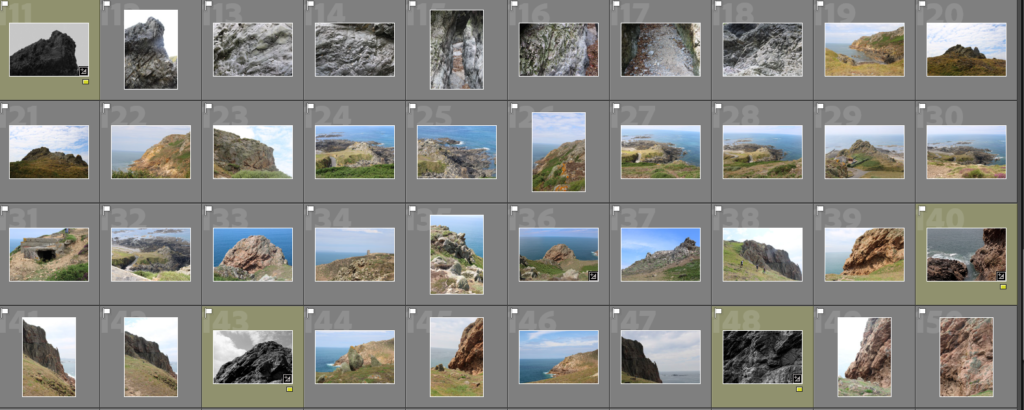
I started going through my first photoshoot on Lightroom and flagged my images, discarding the ones that weren’t in focus or had a bad composition.

Contact Sheet

Next, I began doing some brief edits, such as turning them black and white, on a few of my images that I liked and gave them a yellow colour label to help me differentiate between my edits and raw images.

Best Shots

These are my best shots as I like the composition of all the images and think they’re all in focus and well lit. I like how vibrant all the colours are in these images as it helps to emphasize all the details within the rocks, making each image more visually interesting whilst also helping to add depth to all my photos due to the contrast between the highlights and shadows which also makes my images seem more dynamic.

joiner experimentation

Firstly i gathered all my possible joiner photos together and colour coded them so they wouldn’t get lost or mixed up.

I edited some of the photos with exposure contrast etc. Then grouped them all together to apply the same settings for each photo.

To create my joiner, i went on photoshop, clicked automate then photomerge. I selected my images and pasted them into the file.

JOINER #1

I chose to experiment with saturation in this set of joiners, i think the second one came out the best because i like the contrast between the light and dark colours.

JOINER #2

With this set of joiners i wanted to combine colour in the background which i think helped bring out colours in my joiner.

JOINER #3

My third set of joiners are my favourites, especially the bottom one because it has a nice combination of B&W and colour which coordinates with the background.

COMPARISON

I chose to compare this David Hockney joiner with my own because of how different they are. They are both landscape, taken during the day in colour, but also have many differences. Hockneys joiner was taken from above however mine was from looking straight on. In my photos there are no noticeable shadows, however in Hockneys there is a shadow from a tree cast over the pool water. Another difference is background and borders. Hockneys photo has no background, but has white squares around each image, a feature that my joiner does not have.