Anthropocene: Photoshoot Action Plans, Editing and Outcomes

Photoshoot 1

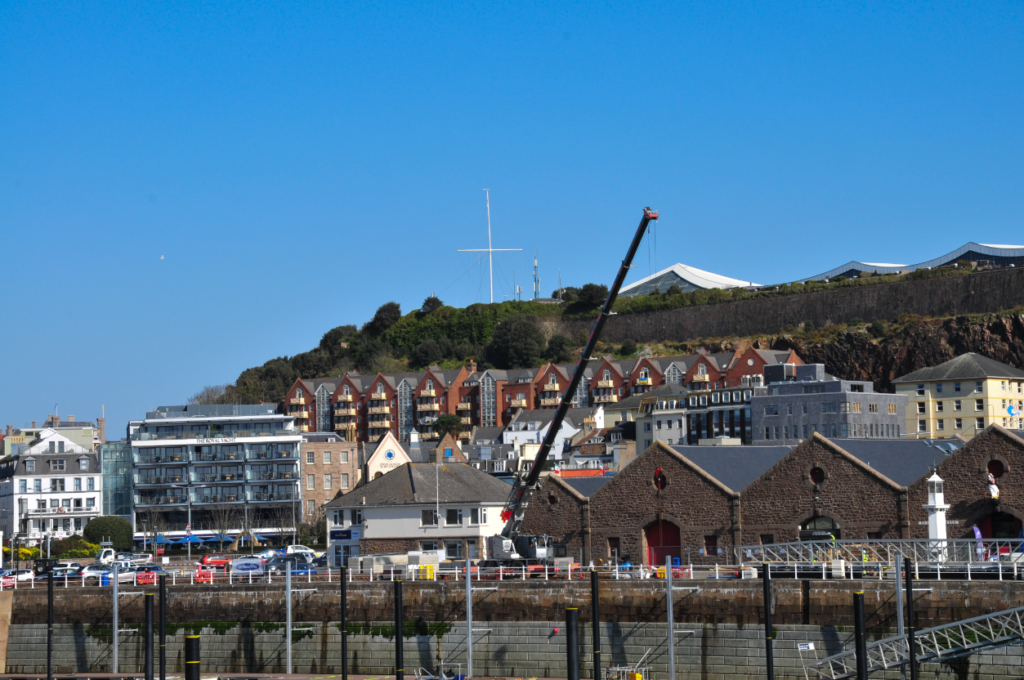
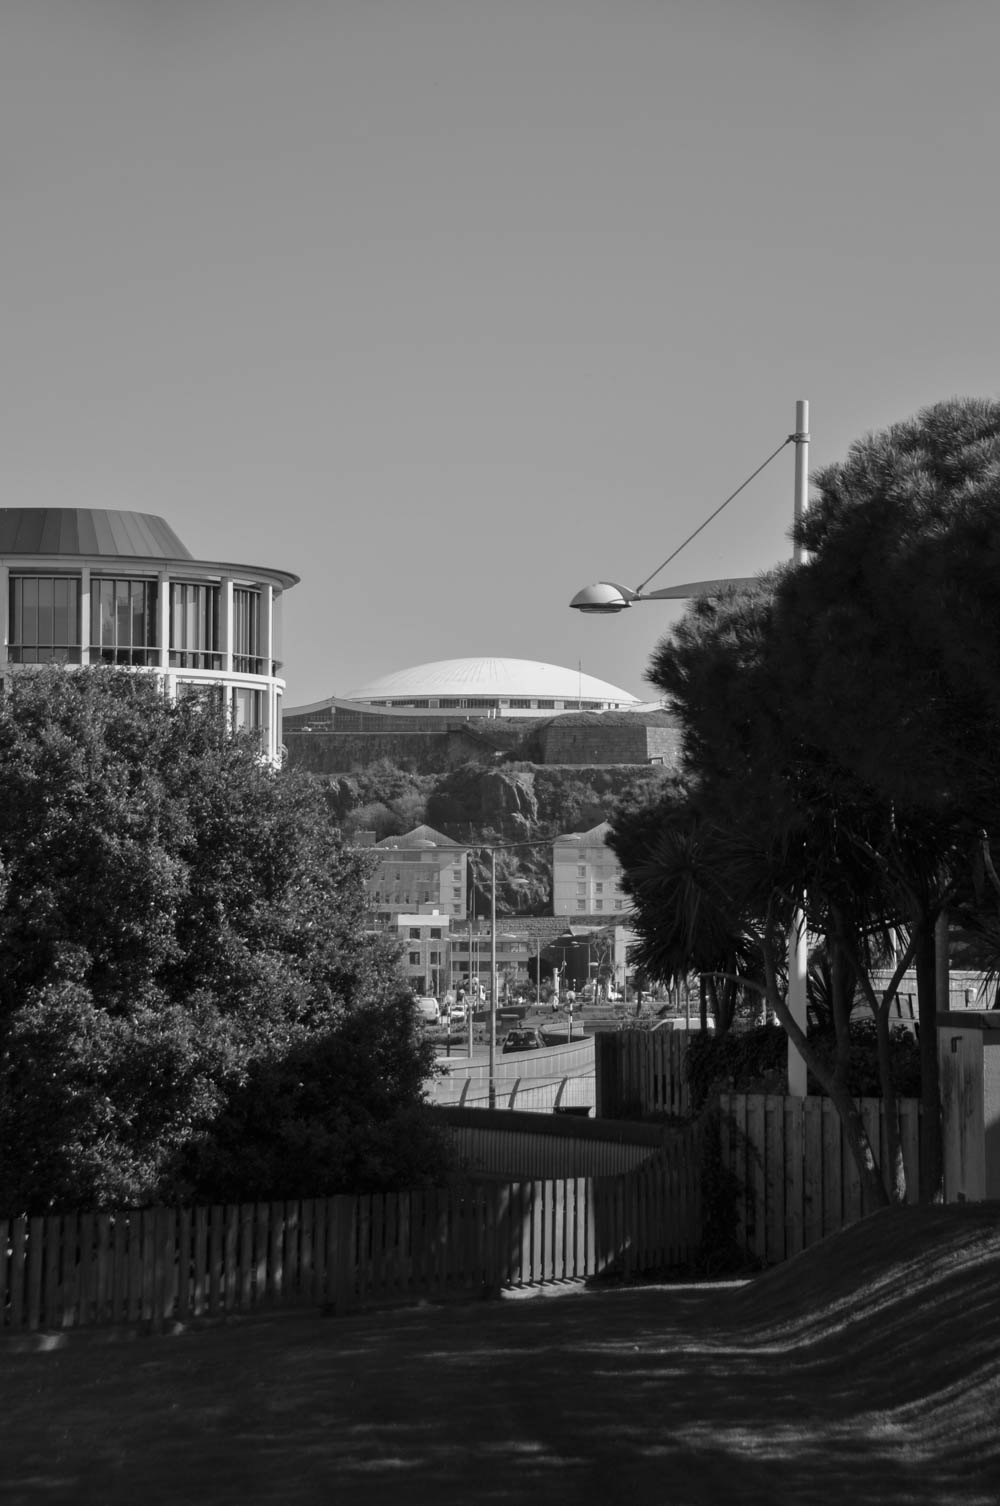
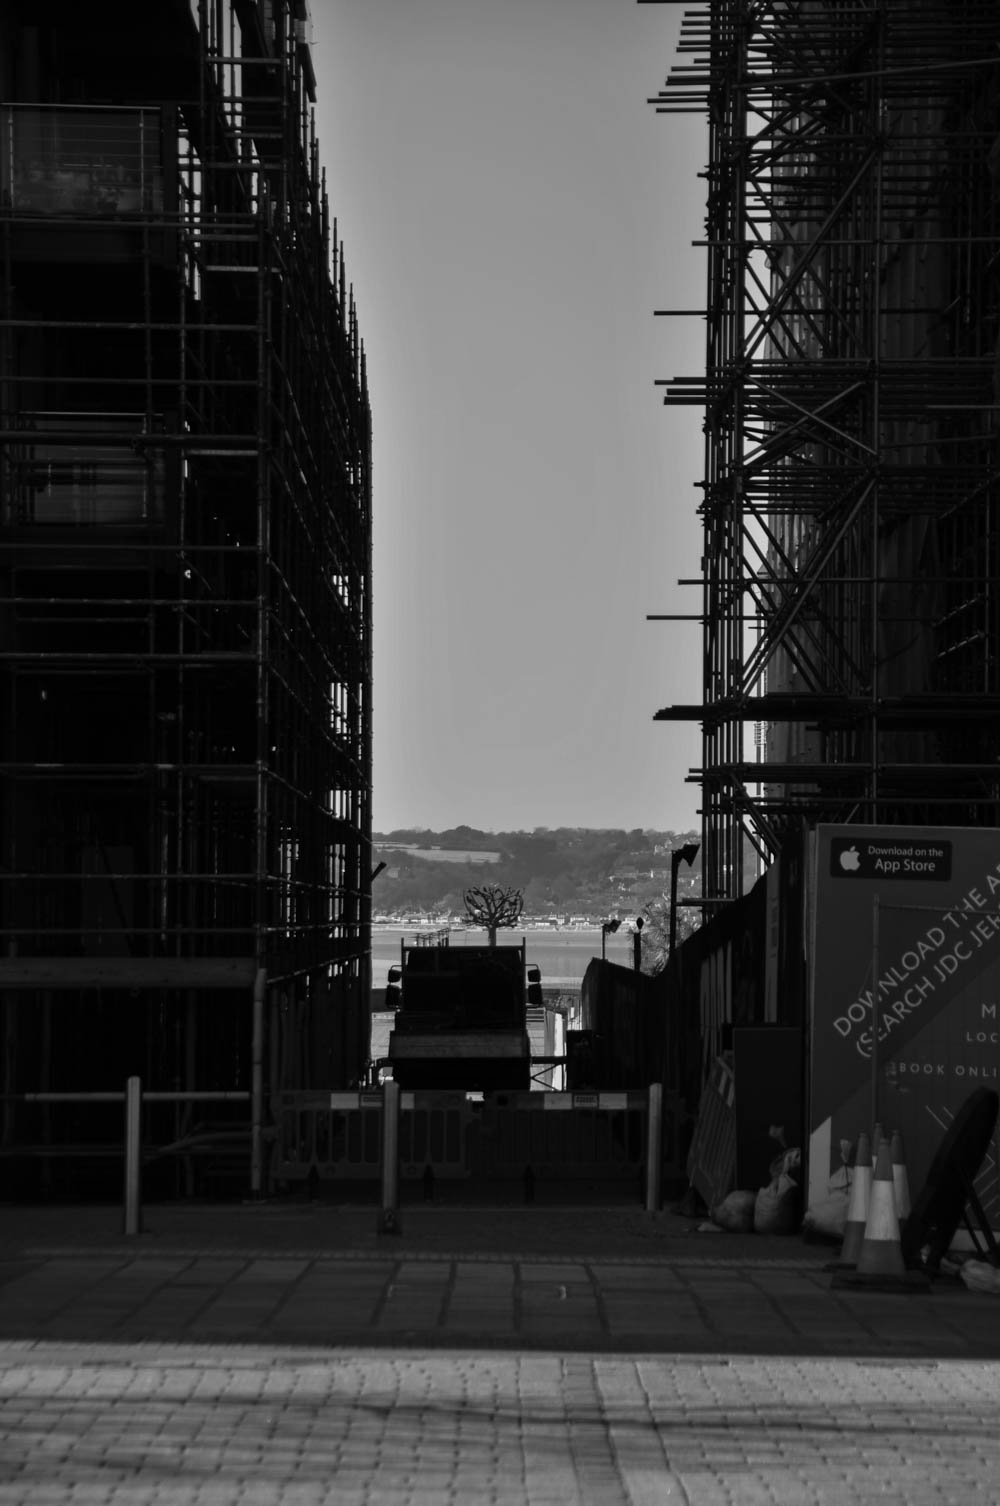
This photoshoot will be conducted on a day after school. I am planning to walk around the Waterfront area, including The Raddison and Castle Quay. I have chosen this area as I believe it will produce good images due to the scenery and numerous monuments and statues in the area. There is also a large construction site in the centre, however this area is fenced away from public access. My main focus for this photoshoot is to capture buildings and large objects in a similar style to my artist reference, Gabriele Basilico. I think that this will be a suitable area to photograph as it will show what effects humans have had, which aren’t always bad. Hopefully I will be able to portray what the human race has created at a cost of the planet’s natural resources.

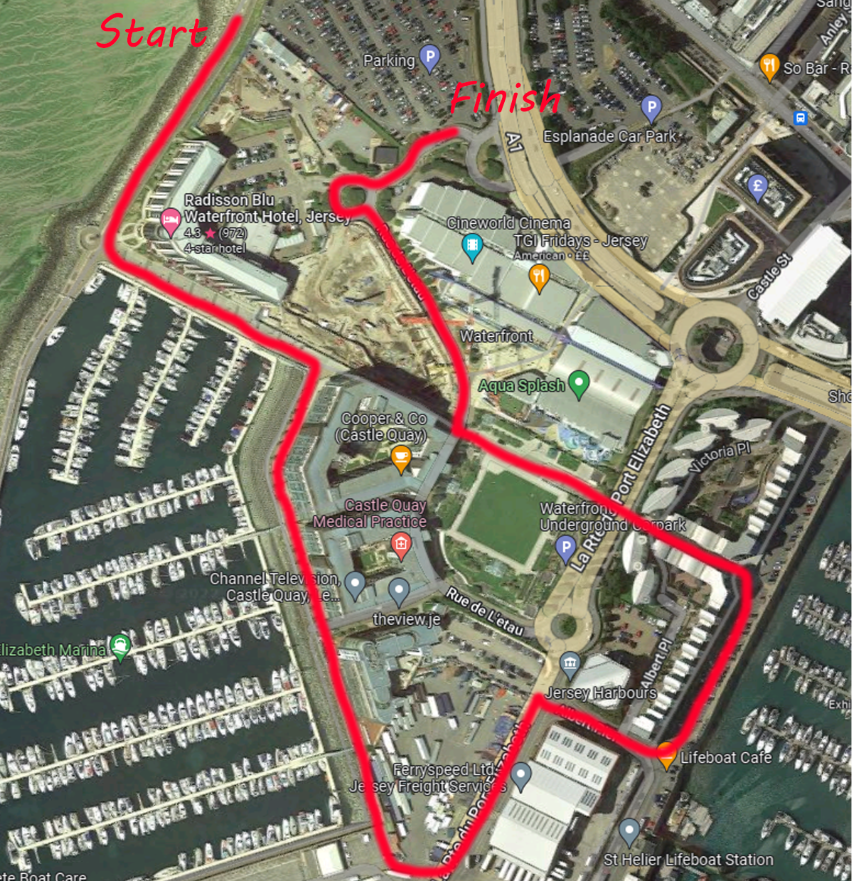
Route Plan
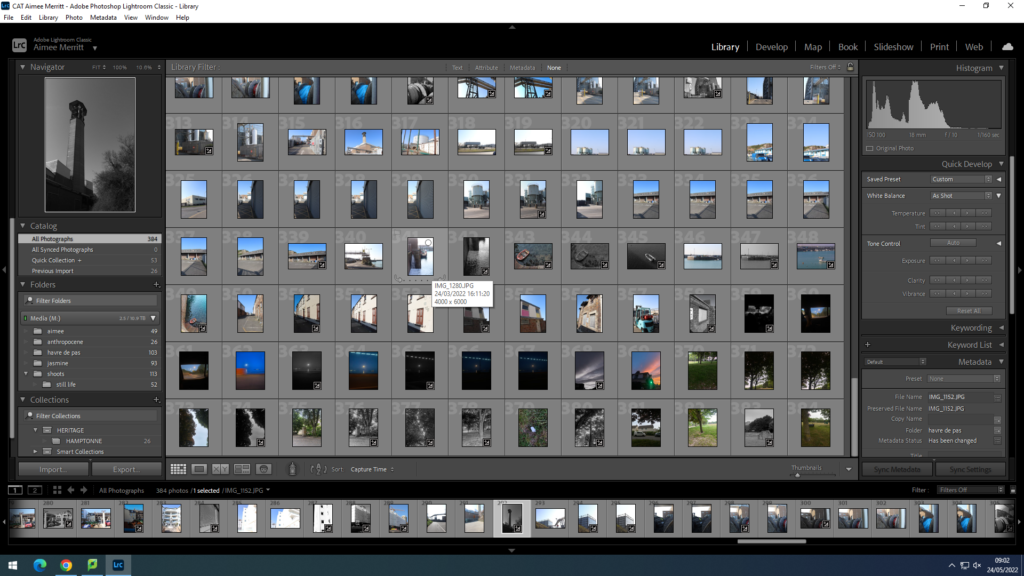
Contact Sheet and Selections
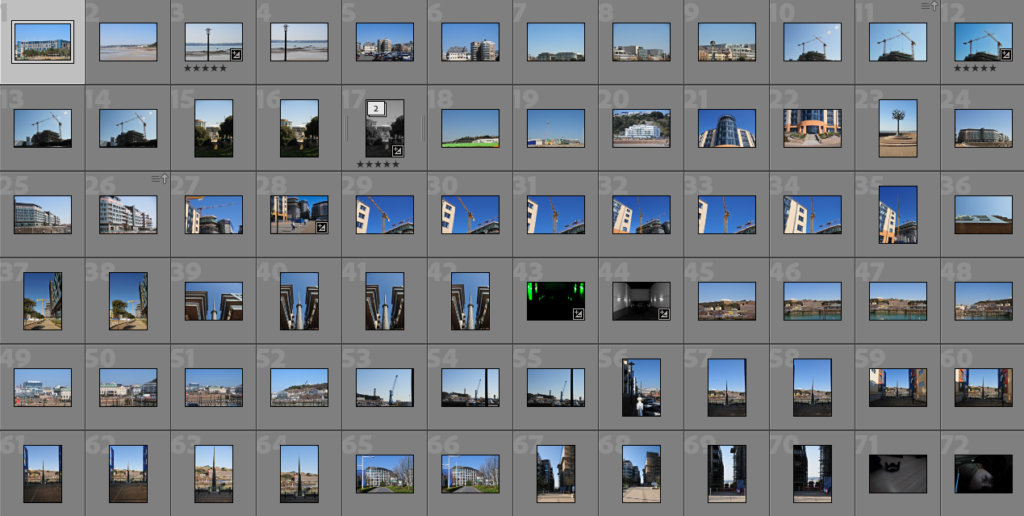
Photos taken on a personal walk after school (23/03/22)

Post-Selection Editing Process

Landscape
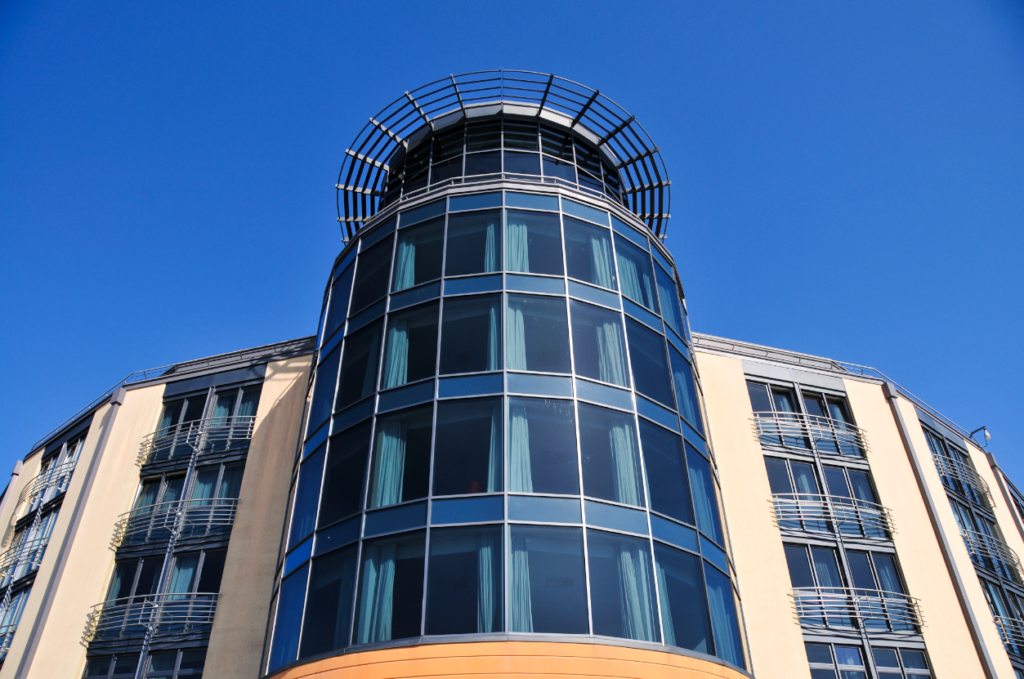
Portrait

Final Images, Post-Enhancement

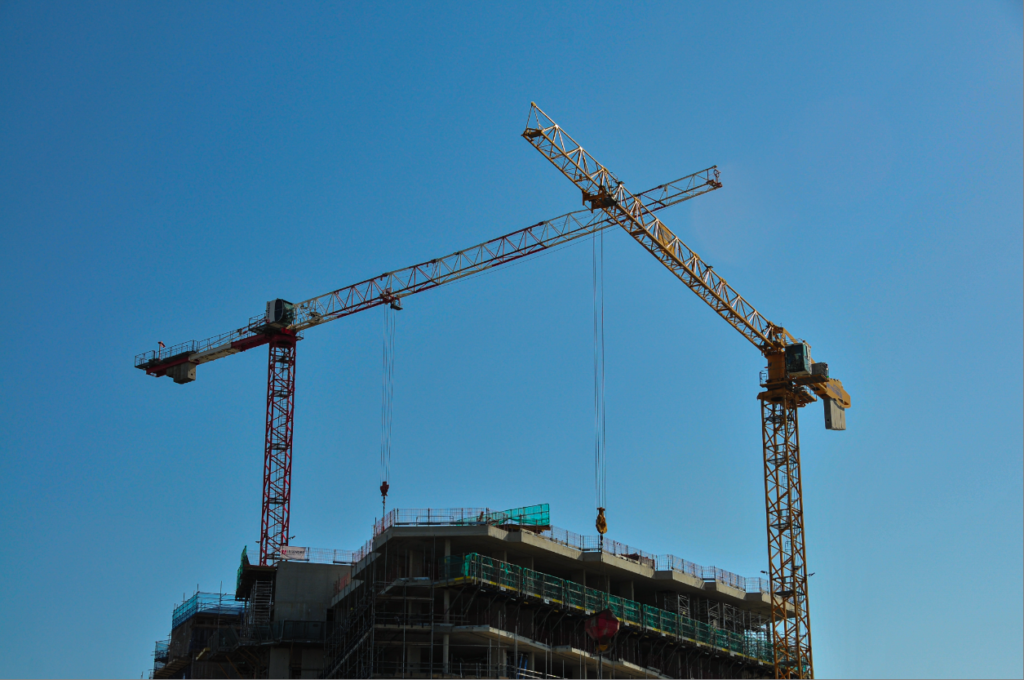
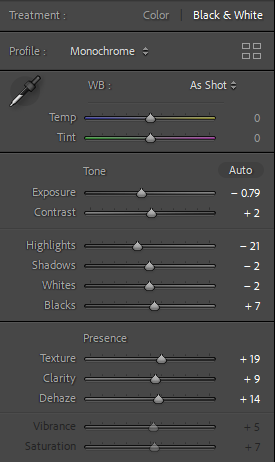
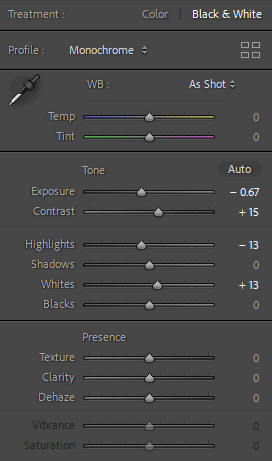
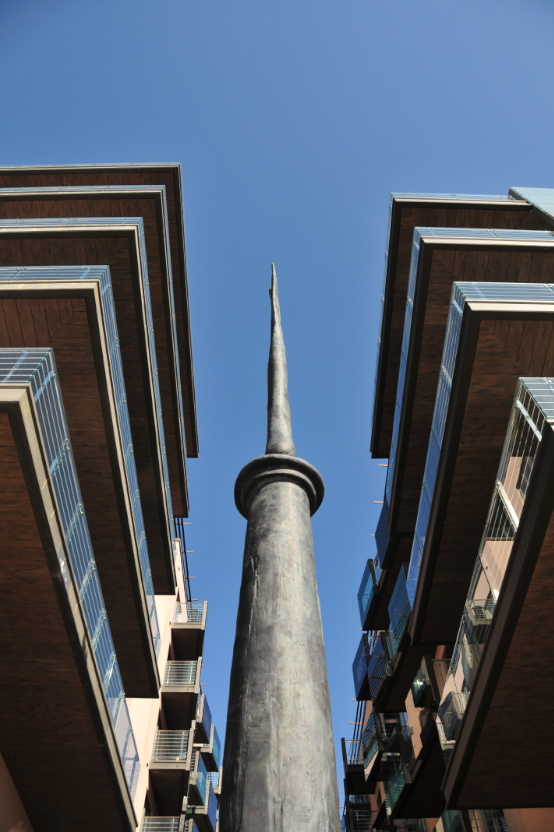
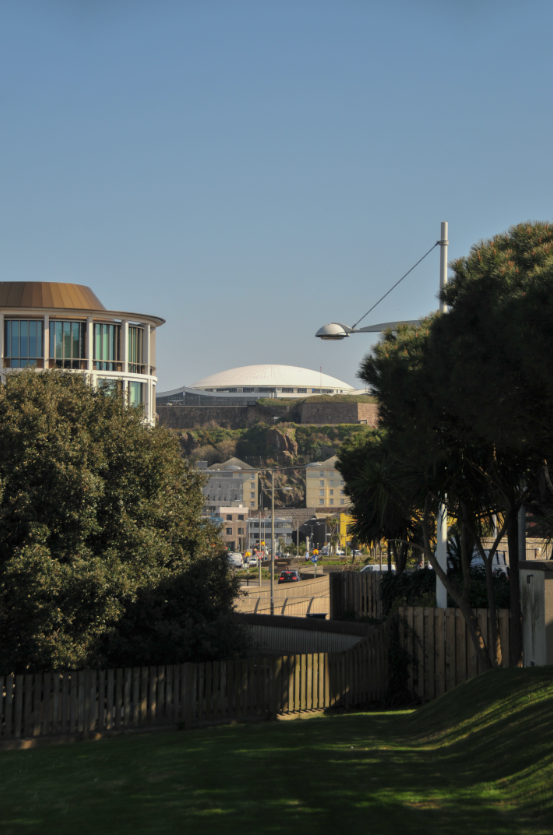
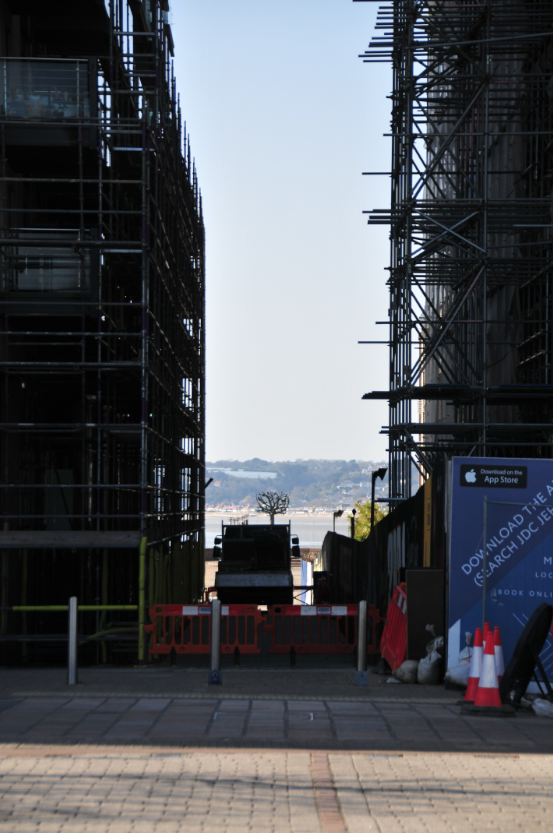
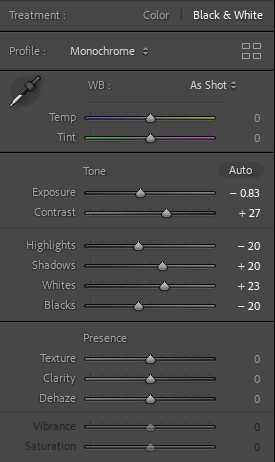
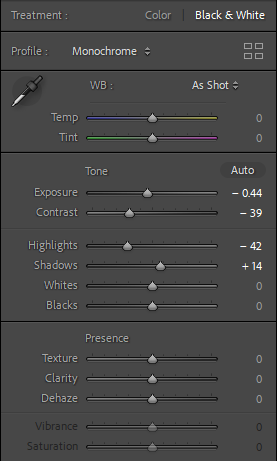
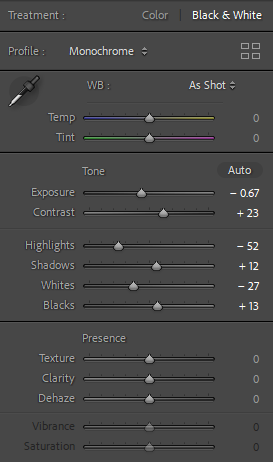
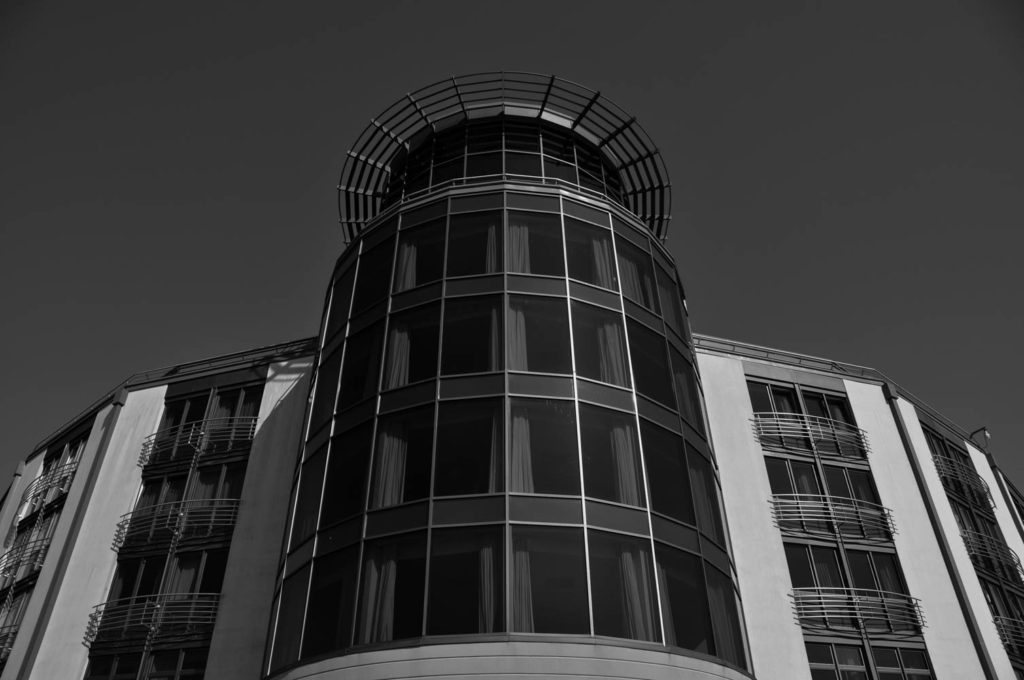
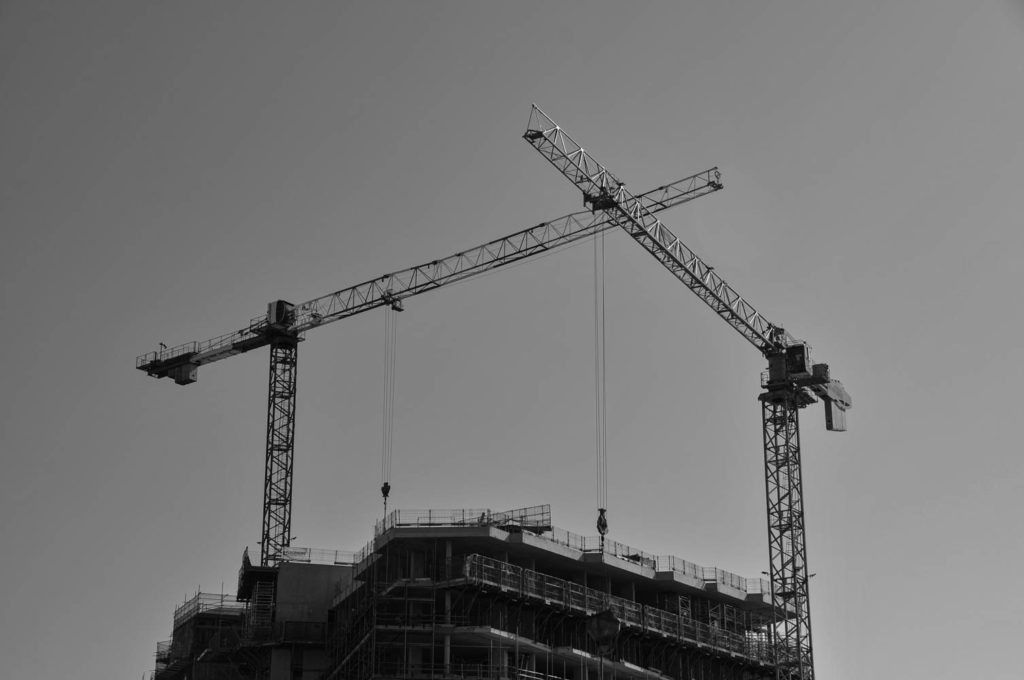
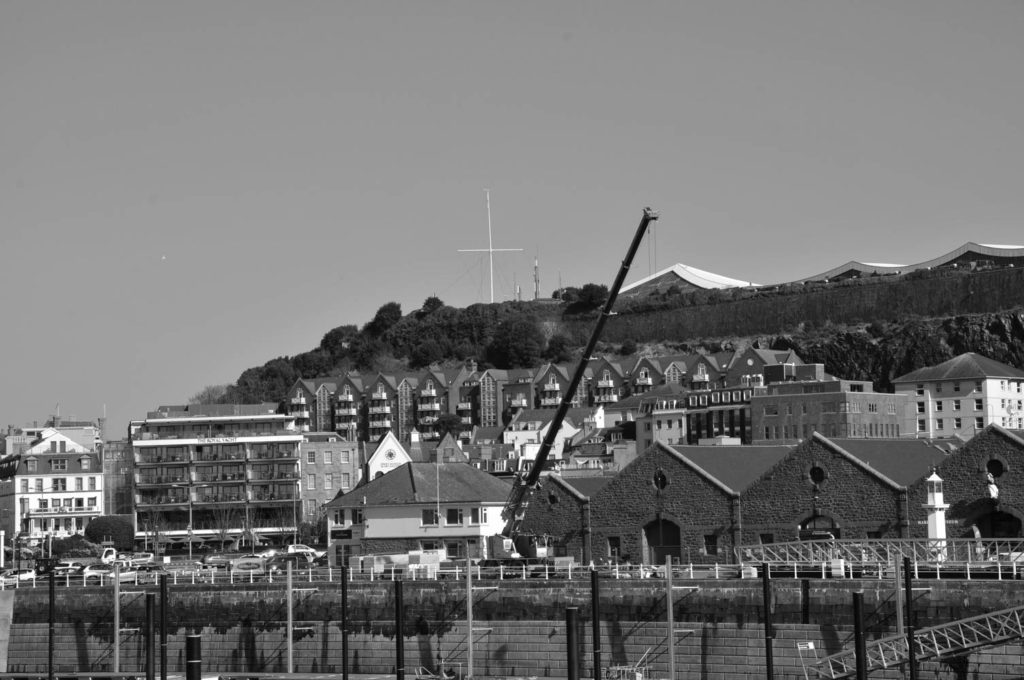
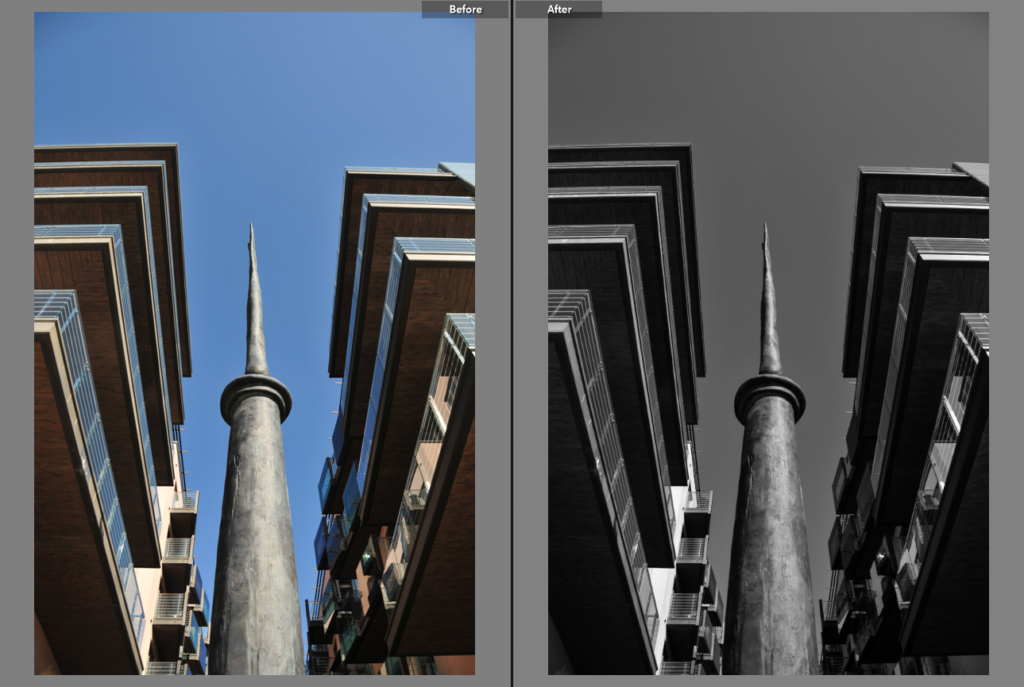
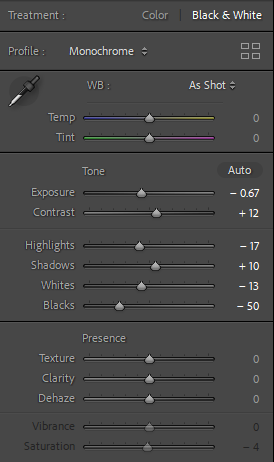
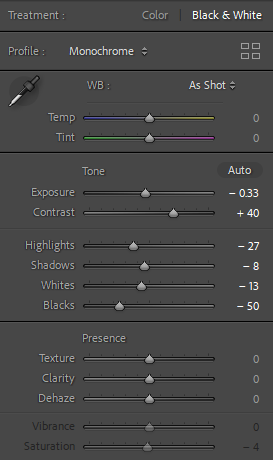
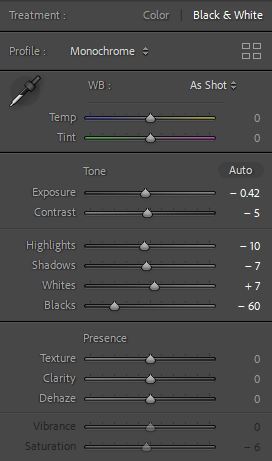
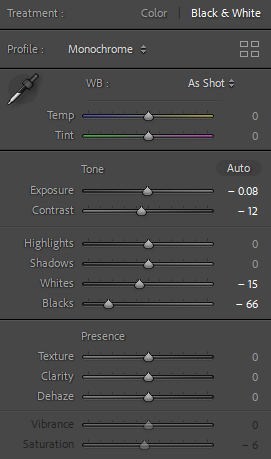
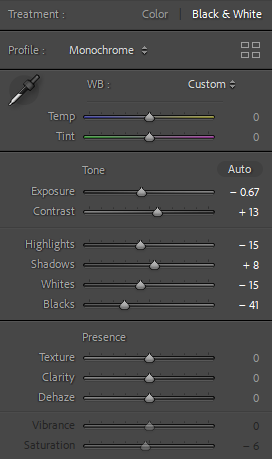
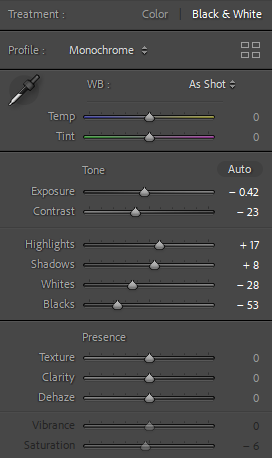
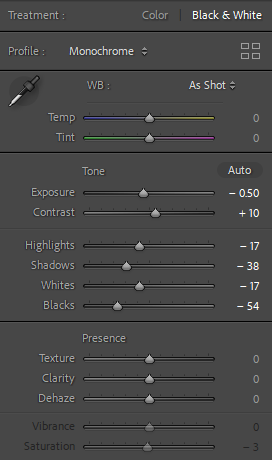
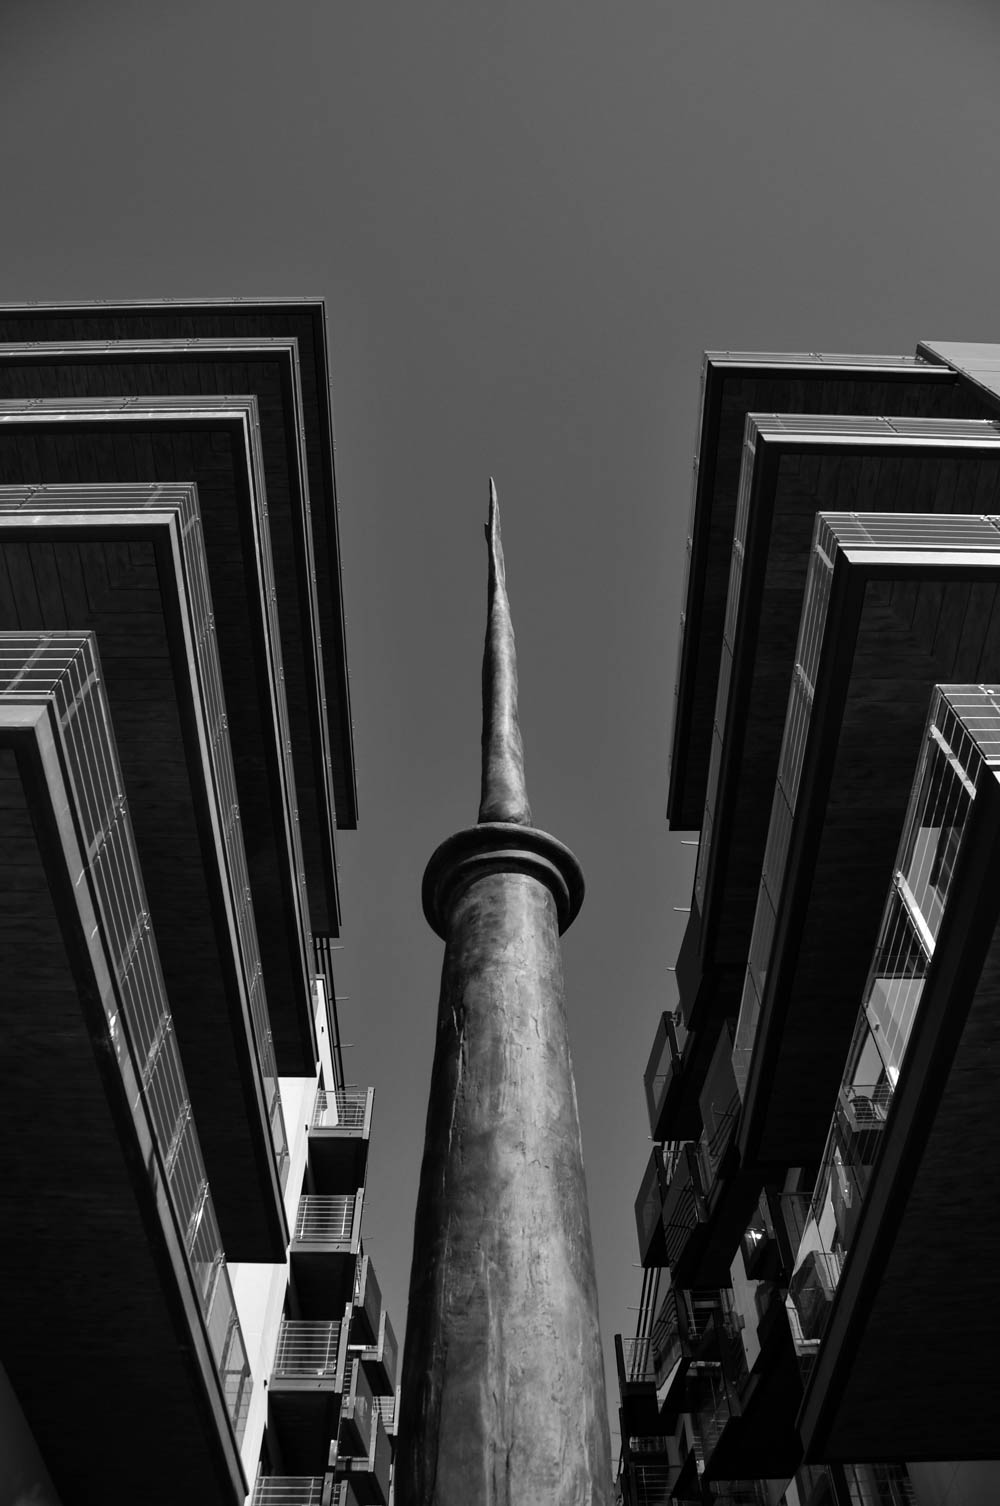
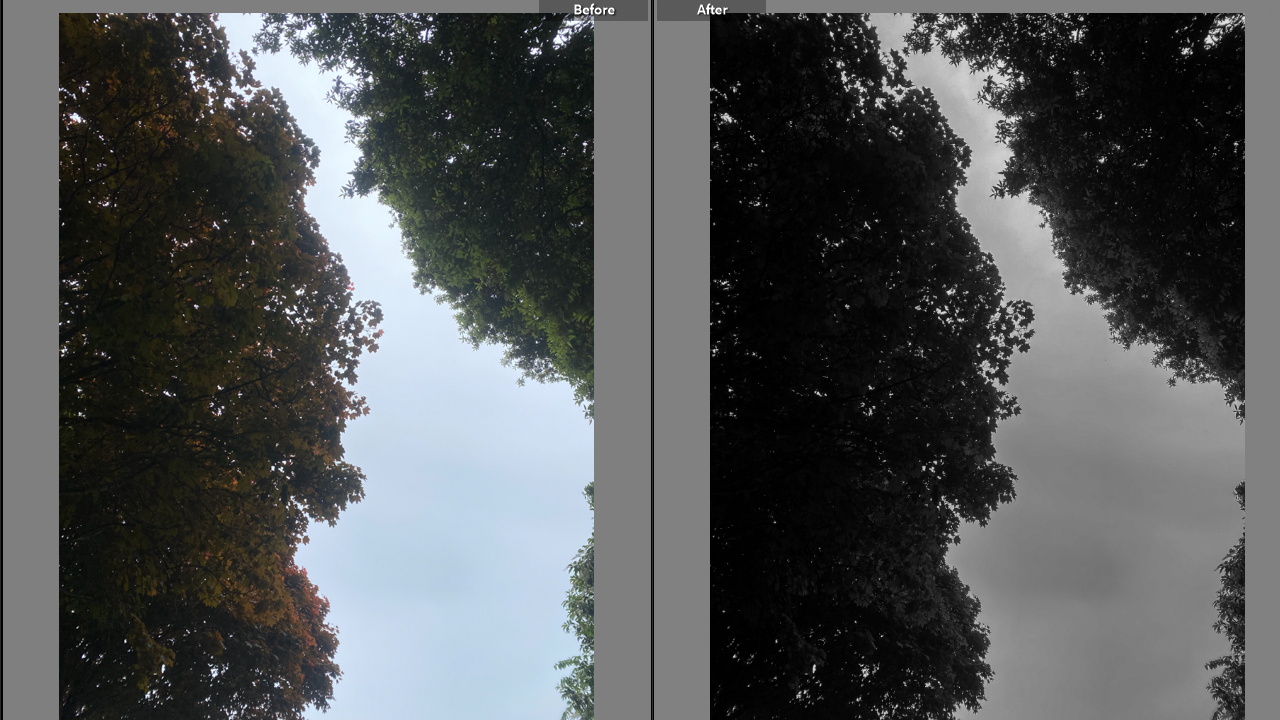
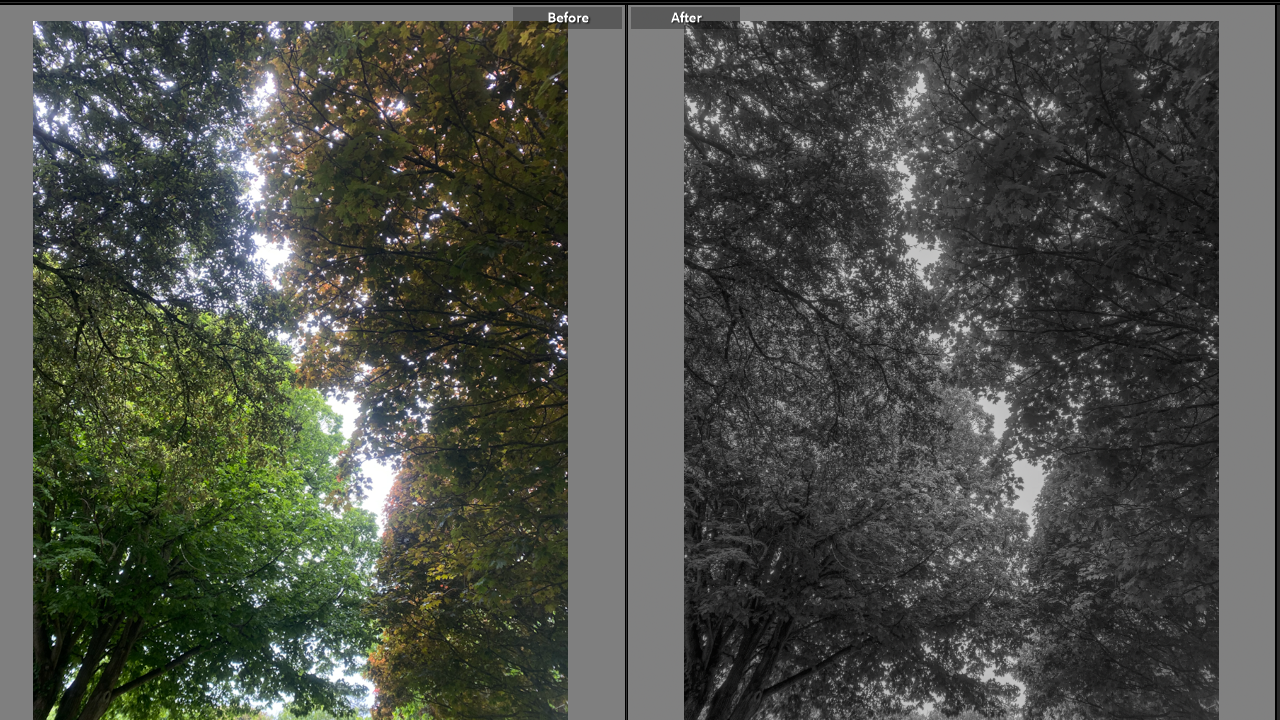
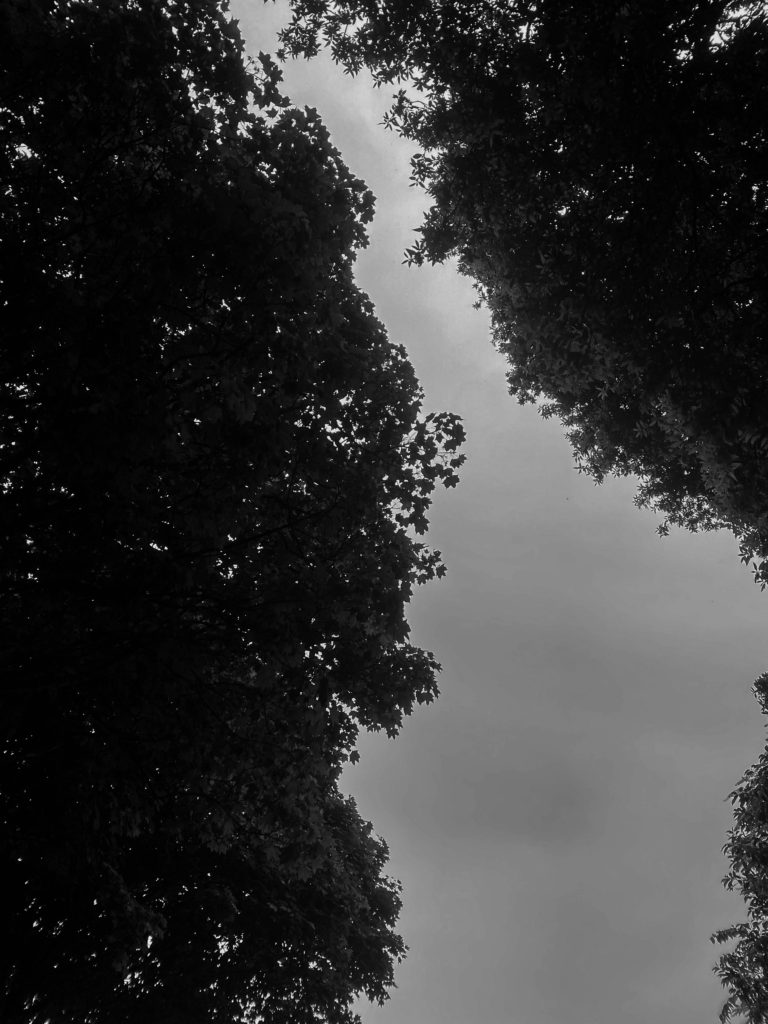
My editing process was conducted as follows; I chose what I thought were my best 6 images from this photoshoot, 3 landscape, 3 portrait. Using Adobe Lightroom Classic software, I gave each image a monochrome filter and decreased the exposure. I also increased the contrast of all images, as well as a few other finishing touches varying from image to image. This was done to make the sky look darker than it actually was in the original. I kept this theme throughout these edits, as well as the finals from the next photoshoot. The best examples of the effect this has from this photoshoot are images 1 and 4. I really like this visual effect as it provides a whole different atmosphere and temperature to the images. A deeper sense of mystery and “the unknown” are also seen here in my opinion.

Comparison Visual Aids
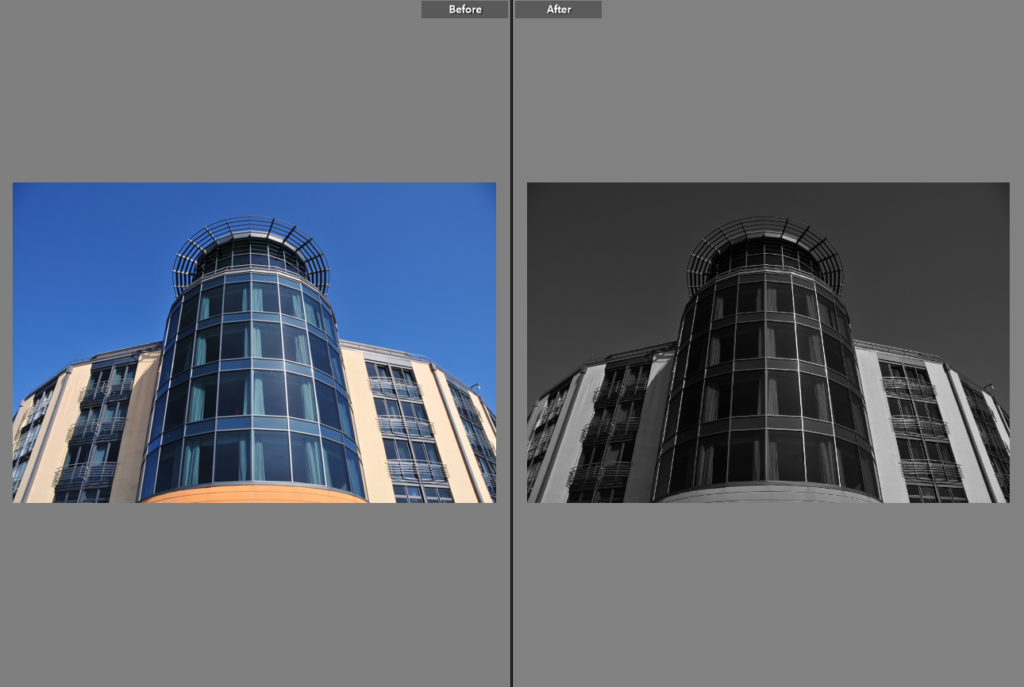
Image 1 Before/After
Image 4 Before/After

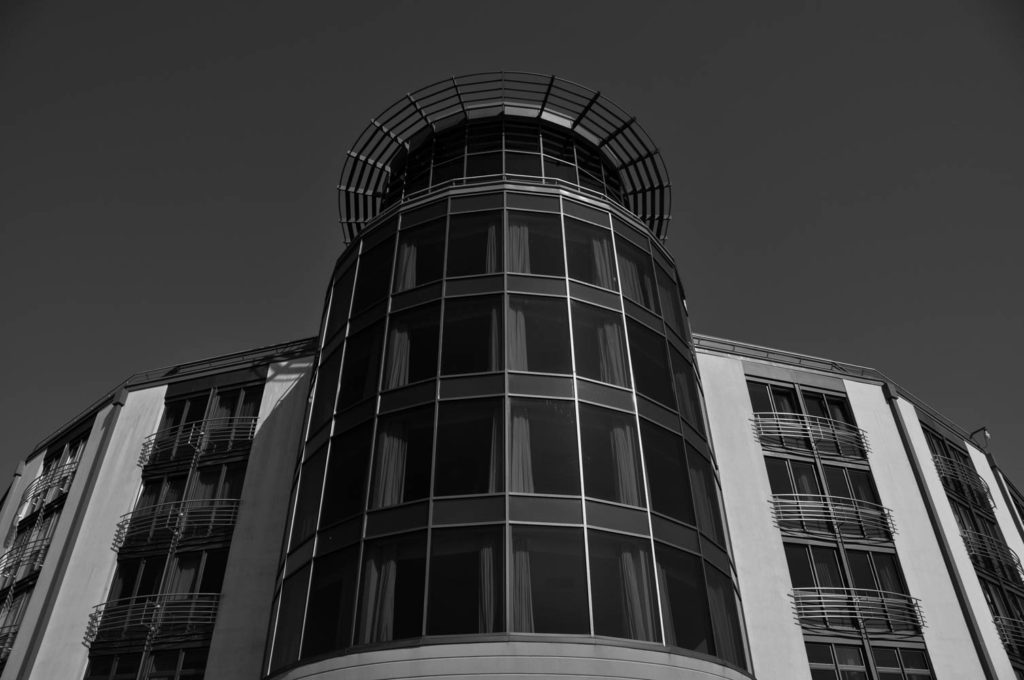
Best Image

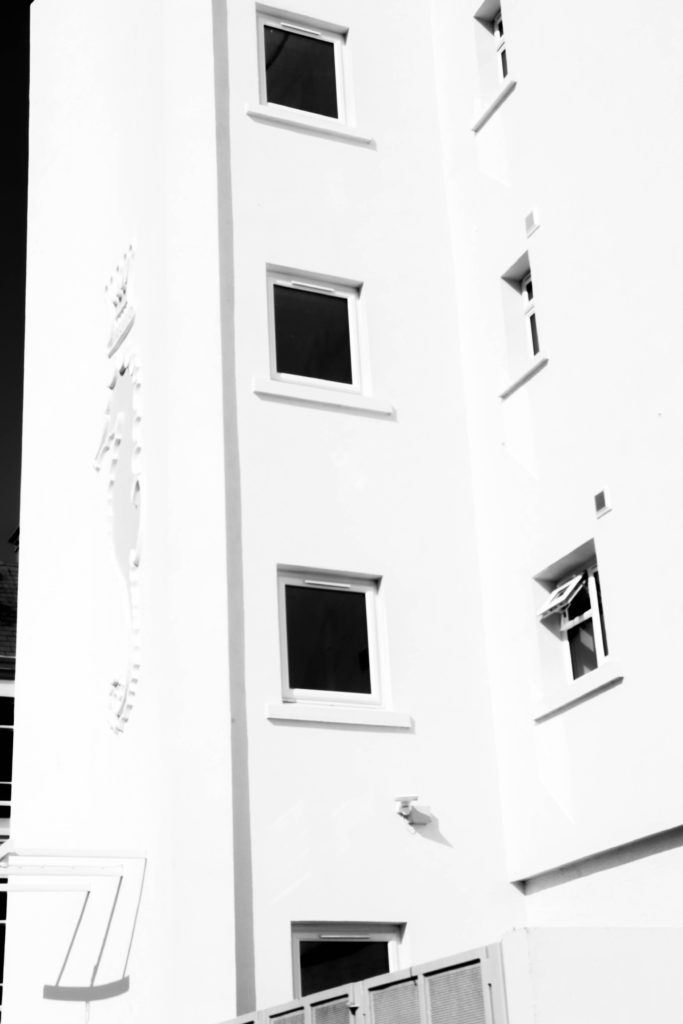
From this photoshoot, I have a clear favourite image; Image 1, depicting the harbour-side of the Raddison Hotel from the ground. My reasoning for this is because of how well it demonstrates the effect I was trying to give, explained previously. The symmetry is also almost spot-on, which I really like in general, but particularly for this image. It combines the look of Ansel Adams’ landscapes in Yosemite National Wildlife Park with Gabriele Basilico’s and Frank Gohlke’s depictions of buildings from odd angles. For this reasoning, this is my personal favourite image:
Photoshoot 2

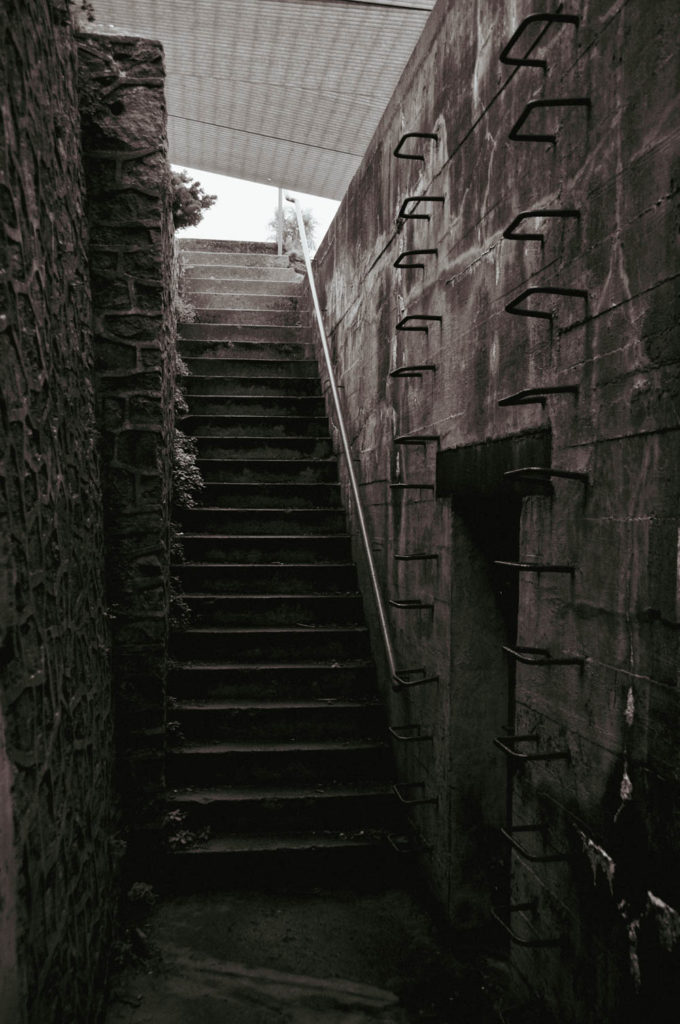
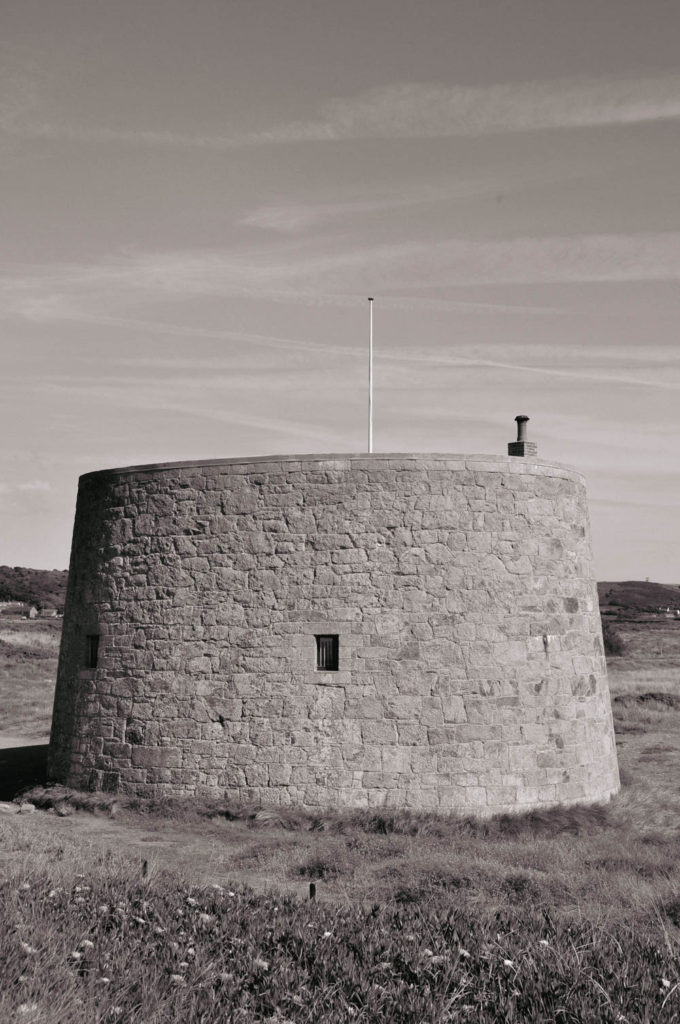
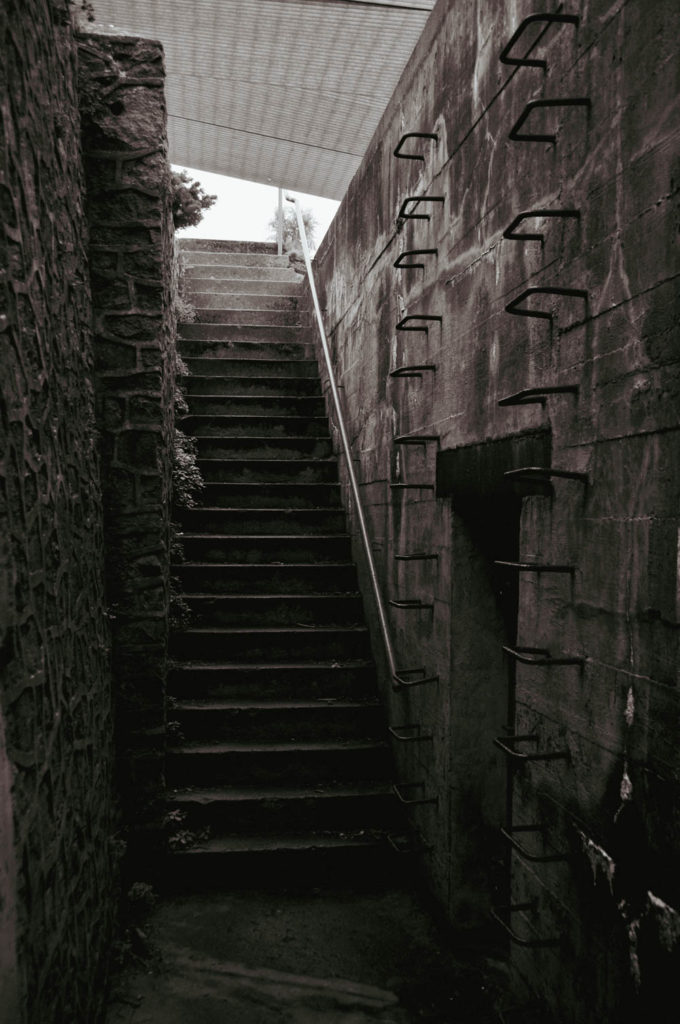
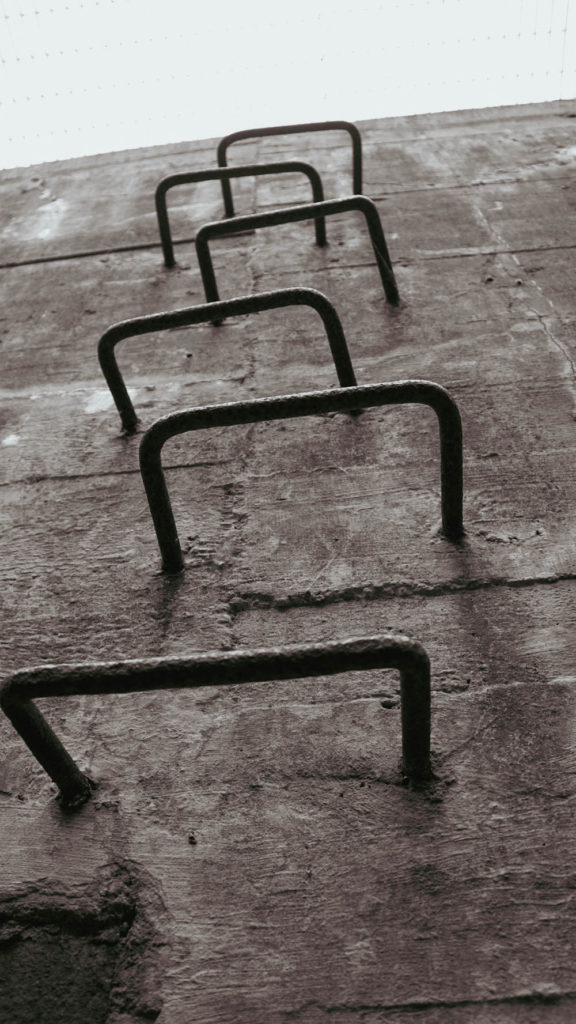
My plan for this photoshoot will be similar to the previous. I am intending to photograph buildings again, however the places I will be visiting are exactly the opposite. I will shift my attention from one side of the Island to the other and photograph the German bunkers and watchtowers along the Island’s Western coastline, as well as a number of other implantations I find en route. I am doing the above as I feel it will provide some interesting and contrasting images to the ones previously taken from Photoshoot 1. This will hopefully show what the buildings we consider new and modern today may look in the not-so-distant future.

Route Plan
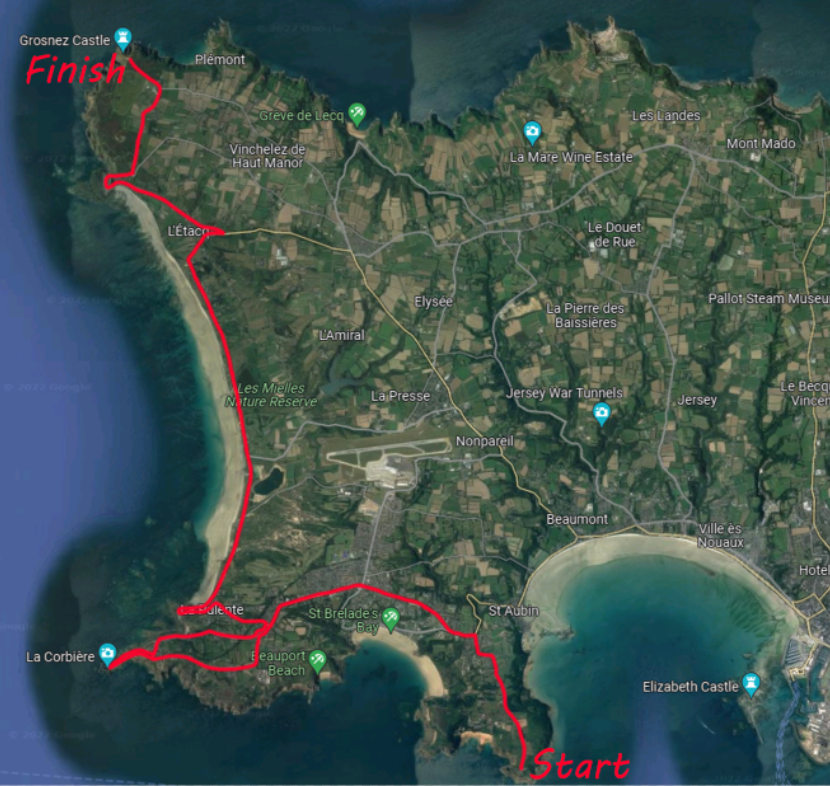
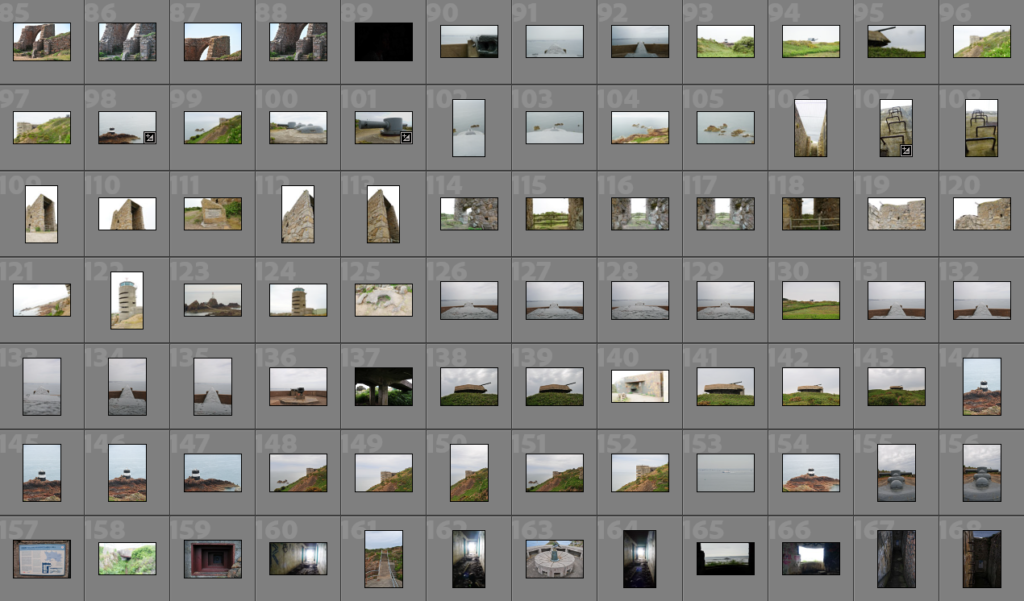
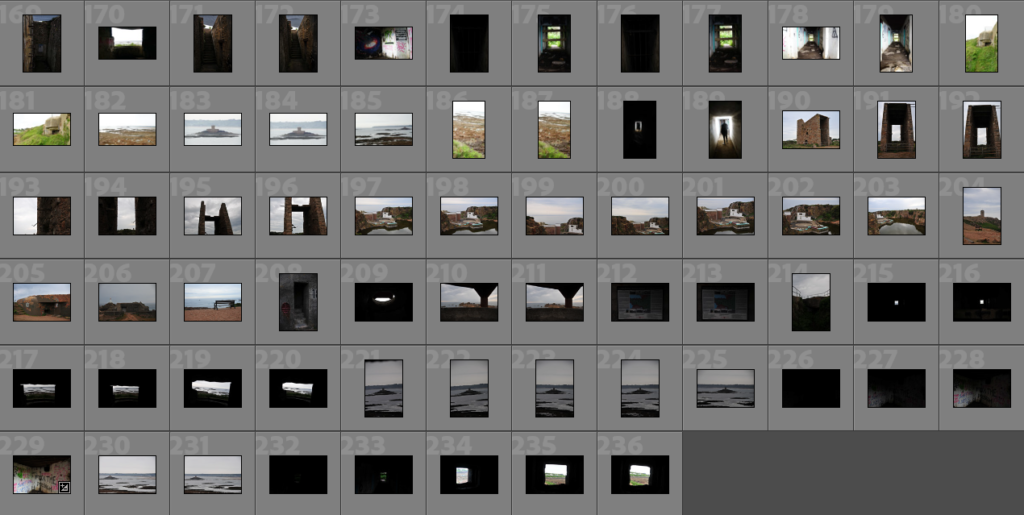
Contact Sheets and Selections
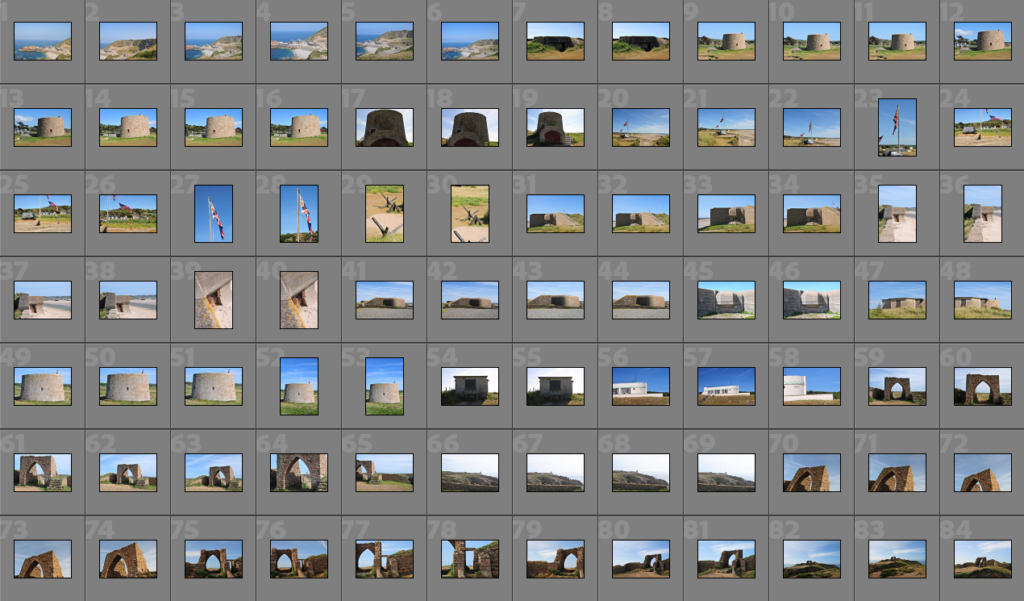
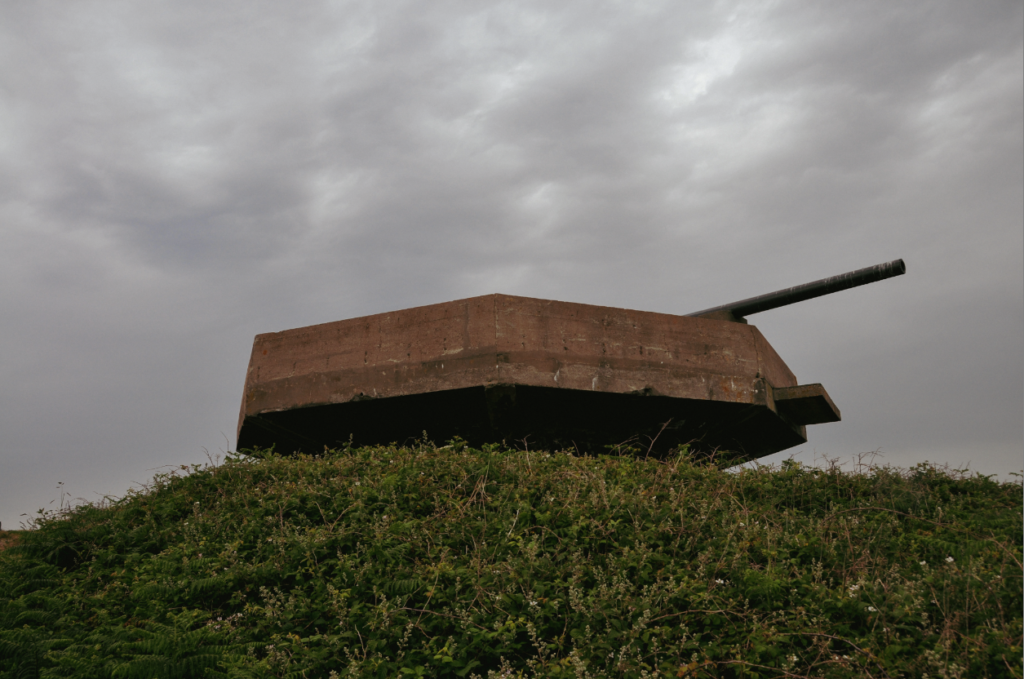
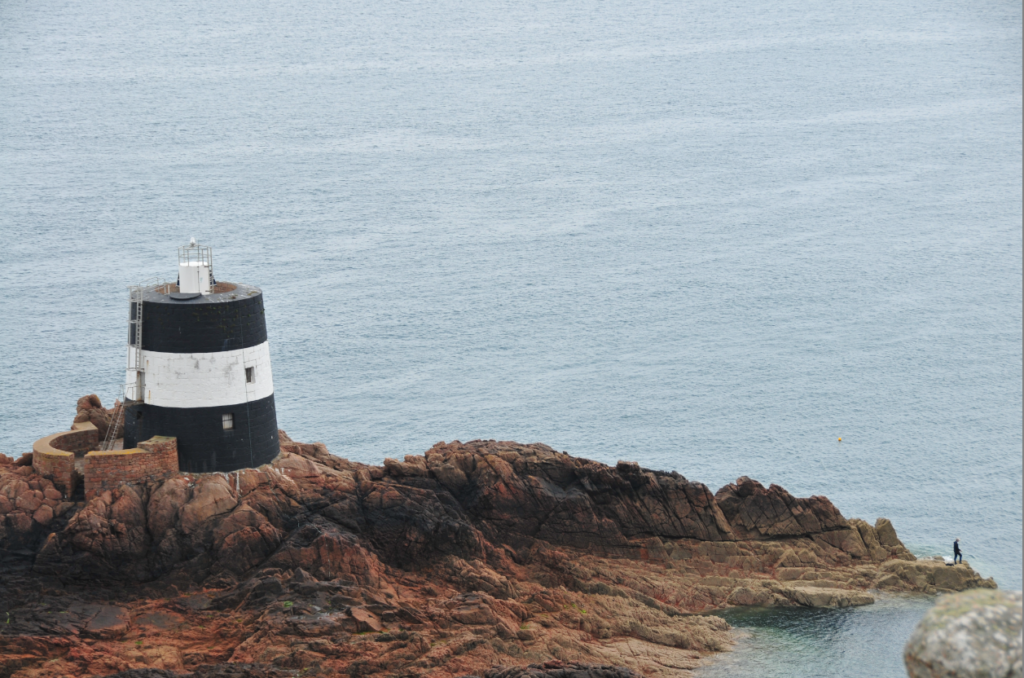
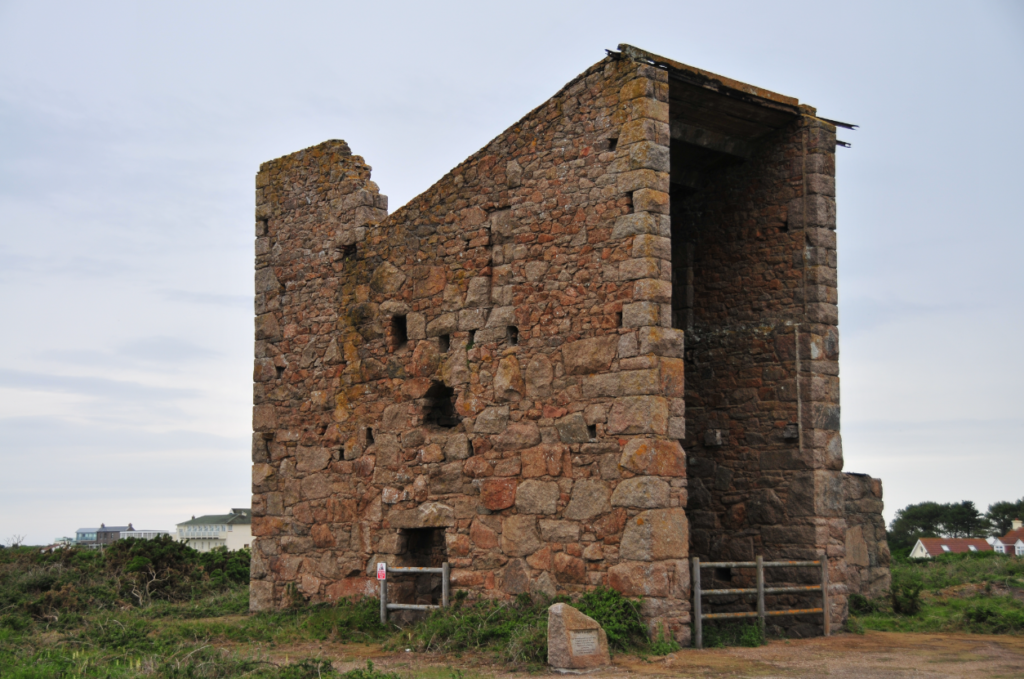
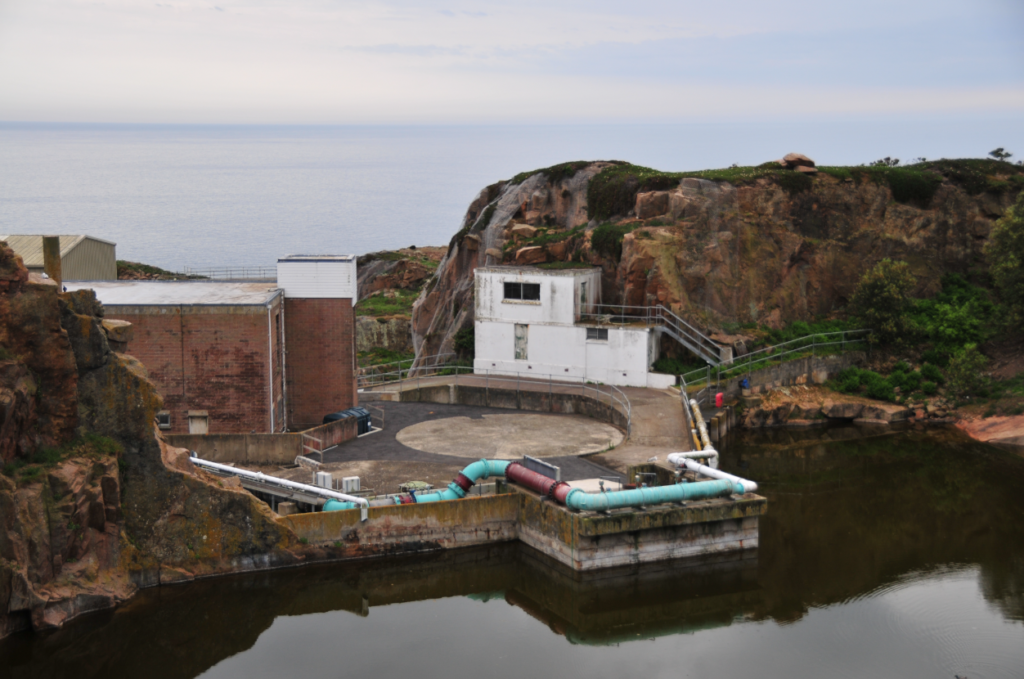
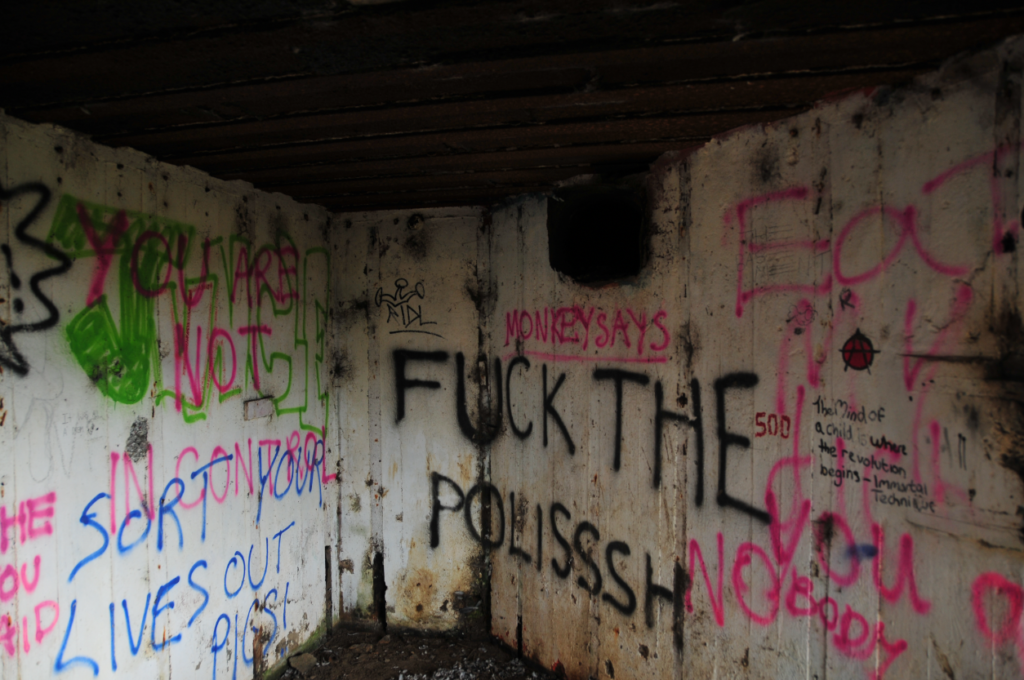
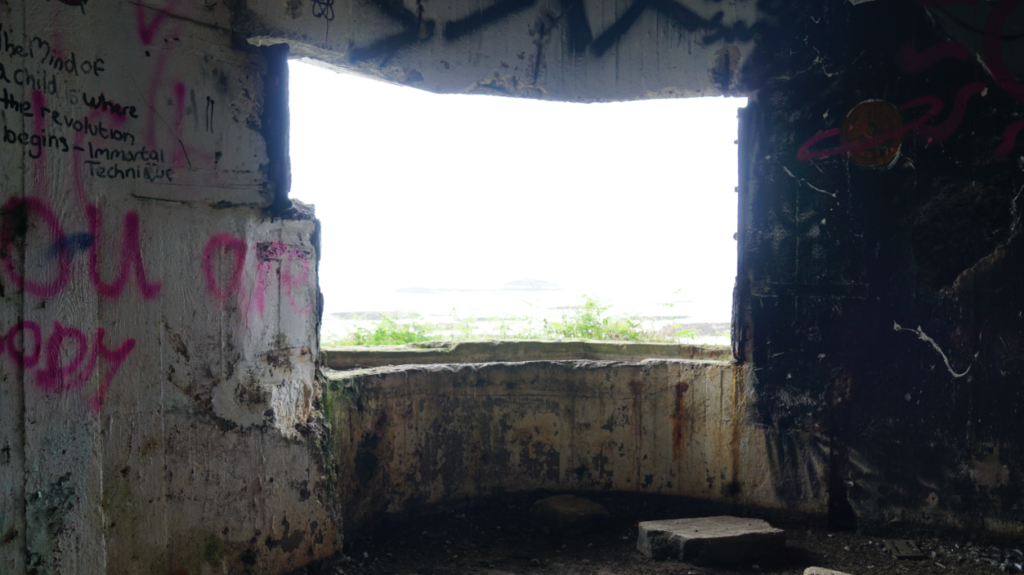
Images captured whilst out on a drive around the island’s coastline, other locations include Kempt Tower, the Salination Plant and Ronez Quarry (23/05/22)

Post-Selection Editing Process

Landscape
Portrait
Extra Potential Idea

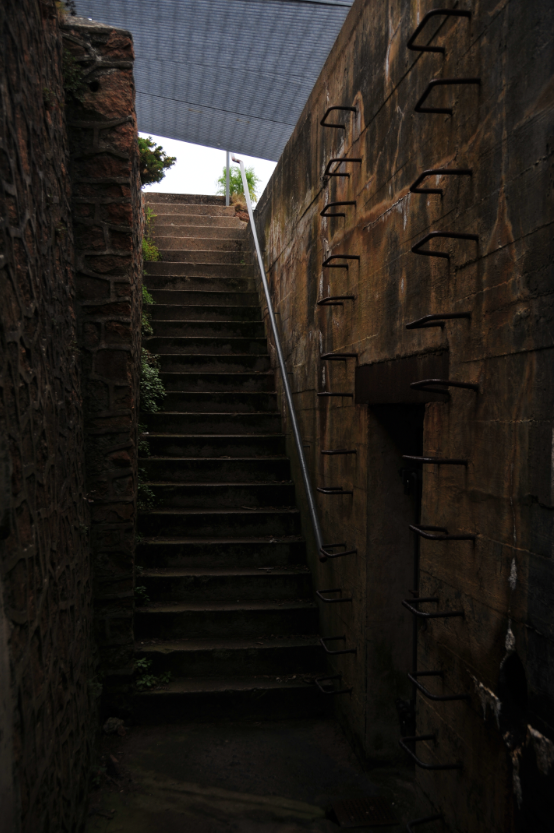
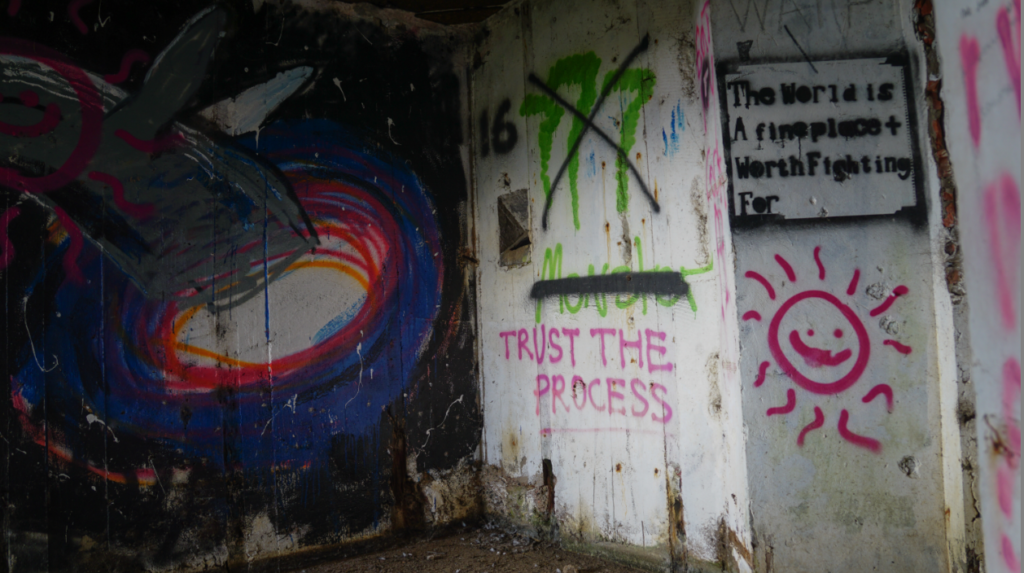
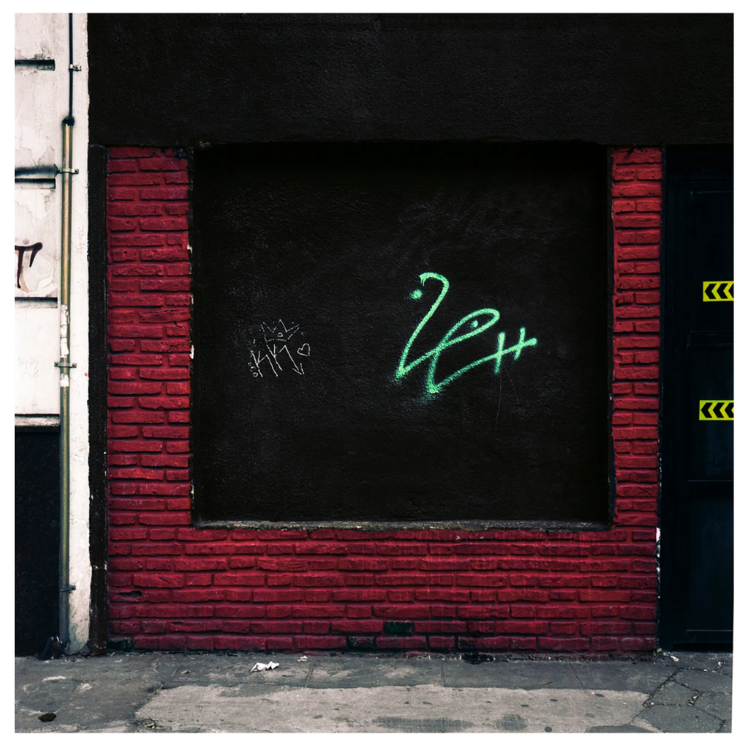
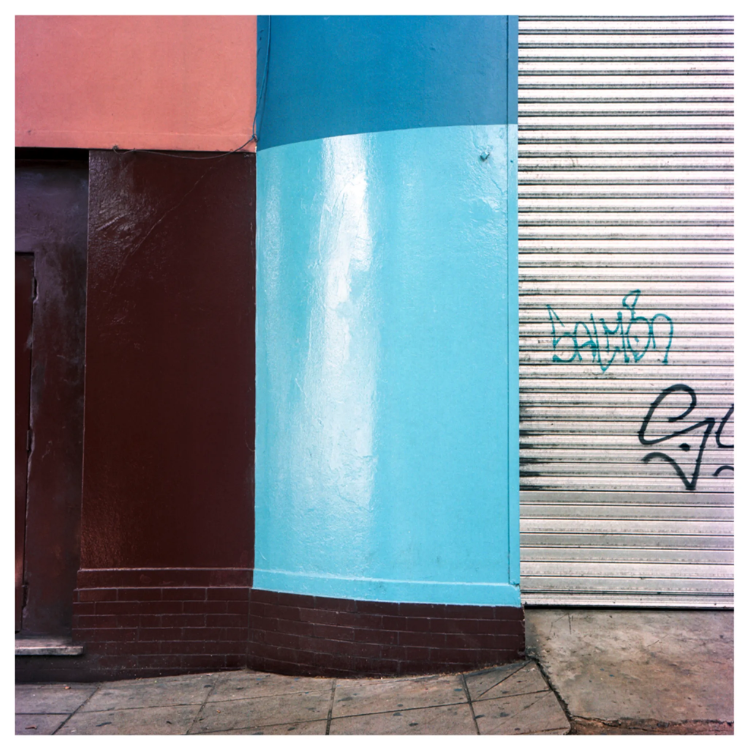
These images capture how these bunkers and structures are treated nowadays. This could show what buildings that are in use today may look like in half a century’s time. I have kept these photos in colour opposed to black and white. This is because of how the colours of the spray paint contrast with the white and brown scheme of the inside of the bunker. This is linkable to Tomás Cambas’ collection of street photography.

This style of street photography is interesting for a number of reasons. As mentioned previously, there are obvious colour contrasting techniques used throughout, particularly images on the top row. This is effective because of how distinctive they are, similar to what was captured in my photographs. There is also litter visible on the ground in most of the photos, relating to man’s effect on the planet.

Final Images, Post-Enhancement
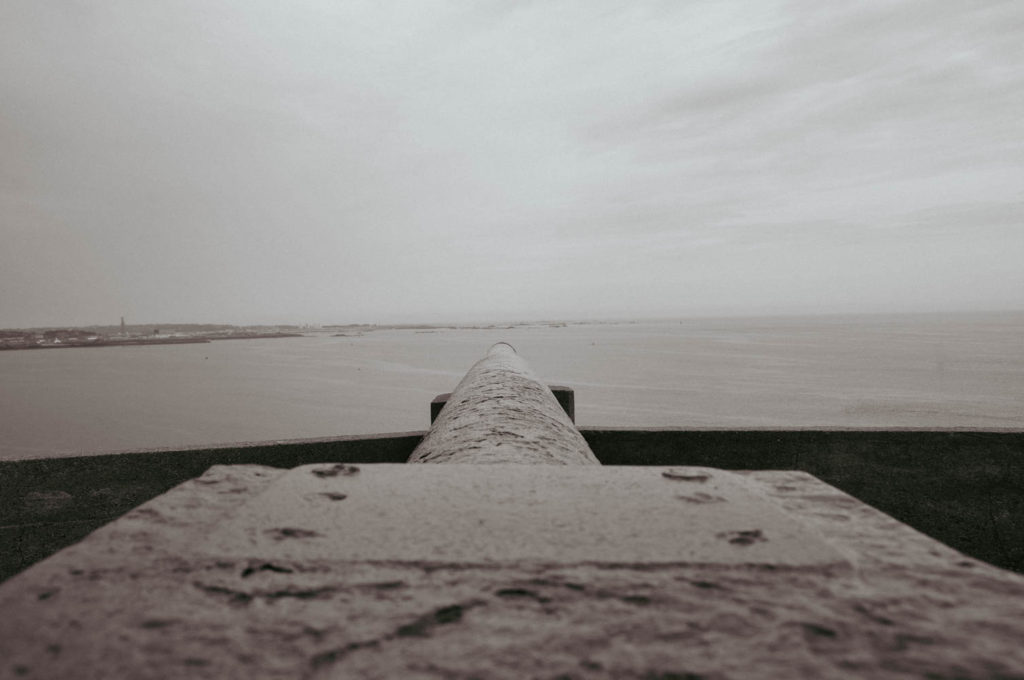
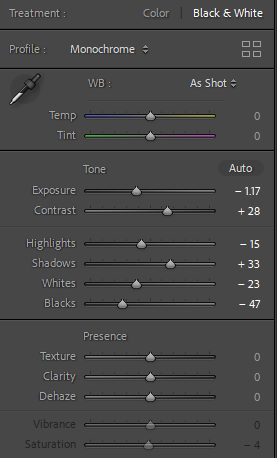
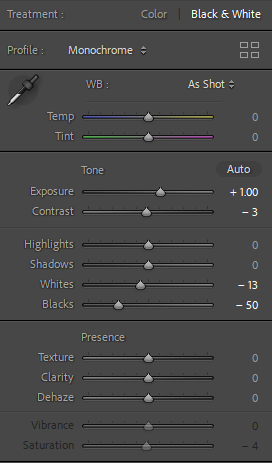
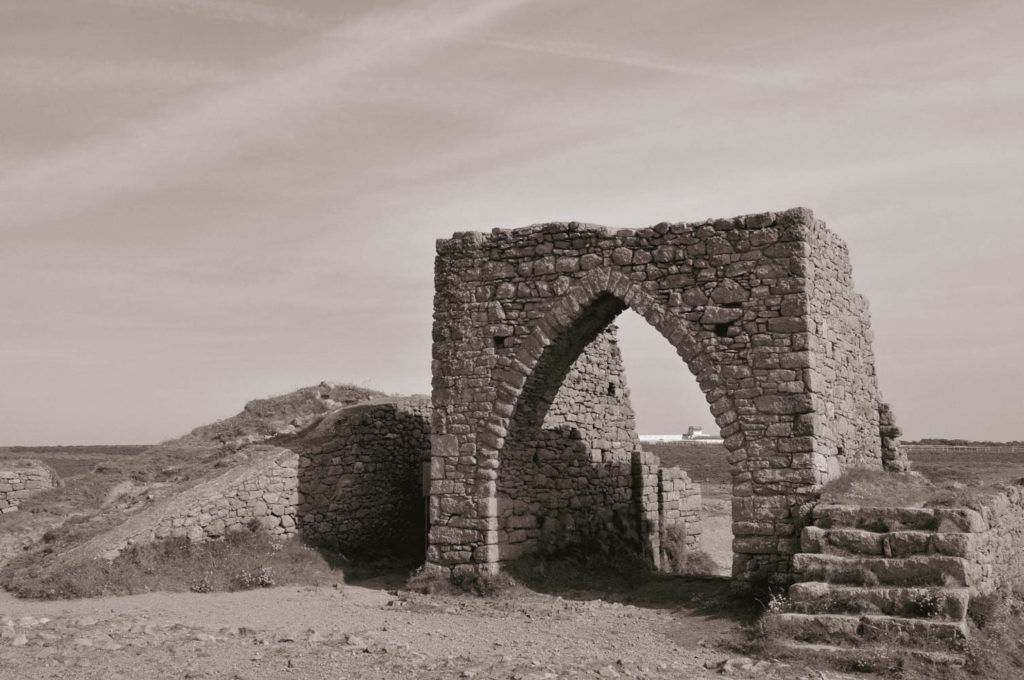
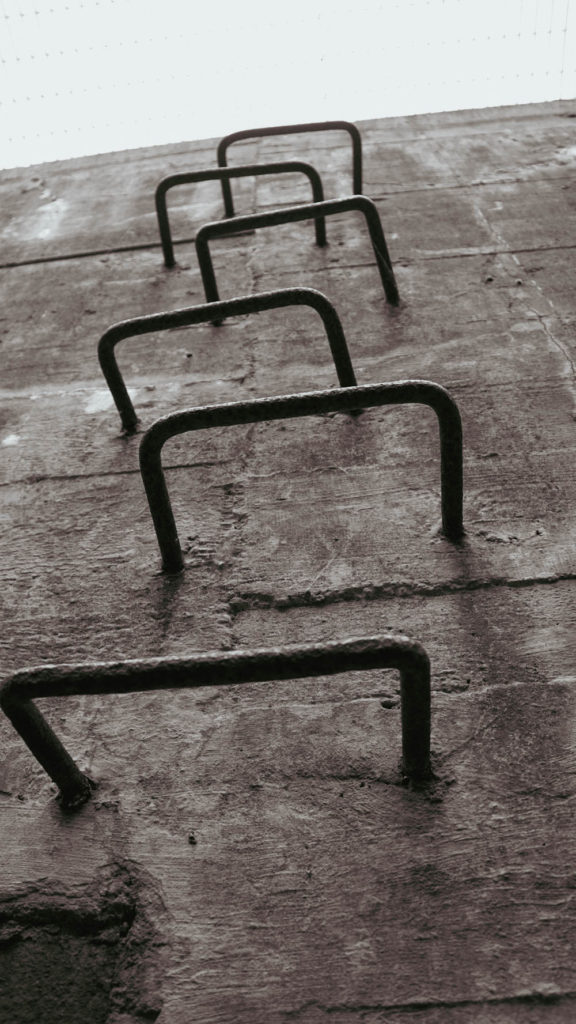
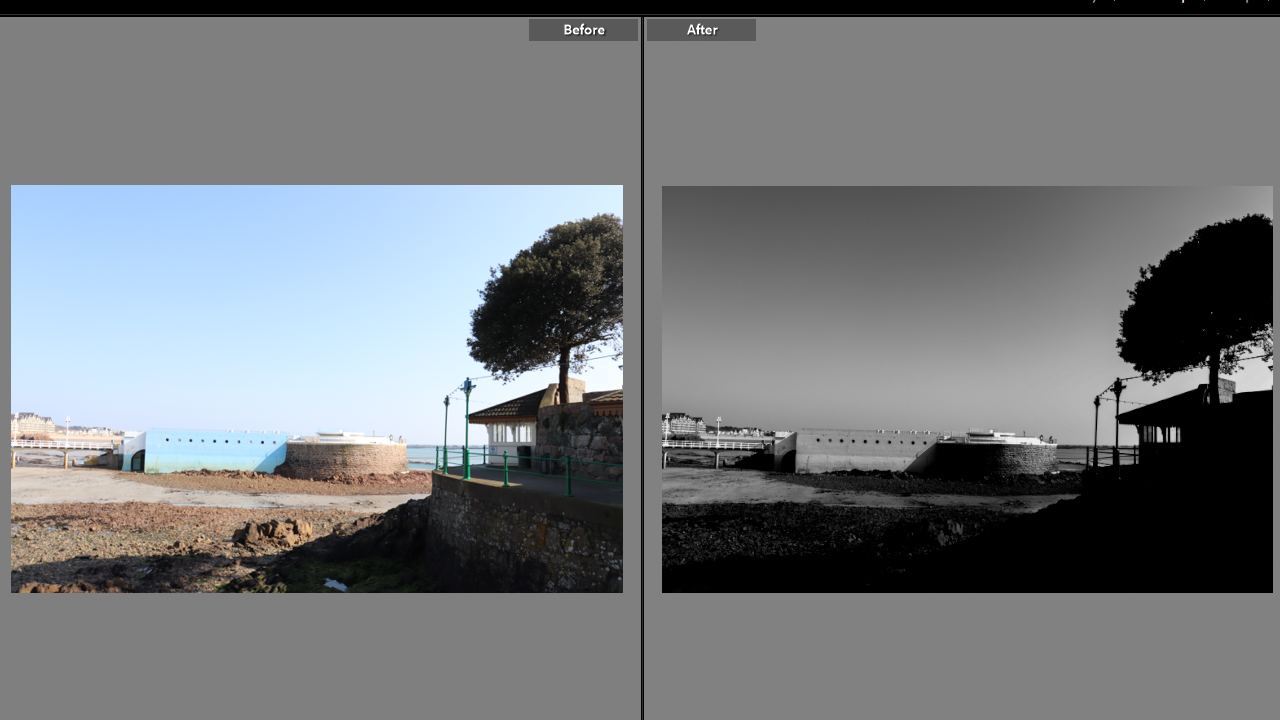
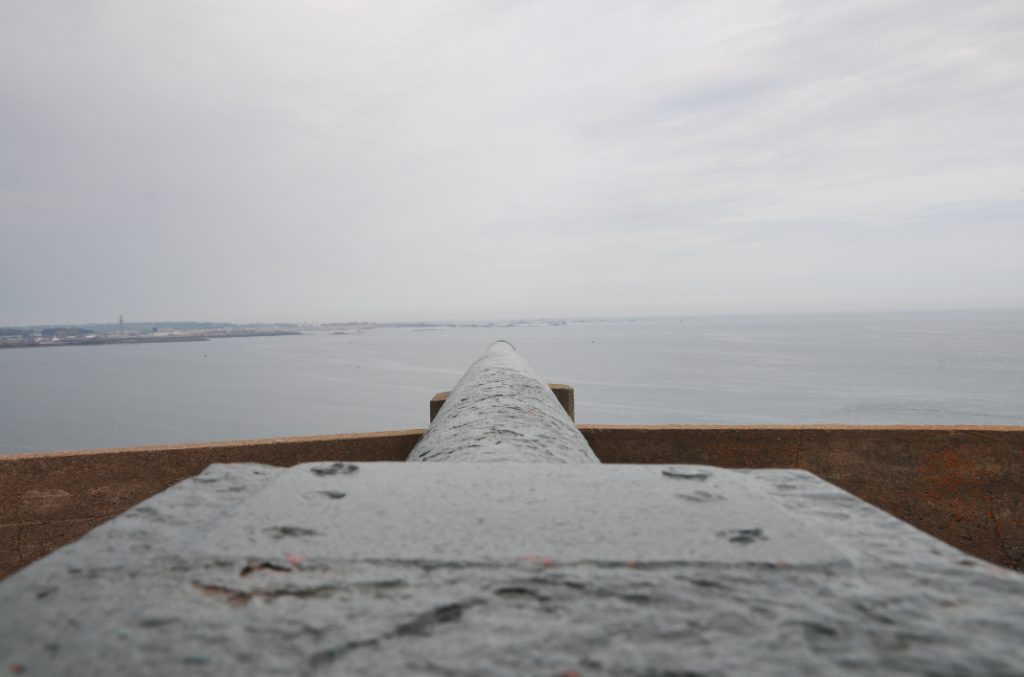
These images were edited in a similar fashion to the previous photoshoot. I began by adding a monochrome filter to make the images black and white. I then used one of the vintage-style profiles that Lightroom Classic provides for the user. This made the photos look like they was taken in the early 20th century almost instantly. As this was the effect I was aiming for, I stuck with it. After this, I did not want to make the images look over-manipulated so only a few minor adjustments varying across the individual photos were necessary. These adjustments included decreasing the highlights, shadows and contrast over a majority of the images as the filter and profile had made the darks too dark and the lights too light. I was very pleased with the results.

Comparison Visual Aid
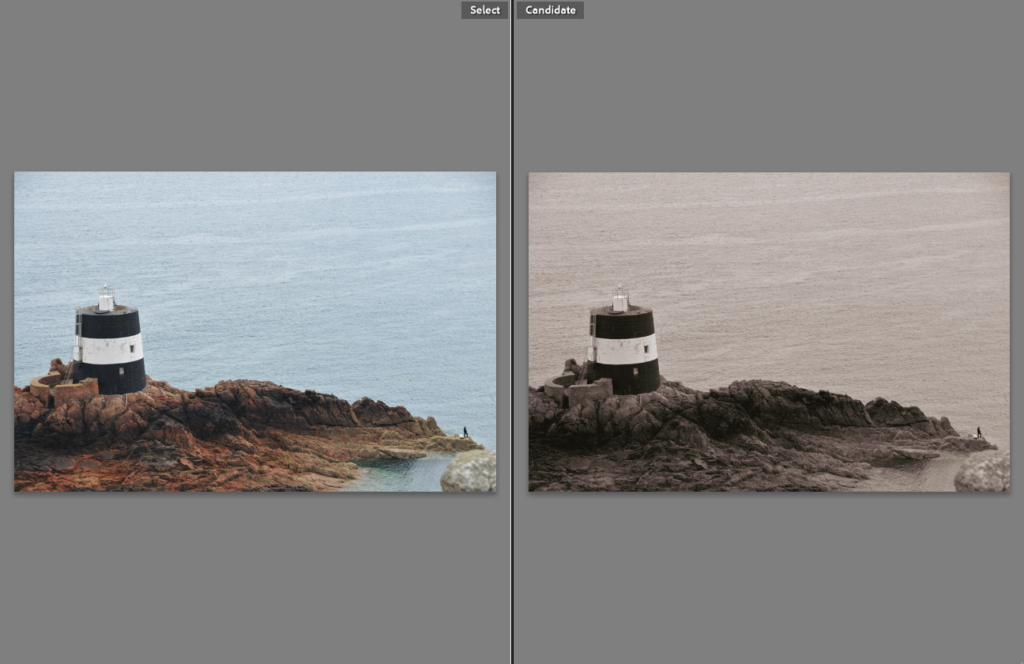
A great example of the effects of just a filter and profile overlayed

Best Images

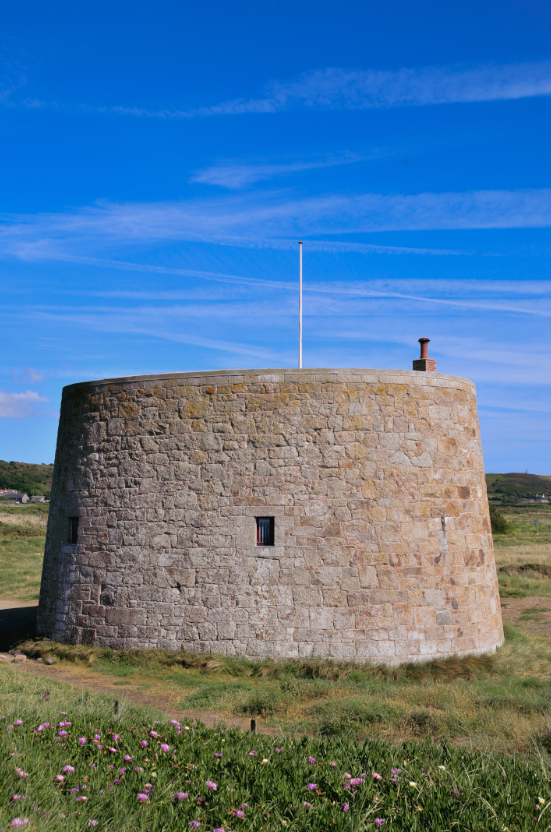
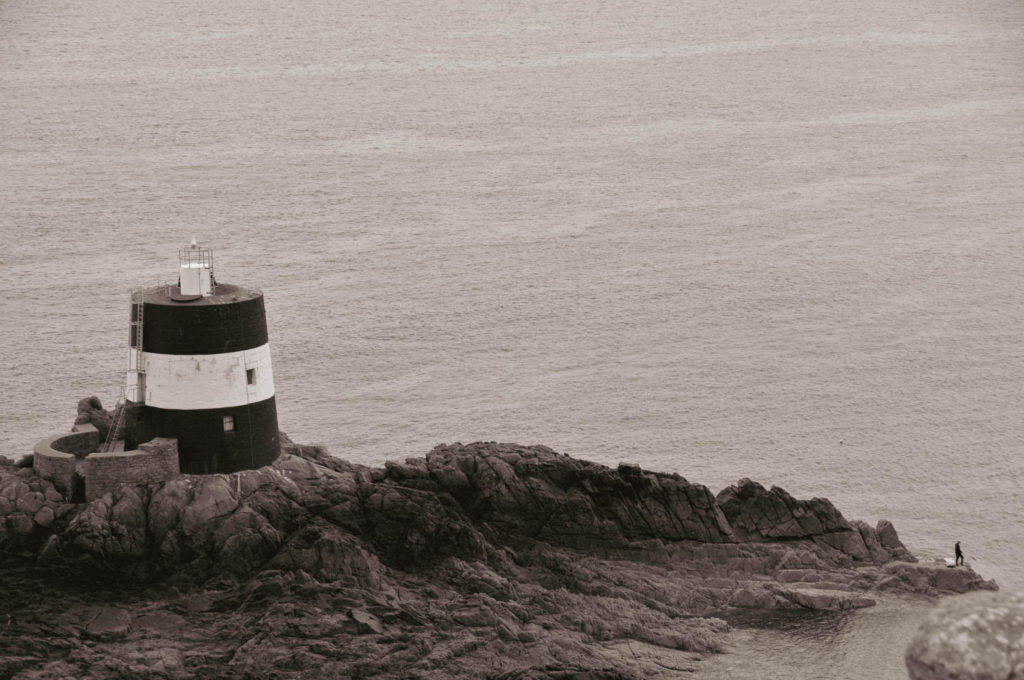
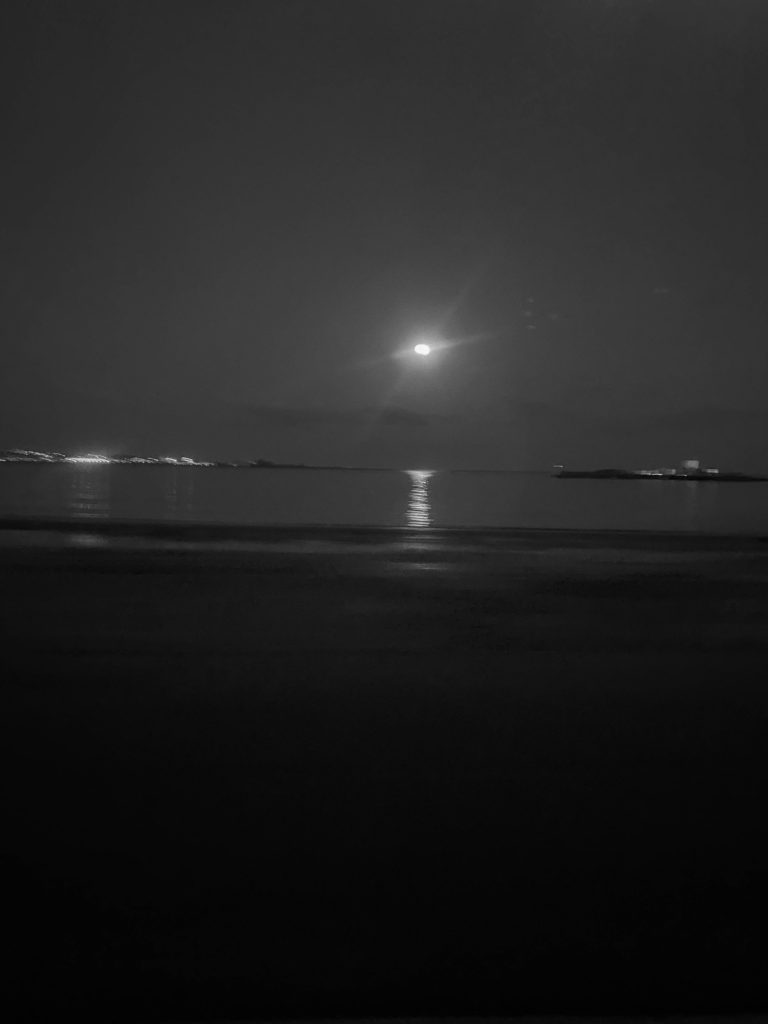
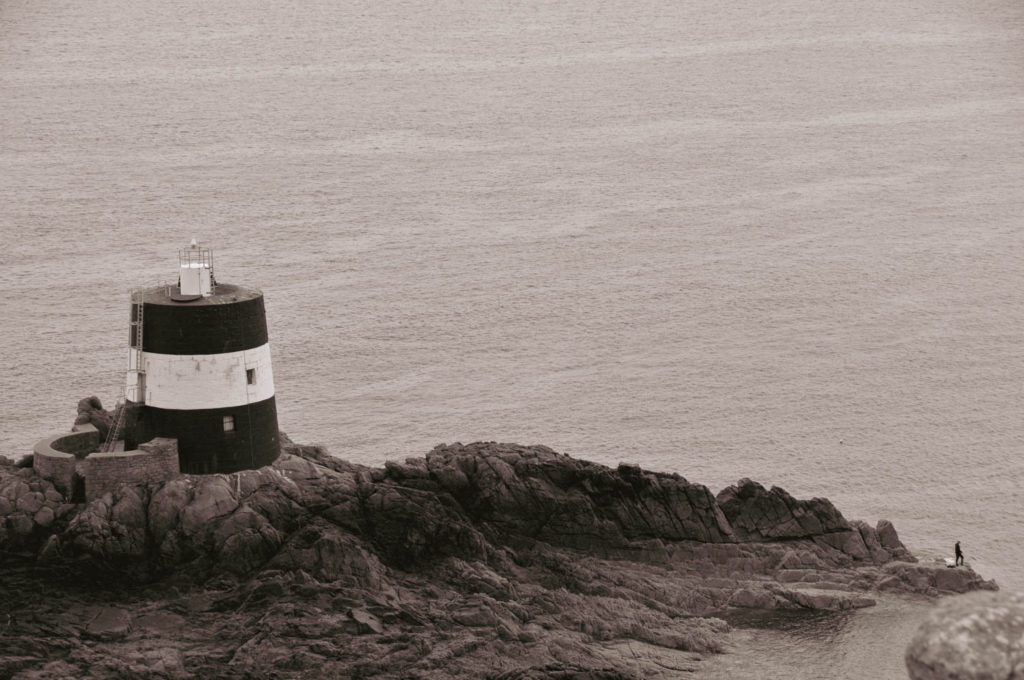
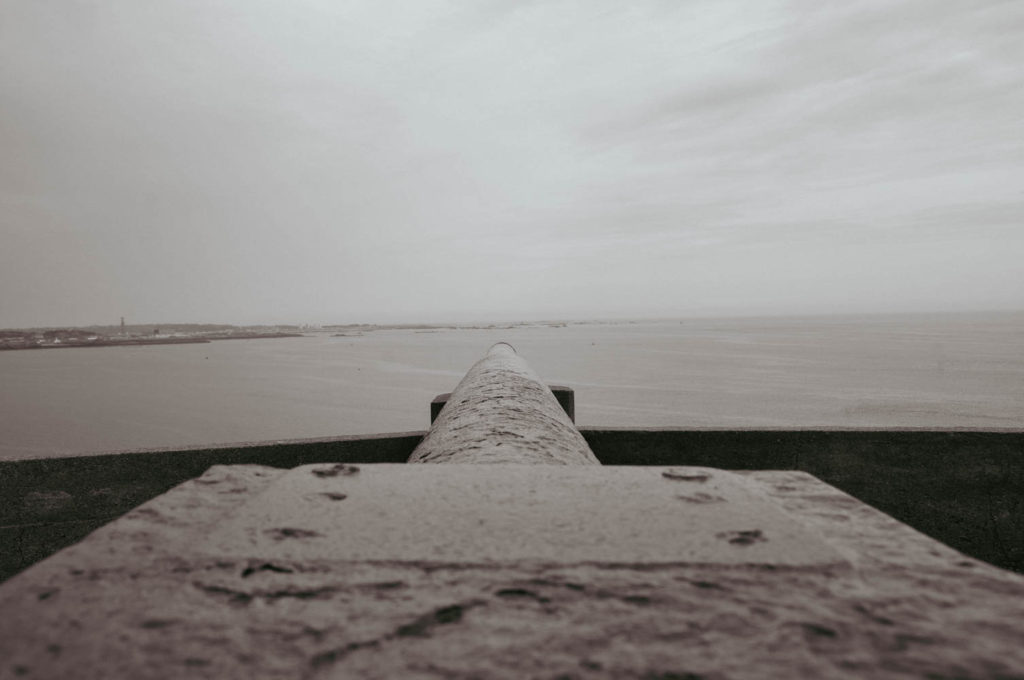
These were the images I thought were the best out of the best. This is because of how much they benefit from the filter and profile layered one over the other. They are also great as they show what photographers could be capturing in 50 years time. My personal favourite is image 3, depicting Tour de Vinde with a man fishing on the rocks nearby, into a perfectly calm low tide. It creates a sense of fear as of how something so small can have such a massive effect on something so huge (human’s effect on the planet). This tower is not big. Situated on a small island, between two relatively small countries, on a huge planet which man has almost depleted of all its resources. A sense and atmosphere of scale is surrounding this image in my opinion.
anthropocene photoshoot action plan

PHOTOSHOOT #1

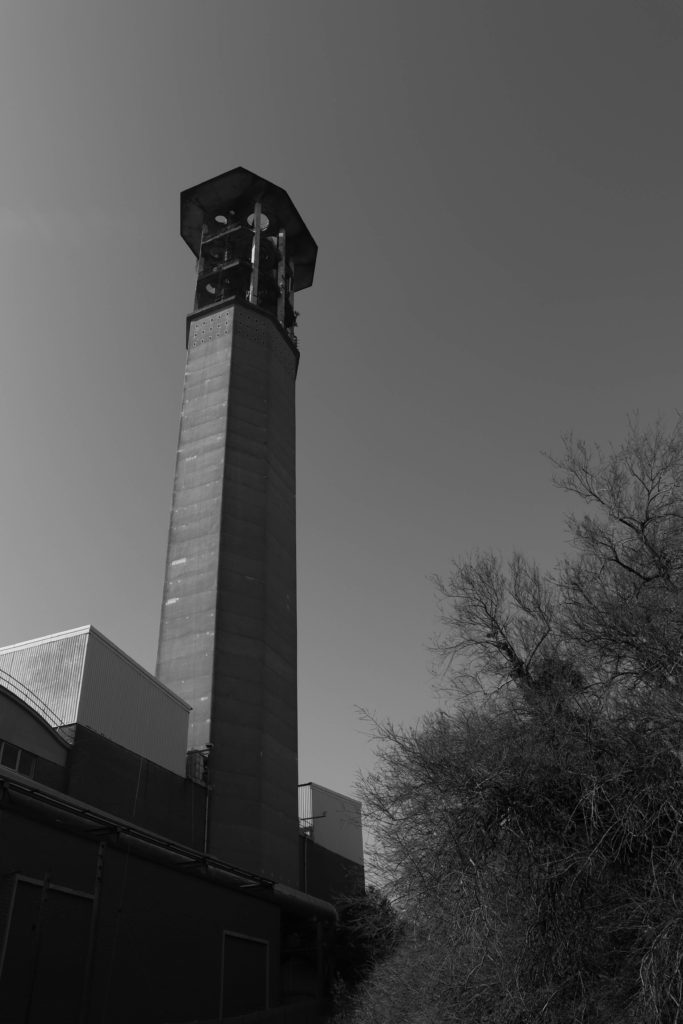
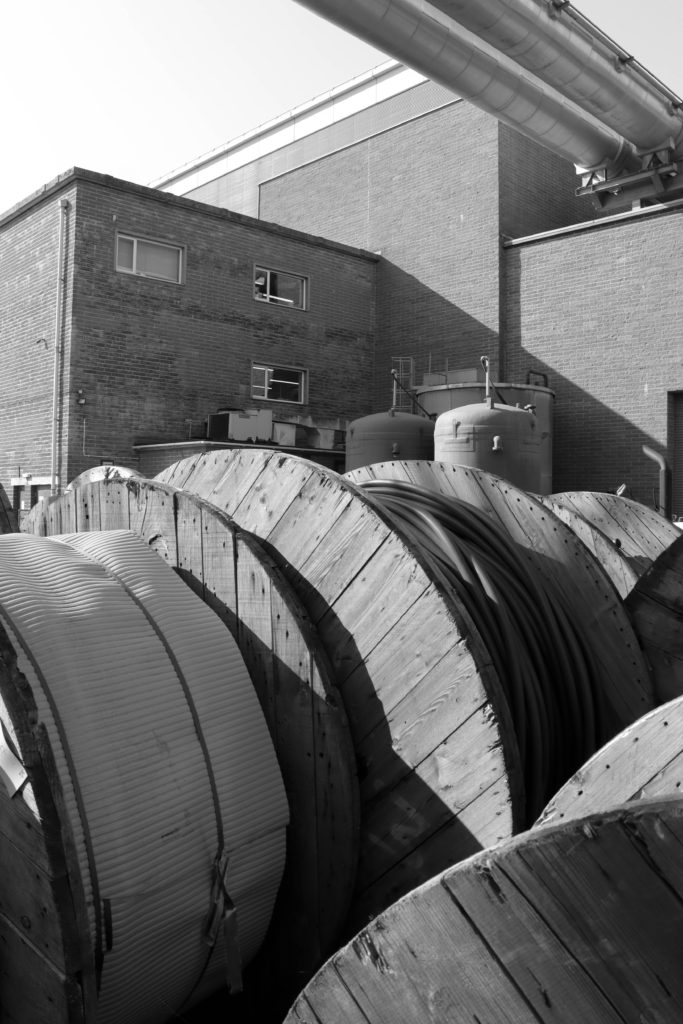
For my first photoshoot, I went around town and the harbour, photographing satellite towers and power stations like La Collette – for this first photoshoot I wanted to capture the industrial side of anthropocene and what is behind the harmful impact on the environment. Being inspired by my artist reference Hilla and Bernd Becher, i photographed mainly architecture around the island.

My plan was to photograph the buildings during night or evening time when it was getting dark outside so I could show the chaos that goes on with power stations & pollution whilst still keeping the photo simple in an attempt to capture Becher’s simplicity of their work in my own.

PHOTOSHOOT #2

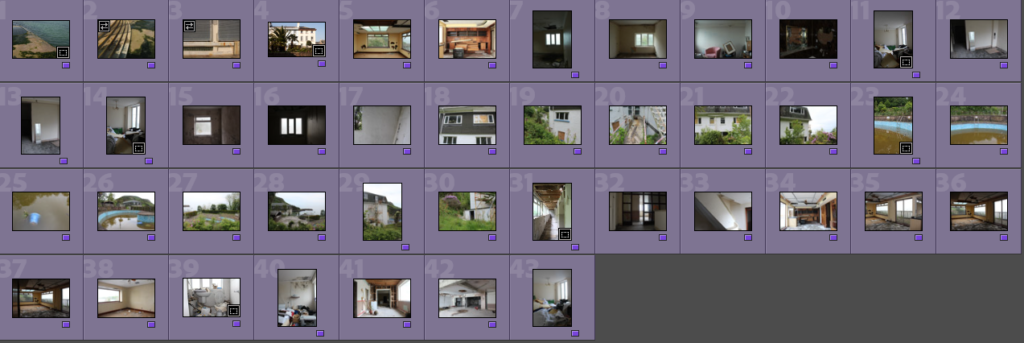
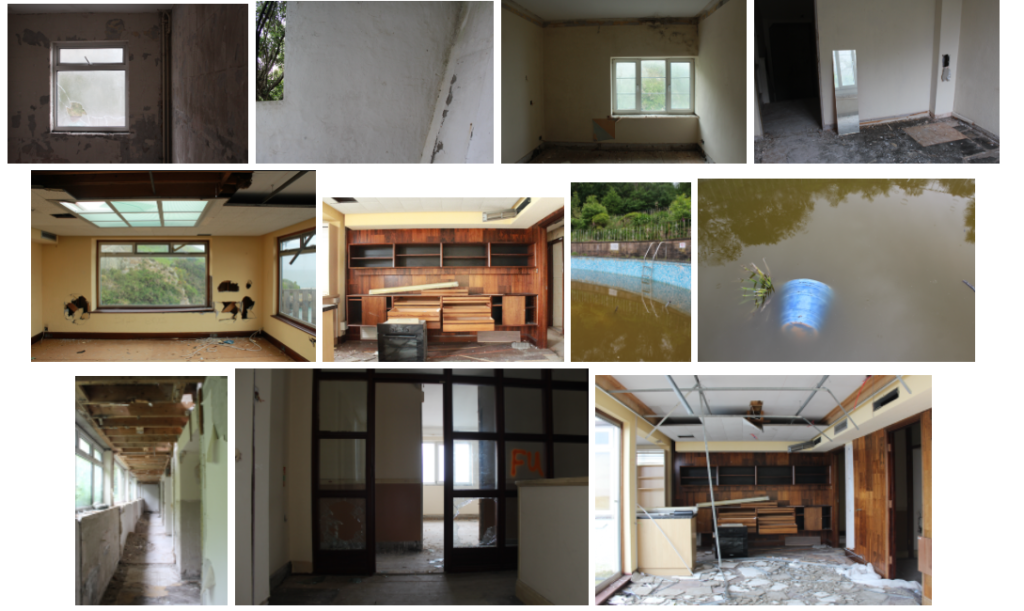
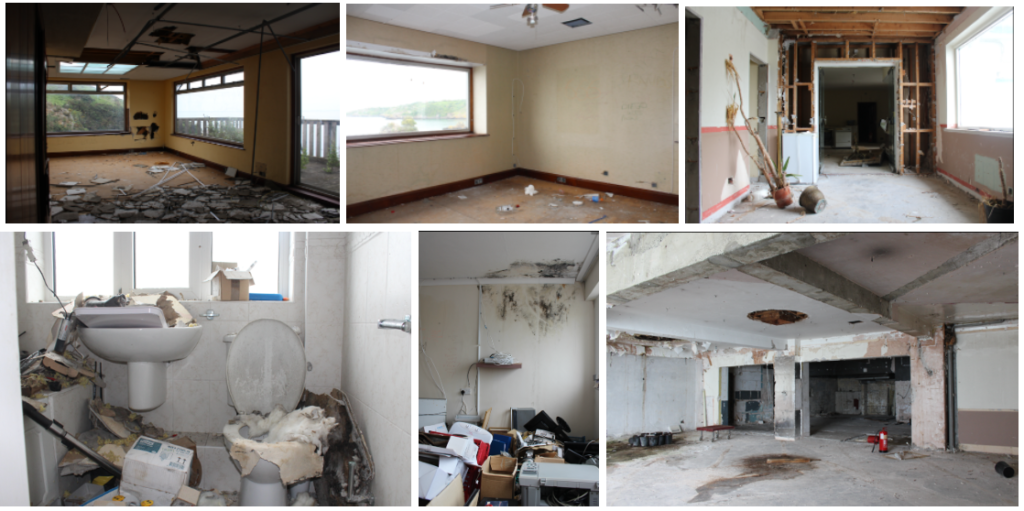
For my second photoshoot, I wanted to explore abandoned and derelict places to show how nature takes over once left to its own devices and convey emotion through the empty atmosphere of abandoned buildings. Also I have been fascinated by abandoned places for years and thought this would be a good opportunity to showcase this in my work.

I chose to go to a derelict hotel, where I photographed a number of rooms including the outdoor pool, which was one of my focal points of the shoot as it has mostly been taken over by nature which I thought went well with my theme. I made sure to think back to my artist reference Paul Talling as I took my photos, trying to capture the emotion in his work in my own images.

Marco mori

Mori is a portrait photographer from London who specialises in working with big brands such as Hugo boss and Puma he does advertising shoots for charities such as the British Heart foundation. Mori studied typography at the London college of print. He shoots his images with artificial studio lighting mostly with a white light rather than a warm tone or yellow he shoots these on a canon camera but he doesn’t disclose which one specifically. He also specialises in sympathetic retouching 
why I chose this photographer:

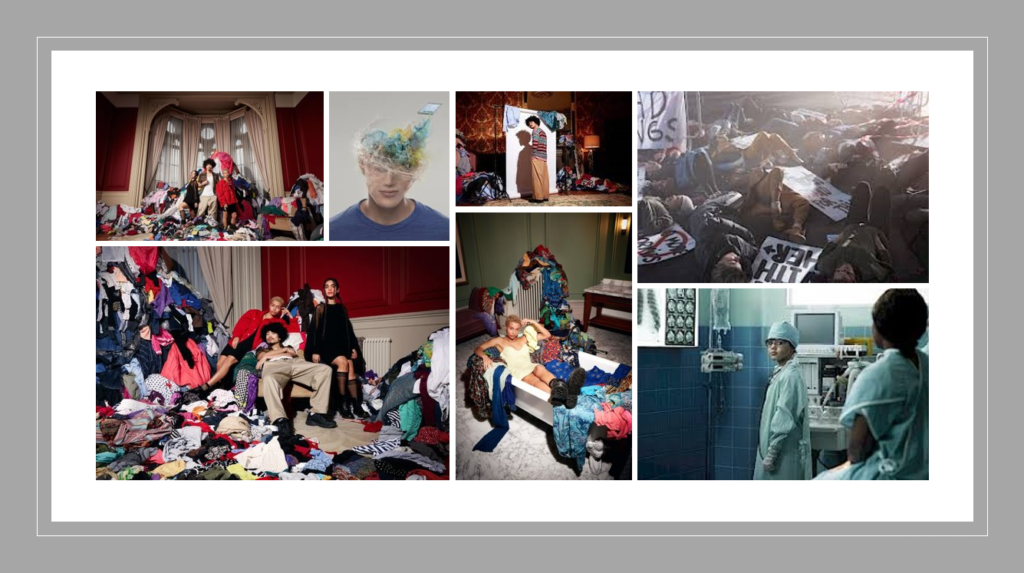
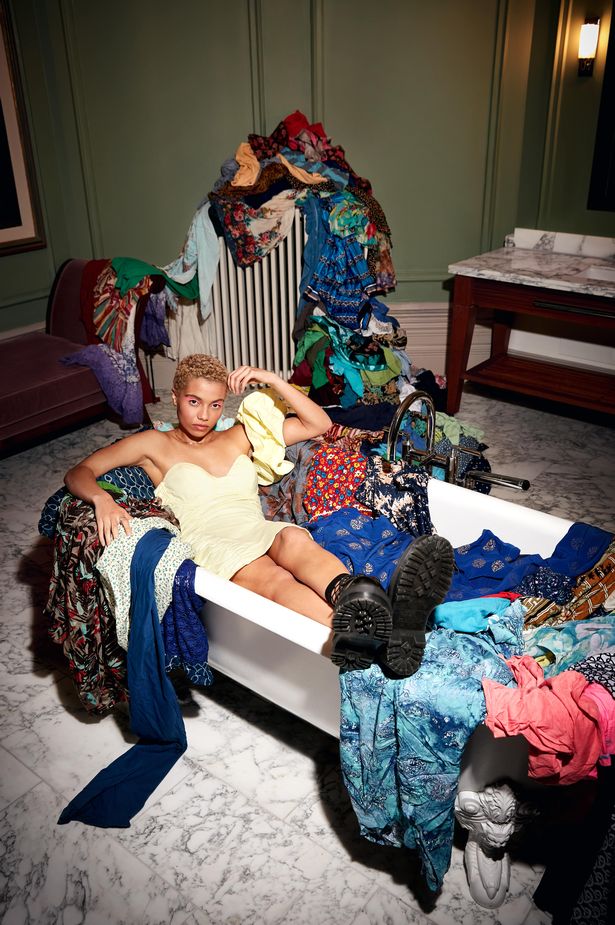
I selected this photographer as his work during London fashion week partnered with the detergent brand vanish to create the ‘Rewear Edit’ fits my theme for this project of bringing awareness to how fashion effects the world more than we think such as the ocean and landfills. During this shoot models were photographed surrounded by clothing waste. Renowned stylist and sustainability advocate Miranda Almond has looked to a rubbish pile to curate outfits for the shoot, highlighting the fact that Britain sends 350,000 tonnes of clothes to landfill each year.

Mori will inspire me to use multiple new angles and try out a new style of modern and conceptual photography in my project.

examples of his work

image analysis

I chose this image as I think its really successful and eye catching by having the model in a simple off white dress it creates a good contrast between the clothing waste she’s surrounded by. The background being also covered in clothing waste creates a smooth transition from the harshness of the bath tub prop which is used. The image is taken from an above angle which creates an interesting horizon as the heater would be your focal point the image creates awareness to the topic while also creating a tunnel focal point.

I think the way Marco photographed this image shows a high level of conceptual and artistic skill as he has managed to capture a series of textures and 3 dimensional objects without losing the message in the image.

IMAGE SELECTION, SUB SELECTION- anthropocene

IMAGE SELECTION

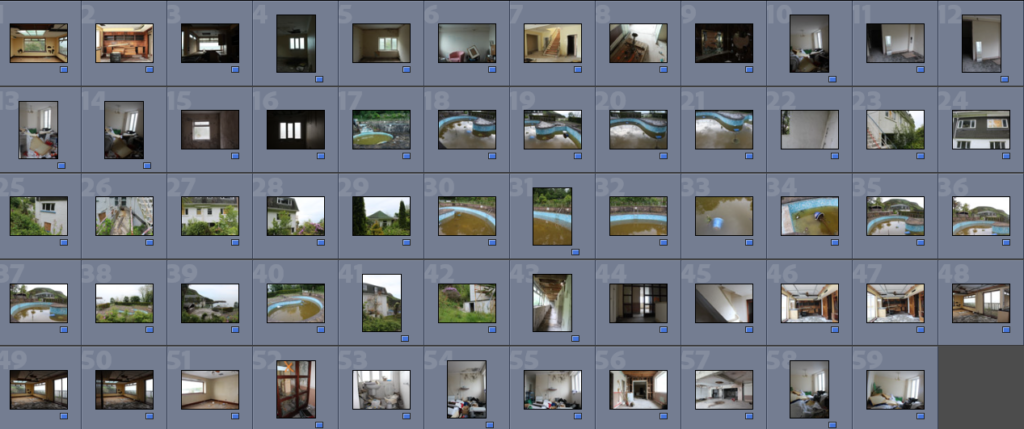
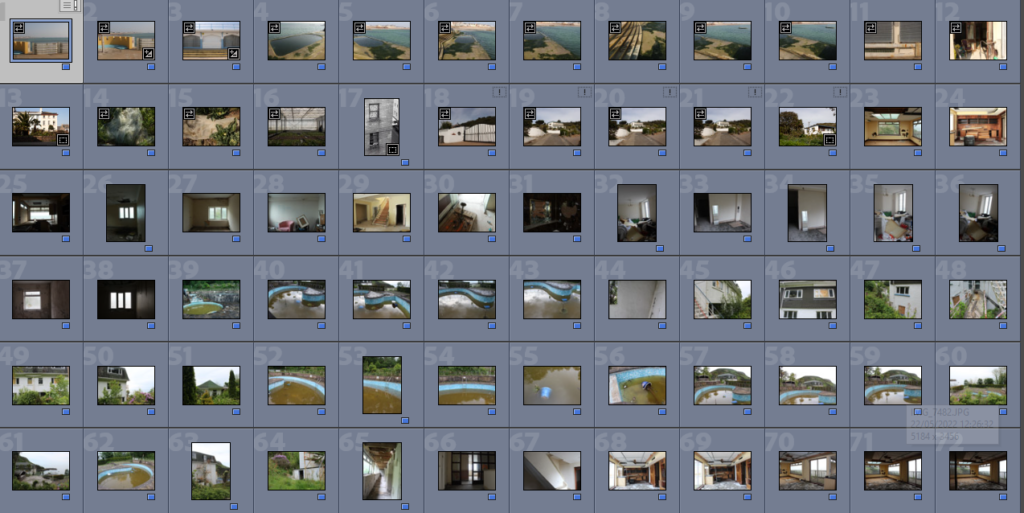
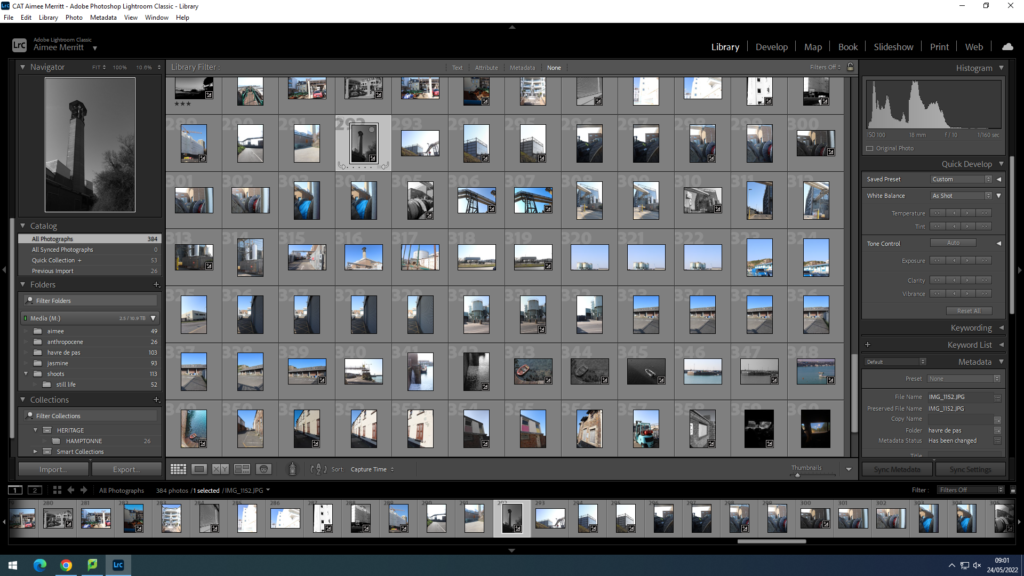
I went through the contact sheets and colour-coded the images I was interested in using for editing to make my final selection of images easier

From this selection I ended up with around 90 images that I believe have potential after editing and more sub-selections.

Some of the images I have previously selected

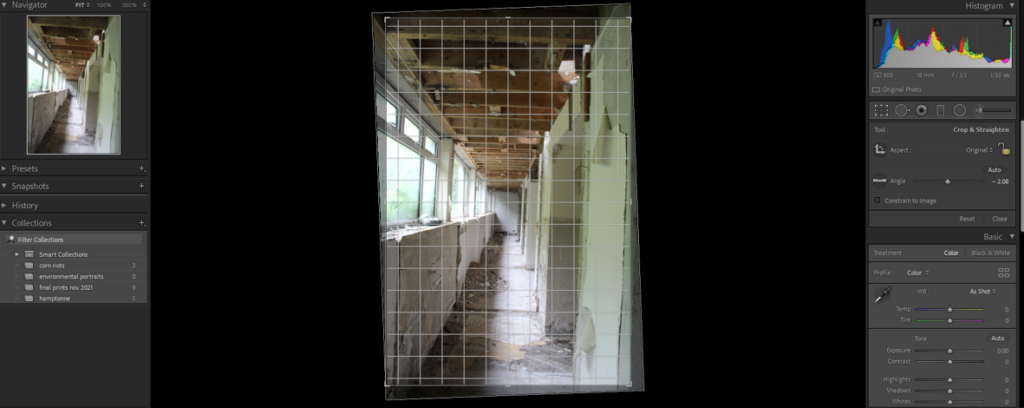
I then started my editing process by going through my first selection of images and doing some basic editing on them (levelling them so they are straight, cropping them to the part of the image I am interested in etc)

While doing this basic editing I colour-coded the images I was most likely to use as my final images.

At this stage of selection I was considering making several typologies as I have many images of similar things, such as windows etc. However this felt too liminal with a lack of meaning, however I may look into triptychs, grids and juxtapositions as display and selection ideas.

for example- window typologies

I continued with my selection by going through my images and collating 17 images I was most confident in, I colour-coded these images red

Below are the images unedited however these are not my final pieces as I still need to make another sub-selection which I will do during editing.

image outcomes

Best images

Editing

outcome

For this image i went on photoshop and dragged one image over the other, i then changed the opacity so they would layer nicely. I then sharpened around the sides there was a more dramatic effect.

Comparison

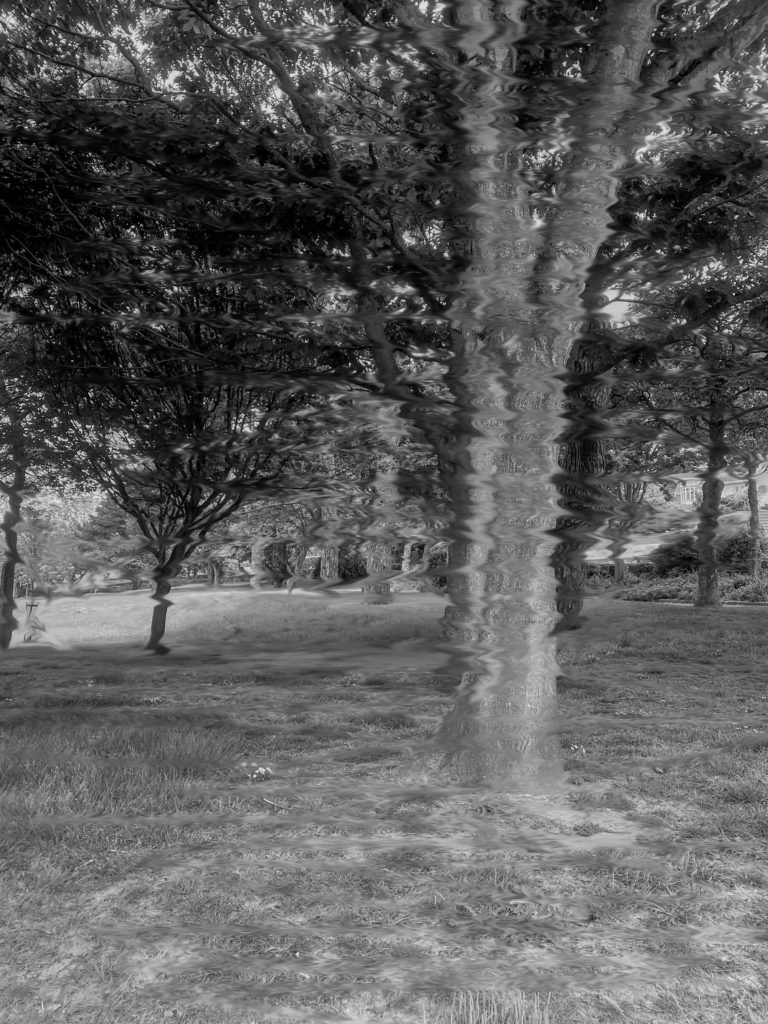
I edited this picture so it would relate to one of my artists photographs that i studied by using the smudge tool so create a blurred photo effect which Sara Cuce uses.

contact sheets – image selection

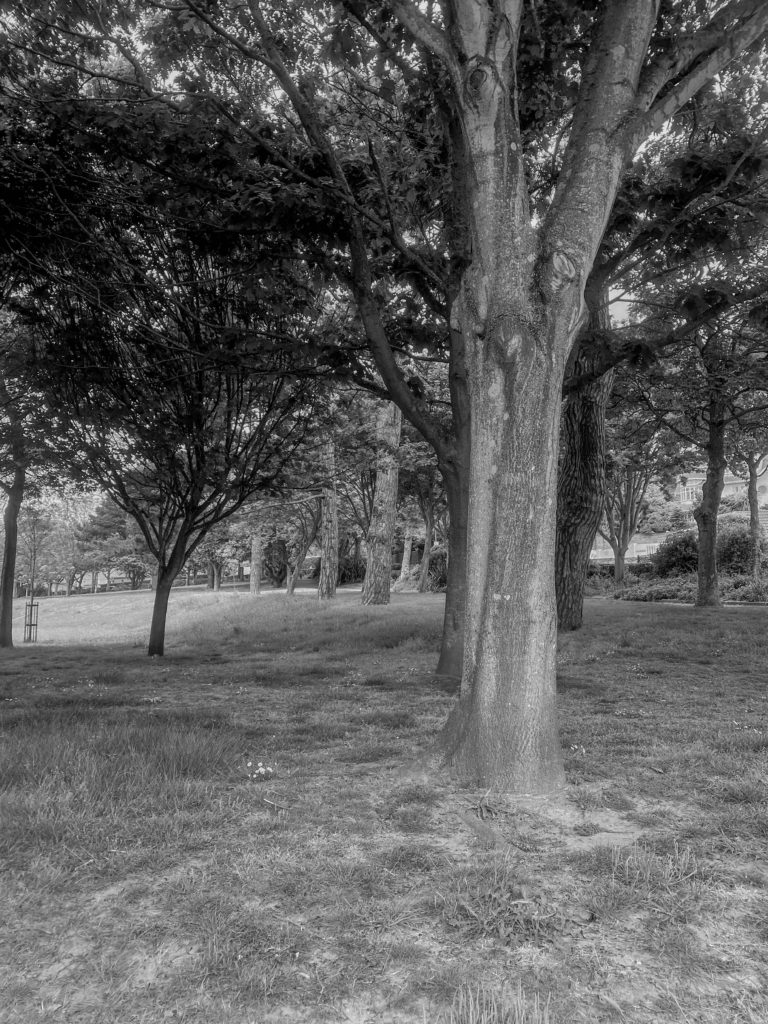
Each of these photographs have been edited into black and white, i mainly experimented on landscapes because there is a wider range of landscapes that can be photographed.

Editing

I mainly adjusted exposure and shadows for my photographs so then when put in black and white they gave a darker looking effect. I think by adjusting the images have made them look more presentable and visually more interesting.

Craig McDean

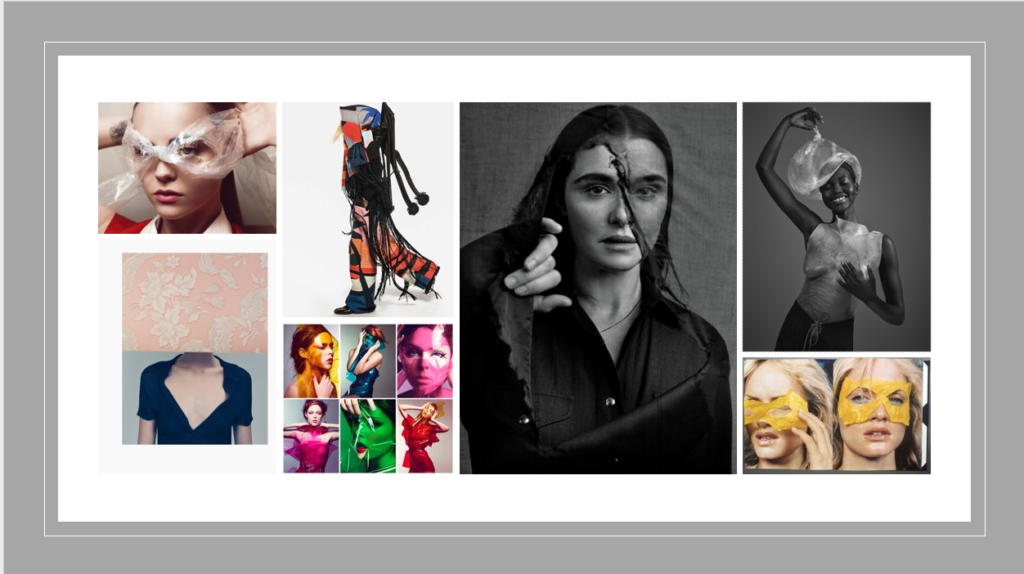
Craig is a British fashion photographer who works with multiple medias such as plastics and papers to show effects of pollution through editorial fashion concepts

examples of his work

This image has an empty alt attribute; its file name is image-33-1024x574.png
why I chose this photographer:

I chose to research Craig’s work as it has a element of sustainability and I like how his concepts take more thought as when looking at the images its not an obvious fashion has an effect on the world and pollution but when you have a closer look and realise these materials are plastics, paper and cottons shaped into a beautiful array of images. I also think his style of photography is inspiring as I like how he uses different lighting techniques and angles to give certain images a darker more meaningful tone in order to portray my theme I will attempt to use his images and style of photography to expand on my ideas further by implementing his use of multi medias to create 3d images.

image analysis

This image has an empty alt attribute; its file name is images-16-edited.jpg

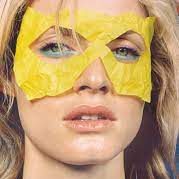
I chose to analyse this image as I think it shows successfully a good balance between his work on the importance of raising awareness to the pollution that the fashion industry causes the use of contrasting colours such as the yellow of the paper and the blue of the eyeshadow it pulls focus to the eyes using a butterfly lighting technique to create a shadow under the chin and nose of the model while adding depth to the yellow paper the portrait is taken as a sort of headshot style I think this helps portray emotion in the image as you can see this look of almost despair on the models face.

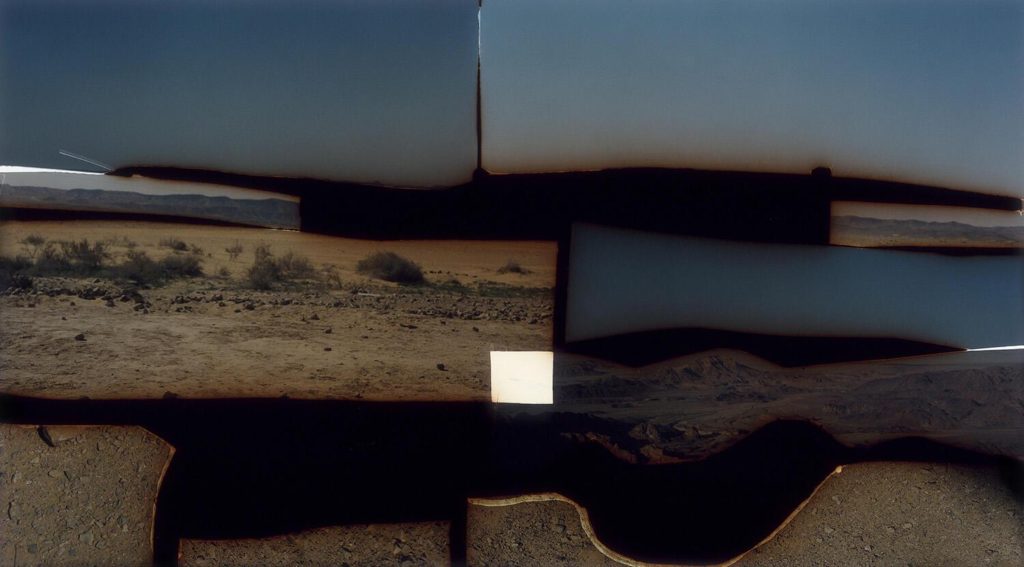
Anthropocene: Experimenting – Dafna Talmor

My Experiments:

Experiment 1:

Final Edit

My attempts:

1
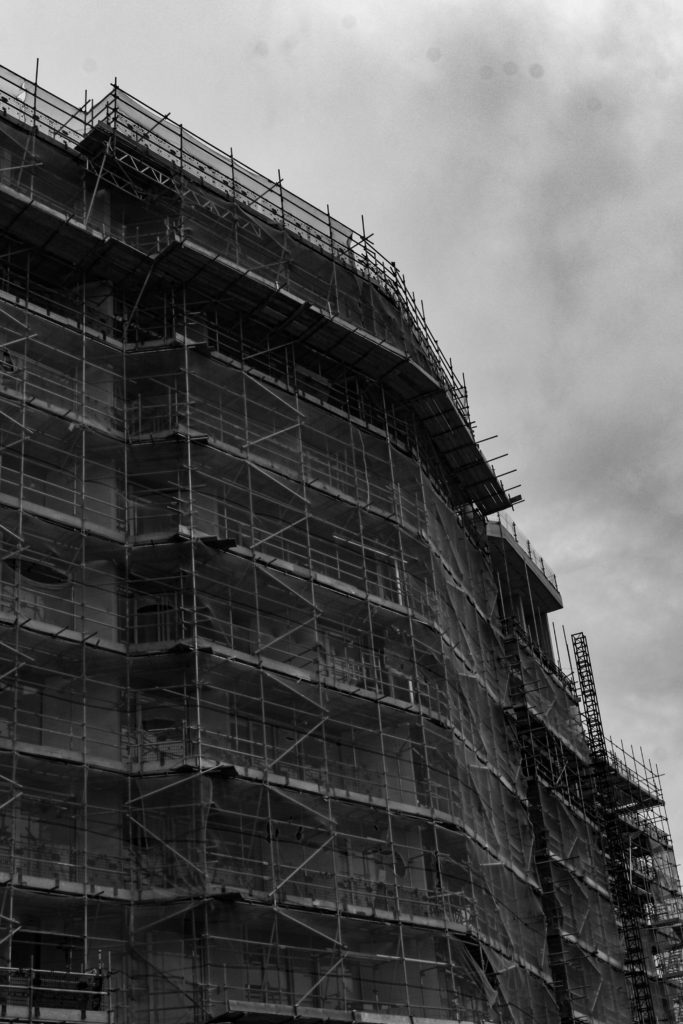
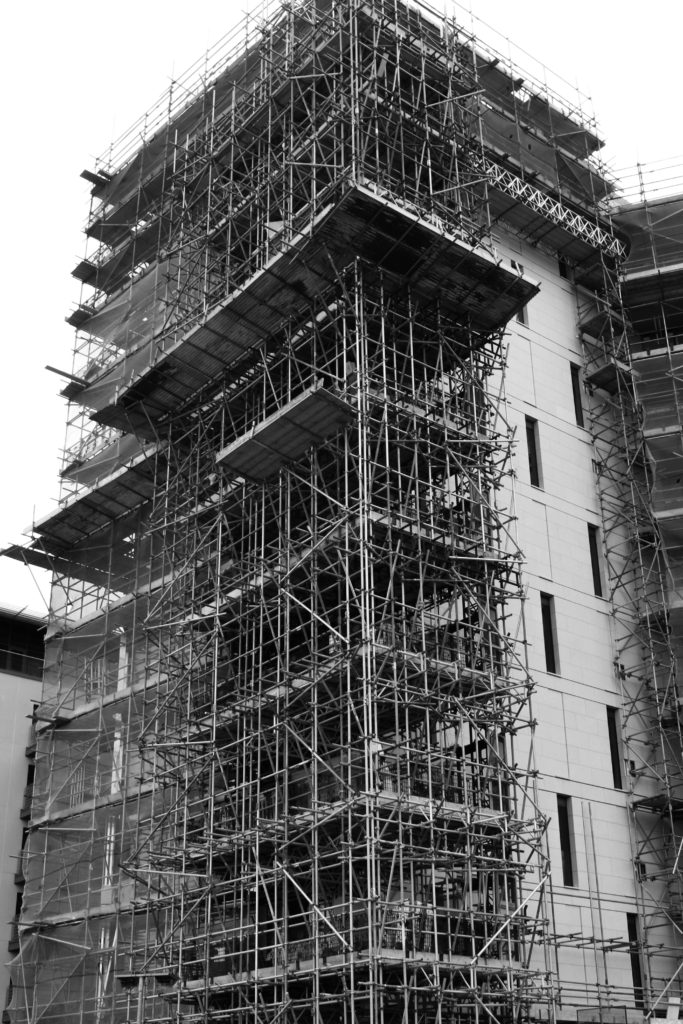
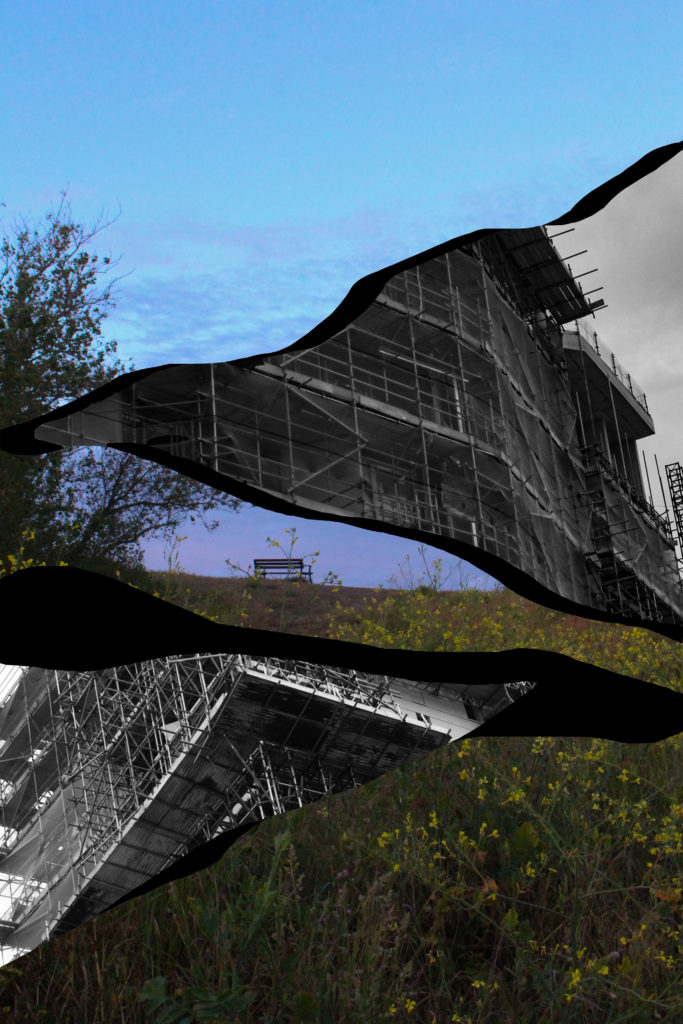
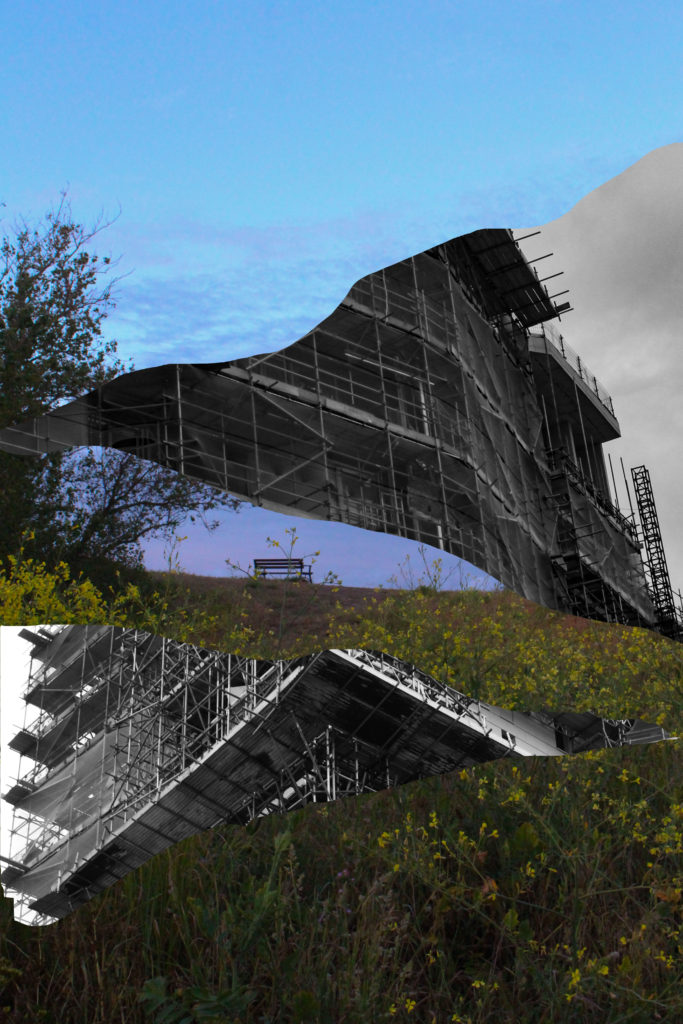
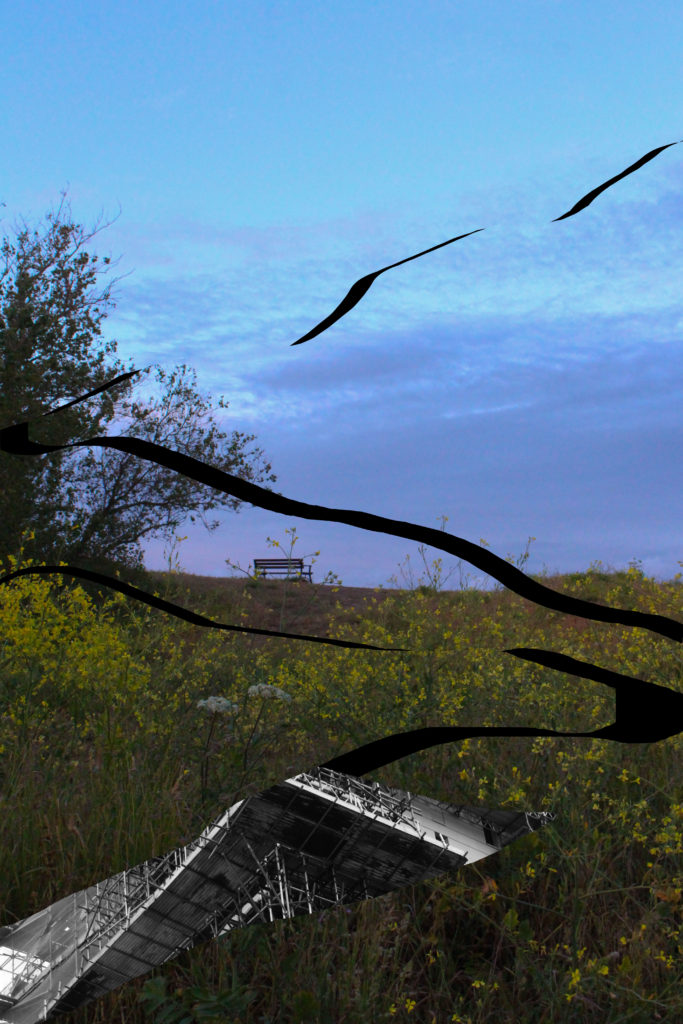
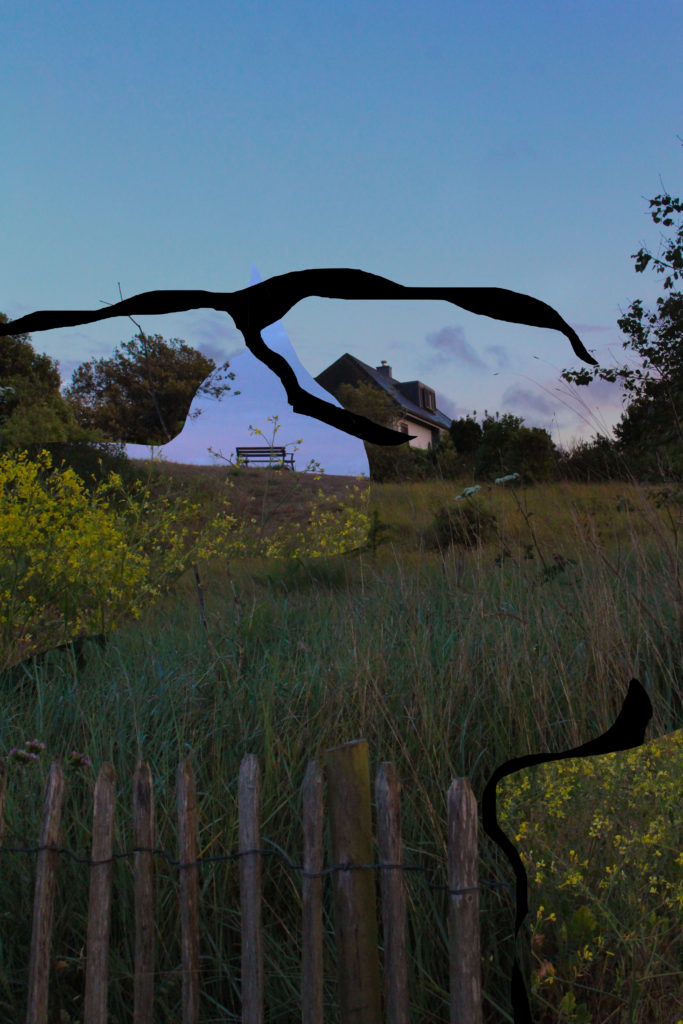
This is the first edit I did because I like the Idea of having a more natural background with industrial bits showing. I used the ‘lasso tool’ on the images of scaffoldings to get those shapes then I just pasted them on to my original image.
3
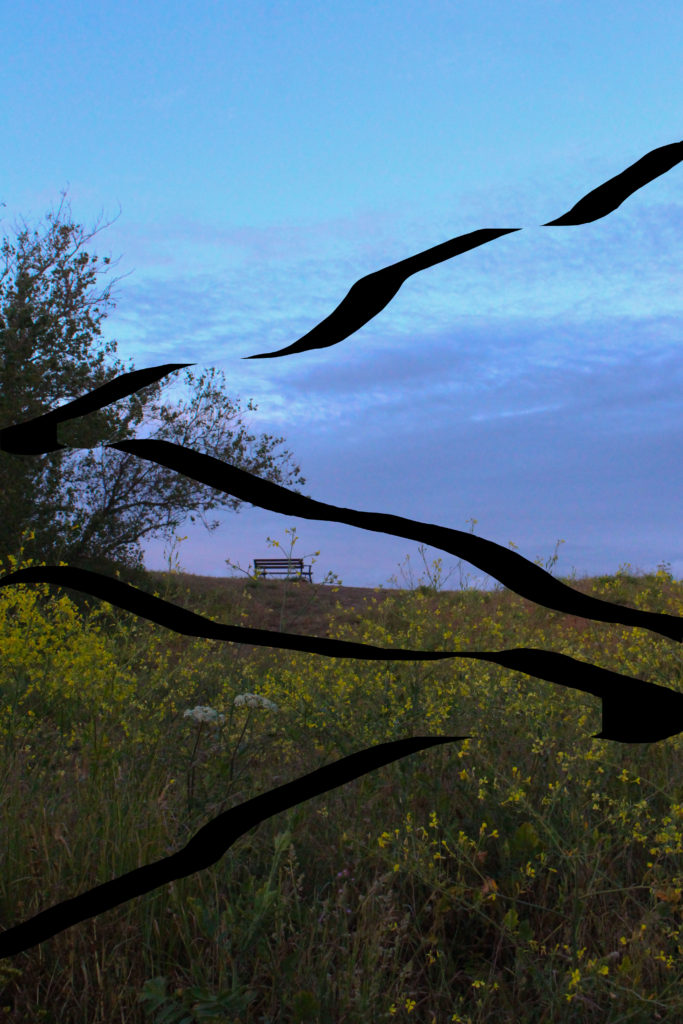
Here I did the same thing as in my 2nd try, but instead of hiding the layers I kept them and hid the scaffoldings because I wanted to see if it looked better without them. I like this one because of the black lines which I think make the image less boring. however, there is not much going on an looks plain so I won’t use it.
2
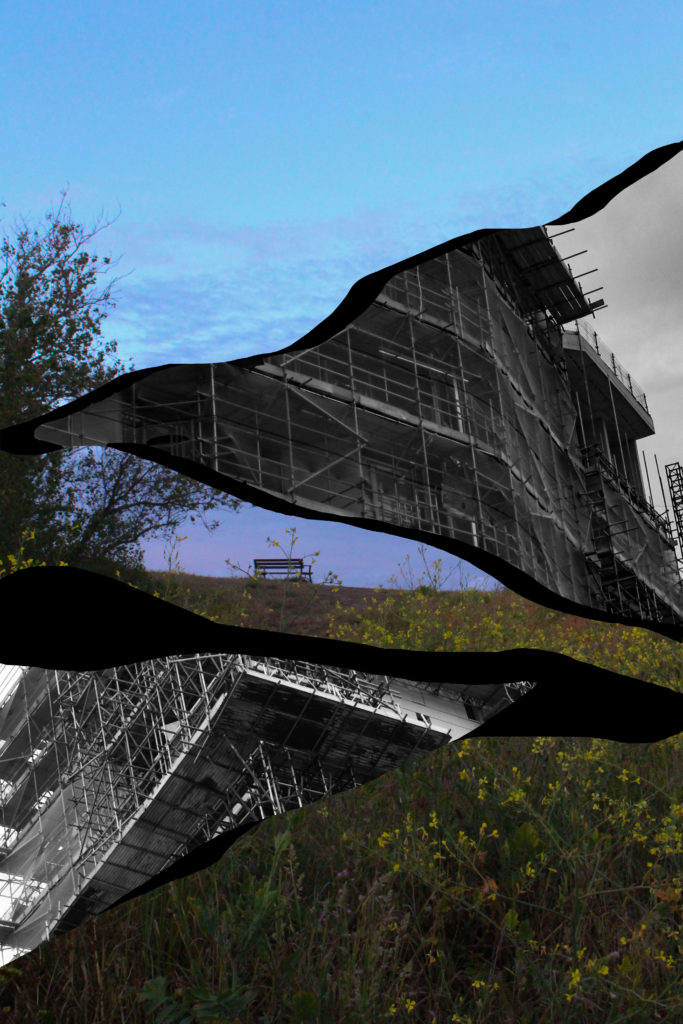
This one is very similar to the previous edit because it’s the same idea. However, this one has black space behind the scaffoldings making it look more like Talmor’s work. I got the dark space by using the ‘lasso tool’ on my original layer, right clicking and selecting ‘layer via cut’. Then I hid the new layers and put the scaffolding ones on top.
4
This one’s is the same as the last one. The only difference is that I added a bit of the scaffolding on the left under one of my other layers.

Experiment 2:

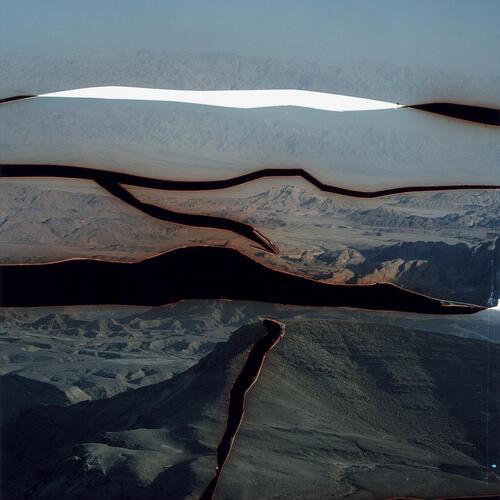
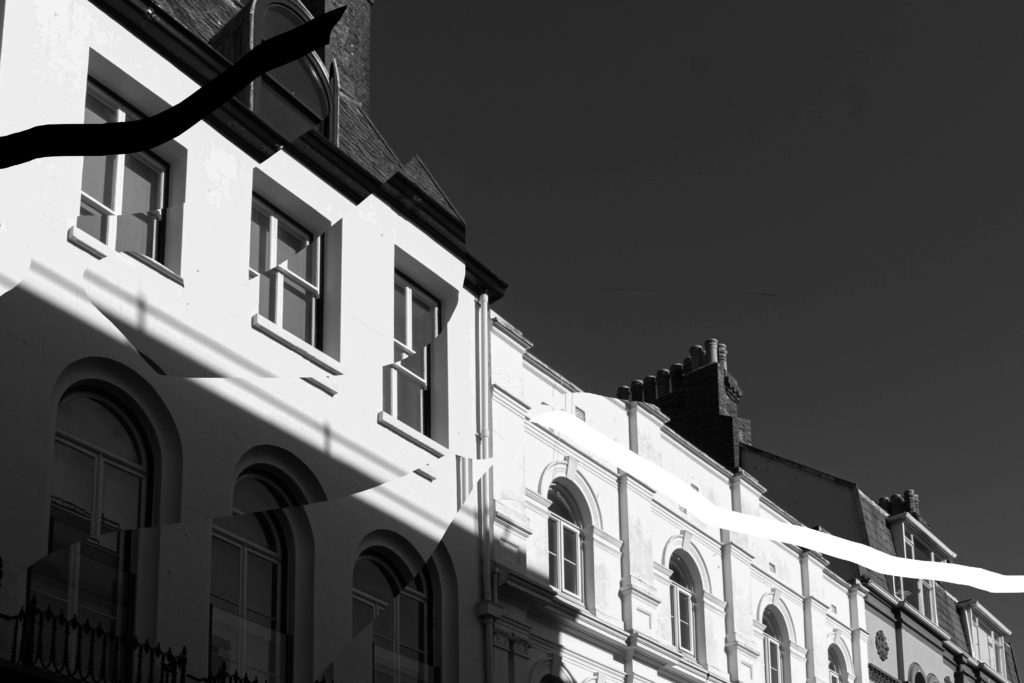
For this edit I used the same technique with the lasso tool and just slightly moved my layers from where the used to be. I like the way it turned out because it looks like a broken mirror which I think is quite interesting.

Experiment 3:

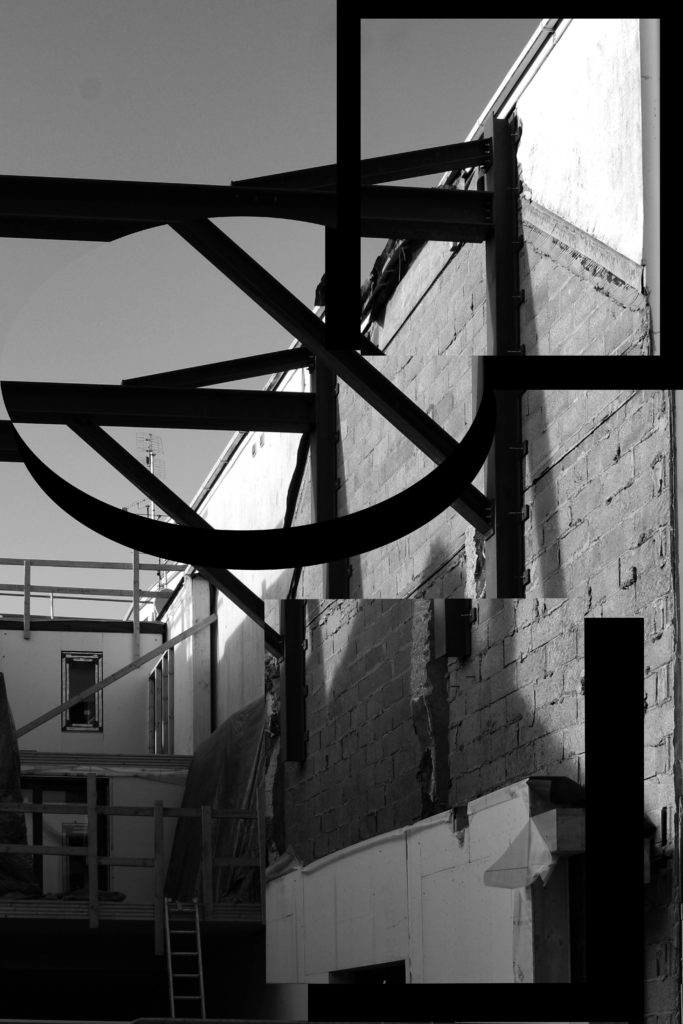
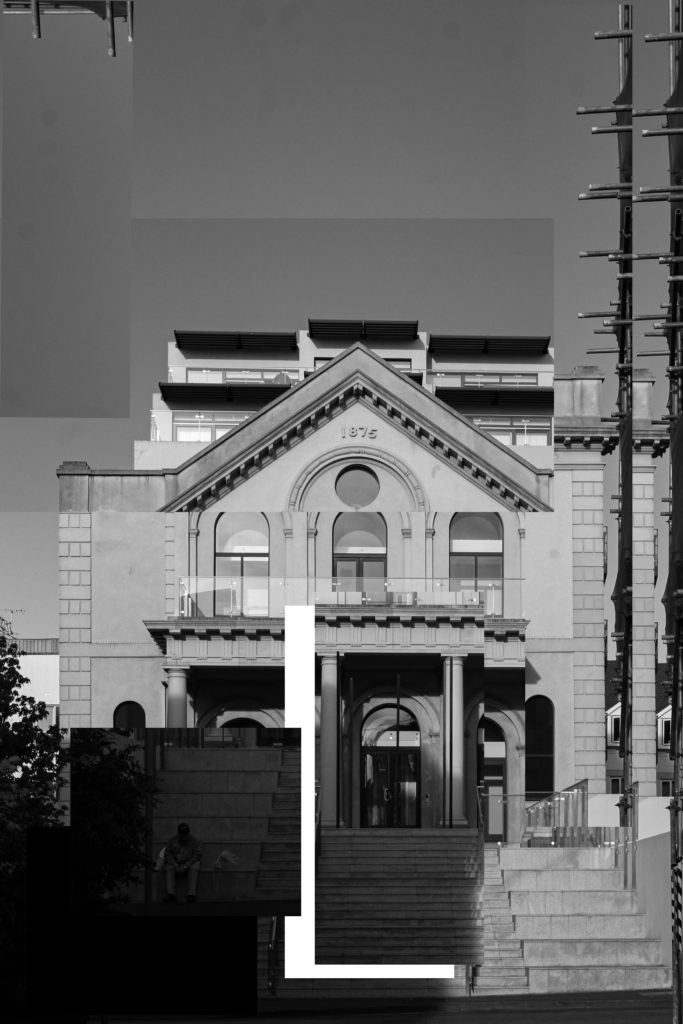
I had the same idea in mind for this edit but instead of using the lasso tool and getting more organic shapes, I used the ‘rectangular marquee tool’ and ‘elliptical marquee tool’ to get the shapes. I like the way it turned out because it looks quite abstract.

More:

Anthropocene: Editing 2

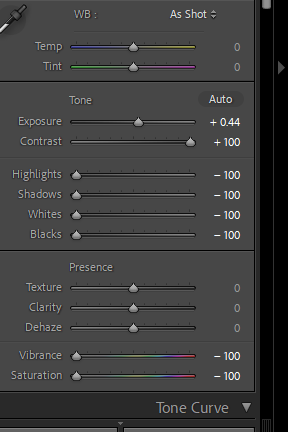
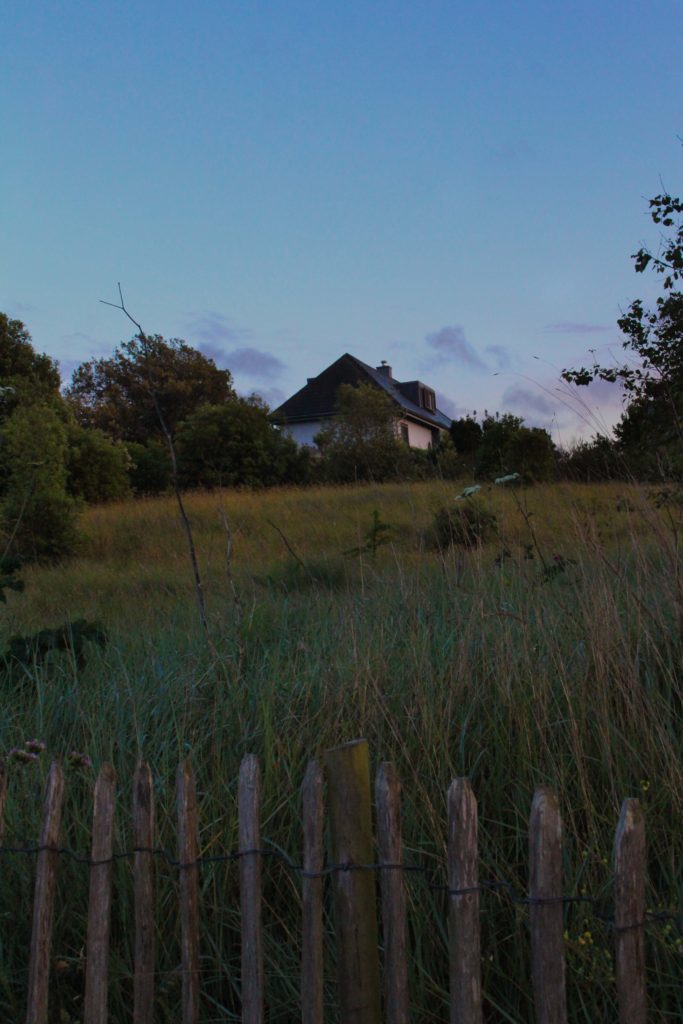
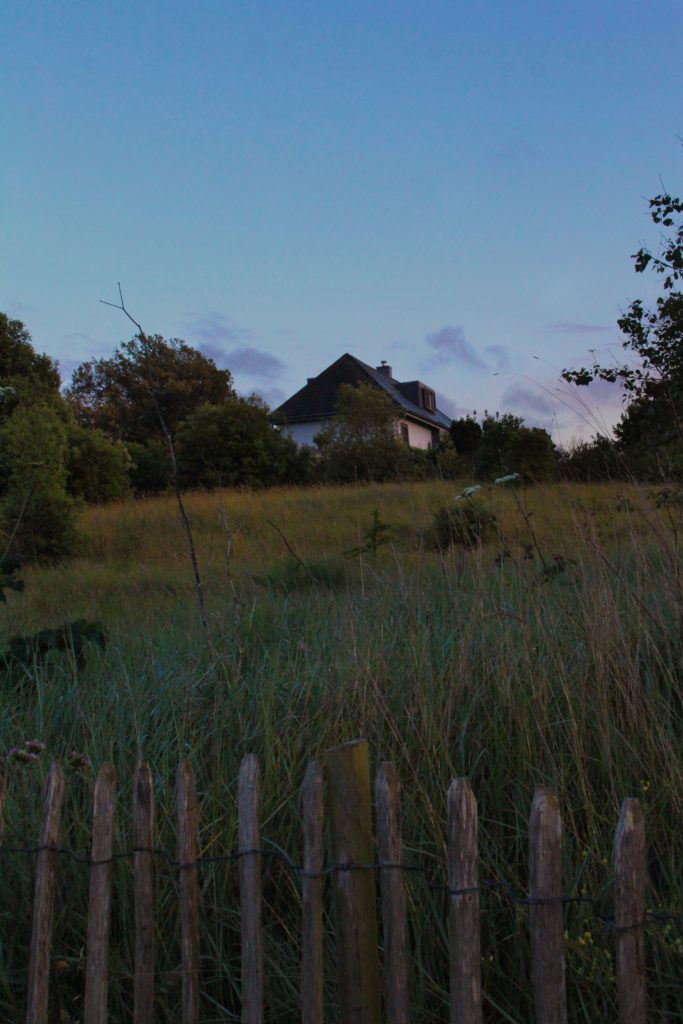
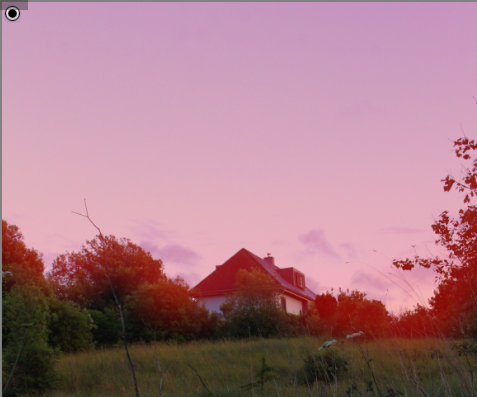
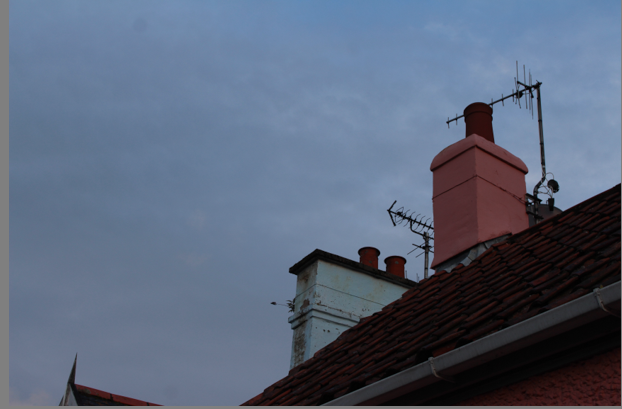
After I selected my images, I used Lightroom to edit them slightly by changing some of the settings.

Edit 1:

Final Edit
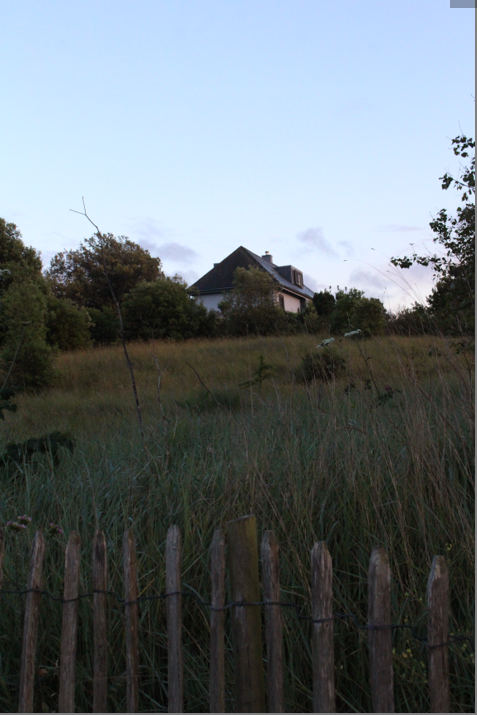
After
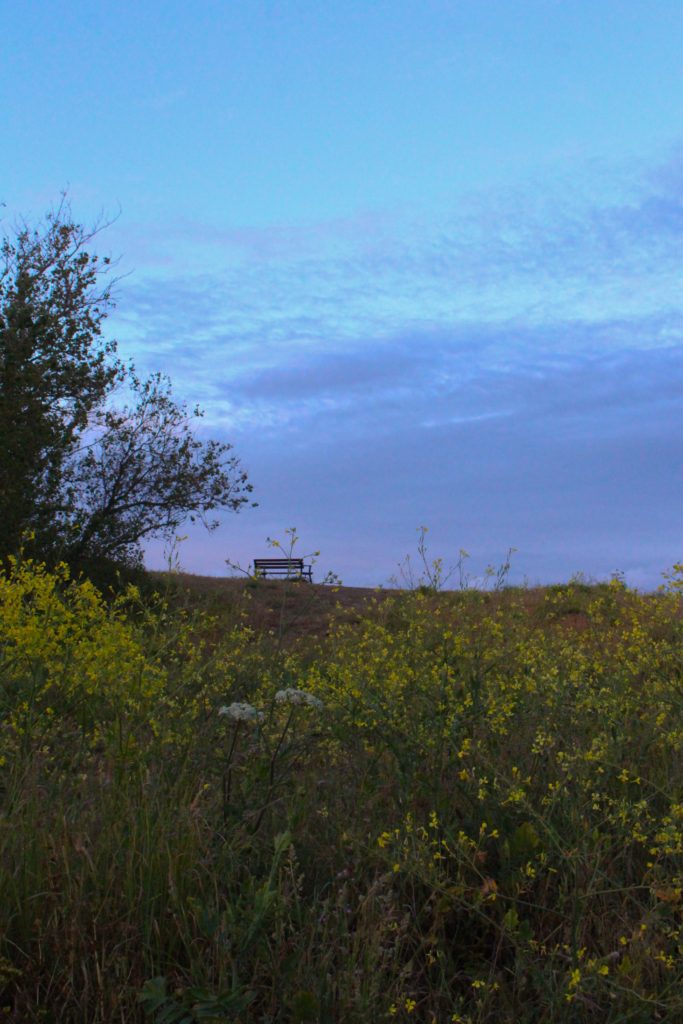
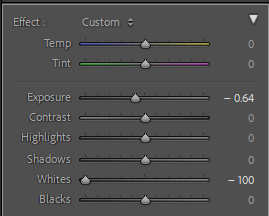
I selected the sky using the ‘adjustment brush’ (shortcut = K) because I wanted to make the clouds more visible without messing with the whole image. I turned the whites all the way down which helped me achieve this look. Then I just turned the exposure down a little.
Before
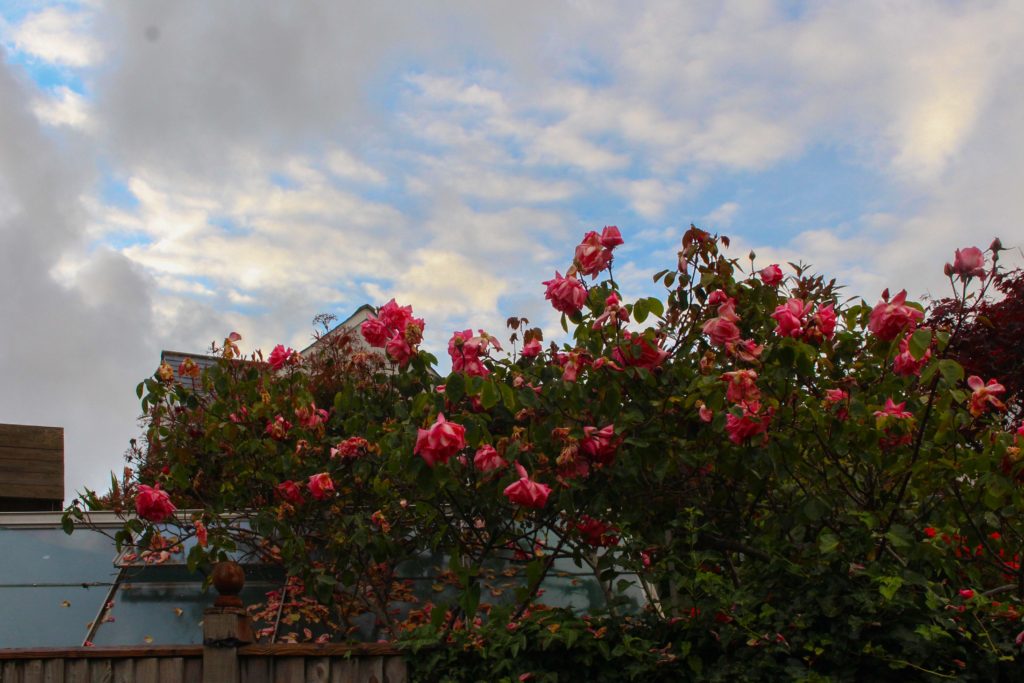
For this edit I just turned up the vibrance and saturation to make the colours pop more.

Edit 2:

Final Edit
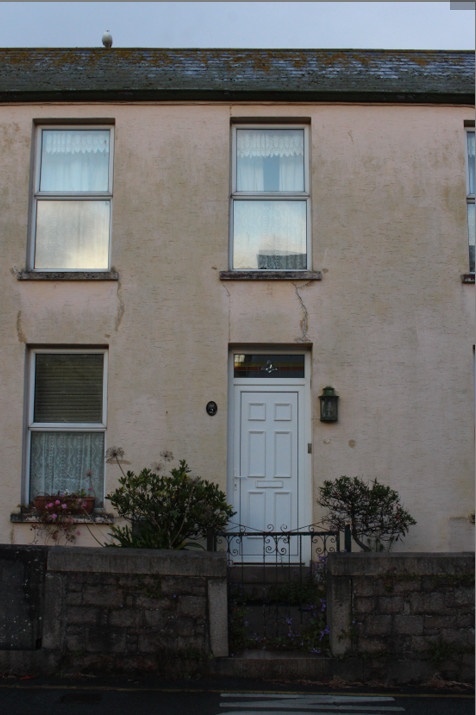
Before
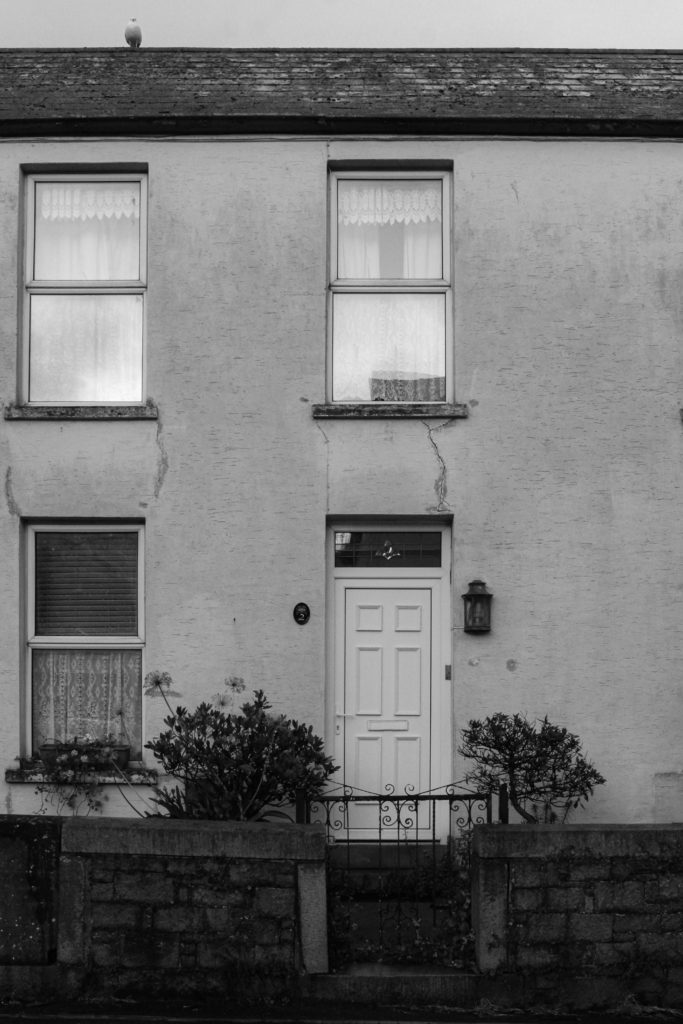
After

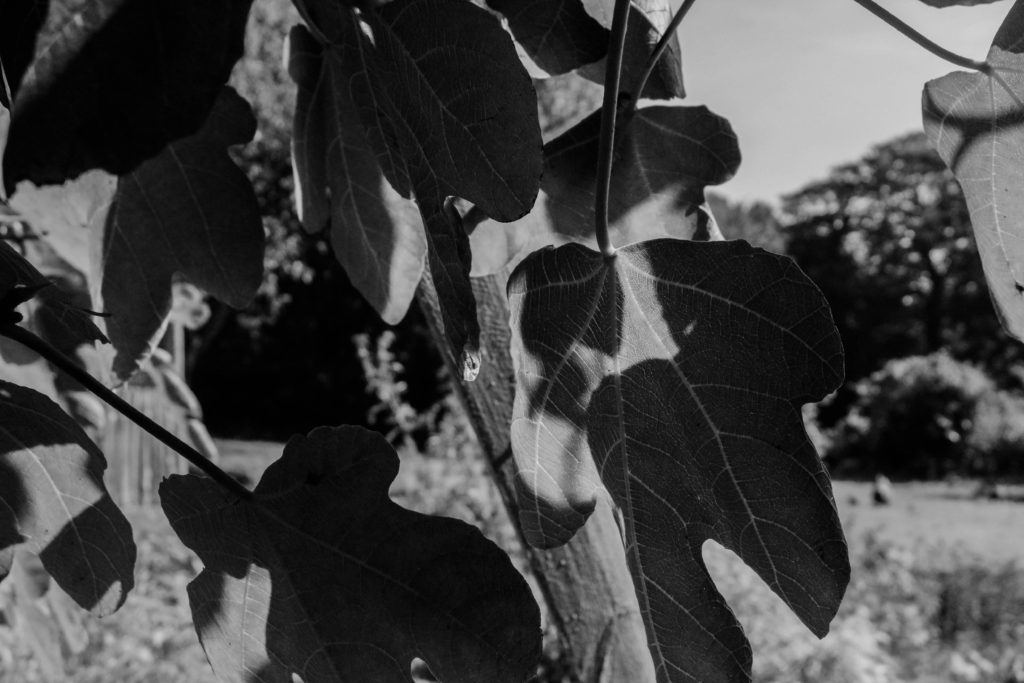
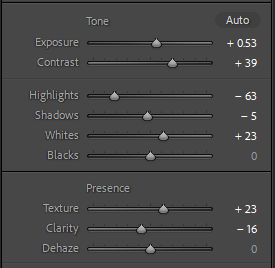
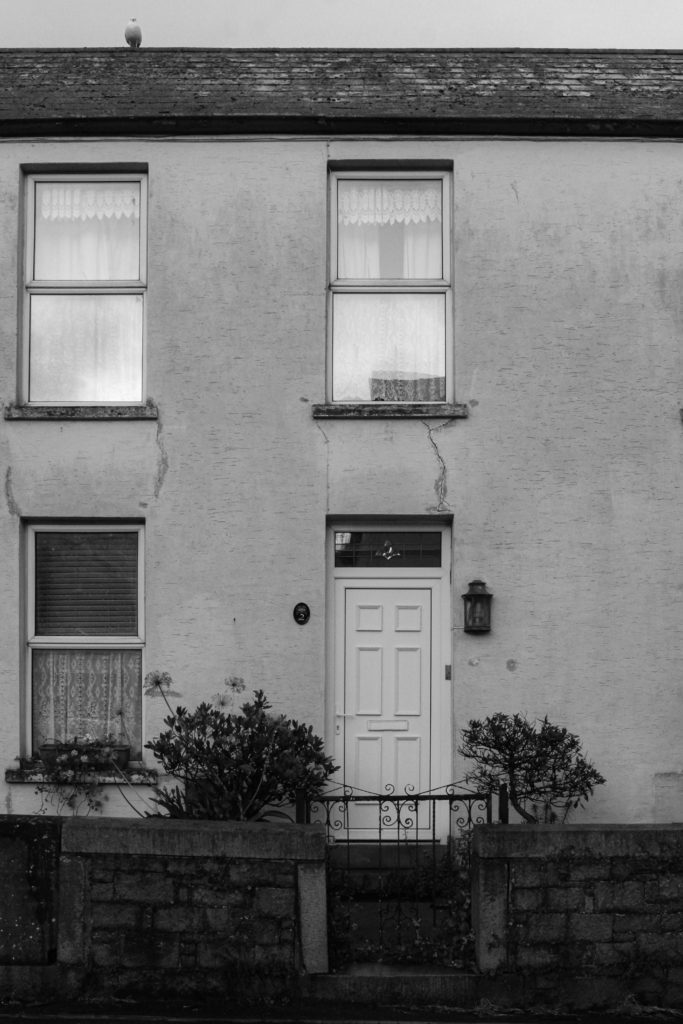
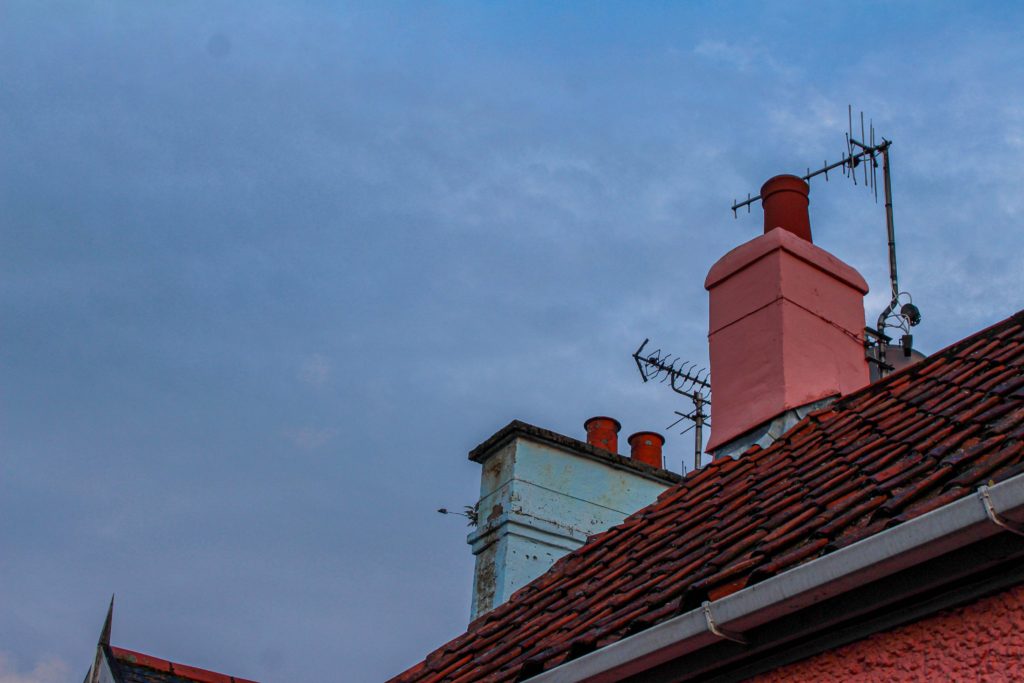
I started by turning the image black and white to make it look slightly older, and cropped it. I then turned down the highlights and played with the other setting until I got something that I liked. I also messed with the texture and clarity to make the details stand out more in the image.

Edit 3:

Final Edit
After

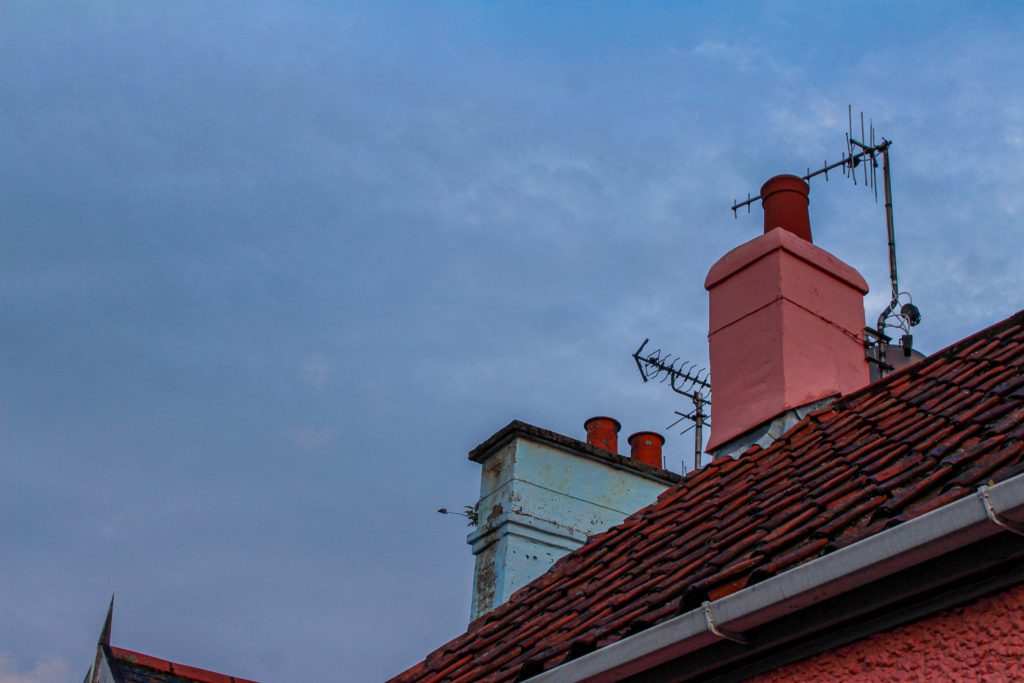
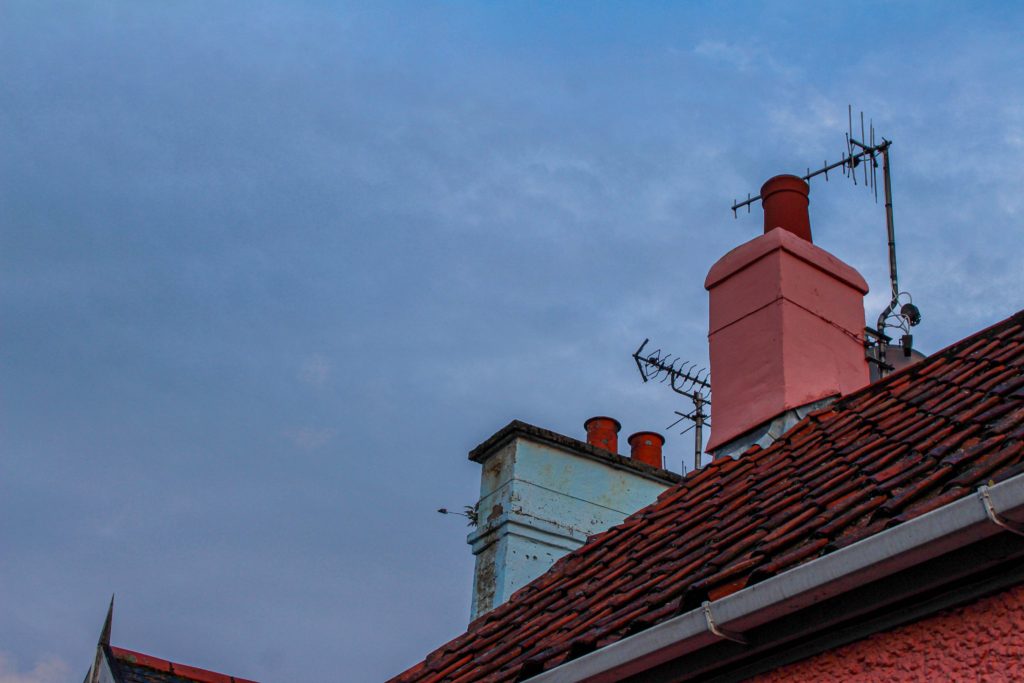
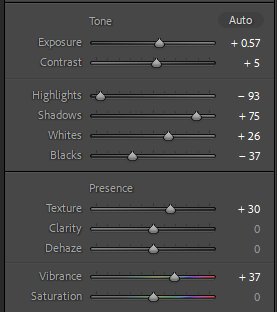
I like this edit because I think the colours are nice and vibrant. I also like the angle I took the photo from. I turned the highlights all the way down to make it slightly lighter and make the sky/clouds more visible. I then played with the shadows and whites/blacks to do the same thing. At the end I turned up the vibrance to make the colours stand out more.

Before

Edits:

Editing + experimentation

Old Vs New

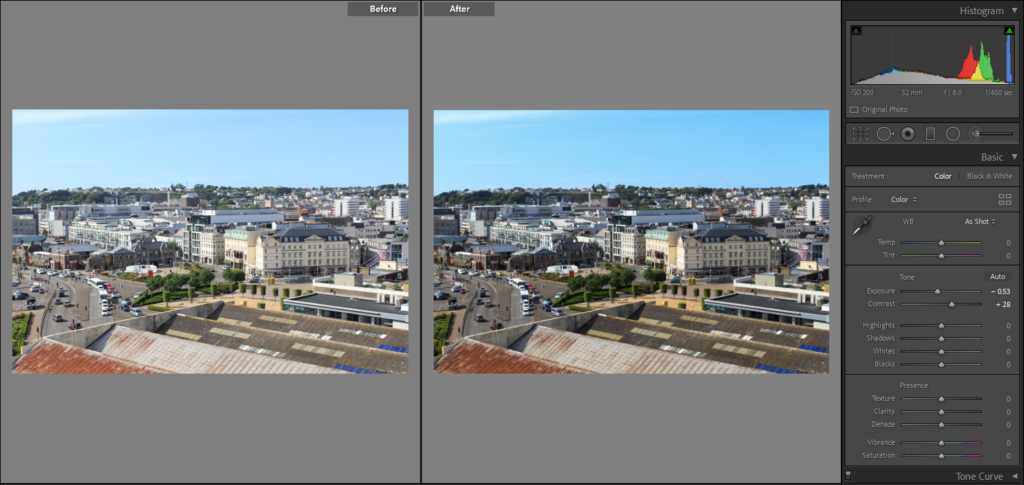
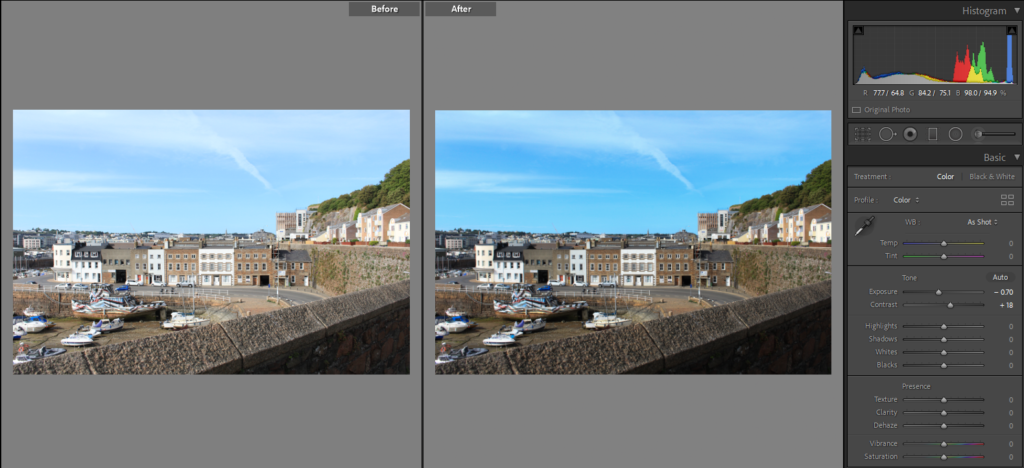
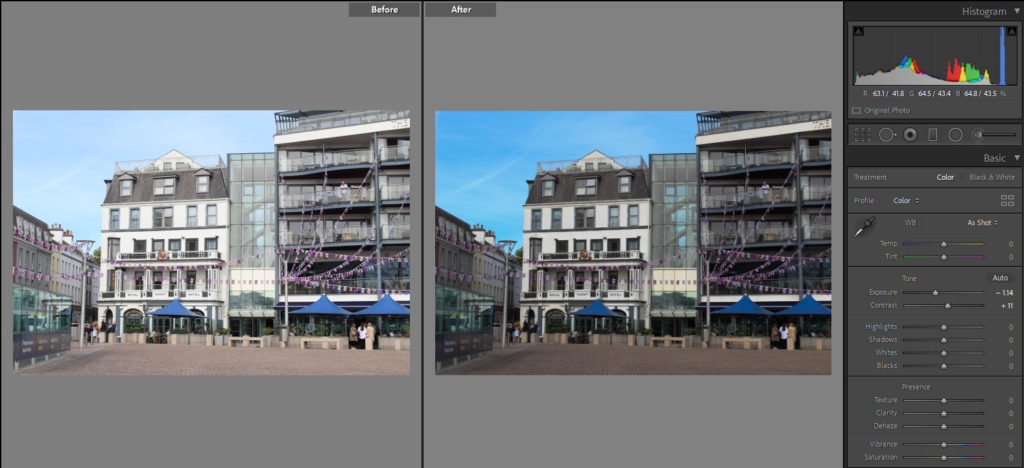
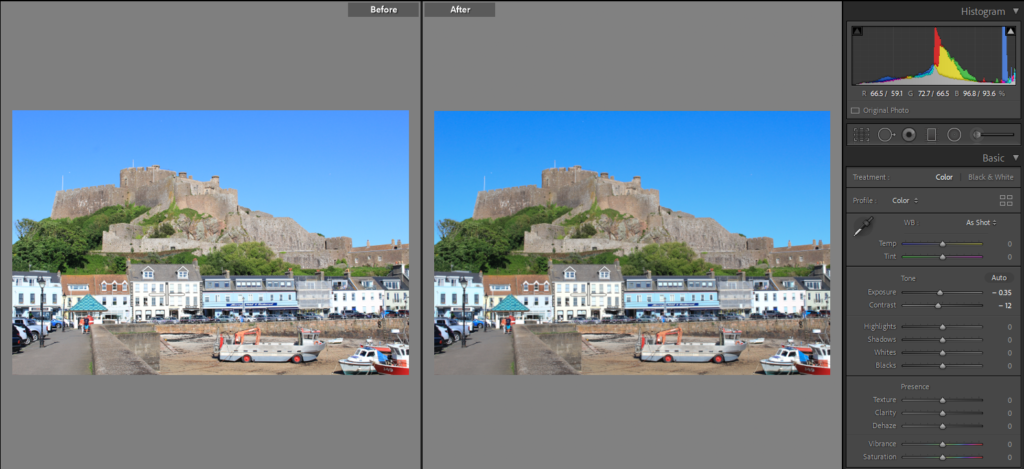
As I didn’t need to change much about these photos, because I need to keep them relatively the same, I have only touched the exposure and contrast. I took the first three photographs on a sunny day, but there were still some clouds as I took the last photo on a sunny day with a clear sky. Because I took them on these days some of them came out overexposed so, I have decreased the exposure and increased the contrast to combat this problem. But in the last photo of Mont Orgueil Castle, I have decreased the contrast because I felt the rocks the castle is made out of were too dark if I edited it the same as the other photos. By doing this the sky is a lot more vibrant and bright which I also didn’t think would fit well with the first three.

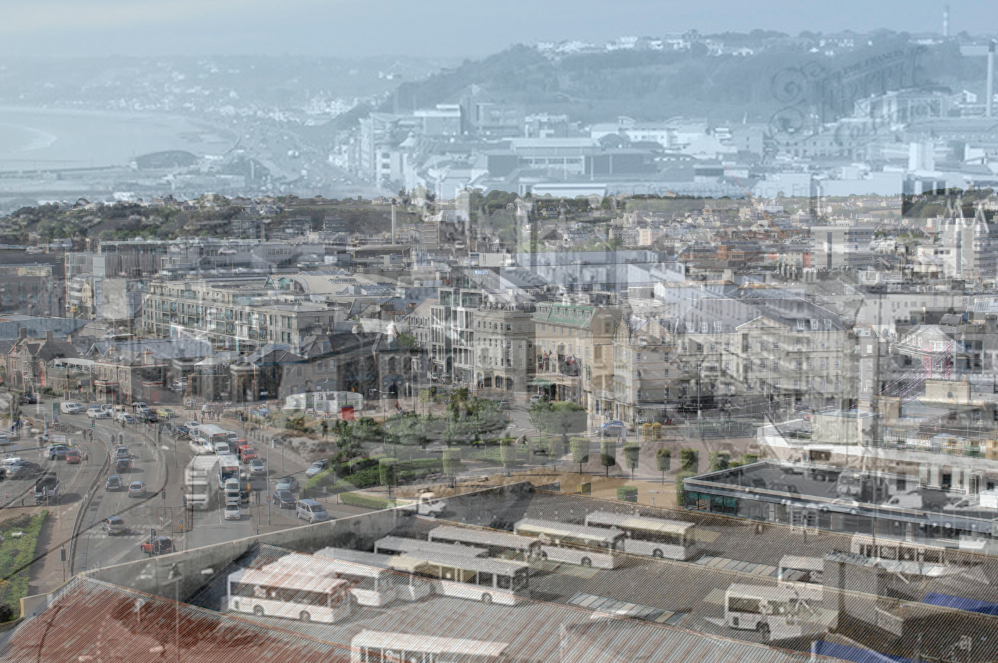
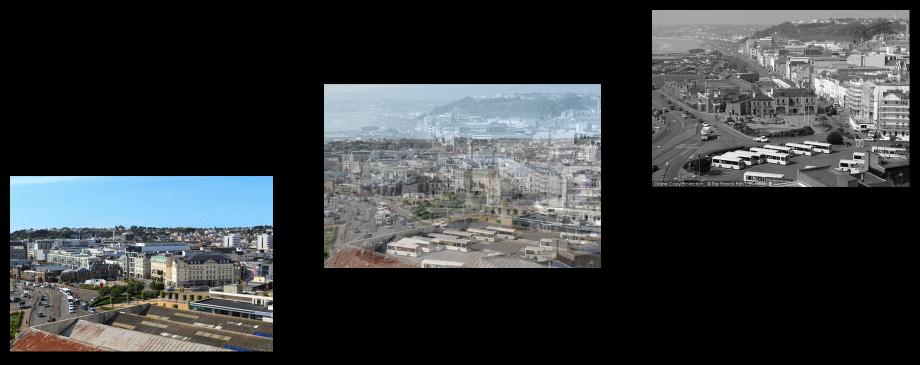
My idea for this photoshoot is to make a sequence out of three images, the first photograph is from the ‘old’ collection, the middle is a combination of both photos and the final photo is from the ‘new’ collection. I would like to do a mixture of four different editing styles for the middle photo so that each sequence/combination of photos is different and has its own style. The four styles I’m planning on using are juxtaposition, overlapping, montage and double exposure, I like these because they will be able to clearly show a transition between old and new.
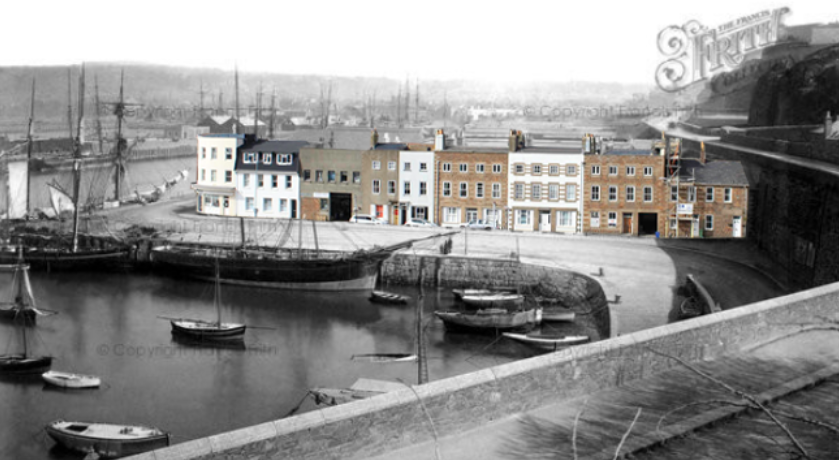
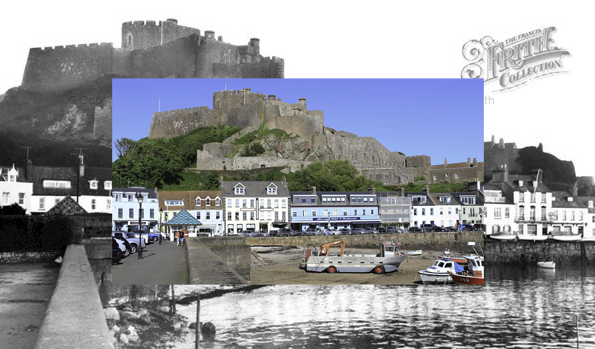
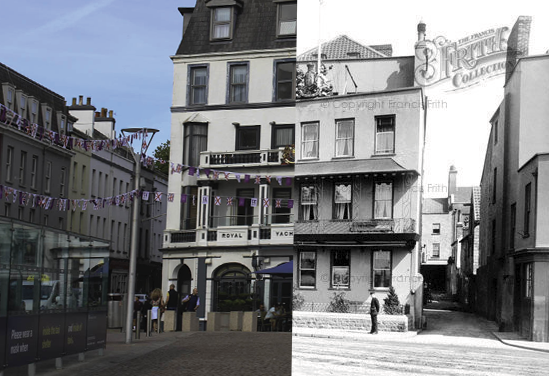
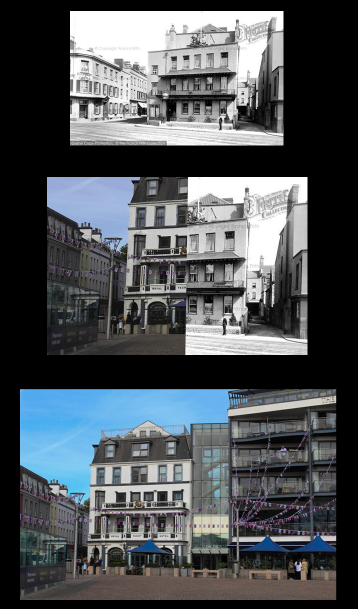
I edited my combinations in photoshop as I was able to use different tools to help me achieve these outcomes, I used tools such as the lasso, cropping and opacity. For the top left photo, I decided to overlap the old and new photos because I liked the way the bright colours from the ‘new’ stood out against the black and white of the ‘old’. I also tried to line up the houses and buildings in each photograph as it looks more put together and the new image doesn’t look out of place against the old. For the top right photo, I wanted to put each of the images side by side because I liked the idea of having one side ‘new’ and one side ‘old’. I tried to match up the photos but there had been an extension upwards, meaning there was a new roof built, which made it harder for me to do. Eventually, I had to crop the new photo but it still resembles my idea and the buildings in each photo line up better. I decided for the bottom left combination that I wanted to do a montage of the two photos, this is where I used the lasso tool, in photoshop I outlined the row of buildings just behind the harbour in the ‘new’ and transferred it to the ‘old’. Again, I tried to line it up so that the photo looks accurate to the old photo underneath. I decided not to move anything else as there were too many other objects in the way for it to look right and like they fit in the photo. Finally, for the bottom right photo, I layered the old and new photographs completely on top of each other, and then I decreased the opacity which allows me to see the photo underneath through the photo on top.

Mass Wastage

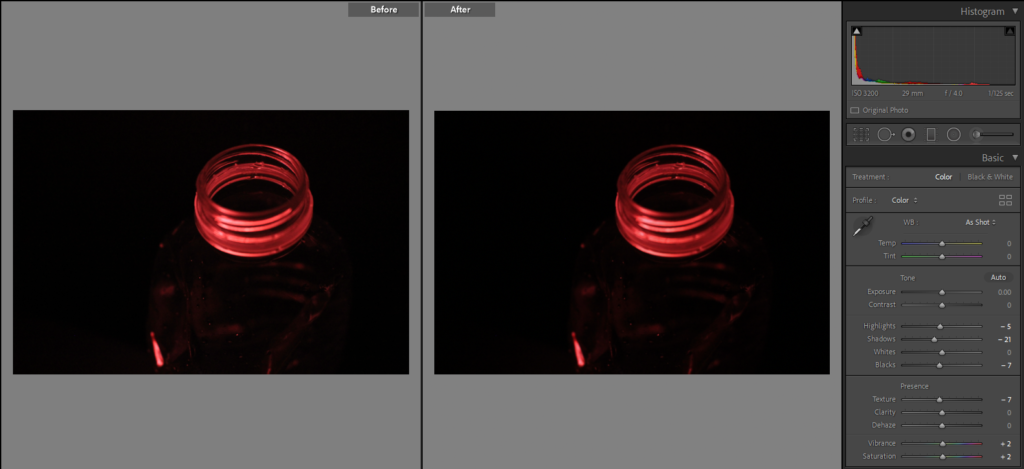
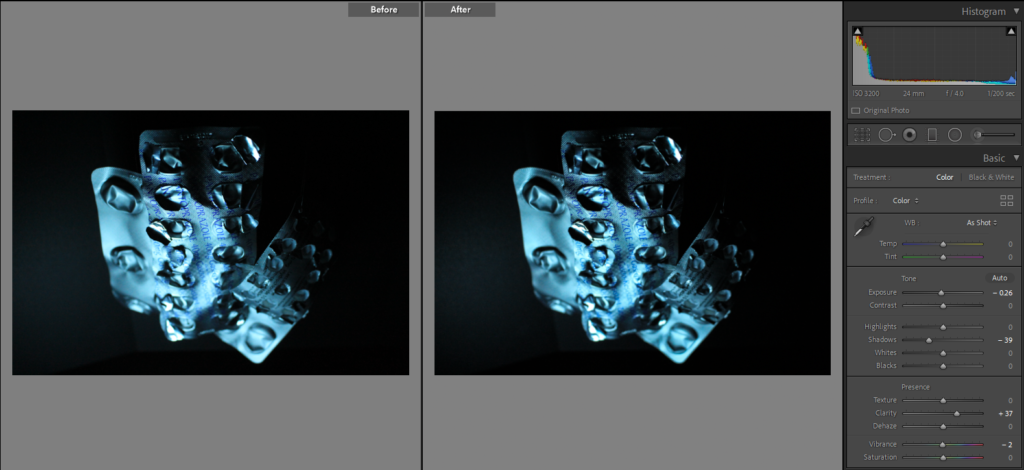
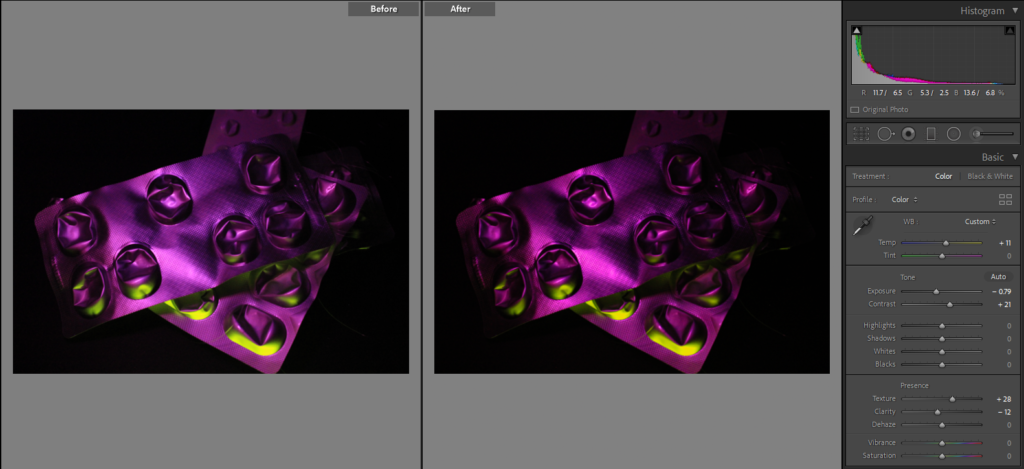
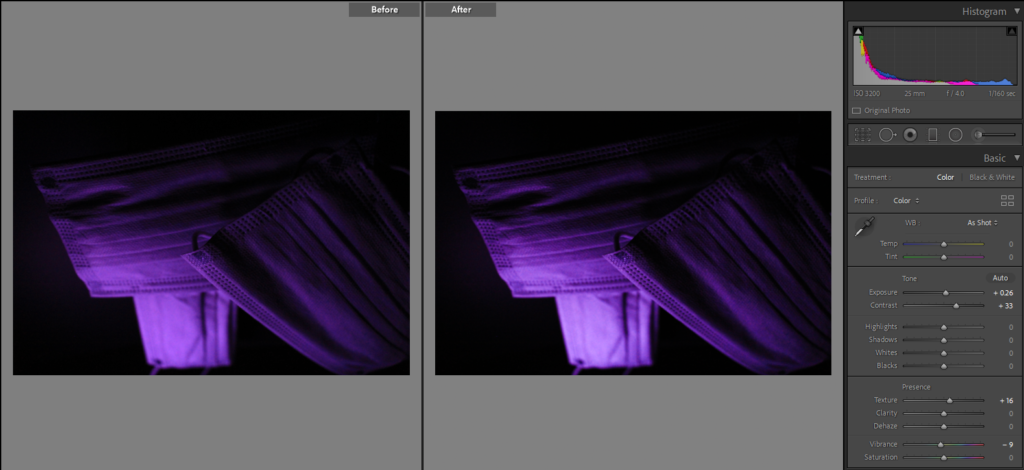
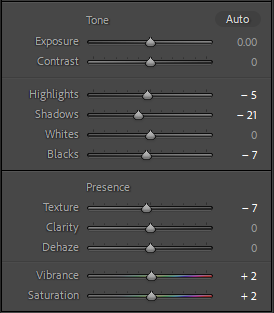
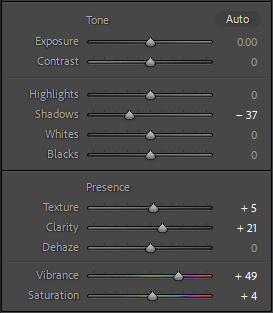
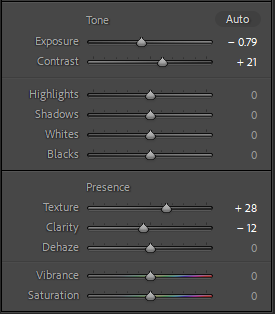
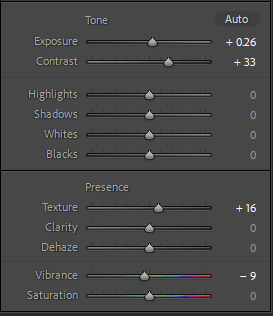
As I originally photographed my different objects with coloured lighting I didn’t have to do much for the editing of each image, I was also already happy with how they turned out. I still altered some of the different tools to either enhance to colour or the texture of each photograph. For example, in the third photo, I increased the texture setting because I used a slow shutter speed while doing my photoshoot for this specific collection, by doing this it resulted in the photographs not having the sharp and precise lines that I wanted. Having increased the texture, I got the bold lines that I imagined the image having. One of the other things that I manipulated in the photographs was the vibrancy and saturation, this helped me achieve the eye-catching colours that I hoped for when doing the photo shoot. Other tools that helped me with this were the exposure, contrast and shadows, by manipulating these I got darker backgrounds making the other colours pop against them. In the last edit, I wanted to get a gradient going from black and fading into purple, I did this by putting the light source closer to the bottom of the masks and in Lightroom increasing the contrast which gives the image a more ominous atmosphere.

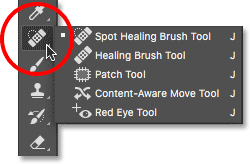
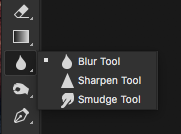
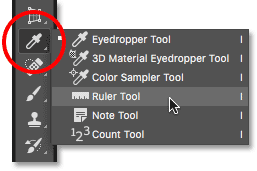
As well as Lightroom, I also used Photoshop to try and improve the imperfections that appeared in the background. I used multiple sheets of card which were propped up against a wall, meaning in some of the photos you can see where they have been layered over each other. To fix this issue I used two different tools in Photoshop, the blur tool and the spot healing tool. Firstly, I would go over the lines with the spot healing tool which would transfer the colour around the area to cover where the sheets connected, I would follow this by using the blur tool, I did this because the colours weren’t blended enough for it not to be noticeable. You can mainly see this issue in the Image of the blue medicine packaging where I tried to give the bottom a more rounded edge as I could not completely blend the cross over together as the shades were different because of where the light source was placed. Furthermore, another tool I used from Photoshop was the eyedropper, this allowed me to copy the colour from one part of the image and transfer it to where I wanted to cover certain parts of the background which were affected or changed by the lighting. I also had to use the eyedropper tool while covering up string around my objects, as I wanted my different items to look like they were floating I hung them from clear string, which still showed in the photograph, with using the eyedropper I was able to cover these up with the same colour as the background.

Sequence Experimentation

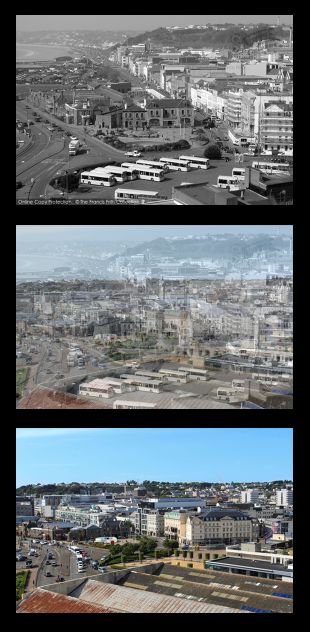
For my photographs on the Old Vs New theme, I have chosen to present them in a sequence so that it shows hour the island has changed and adapted to the increase in population and how it has been modernised to cater for new buildings. I have made four different sequences that I believe show my photographs and combinations off in an aesthetic and captivating way.

Edit 1: For my first edit I have put my images in a diagonal pattern, starting with the ‘new’ image. In this edit I used double exposure for my combination of the two images, I like how the positions of the photos and the editing of the middle photograph give the impression that the ‘old’ is falling into the ‘new’. For this example of sequence, I feel the best three images to go into the places would be the ‘overlook of St Helier’ which is already displayed above.
Edit 2: For my second edit I have put the images into a vertical pattern with the ‘old’ photo at the top and the ‘new’ photo at the bottom. I like this style of sequence because all images are displayed clearly, it also looks neat and put together meaning it’s enjoyable to look at. For this example of a sequence, I think the best images to go into the places would be ‘the Royal Yacht’ images.
Edit 3: For my third edit I have chosen to put the images horizontally starting with the ‘old’ photo and ending with the ‘new’. I like this pattern because it’s similar to the photographs put vertically, meaning it’s neat and well laid out, but looking at this style of the sequence seems like you reading a story through the pictures. I think the best three images to go into the horizontal sequence would be of Mont Orgueil Castle, as you can see above.
Edit 4: For my final edit I have used the vertical pattern but as the images go down they increase in size, the smallest one being at the top which is the ‘old’ photo and the biggest being the ‘new’ photo. I like this style because I feel it represents how as the island has been modernised it’s got bigger because of the number of people who are now wanting to live in Jersey. For this style, I think the best image to go into the pattern would be ‘The harbour’