Editing photo 3 –
Experiment 1)

For this edit, I started off by using the spot healing brush which helped me to tidy up the photo where there were marks leftover from the lightbox I was using, then to make sure this was even better I cropped the photo to make sure there wasn’t much excess space. I also wanted to eliminate the slight yellowness in the background of this photo because I wanted the colour of the blue plastic bag to stand out well and having a white background would help this happening. I achieved this by using the brightness and contrast to transform the way the background was seen initially as grey with a yellow hue to it and then to keep the vibrancy of the blue in the bag I used the vibrancy and saturation to maintain this. I then used the hue/saturation tools which provided me with a way to adjust the colours in the photo to neutralise them which softened the background and gradually made it appear to be white, which I was extremely happy with.
Experiment 2)
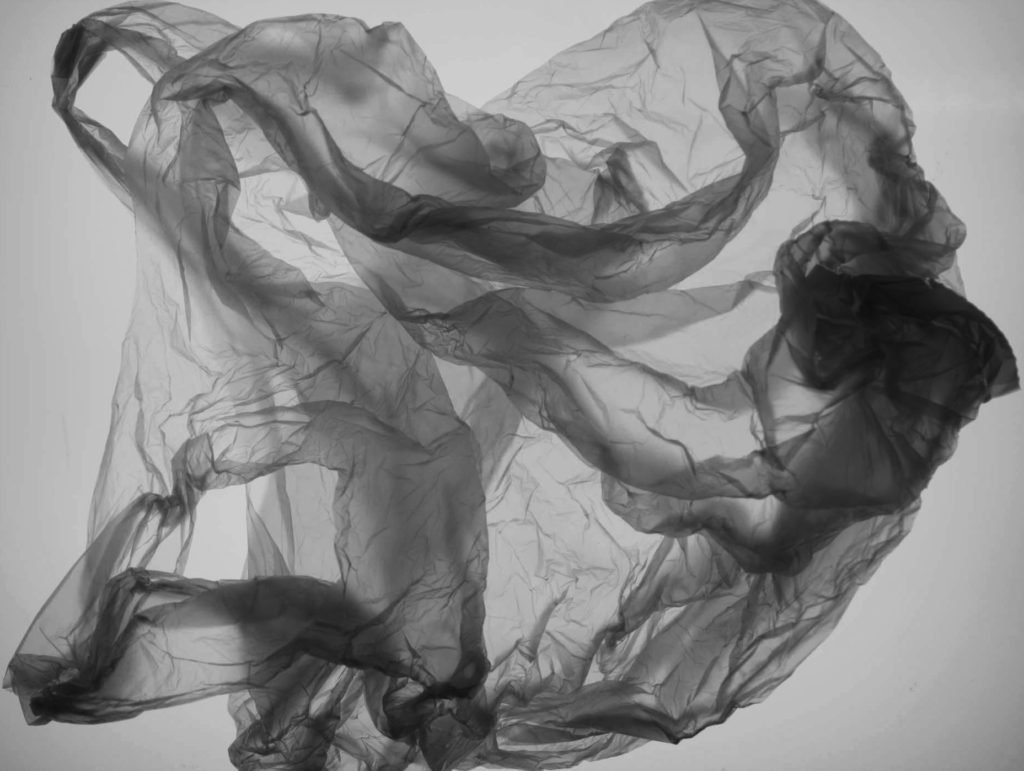
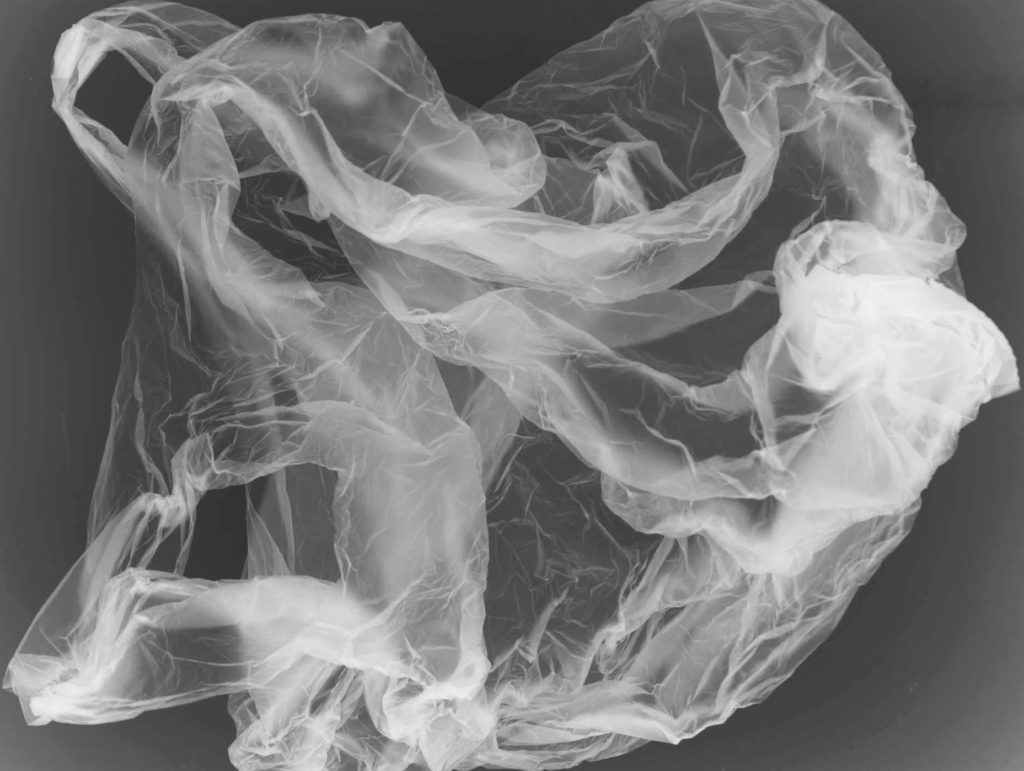
For these 2 edits I experimented with turning the photo into black and white on photoshop and this was achieved through bringing the hue, saturation and lightness down which drained all of the colour from the photo but it did appear more grey then black which I didn’t like so to adjust this slightly I used the brightness to brighten up the background and highlights then brought down the contrast which helped to balance this out as it made it darker. I was really happy with how the first edit turned out and I think that it is quite successful as the plastic bag is very defined through the use of the black and doesn’t get lost in the background which could’ve happened. I also decided to use the inverted filter on photoshop which transforms the photo so that the colours are changed to be the opposite so the black would be white and the white becomes black. I thought that this is similar to an old picture you would find of a jellyfish due to the way the bag is also positioned which can link into Anthropocene by showing how the environment is always going to be effected by plastic pollution due to how this photo has an old look to it.
Editing photo 4 –
Experiment 1)

For this edit, I also started off by using the spot healing brush on photoshop to tidy up the photo where there may have been marks on it. I also wanted to bring out the colours of the plastic bag and to achieve this I used the magenta filter mainly on the channel mixer which made the colour gradually become more defined and to make sure it was secure in keeping this colour I adjusted the Vibrancy as well. I then decided to crop the photo twice throughout this process as I didn’t like how much extra space of white there was and I decided to zoom in. If I were to edit this photo again, I wouldn’t zoom in as much as I did because when I was experimenting with it with other photos and techniques the photo appeared to be quite blurry which I didn’t like.
Experiment 2)
1 
2 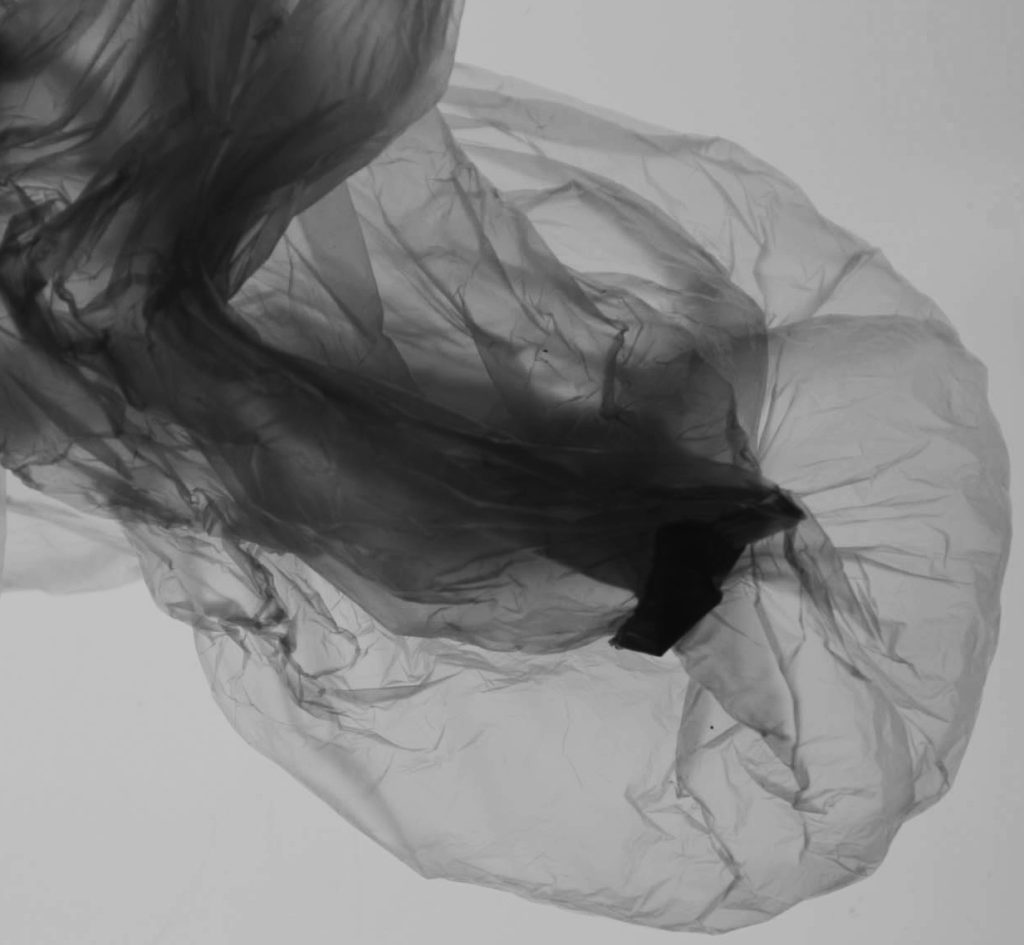
3
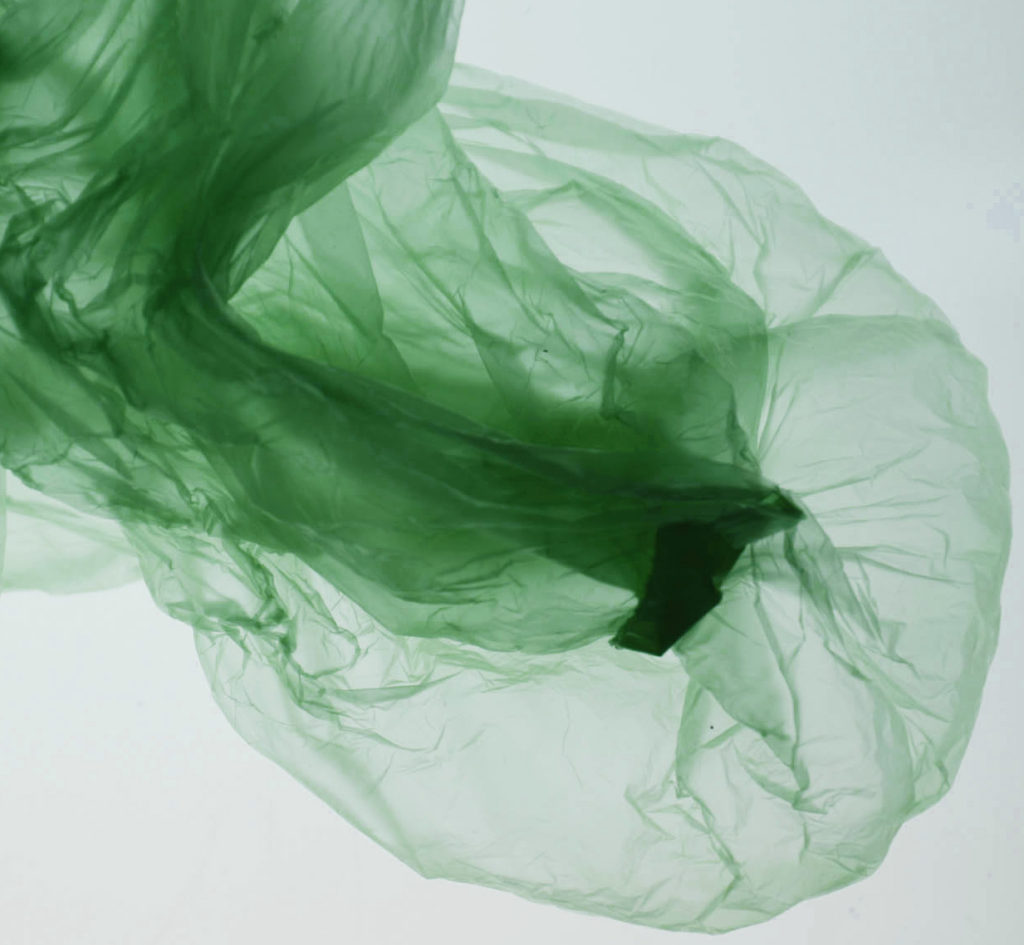
For these edits I used the hue and saturation tool to change the colour of the image in various ways and then used the channel mixer to help brighten up these colours. I really like how 1 and 2 turned out as the colours don’t merge into a massive surface area and the finer details of the creases are still able to seen and don’t get lost in the photo. I don’t like how edit 3 turned out when changing it into black and white and think that it isn’t as successful as the others through manipulating the colour of it because it turned out to be more grey instead of black which doesn’t contrast as well against the white as it gets lost in the photo.
Further editing of both photos and others –
Experiment 1)
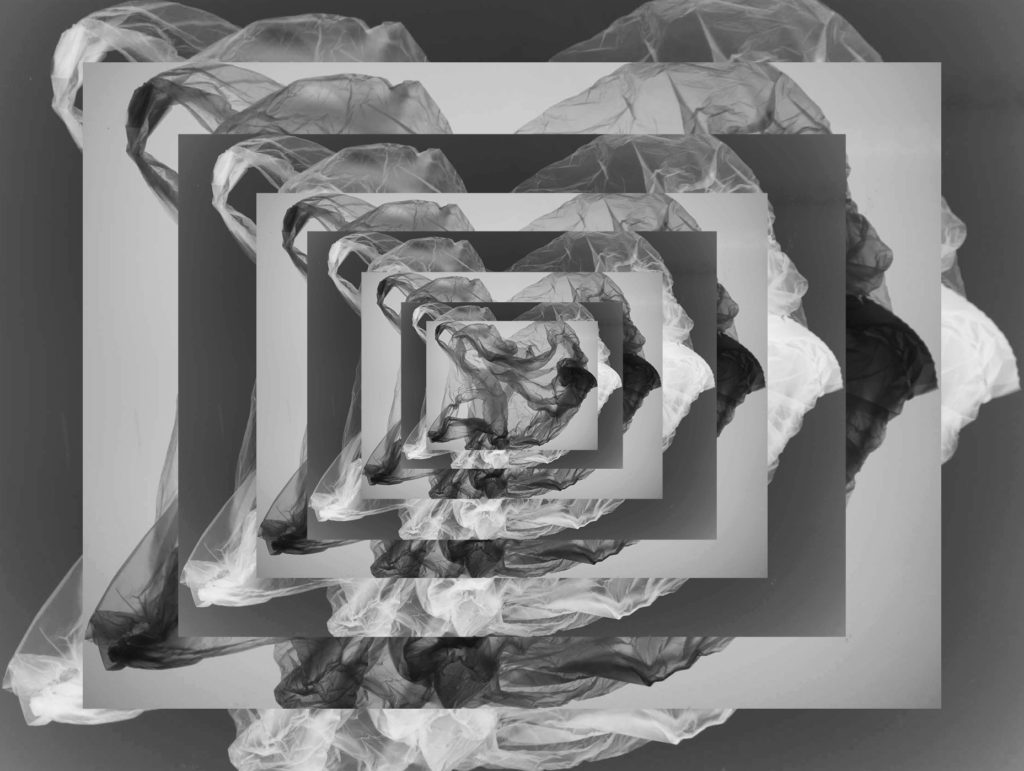
I enjoyed experimenting with this technique of layering 2 different photos in my work because I think that the use of them being inverted shows how they can create a successful contrast against each other and create the sense of an optical illusion when looking at the photo. I think that I have successfully been able to line up the photo each time to show how it gradually gets smaller and smaller but keeping consistent in lining up with the one previously.
Experiment 2)
1 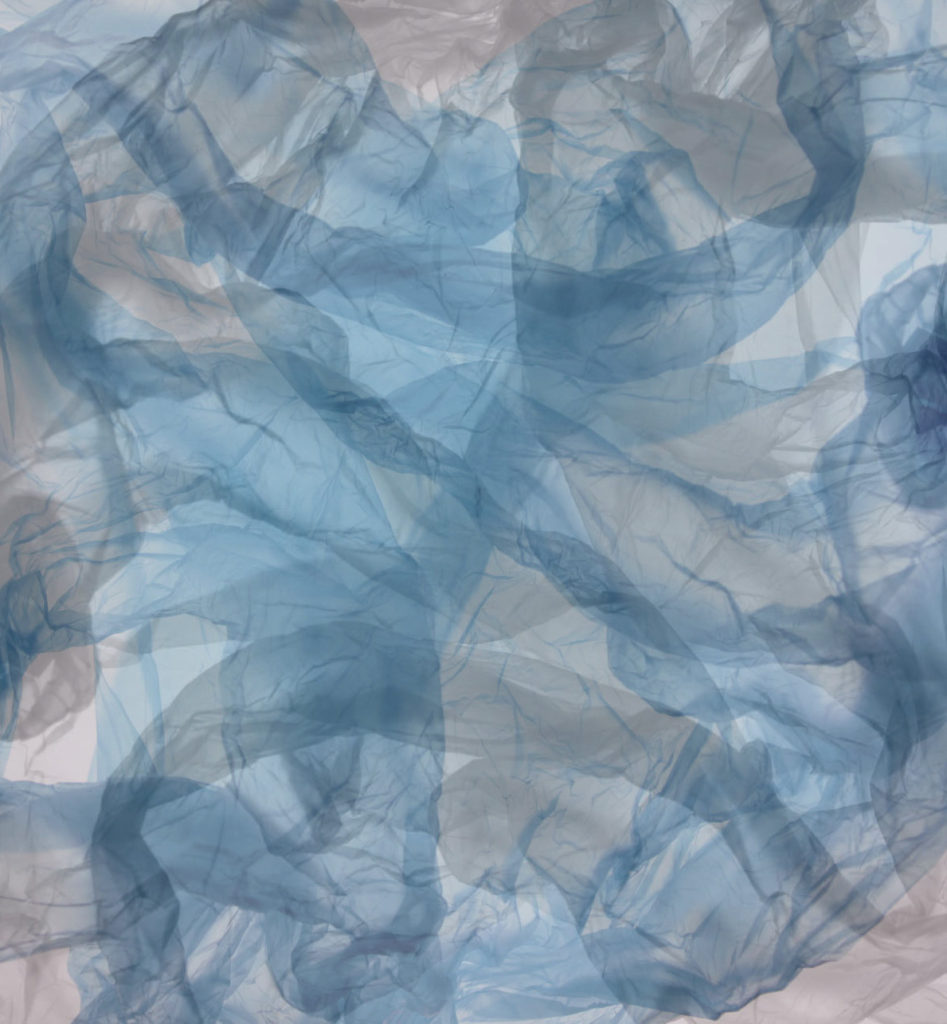
2
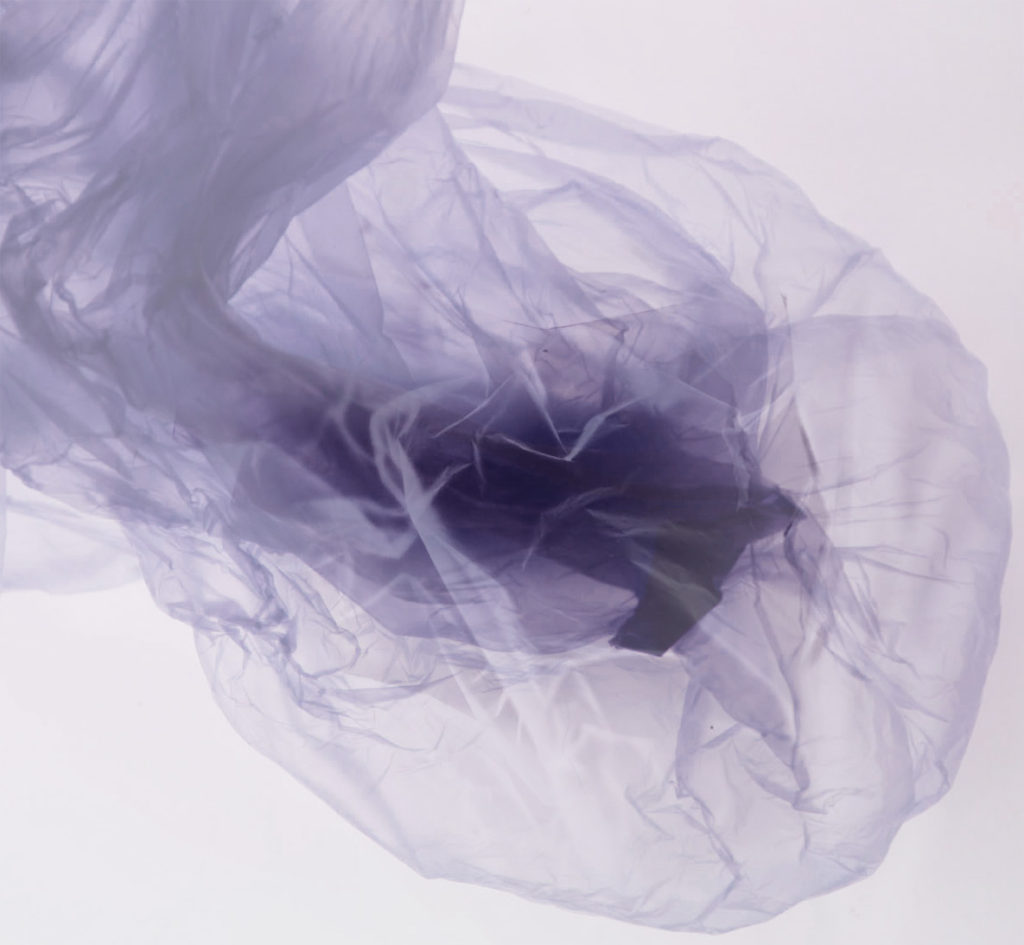
I enjoyed experimenting with double exposure and I think that these 2 edits turned out to be quite successful because Double Exposure 1 creates the image of a flower through using an image I have edited previously as a base then layering this on top and changing the opacity of the image on photoshop, it can symbolise how the impact of Anthropocene is making the natural environment fade away. For Double Exposure 2, I think that it turned out quite well through using 2 different pictures on top of each other then faded into each other as it has created a cross in the middle through the merging of the layers and plastic, I think that this can symbolise how we need to stop and think about the dangerous effects of plastic pollution.

