Old Vs New
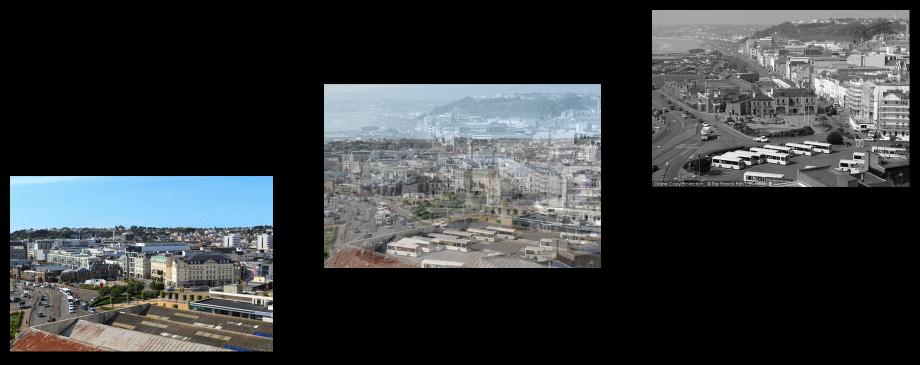
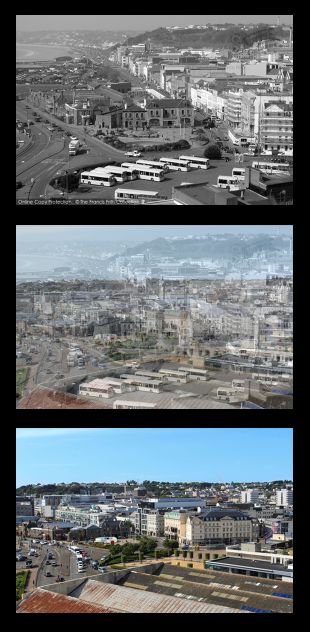
Over-view of St Helier 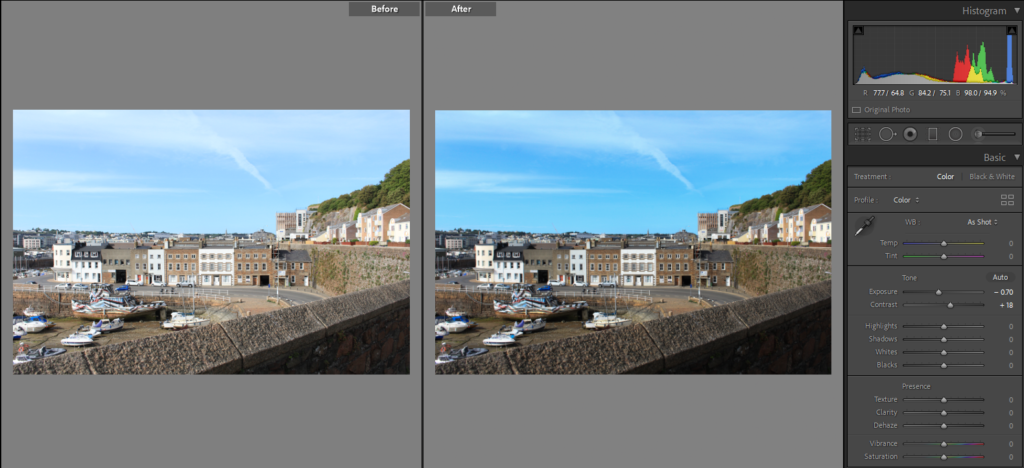
The Harbour 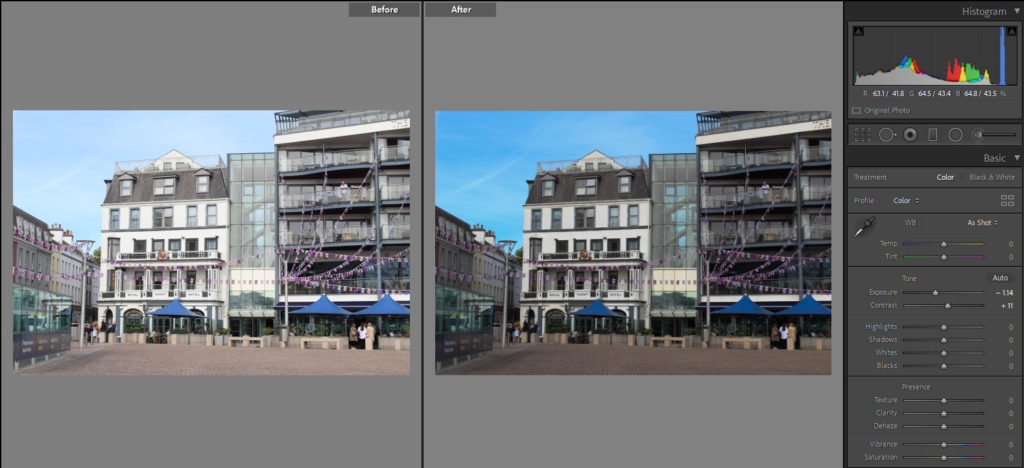
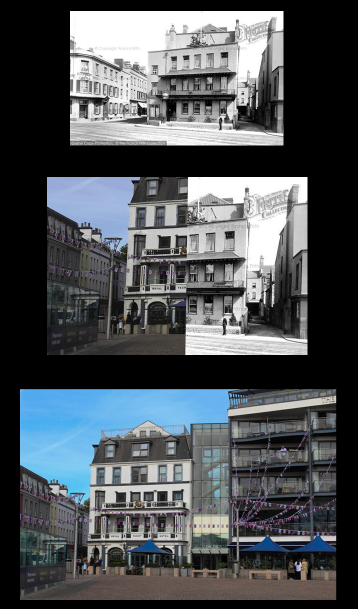
The Royal Yacht 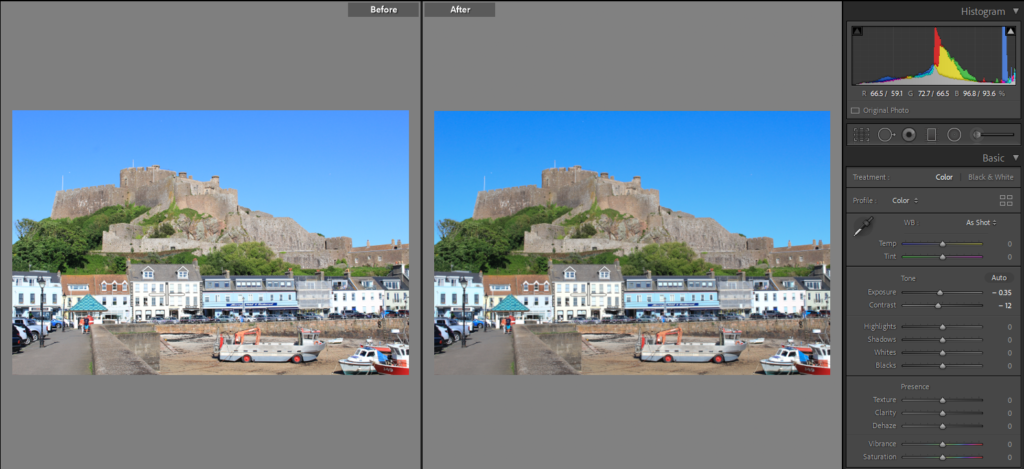
Mont Orgueil castle
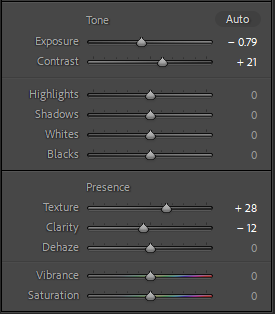
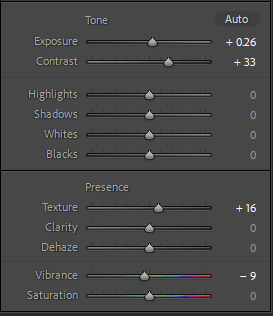
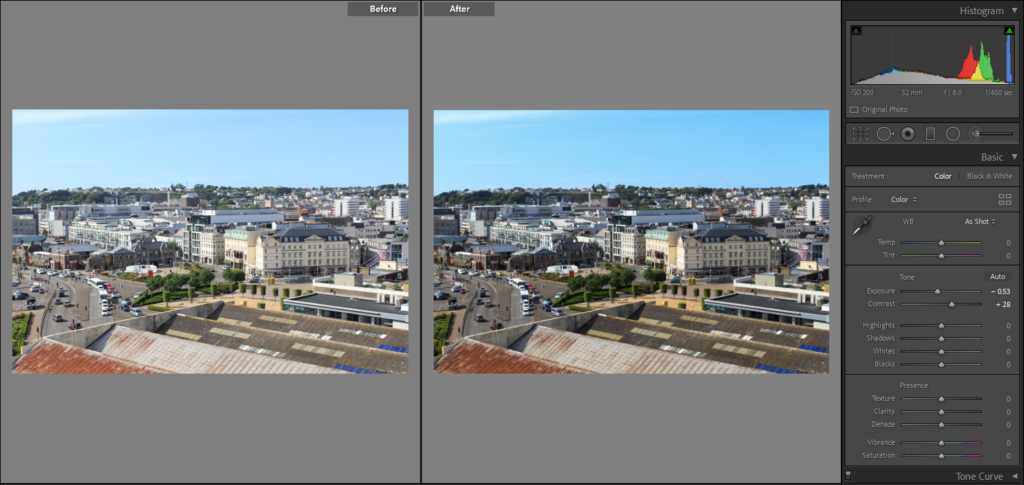
As I didn’t need to change much about these photos, because I need to keep them relatively the same, I have only touched the exposure and contrast. I took the first three photographs on a sunny day, but there were still some clouds as I took the last photo on a sunny day with a clear sky. Because I took them on these days some of them came out overexposed so, I have decreased the exposure and increased the contrast to combat this problem. But in the last photo of Mont Orgueil Castle, I have decreased the contrast because I felt the rocks the castle is made out of were too dark if I edited it the same as the other photos. By doing this the sky is a lot more vibrant and bright which I also didn’t think would fit well with the first three.
My idea for this photoshoot is to make a sequence out of three images, the first photograph is from the ‘old’ collection, the middle is a combination of both photos and the final photo is from the ‘new’ collection. I would like to do a mixture of four different editing styles for the middle photo so that each sequence/combination of photos is different and has its own style. The four styles I’m planning on using are juxtaposition, overlapping, montage and double exposure, I like these because they will be able to clearly show a transition between old and new.
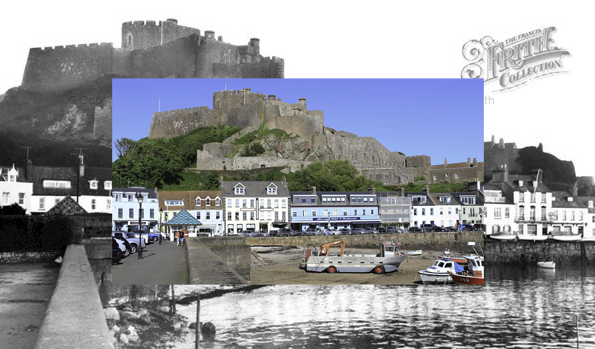
Mont Orgueil castle (Overlapping) 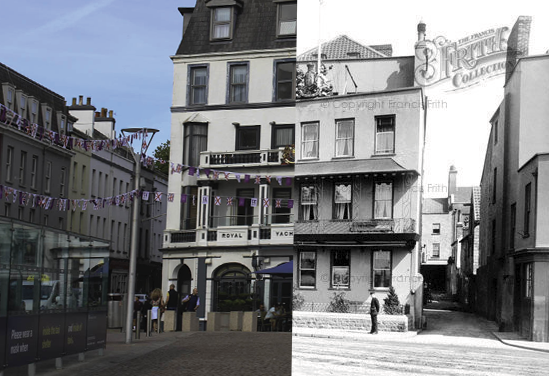
The Royal Yacht (Juxtaposition) 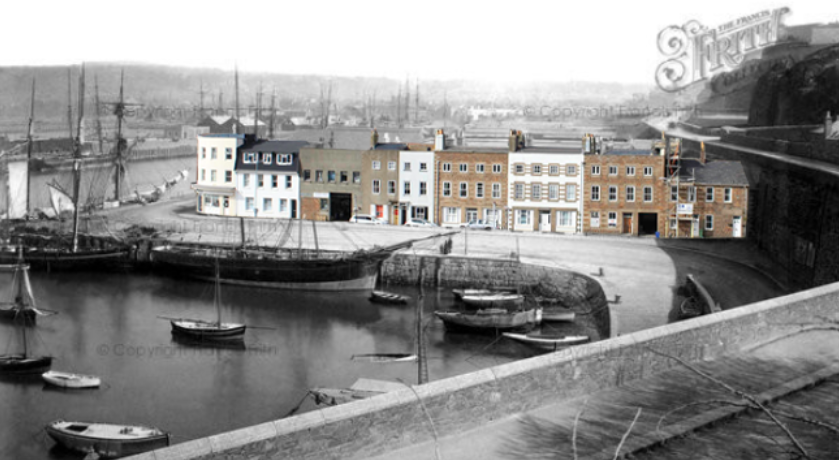
Harbour (Montage) 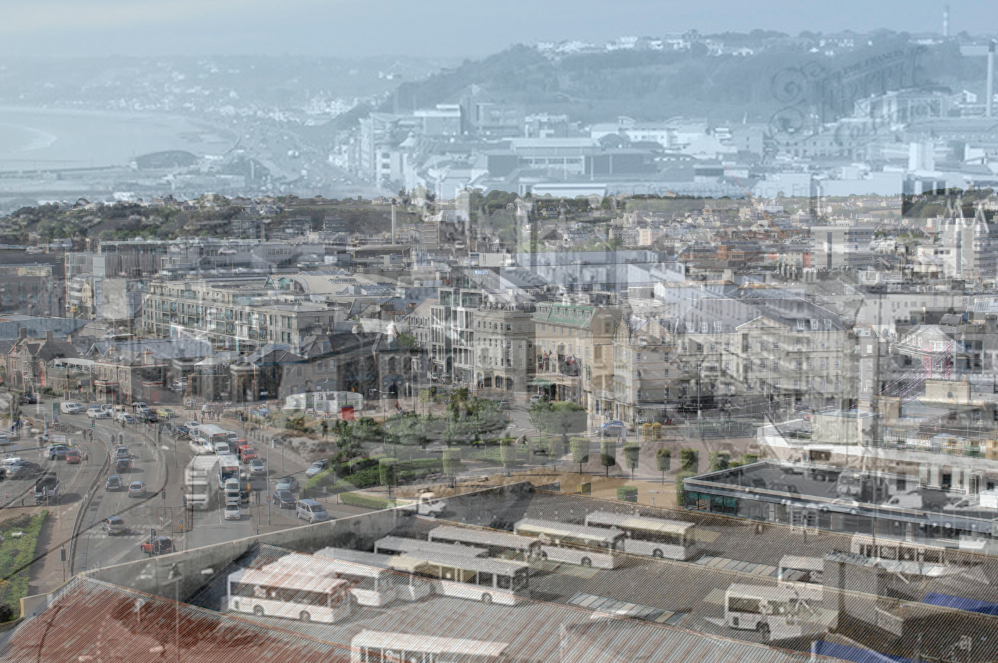
Over-view of St Helier (Double exposure)
I edited my combinations in photoshop as I was able to use different tools to help me achieve these outcomes, I used tools such as the lasso, cropping and opacity. For the top left photo, I decided to overlap the old and new photos because I liked the way the bright colours from the ‘new’ stood out against the black and white of the ‘old’. I also tried to line up the houses and buildings in each photograph as it looks more put together and the new image doesn’t look out of place against the old. For the top right photo, I wanted to put each of the images side by side because I liked the idea of having one side ‘new’ and one side ‘old’. I tried to match up the photos but there had been an extension upwards, meaning there was a new roof built, which made it harder for me to do. Eventually, I had to crop the new photo but it still resembles my idea and the buildings in each photo line up better. I decided for the bottom left combination that I wanted to do a montage of the two photos, this is where I used the lasso tool, in photoshop I outlined the row of buildings just behind the harbour in the ‘new’ and transferred it to the ‘old’. Again, I tried to line it up so that the photo looks accurate to the old photo underneath. I decided not to move anything else as there were too many other objects in the way for it to look right and like they fit in the photo. Finally, for the bottom right photo, I layered the old and new photographs completely on top of each other, and then I decreased the opacity which allows me to see the photo underneath through the photo on top.
Mass Wastage
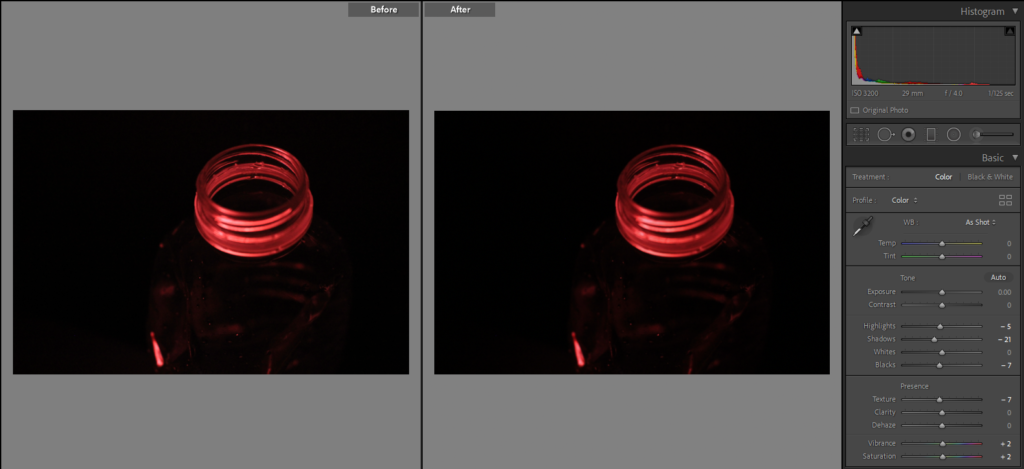
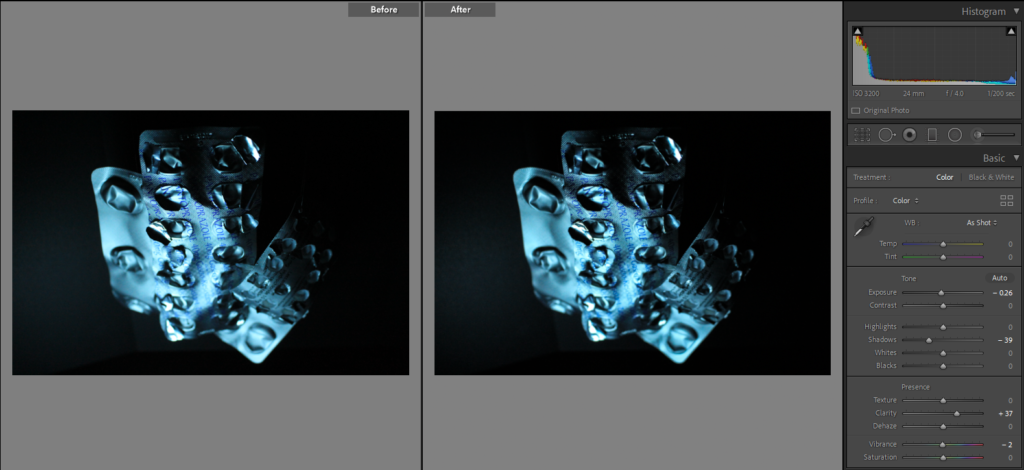
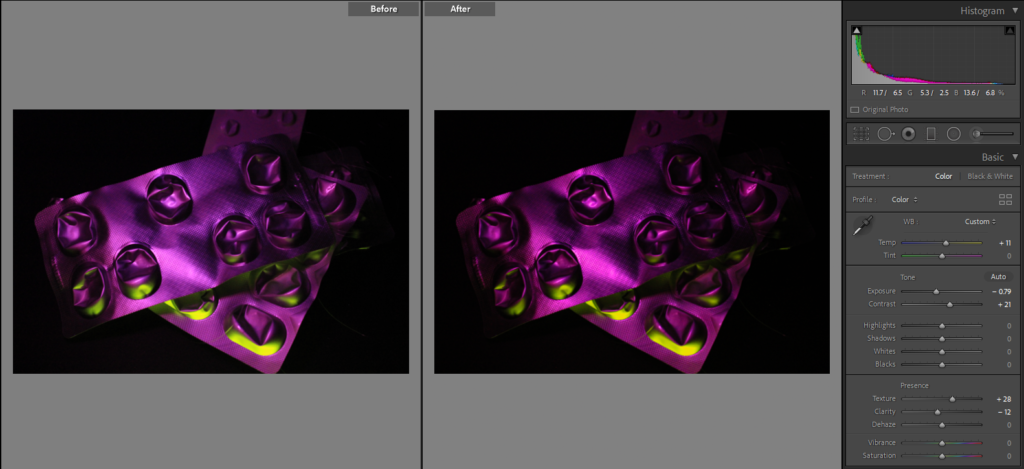
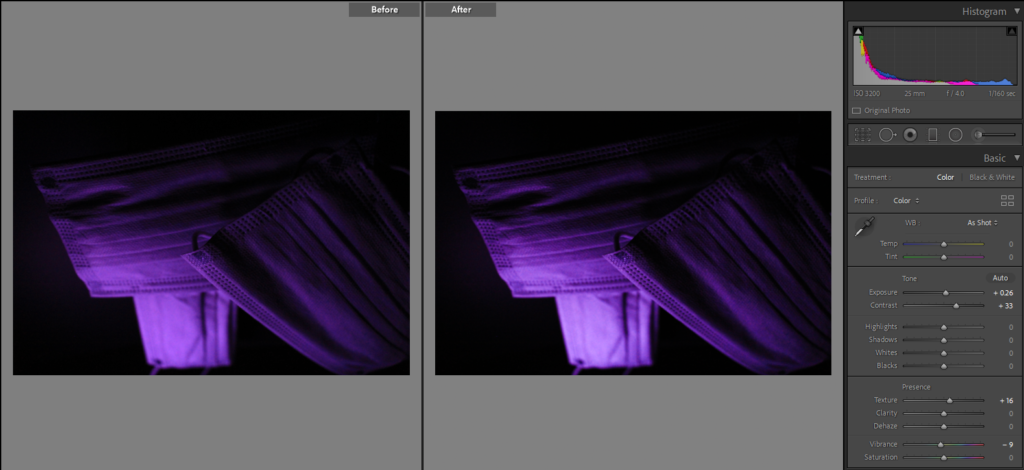
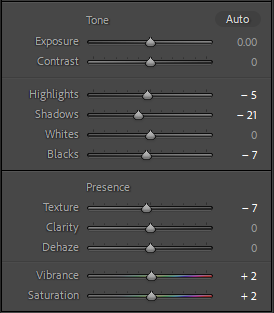
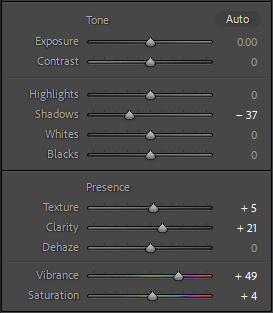
As I originally photographed my different objects with coloured lighting I didn’t have to do much for the editing of each image, I was also already happy with how they turned out. I still altered some of the different tools to either enhance to colour or the texture of each photograph. For example, in the third photo, I increased the texture setting because I used a slow shutter speed while doing my photoshoot for this specific collection, by doing this it resulted in the photographs not having the sharp and precise lines that I wanted. Having increased the texture, I got the bold lines that I imagined the image having. One of the other things that I manipulated in the photographs was the vibrancy and saturation, this helped me achieve the eye-catching colours that I hoped for when doing the photo shoot. Other tools that helped me with this were the exposure, contrast and shadows, by manipulating these I got darker backgrounds making the other colours pop against them. In the last edit, I wanted to get a gradient going from black and fading into purple, I did this by putting the light source closer to the bottom of the masks and in Lightroom increasing the contrast which gives the image a more ominous atmosphere.
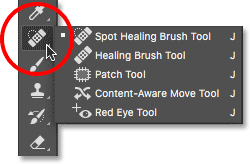
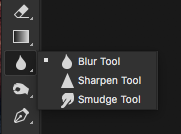
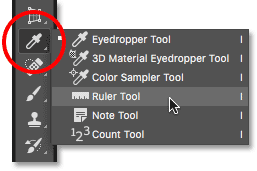
As well as Lightroom, I also used Photoshop to try and improve the imperfections that appeared in the background. I used multiple sheets of card which were propped up against a wall, meaning in some of the photos you can see where they have been layered over each other. To fix this issue I used two different tools in Photoshop, the blur tool and the spot healing tool. Firstly, I would go over the lines with the spot healing tool which would transfer the colour around the area to cover where the sheets connected, I would follow this by using the blur tool, I did this because the colours weren’t blended enough for it not to be noticeable. You can mainly see this issue in the Image of the blue medicine packaging where I tried to give the bottom a more rounded edge as I could not completely blend the cross over together as the shades were different because of where the light source was placed. Furthermore, another tool I used from Photoshop was the eyedropper, this allowed me to copy the colour from one part of the image and transfer it to where I wanted to cover certain parts of the background which were affected or changed by the lighting. I also had to use the eyedropper tool while covering up string around my objects, as I wanted my different items to look like they were floating I hung them from clear string, which still showed in the photograph, with using the eyedropper I was able to cover these up with the same colour as the background.
Sequence Experimentation
For my photographs on the Old Vs New theme, I have chosen to present them in a sequence so that it shows hour the island has changed and adapted to the increase in population and how it has been modernised to cater for new buildings. I have made four different sequences that I believe show my photographs and combinations off in an aesthetic and captivating way.
