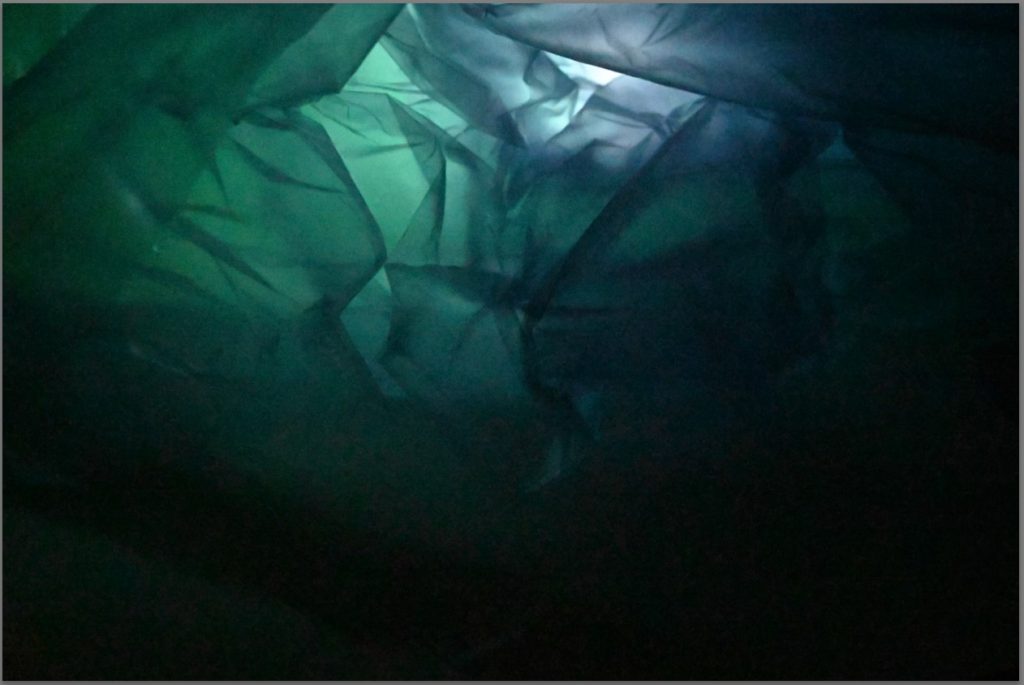
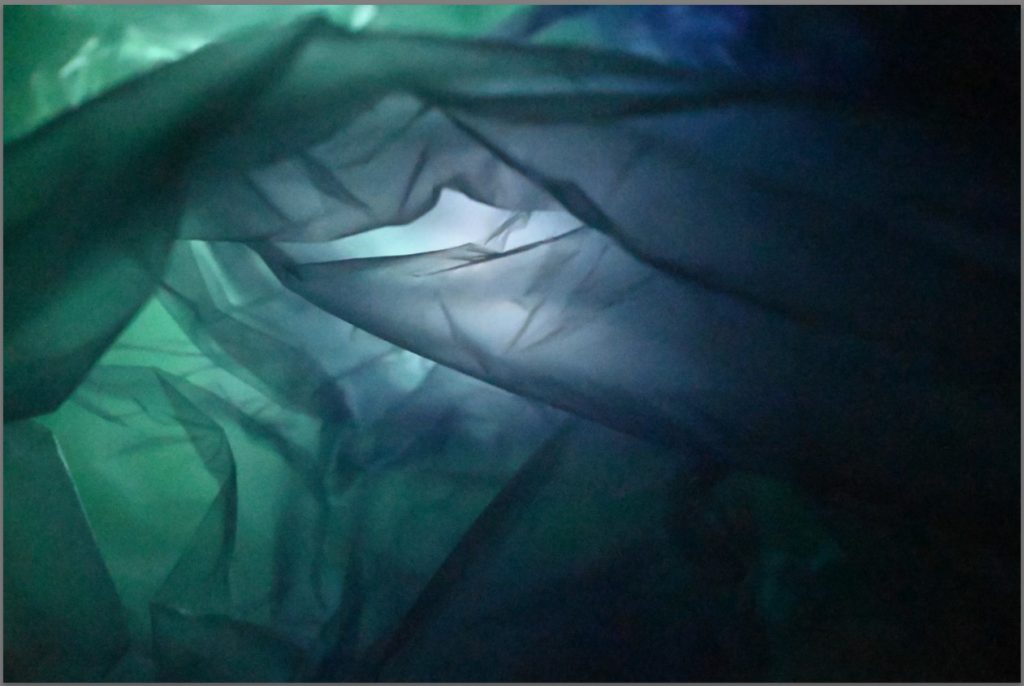
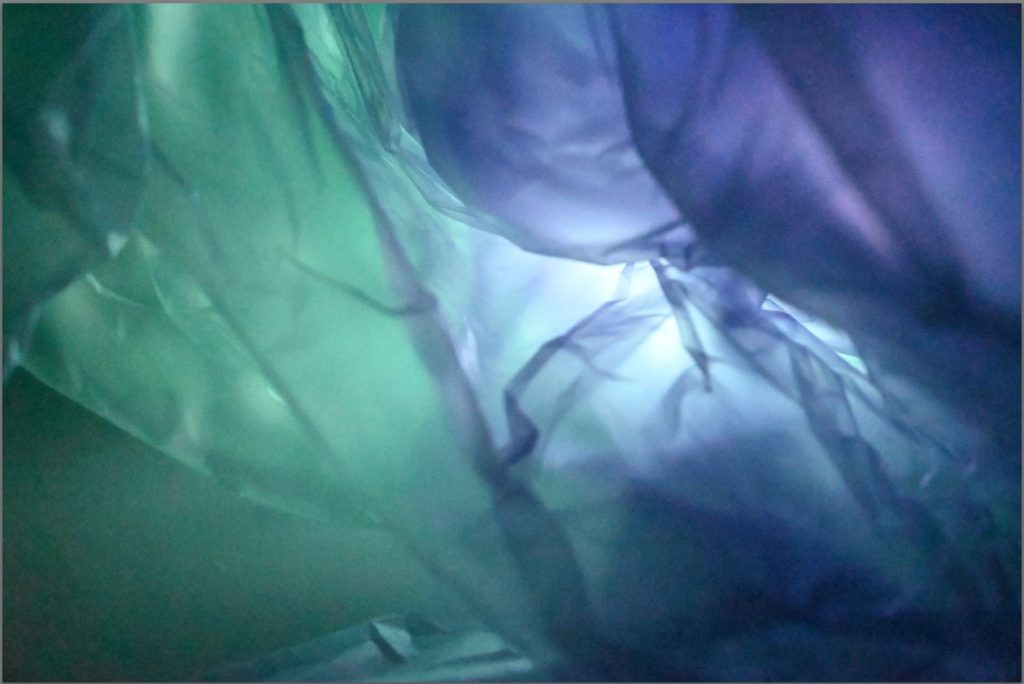
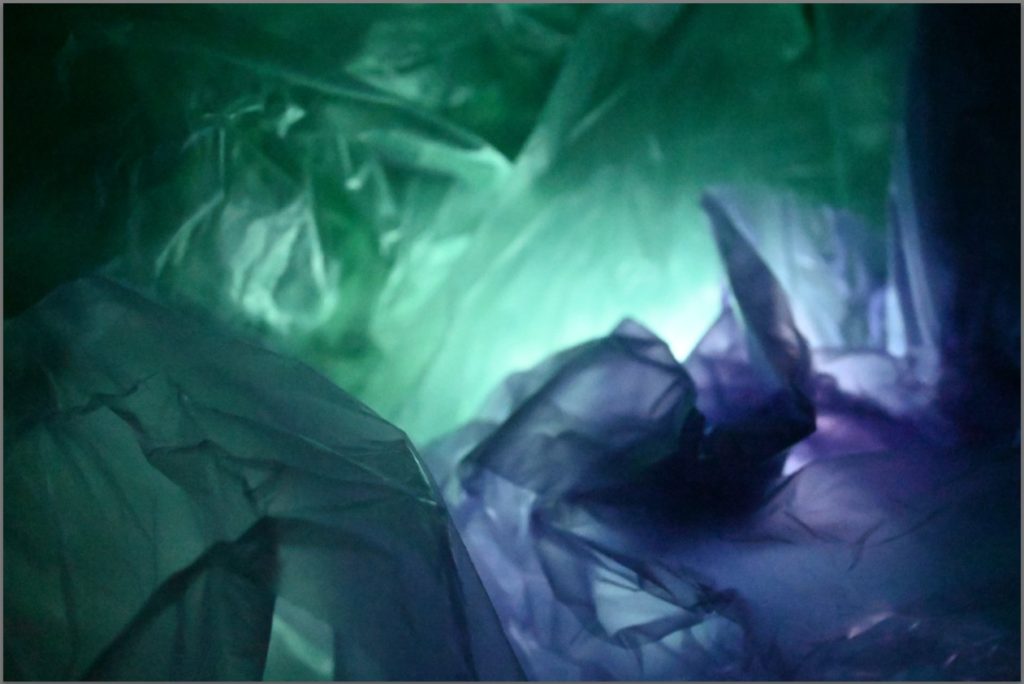
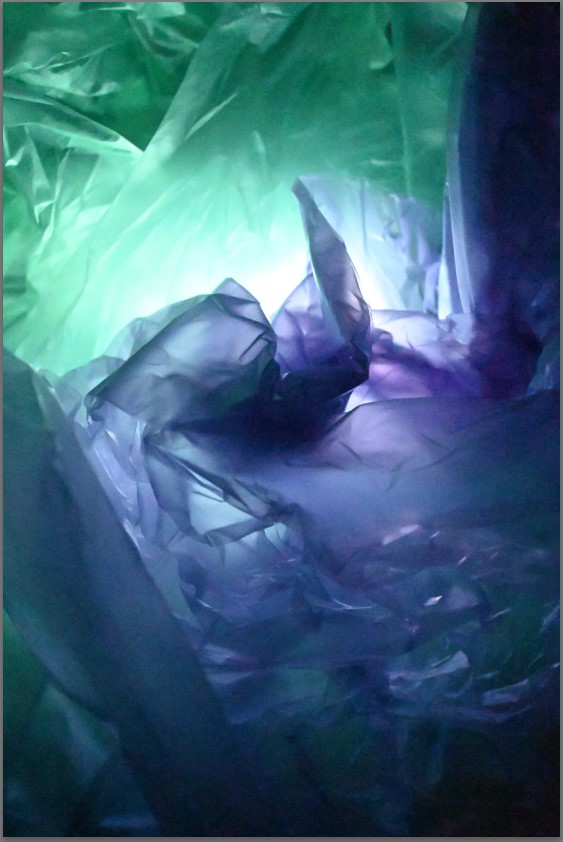
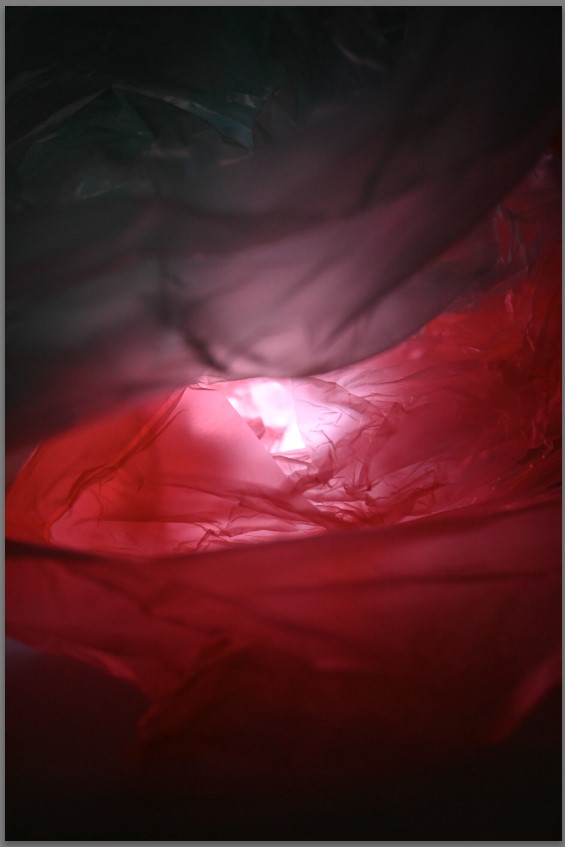
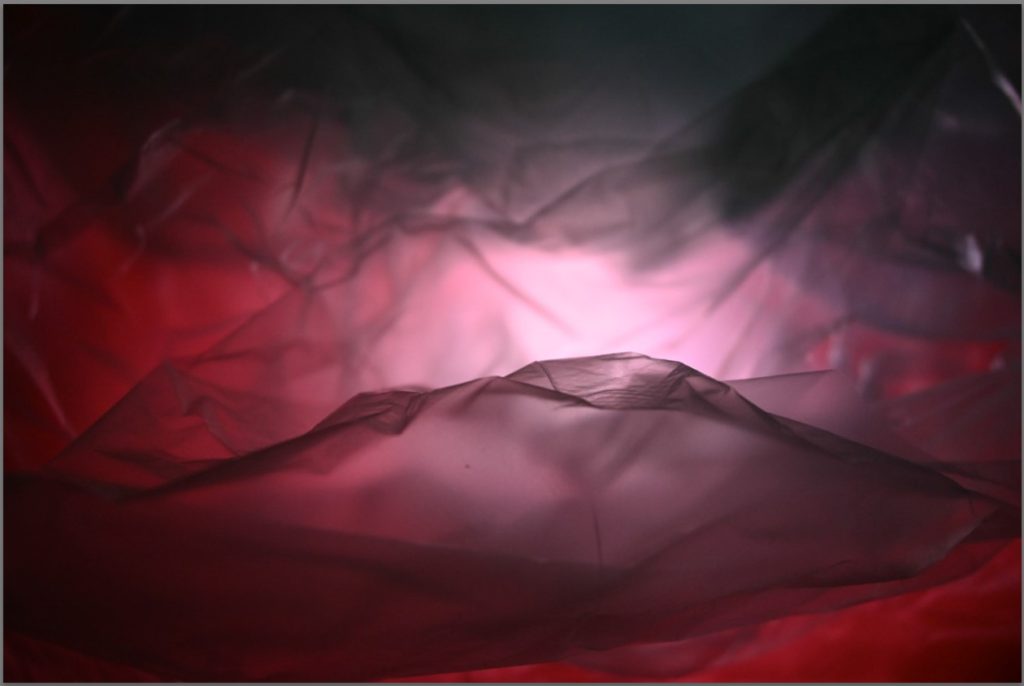
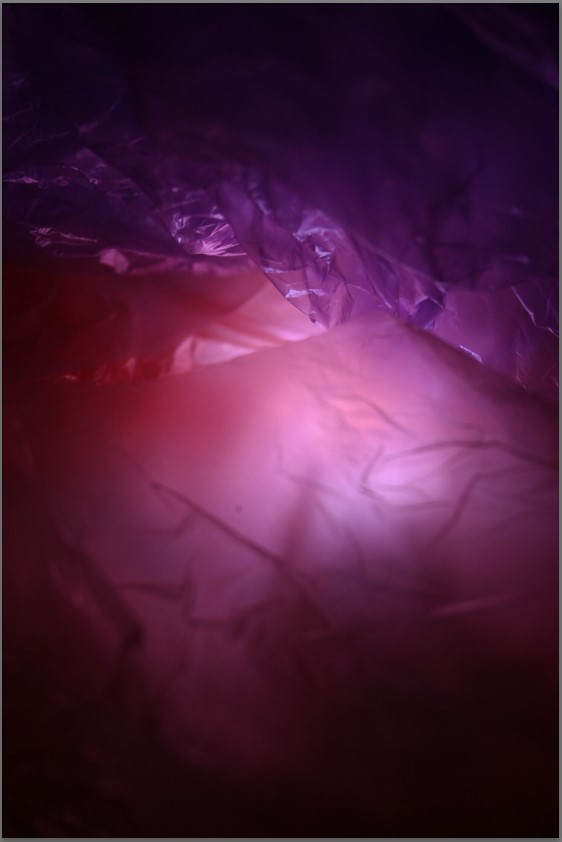
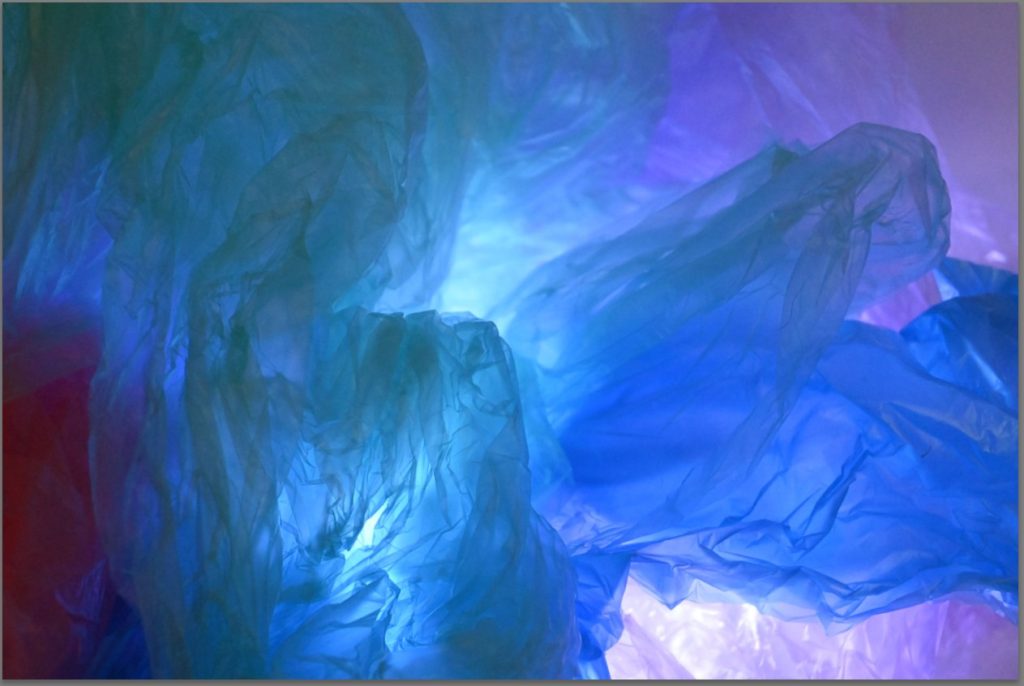
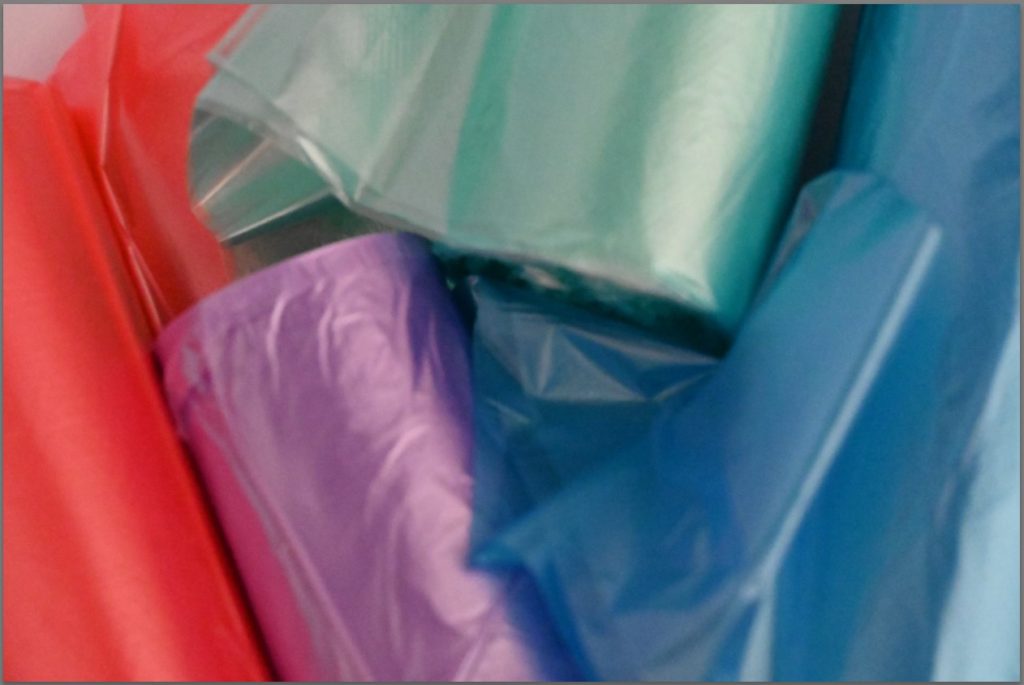
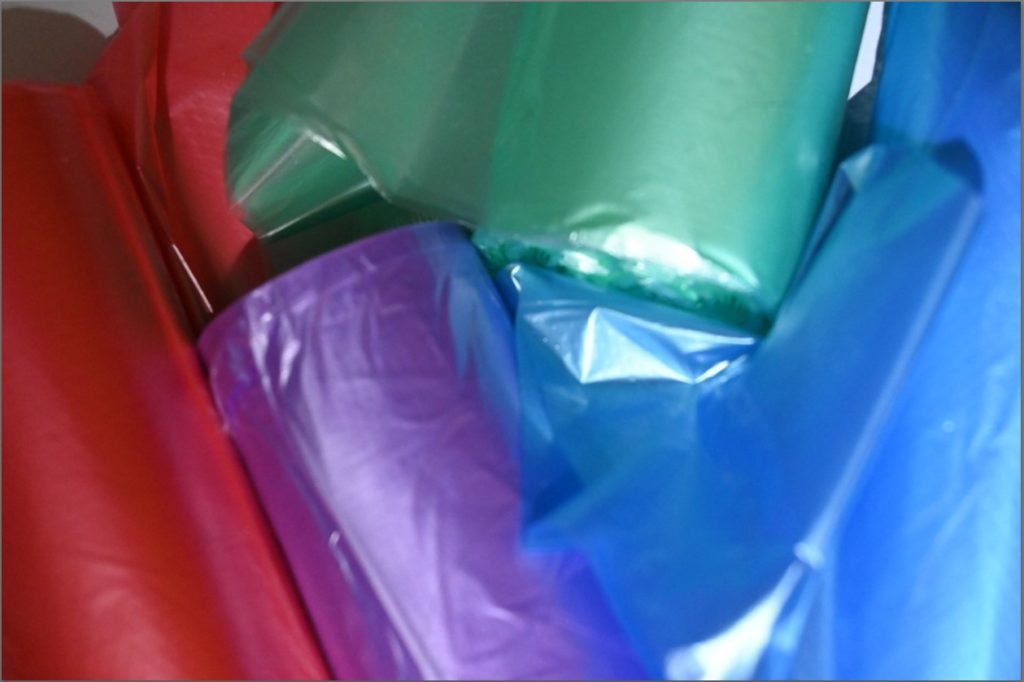
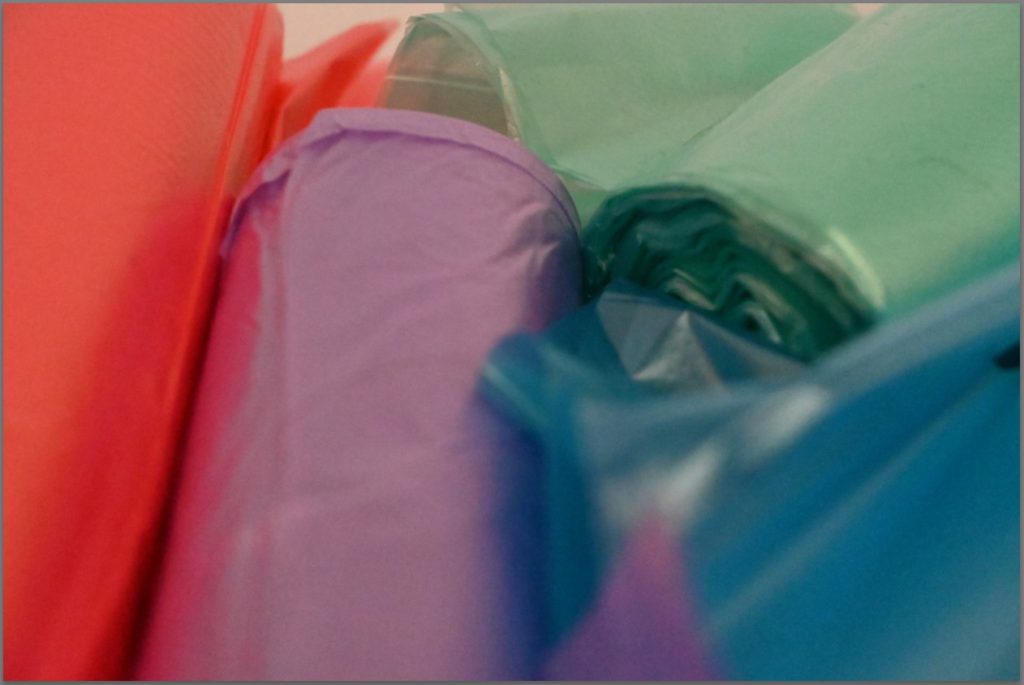
I imported these photos of my 1st photoshoot on to Adobe Lightroom where I was able to view them and decide whether they were successful photos or not. I used ‘Z’ to reject the photos which I didn’t think were good and ‘P’ to pick the ones which I think were good and what I could go further with in editing, I am glad with how most of these photos have turned out while working in the style of Vilde Rolfsen.
During this photoshoot, I created a plain white ‘infinity curve‘ background with some card which I had and this allowed me to be able to experiment with f-stop and ISO while in darker lighting as it provided a clean and plain background. In my work, I also used a flashlight underneath the layered coloured plastic bags to create a main point of the photo, which creates a tunnel effect and I think that it has worked well in most of my photos.
Least successful photos –
These photos are the ones which I think are my least successful, this is because of the camera settings not being right for the lighting settings, which can make the photos appear grainy due to the dark lightning which can be seen in the first 10-15 photos as I was experimenting with the different camera settings on my camera to see what worked well with the lighting,

I used forced, harsh lighting in my photos which can be seen through pictures 148-168 but I didn’t like how it made the colours seem dim and created a yellow tone throughout them.
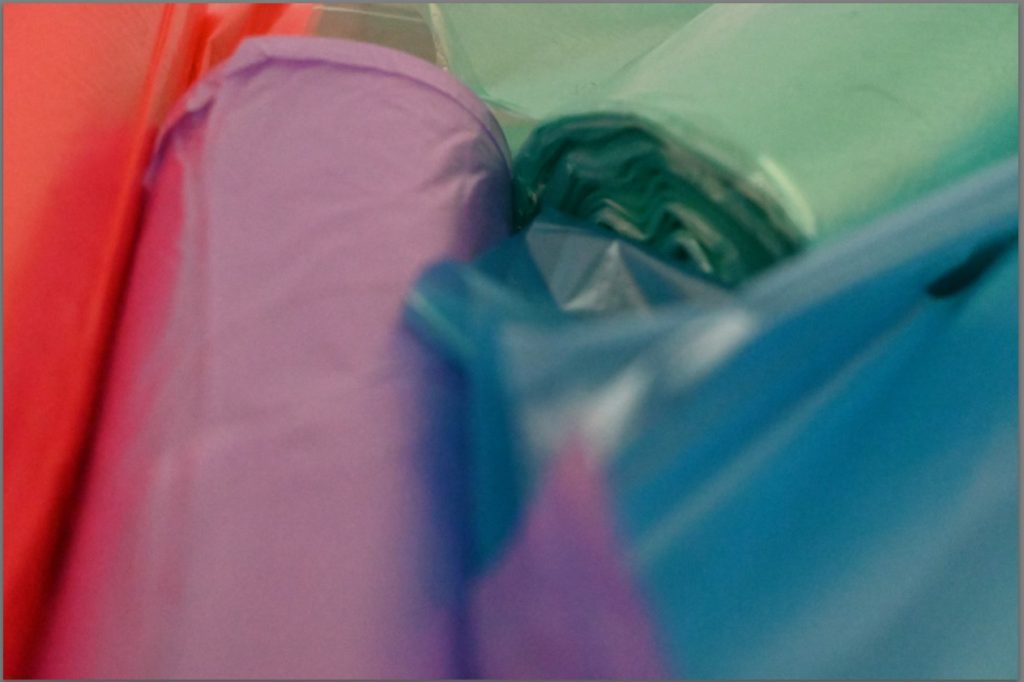
A few of the photos also came out blurry or too overexposed due to the use of the flashlight which I didn’t like as it washed out the photo and the creases of the plastic bags, which was a small detail I really liked due to the effect which it adds to the photo, wasn’t defined enough as I was too close and the camera lens wasn’t able to focus effectively due to this.
At the end from photos 157-181, I also experimented with taking photos of the rolls of plastic bags which I had but I didn’t like the way any of these photos had turned out because of the lighting which I was using which made it appear grainy and created a yellow tone, which I explained beforehand. If I were to do this photoshoot again I would make sure that the lighting is either dark with minimal light or bright, natural light as I think that it would create a lighter, less forced effect on the photos which still makes the colours vibrant and pop out, which I really liked.
Most successful photos –


These photos are what I have chosen to be my most successful towards the theme of ‘Anthropocene’ in the style of Vilde Rolfsen on to edit on Adobe Lightroom because of how they have focussed while I was taking them, creating the effect of a tunnel which is what I wanted to do, which can be seen in photos 72-75 and 86-85.


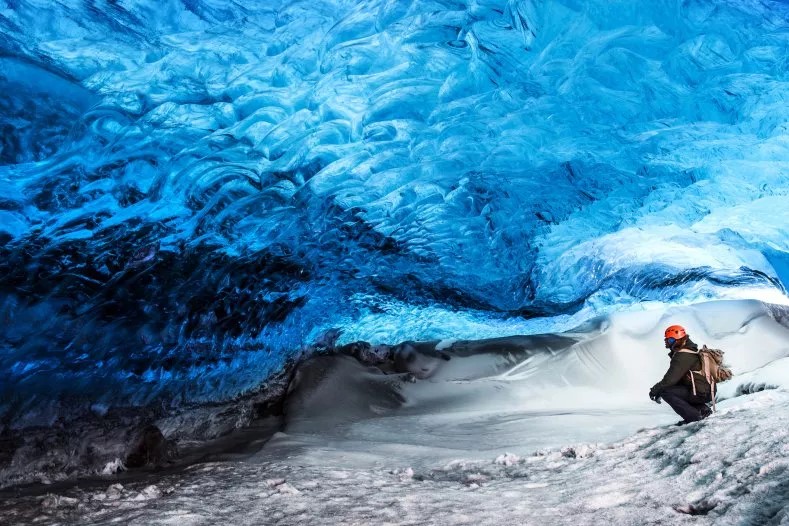
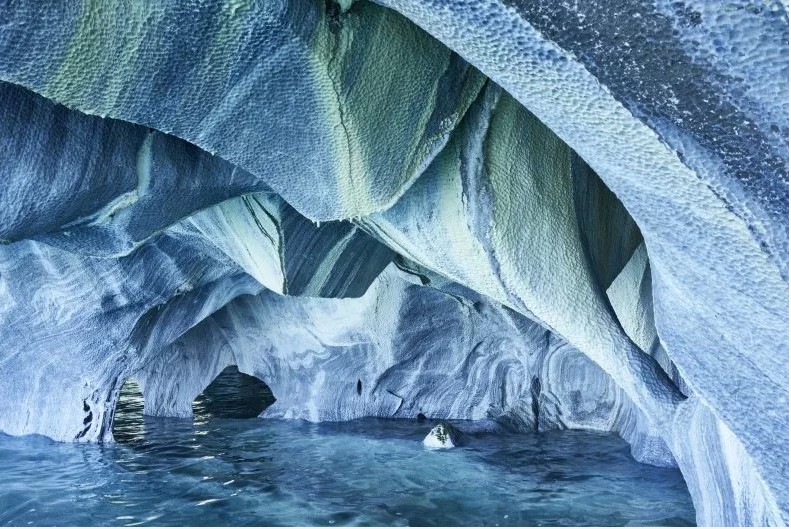
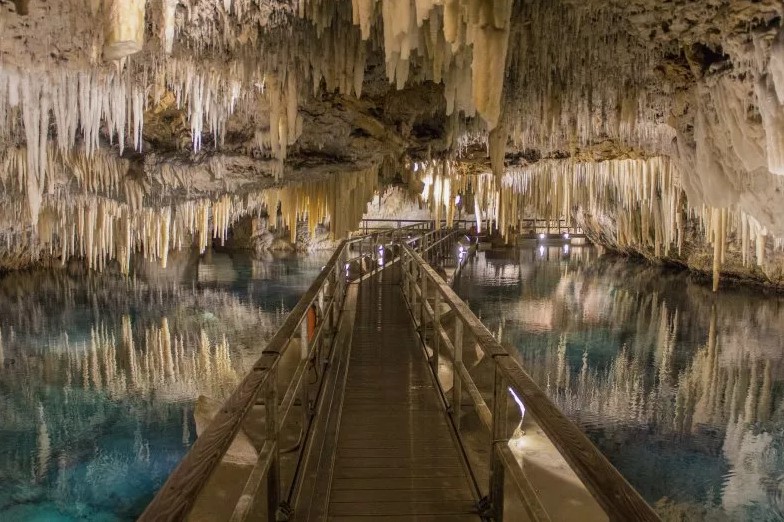
I also like the way the crinkles in the photos have created the effect of a crystal/marble/ice tunnel or caves which you can find in certain places of the world due to the use of the colours which I chose to put together and layer with the coloured plastic bags as I thought that they would work well in creating this effect, this can be seen in the photos above.


I think that I also successfully created a whirlpool effect, which is also another idea which I wanted to experiment with while carrying out this photoshoot and I think that can effectively be seen through photos 1, 2, 3, and 57-60 as the creases and positioning of the plastic bags which I have done creates a swirling motion which I really like that can link back to the Anthropocene and how the rubbish is effecting the ocean yet we are just letting it stir and stir, creating this whirlpool motion.
Here is some more information on different caves which I have discussed.
To edit these photos further in Adobe Lightroom, I will choose 4 which I think are the most successful and experiment with the lighting and making them darker/lighter which will control the lighting in some places and make the finer details, such as creases, more defined and able to be seen clearer so that they don’t get lost as I think that they add an extra level of effect to the photo as they help in creating all of the different shapes, and then I will also bring them into Photoshop where I will layer them on top of each other through changing the opacity of the photos.

