artist references- compare and contrast

Frank Gohlke

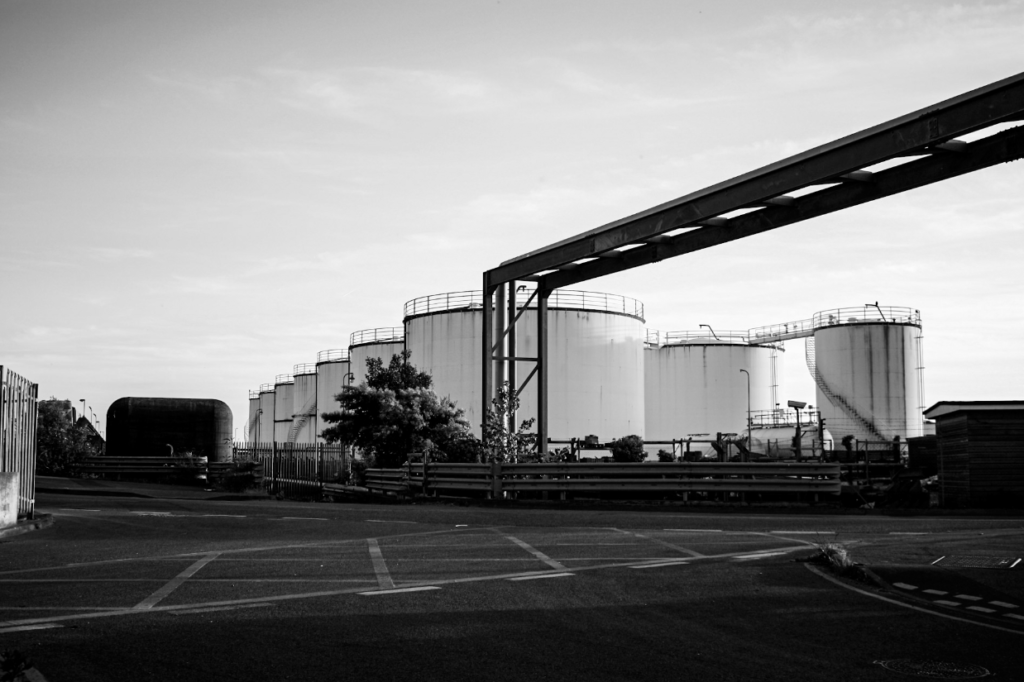
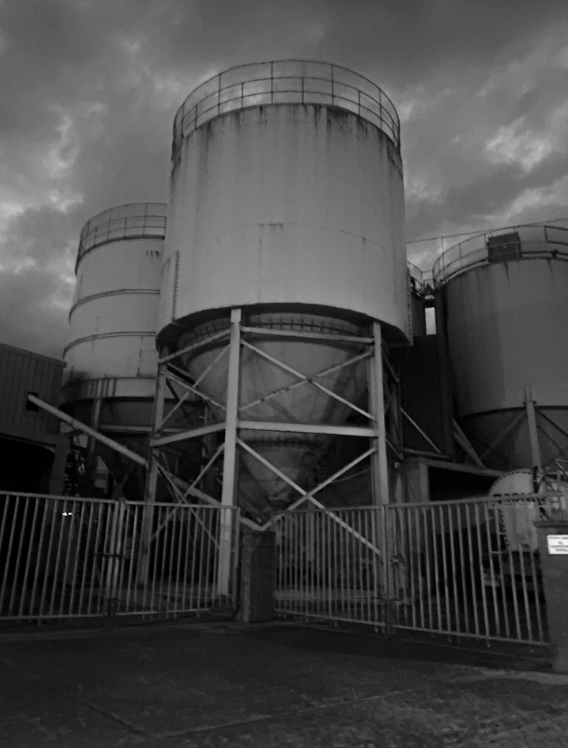
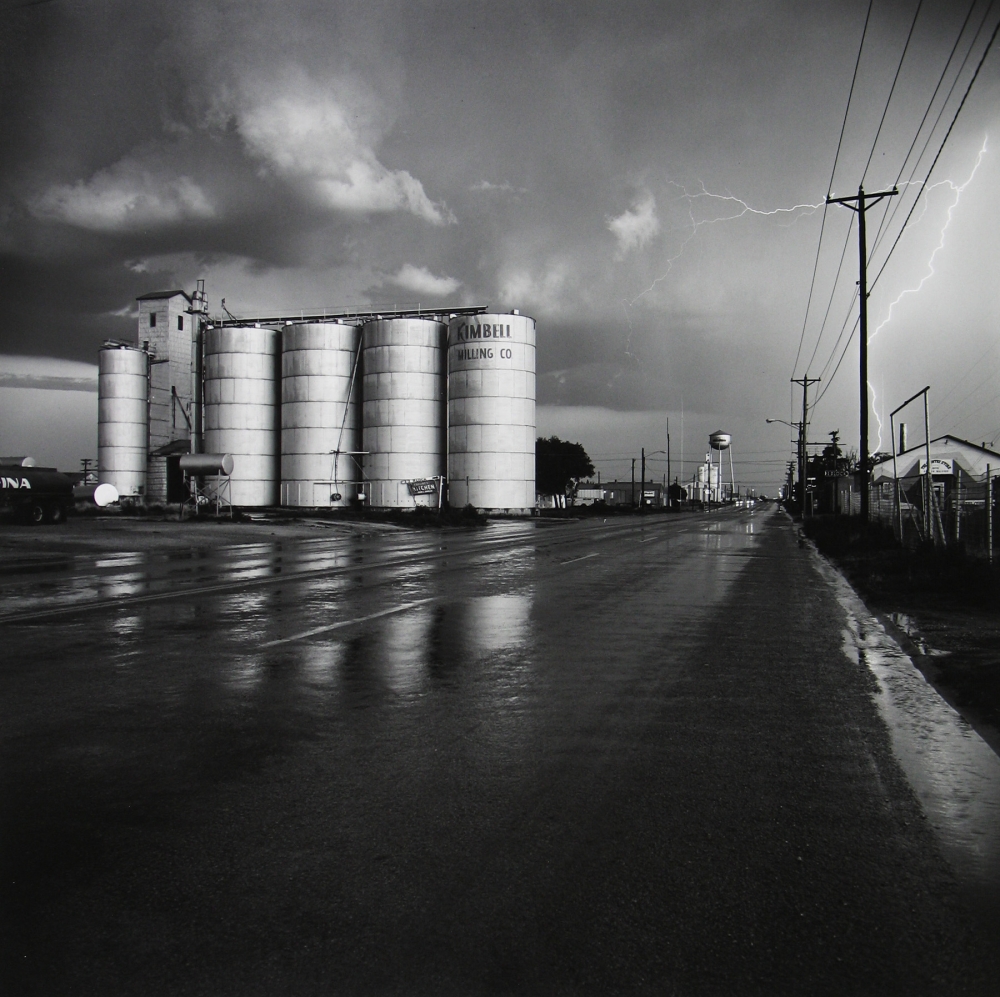
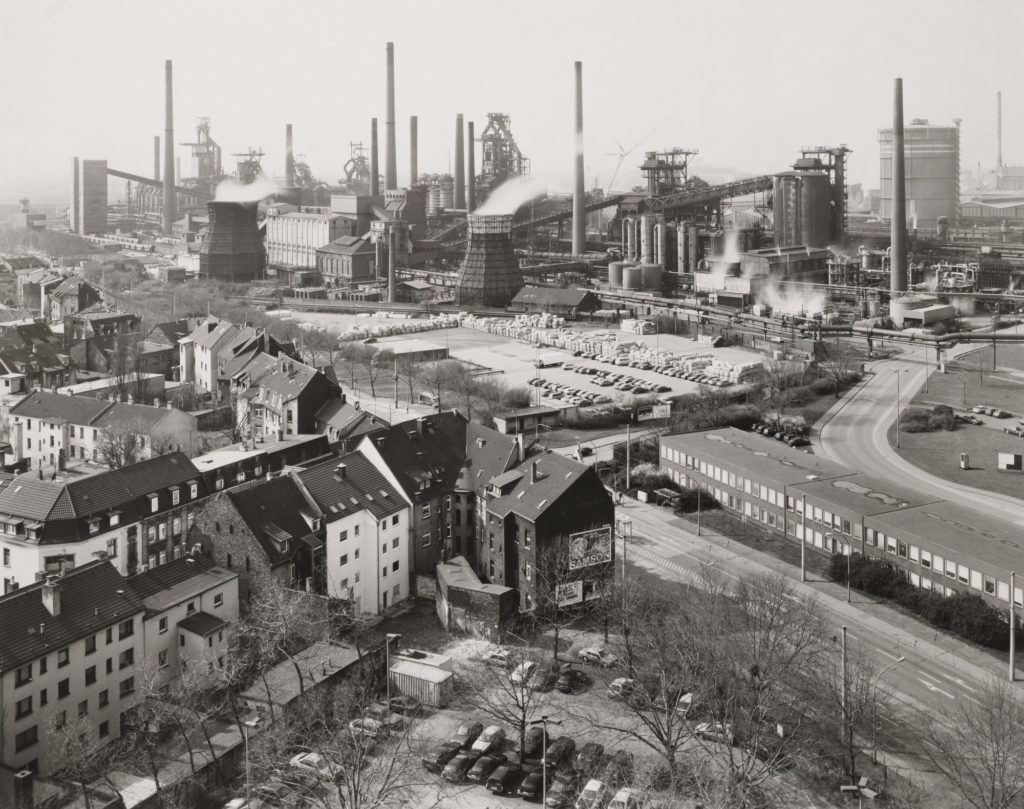
Similarities: Above I have demonstrated that I have been influenced by Frank Gohlke’s work. One of the main similarities in our work are the structures within our them, with us both having included tanks means that our work has a visual link to the topic of Anthropocene and the New Topographic, and these themes both explore how human life has impacted the natural environment. This message is reiterated when you think about the fact that the tank may contain naturally occurring substances such as water or oil, and these elements are contradicted by their surroundings, which are man altered metal and other features such as tarmac and houses (in Gohlke’s work). This means that the link between the image go beyond what is just visual. Additionally, the levels of contrast in both of the photographs, with the metal features appearing a range of tones and textures in the photographs. What’s also important to note is the perspective of both of these images, with the composition being similar yet not identical, its apparent that both were taken from afar. My work is a lot closer but the purpose that the tanks are the key focal point of the images is repeated.

Differences: The most apparent difference between my work and Frank Gohlke’s work is the sky. In Gohlke’s work this feature is full of contrast and a focal point for the photograph. I could have made the sky darker in photoshop to make the image stronger and more like Gohlke’s work. However, I still like that the sky is light in my image and it compliments the tones in the tanks, but it separates it from my artist’s work and creates differences. Additionally, the composition of our photographs are unalike as he has been taken from a distant viewpoint and mine is taken from a lot closer up, with mine following the rule of thirds more as mine is more symmetrical with a closer up focal point. Gohlke’s focuses more on a number on manmade objects and lacks a focal point with the tanks so far away.

Bernd and Hilla Becher
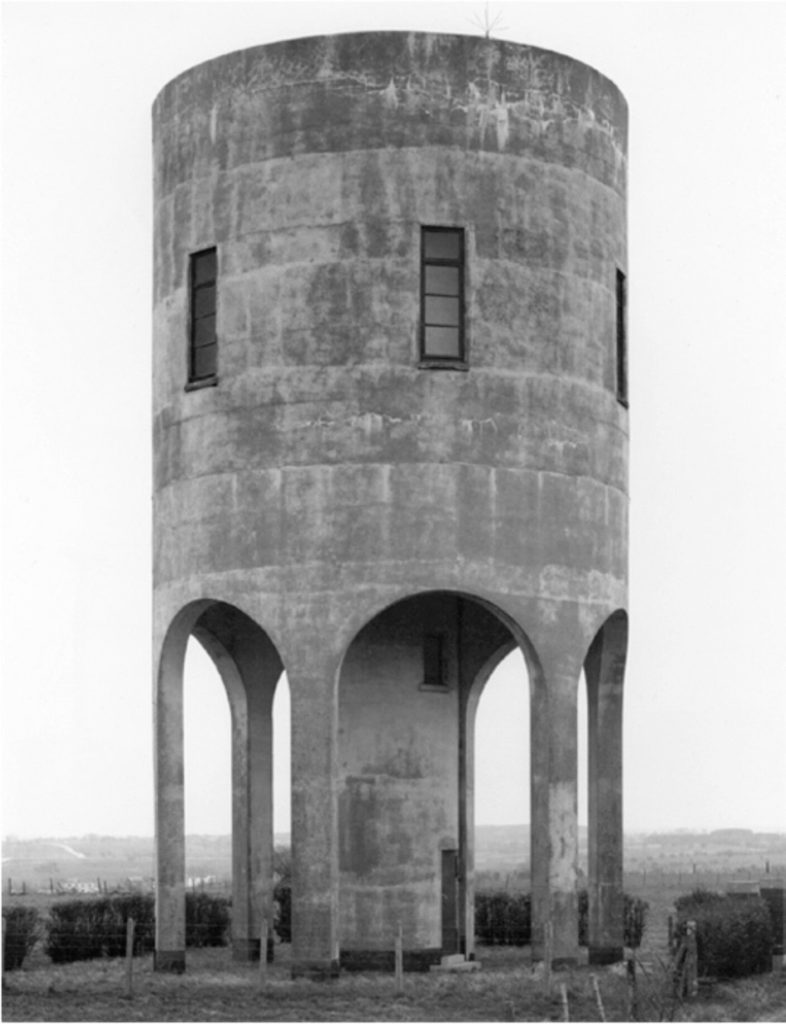
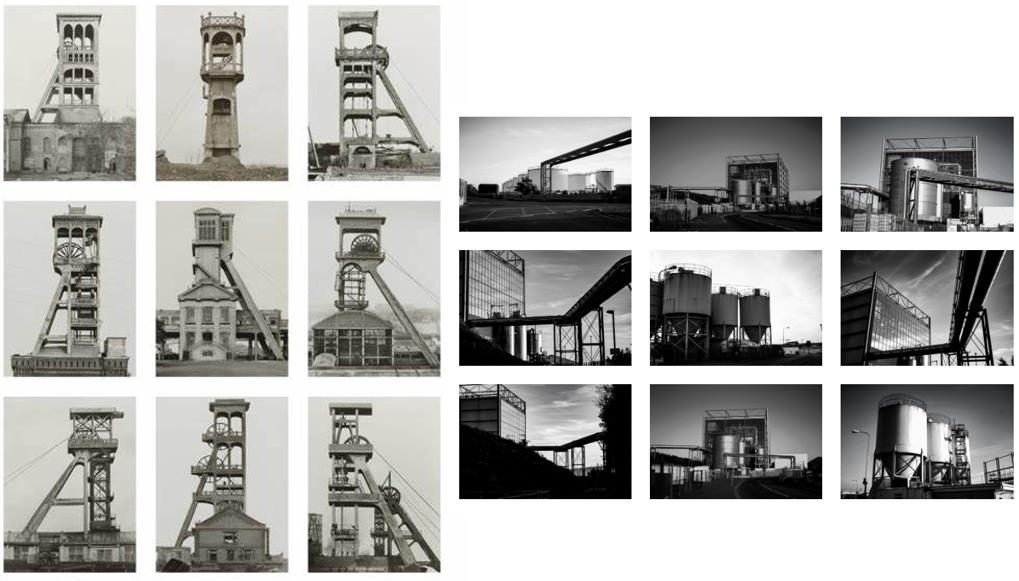
Similarities: I think comparison I have attempted to recreate one of Bernd and Hilla Becher’s pieces, with my photograph being taken at Fort Regent so I could get the best view of the reclaimed land. I like how similar these photographs are as the composition helps it feel as it they have been taken with the intention to look alike. The message behind both of out work has the same purpose, with both of the work demonstrating how much humans have changed the planet, but in this case focusing on cityscapes and how drastic the affects on industrialisation are.

Differences: The way that these images have been edited with there technology at the time is very different, obviously Bernd and Hilla Becher were more limited with what styles of editing they could do and the quality of images they could produce, but the fact that their image is dull and mine had to be greatly edited to match this is an indication of how much manmade technology has changed, and this example is just with cameras. I think this also means that their work turned out to be a more yellow toned image whereas mine has a cooler toned feel.
evaluation & critique

WHAT WENT WELL

Overall I think my final outcomes were done well because i wasn’t rushed for time, and spent about 1-2 hours on each photoshoot which i think in the end really benefit me especially because it gave me a wider range of photos to choose from. Out of the two photoshoots i feel that the 2nd one was my strongest as it had a good range of location lighting and objects and i managed to capture the fascination i had in the hotel in my images. I think editing really helped make my photos better for both shoots as i played with colour exposure and texture to help make my piece stand out and showcase the detail put into my photos.

Another thing that I think went well was the standard of my final images, as none of them turned out blurry or shaky – in some instances i had to use flash as it was too dark to secure a good image but even then it turned out well and gave me the desired effect, however the ones i didn’t take with flash also turned out well especially for photoshoot 1 as the darker lighting helped me build on my theme of industrial architecture.

CRITIQUE

Although the majority of my images turned out well, one thing i felt faulted me was the fact i didn’t have a working camera for the first photoshoot so i had to use my phone, which meant some of my photos ended up out of focus or shaky and could’ve turned out better if i had used a camera. I also felt like with photoshoot 1 since using a phone i didn’t end up with much variation in the texture of my images. If i were to do it again I wouldn’t use my phone unless it was a daytime photoshoot because the quality doesn’t end up as good if the photos are taken during the night.

Evaluation and Critique- anthropocene

FINAL IMAGES

EVALUATION

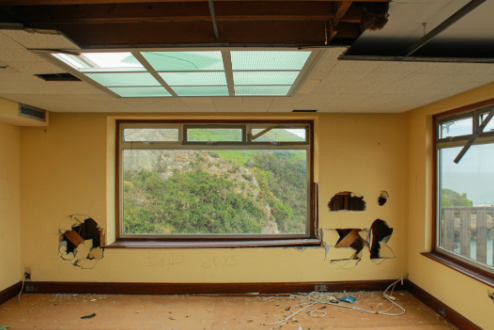
I like the yellow contrasted against the blues and greens of the nature through the window and the blue of the ceiling windows while attention being drawn to the dark tones of the holes in the walls which present a sense of depth as attention to drawn to the back of the room. The framing of nature through the window is interesting as the destruction and abandonment

CRITIQUE

The image is quite plain in its composition with not much happening. There is also a lot of darkness in the corners and top of the image as there are shadows and dark wood which looks unusual against the tone of the yellow.

EVALUATION

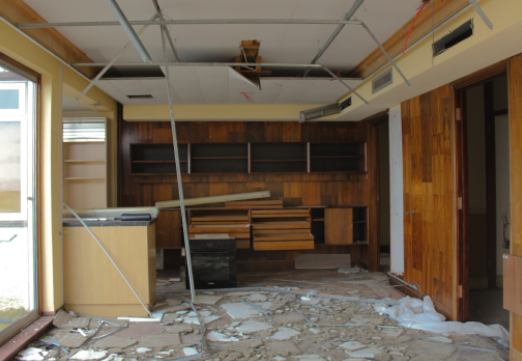
The image has depth as attention is drawn towards the back of the image, the theme of yellow is continued which looks interesting against the dark of the wood. The texture of the wood and floor is also very visible which is interesting to look at especially since there is such a large variety of colours.

CRITIQUE

The left side of image is overexposed and provides a large contrast between the dark tones of the wood, I could’ve cropped this out but the dimensions of the image would have been unusual.

EVALUATION

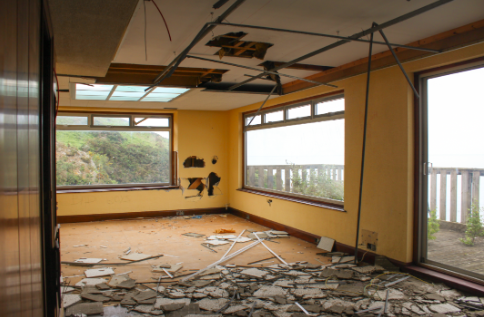
I like this image as destruction is shown throughout the image, with the ceiling tiles on the floor and the holes in the ceiling and walls, along with the obvious yellow motif.

CRITIQUE

The outside is overexposed which if I changed then the image would have been too dark to notice the yellow walls and soft lighting coming from outside.

EVALUATION

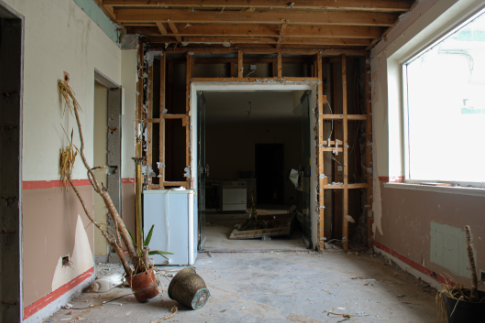
Attention is drawn towards the dead plant as it is the only slanted thing in the image, I find this interesting- especially as it is in front of the doorway- as it could symbolise the death of nature making way for human activity. I think this images has the best flow to it as composition-wise it is the most classic composition.

CRITIQUE

The right side of the image is overexposed but I didn’t want to lose the soft light coming in from the window so I decided to keep it.

EVALUATION

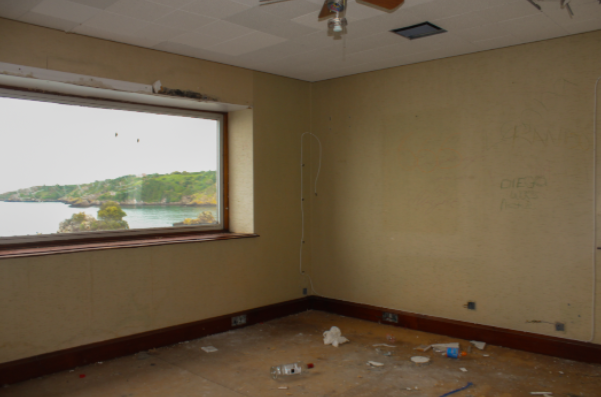
I like how the stains and graffiti on the walls is visible alongside the obvious signs of human interaction with the room contrasted with the view of nature outside the window.

CRITIQUE

The image has quite a plain composition and the outside is overexposed.

FINAL ARRANGEMENT OF IMAGES

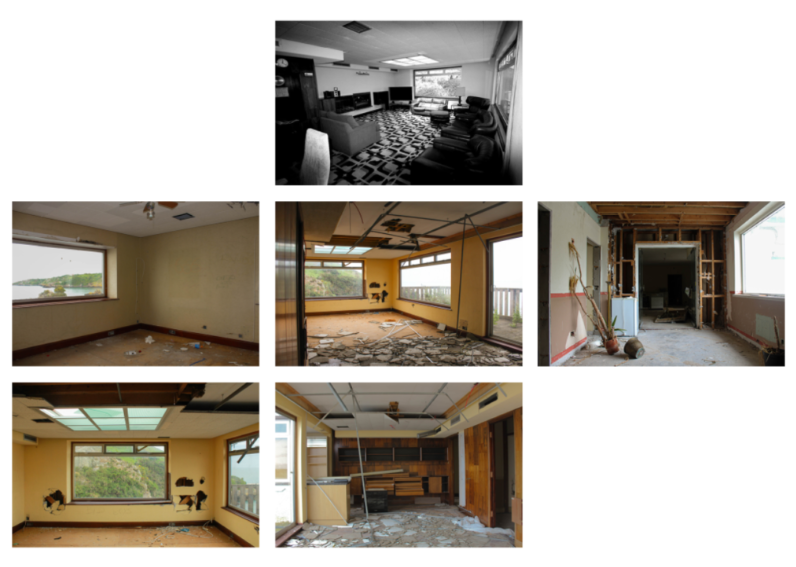
My final grid of images

EVALUATION

I like the contrast between the plain rooms scattered with destruction against the black and white original image of the room. I also believe the negative space between the images works very well as it looks like a blue print- with the slight motif of nature/the outside in every image compared with only viewing nature through a derelict room is interesting especially in the nature of a blueprint.

CRITIQUE

Overall I do not like my final set of images, I preferred my last mock exam as with the theme Anthropocene it mainly focusses on nature and how humans are changing the world- I prefer taking images of people as I find it more interesting.

case studies comparison

HILLA AND BERND BECHER

Similarities

  • Colour
    • Viewpoint (head-on)
    • Natural lighting
    • Focused
    • Similar subject of photo

Differences

  • Context
  • Lighting (night vs. day)
  • I have edited my photo to be slightly overexposed
  • Different focal points in my image

Similarities

  • Set of three
  • Similar theme
  • Features graffiti
  • Taken during day

Differences

  • My image is in black and white
  • Talling’s images are taken outside
  • My photos were taken with flash
  • Mine are edited – heightened exposure
  • Talling’s features elements of nature whereas my set is showcasing the vandalism caused there by people.

Anthropocene: Virtual Gallery

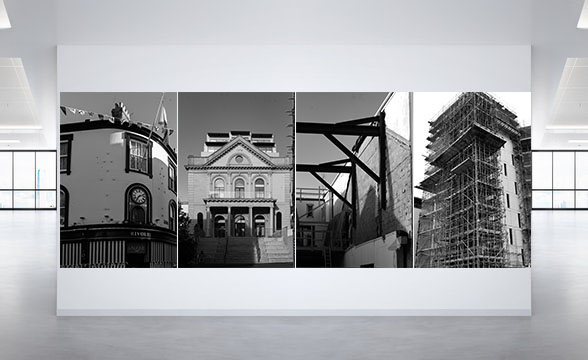
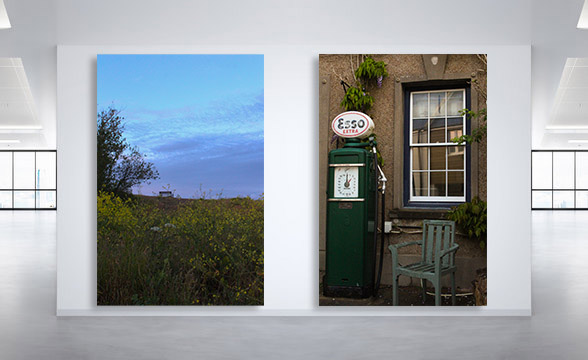
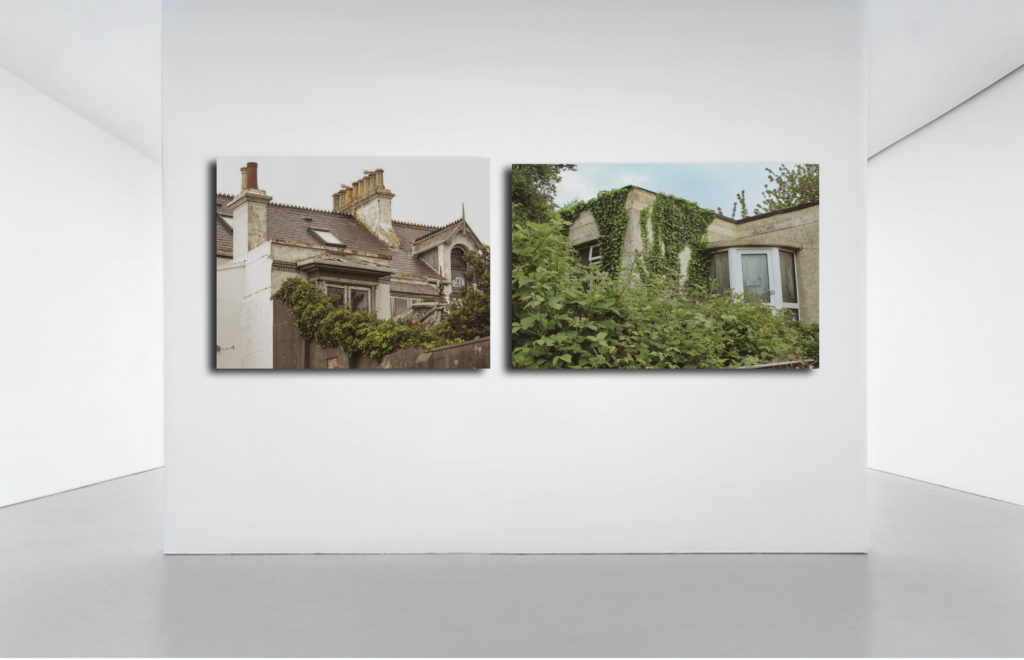
For my virtual gallery, I decided to have two sets of monochrome images and two colour images to show diversity. I also used a mixture of landscape and portrait photographs.

The first monochrome set consists of two landscape images that are opposite to each other on a white background. I paired them up as I thought they worked well together. The second set consists of four portrait images, one after the other in a straight line. I think they work together because they are all images of buildings and scaffolding.

The first colour set is another juxtaposition. In the image on the left there can be seen a bench in the distance and this links to the images on the right because the main focus of it is a chair. The second set is simply a landscape image of a roof with two chimneys. I like this image because the colours are nice and vibrant.

Anthropocene: Presenting my Final Outcomes

Final Outcomes

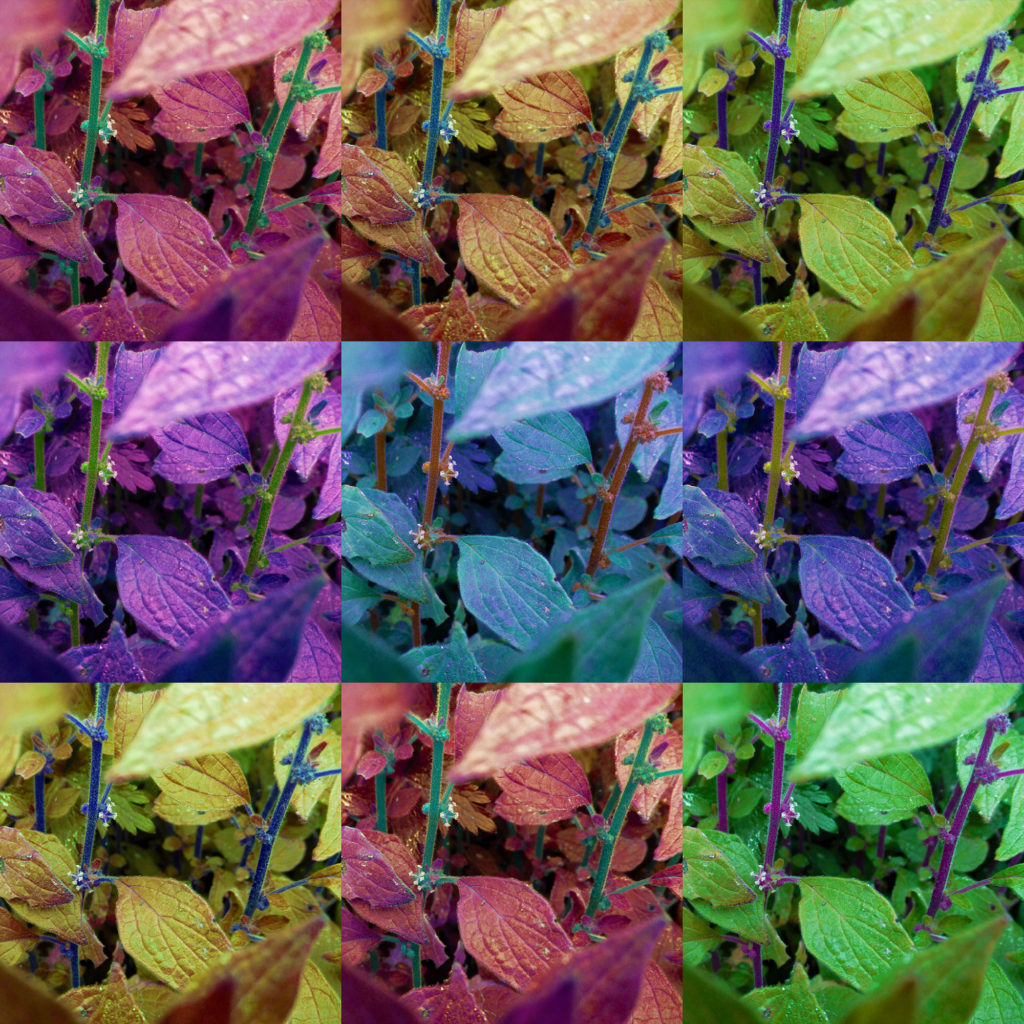
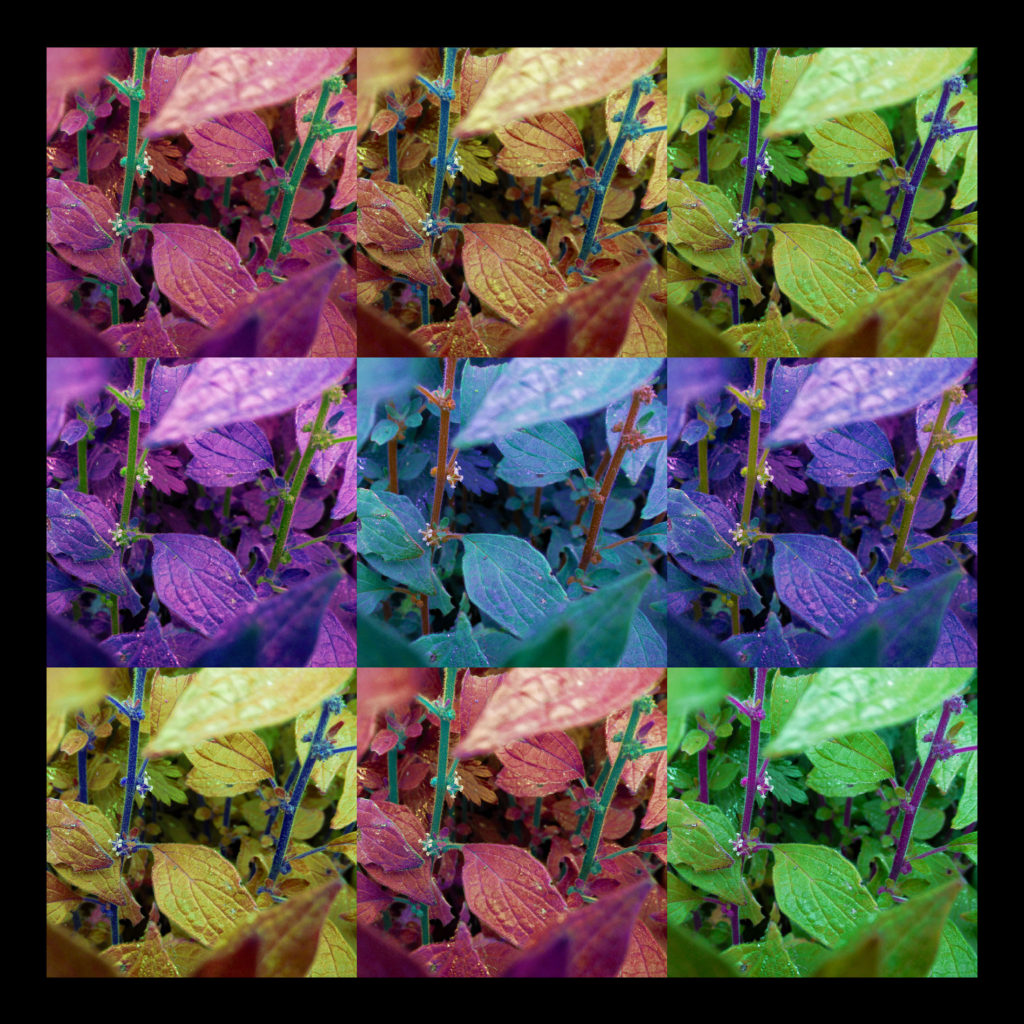
These two images are direct responses to Andy Warhol’s own artwork. I wanted to capture a style similar to his ‘Marilyn Diptych’ piece (the first image), as well as a more detailed style (the second image). For these two images, I wanted to focus on colour, both images have a lot of colour to help them appear more abstract, however the first image uses far darker colours and shades, while the second image is much more vibrant.


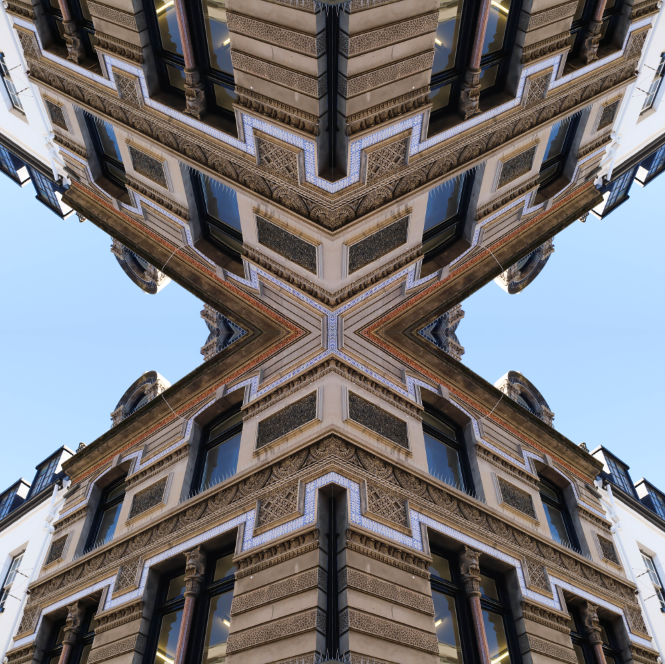
Similar to the last two images, I was inspired by Warhol’s work when making these images, seen by the bright and vibrant colours akin to his Marilyn Monroe portraits. I like the way these images use the straight lines from the urban building to separate colours and tones.


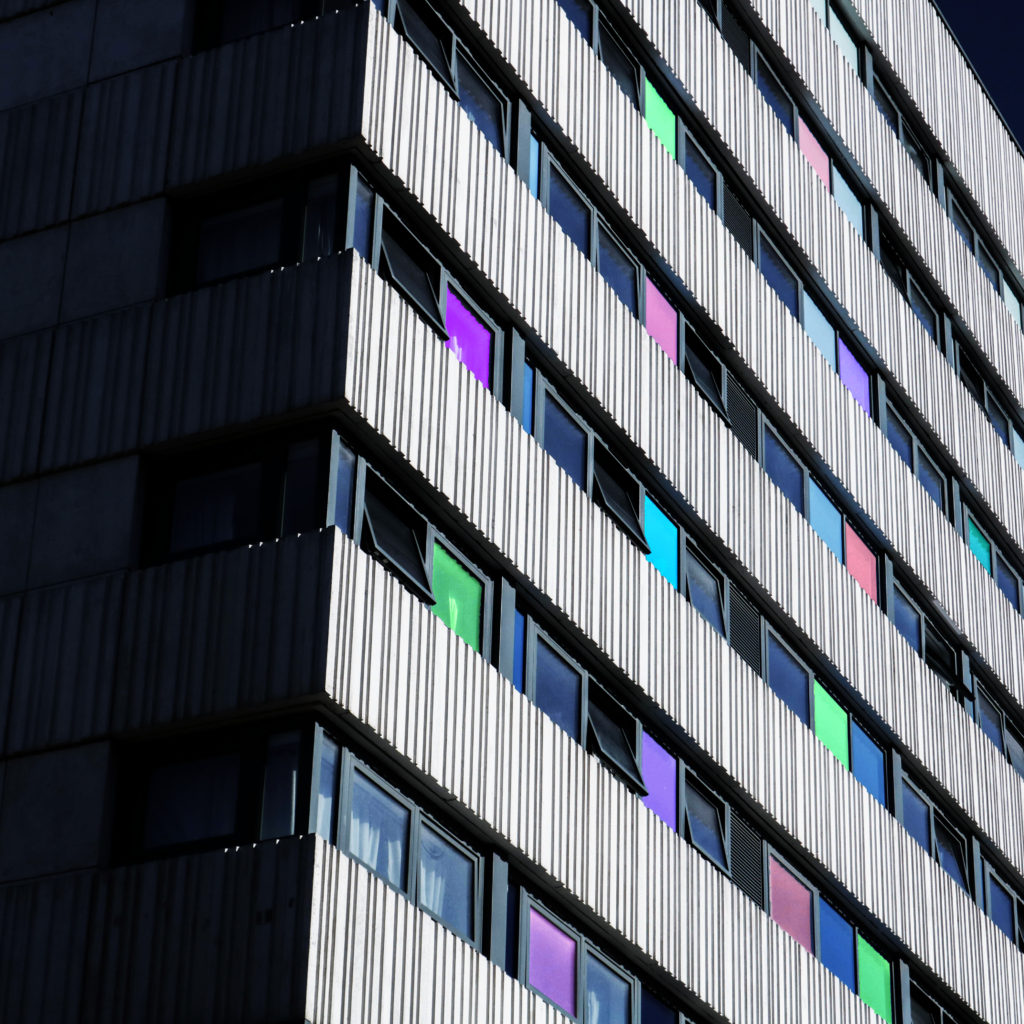
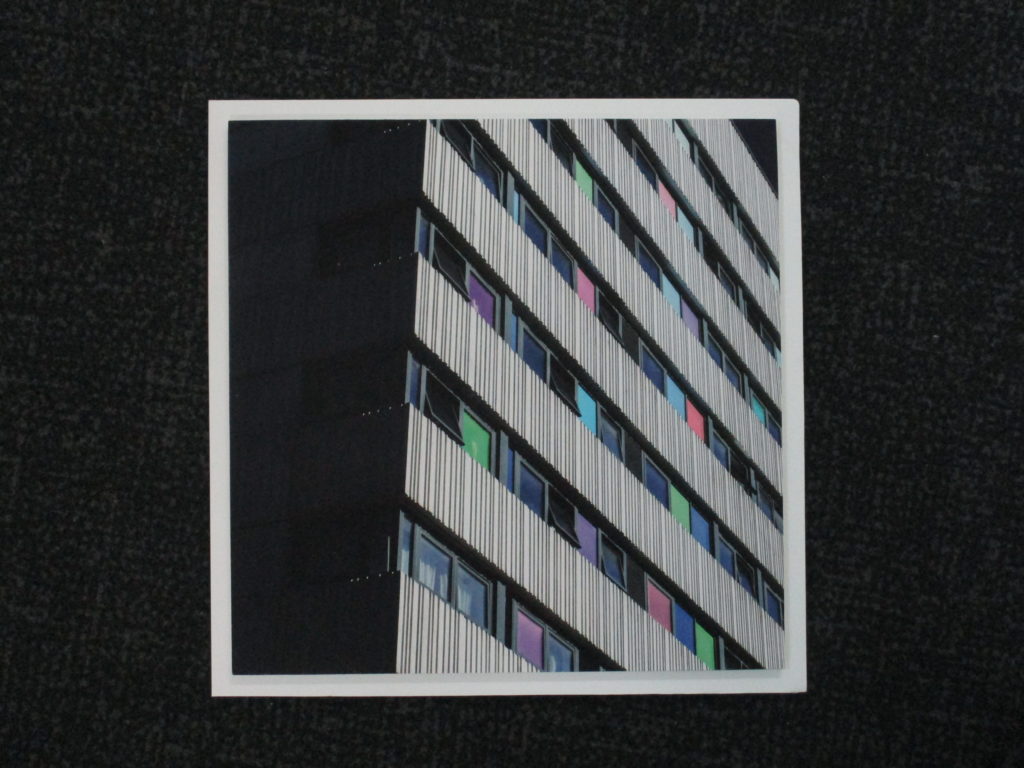
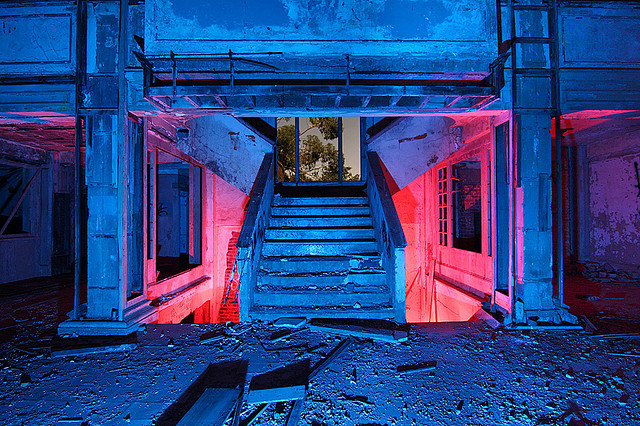
As for this outcome, I was inspired by both Warhol’s use of abstract shape and tones and Paiva’s light painting photographs, creating the different colours in some windows was an inspiration from some of Paiva’s images.


Presenting my Outcomes

For these two images, I am going to lay them out in a window mount, I have made a mock-up version of this with a white boarder to mimic this style.

For these images, I want to mount them separately on foam/mount board.

My Images in a Gallery

I have made two images that show what my images would look like if they were to be hung in a gallery.

My Final Outcomes

Comparing my Final Outcome to Reference Artist

Similarities

  • Both images use strong colours
  • Both images are abstract
  • Both images use a regular grid pattern

Differences

  • My image is far darker than Warhol’s
  • Warhol’s image has much less contrast
  • Warhol’s image is a portrait, while mine is more of an object/landscape image

Evaluation

Overall, I am very happy with the way this project turned out. I feel like this project was far more successful than the last mock exam, not only in terms of planning, but also, I felt that the quality of the images I took were far greater than the last project’s and that the final outcomes, in terms of editing and presentation was far stronger.

What Went Well:

I feel like the photoshoots for this project were very strong, I think this because I focussed more on the subject matter, why I was taking the images and what I was doing (in terms of how I took the pictures). I think my final pieces for this project are all strong and matched what I had intended from the start. I feel like my final images all match my referenced artists nicely, with each image bearing good resemblance to the work of those artists. While experimenting, I feel like I have learnt new ways on how to manipulate my images, as well as new concepts that I may be able to use in a future project.

What I can Improve on:

I feel like I could have been a bit faster in terms of producing the blog posts and final images, however I did manage to get them done during the allocated time. Because I didn’t get the project done in time for me to really go back and add even more detail to the blog posts, I also didn’t have enough time to make physical mock-up of how I would present my images in real life, I will try and aim to get to that point in the next project.

Anthropocene: Editing and Experimentation

Experimentation

These two images were very early experiments I did (before I took any pictures for the project). I knew from the start that I wanted to use colour and have an abstract aesthetic, so these images were tests to see how I could achieve that. While I think there could be an interesting idea behind these images, I don’t think I have developed it enough to be worthy of a final piece.


This image is an experimentation for when I thought about making my images appear like an Autochrome photograph. While I like the look of this image, and I honestly think I may bring back the idea for a future project, I didn’t think that it would fit with my ideas for a ‘colourful’ and ‘abstract’ final piece, perhaps for a darker, less energetic photoshoot.


Andy Warhol

Andy Warhol – The Andy Warhol Museum

Warhol was an American artist, producer and film director who is most famous for his silkscreen paintings, such as Campbell’s Soup Cans and Marilyn Diptych. Warhol was the lead artist/figure in the Pop Art movement, which mixed art with popular media, such as advertising, comic books and mass produced objects, giving them a boring aesthetic, which created irony. The movement highlighted the banal elements of culture. Warhol’s works include some of the most expensive paintings ever sold, he is considered to be the ‘bellwether of the art market’

I chose to study Warhol because I think his pop-art work, especially the Marilyn Diptych, fits with my aim for the project nicely. I was inspired by Warhol’s work because I think his use of colour is what I was aiming for when I was thinking of ways to make my images appear more abstract through my use of colour.

Image Analysis

Who's Andy Warhol? 7 Famous Andy Warhol Artworks | Metacult

This image (and its variations) inspired me to create my final pieces in a similar way, with variations in colour in each image. I like these images because of their simple aesthetic (however I will not be using this for my final pieces as I want to keep some detail) and vibrant colours. To me, the lines appear soft and almost flower-like, which helps give the images an unnatural (for a portrait), manipulated look. The shapes in these images seem to be all independent from each other, the hair, lips, eyes, etc…, they blend together to create the portrait in a unique way. The simplicity of these shapes also gives the images (especially the less detailed ones) a more 2D look, which could be part of the reason why they are so distinct from other portrait images. The pattern created by copying the image and changing its colour (sometimes not changing the colour at all) is a staple for Warhol’s work.

Andy Warhol Experiments

(Vibrance: +75 +10)

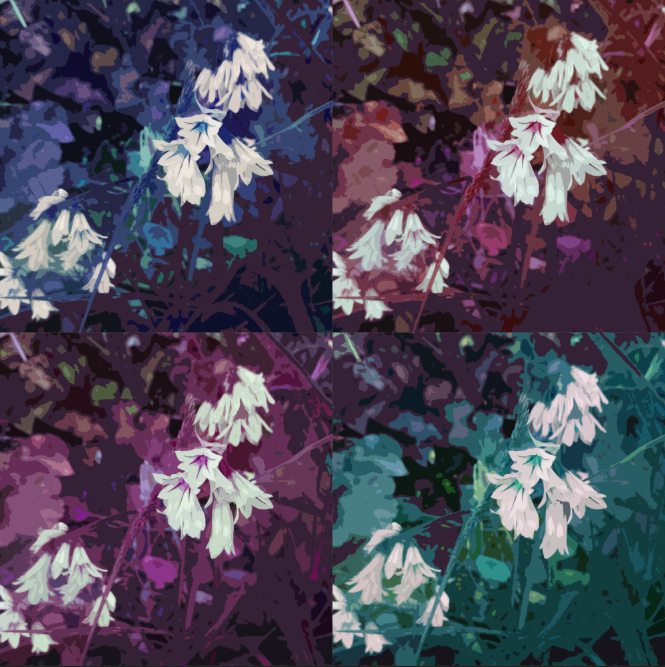
This is an experiment/test for using a similar style for an image in a similar style to Andy Warhol. I thought that changing the image’s colour and vibrancy on photoshop and then placing them in a 2×2 grid will mimic his style, but not completely. I wanted to keep as much detail in these images as I can, unlike Warhol’s images which tend to be more simplistic, in terms of shape, line, depth, etc… I like this turnout a lot and I think I will take it further into an idea for a final piece).

These two images are further experimentations for the Andy Warhol concept, this time I made my images square and used the Filter Gallery tool on photoshop to give the images a more simple look. I personally prefer the second image, as it retains some of the detail from the original image, while making the image appear more abstract.

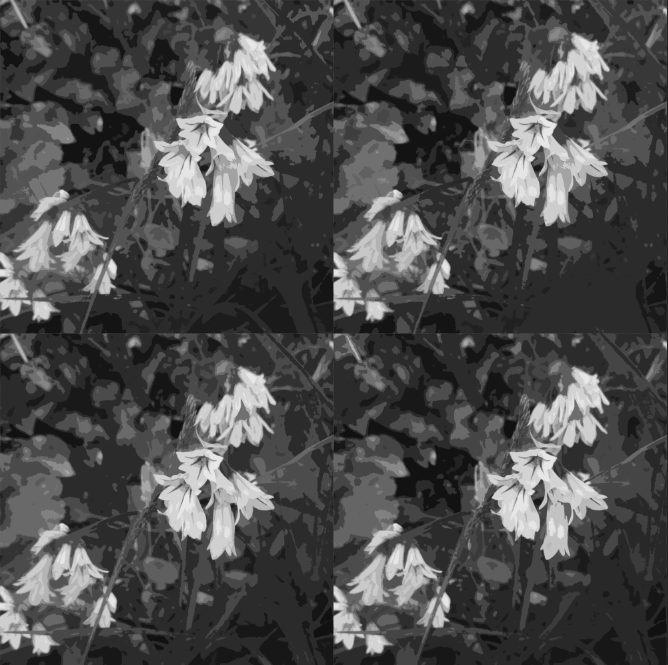
I have made a black and white version of this image to see how it would look. I thought the abstract shapes and difference in tones could make for an interesting black and white image.

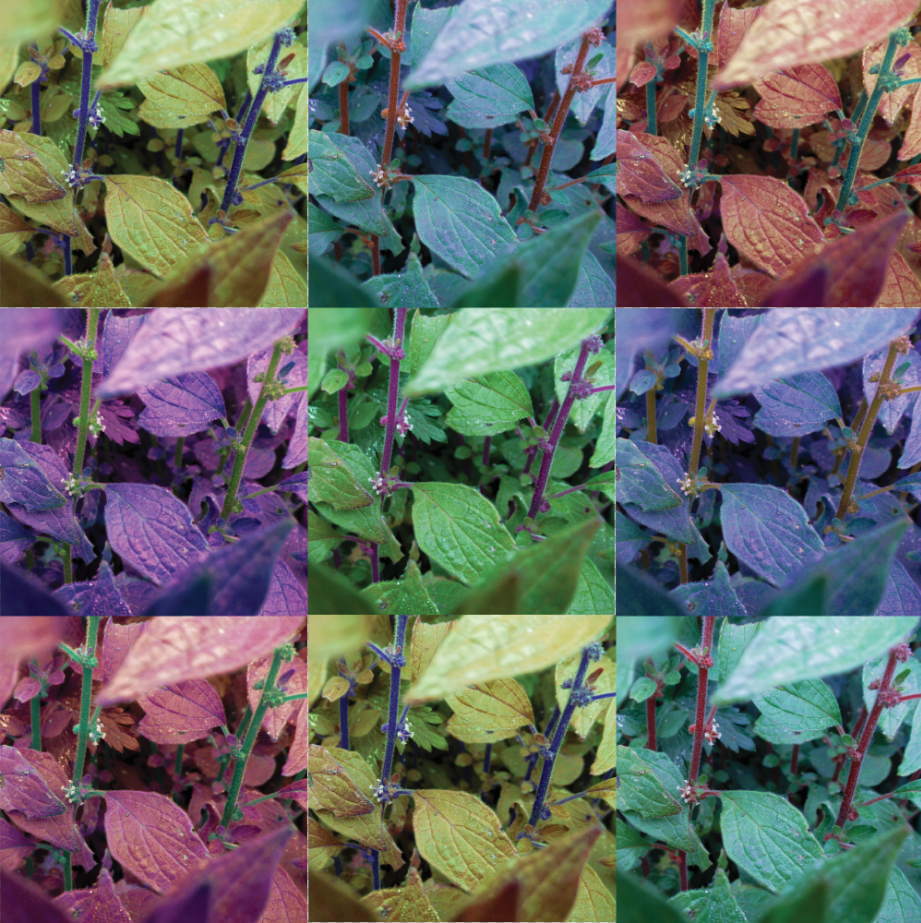
This was an experimentation to see what different grids look like. This version is more akin to images such as Campbell’s Soup Cans, which include a higher number of images in the montage.

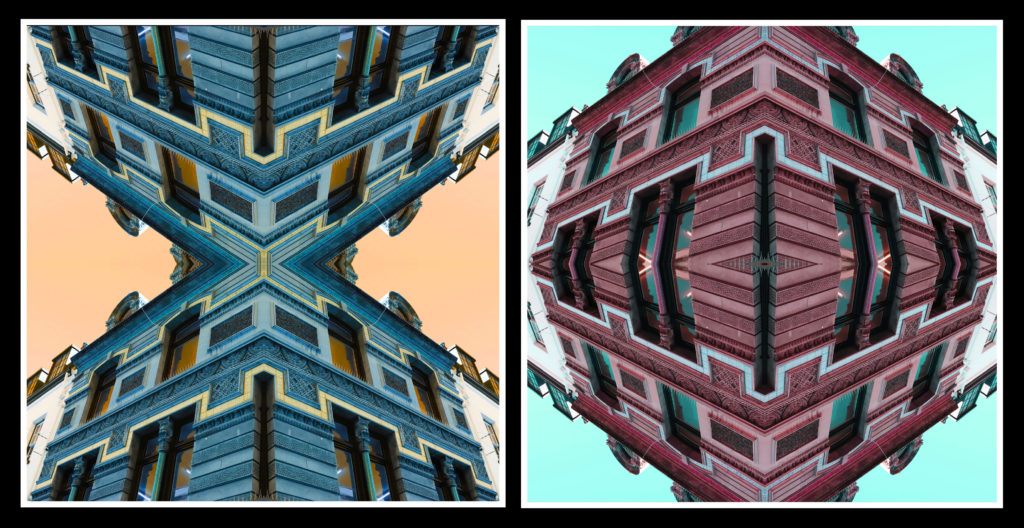
Here I wanted to look at different ways I could lay each image out, in this case I made it completely mirrored.

This is another variation of a mirrored sequence. I think these give the images an abstract look, however I think I’d rather stick to the regular style Warhol uses.


Statement of Intent

For my Final Piece for this project, I will be making multiple Andy Warhol inspired images using my photographs. I think this will work for the project as I am aiming for a colourful, abstract final piece, and I think this style most suits this prompt. I think this will fit for the theme of Anthropocene because I think that using abstract images, a style that I consider to be thought-provoking, as well as artistically interesting, will be a good way to conceptualize the theme of Anthropocene. This is because the Anthropocene is a theme that must be thought about, by everyone, so by making thought-provoking images, the Anthropocene will be thought about in the production and viewing of the final piece.

Images I will use for the Final Piece:

These are the images I consider to be the best out of all three photoshoots (I will use these to create the final piece):

Before making the sequences, I made a square version of each final image, as I thought it captured the style of Andy Warhol’s pop art better.

Anthropocene: Photoshoot 3

In this project, I wanted to focus more on nature, as it is the part that is most affected by the Anthropocene, this made me want to take more pictures of nature in this photoshoot. I will take pictures of landscapes or individual plants (similar to the first photoshoot), however in more overcast, cloudy weather, which will give the image a different mood.

Photoshoot Plan

What?I will take pictures of landscapes/plants when it is cloudy/rainy
Where?On a track near my home
When?When there is enough natural light to light my images nicely, while also being cloudy
Why?I think a cloudy look could produce abstract images that look interesting due to the difference in lighting. I also think that focusing on nature will make my images akin to Henry Fair’s work
How?I will take pictures of plants and landscapes from angles and viewpoints that could make them appear abstract

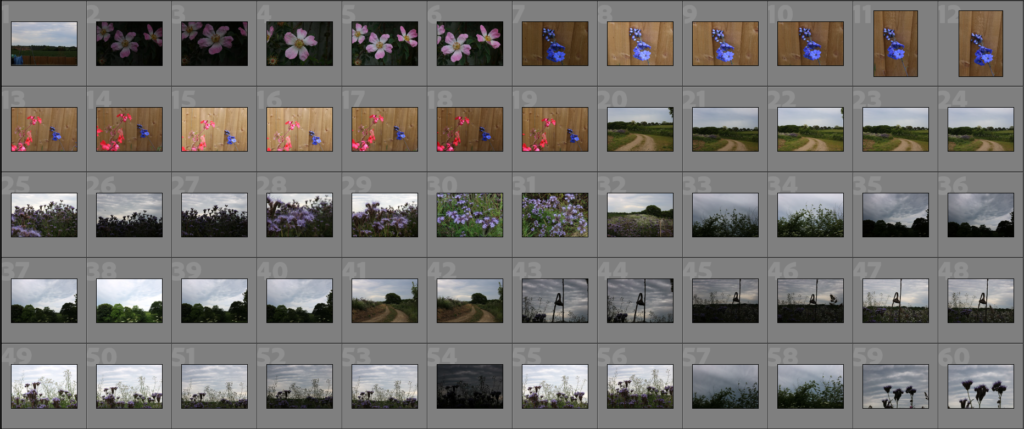
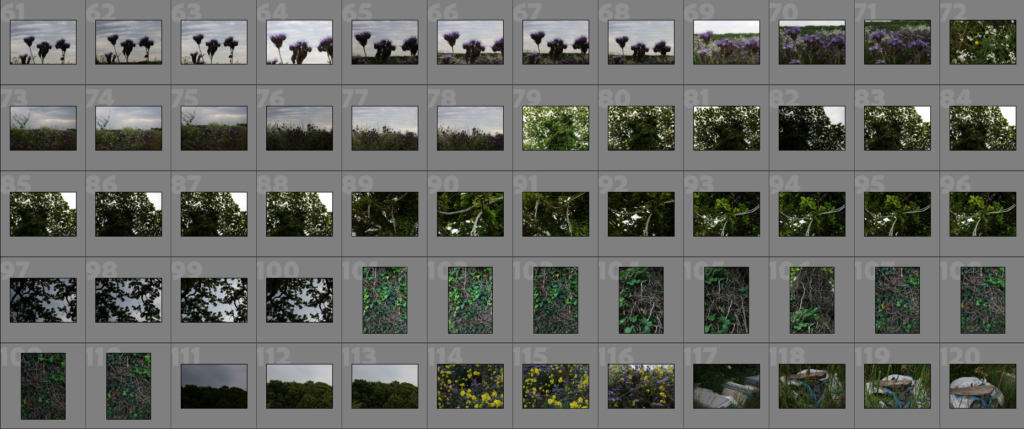
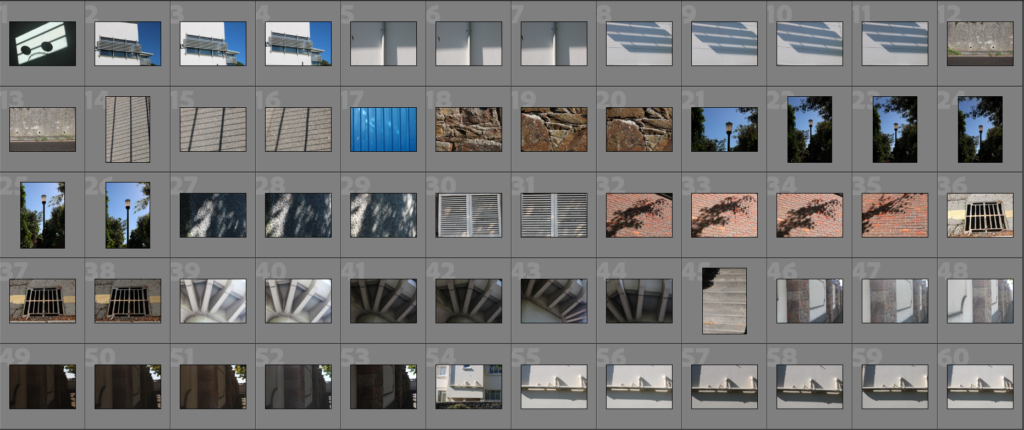
Contact Sheet


Editing Process

Here, I have used the ‘pick’ and ‘reject’ tools on Lightroom to comb out what I consider to be the best images from this photoshoot.

Next, I rated each image out of 5 to see which ones were the strongest and weakest out of that collection, which will help me make the decision for selecting my final images.

Then I assigned a colour to each image to help further comb the images to determine which will be the final images.

In the end, I chose these five images from the entire photoshoot to be my final images that I will be editing/manipulating further.


Final Images

These are the edited/adjusted versions of each final image.

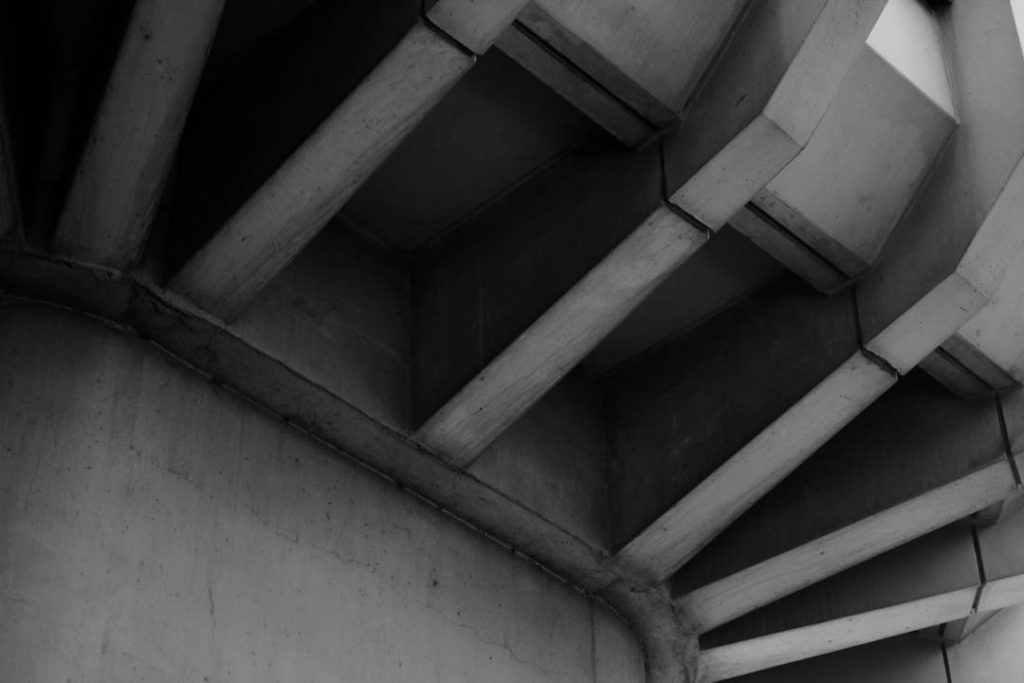
Here are the black and white versions of each final image.


Image Analysis

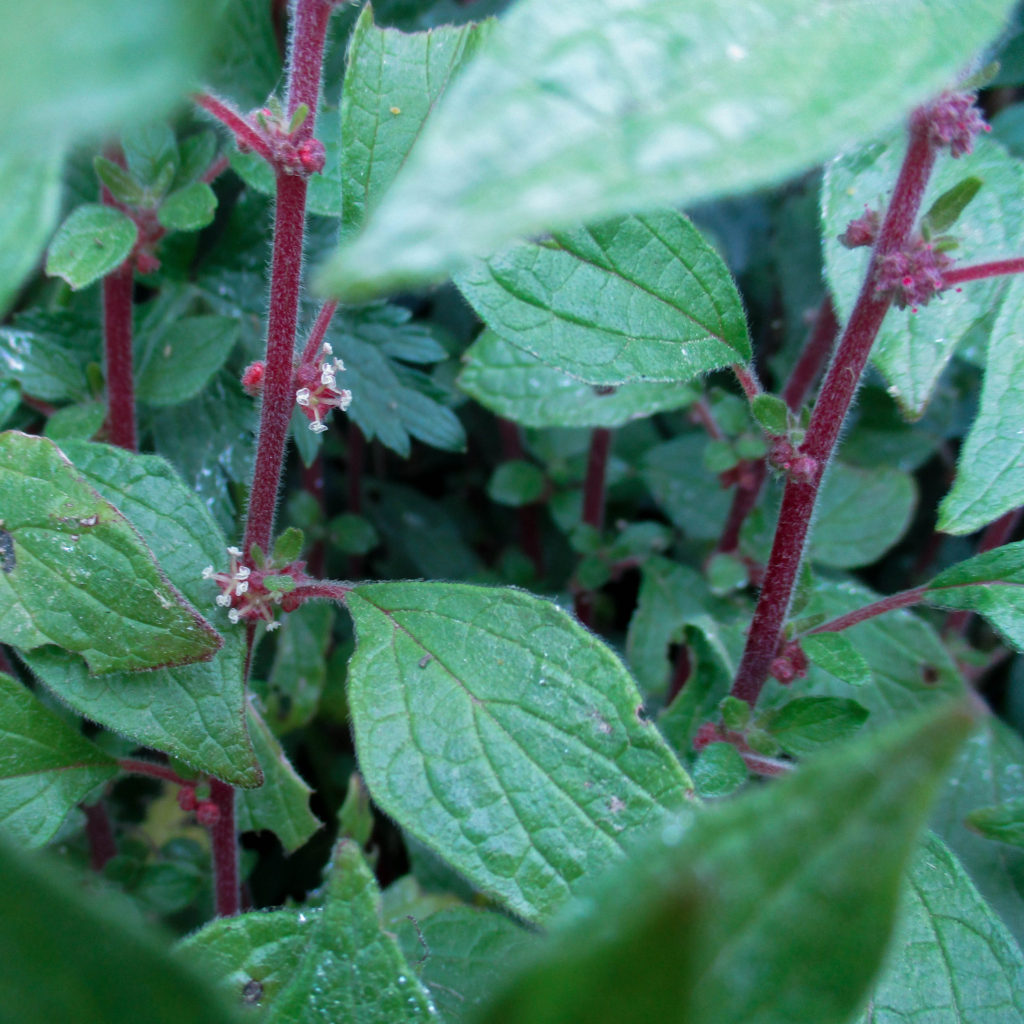
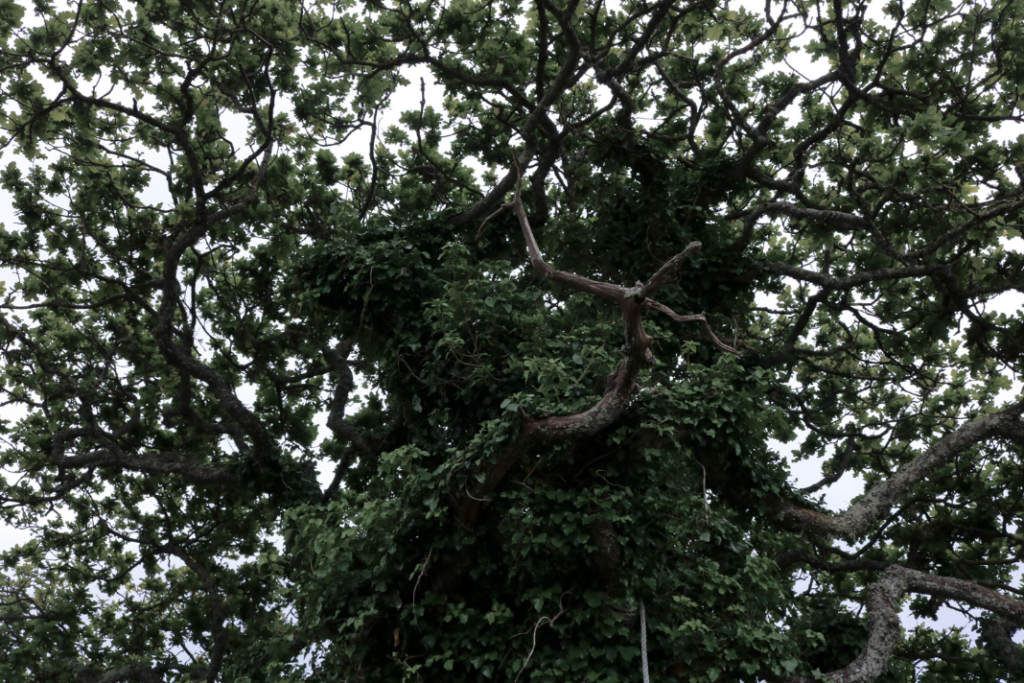
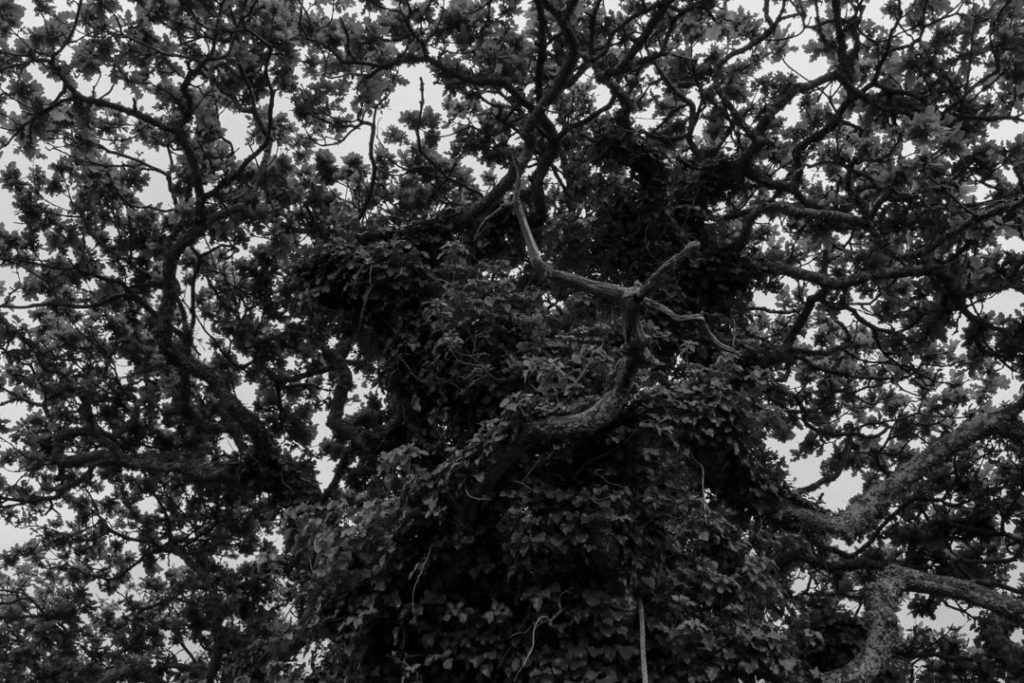
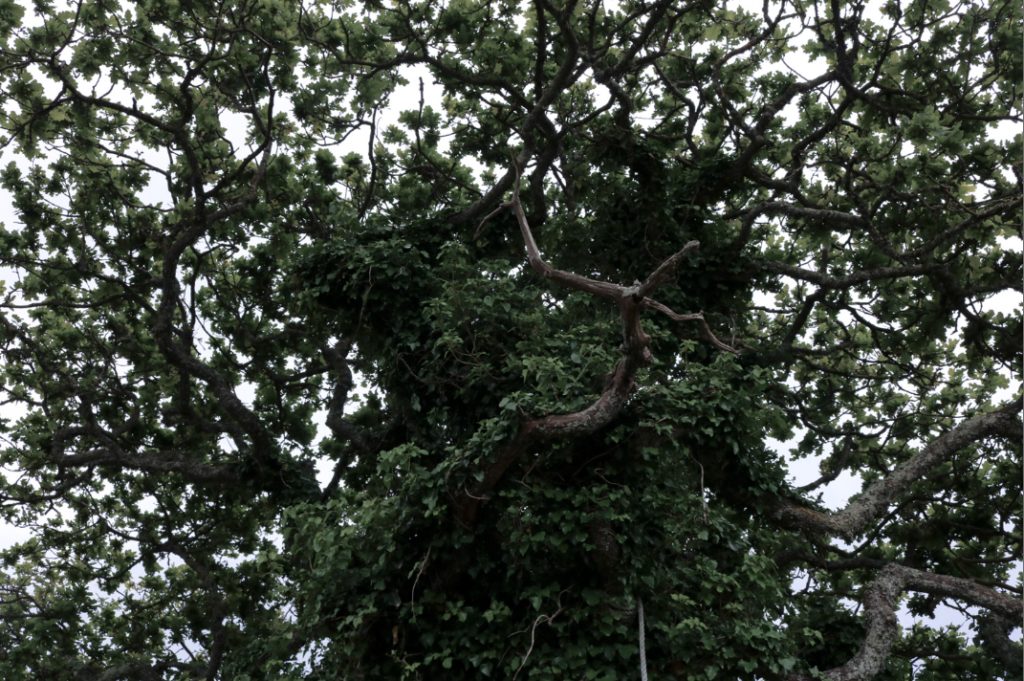
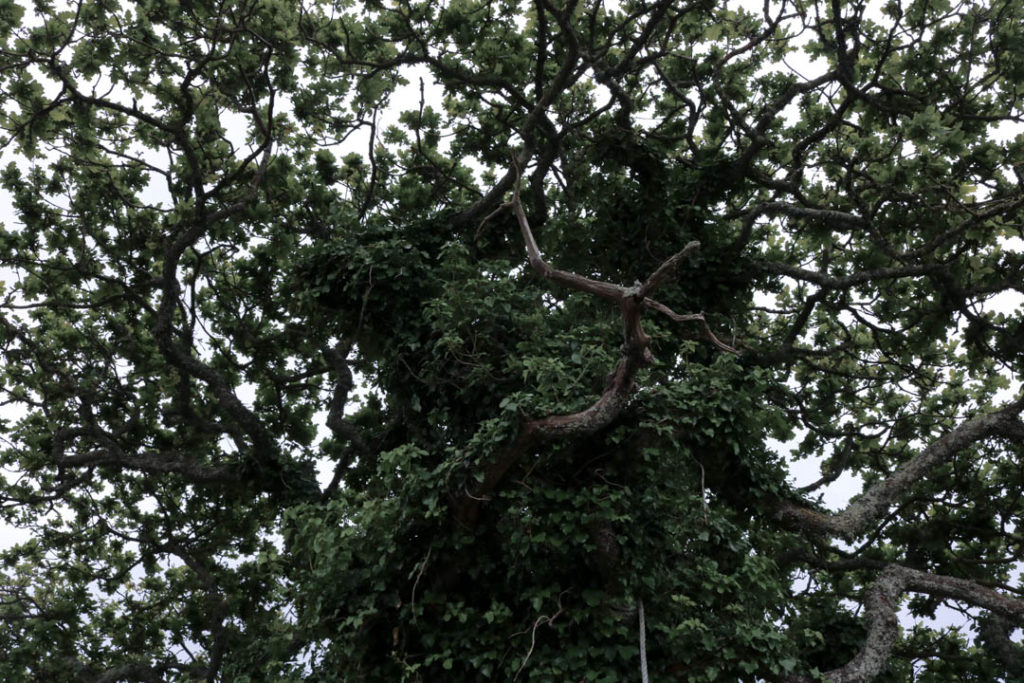
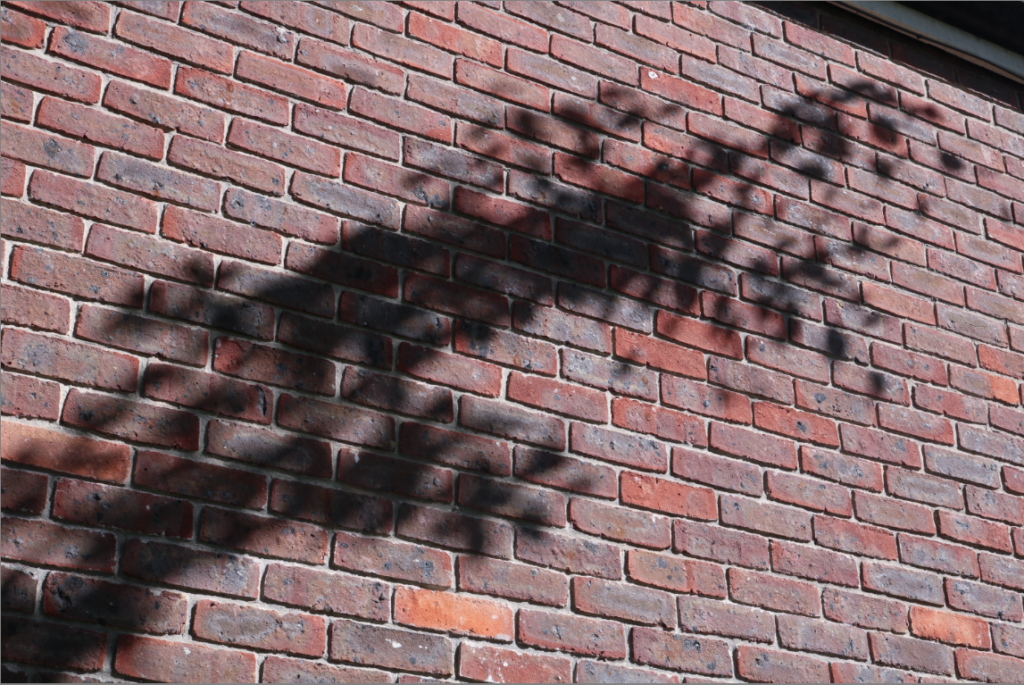
I made this a final image because I like the way the image looks almost chaotic, with the leaves and branches taking up a lot of space and creating many angular, yet irregular, shapes. When editing, I wanted the colour in this image to be slightly less vibrant, to give it a more sombre look, which I think works with the greens and browns on the tree. I also made the tone of the image slightly colder, to shift the leaves to a more dark colour that will go better with the sombre aesthetic of the image. Personally, I like the way the lighting creates an almost pure white in the background, as it helps to give the image a slightly more abstract look, helping it fit in with the images from the previous photoshoots. I like how the shadows on the tree contrasts greatly with the white in the background, not only does it give the leaves, branches and other patterns on the tree more definition, but it also aids the abstract and sombre look the image achieves.

Comparison to Artist

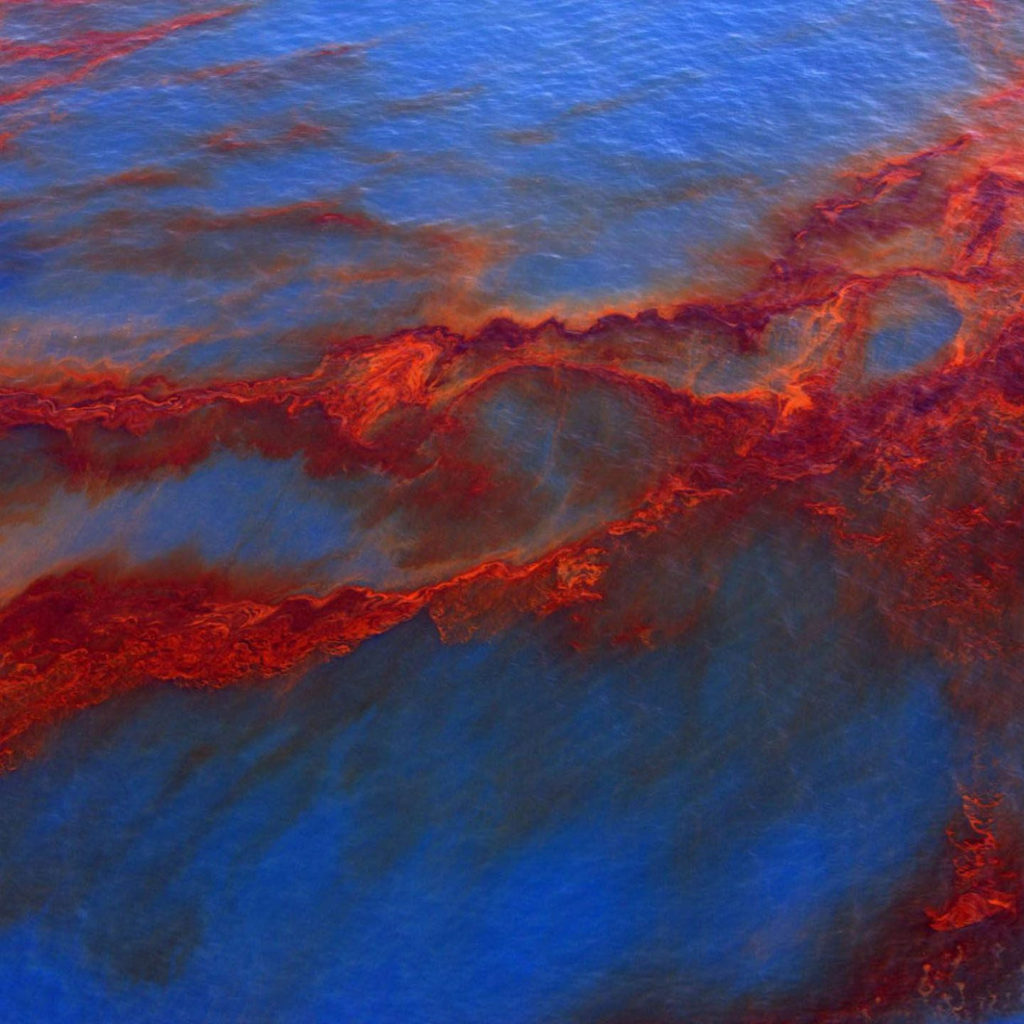
This photoshoot was not inspired by Henry Fair’s work, however I think some elements from this photoshoot and his work are shared in some cases.

Similarities

  • Both make use of natural subject matter
  • Both images use natural lines and shapes
  • Both images use natural lighting

Differences

  • Henry Fair’s image is more vibrant, while my image is darker
  • Henry Fair’s image has a more abstract aesthetic
  • Henry Fair’s image uses brighter, more contrasting colour

Photoshoot Evaluation

I am happy with the way that this photoshoot turned out, I think the final images are all interesting and link to the theme of Anthropocene well. I think the location I used for this photoshoot was interesting, and I may return to it in the near future to see what else I can find. As this photoshoot was taken in overcast weather, I think I would try to go out when the weather is brighter, such as at sunrise or sunset, which will give the images a completely different feel. In the area, there was also piles of timber and leftover rubble, which I think will be interesting to take pictures of in more depth at a later date.

Anthropocene: Photoshoot 2

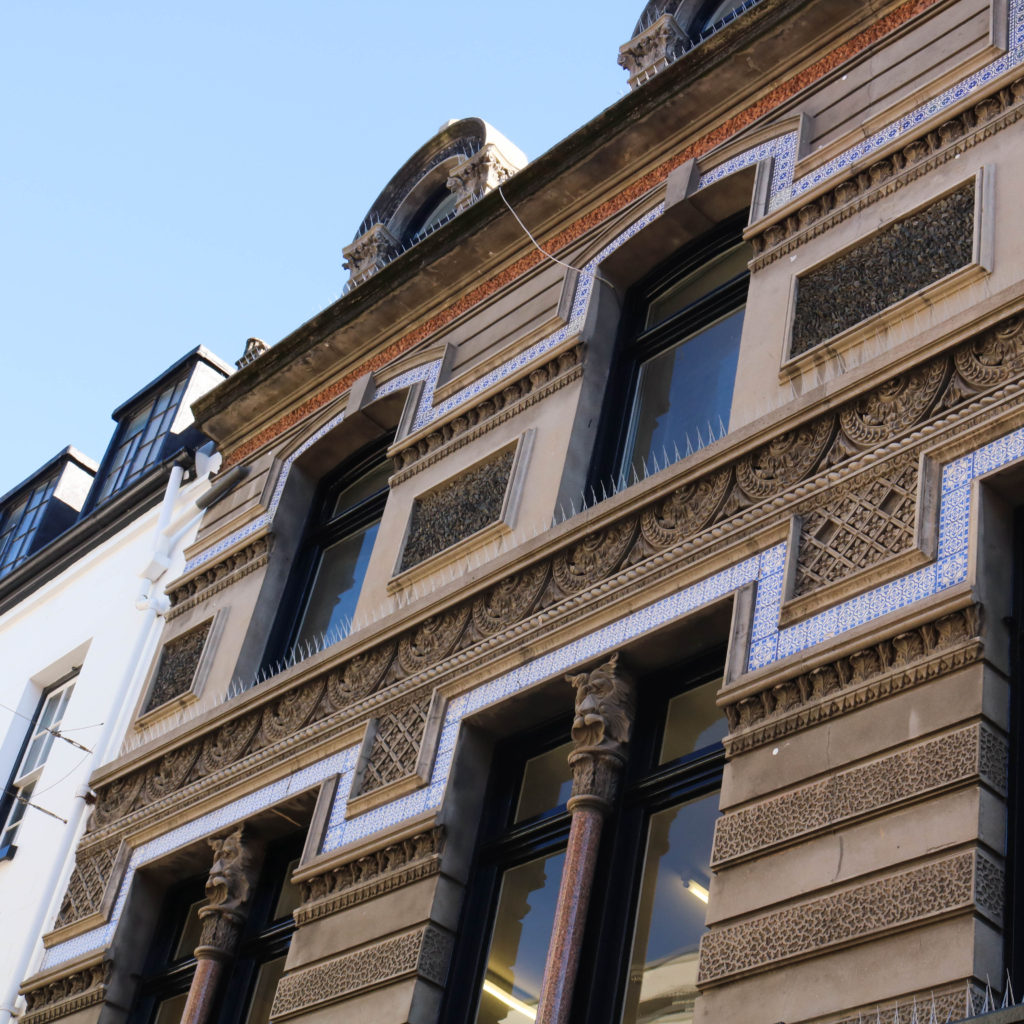
For this photoshoot, I went into St. Helier, one of the urbanized areas in Jersey, and took pictures of the various urban structures I could find in it, buildings and the shapes that can be seen on them, such as pipes and windows. Like the previous photoshoot, I aimed for an abstract approach to make my images similar to both Henry Fair and Troy Paiva to an extent.

Photoshoot Plan

What?I will take pictures of buildings and other urban objects
Where?Around St. Helier where there is a large urban landscape
When?Later in the afternoon to get a brighter, more colourful light source
Why?I think taking pictures of an urban landscape as well as a more natural landscape will help link the photoshoots to the theme of Anthropocene
How?I will go around the urban areas of St. Helier and take pictures of urban scenes

Contact Sheet


Editing Process

To start, like the previous photoshoot, I used the ‘Pick’ and ‘Reject’ tools to remove the bad images from the contact sheet, leaving the stronger images from the photoshoot.

Next, I rated the images using stars to help choose which images were the strongest and weakest.

After that, I assigned a colour to each image to further condense my selection of images that could be final images.

Lastly, I went through the images left after filtering them into colour and star rating and selected these 5 images as the final images for this photoshoot.


Final Images

These are my final images for this photoshoot, I have also adjusted them on Lightroom.

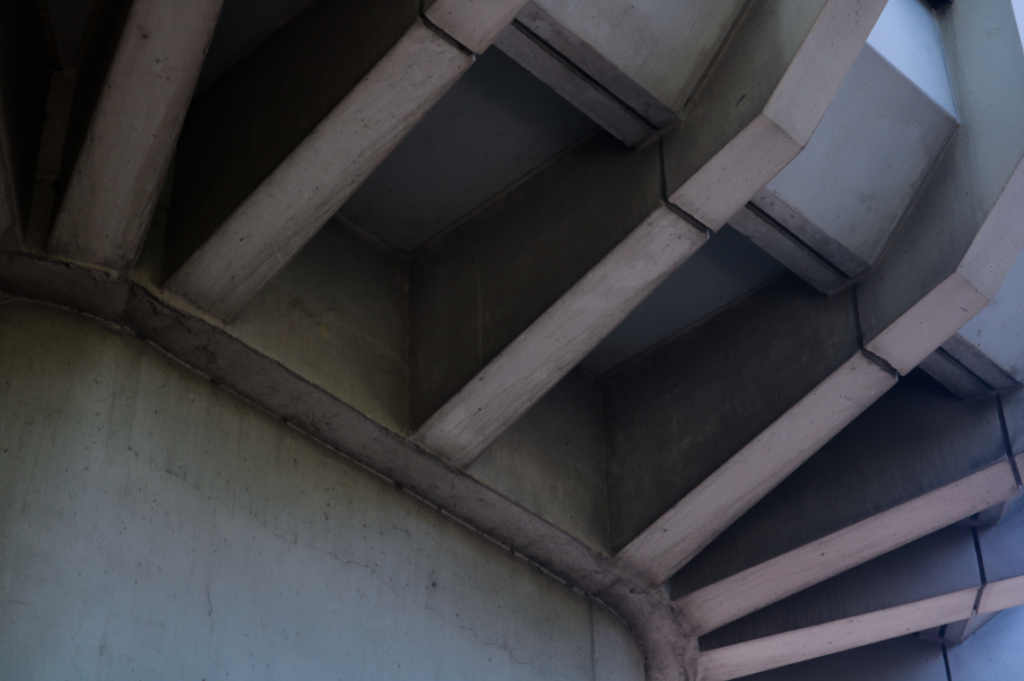
Like in the previous photoshoot, I have made black and white versions of each image. I think this goes well with these images in particular, as the black and white seems to emphasise the urban aesthetic of the images.


Image Analysis

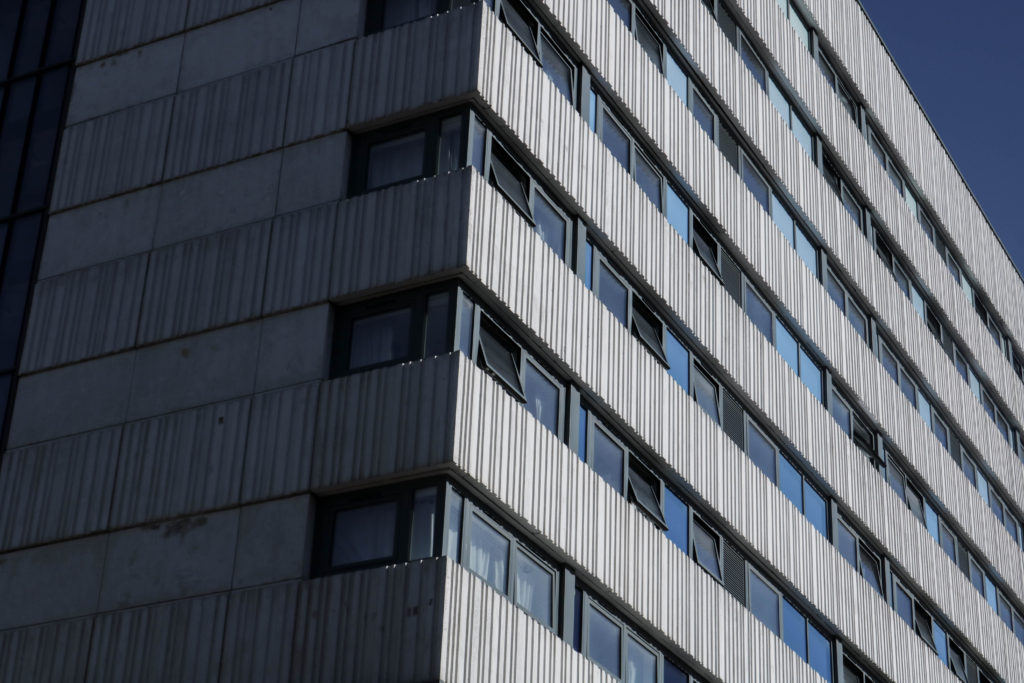
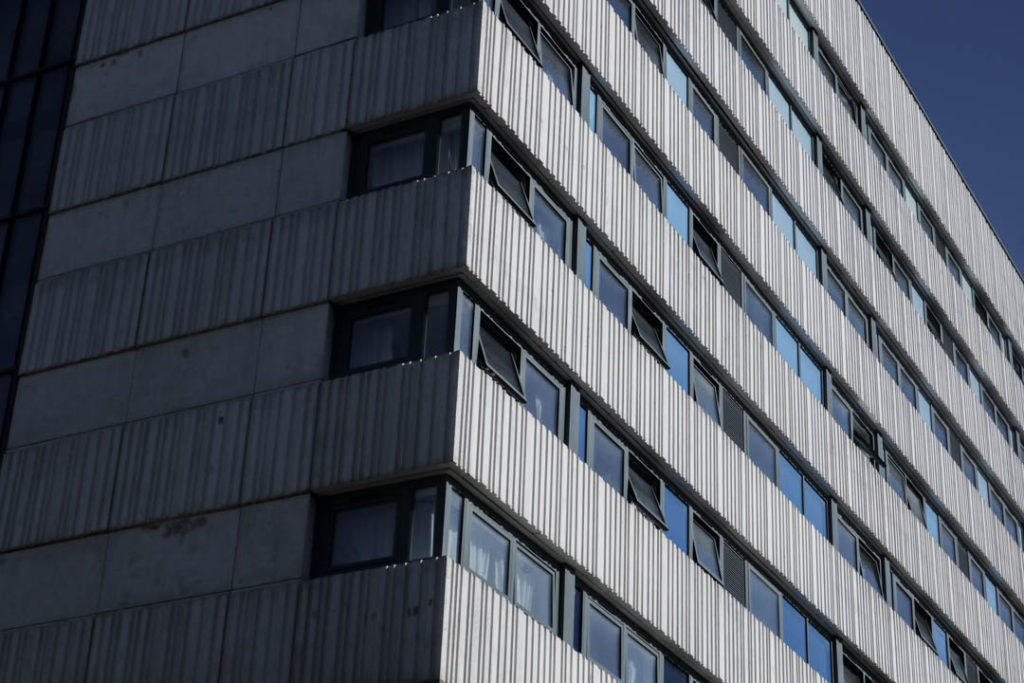
I like this image because I think the lines on the building gives it a fairly abstract form, the lines created from the wall and windows on the building gives it a complex and unique shape. The complete lack of any significant irregular lines or shapes gives the image a clear urbanised/manmade look. I also think that the pairing of greys and blues gives the image a cold, urban aesthetic that contrasts greatly with the images from the previous photoshoot. The lighting on the image creates a harsh contrast between the two faces seen in the image, as the one on the left is completely engulfed in shadow, while the one on the right is lit up nicely. I like how the wall on the left has dirt marks dotted around it, I think it gives the image an urban, unpolished look. When editing this image, I made the tone slightly more blue to make the blue parts of the image ‘pop’ more, but not to the point of making it overpowering. I also slightly increased the contrast between the lighter and darker areas of the image to make the lighter patterns on the right wall stand out more.

Comparison to Artist

This photoshoot was not a response to Paiva’s work, however I was inspired by his abstract use of subject matter and colour (for all photoshoots).

Similarities

  • Both images use irregular shapes and lines
  • Both images lack any natural subject matter
  • Both images have a bold contrast between light and dark areas

Differences

  • Paiva’s image focuses far more on using coloured lights to make his image appear abstract, while my image relies on line and shape
  • Paiva’s image uses artificial lighting while mine uses natural lighting

Photoshoot Evaluation

I think this photoshoot went really well, I was able to produce some strong images that will offer a huge contrast to my other photoshoot in terms of aesthetic and imagery. I think I was able to capture abstract imagery from the urban setting I photographed, however I do feel like I can learn a little bit more on how to take abstract images of urban areas. If I was to do this photoshoot again, I would maybe go out when the weather is overcast or rainy, to give the images a slightly colder tone overall, or perhaps take the images at sunrise/sunset to make them warmer, which will create a different effect.