Case studies

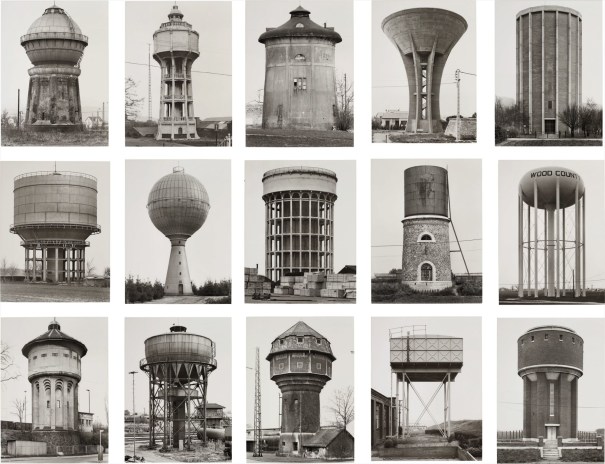
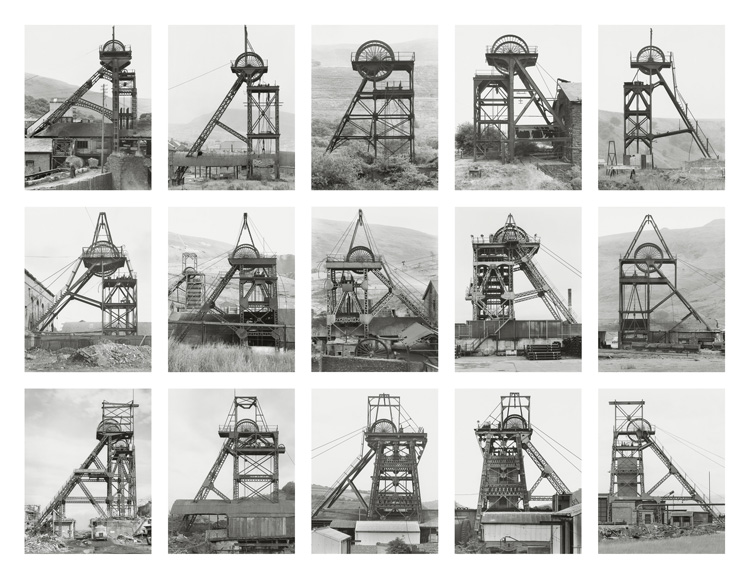
Bernd Becher and Hilla Becher
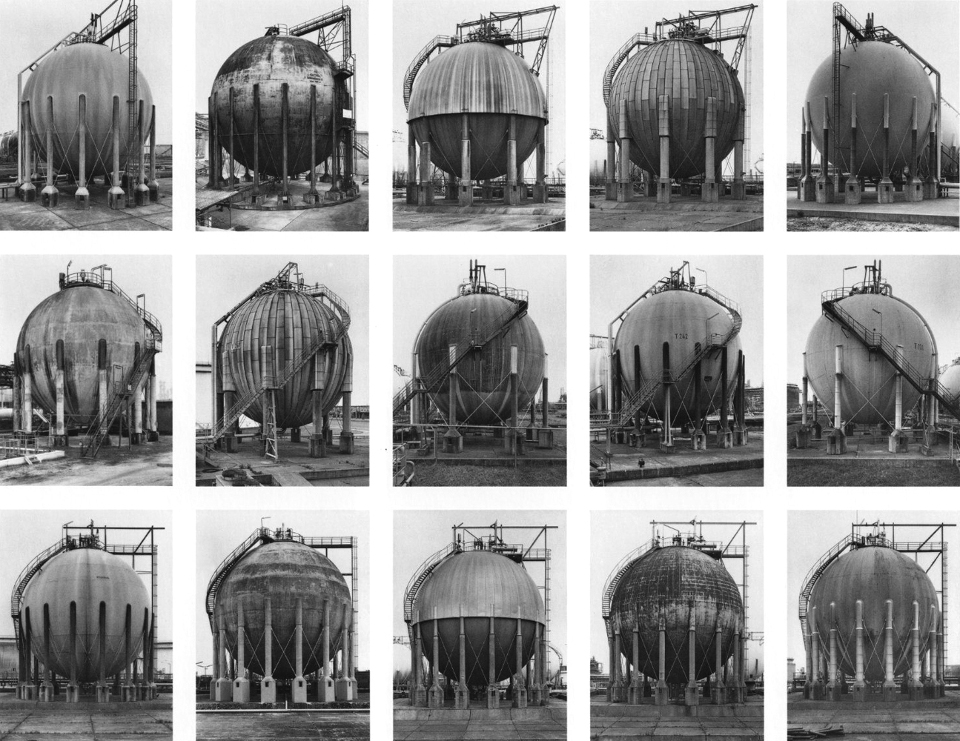
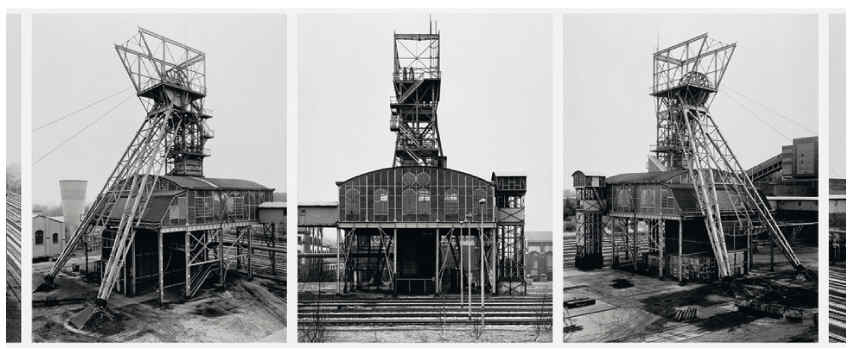
Hilla Becher was a German artist born in 1931 in Siegen, Germany. She was one half of a photography duo with her husband Bernd Becher. For forty years, they photographed disappearing industrial architecture around Europe and North America.

They began collaborating together in 1959 after meeting at the Kunstakademie Düsseldorf in 1957. Bernd originally studied painting and then typography, whereas Hilla had trained as a commercial photographer. After two years collaborating together, they married.

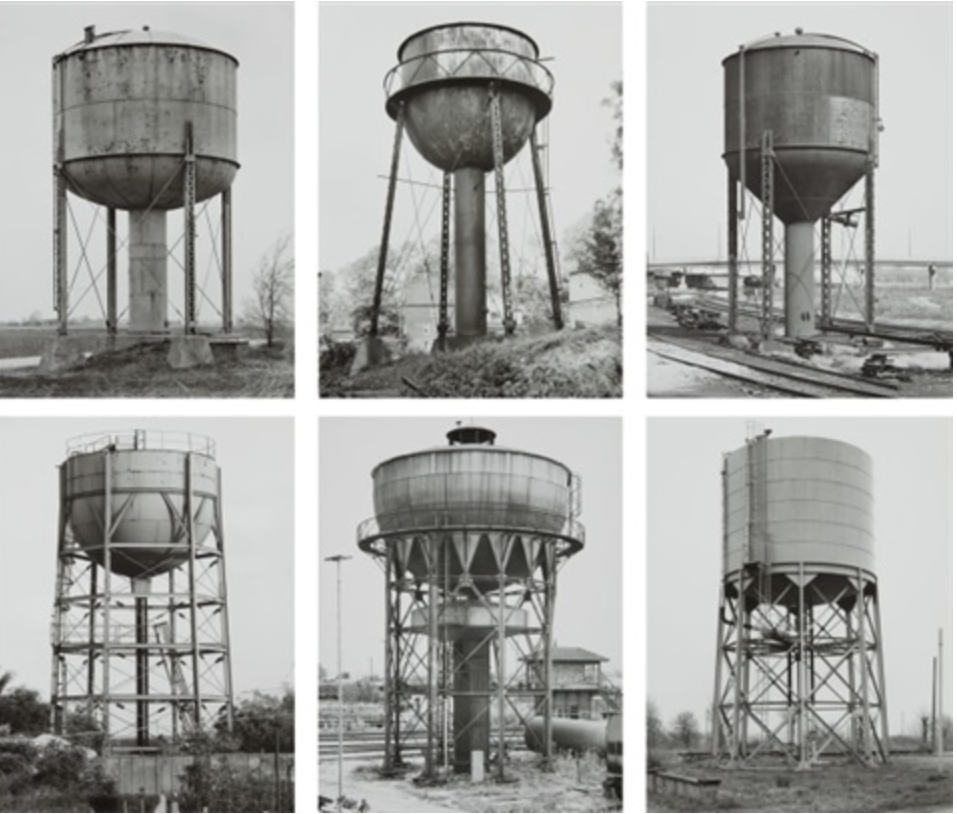
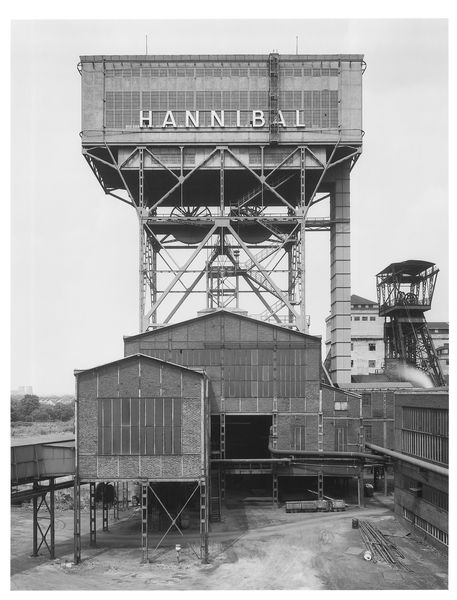
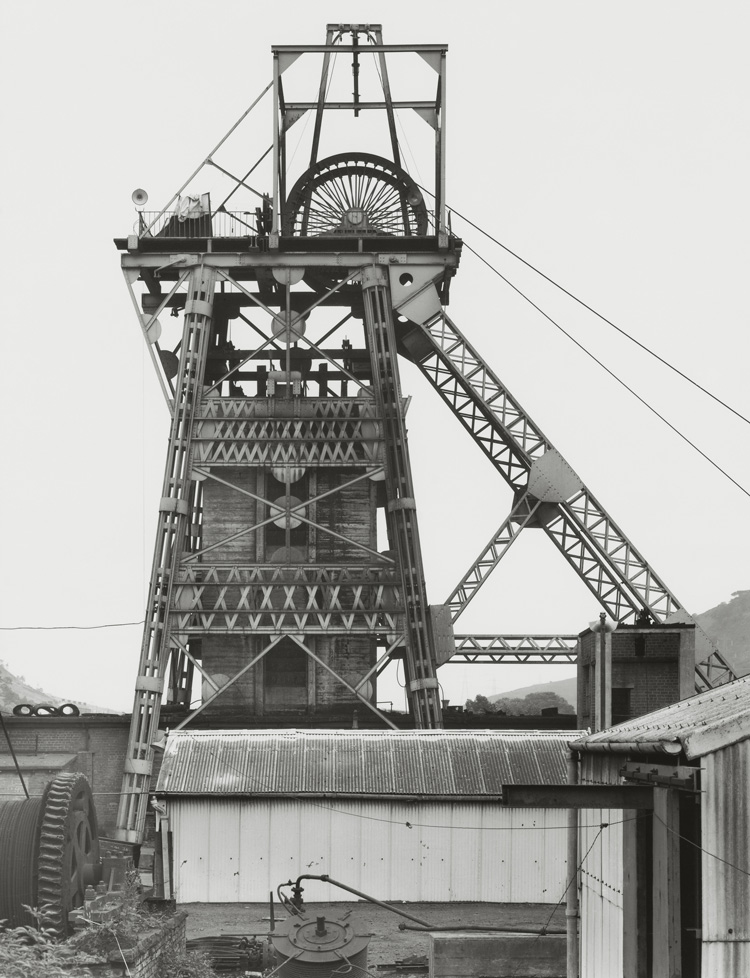
Industrial structures including water towers, coal bunkers, gas tanks and factories. Their work had a documentary style as their images were always taken in black and white. Their photographs never included people.

They exhibited their work in sets or typologies, grouping of several photographs of the same type of structure. The are well known for presenting their images in grid formations. 

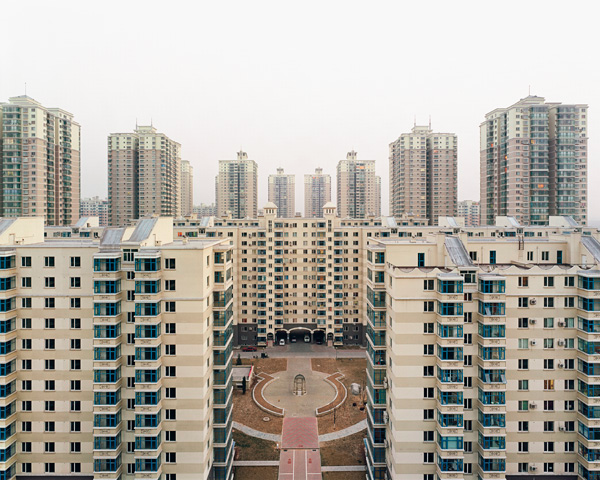
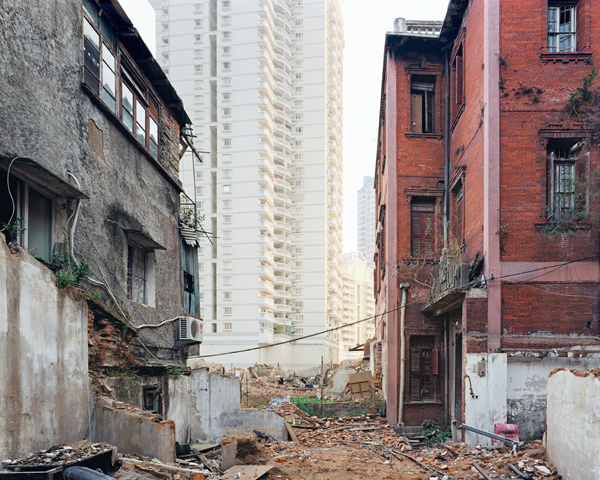
Sze Tsung Leong

Sze Tsung Nicolás Leong is a British-Mexican-American artist, born in Mexico City. He is currently based in Los Angeles.

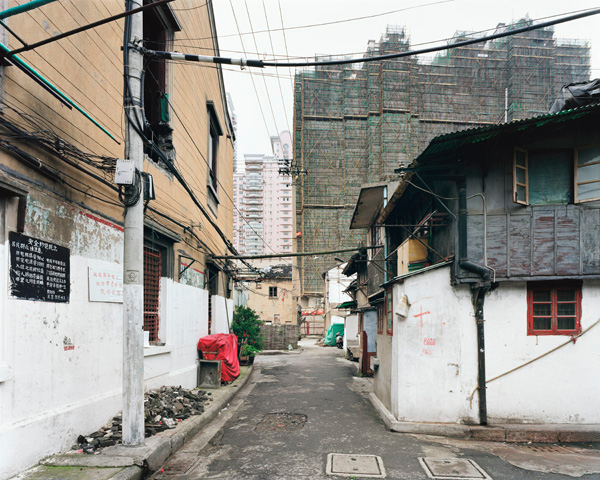
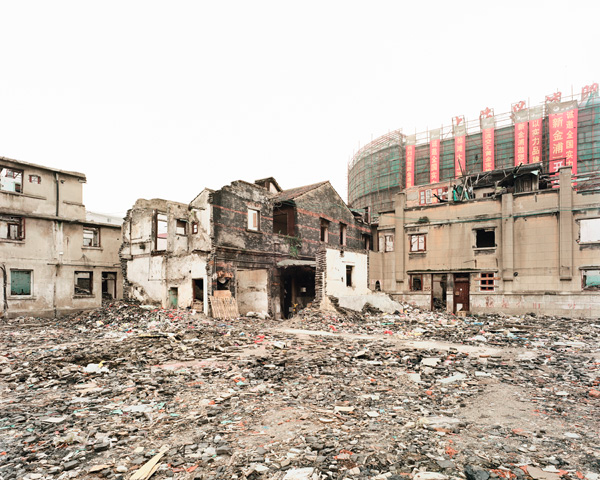
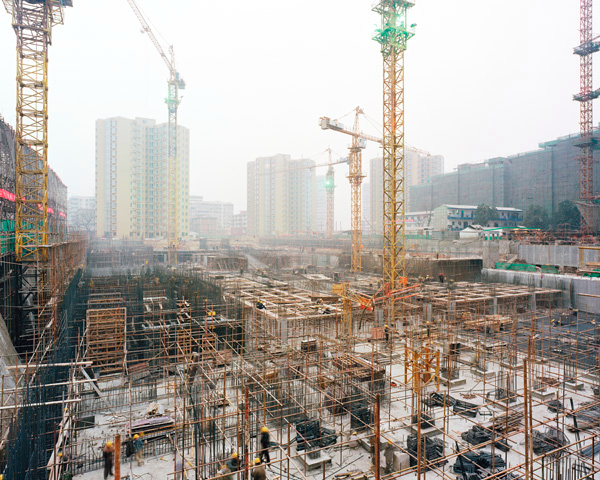
Leong’s work includes the series Cities, a detailed depiction of urban formations throughout the globe, from medieval towns to recent constructions, that together form a picture of the world at this particular moment in time at the beginning of the twenty-first century.

Horizons, an international collection of images of natural terrains and urban landscapes that considers the relationships between far and near, foreign and familiar; and History Images, which examines the erasure of history and the reshaping of society through the built environment.
Sze Tsung Nicolás Leong

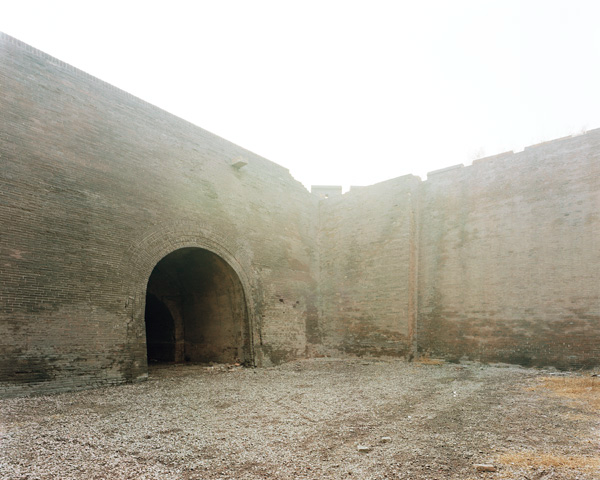
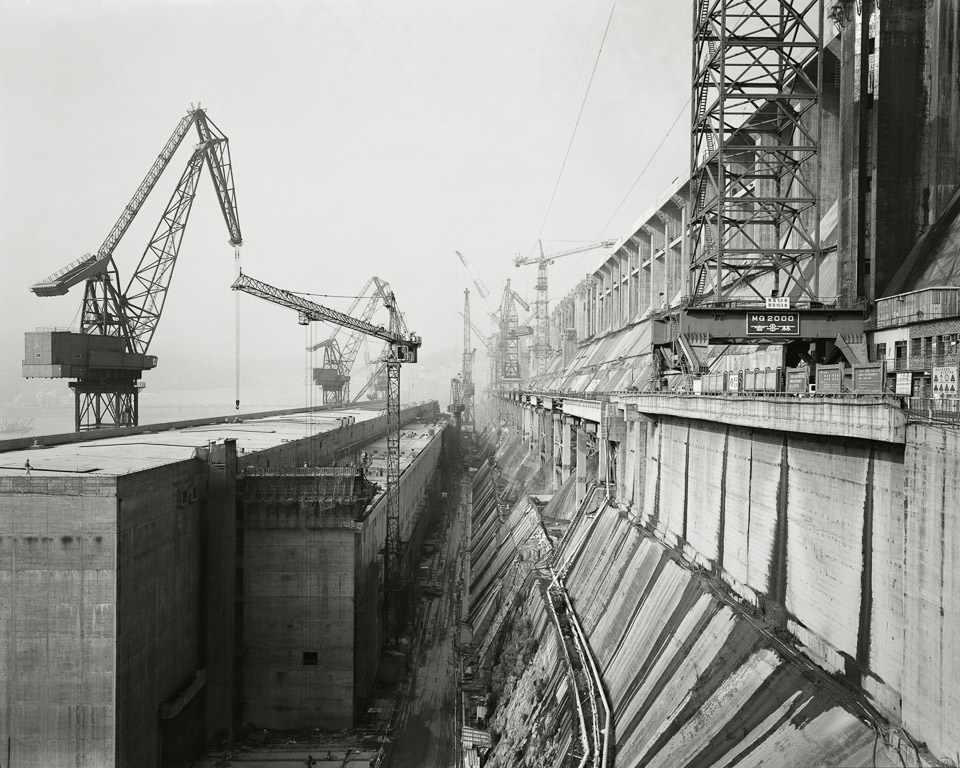
These photographs in ‘History Images‘ are of histories, in the form of cities in China, either being destroyed or created at this juncture in time. They are of past histories, in the form of traditional buildings and neighborhoods, urban fabrics, and natural landscapes, in the process of being erased. They are of the absence of histories, in the form of construction sites, built upon an erasure of the past so complete that one would never know a past had ever existed. And they are of the anticipation of future histories, yet to unfold, in the form of newly built cities.

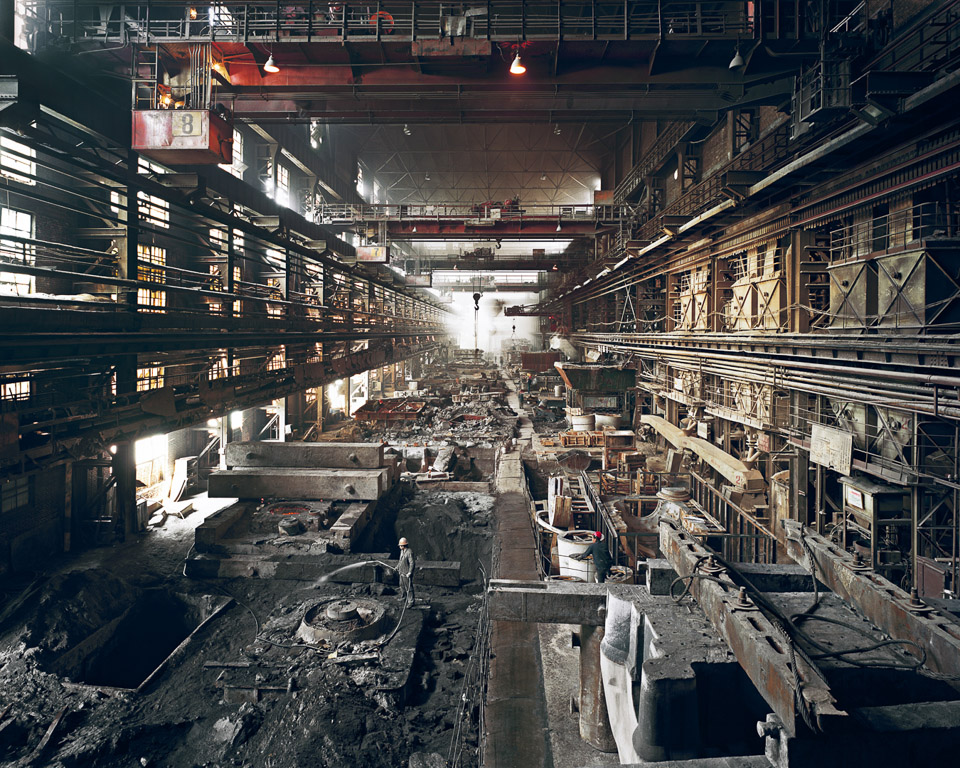
Edward Burntsky
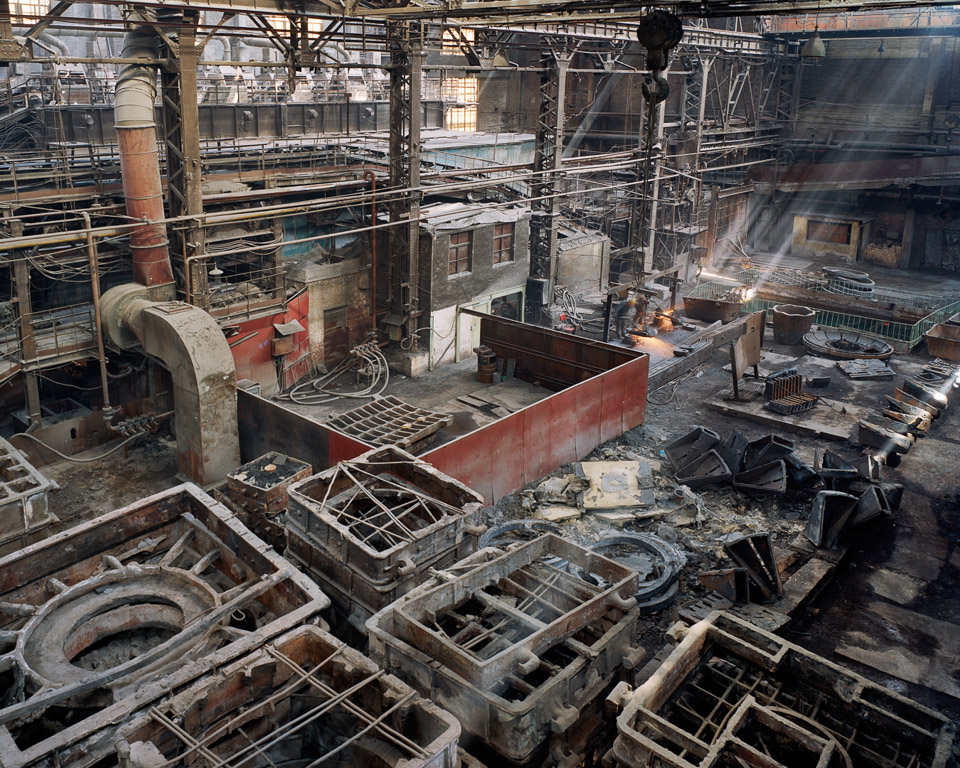
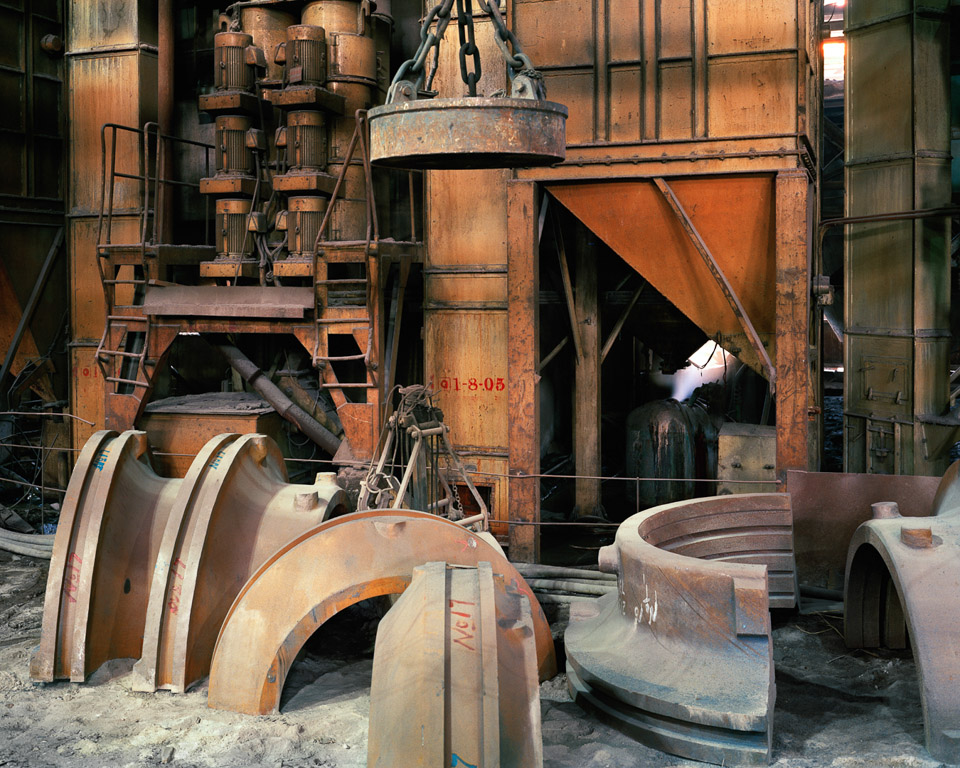
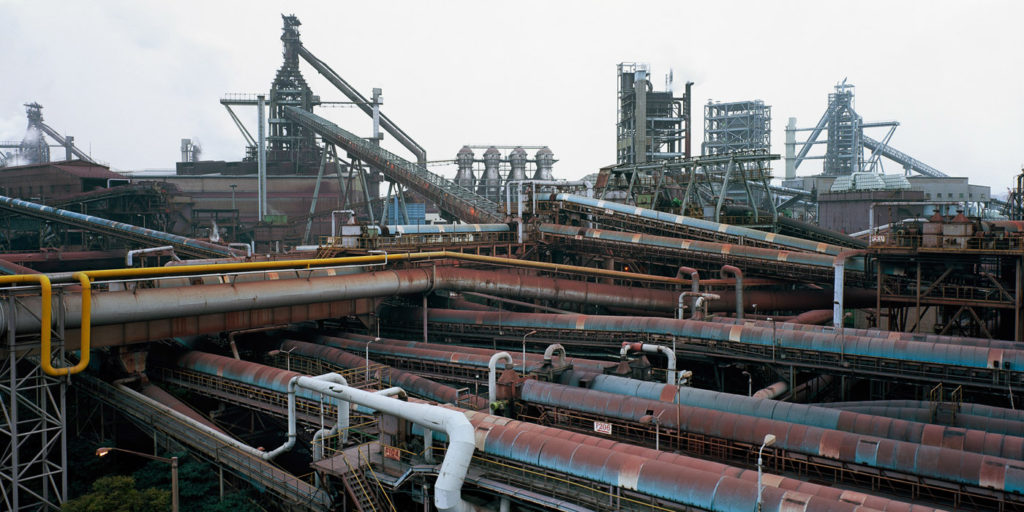
Edward Burtynsky is regarded as one of the world’s most accomplished contemporary photographers. His remarkable photographic depictions of global industrial landscapes represent over 40 years of his dedication to bearing witness to the impact of humans on the planet.

Early exposure to the sites and images of the General Motors plant in his hometown helped to formulate the development of his photographic work. His imagery explores the collective impact we as a species are having on the surface of the planet; an inspection of the human systems we’ve imposed onto natural landscapes. 

Other artists I liked:

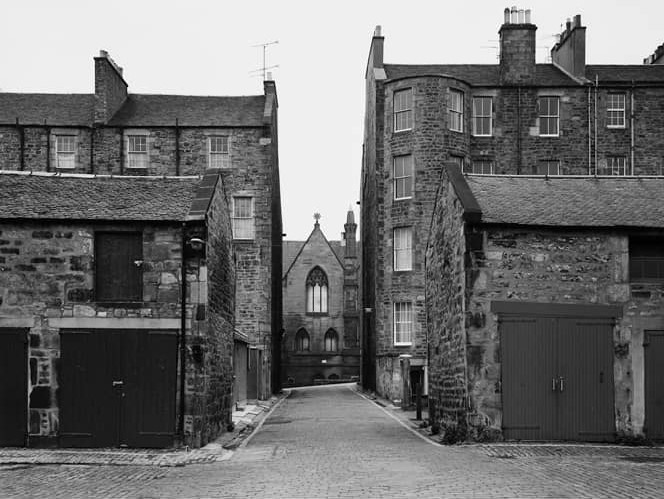
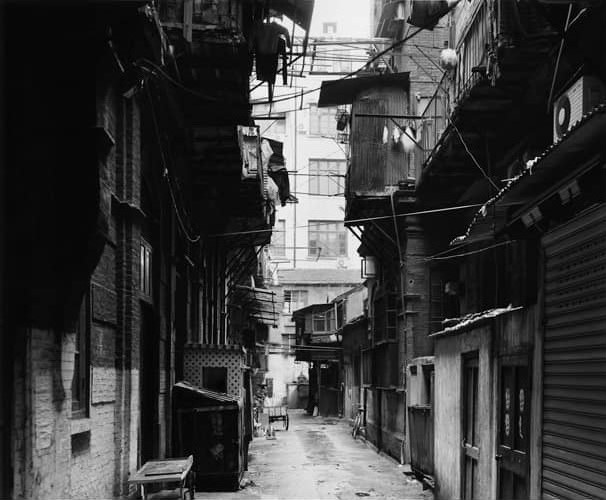
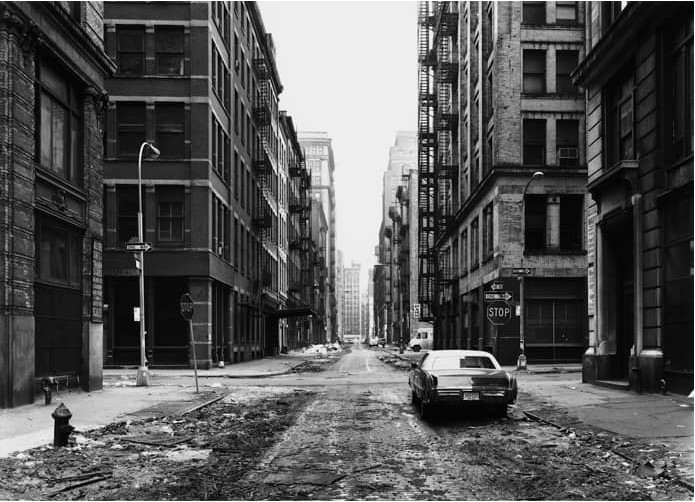
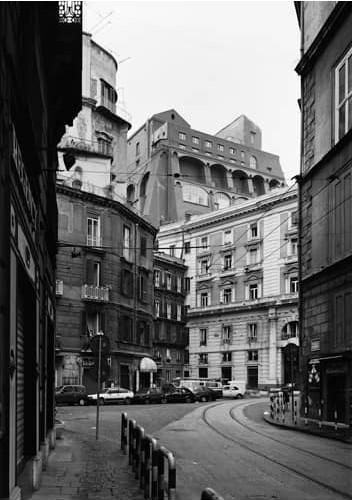
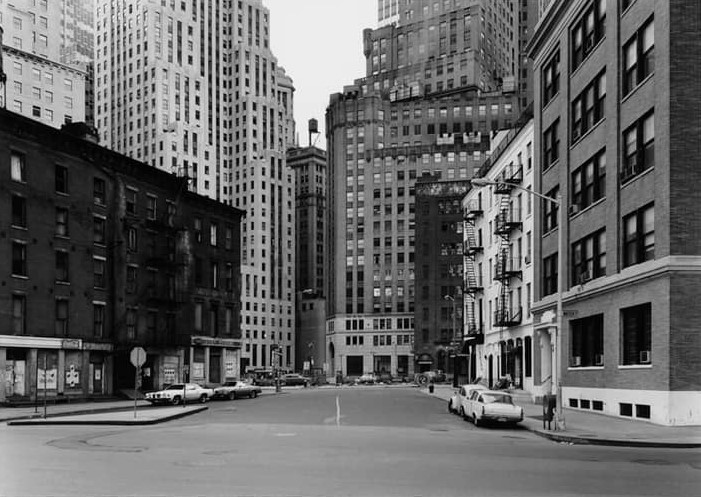
Thomas Struth:
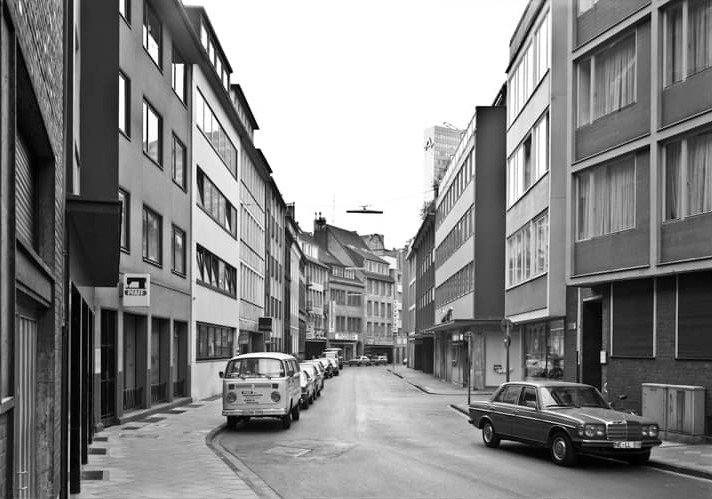
Wagnerstrasse
Düsseldorf –
1979
Dublin Meuse
Edinburgh –
1987
Alley near Yuanfang Lu
Shanghai –
1995
Crosby Street
New York –
1978
Via Vannella Gaetani
Naples –
1988
Coenties Slip
New York –
1978
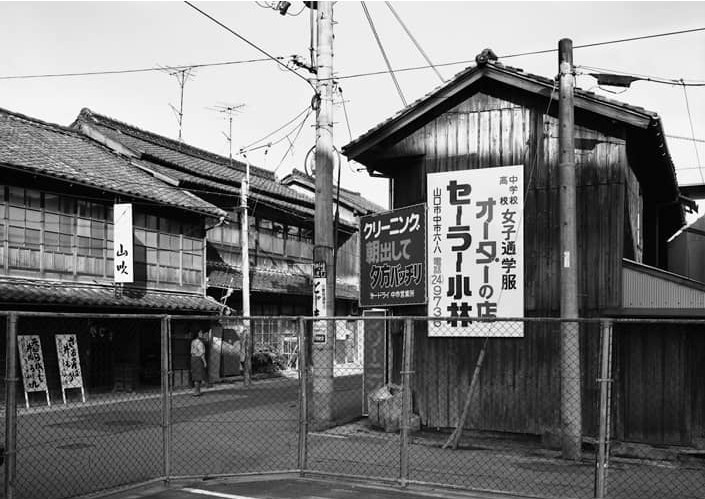
Yamaguchi
Yamaguchi –
1986
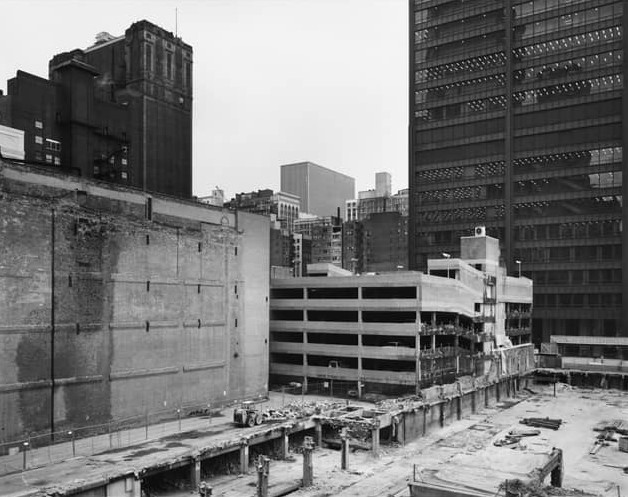
The Loop towards Dearborn Street
Chicago –
1990

Donovan Wylie:

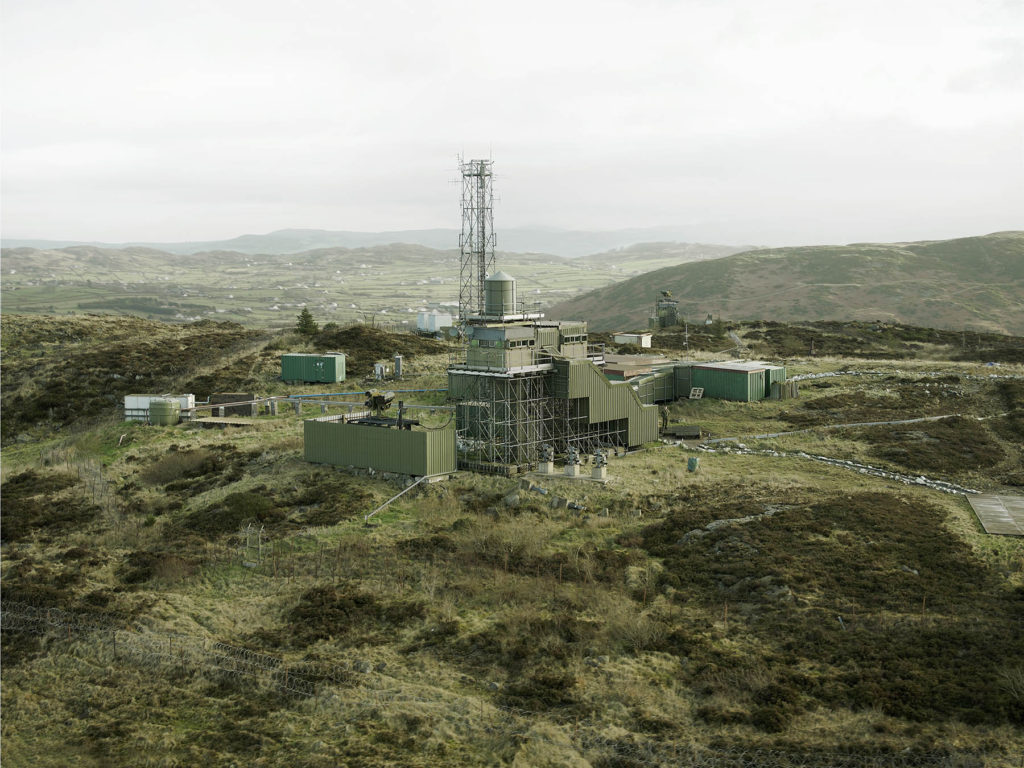
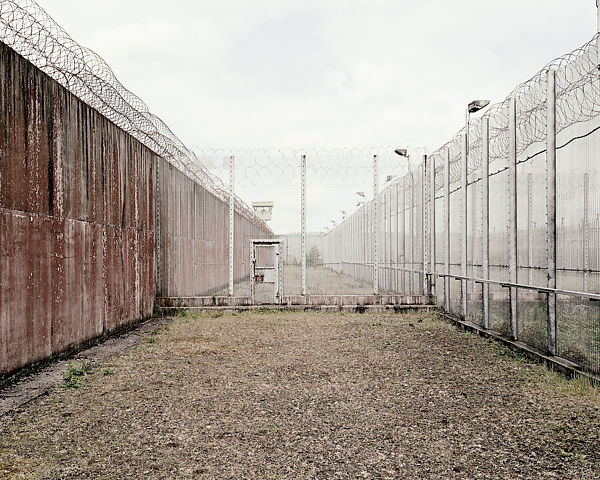
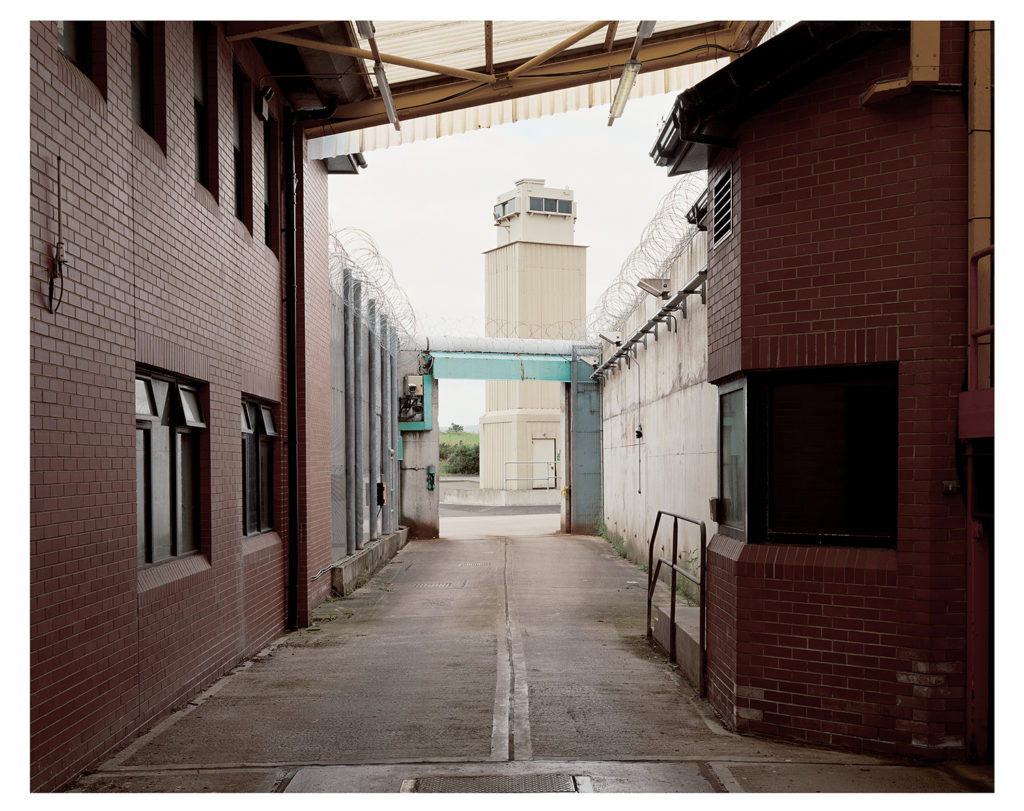
British Watchtowers
The Maze/Long Kesh Prison: Sterile, Phase 1 – 2003
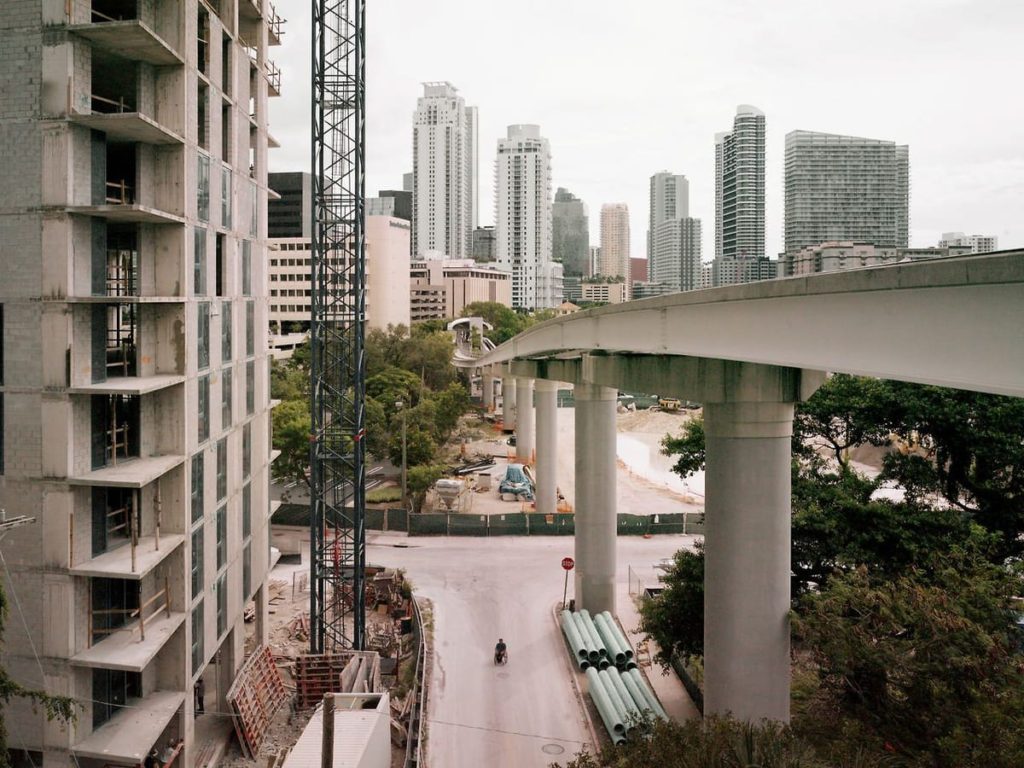
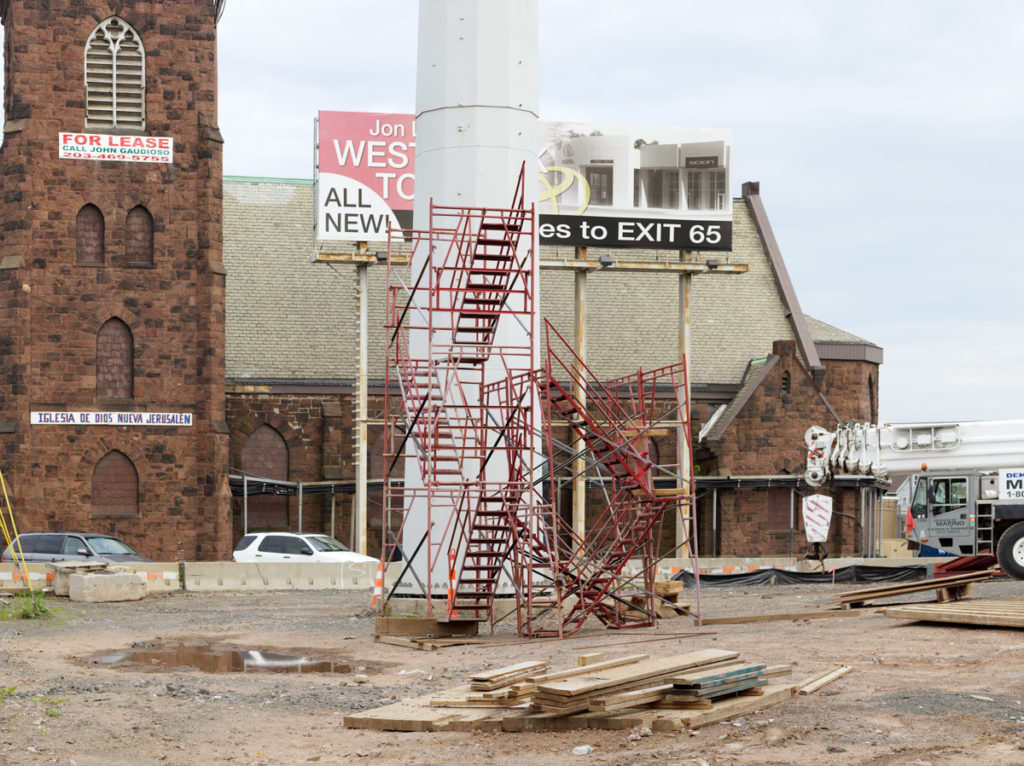
New Haven, Connecticut –
2014
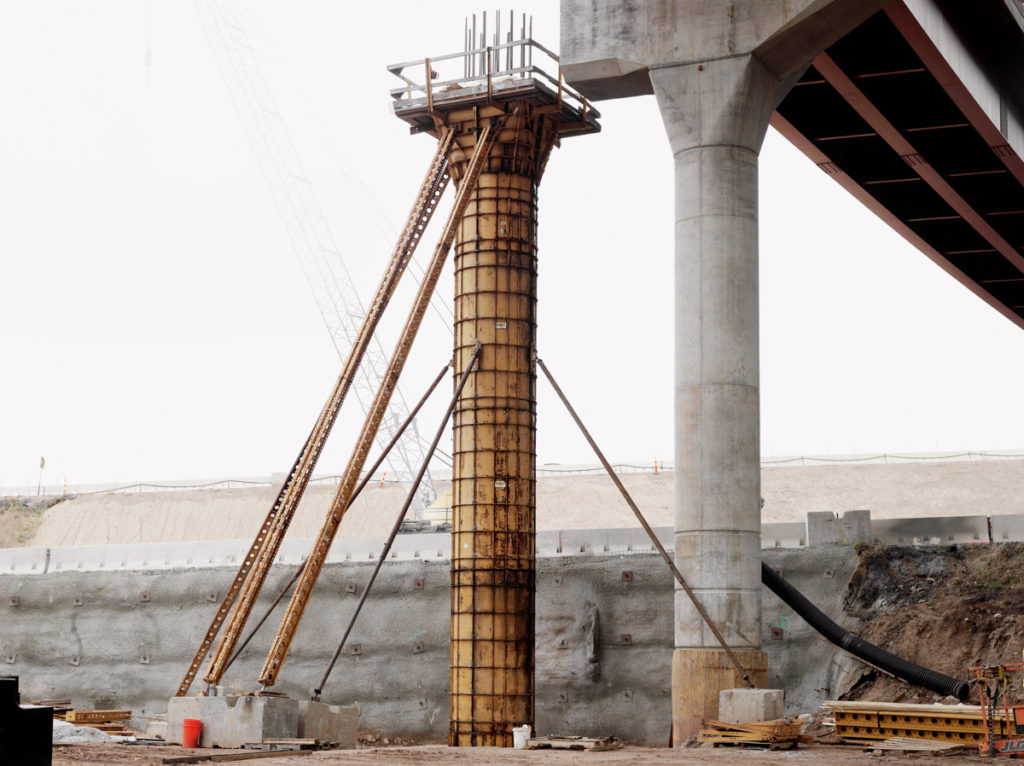
New Haven, Connecticut –
2015
Keld Helmer-Petersen

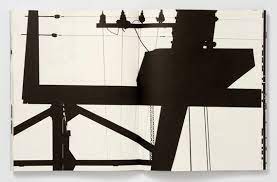
Keld Helmer-Petersen is one of the most influential Danish photographers in the 20th Century. He was an international pioneer in colour photography and was a central figure in not only Danish but also European modernist photography. His career lasted 70 years and he had strong interest in modern architecture, industrial areas and structures. He was very prolific and continuously experimented and challenged the many possibilities of photography and imagery.

Keld Helmer-Petersen biography — KELD HELMER-PETERSEN

early life-

Keld Helmer-Petersen born 23rd August 1920 in Copenhagen, where he lived and worked most of his life until his death in 2013. He started photographing in 1938, when he was given a camera as a graduation gift.

he studied the graphic and abstract affects of photography he was self taught and studied technical manuals, journals and photobooks. He also took inspiration from radical image experiments during the war and the avant-garde photography during the Bauhaus period. He collaborated and socialised with architects, musicians, artists and writers who inspired him.

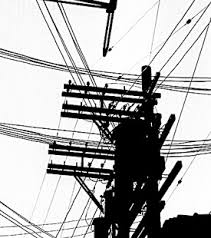
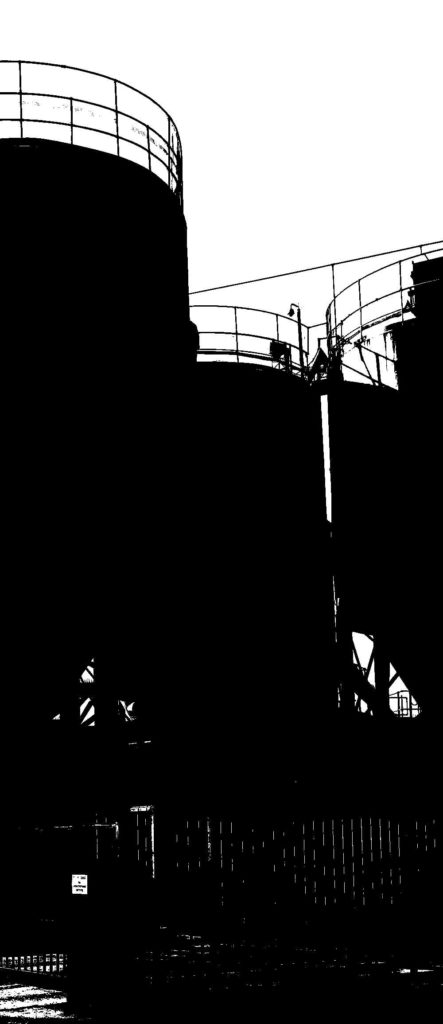
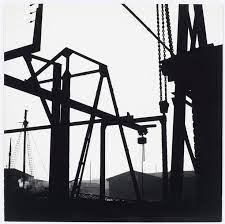
examples of his work
comparison of response

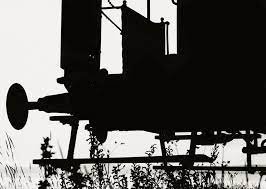
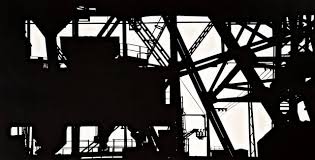
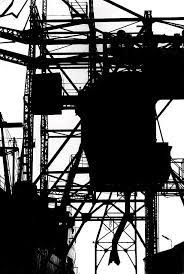
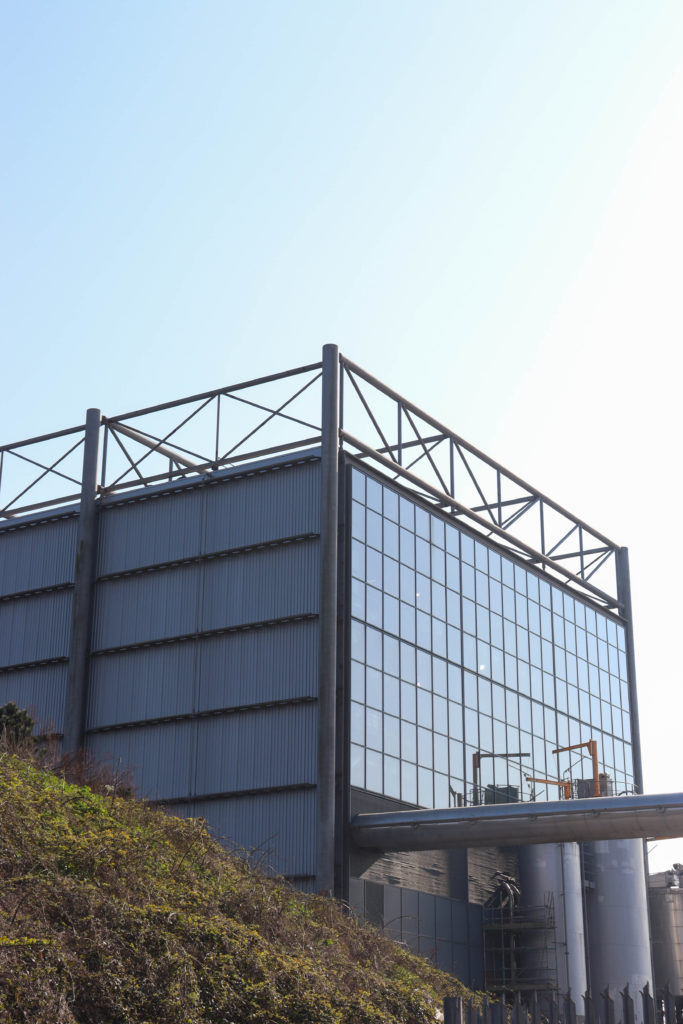
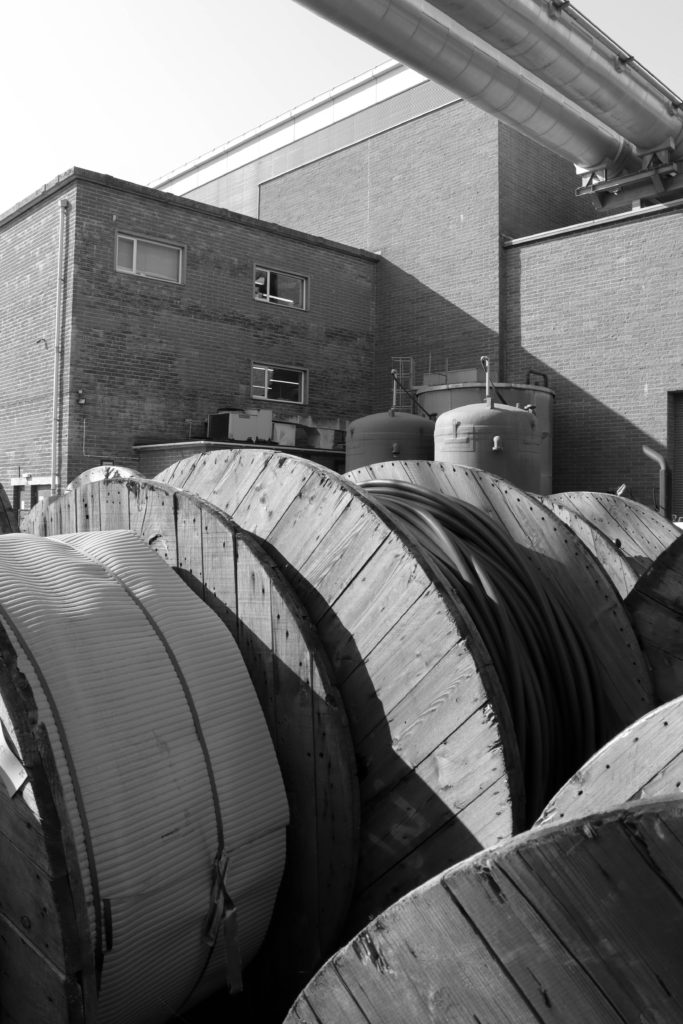
both images were taken at an industrial sight although my image isn’t based around the straight lines in the architecture it shares the same theme that Keld was trying to maintain during his career I managed to produce a 3D image just like he did while still having a good contrast and maintaining the texture of the metal work in the image due to the use of the correct iso for the natural/daylight lighting.

urban LANDSCAPE final outcomes

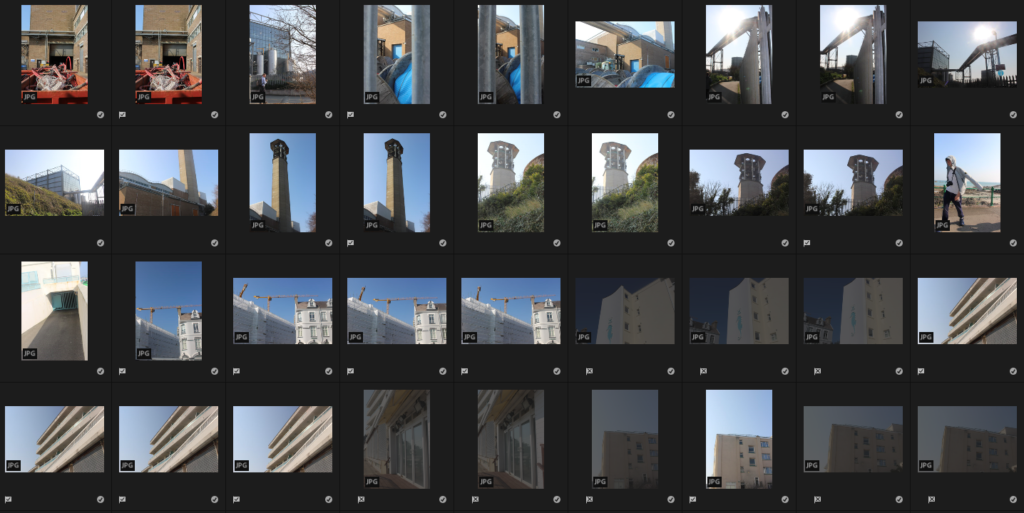
For these photoshoots, I travelled to many locations around the St Helier side of Jersey to try and capture my best images which I could use for the urban landscape project. Whilst taking photos I took a range of 150-200 and then selected which ones I believe would work the best for me. After rating my images on Lightroom I decided to narrow it down to a final of 10 images which I knew would look good when edited.

These are my 10 final images for urban landscape:

I selected these as my finals outcomes for the urban landscape photography project because I believe they are the images that came out the best compared to the others. These 10 images were the best from a range of 150-200 images because of the lighting, positioning and angles. I used Adobe Lightroom to edit 9/10 of these images by changing features such as the exposure, highlights and clarity which all had a very good effect on all images.

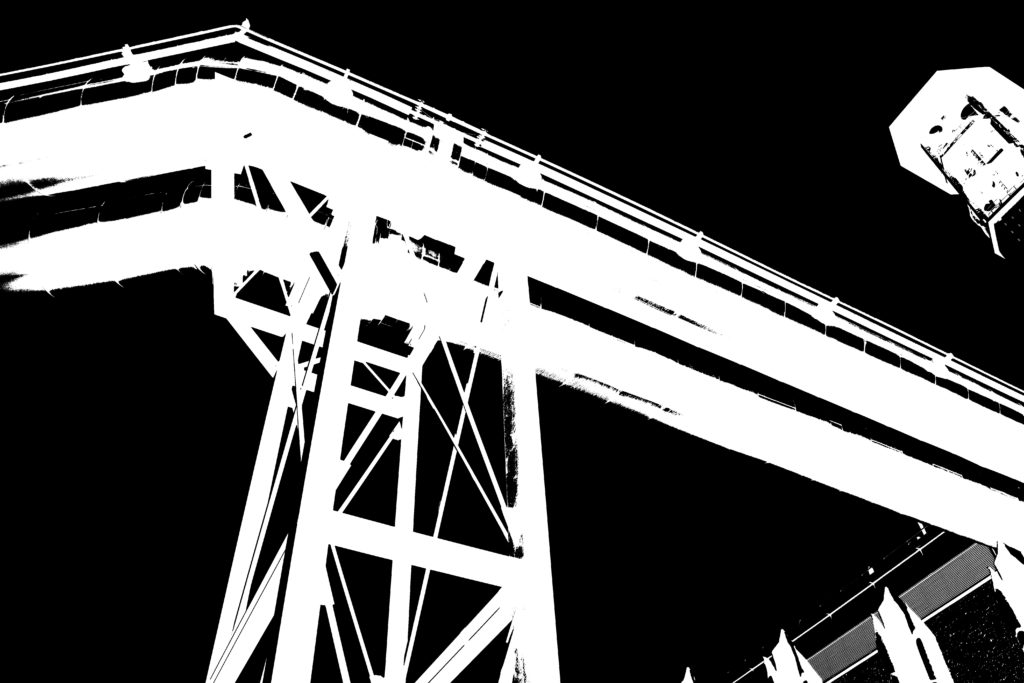
However, 1 of my images was created on photoshop because of the more advanced features that can be used instead of Lightroom. This image is the first one displayed at the top of the post. I thought to edit this image on photoshop because I had an idea that I believed worked out very well.

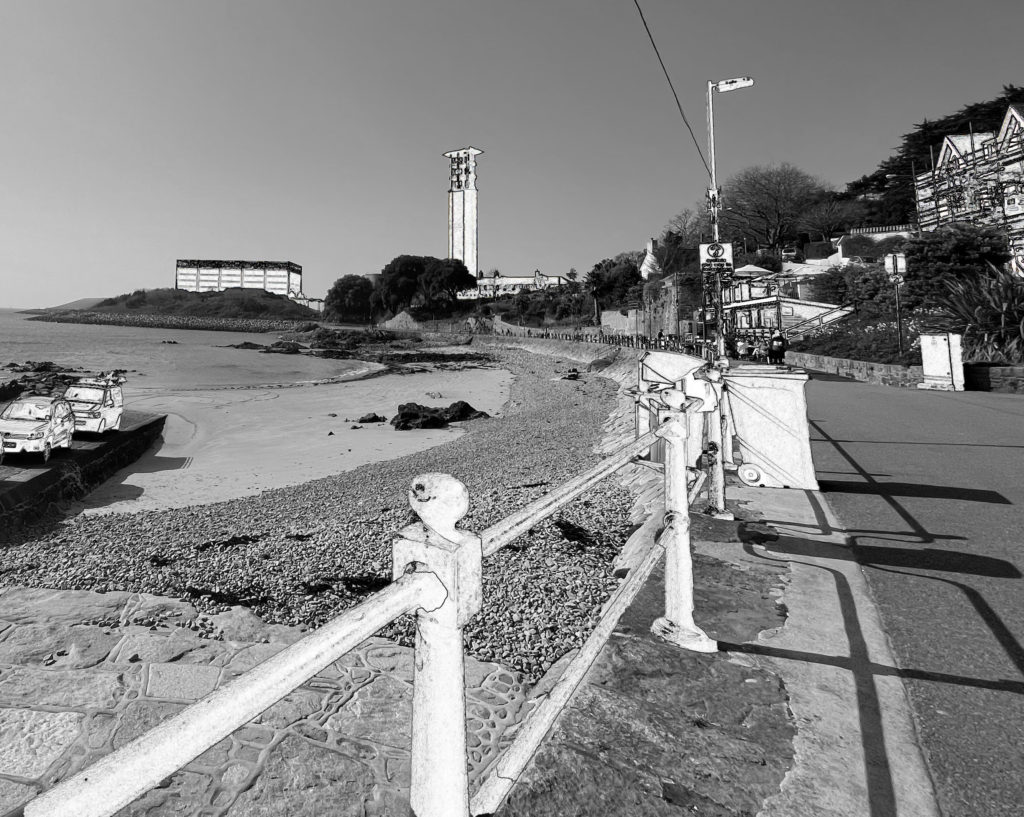
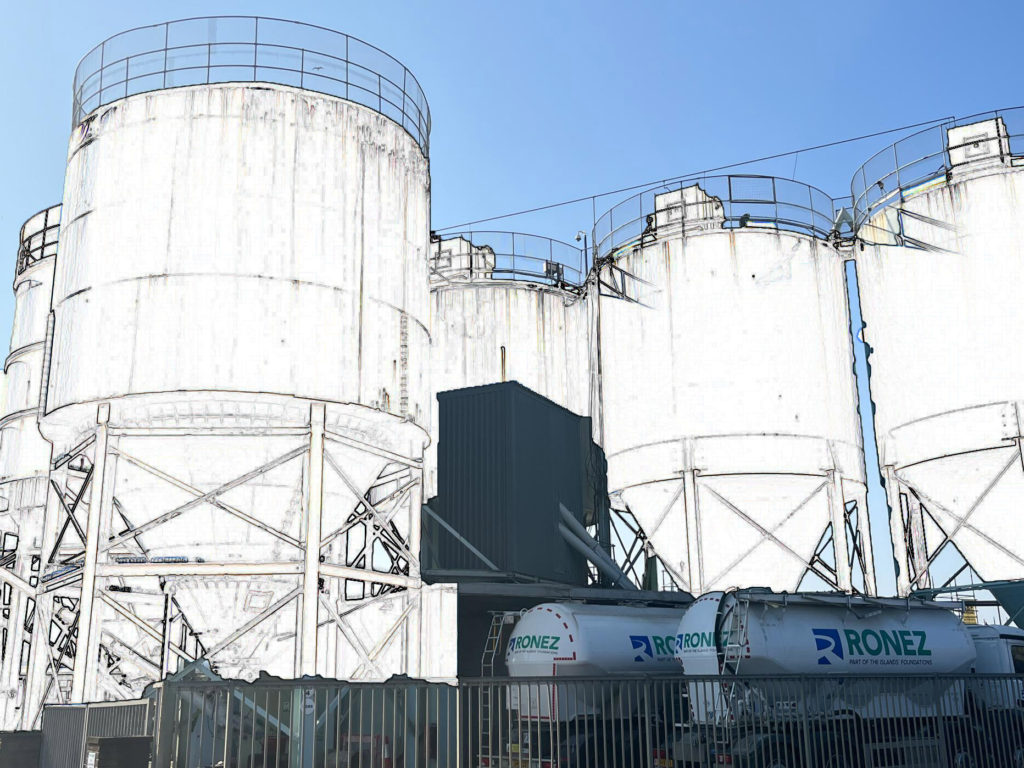
My image edited on Photoshop

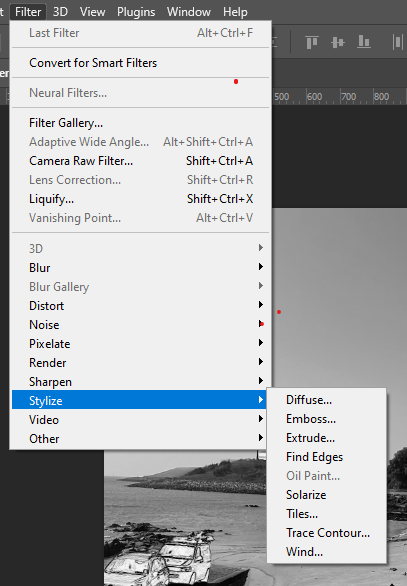
For this image edited of Photoshop, I first started off with taking cut-outs of most man made things displayed in the photograph and made all the cut-outs into new layers. After creating all my layers, I highlighted every layer and decided to play around with the ‘Stylize’ tool to see what worked best. Finally, I decided to choose the ‘Find Edges’ feature which makes every layer highlighted stand out more than the rest of the image.

This image has an empty alt attribute; its file name is image-698.png

URBAN LANDSCAPE FINAL OUTCOMES

Final Urban Images

Evaluation

I selected these images as my final images because they are my favourite images that I have taken, favourite edits out of the images and I believe they portray the idea of an urban landscape the best out of all my photographs. These final outcomes contain images from both of my photoshoots, five of the images are from shoot 1 and the other four from shoot 2. All of the images have been manipulated using either Lightroom or Photoshop, or both. I set out to take photos of urban and industrial landscapes, and I believe that I completed this task to my best ability. The images that I took came out very well and I am happy with my final outcomes. To improve, I could have taken more photos in my first photo shoot, or have done a third photoshoot, with more photos I would have had more to work with and produce more final images or higher quality final images. Overall I believe that I completed this task successfully

Urban Landscapes

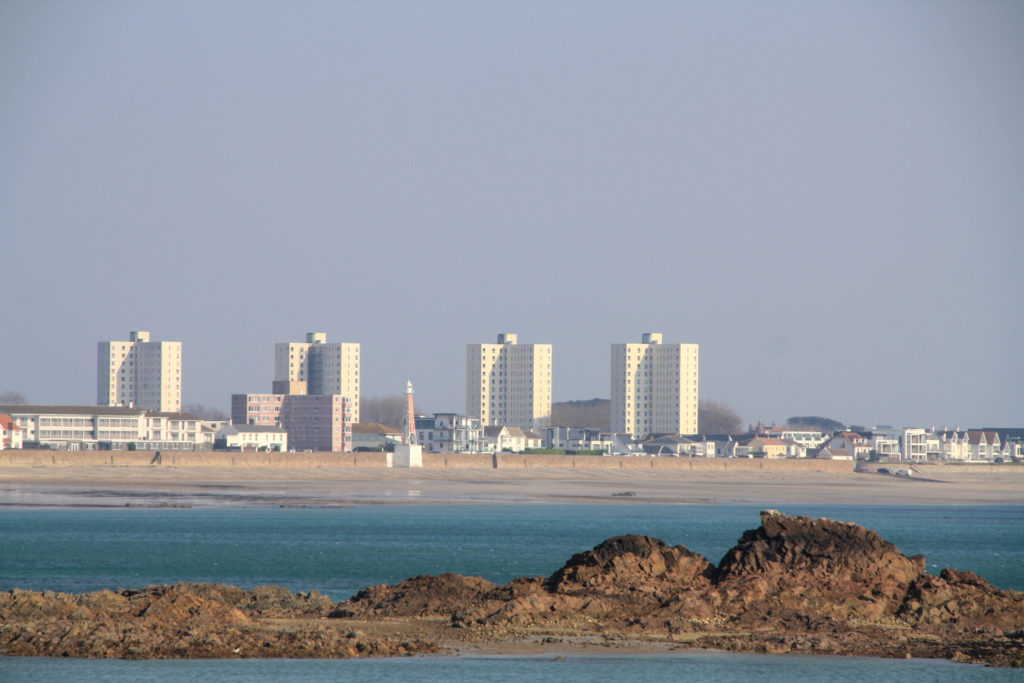
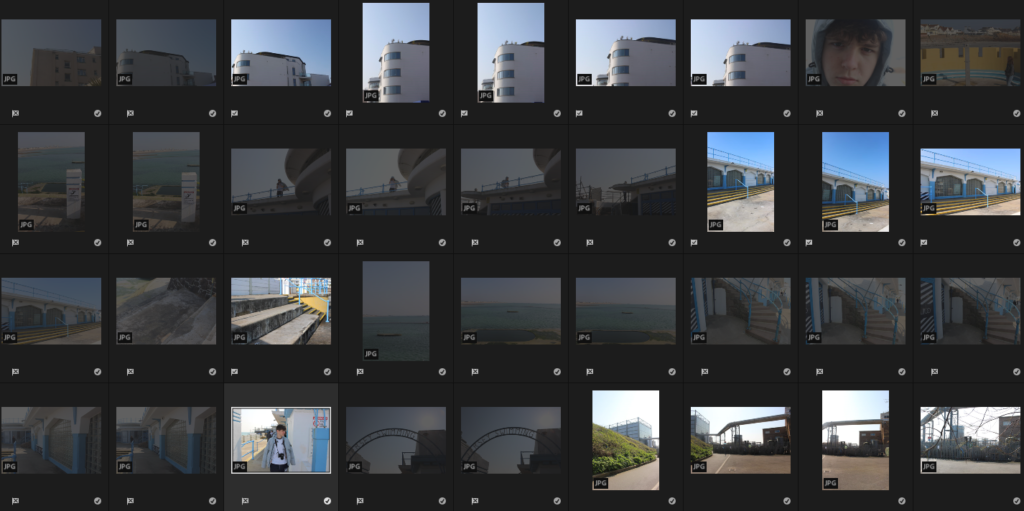
For my urban landscapes project I went on a photoshoot around Halve Des Pas and La Collette. I took around 250 images that documented the urban landscape in that area.

When viewing my images i selected these images as I believe they had the most potential to be good images once developed.

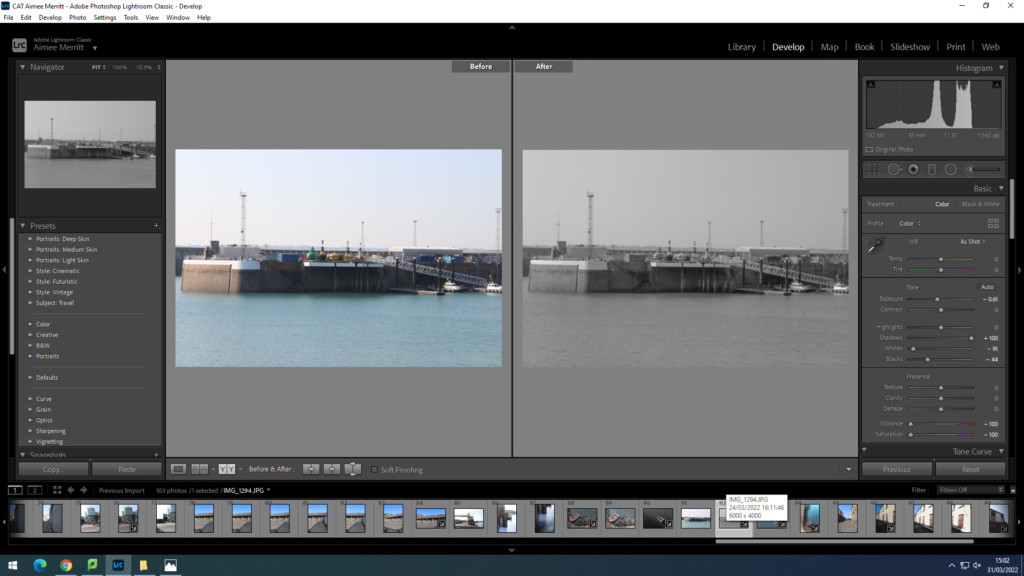
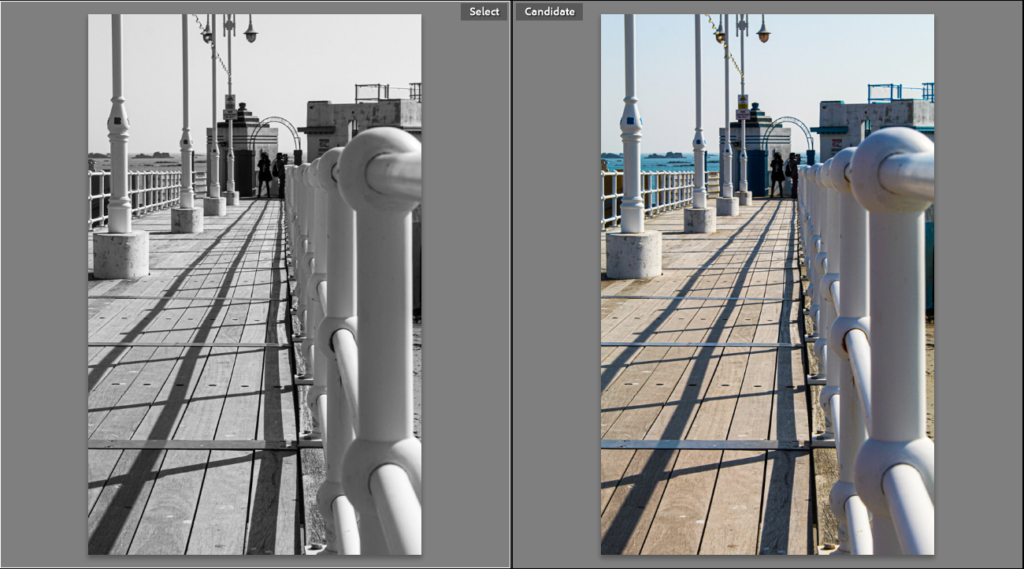
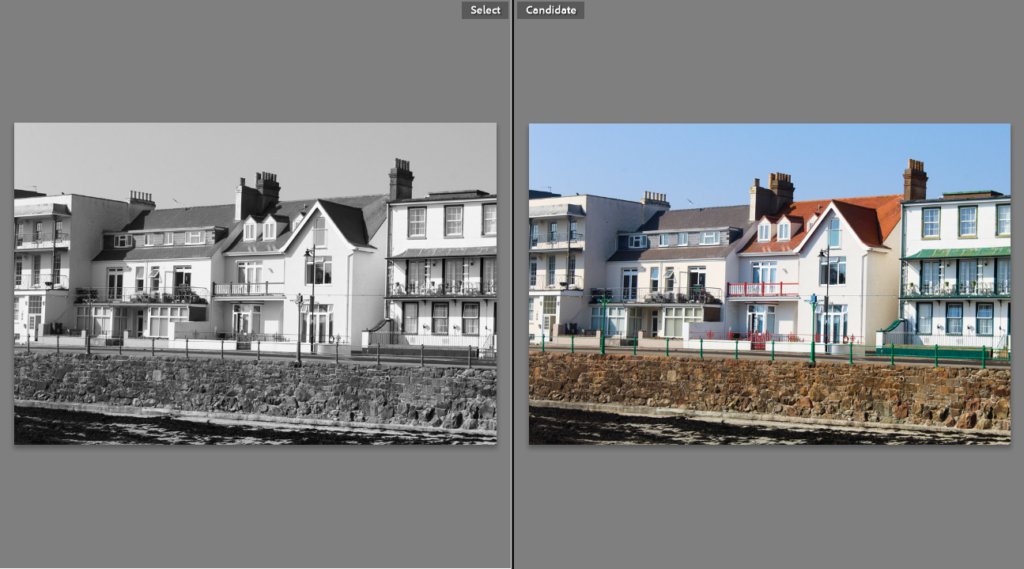
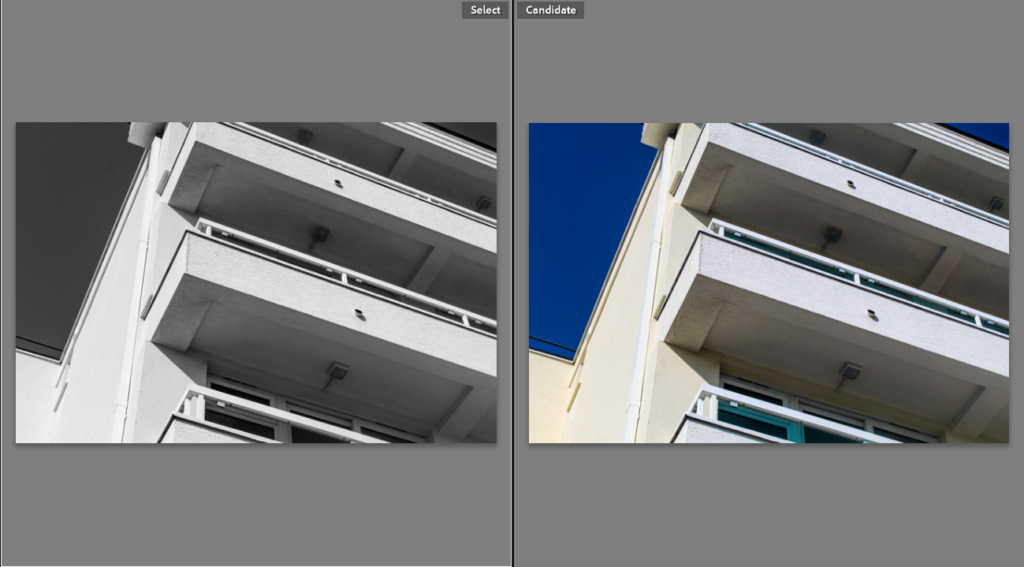
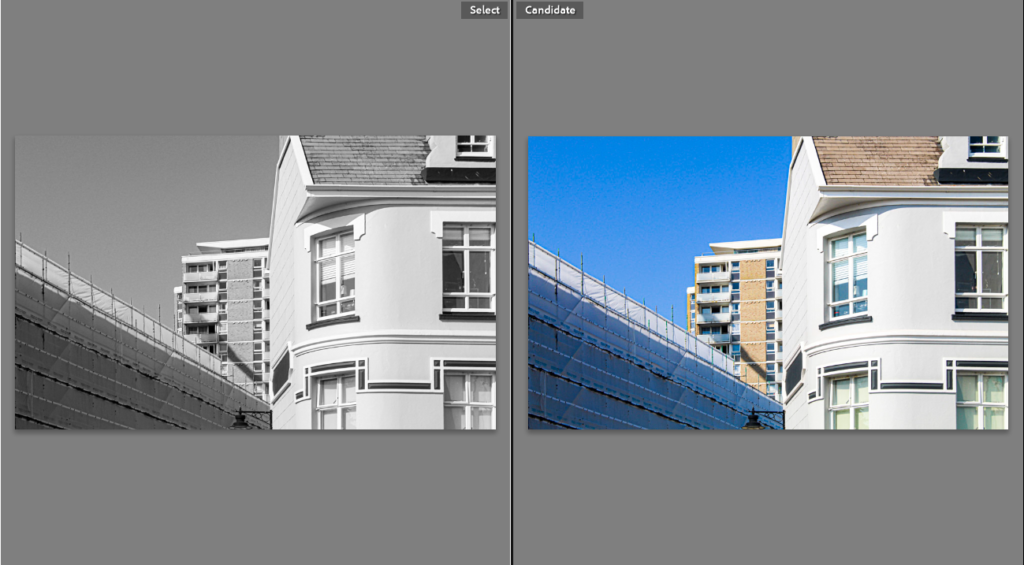
I have developed each of my best images in colour as well as black and white. This gives two very different perspectives of the same area. The black and white images relate the the new topographics and the colour images show off the time period that we live in.

image selection and editing

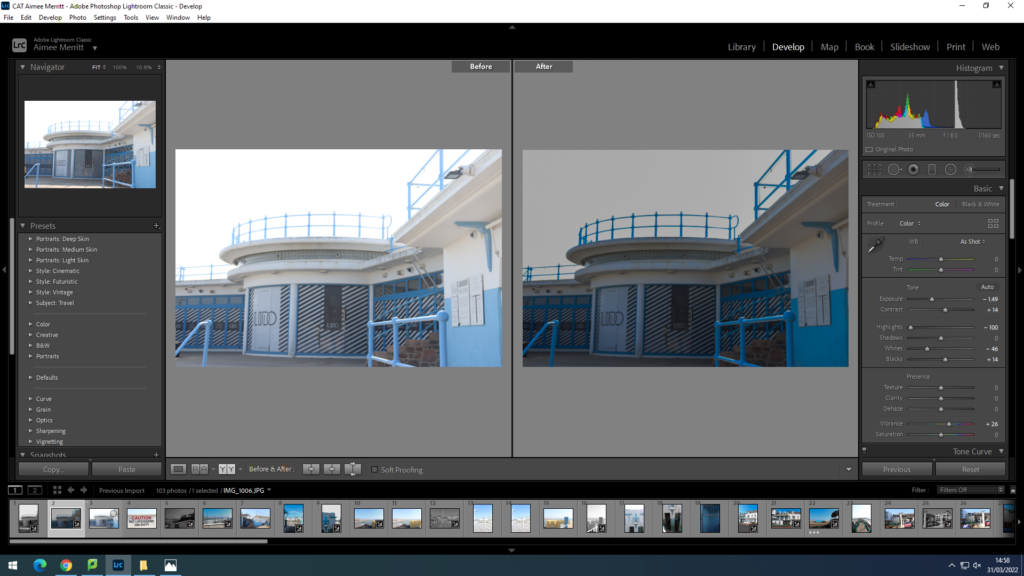
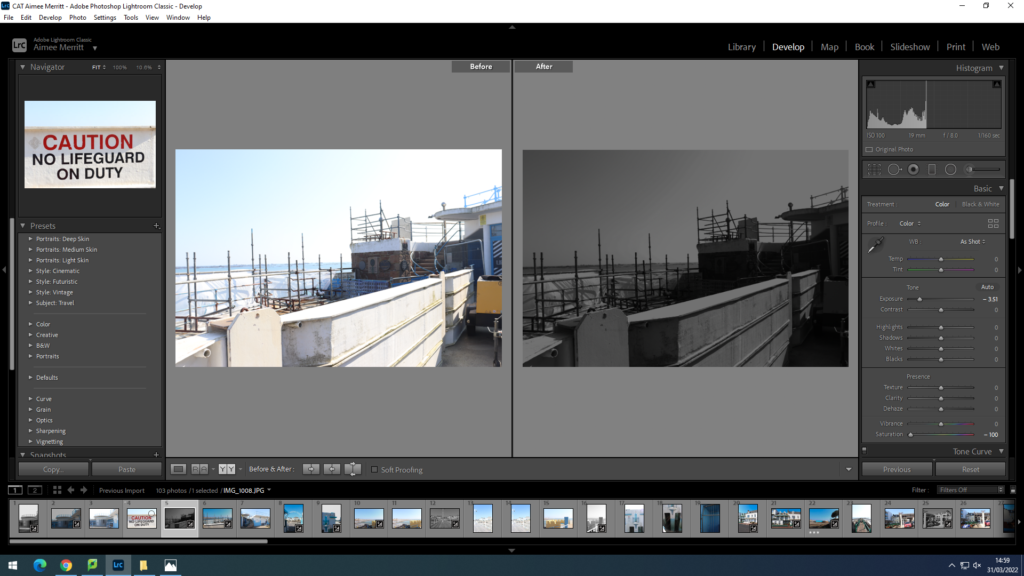
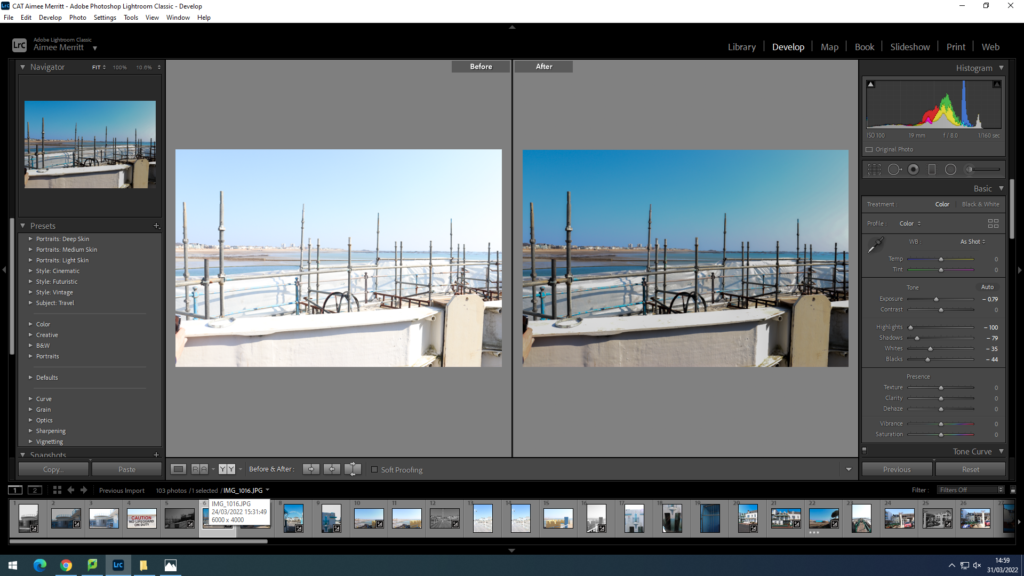
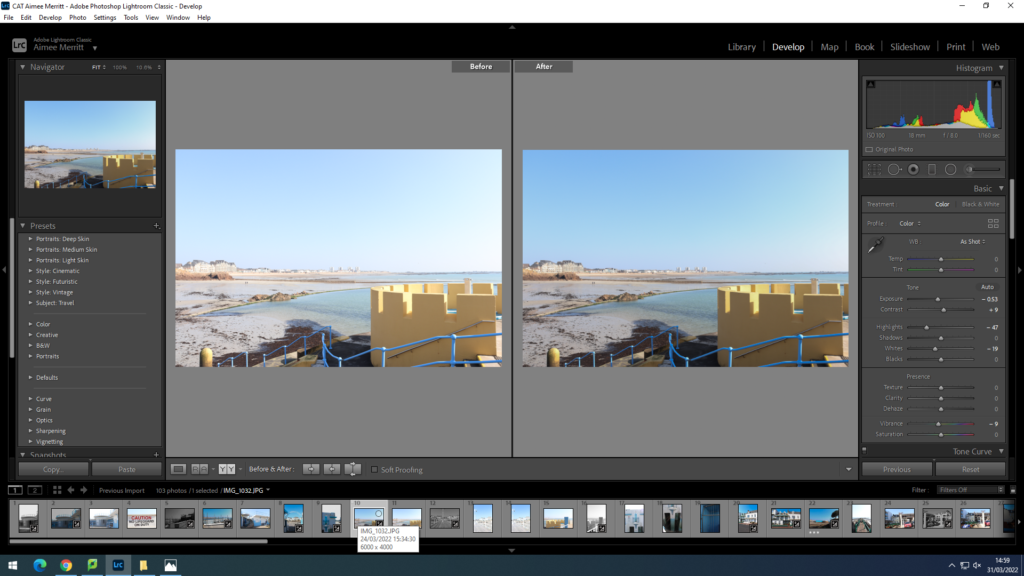
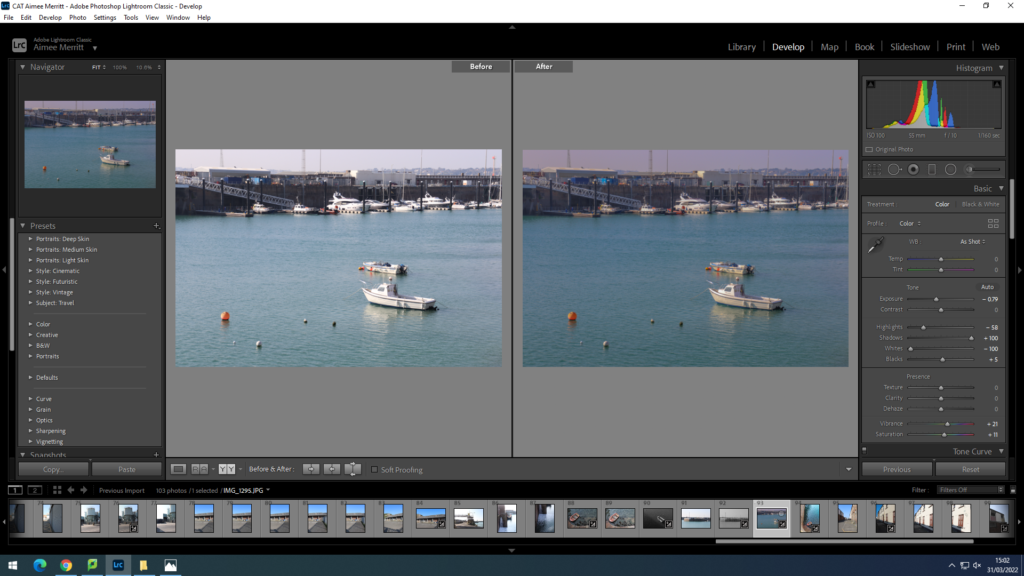
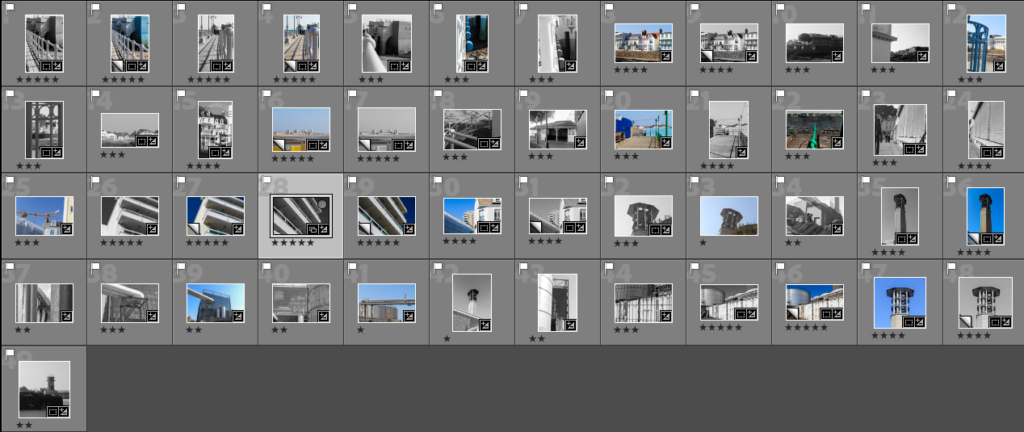
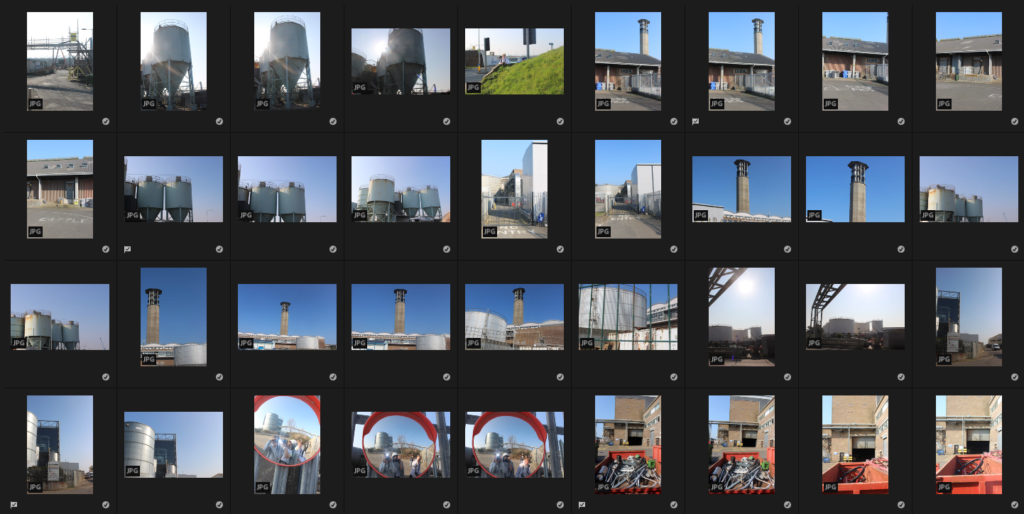
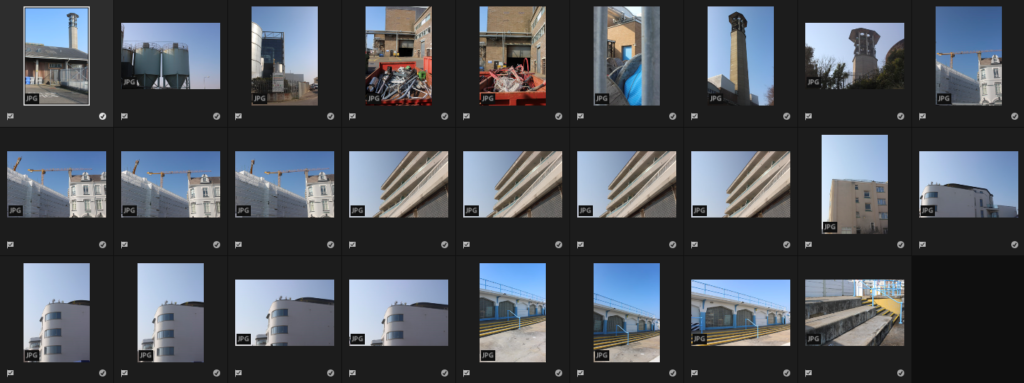
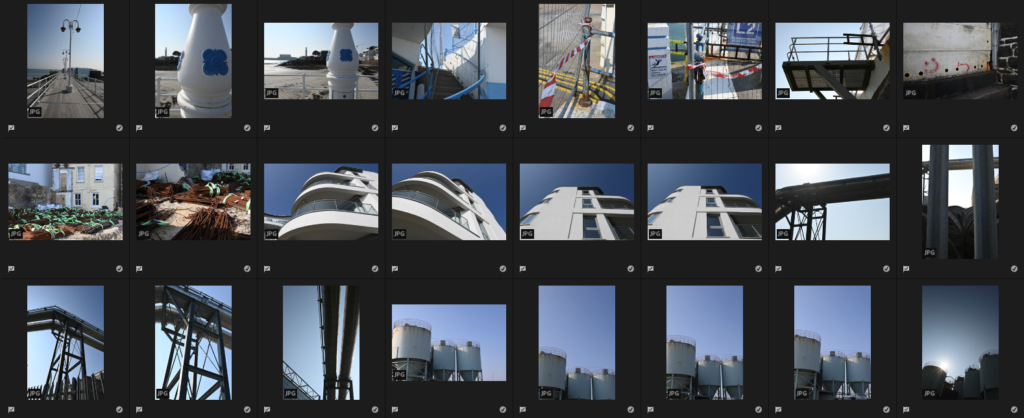
Below I have gone through the contact sheets from my 3rd photoshoot walking around the industrial area of la collete after adding them to Lightroom.


I went through these and chose those which are properly framed with good lighting and clear links to the topic of urban landscapes.


Editing and final outcomes #P1

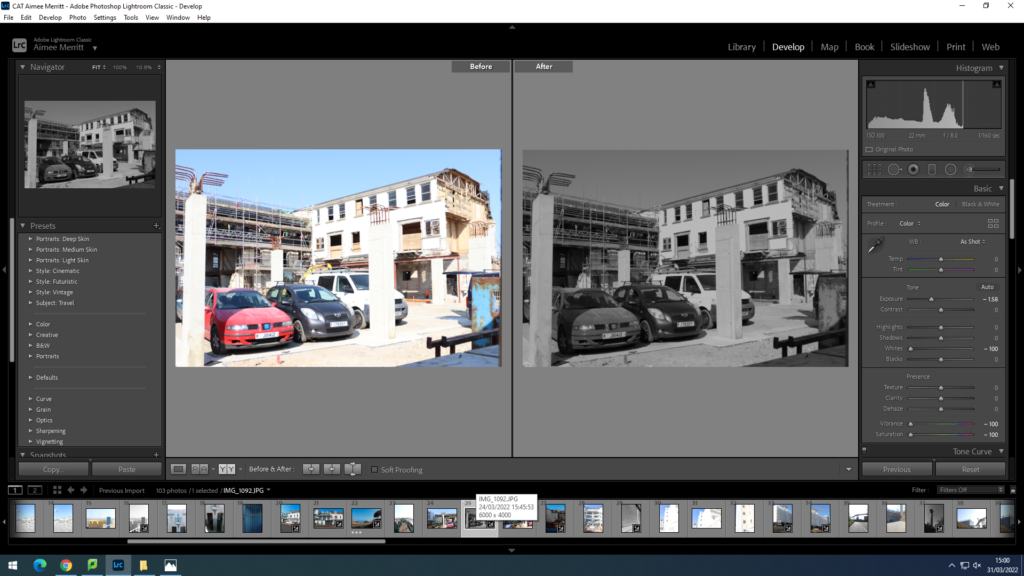
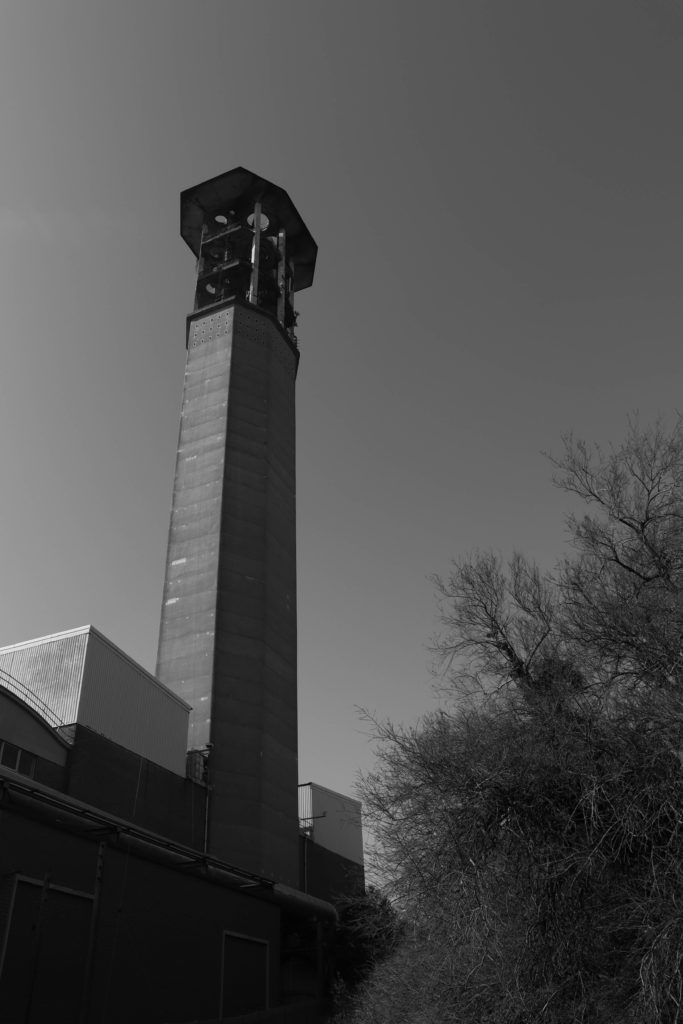
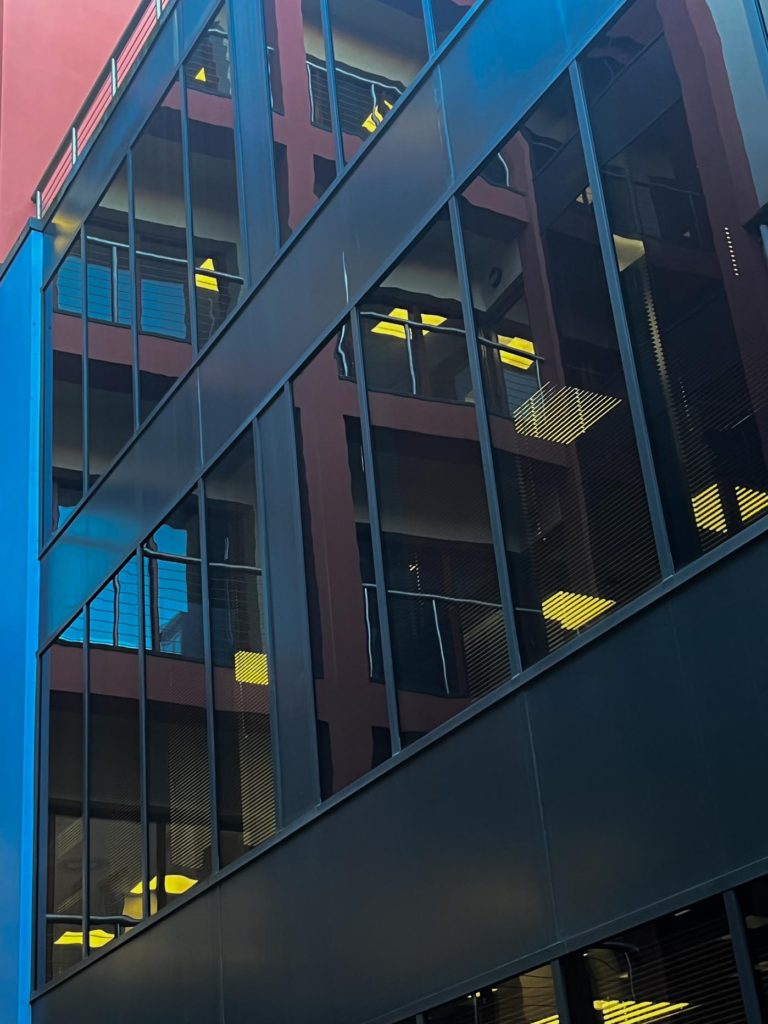
For these edits, which I like the outcomes of, I wanted to experiment in the style of Charles Sheeler and Rut Blees-Luxemburg, I began by darkening the photo slightly with the contrast, exposure, shadows and blacks which gave it a darker appearance. Then to make the lights appear brighter, similar to Luxembourg’s work I brought the whites up which amplified the lights which were on inside the office building. Then to give the photo the “streetlight” effect which appears in Luxembourg’s work I made the temperature and hue of the photo warmer but to stop it turning completely yellow I adjusted the tint, vibrancy and saturation which would cancel that out of happening. I then changed it into black and white as well which is similar to Thomas Struths work, and I really liked how it turned out because it creates a lot of different shapes which are highlighted by the lighting.

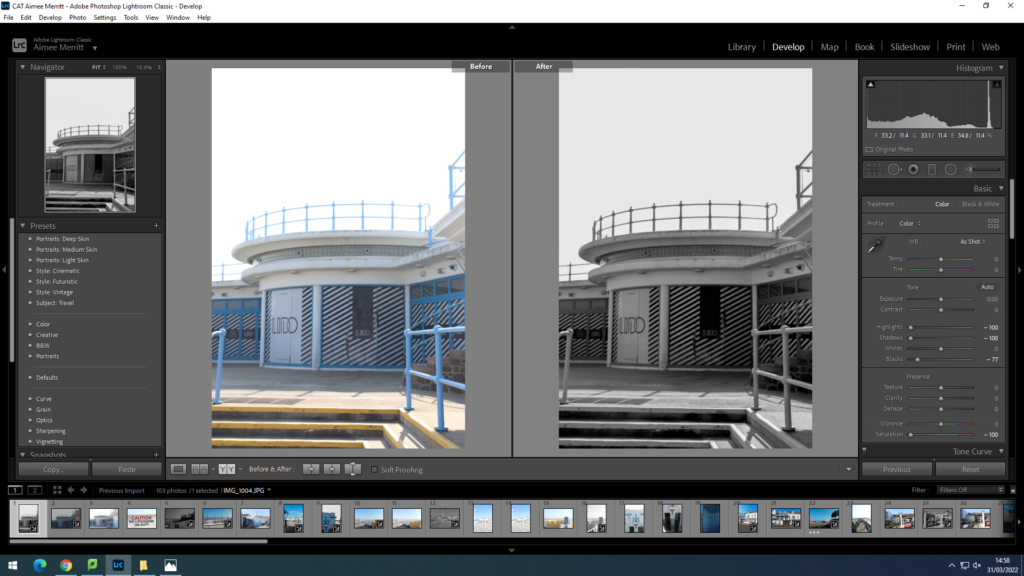
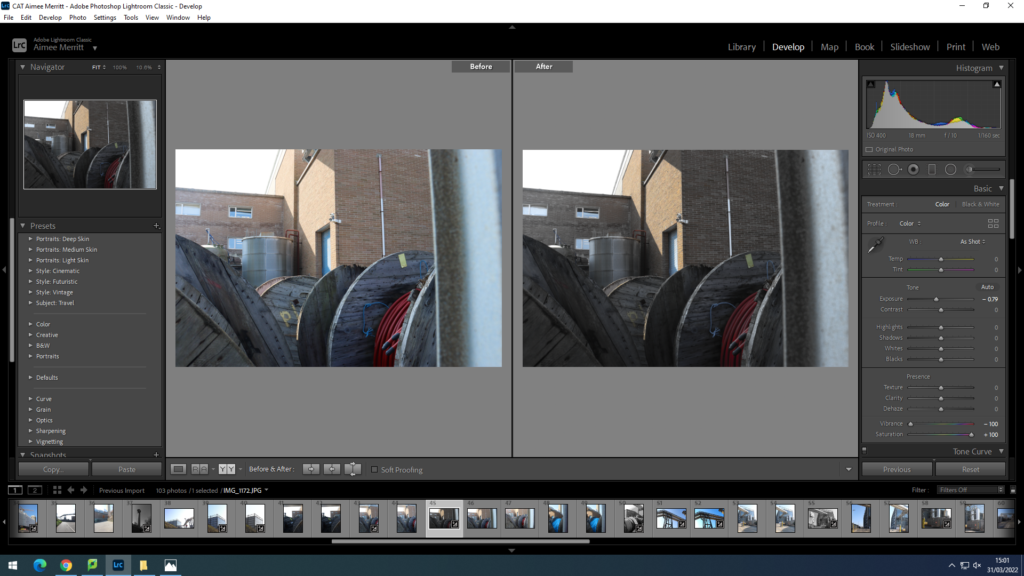
For these edits, I started off by working in the style of Thomas Struth where a few of his photos are quite dim and bland in the colour palette which is used when he photographs and as the picture was already quite dark I began by mainly adjusting the highlights to tone down the brightness and the shadows as well to make it appear darker and gloomier, like Struths work. To create the dim, bland and washed out effect Thomas Struth reciprocates in his work I brought the temp and the tint up to make the photo slightly warmer then brought the vibrancy and saturation down which drained quite a bit of colour from the photo. I then experimented with the colours in the photo where I was able to adjust how they appeared on the photo, which was able to be changed drastically, as the colour was being drained to appear bland. Then to experiment further with his style as he uses black and white filter in a lot of his work I selected the filter but I didn’t like how it turned out a it came out too dark, especially in the bottom left corner where the building is completely lost.

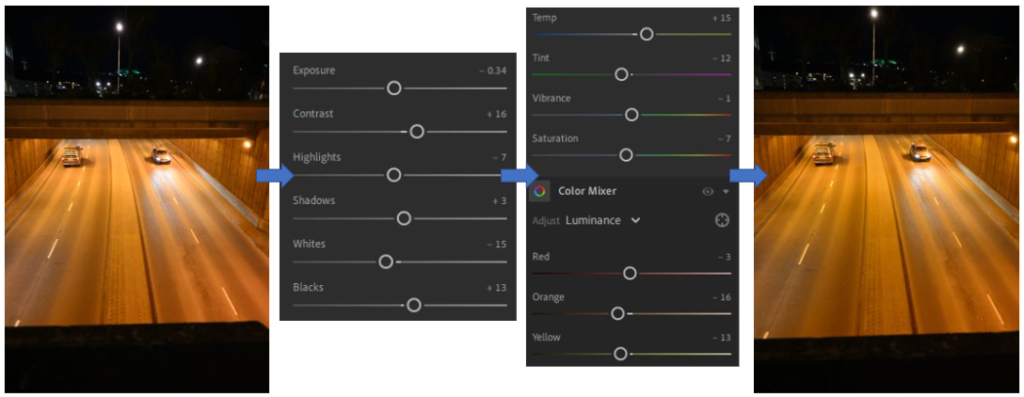
For this edit, which I think is successful and I really like, I primarily focussed on editing in the style of Rut Blees-Luxembourg because the photo already had a warm, orange/yellow “streetlight” tone/feel to it due tot he lighting of the underpass. I chose the photo because I liked how the 2 cars were in the same space opposite each other, showing them both going different ways. I didn’t want to change a lot of this photograph while editing as I liked the effect it already created so I adjusted ad controlled the lighting a small bit and made most of the lines more defined. To brighten the effect further through the style of Luxembourg so to define the darker tones I applied a small tint/temp towards it which helped to control it then used the orange and yellow colour to0 give it a little more vibrancy and bri9ng it to life. Then to centre the photo up as it wasn’t straight I cropped it which made it centred and appeared cleaner with the straight lines.

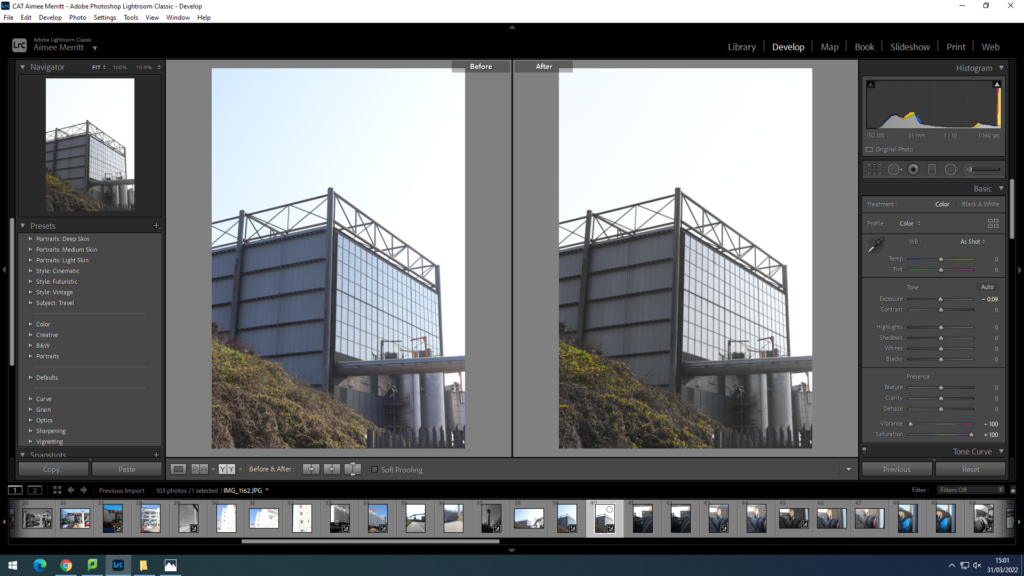
For these 2 edits, which I did in Adobe Lightroom in the style of Rut Blees-Luxembourg, I began by bringing the lighting down from inside the office building which made the photo appear slightly overexposed and this effect can be clearly seen through the windows in the background where everything else gets lost (such as objects in the windows) because of this. On the other hand, I think that the warm, yellow tones of the building work well with the orange which creates a good contrast of colours making it stand out well due to the abstract shape as well which goes against the traditional, uniformed order of the photo of straight lines and square boxes which are repeated throughout.

Most and least successful edits –

Most –

Successful:
– Yellow, orange, brown tones work well together.
– Cars going opposite ways, same place in the road.
– Similar to Rut Blees-Luxembourg’s work due to the warm, soft lighting which I’ve created.
– Creates a distinct contrast against the darker surroundings above.
– Different shapes of straight lines, square boxes on side, lines in the road all work well together and doesn’t make it look messy.

Not successful:
– Not centred or straight.
– Too much dark space above, cropping needed.
– Slight overexposure on the space in front of the car on the right, creating a glare.

Successful:
– Balanced amount of light and dark space.
– Straight lines, uniformed shapes.
– Taken from an angle which adds dimension.
– Mixture of black/white tones which work well together, don’t overpower one another.
– Similar to photographers work due to the angle which I’ve taken it at and the building which I’ve photographed.

Not successful:
– Needs to be cropped slightly at the bottom to make the windows appear more level to help balance the photo and shapes in it.
– Crop the right side as there is too much negative dark space on the side.
– Adjust the darkness slightly in the middle to make the windows appear clearer and not as if they are blacked out.

Least –

Successful:
– The buildings follow one continuous line, no gap in-between which adds fluidity to the photo.
– Defined shapes created through the windows, bright and able to see clearly.
– Taken at a slight angle which changes the perspective and makes it appear bigger.

Not successful:
– Too much dark space on the top right corner of the picture, drowns the smaller building out.
– Needs to be cropped at the bottom or brightened to make it not appear as one huge block of dark colour.

Successful:
– Strong, vibrant orange colour contrasts well against the background.
– Adds a different shape into it.
– Buildings are continuous in the background, no gaps in-between adding fluidity to the photo.

Not successful:
– Yellow tones have made the darker areas a dark brown, instead of black.
– Lighting in the buildings in the back have turned quite overexposed to the windows get lost in each other.

2nd urban photoshoot best shots

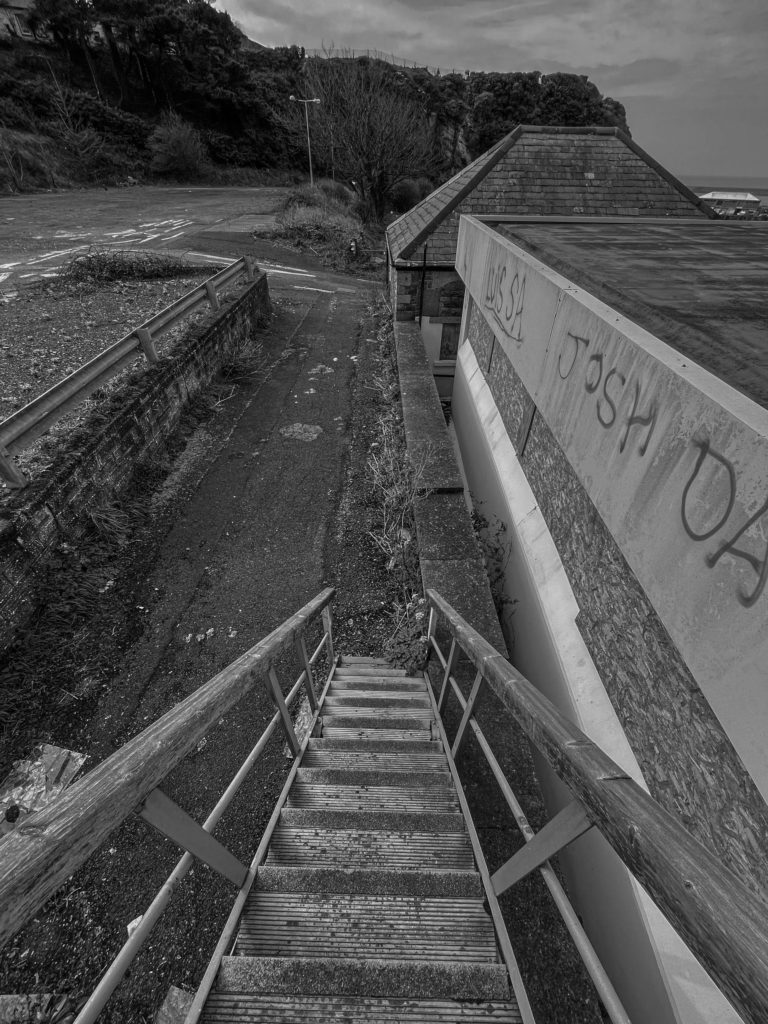
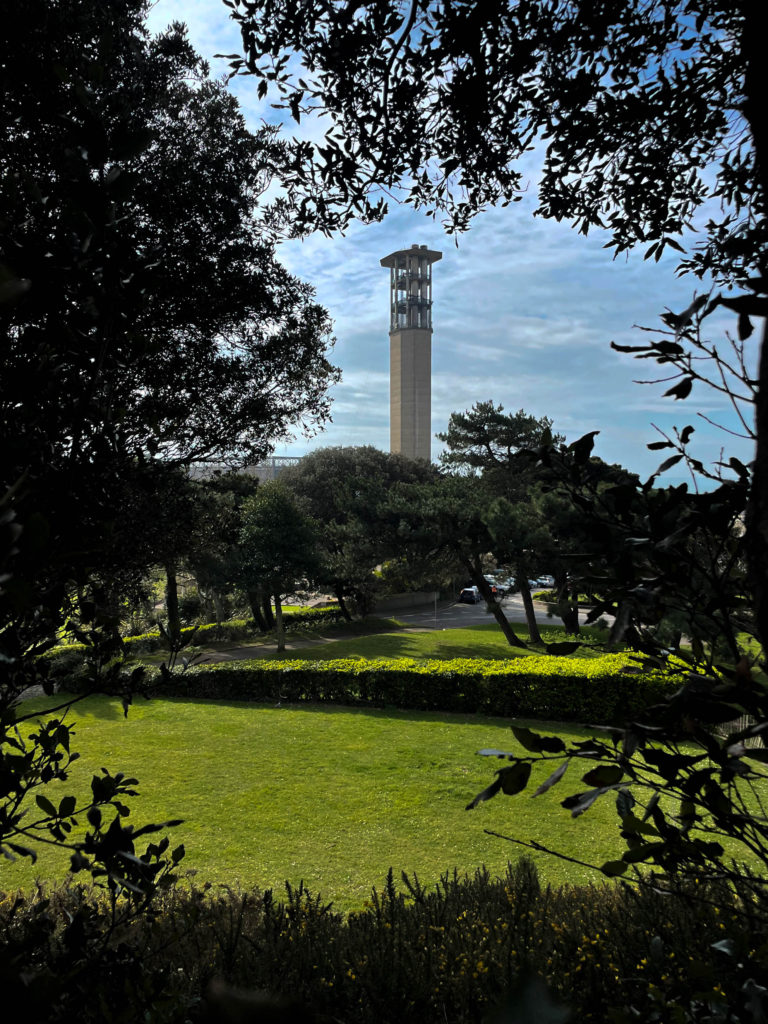
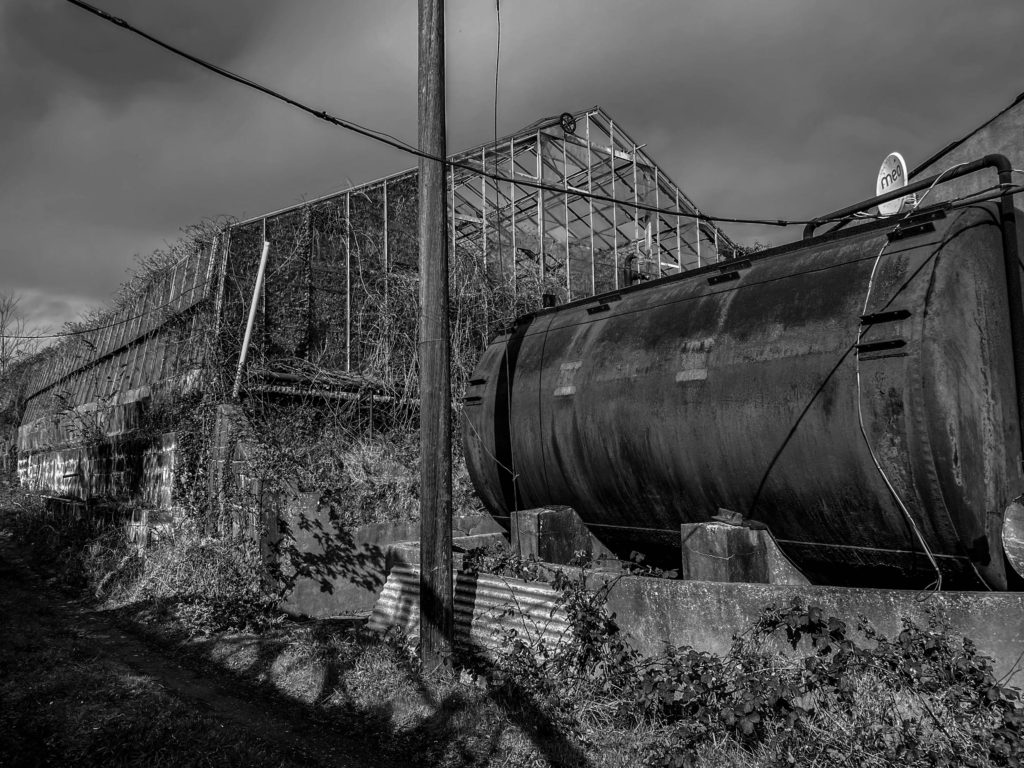
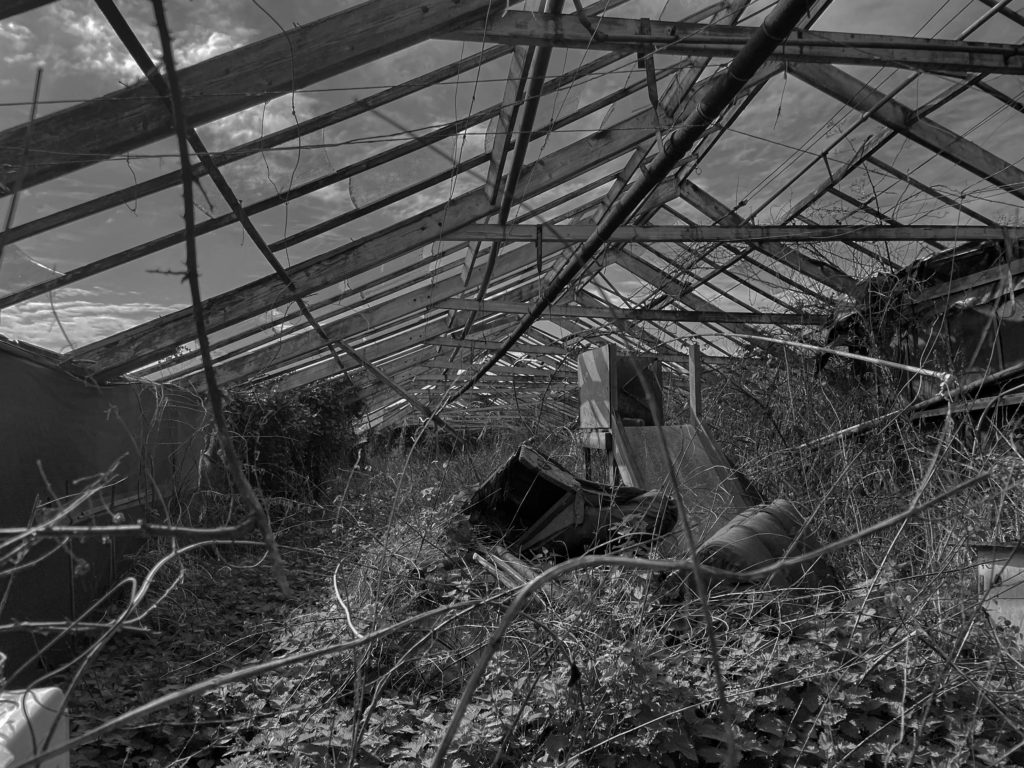
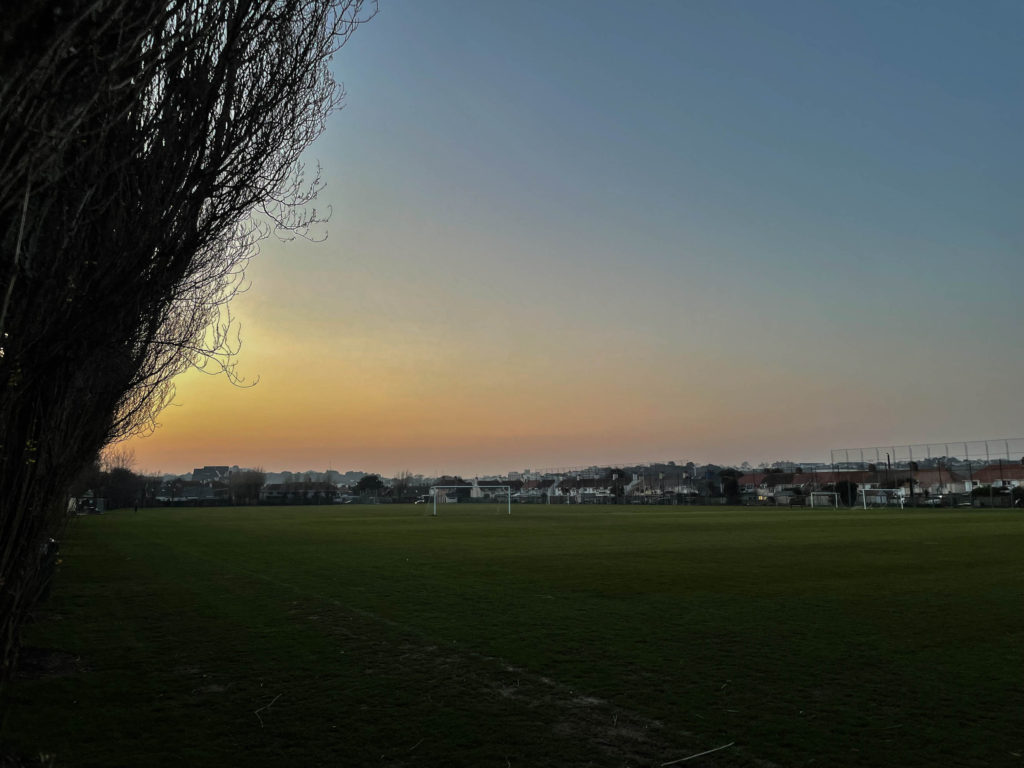
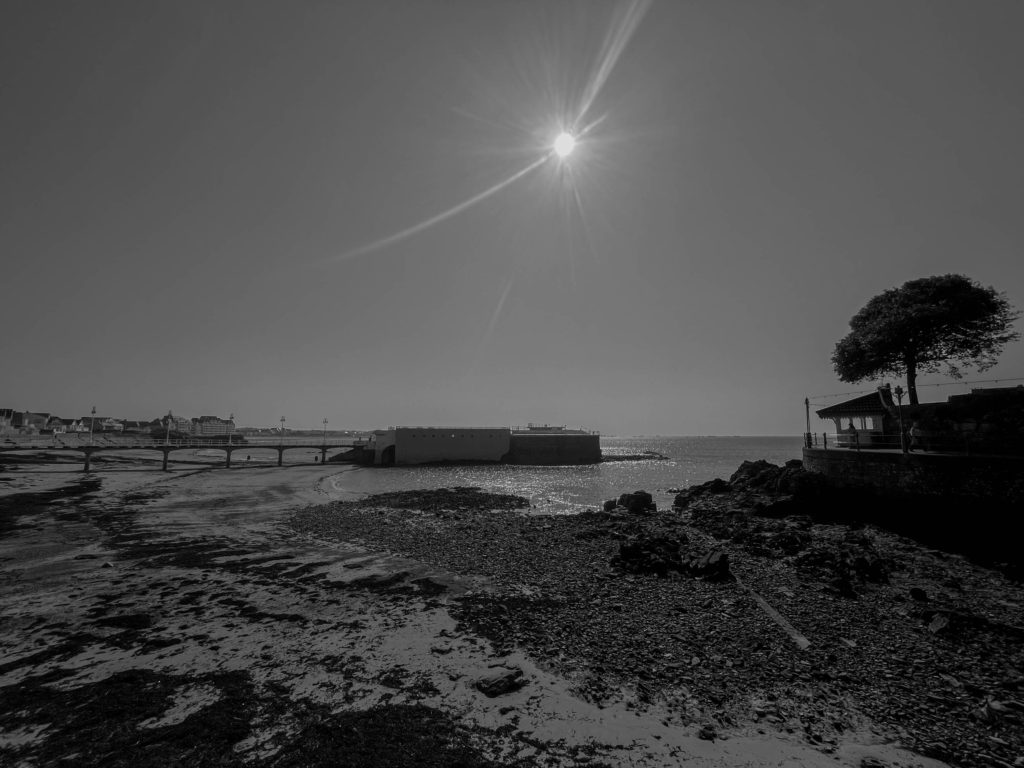
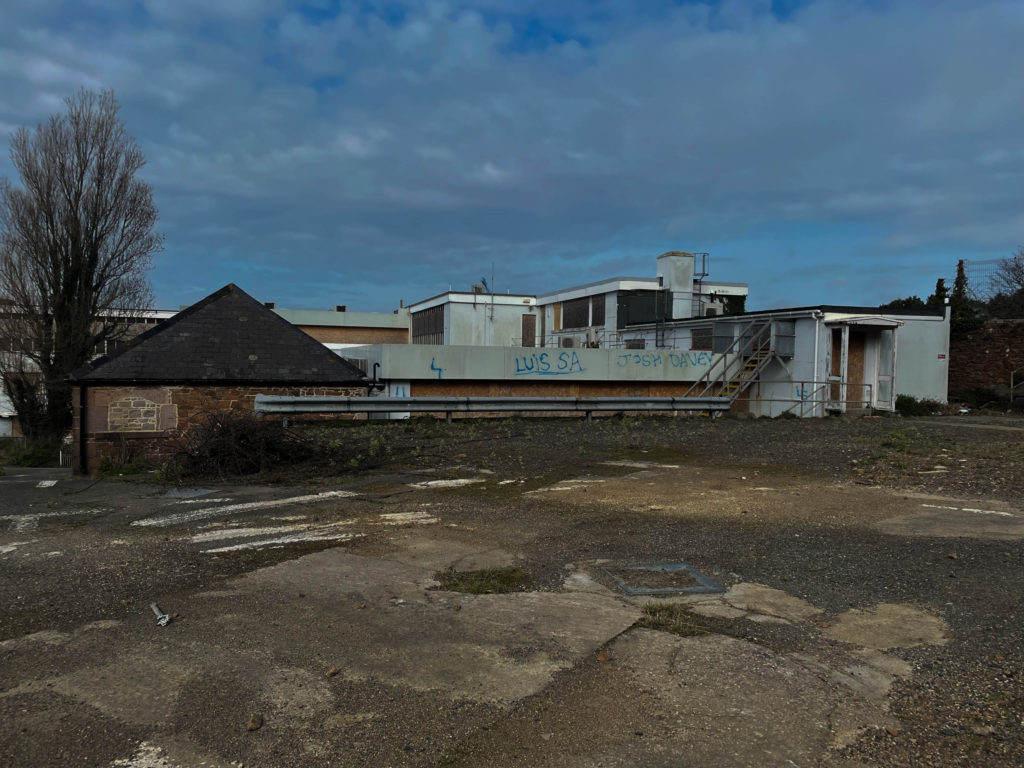
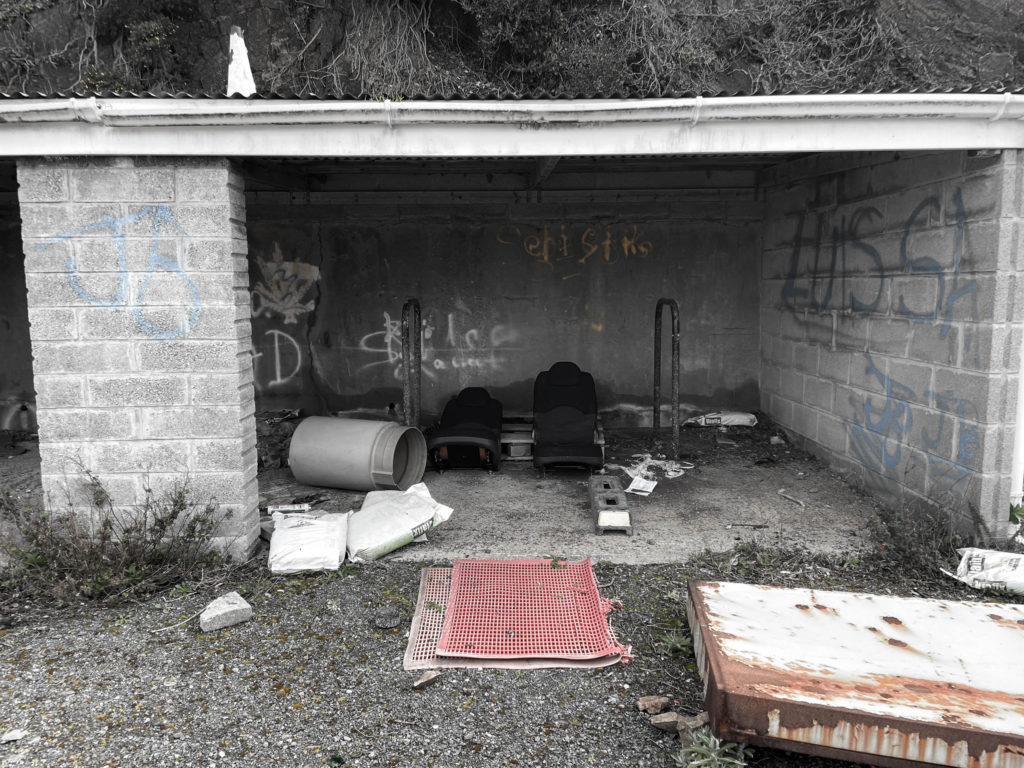
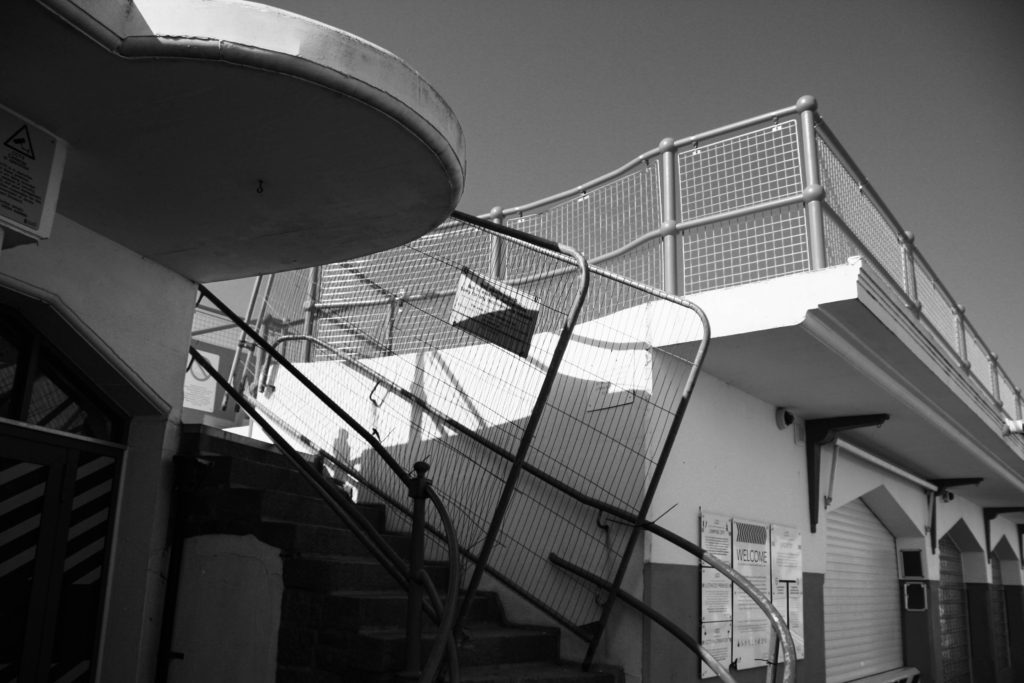
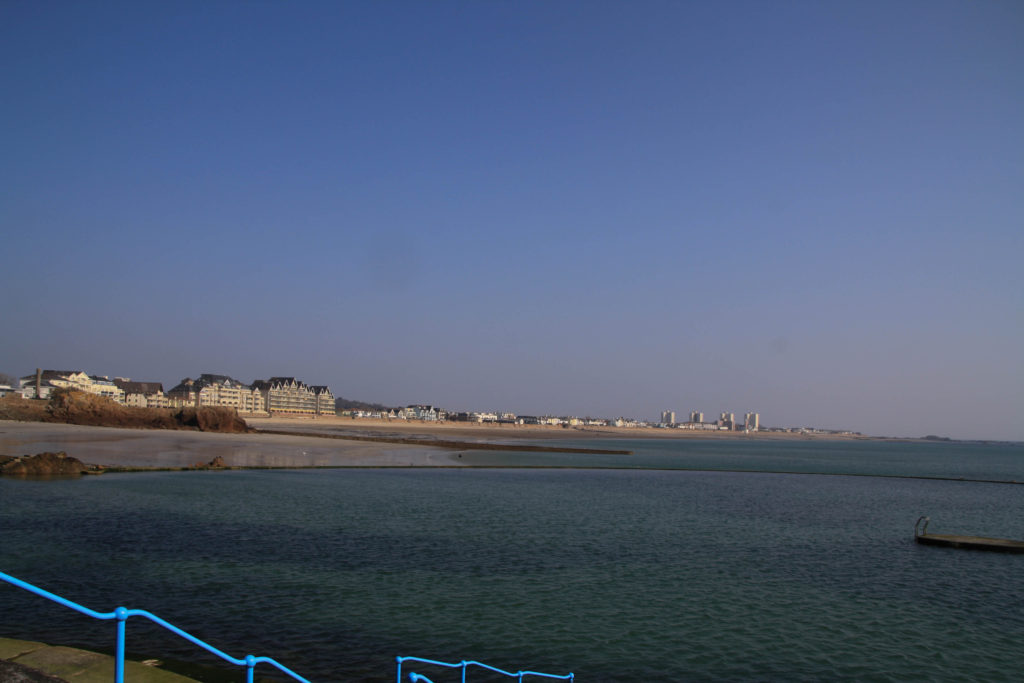
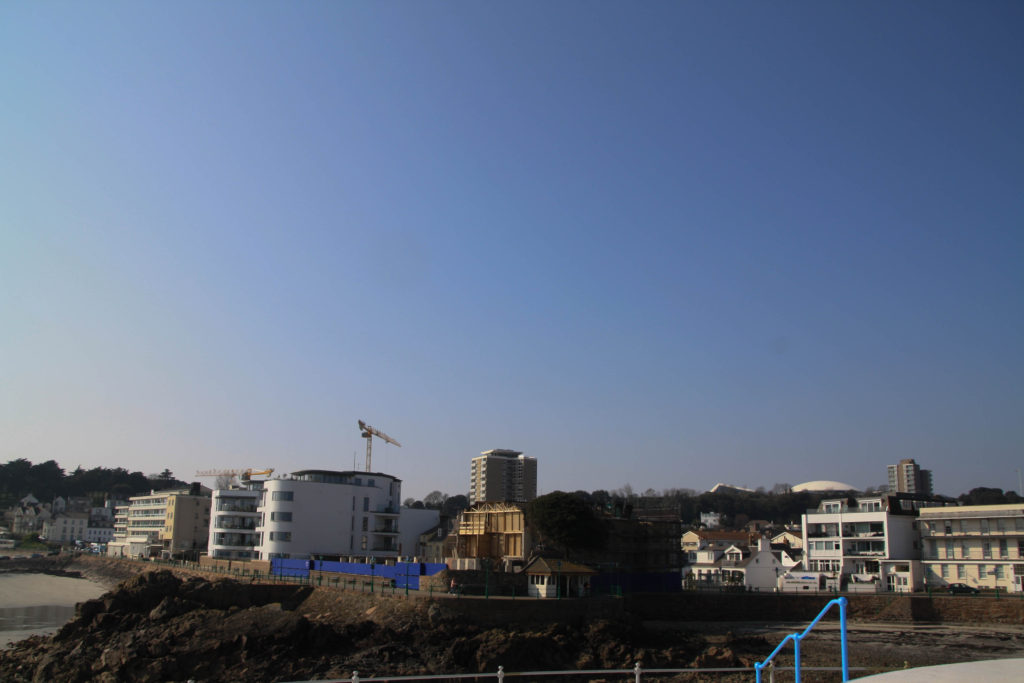
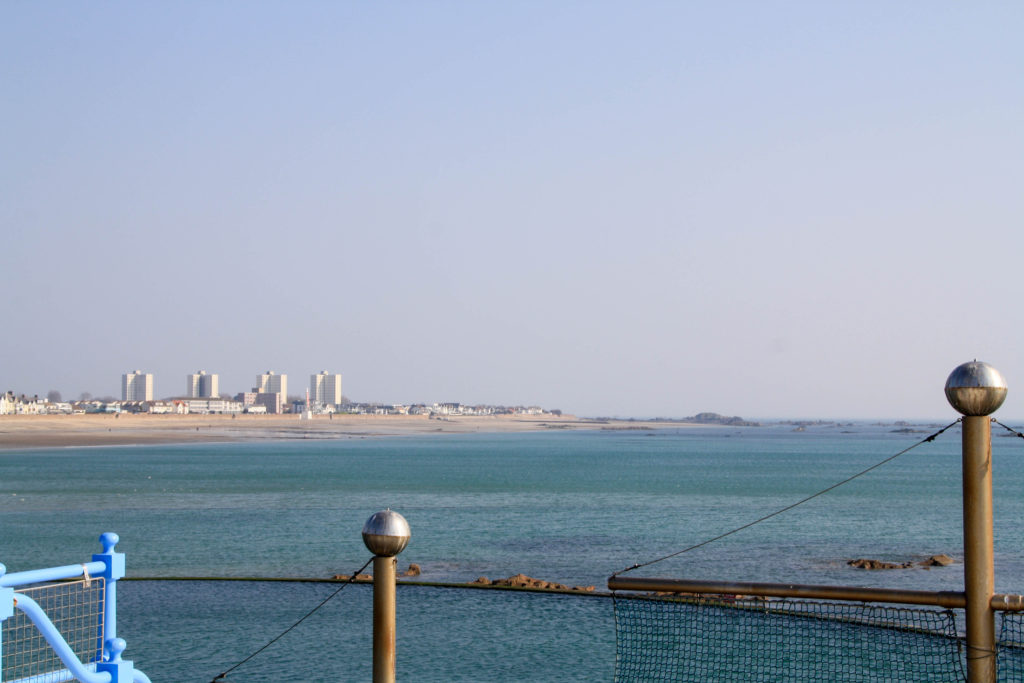
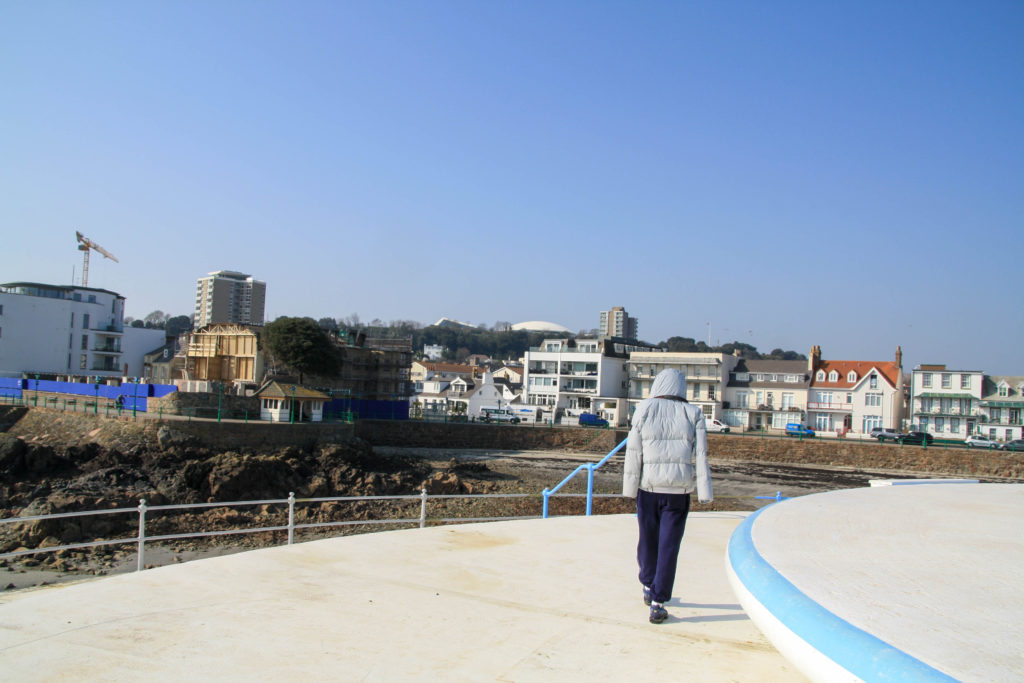
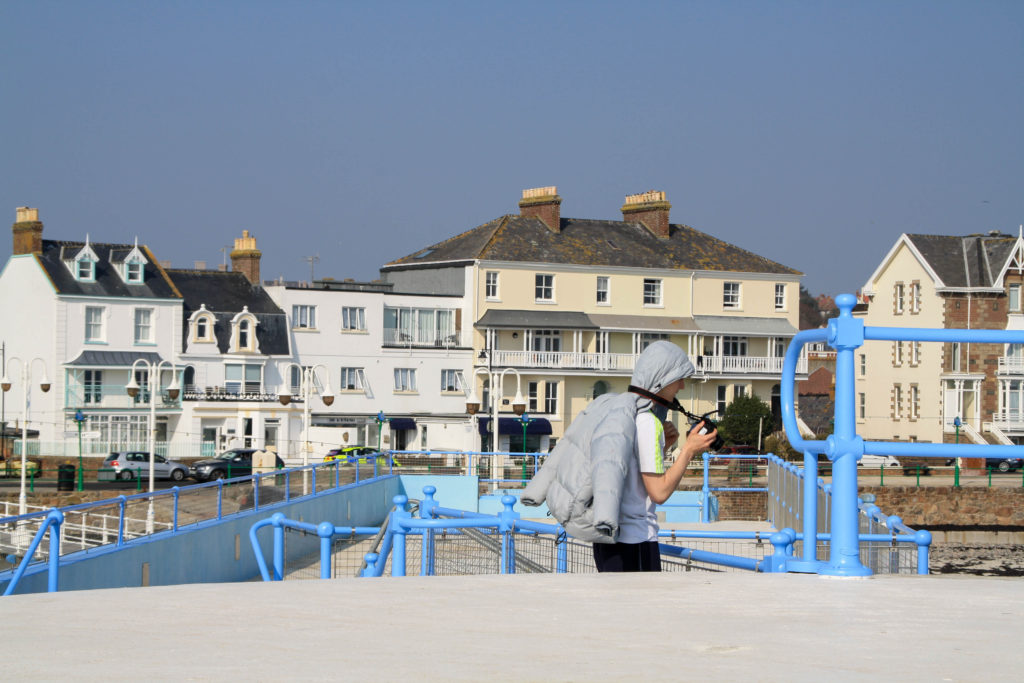
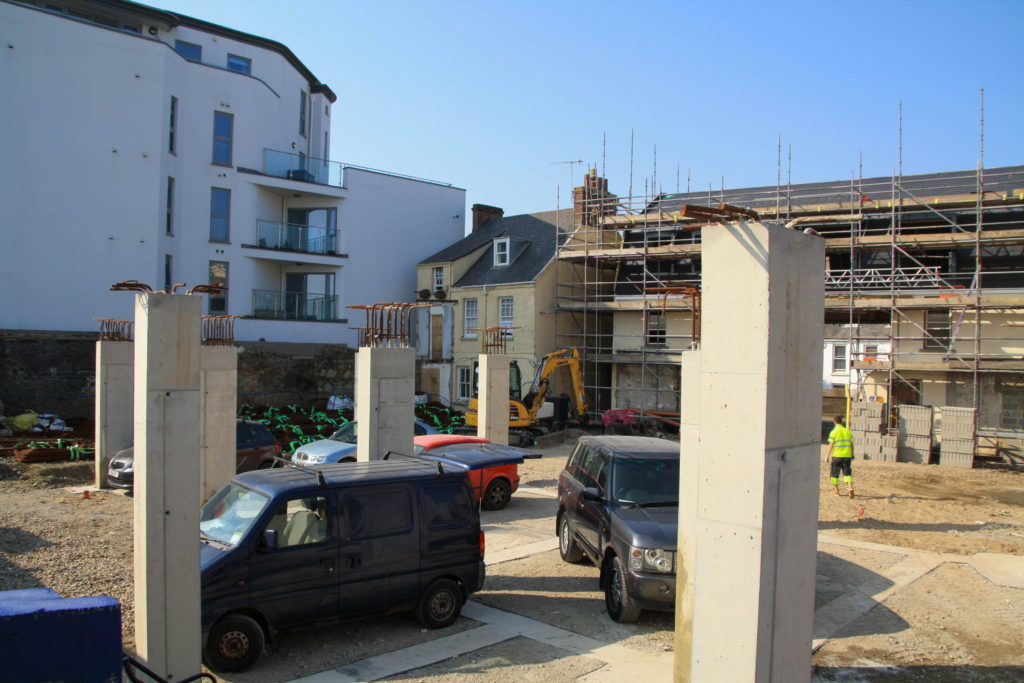
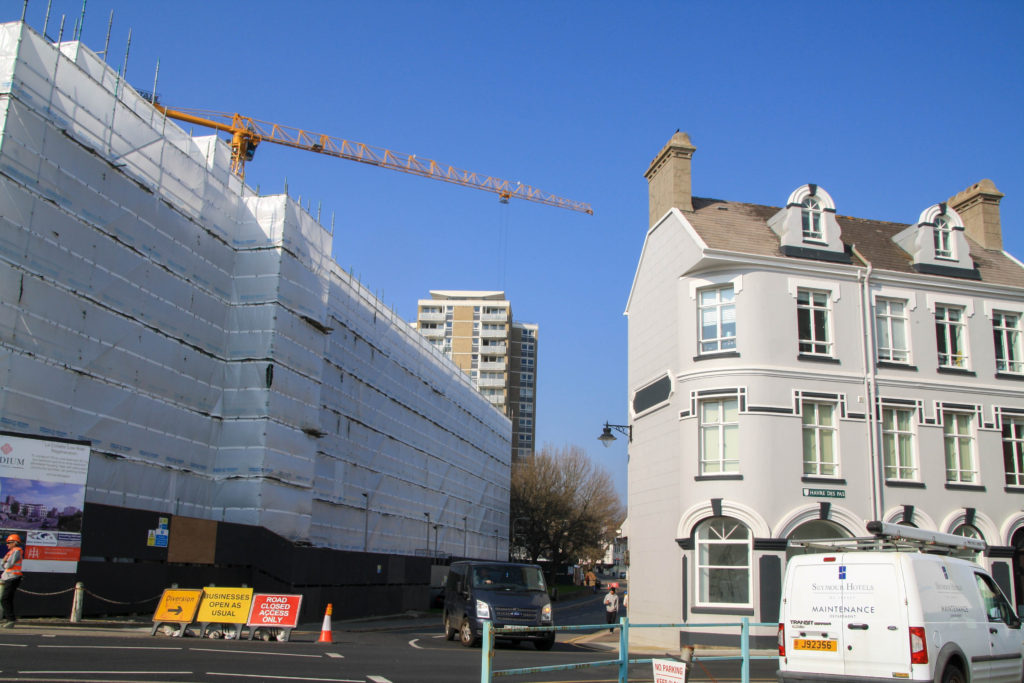
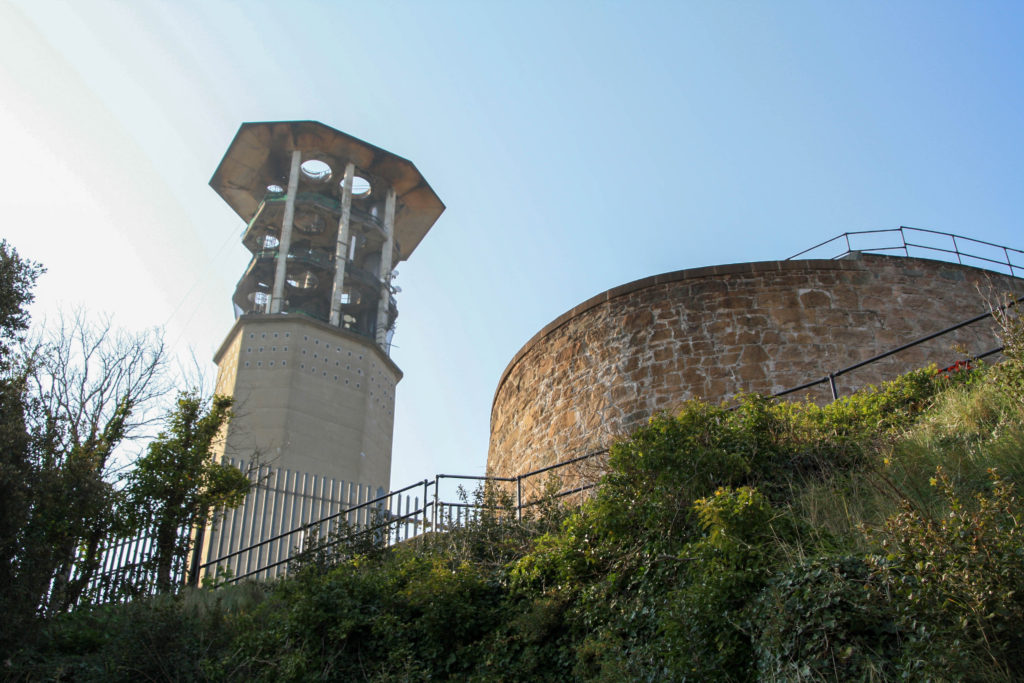
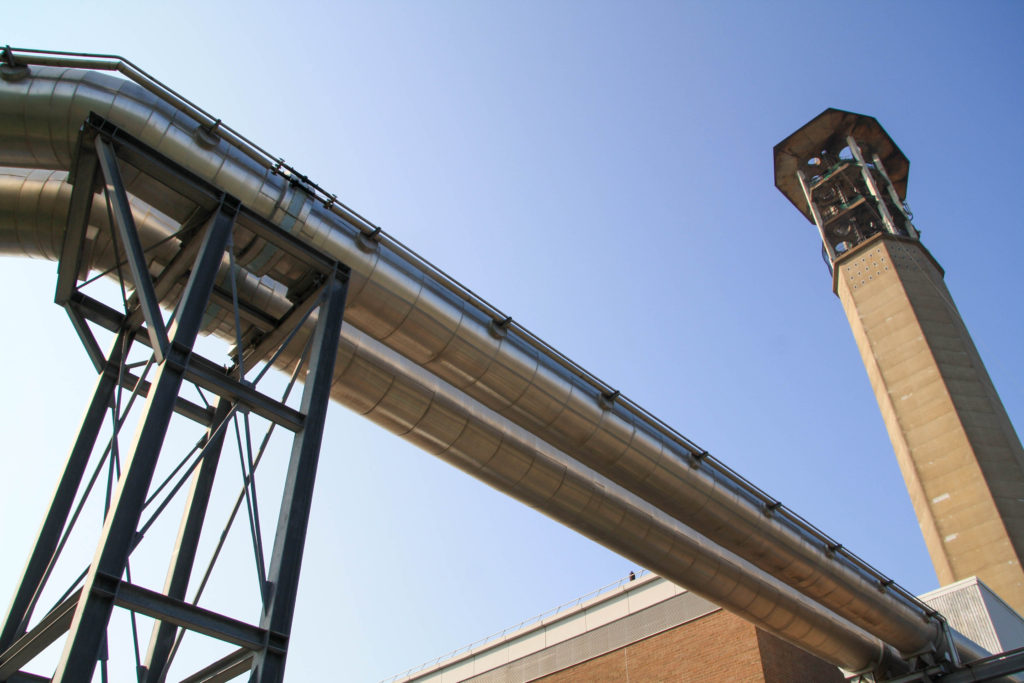
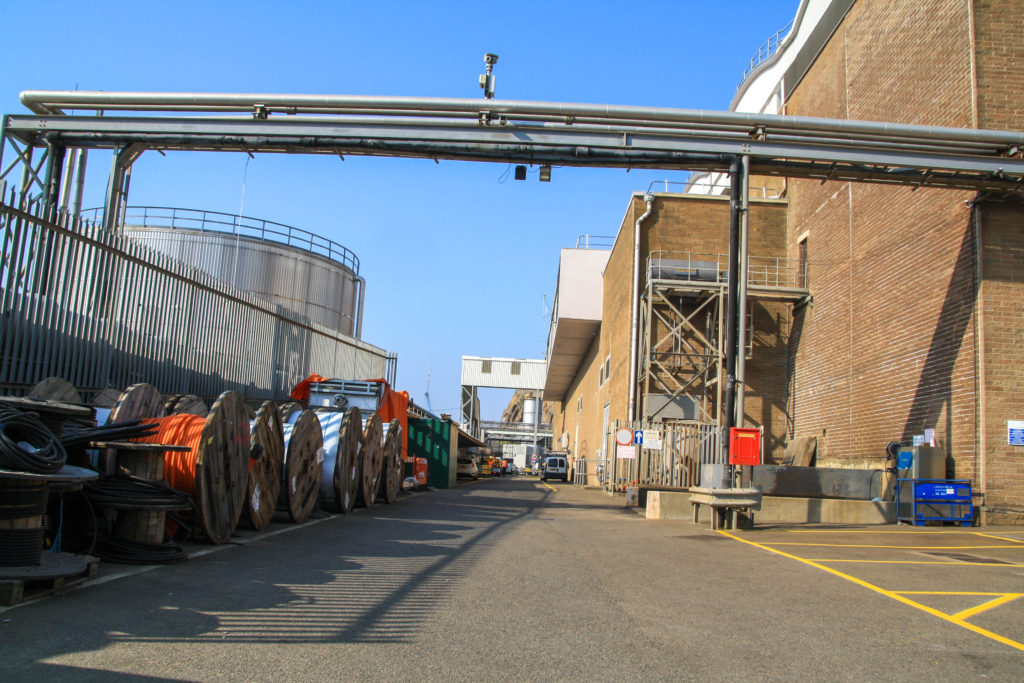
For my second urban photoshoot I went on a walk and mainly took photos down at Havre Des Pas, a bathing pool/beach, and La Collette, an industrial site, there are also other various pictures which I took along the way of various buildings and building sites which I think fitted under the theme of urban for my work. I really enjoyed this photoshoot as I was able to explore a range of different sites with various objects, pathways, buildings etc to photograph and I’m very happy with how many of the pictures have turned out.

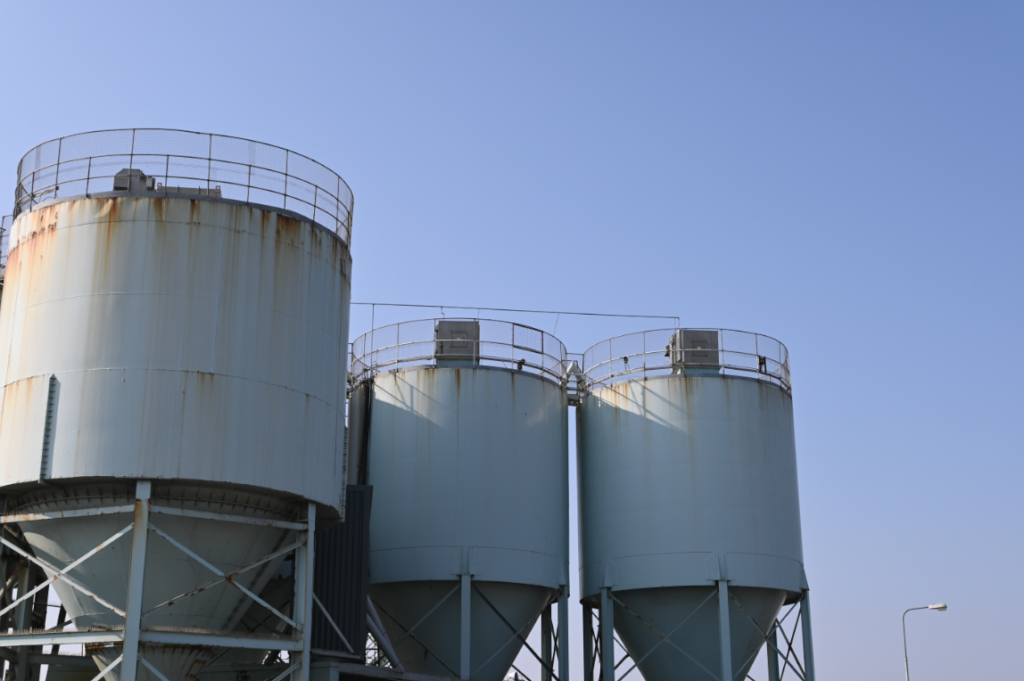
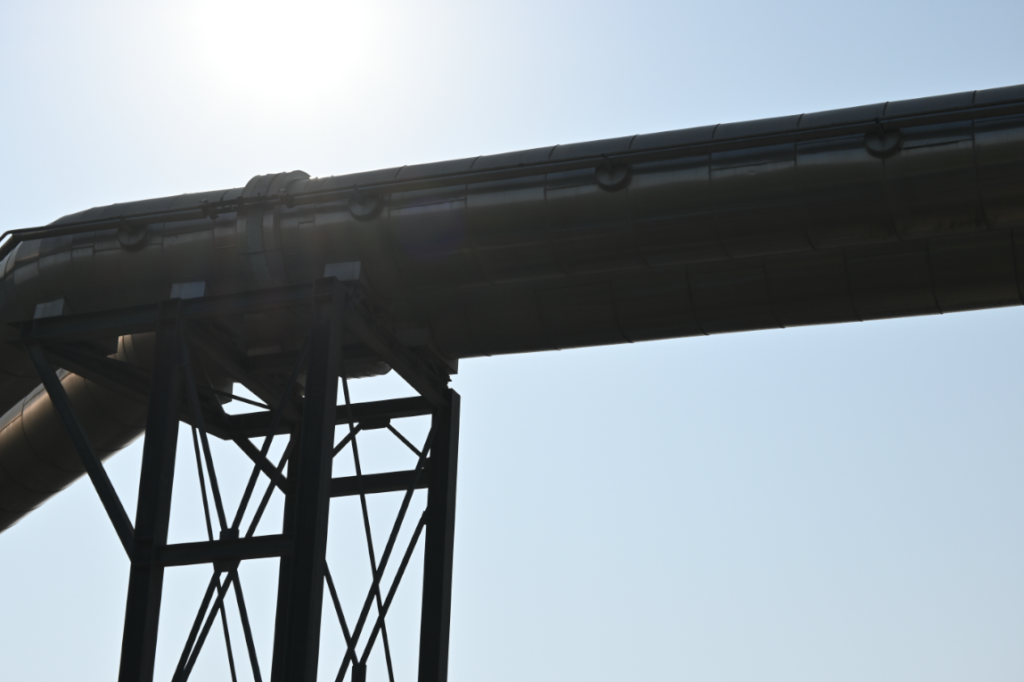
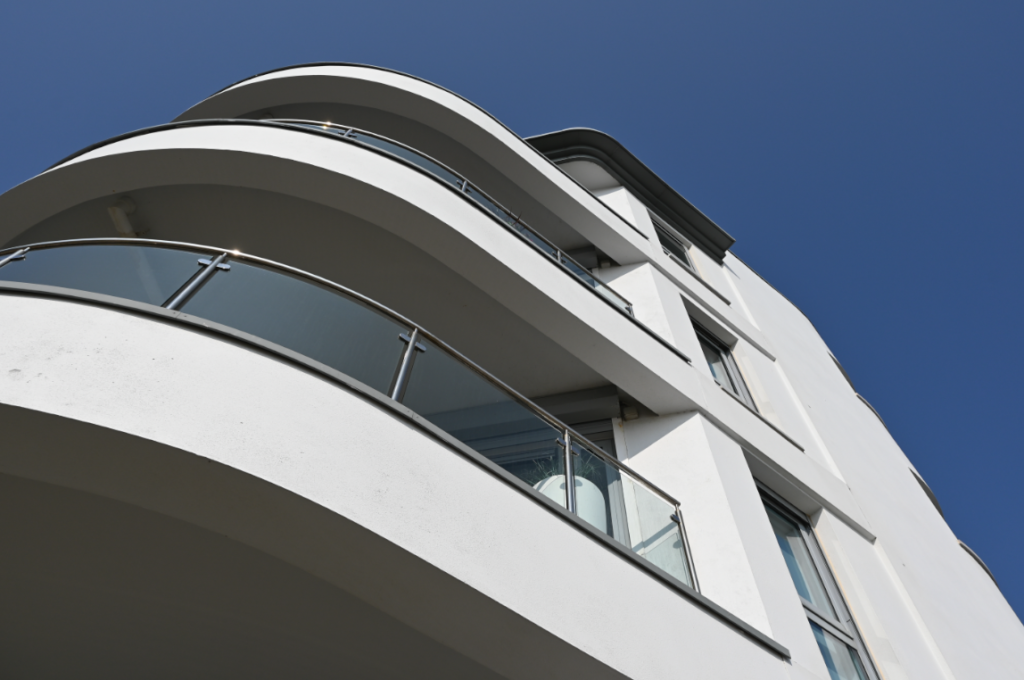
My 4 best shots to edit –

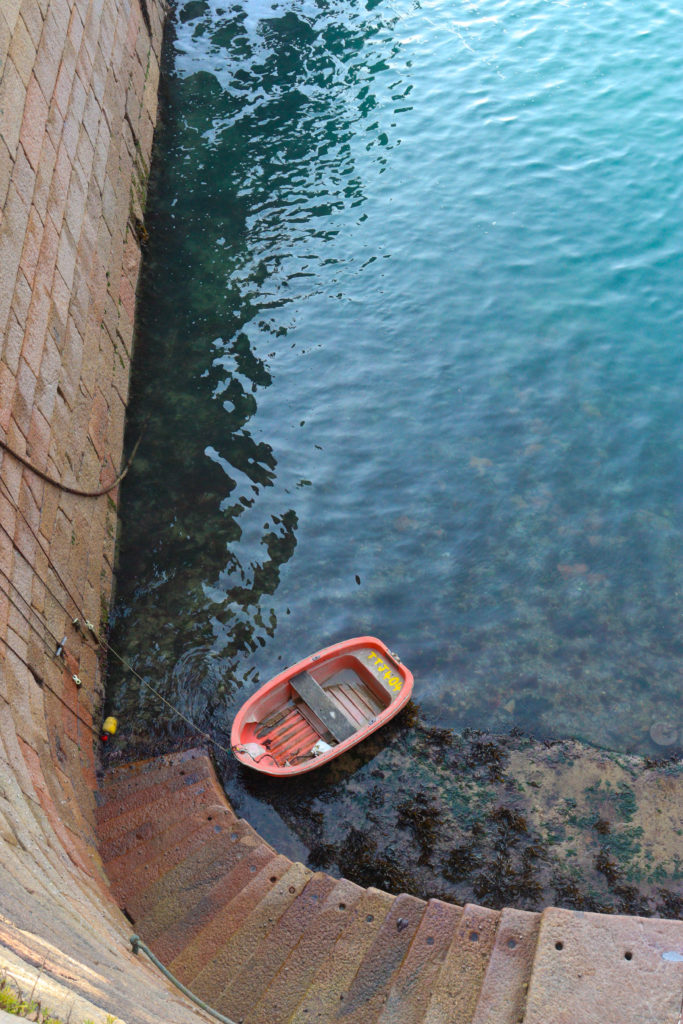
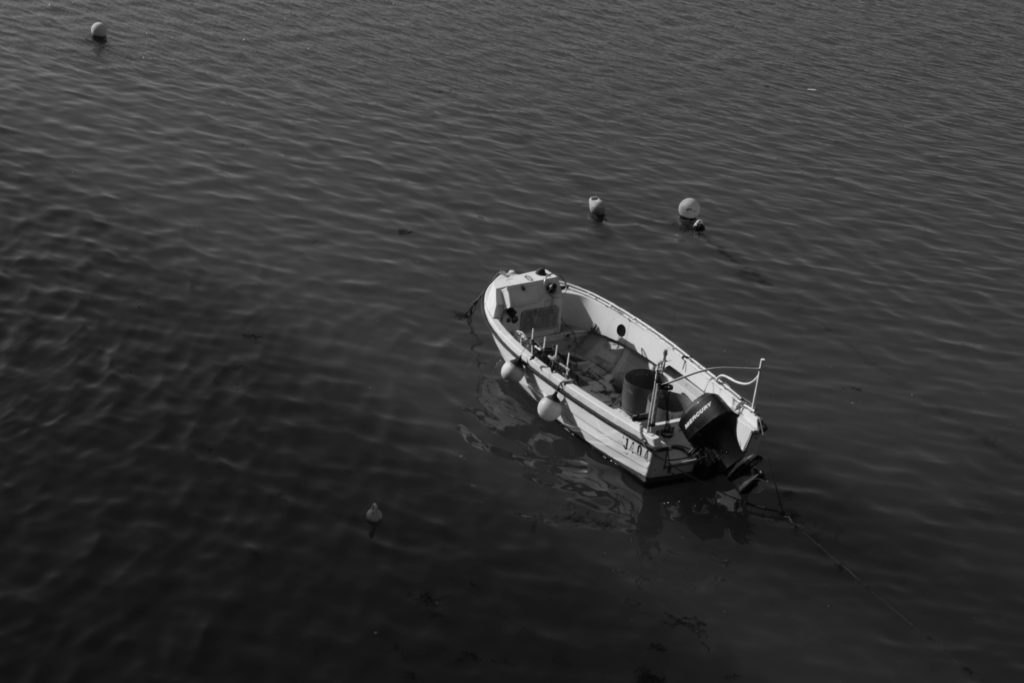
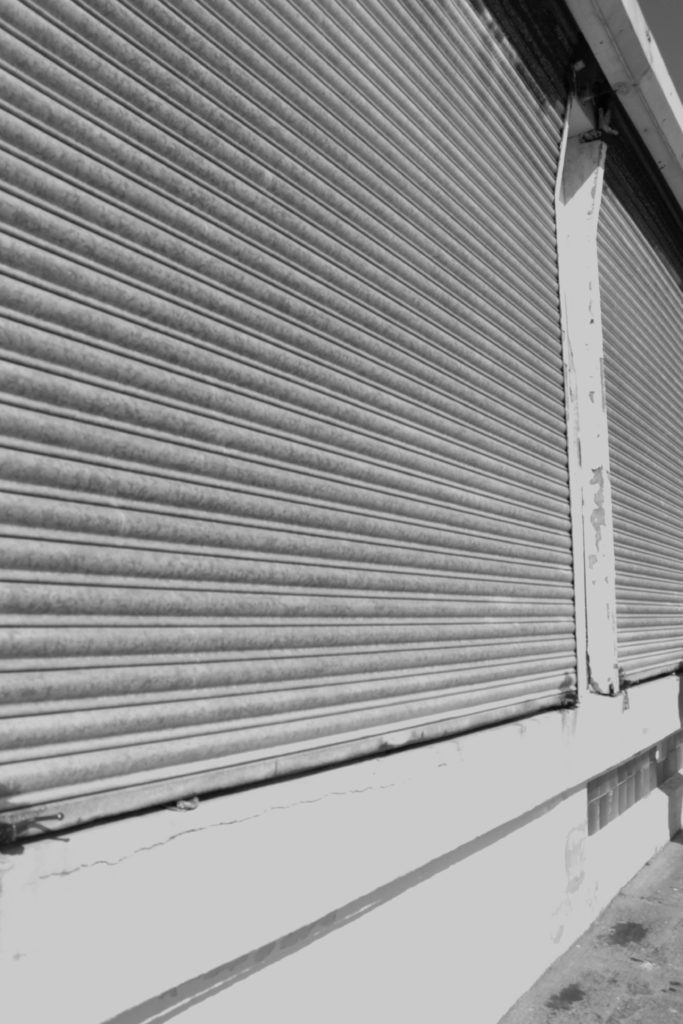
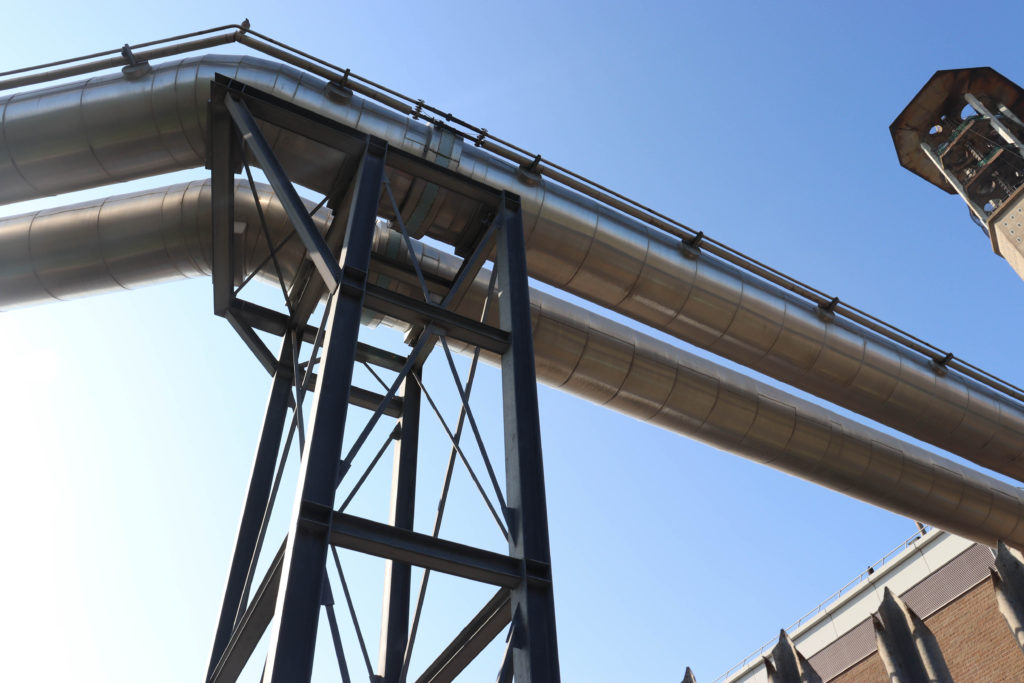
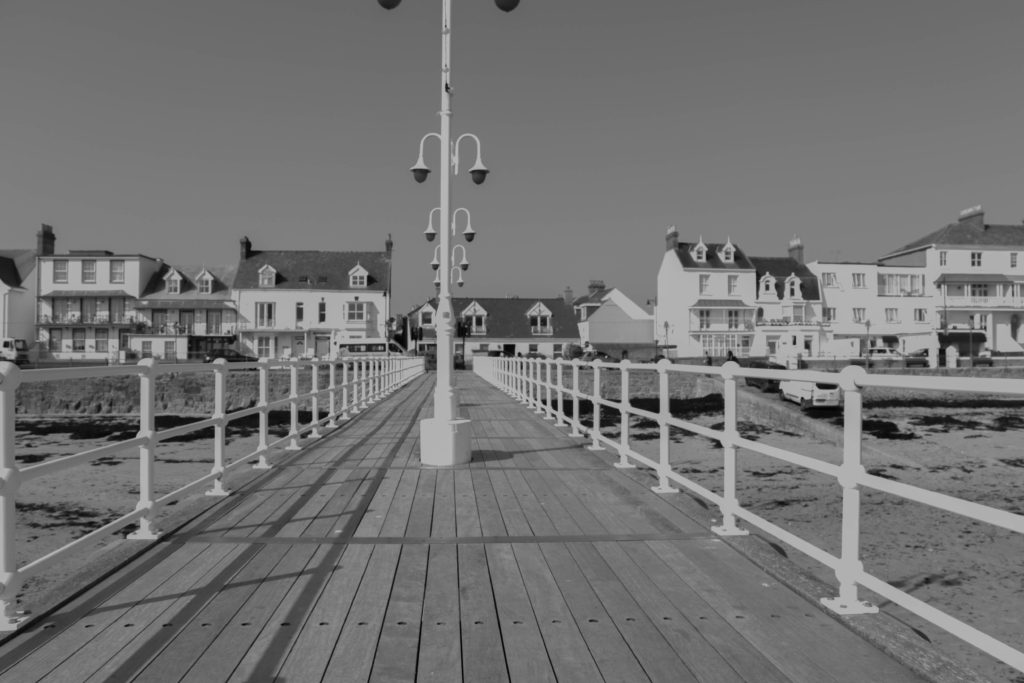
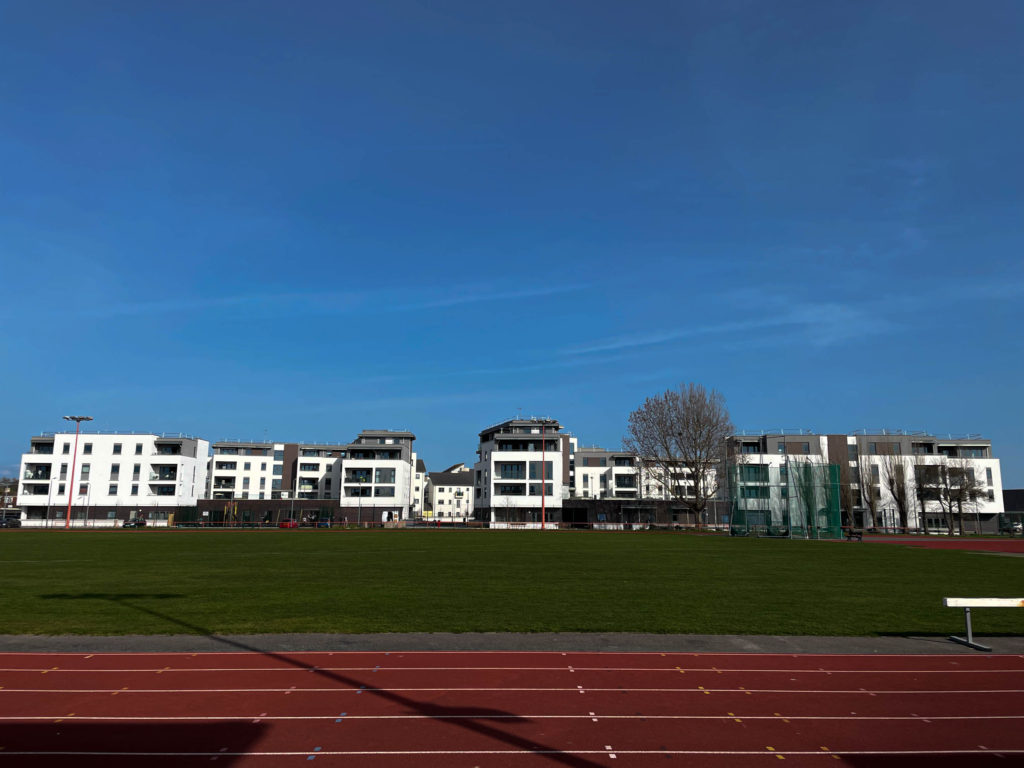
These are the 4 pictures which I think are my most successful and will edit in Adobe Lightroom from my walk from La Collette to Havre Des Pas because I like the way the sunlight compliments them nicely and doesn’t overexpose them and how I have references to my photographers which I have chosen to study as I wanted to make sure their influence was seen as I thought about what photos to take.