PHOTOGRAPHY CONTROLLED CONDITIONS
Mon 23th May – Wed 25th May inclusive (15 hours)
Groups 12C + 12D Periods 1-5 Mon 23rd May, Tues 24th, Wed 25th May…
- Select, edit and arrange final images
- Complete all relevant and supporting blog posts
- Add final images to print folder
- Frame up / mount all available prints from previous projects
- Review blog and make improvements
Follow the 10 Step Process and create multiple blog posts for each unit to ensure you tackle all Assessment Objectives thoroughly :
- Mood-board, definition and introduction (AO1)
- Mind-map of ideas (AO1)
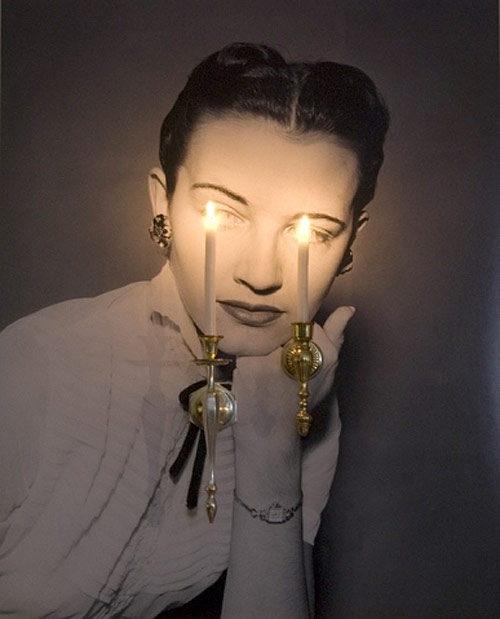
- Artist References / Case Studies (must include image analysis) (AO1)
- Photo-shoot Action Plan (AO3)
- Multiple Photoshoots + contact sheets (AO3)
- Image Selection, sub selection, review and refine ideas (AO2)
- Image Editing/ manipulation / experimentation (AO2)
- Presentation of final outcomes (AO4)
- Compare and contrast your work to your artist reference(AO1)
- Evaluation and Critique (AO1+AO4)
Use this helpsheet to tackle your analysis and interpretation of key imagery throughout your project…

MONDAY
Ensure your images are organised into suitable folders in the M : Drive
Import images into Adobe Lightroom
Edit / manipulate in Lightroom / Photoshop
Update blog as you go and include screenshots of your process where necessary and annotate.
TUESDAY
Ensure all blog posts are complete (Steps 1-10)
Review and refine your process
WEDNESDAY
- FINAL PRINTS
- – Mock display: Blog post showing evidence of how you intend to present and display your final prints – make mock up in Photoshop – for example. a single image or diptych, triptych, predella, size A5, A4 or A3, typology-style grid, collage etc.
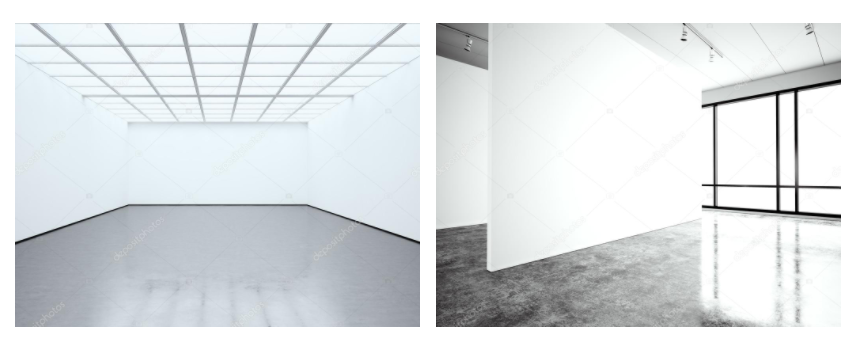
- – Virtual gallery: Download an empty gallery file…then insert your images and place them on the walls. Adjust the perspective, size and shape using CTRL T (free transform) You can also add things like a drop shadow to make the image look more realistic…
File Handling and printing...
- Remember when EXPORTING from Lightroom you must adjust the file size to 1000 pixels on the Short edge for “blog-friendly” images (JPEGS)
- BUT…for editing and printing when EXPORTING from Lightroom you must adjust the file size to Short edge for “high resolution” images (JPEGS) like this…

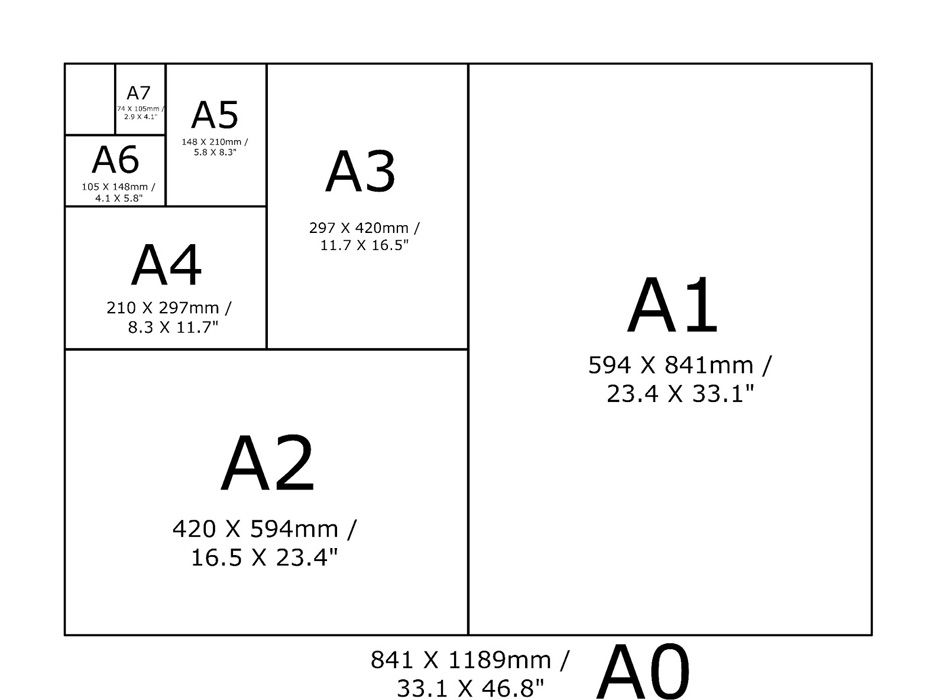
- A5 Short Edge = 14.8 cm
- A4 Short Edge = 21.0 cm
- A3 Short Edge =29.7 cm
This will ensure you have the correct ASPECT RATIO
Ensure you label and save your file in you M :Drive and then copy across to the M:\Radio\Departments\Photography\Students\Image Transfer\Year 12 Anthropocene May 2022
For a combination of images, or square format images you use the ADOBE PHOTOSHOP > NEW DOCUMENT + PRINT PRESETS on to help arrange images on the correct size page (A3, A4, A5)
You can do this using Photoshop, Set up the page sizes as templates and import images into each template, then you can see for themselves how well they fit… but remember to add an extra 6mm for bleed (3mm on each side of the page) to the original templates. i.e. A4 = 297mm x 210 but the template size for this would be 303mm x 216mm.
Making a Virtual Gallery in Photoshop
Download an empty gallery file…then insert your images and palce them on the walls. Adjust the persepctive, size and shape using CTRL T (free transform) You can also add things like a drop shadow to make the image look more realistic…

…or using online software
How I did it:
Step 1: Go to www.artsteps.com
Step 2: Sign in / up.
Step 3: Create.
Step 4: Create your own location or choose a template.
Step 5: Upload your images, put them in your exhibition, name it and give it a description.
Step 6: Present / view your Exhibition.
YOUR FINAL BLOG POST SHOULD CLEARLY SHOW 3-5 POSSIBLE FINAL OUTCOMES for ANTHRPOCENE, INCLUDING YOUR PRESENTATION METHOD
- sequencing of images
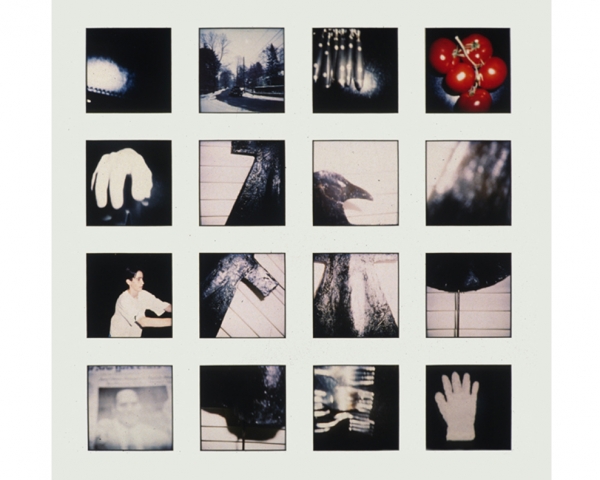
- grouping of images -grids , triptych, diptych, dioramas, predellas
- sculptural / multi-media approaches
- framing methods
- blog (show examples of frames / borders + process)
- clarity of final outcomes—which images are your final outcomes?
- coursework round – up and evaluation
FROM THIS YOU CAN CHOOSE YOUR IMAGES FOR PRINTING
Contemporary approaches to presentation :
Research and explore alternative approaches to presenting your final images. This should be an integral part of your concept…not a gimmick…ultimately, the quality of your photography will be the primary focus and your mark will reflect this…

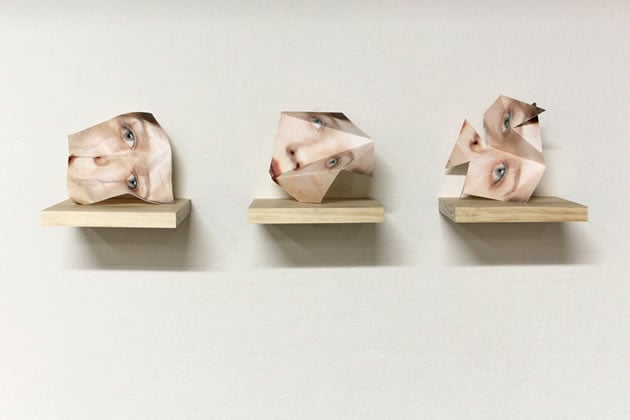
Sculptural methods…


Two-Frame / Diptych Arrangements


Triptych (3 frame)


Grid Layout