Editing
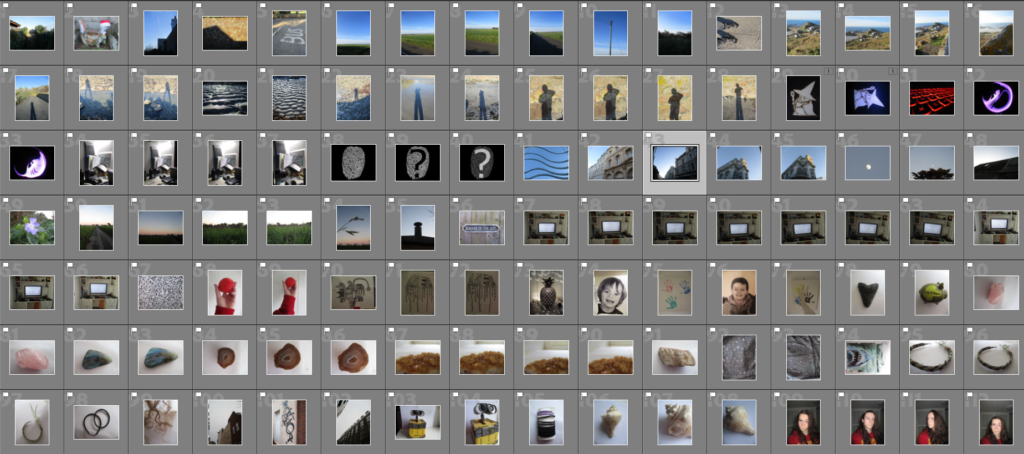
To start my editing process, I went through all my images and used the ‘Pick’ and ‘Reject’ buttons to select what I thought are the best images.
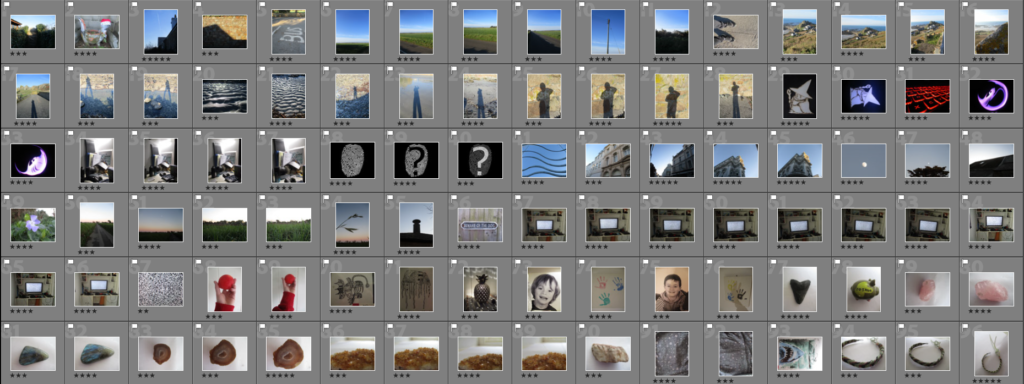
Next, I went through my ‘Picked’ images and ranked them by giving them a number of stars out of 5, with 5 being the images I will use, and 1 the images I will not.
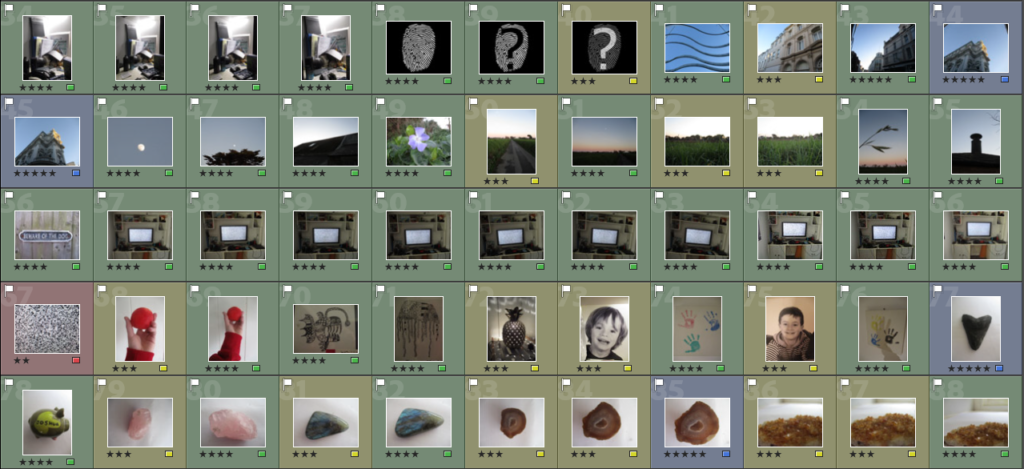
After, I went through my images again and assigned them a colour, with red being the images I won’t use, yellow and green being the ones I may use and blue being the ones I will use.
Experimentation
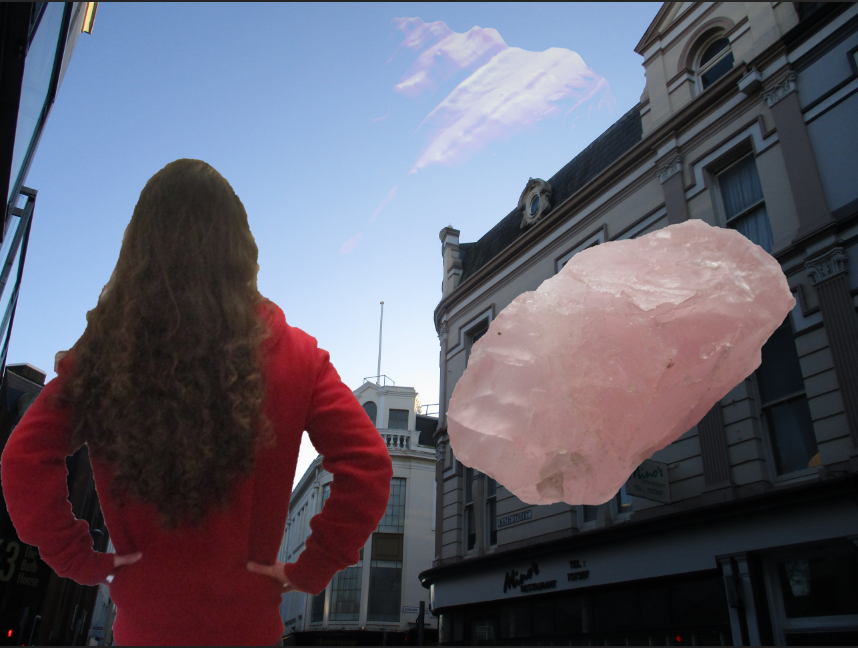
For this image I was experimenting with how I would place myself and the objects, while also dabbling a little into layer blending options.

For this experiment I wanted to explore how I can place the portrait and the object photographs together by cutting parts off of the portrait (the legs) and by using different blending options for the object.
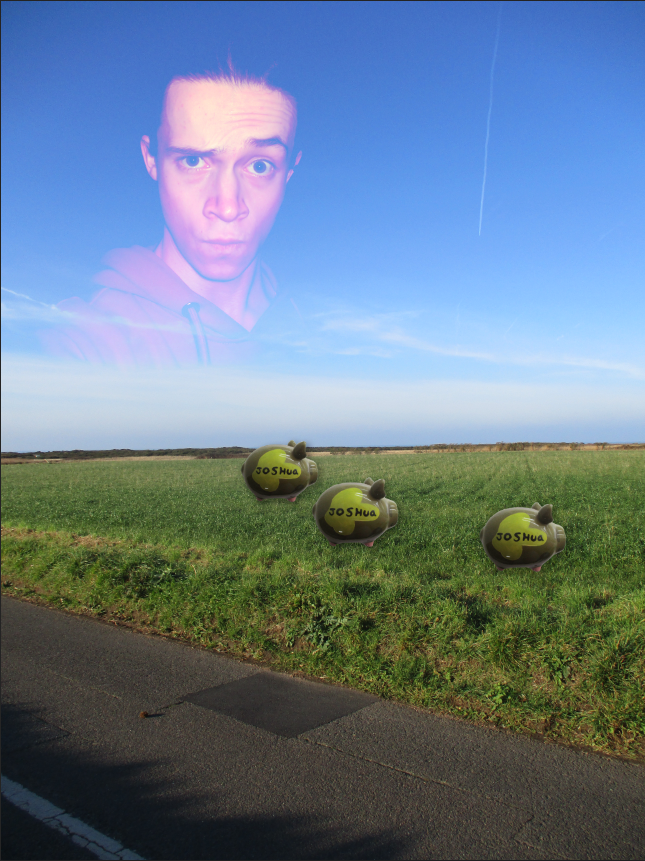
Here, I was experimenting with how I could connect the object photographs to the landscape photographs, while also testing how layer blending options affected the portrait image.
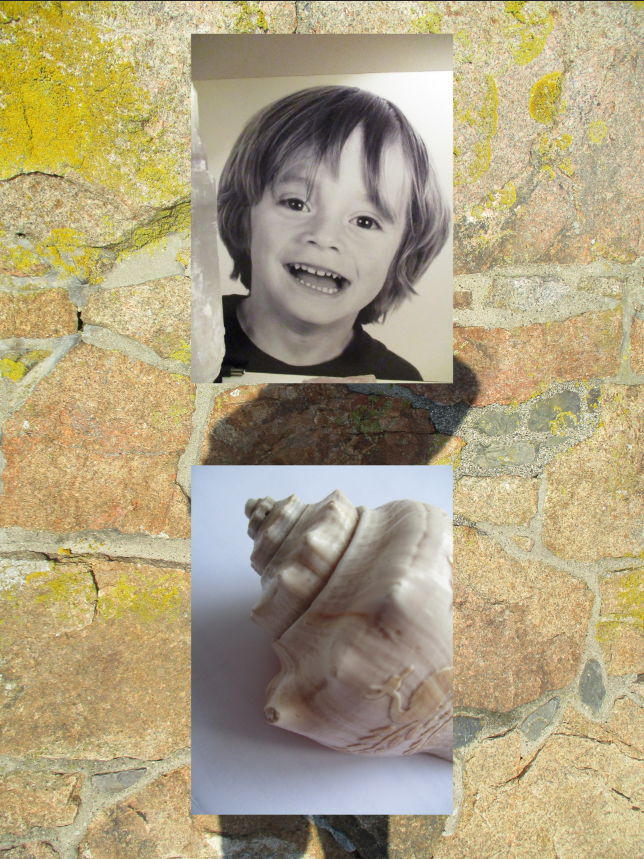
This is where I started to approach my ideas in a less ‘chaotic’ way. Here I wanted to see how ordering my images over a background would look.
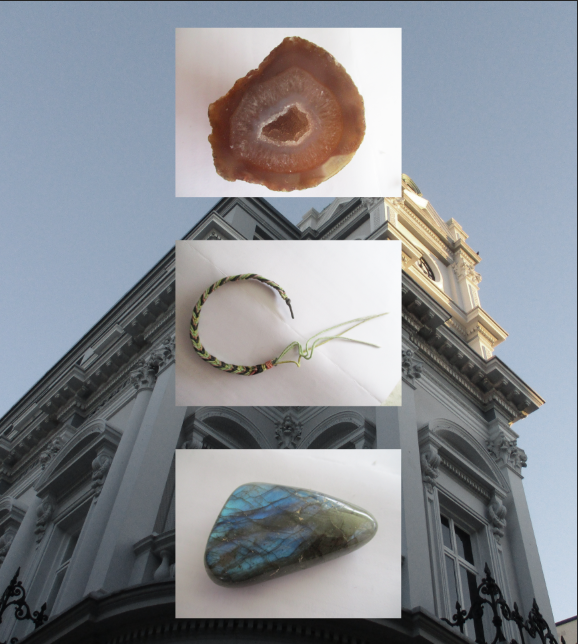
Here I experimented with how many images I should use to overlay, as well as seeing how much of the background should be visible.
