My exam piece is inspired by Annegret Soltau a German visual artist.
I will focusing on the theme of geographical identity, i will be showing this through the use of physical documents and identity in the style of Annegret Soltau. E.g. Map, passport, citizen’s card, birth certificate, book about location, words in that language.
I will be creating a series of images using people from Hautlieu as my models. I will be using Annegret Soltau as my inspiration. My project will be made using both computer software and also doing bits by hand e.g. the sewing aspect.
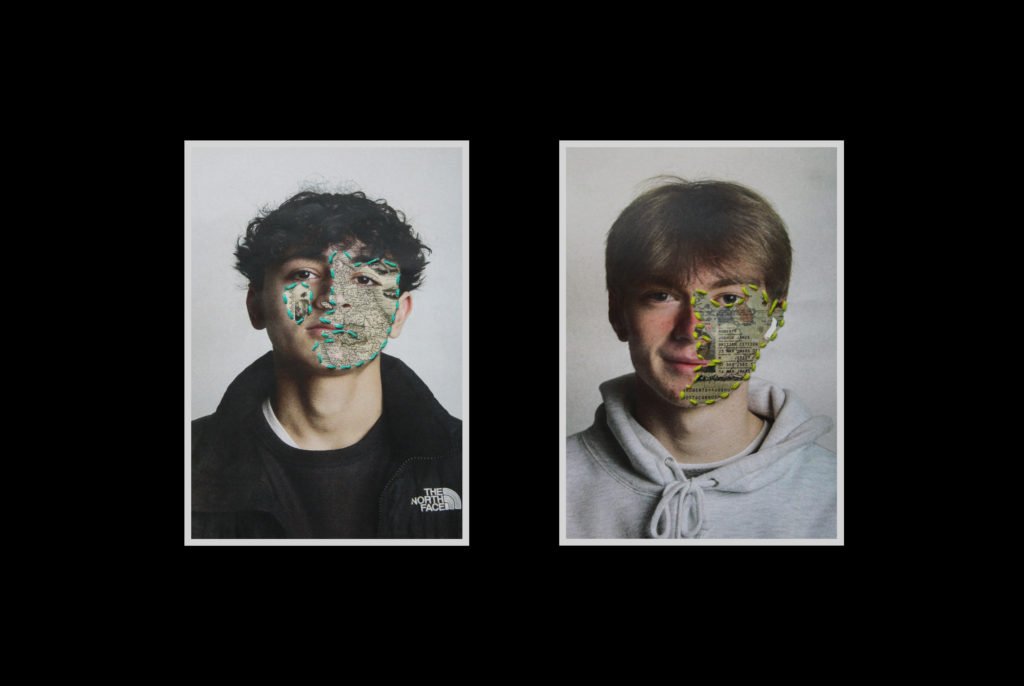
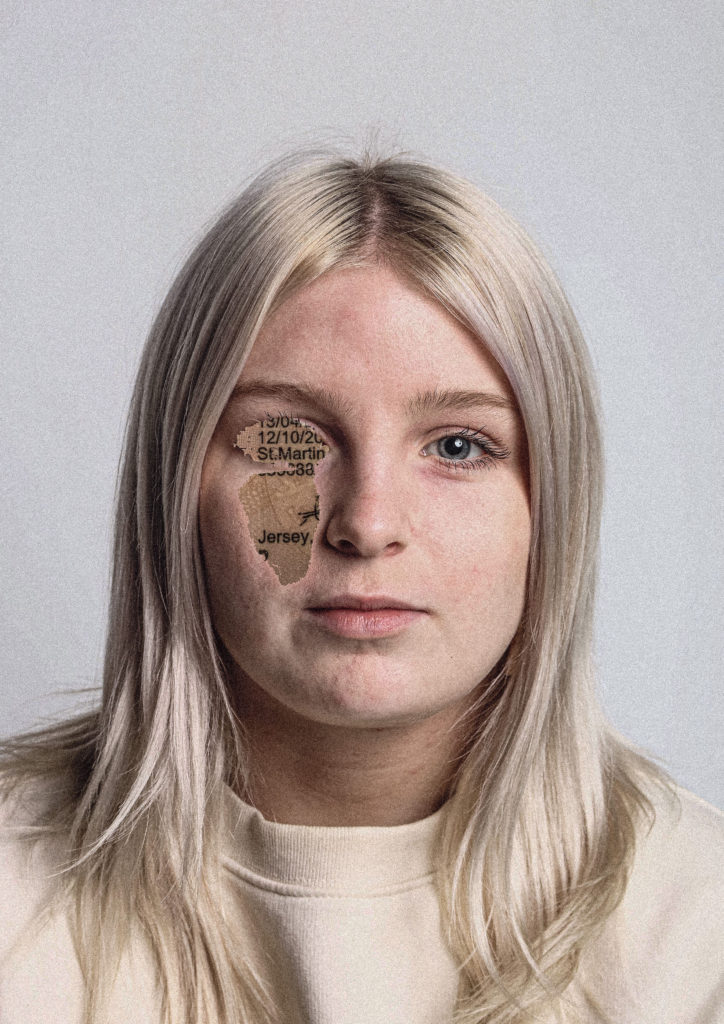
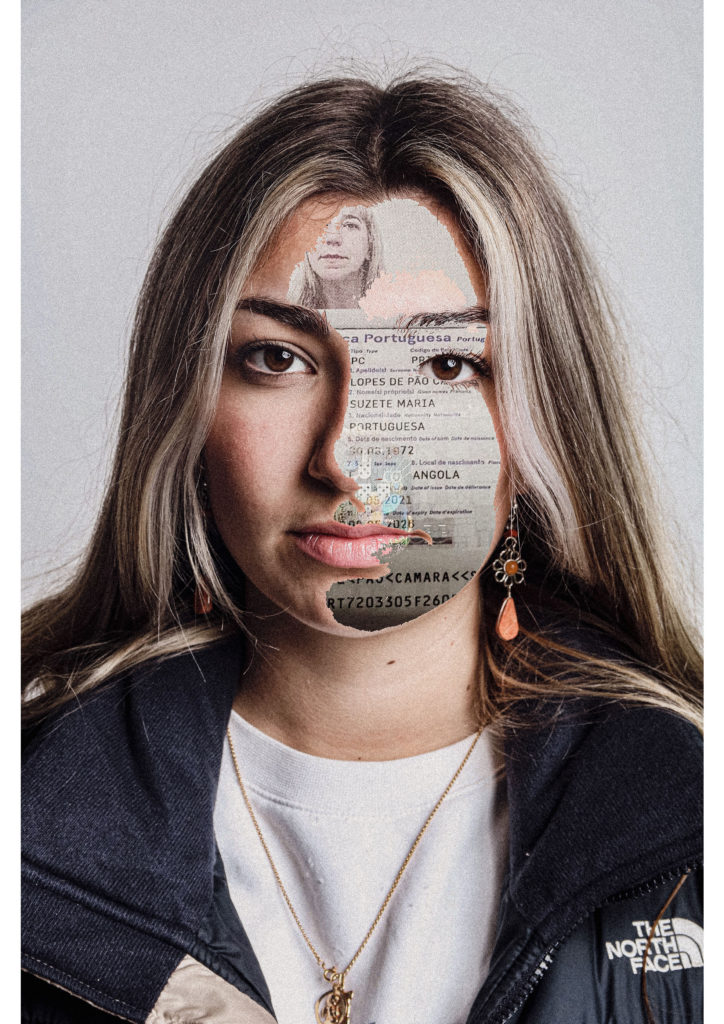
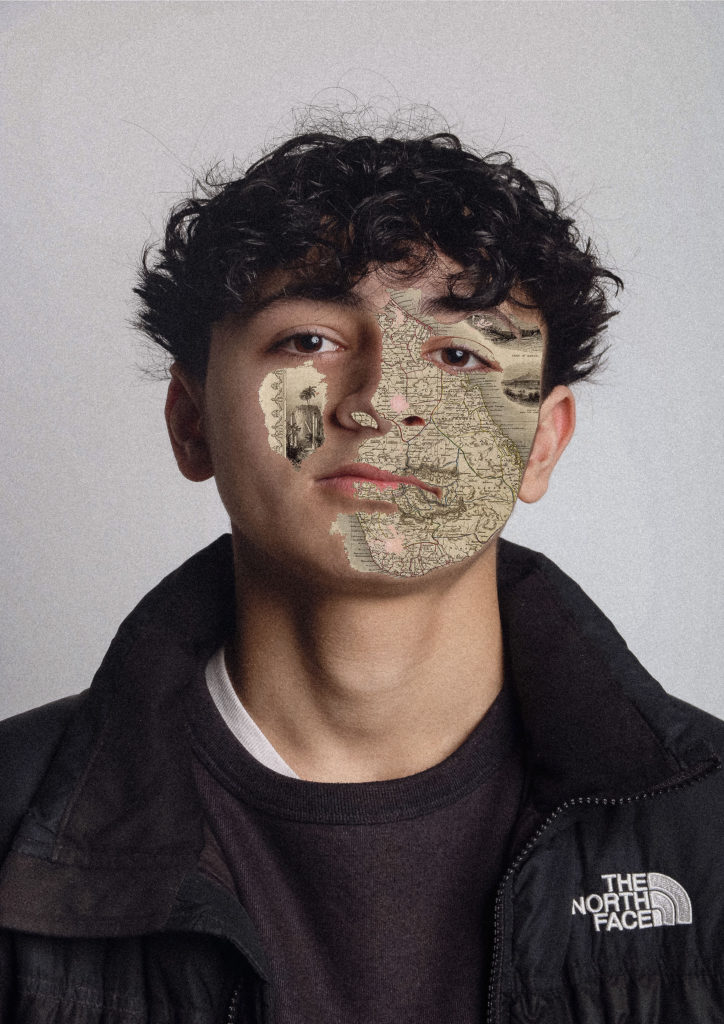
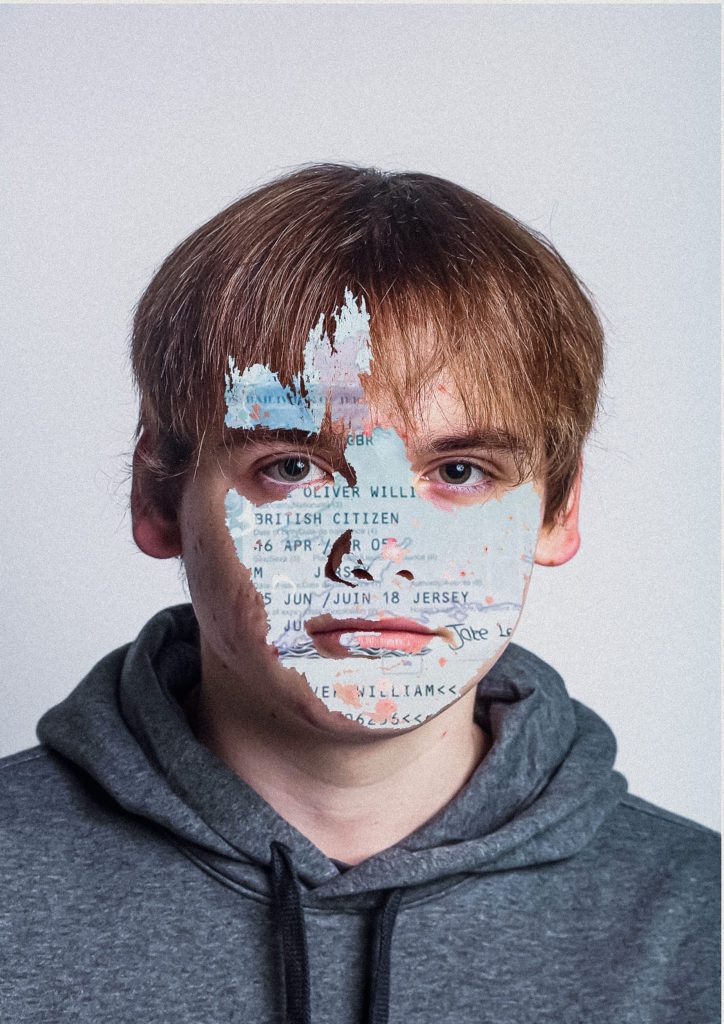
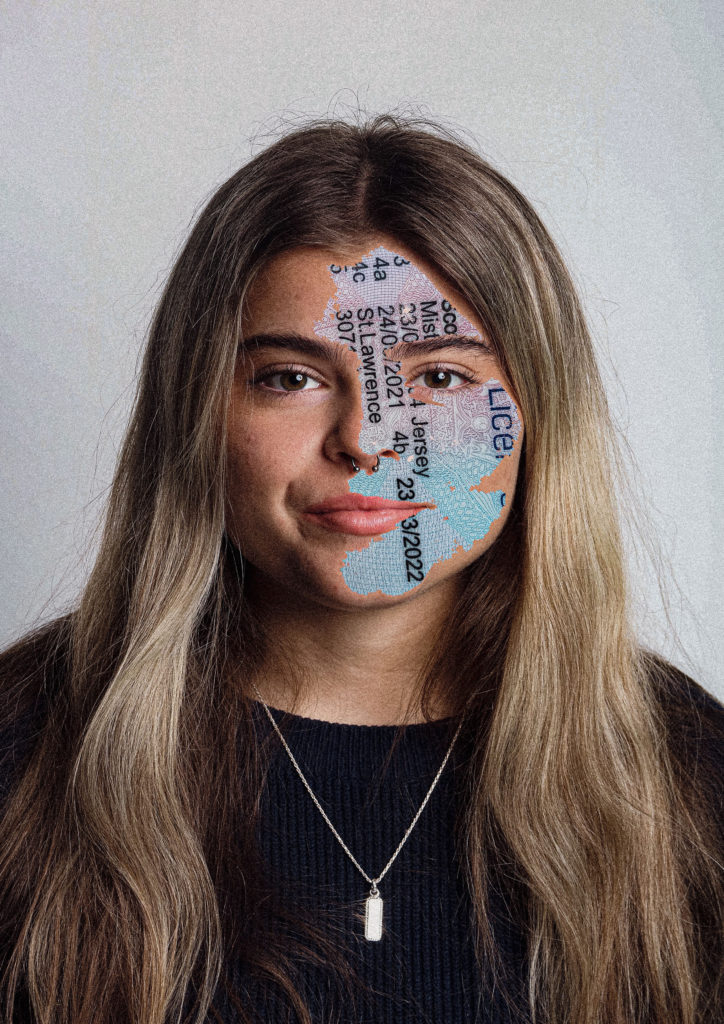
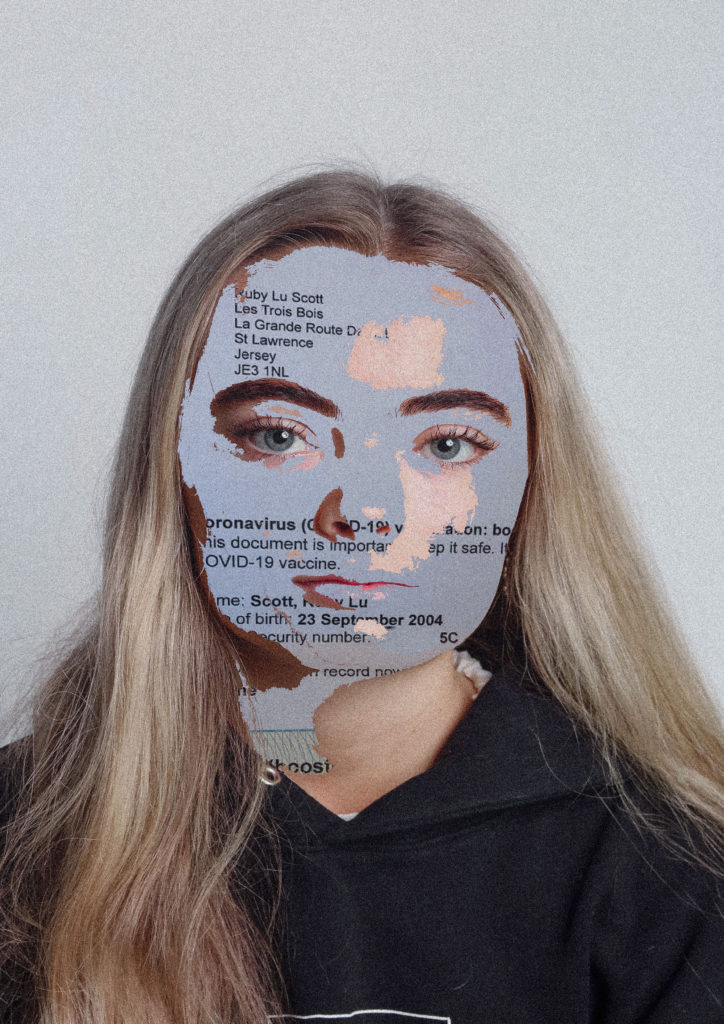
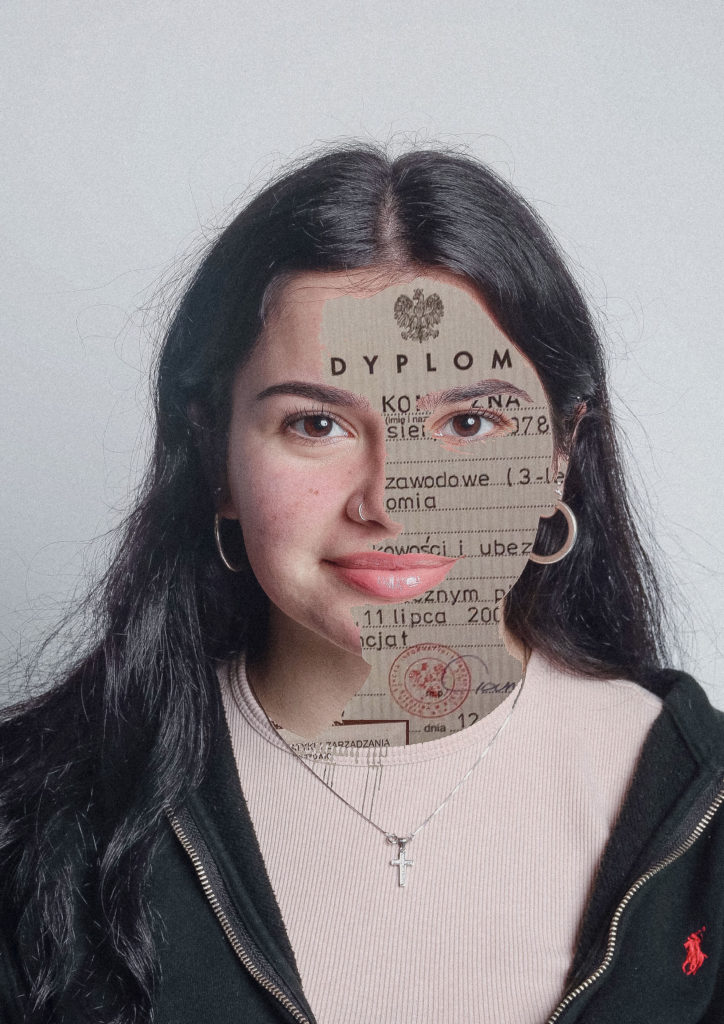
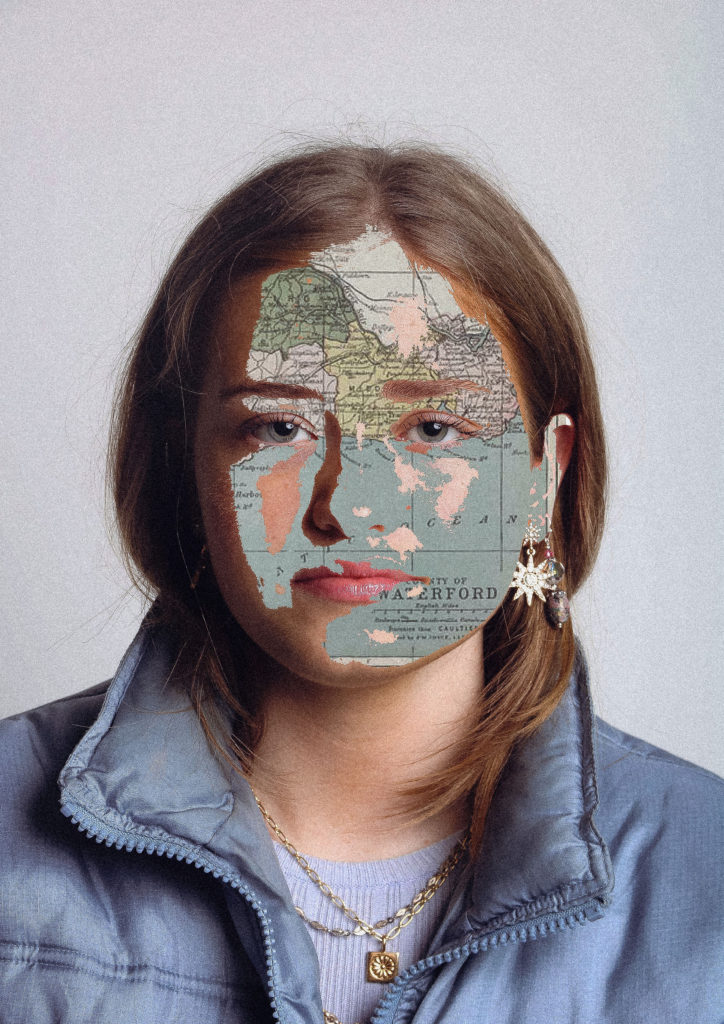
I have decided to sew the forms of Identity into the skin instead of covering the face like Annegret Soltau, i feel this creates a more personal style while still emulating the style of Annegret Soltau, I also feel this creates a more personal sense of identifying with their geographical identity as the country you or your family originate from is ‘skin deep’.
Eyes Biometric science
Identification of persons through the eyes is in the field of biometrical science, I wanted to highlight this in my work as a link between document ID and every day life. Technology has been made for places such as airports to validate someone’s passport by comparing the eyes on the photo and the eyes of the traveller. No two eyes have exactly the same iris patterns. Iris scanning measures the unique patterns in irises, the coloured circles in people’s eyes. Biometric iris recognition scanners work by illuminating the iris with invisible infrared light to pick up unique patterns that are not visible to the naked eye.
Adobe Lightroom
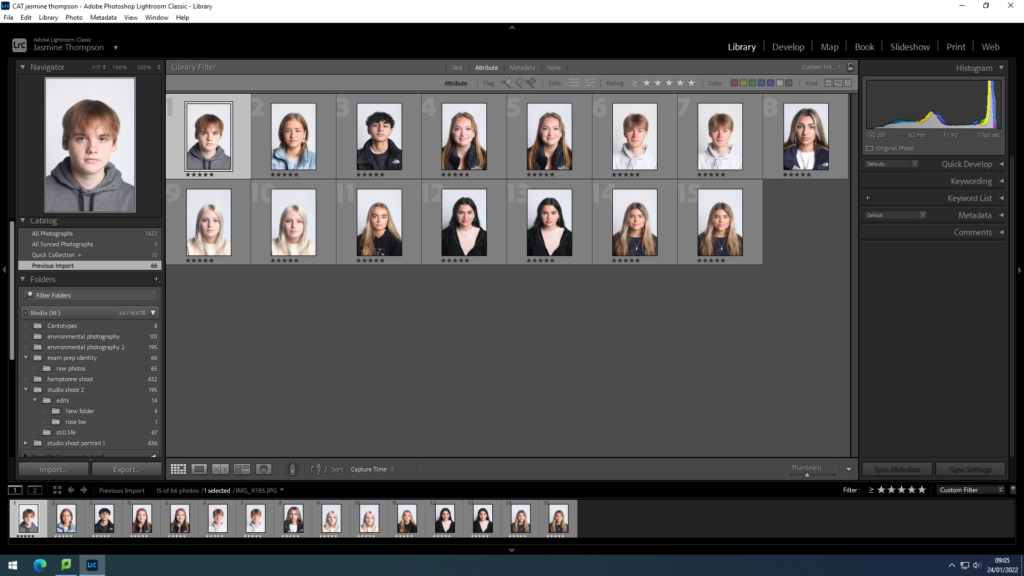
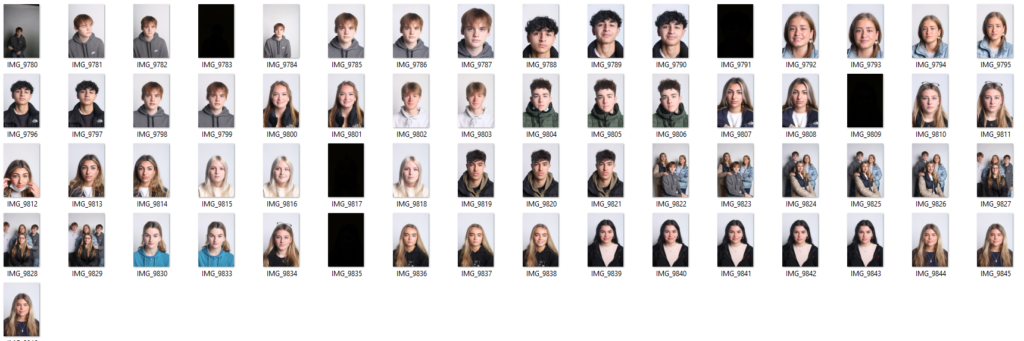
I began by importing my images into Adobe Lightroom, I selected the images I thought looked most suitable. I then used the star rating system to choose a final few images. I rated the images I didn’t want to use 1 star and the images i did want to use 5 stars.
Adobe Photoshop
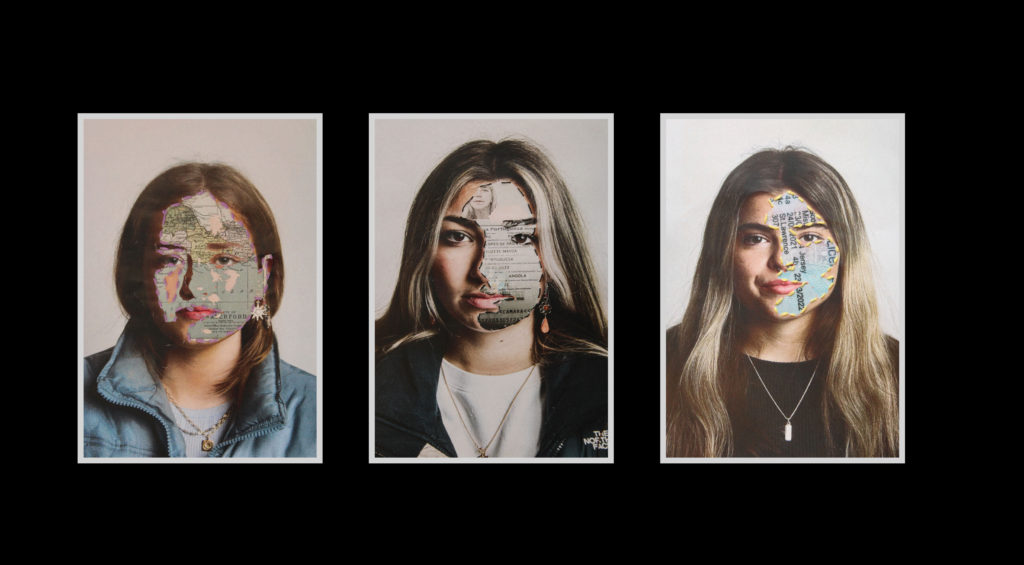
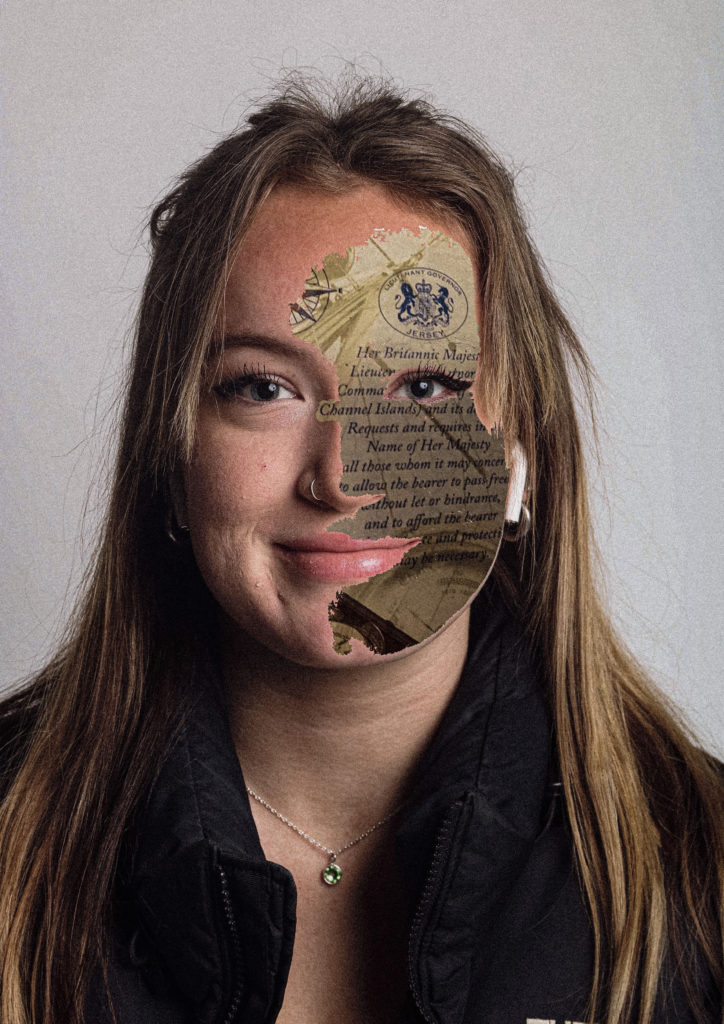
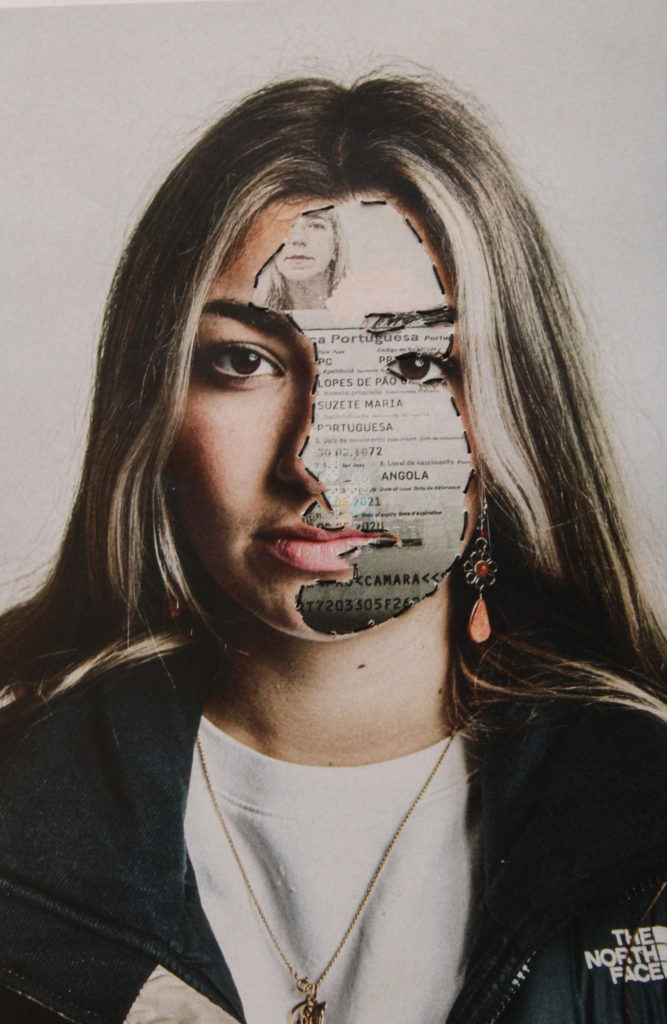
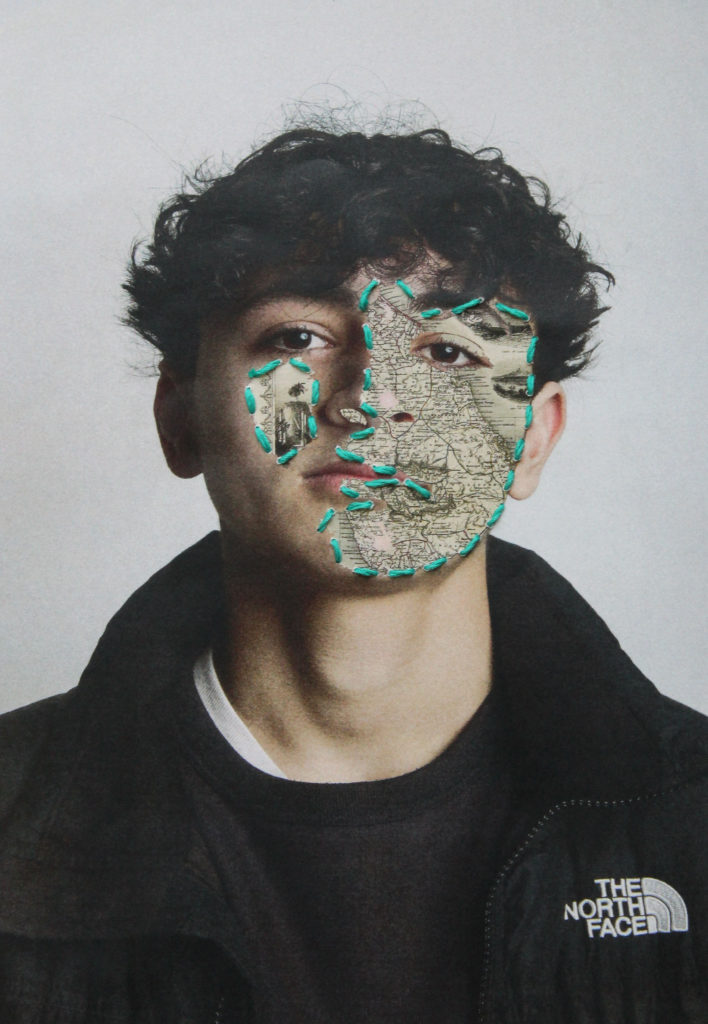
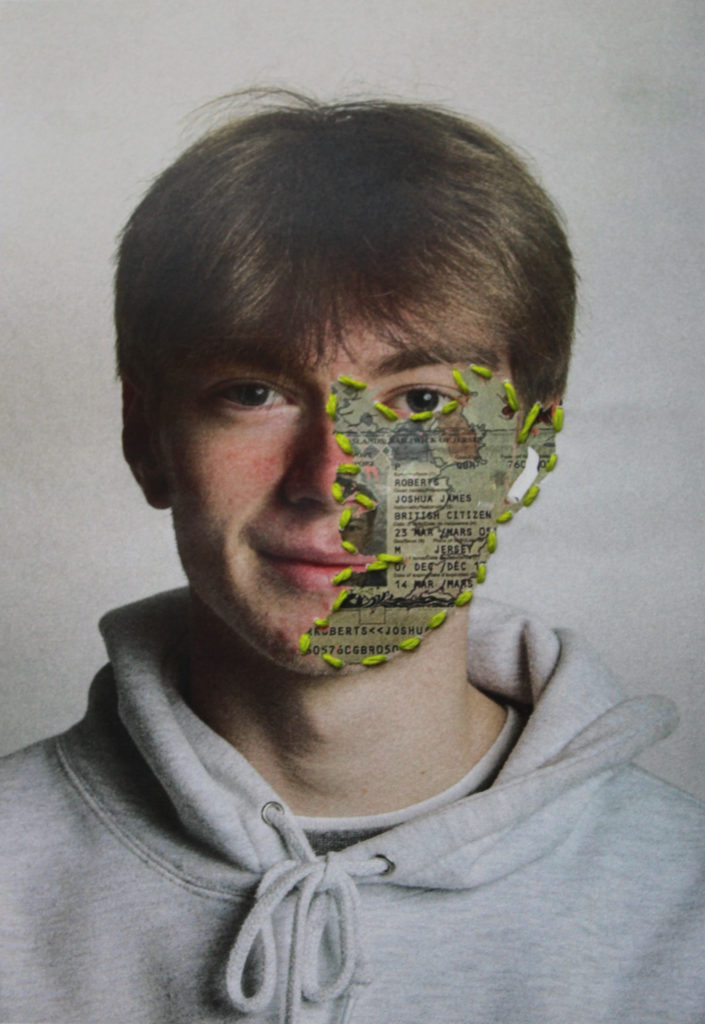
To begin the editing process, I began by collecting different forms of geographical identity from the different models I photographed prior to the exam. I collected forms of ID such as passports, addresses, maps of different towns/ country’s which the subject relates with geographically/ culturally.

I began by using the magic eraser tool to select parts of the face to remove to later replace with a form of identity. I decided to keep features such as eyebrows, eyes, nostrils included in some of the images to have the ID seem more attached to the skin.
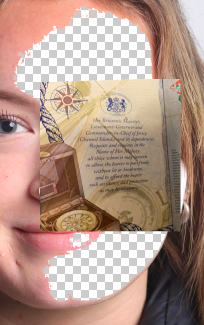
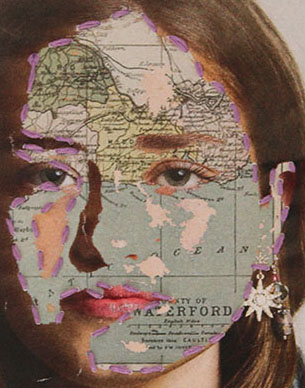
I placed the image of the treaty title for the monarch of the United Kingdom, a royal style used in international law and diplomacy onto Aimee’s face, linking with how she is from Jersey but spent some of her childhood living in England.
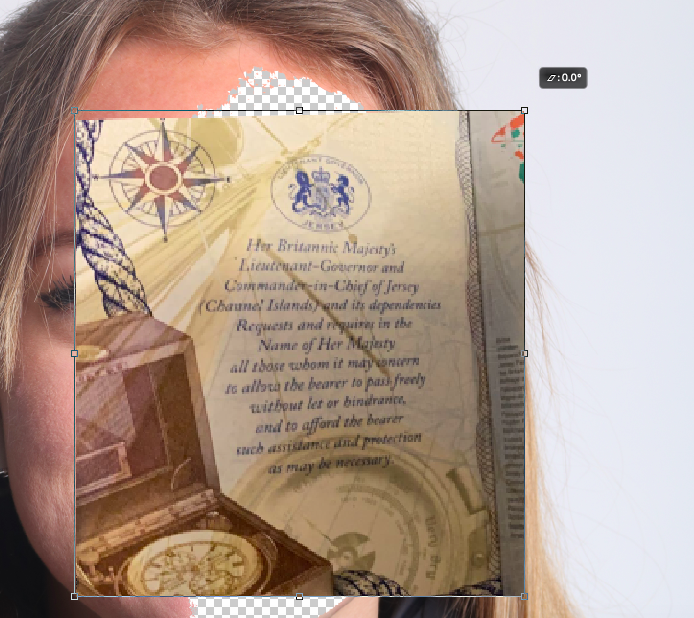
I resized the image onto Aimee’s face deciding which parts i want showing and which parts I want hidden.
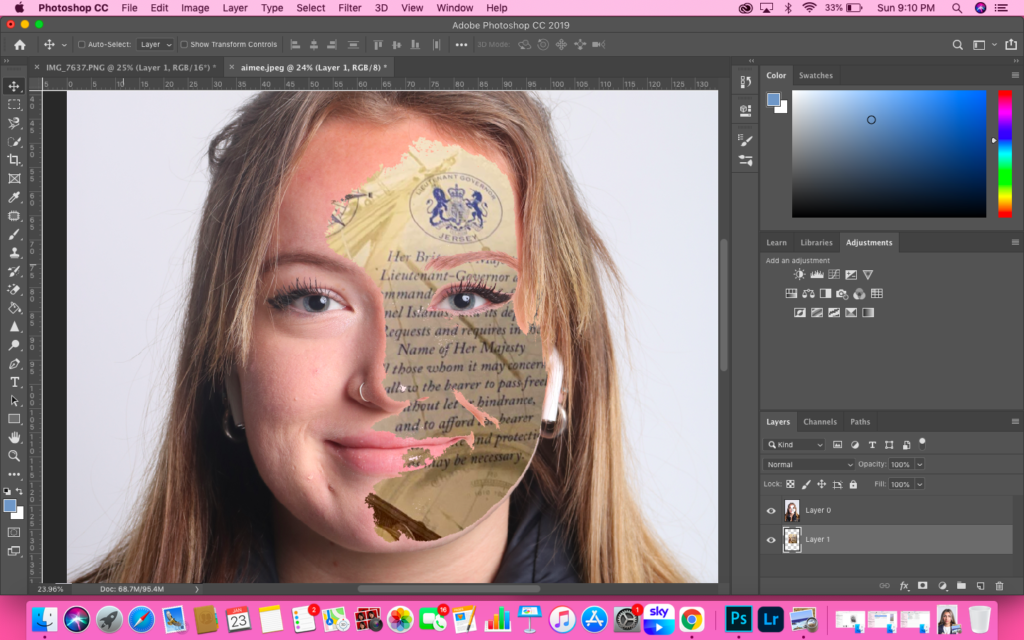
I then moved around the layers to have the images blended together creating a skin-like outcome.
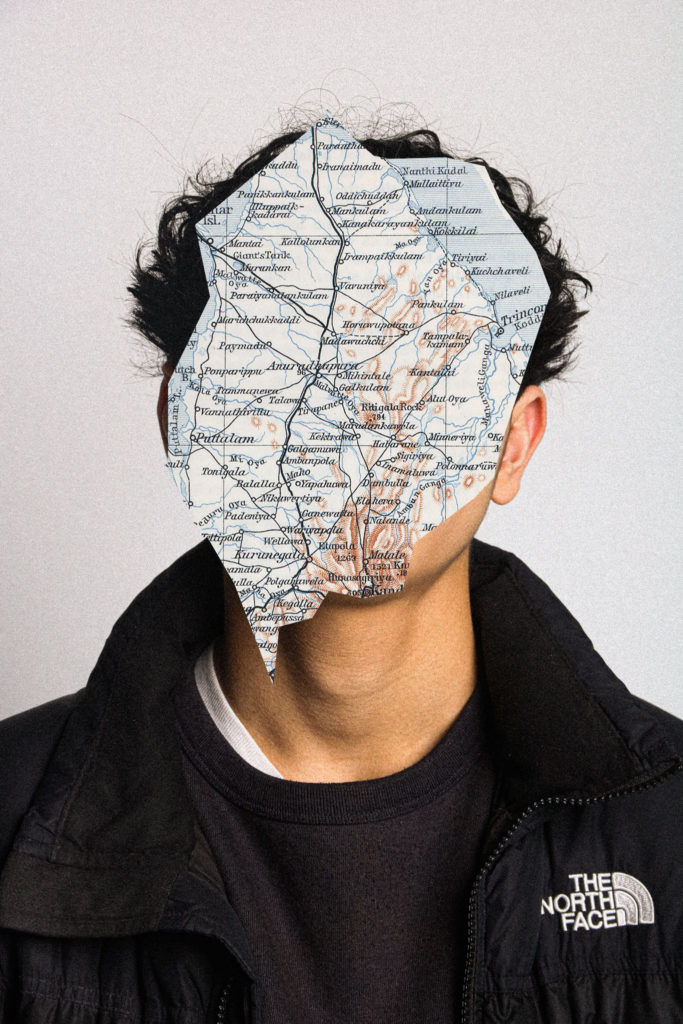
I tested out 2 different ways of editing these images, the first way i tested this was by covering the face completly more similarly to Annegret Soltau, however, I decided I wanted to take more of a personal approach on the style and make it more complex, in that sense, i decided to create the images with the ID stitched into the skin instead of covering the face, I also feel this creates a more personal sense of identifying with their geographical identity as the country you or your family originate from is ‘skin deep’.
Lightroom
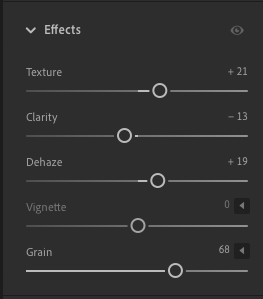
I exported the edited images into Lightroom for colour editing.
To edit my images I wanted to emulate the colour style of Soltau. I edited all my images similarly along the lines of the edit history below. I adjusted the editing slightly depending on the persons skin tone/ hair colour to have all the colours and shadows looking some what the same.

My images before sewing.

Sewing
I wanted to include the sewing aspect from Soltau’s work into mine. I used different coloured thread for each person.
- I printed out my images on normal A4 paper
- stuck them on a piece of more sturdy paper to dodge ripping when sewing.
- traced the outline with a lightboard of the part I was sewing
- sewed my images.


The outcome