
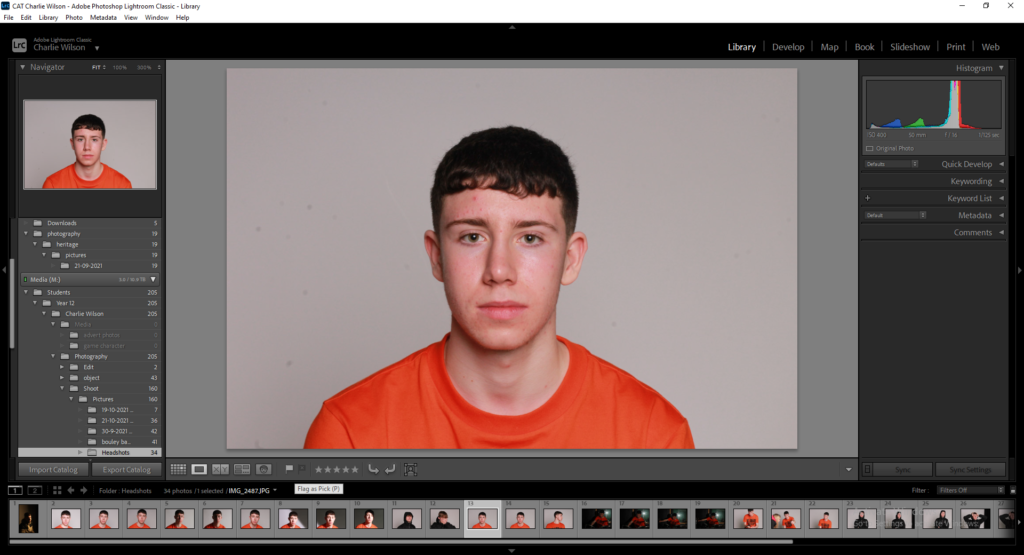

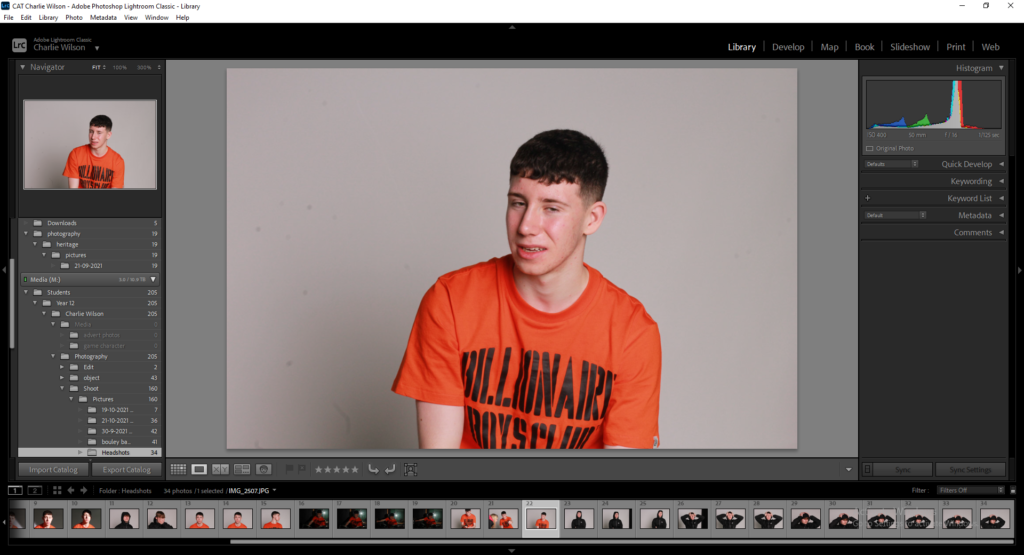
For my first final image I chose 3 seperate images (shown <—-) that were taken from different angles that I believe would work with my idea. Then I exported the chosen images and took them over to photoshop.
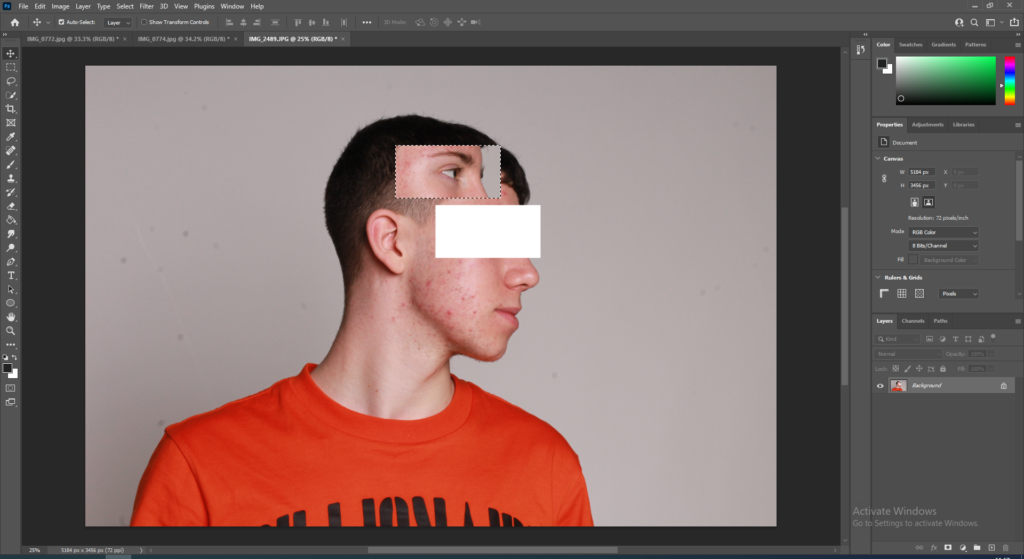
Secondly, I went through the 3 images and cut out multiple rectangle and square parts that I believe would work with the main image.
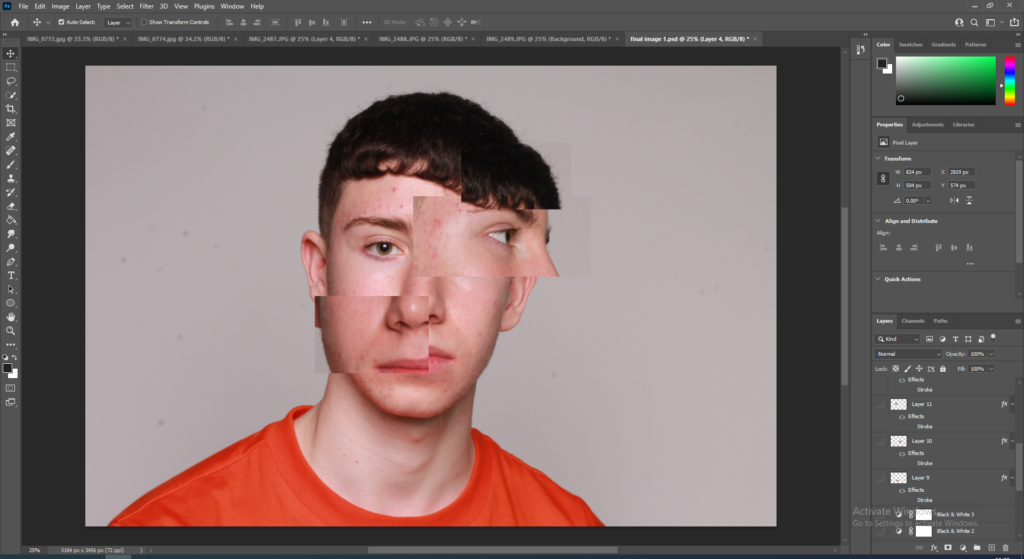
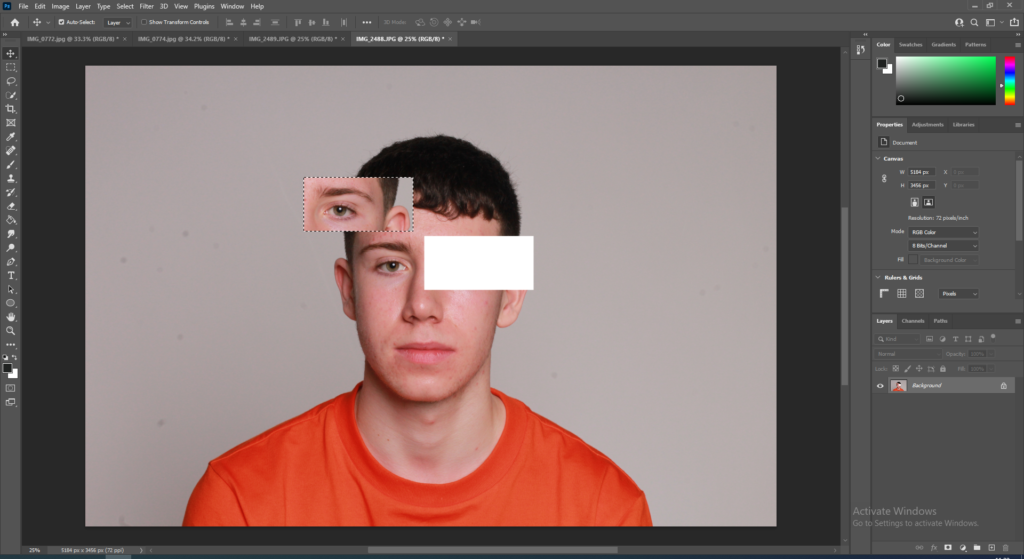
Then, I gathered all the separate cut-outs and started to place them on the main image and put them in positions that I think work effectively.
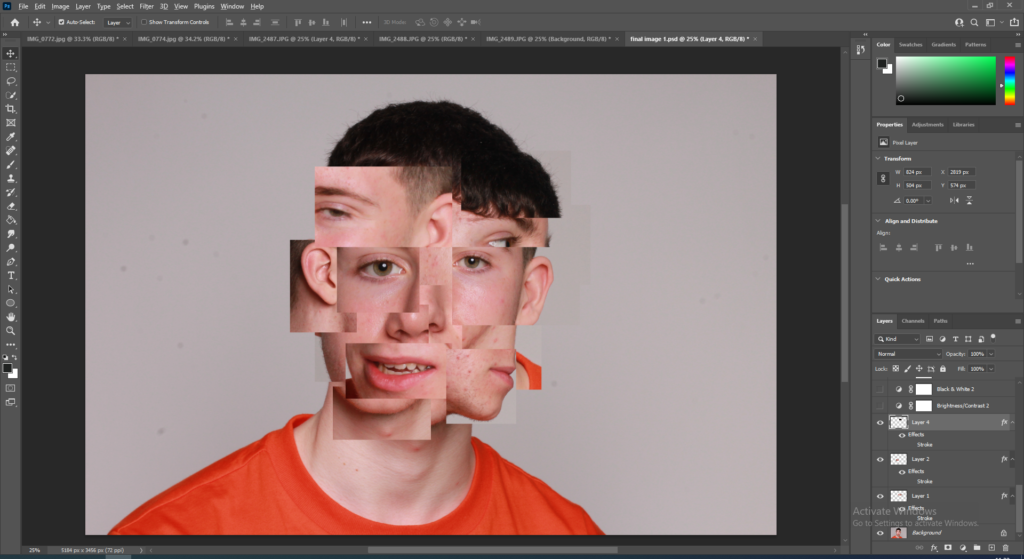
After deciding where all the cut-out should be placed I played around with photoshop effects and tried to make the cut-outs work well with my main image.
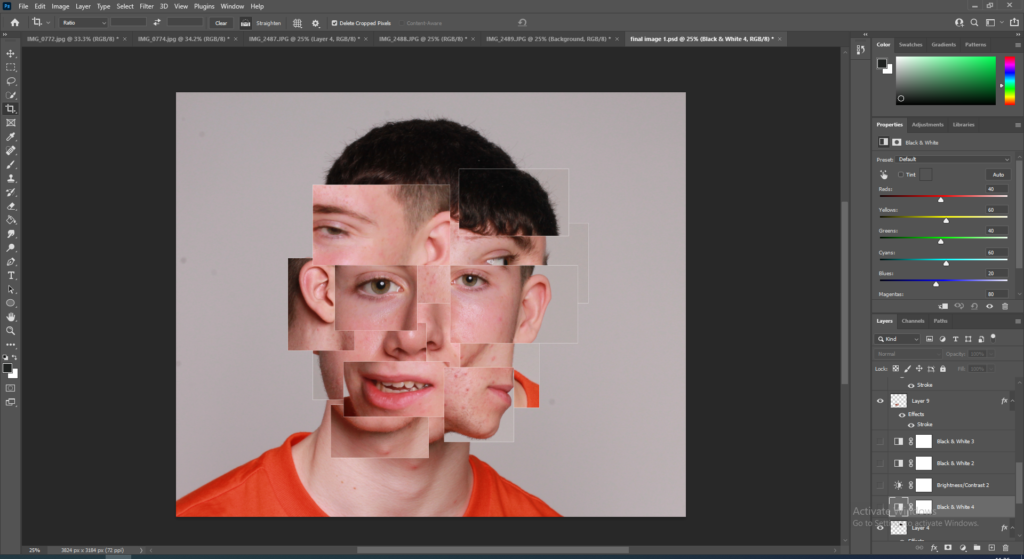
I applied a stroke outline on each cut-out and made the outline a white colour and then thought it would look better if the photo was in black and white so I used the black and white adjustment.
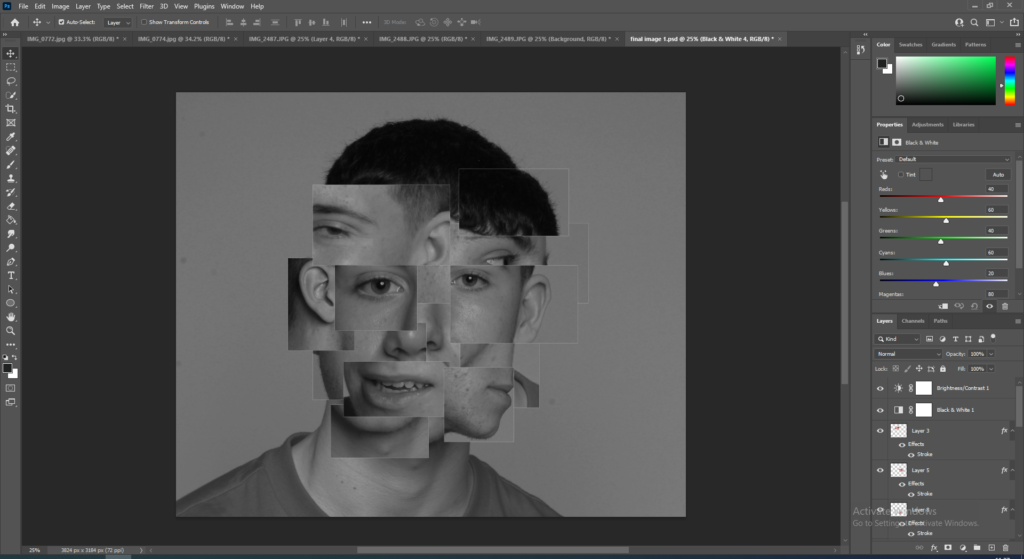
After applying the black and white adjustment I realised that it made the image look a lot better and worked well with the cut-outs and the white stroke outline.
Final Image:
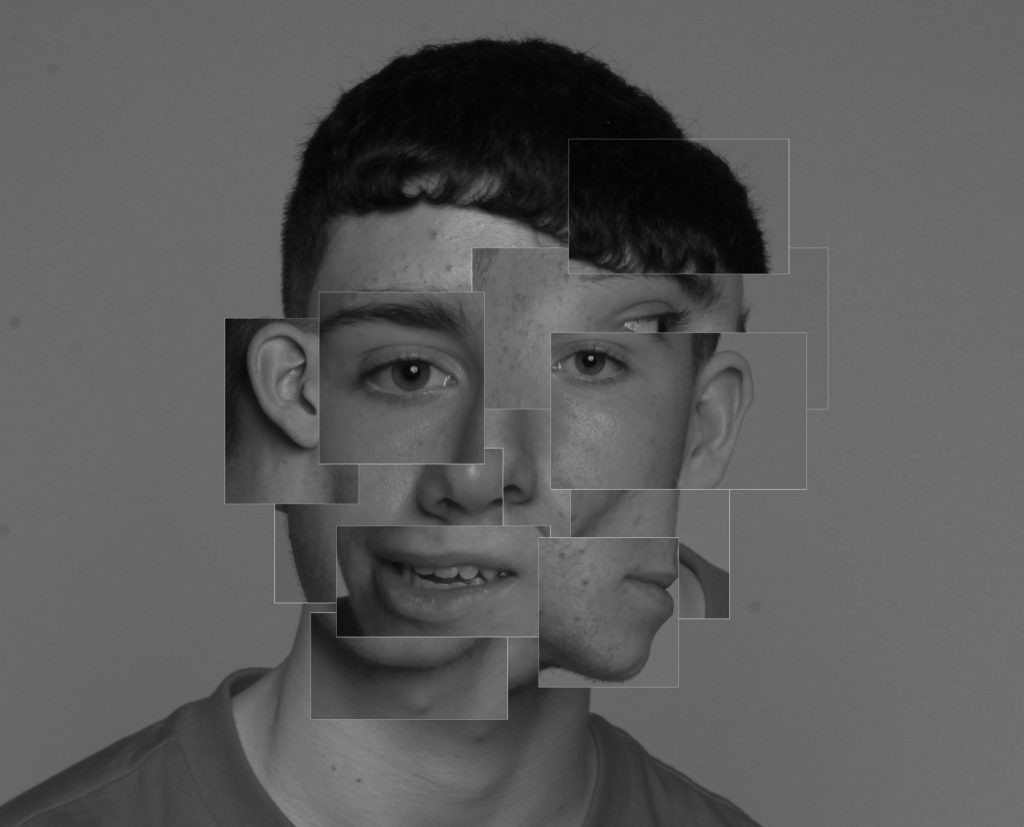
I believe my final image came out very well and I am happy with what I have done. This idea was inspired by the identity photographer Brno Del Zou who has made many images similar to mine.