photoshoots
For my first photoshoot I set it on a very sunny day, so that I could capture the sun reflecting out of the boys eyes, although only a few images were successful, I did manage to get 2 or 3 great images.
My second shoot was set in the studio, with 5 of my friends, here is where most of the good images came from. We tried many different lightings including Rembrandt, butterfly and silhouette and tried many different portrait ideas and positions.
Some of my images where unplanned images, that were taken in the spare of the moment as I saw an opportunity arrive. I have been collecting these images for a couple weeks.
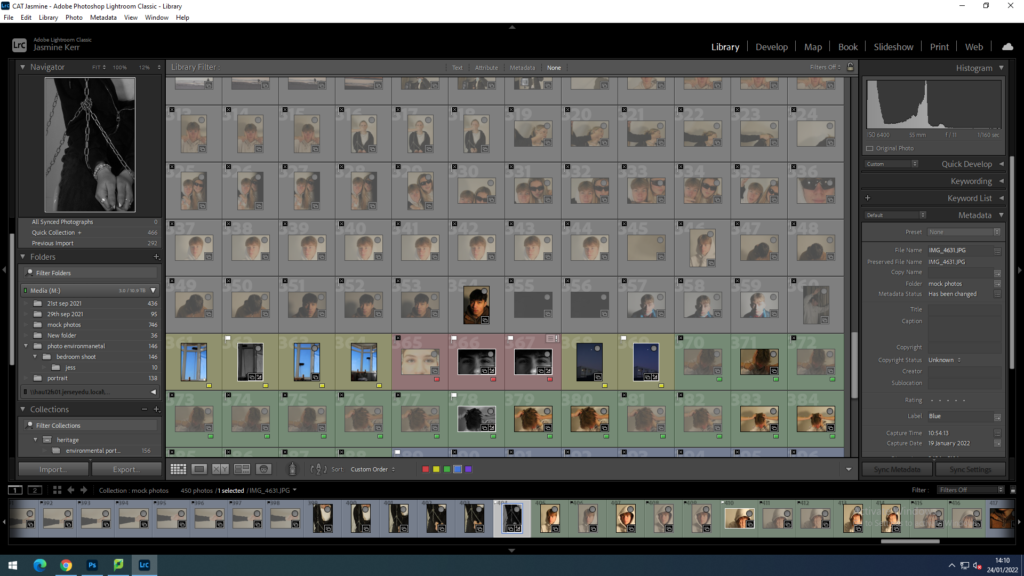
Here I am beginning to sort through all 800 + of my photos and select the potential photos with ‘shift p’ and reject the photos that aren’t so good with ‘shift X’
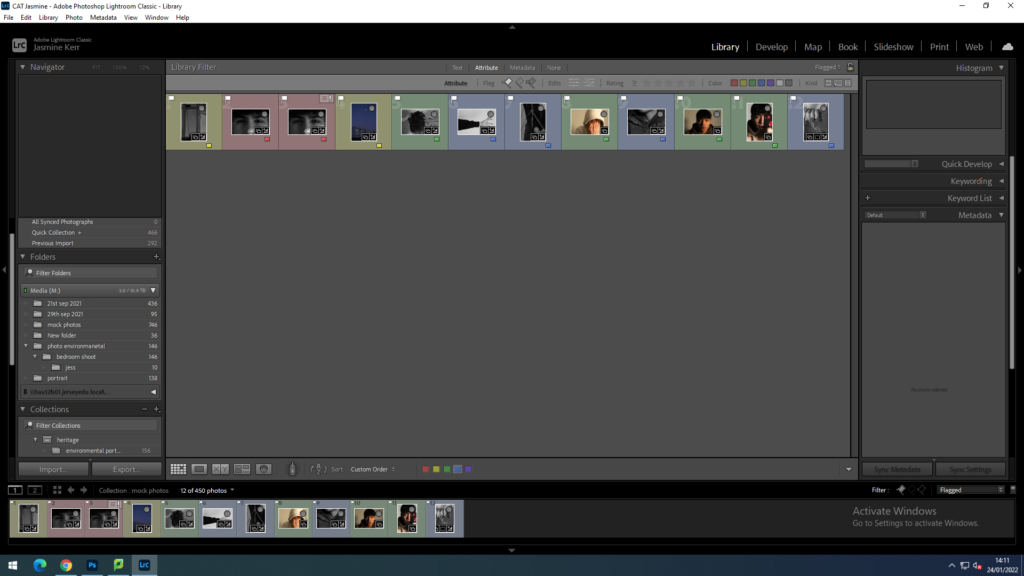
Now that I have reduced my photos to around 12, I am colour coding them into portrait, object and landscape.
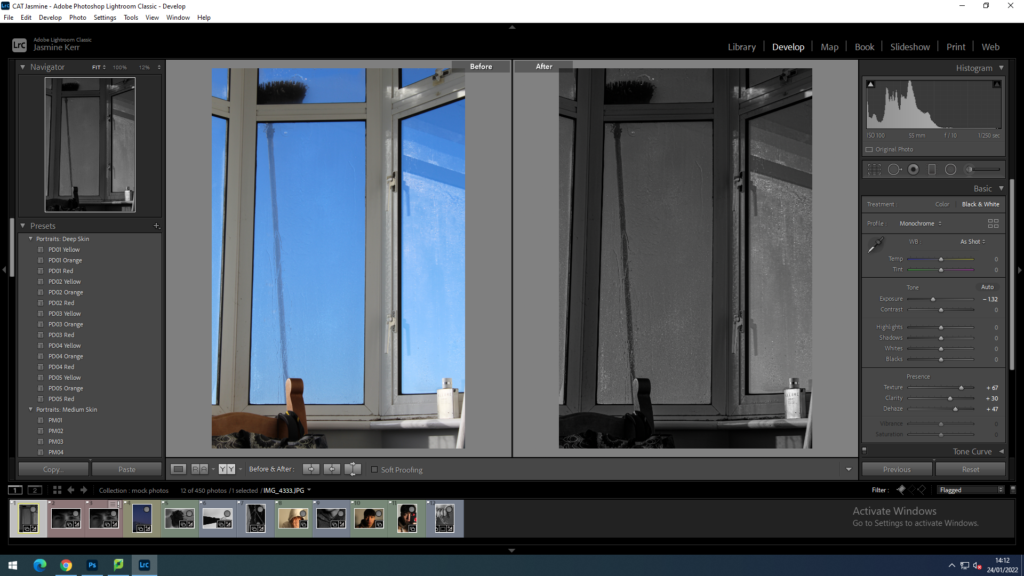
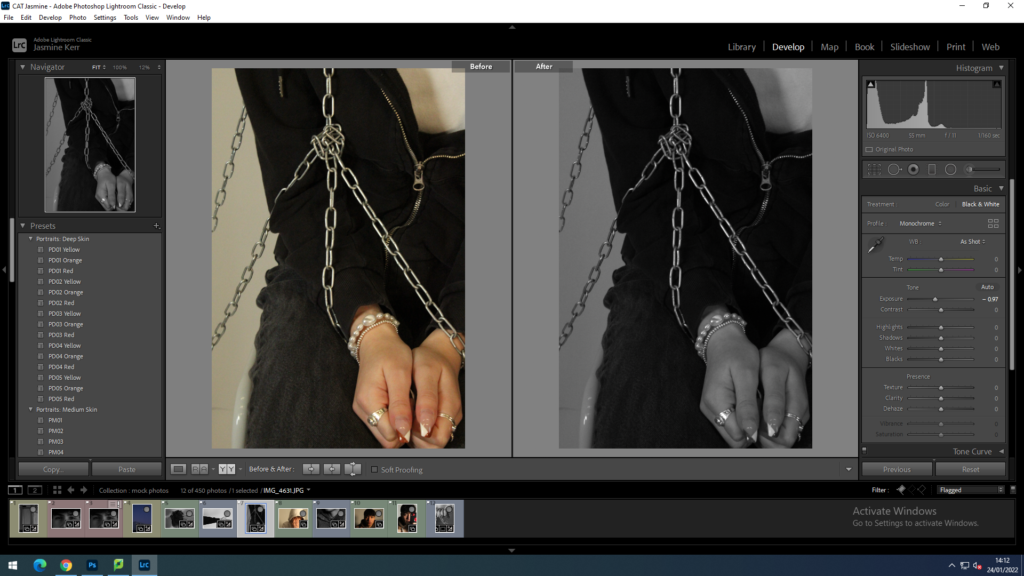
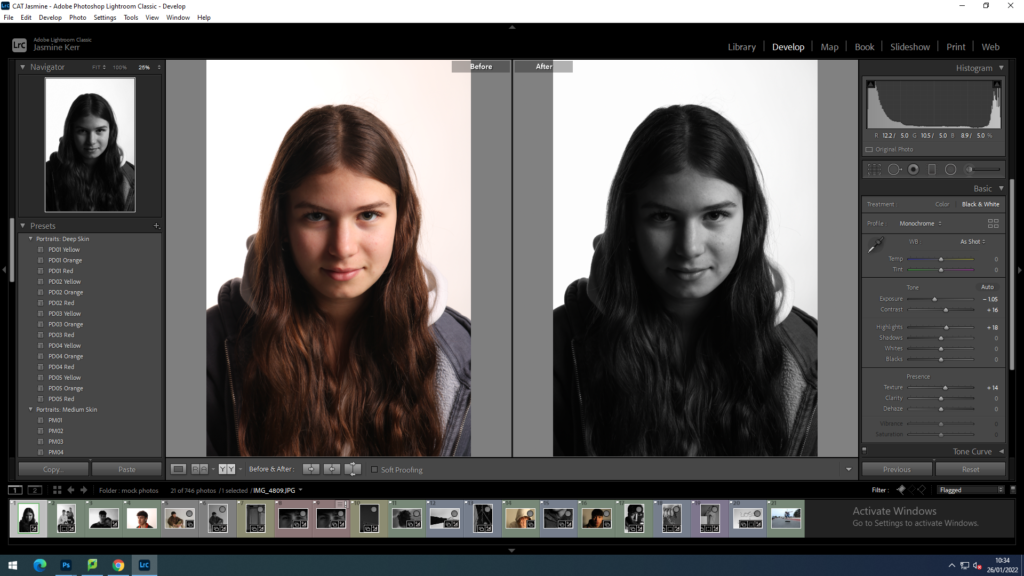
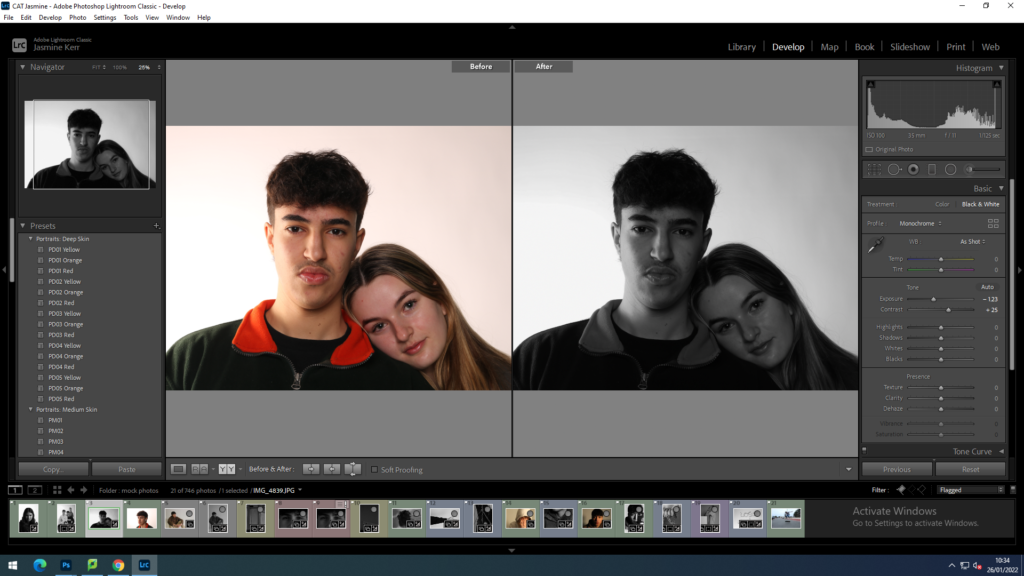
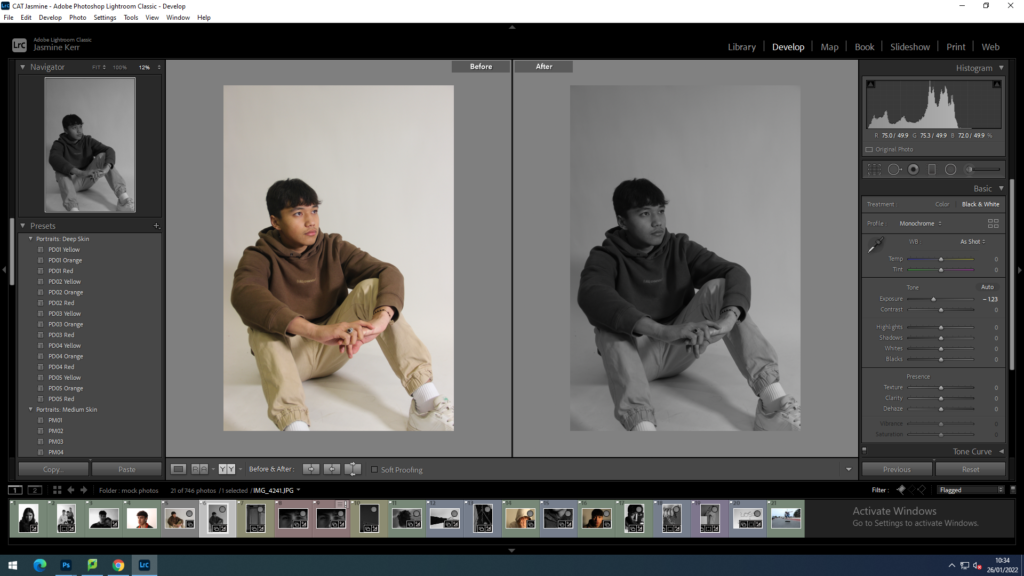
Now I am beginning to edit the lighting and crop my images to portray my view of lost Identity. I have changed the image to black and white to take away the personality through colours. By reducing the highlights and exposure and increasing the clarity, texture and contrast, the water dripping down the window is enhanced. This also creates the idea that tears are dripping down someone’s face.
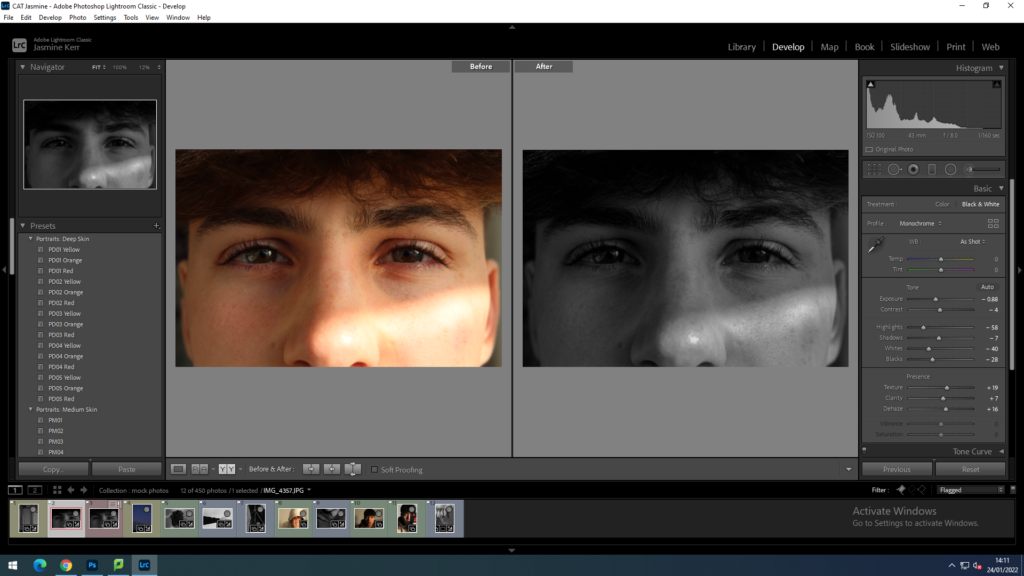
I have changed this image to black and white, decreased the exposure, highlights and whites and increased the contrast shadows, texture and clarity to give the effect that his eyes are like glass.
more before and afters
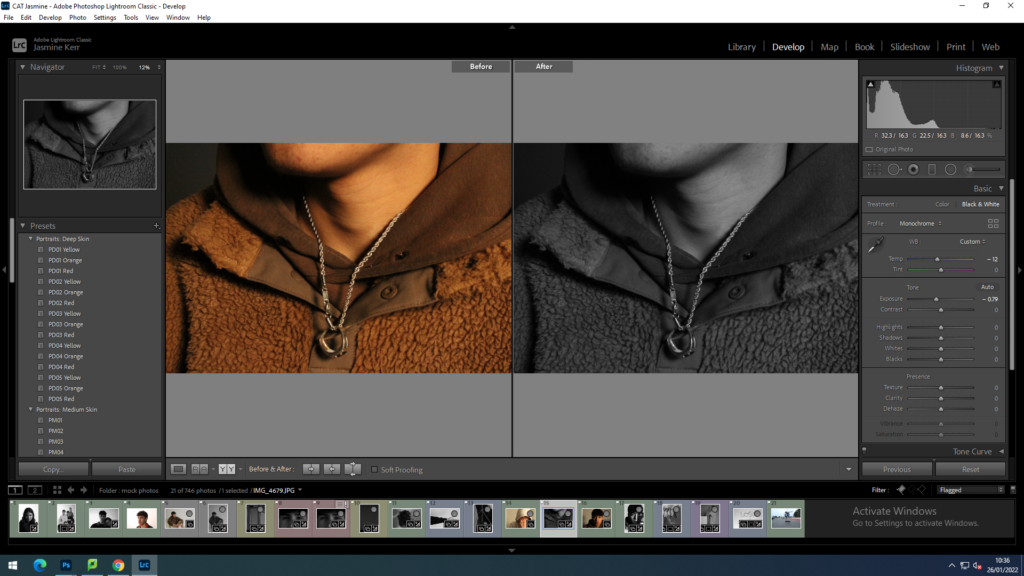
photoshop editing examples
image 1
I started off with this black and white image of Reinaldo and Hattie.
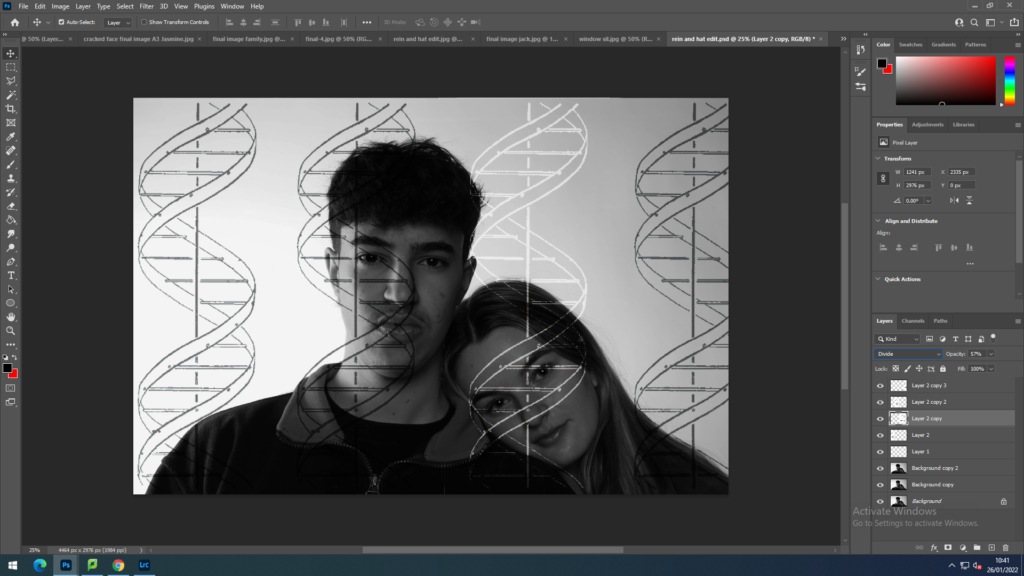
I then took it into photoshop and started inserting DNA into the image. I took out the white background and duplicated the layer until there were 4 DNA helix’s. I think positioned them equally across the screen and set them all to linear burn so that they looked like sketches over the drawing. After a bit of trial and error I then decided hat something didn’t look quite right with the image, so I changed one of the spirals into the divide setting, making it white. This spiral represents the ‘odd one out’ or the ‘unique’ person in society.
image 2
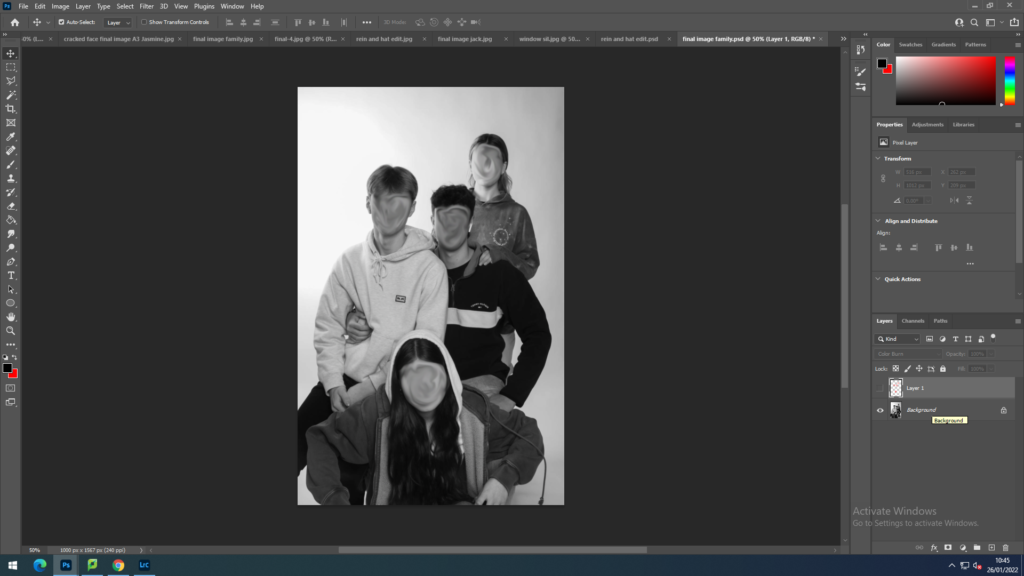
with this image, I started off by using the smudge and blur tool to swirl their facial features out as I didn’t want their faces to be recognisable.
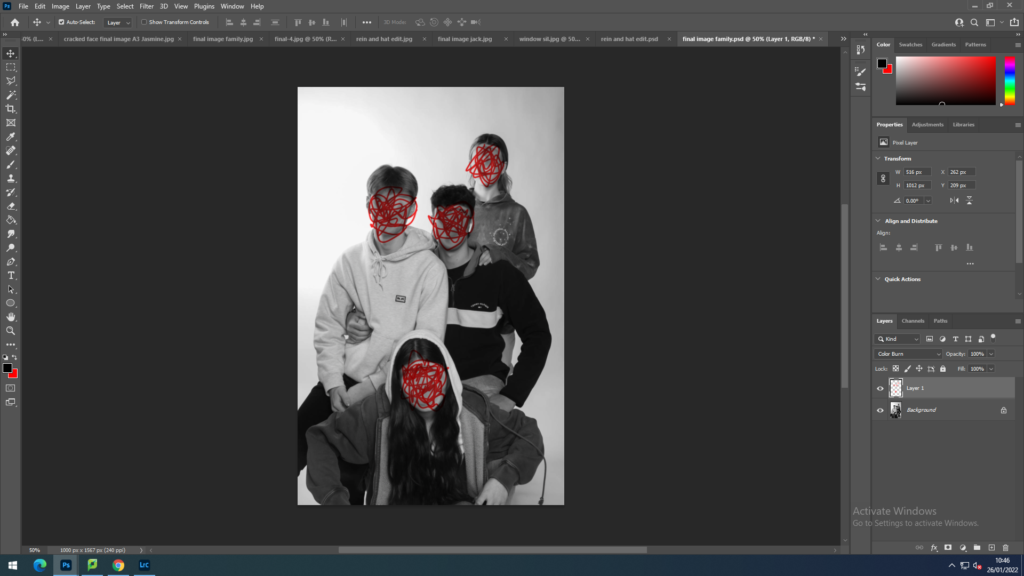
secondly, I used the paint tool to draw irregular scribbles over their faces and then changed the setting to blend colour burn so that the scribbles still looked part of the image.
Image 3
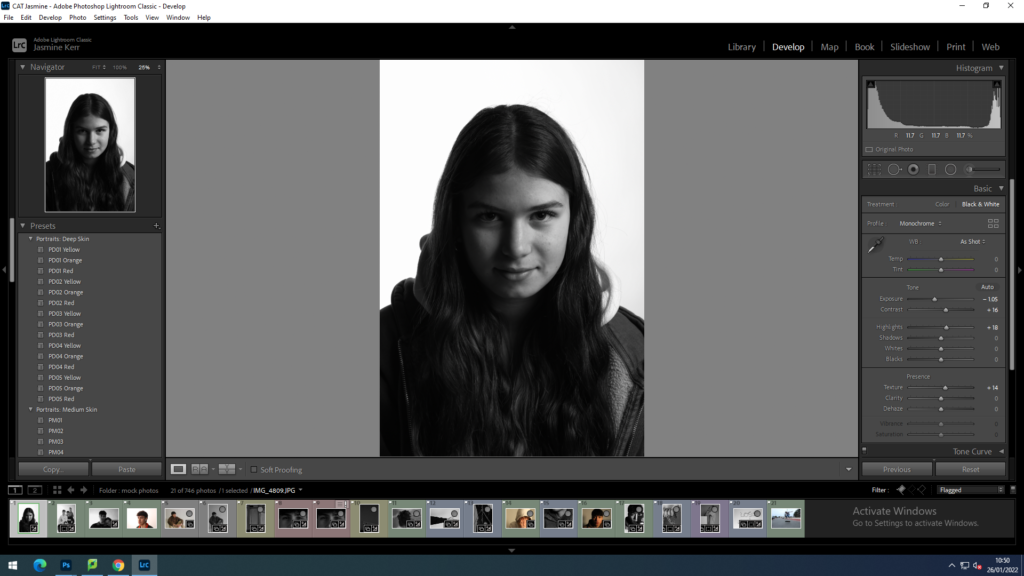
Firstly I started off having a few ideas about what I wanted to convey from this image, It was a lot of trial and error before I came up with the final idea. Originally I wanted to put a fingerprint over her face, and make it look like, instead of having a face, she was merely a fingerprint. However I was not satisfied with the outcome and changed my idea completely. Then after some time making decisions with other images I came up with the idea to make her face look shattered and cracked.
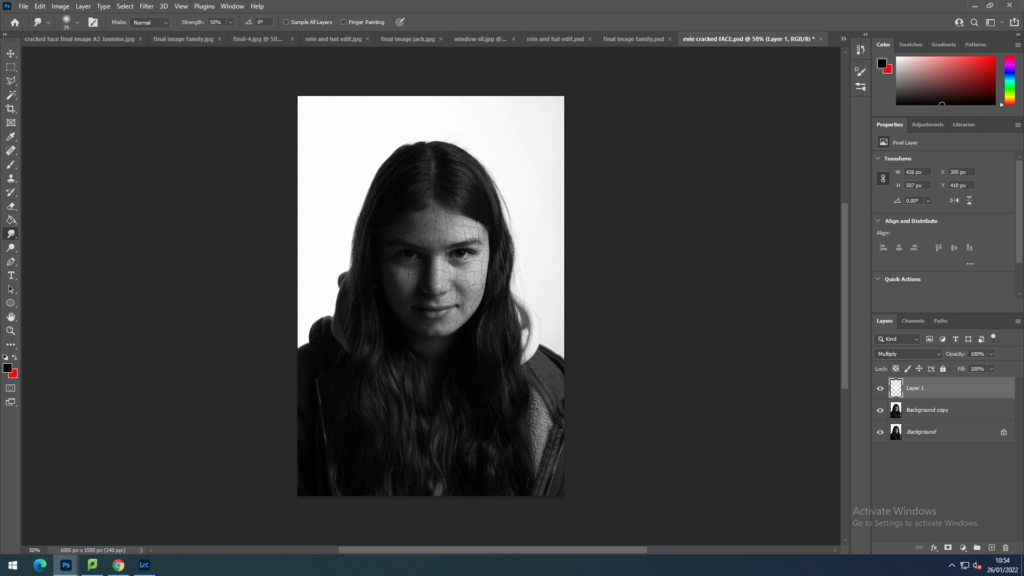
To achieve the cracked face, I inserted an image of cracked paint and began to experiment with how I could make it look like it was actually part of her face. After many failures, I achieved this by: firstly changing the opacity to 50%, and cropping the image down so that it was just a little bigger than her face by using the polygonal lasso tool. I then used ‘control T’ and right clicked, dropped down and selected ‘warp’. The warp tool allowed me to curve the image to combine in to her face shape and structure. After this I used the eraser tool to remove the cracking from her eyes and around her face where it shouldn’t be. Finally, I put the opacity back to 100% and used the setting multiply to stick the image to her face.

You have until February Half Term to complete and improve any missing / weak blog posts. In this time you can also add to your photo-shoots, ideas and edits…maybe even coming up with more final images.
Use your tracking sheet to pinpoint areas for improvement.
We will be framing and displaying your final prints too before Half Term and re-marking your coursework for you.
Keep working hard!