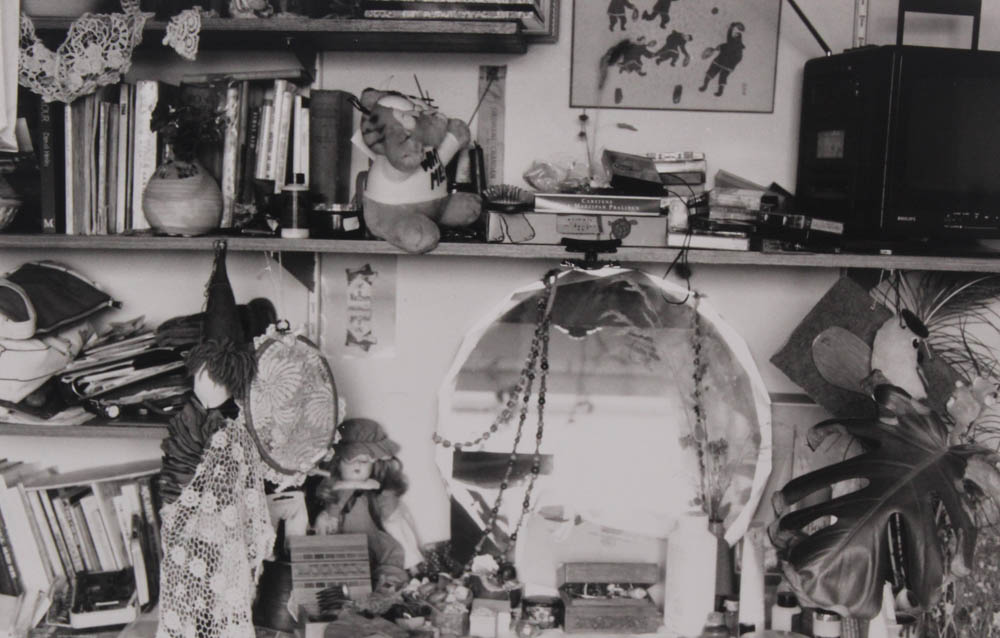
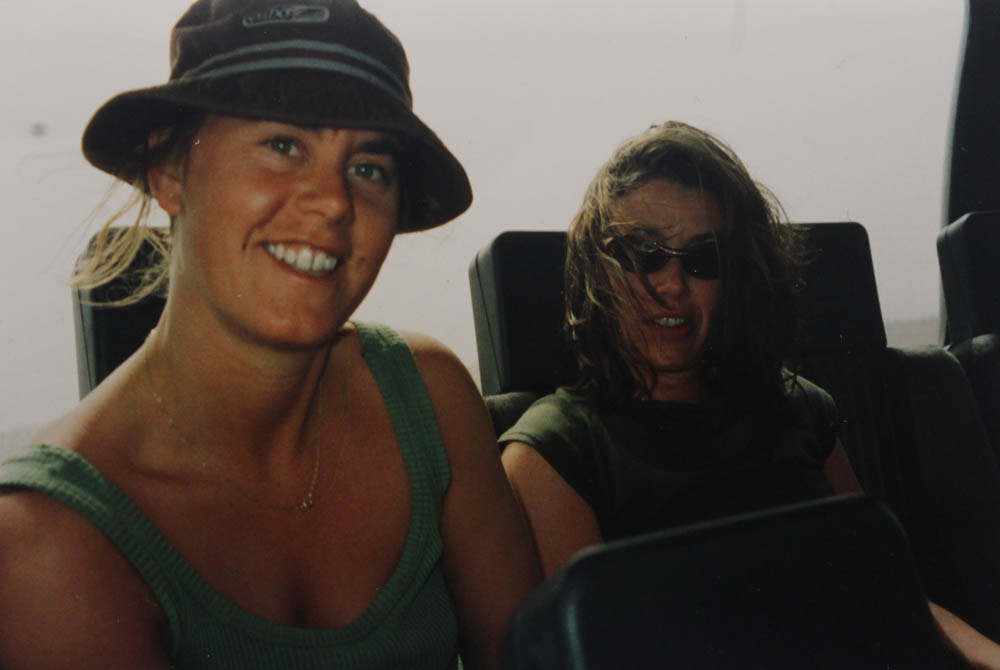
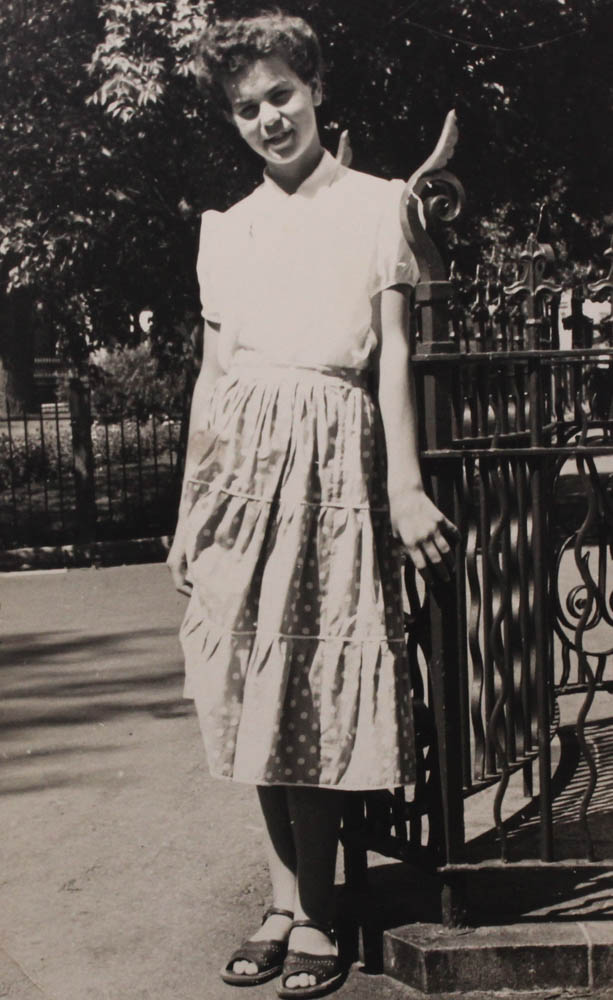
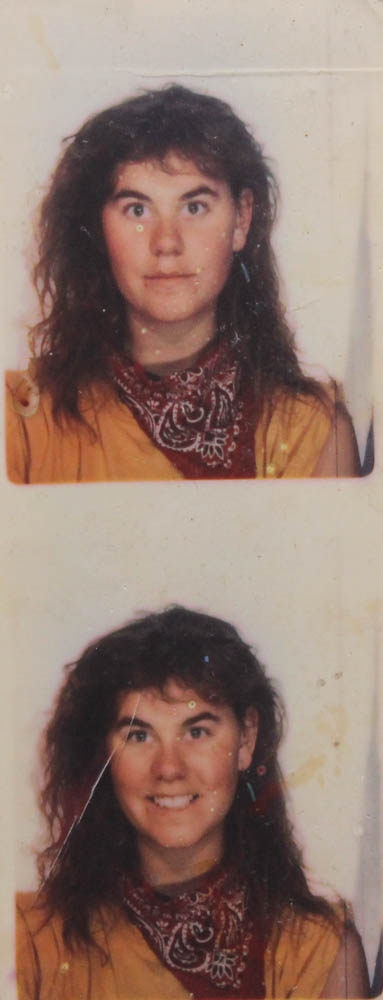
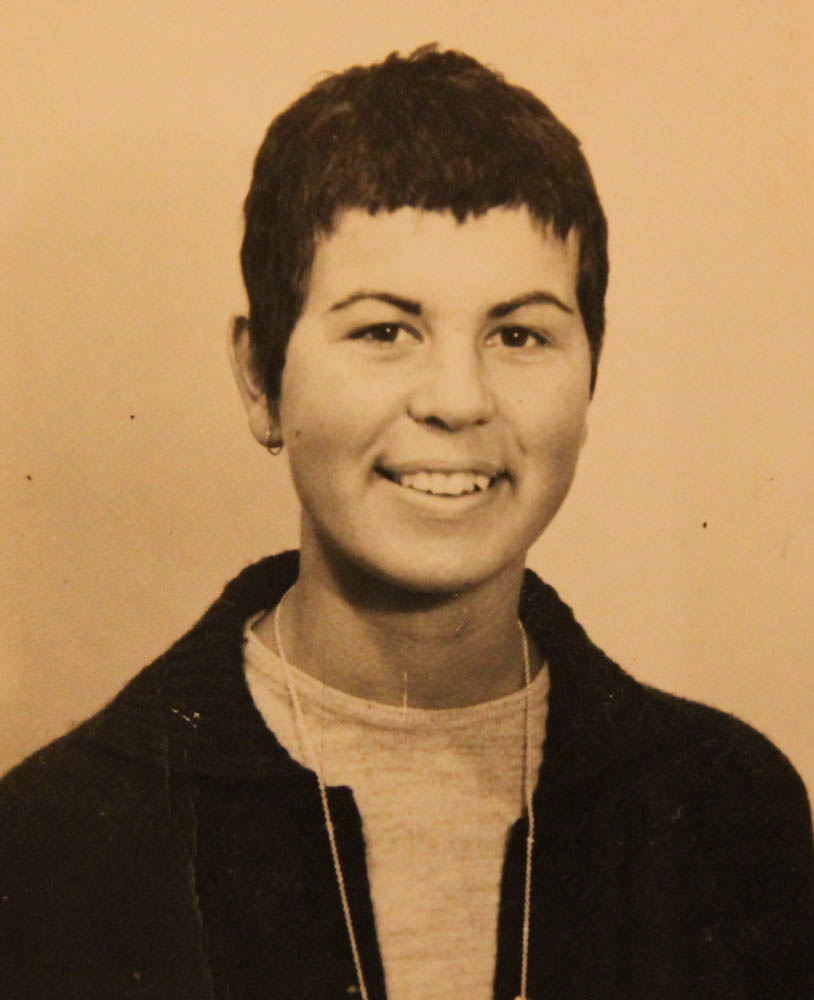
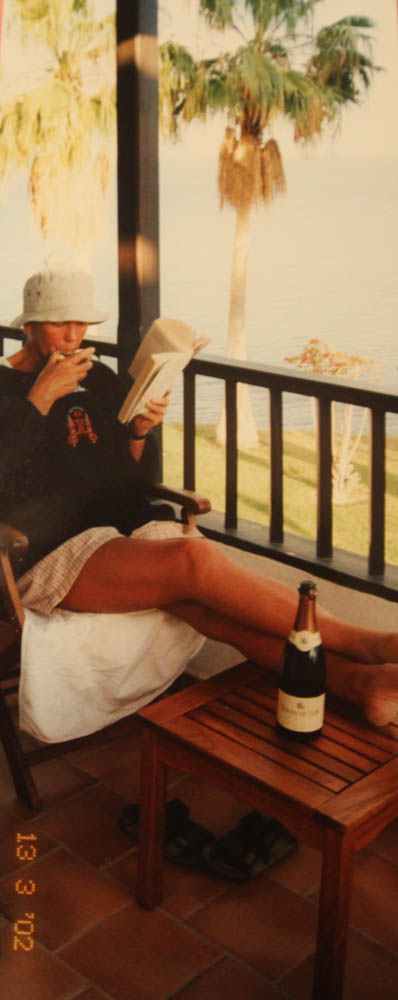
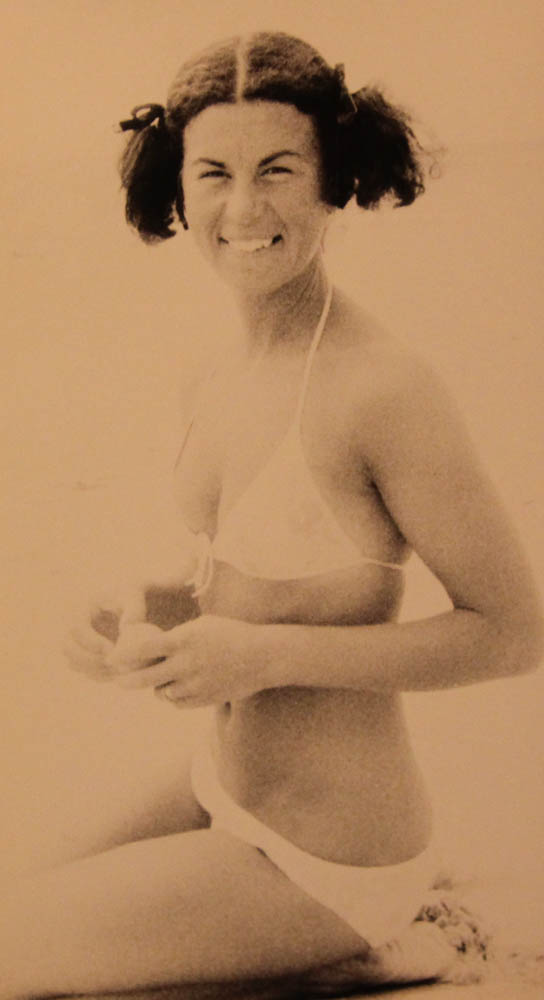
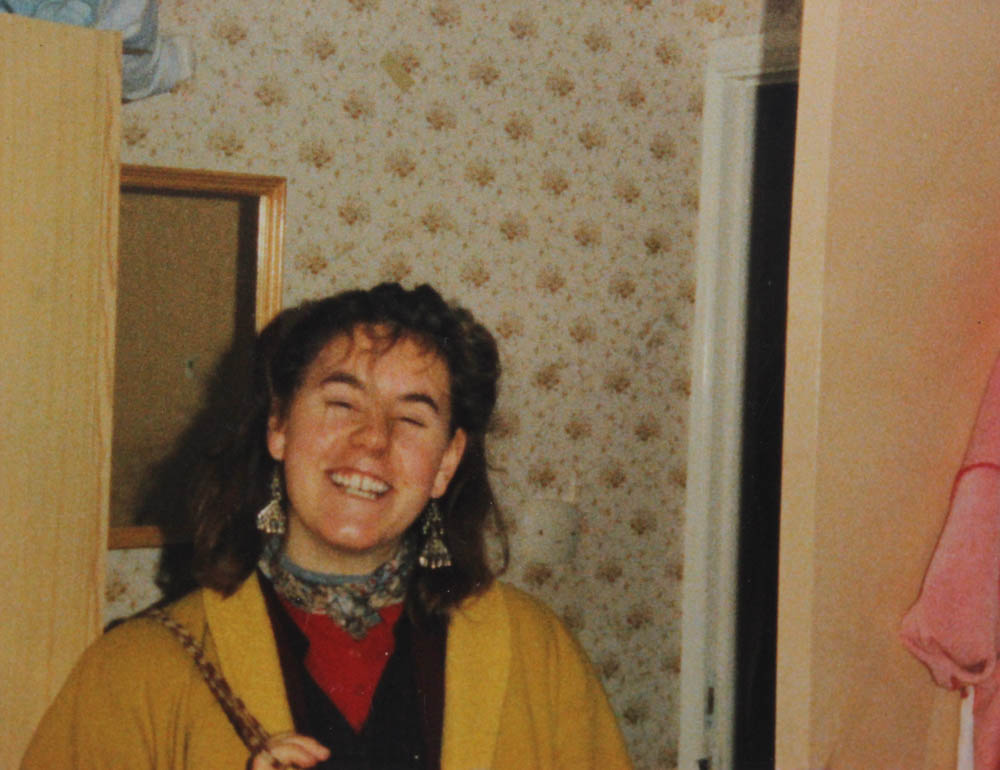
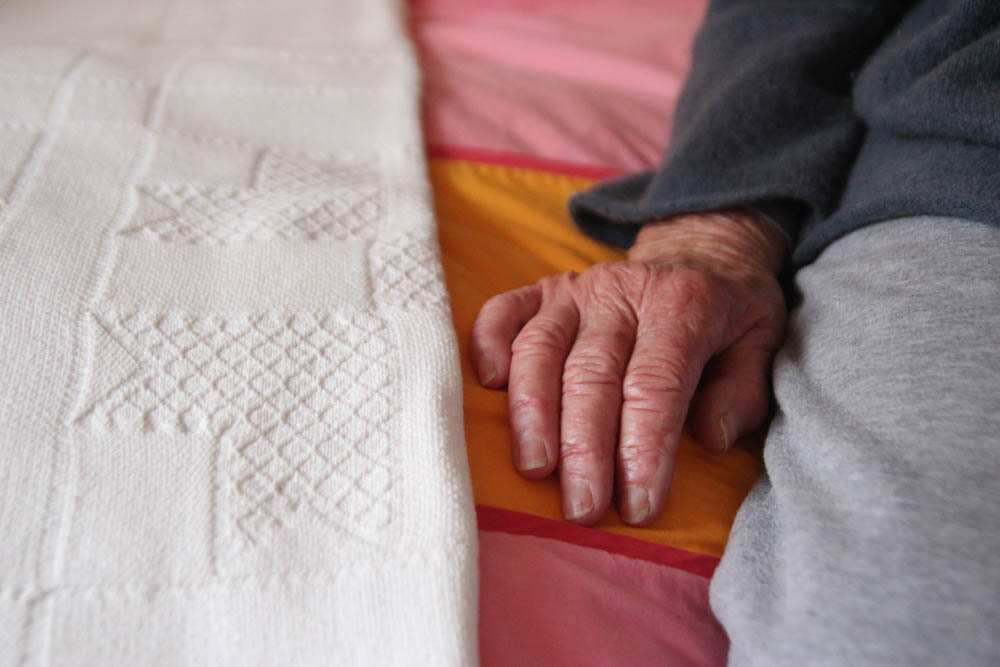
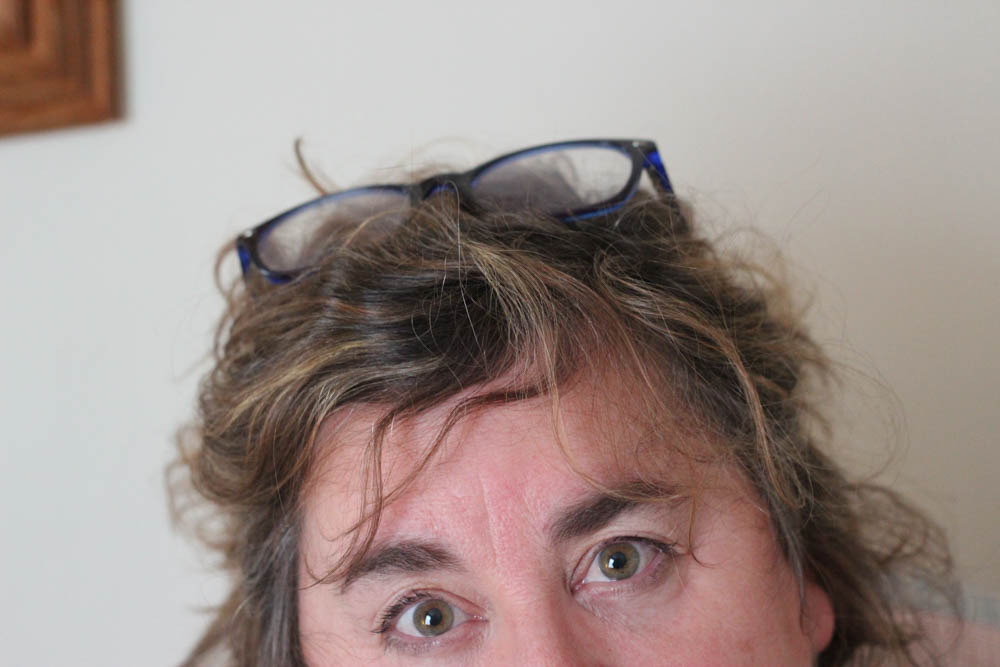
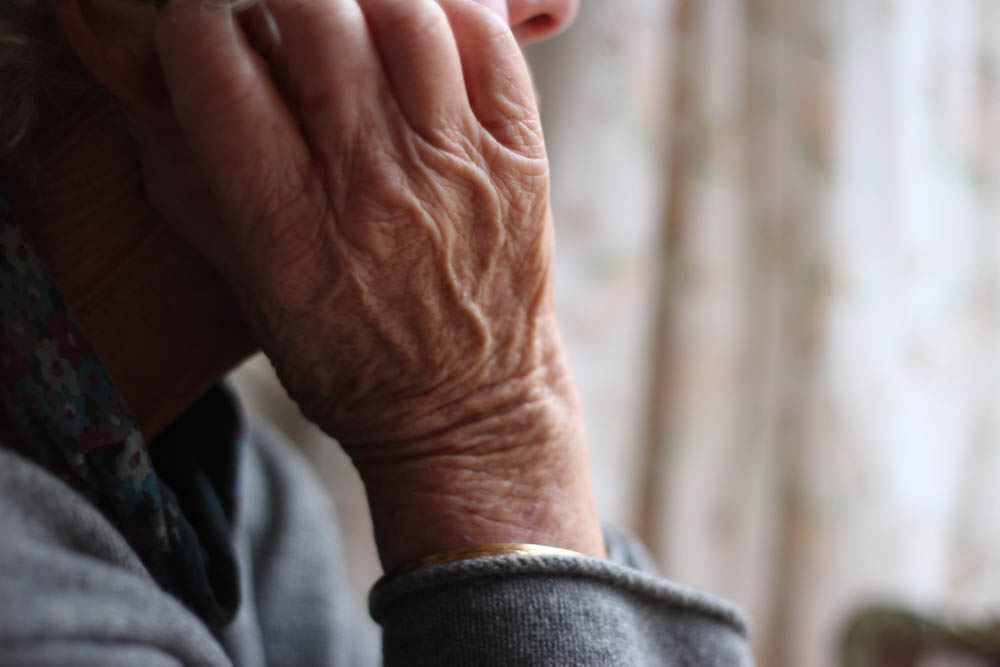
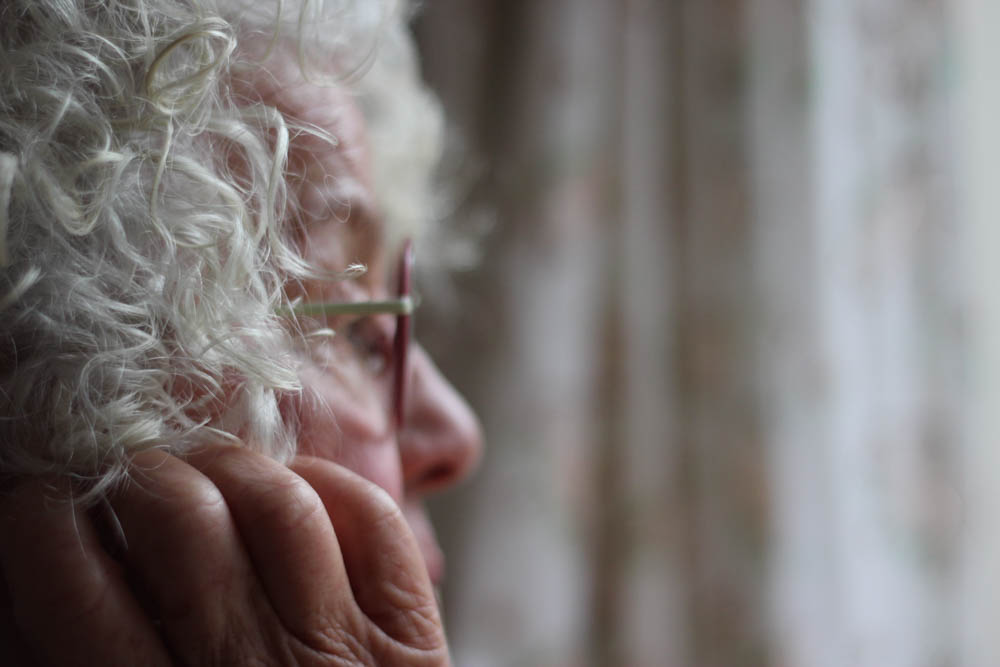
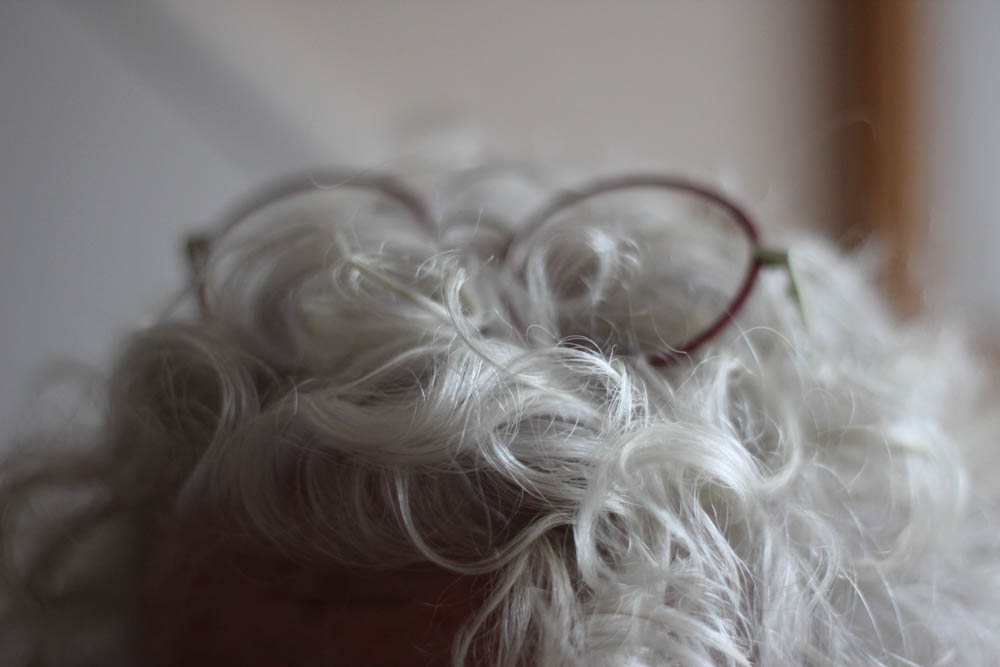
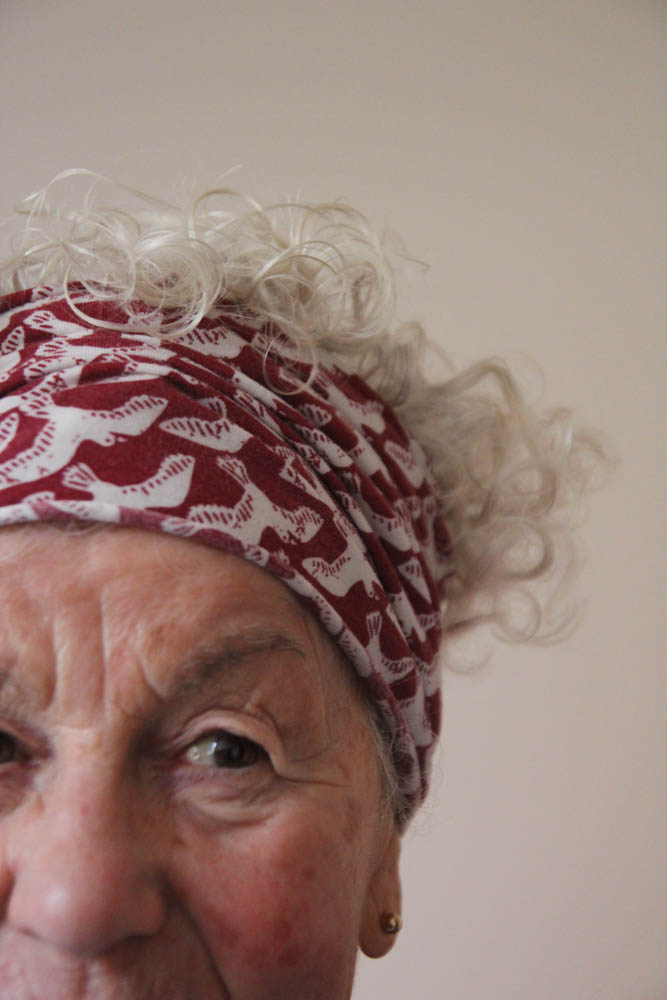
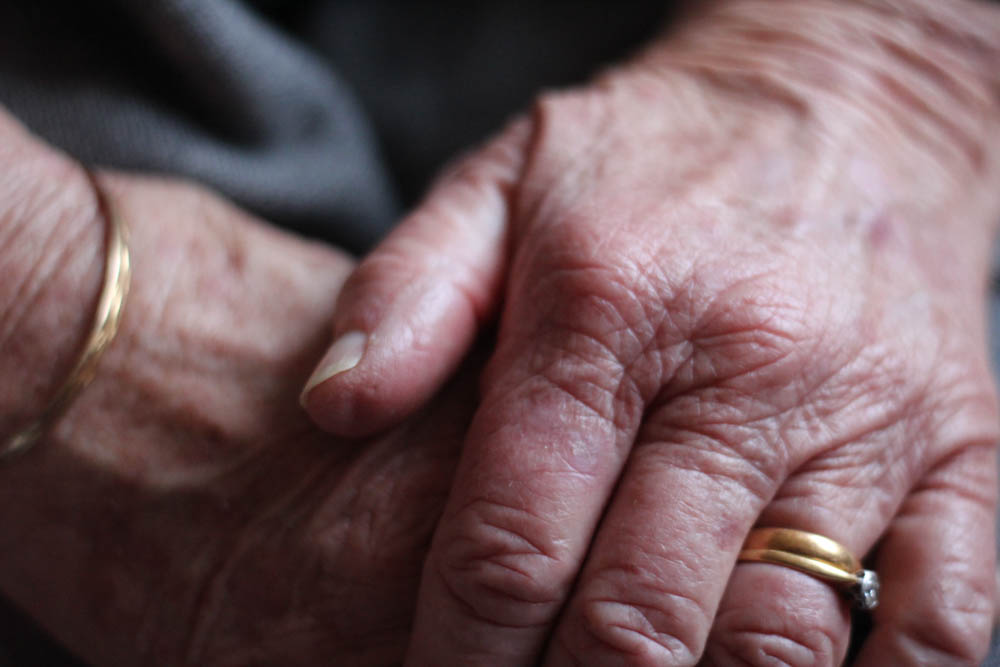
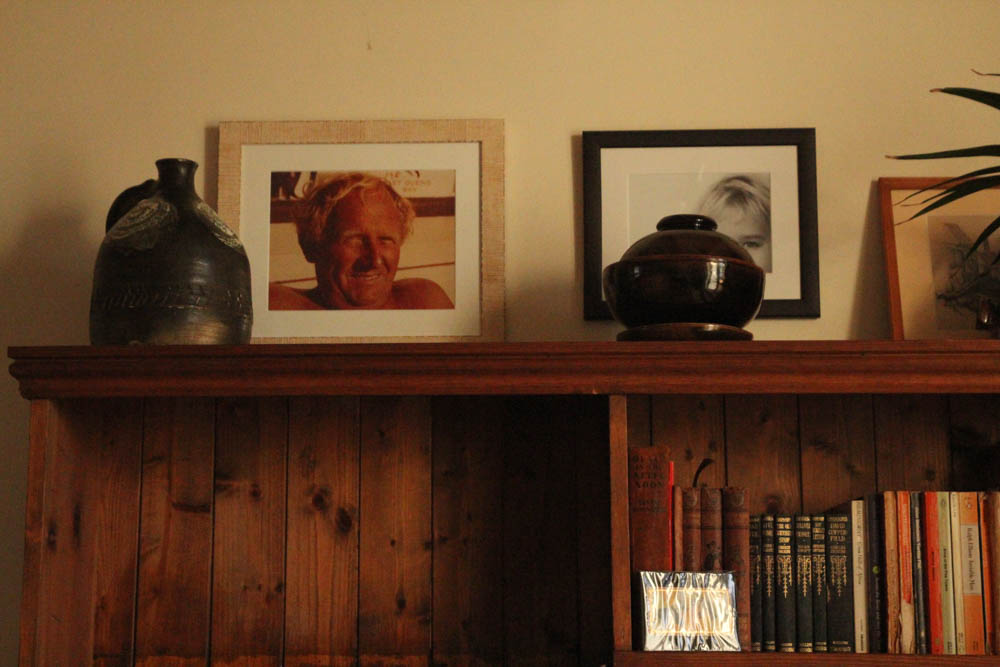
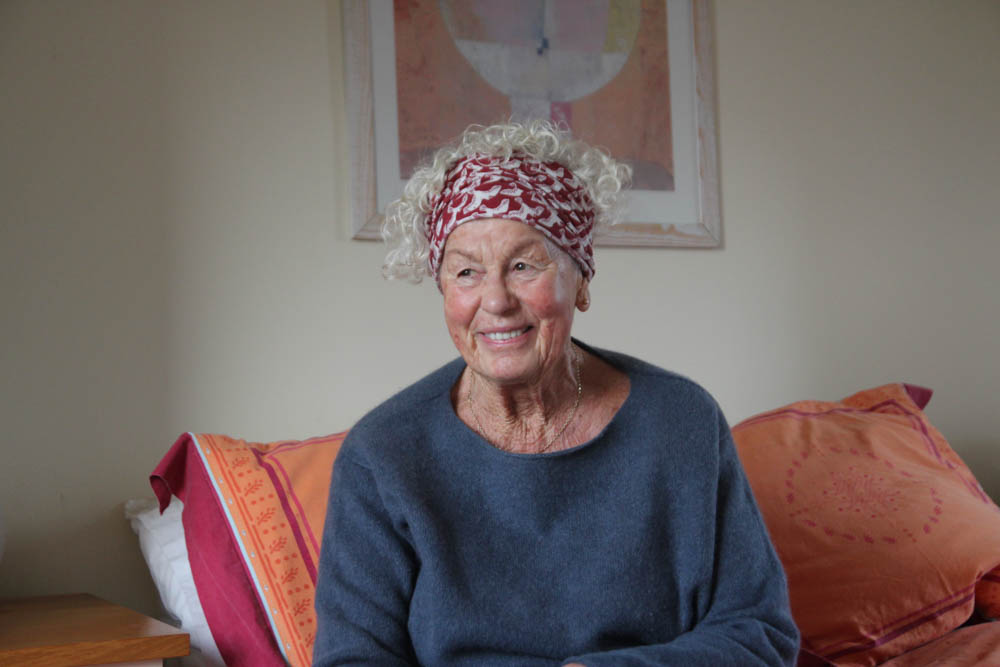
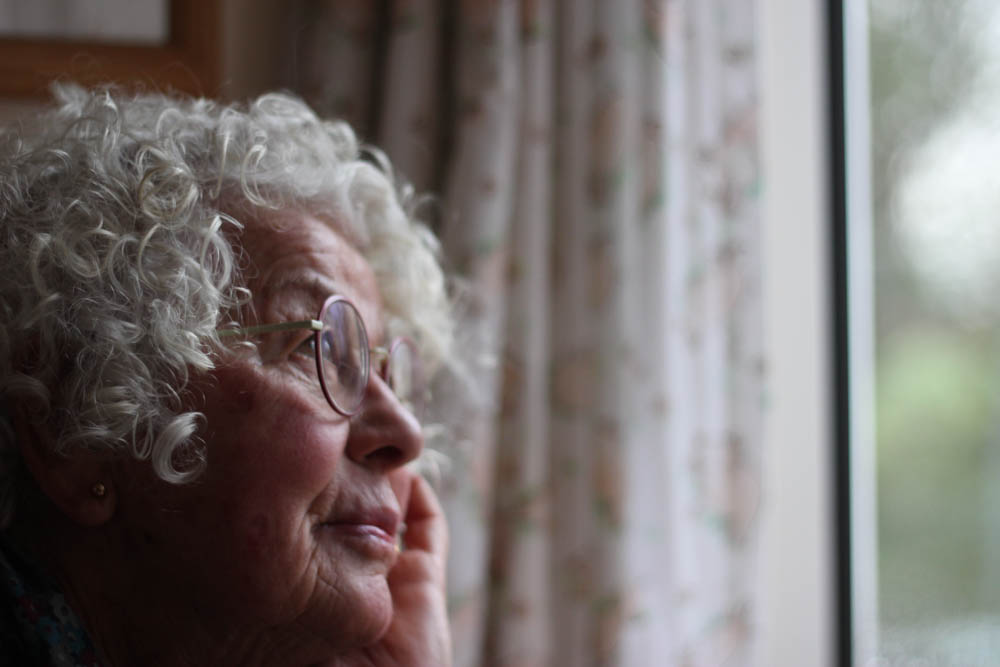
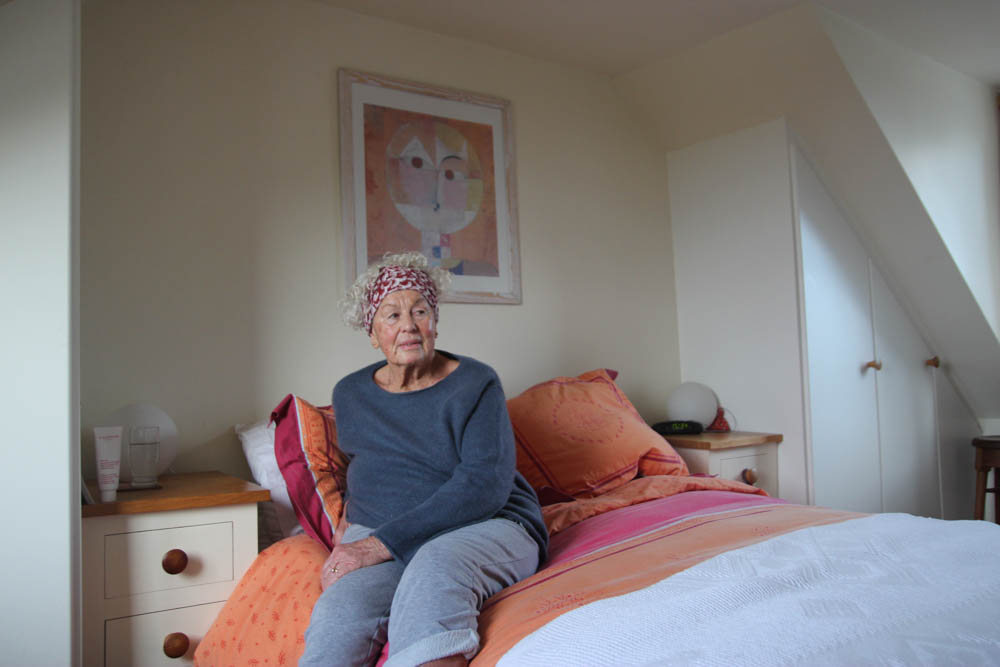
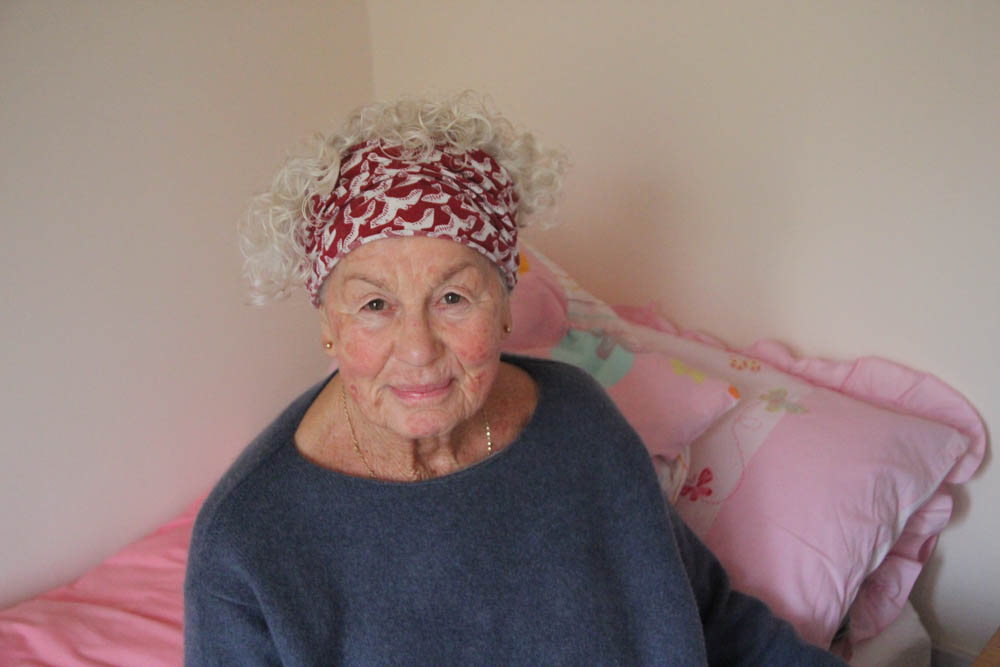
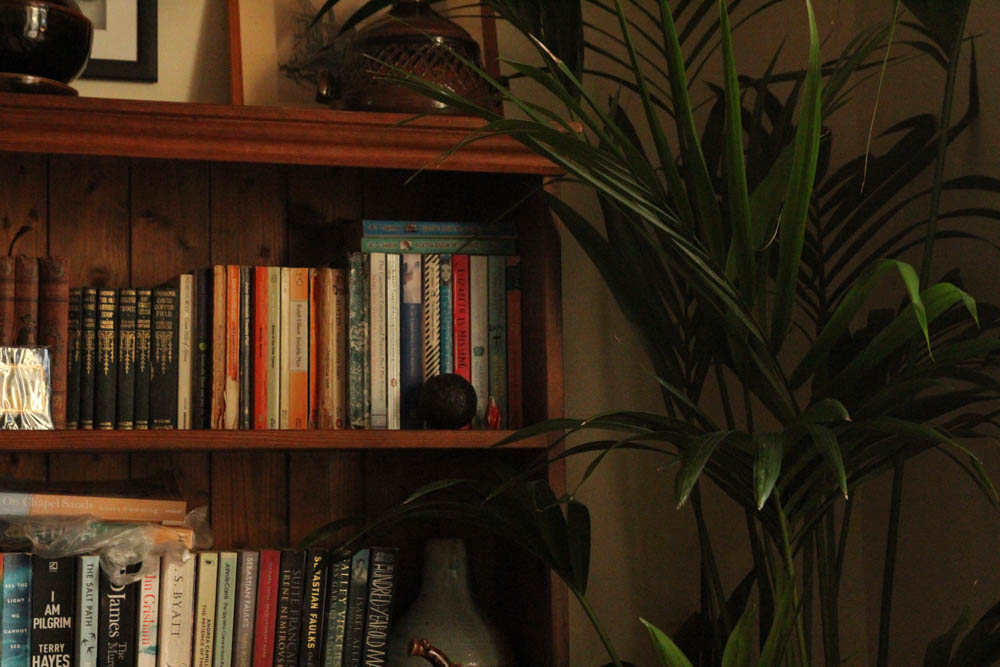
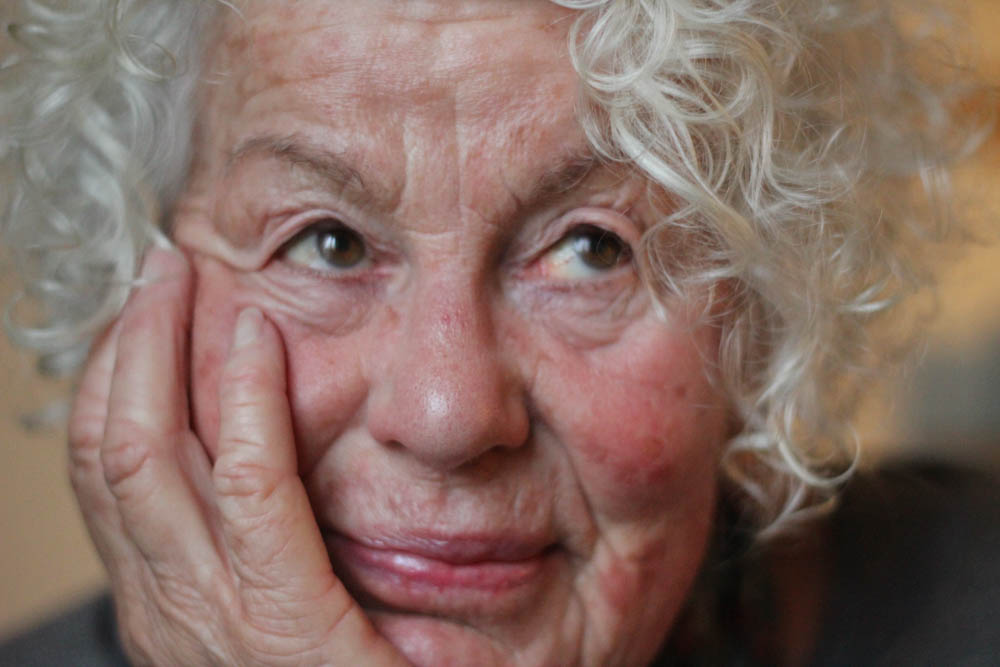
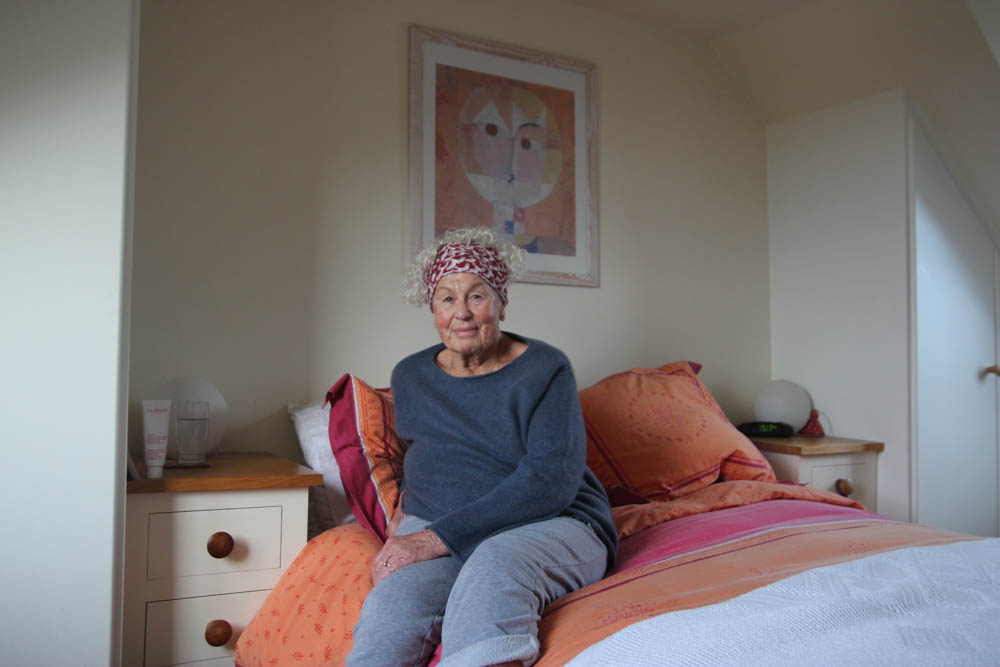
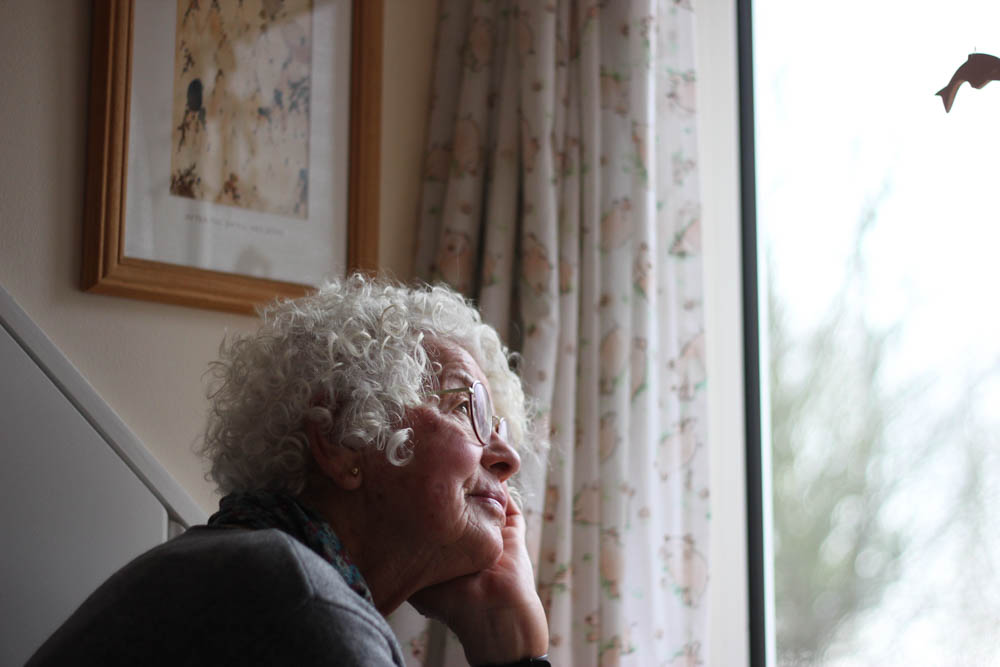
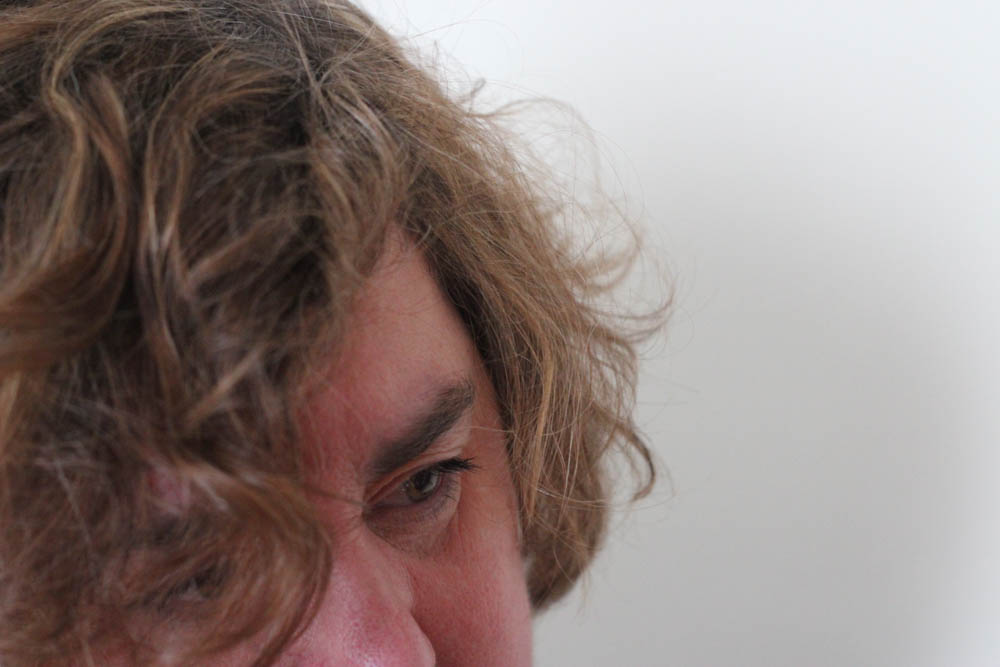
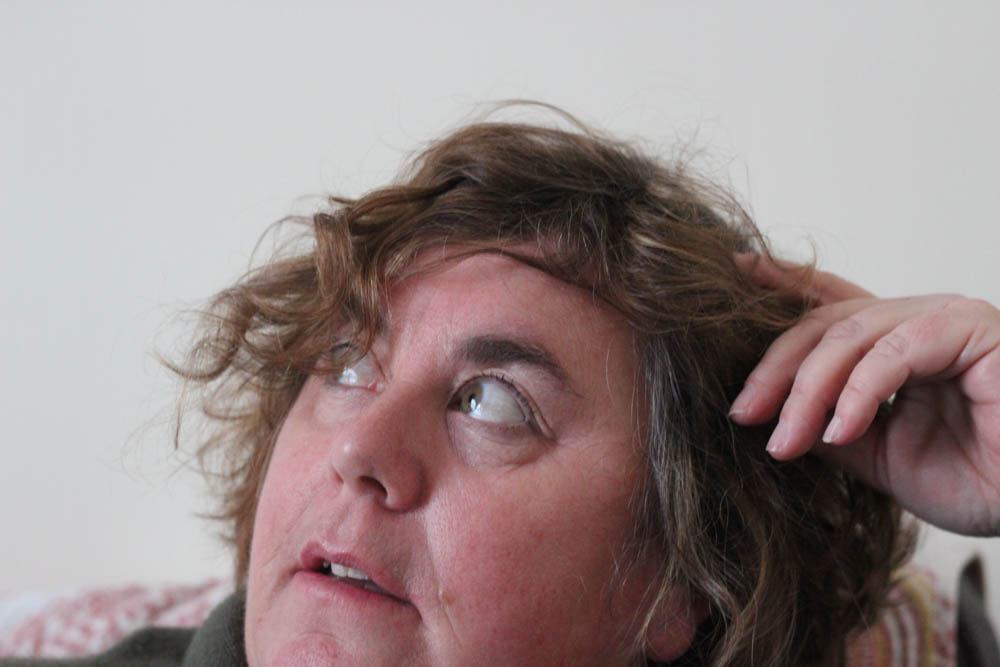
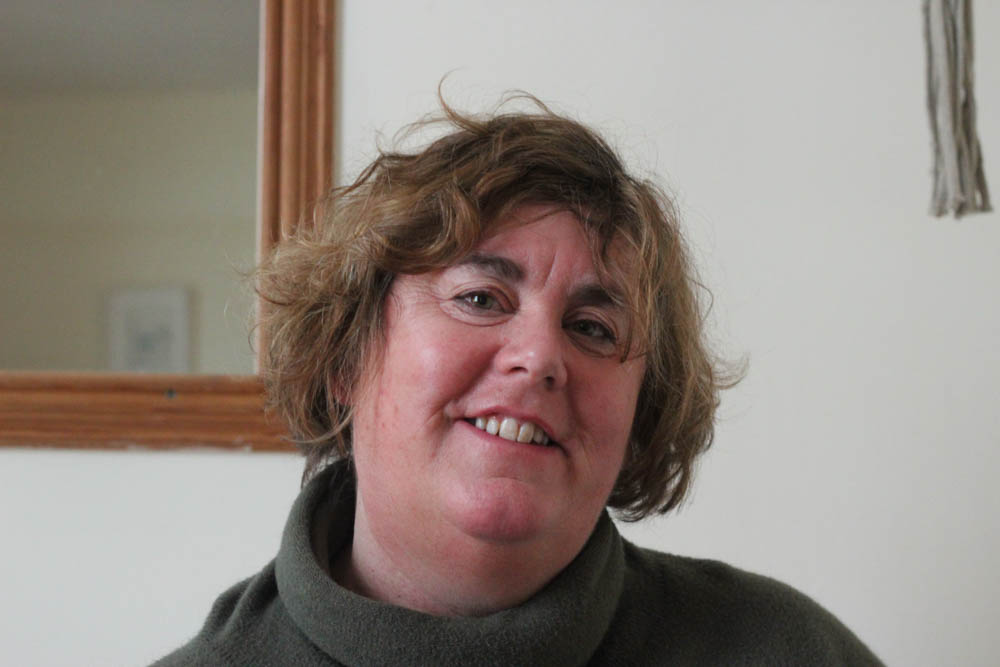
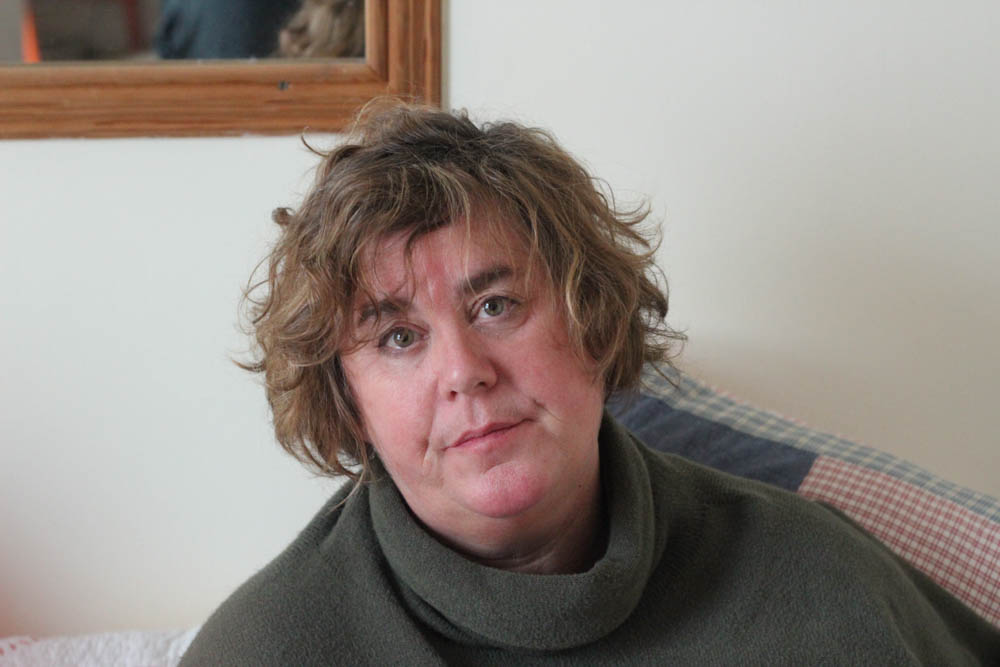
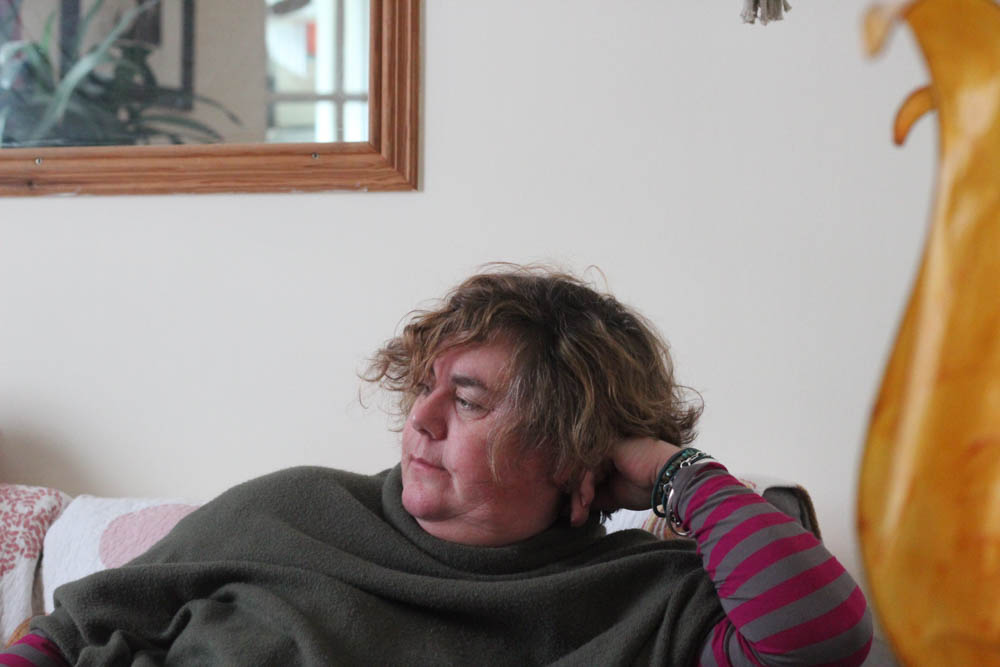
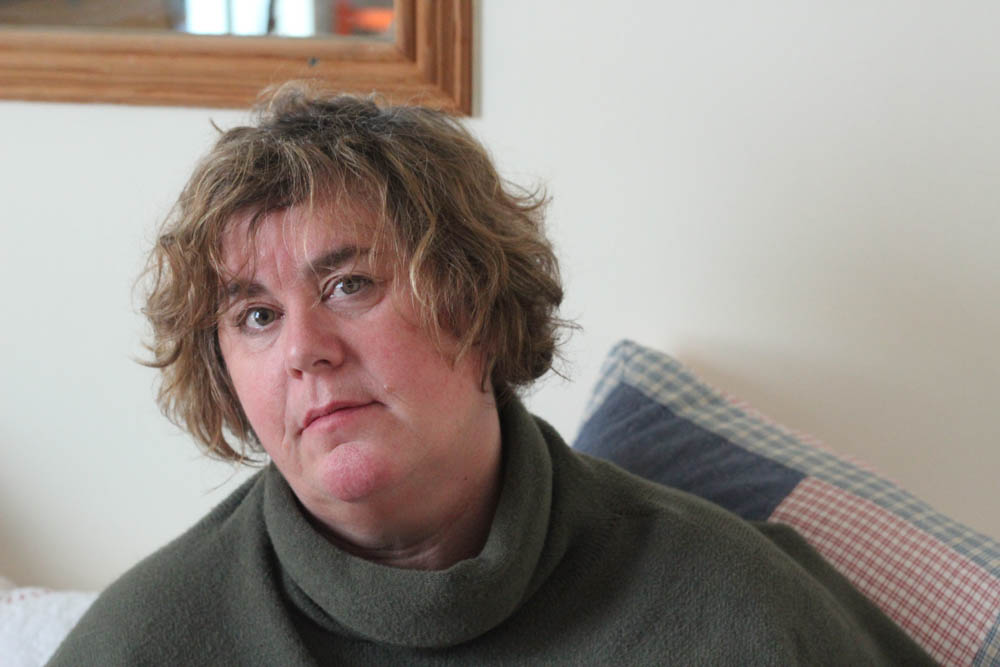
After taking my images, I put them into separate folders in Lightroom. For example, I had a folder purely for my more abstract images, as well as each shoot. I did this for my abstract images using a colour label (red), as well as using a separate folder and the flagging system (P and X keys). Below are contact sheets of my favourite images, as well as a gallery of my favourites for each shoot.
When I was selecting my favourite images, I was looking for clear, straight images, in which the subject had a suitable facial expression, and was framed properly. I also didn’t want to select images with too much over/underexposure, and images too grainy – a small amount is okay, due to my editing I hope to do, but too much would make it too difficult to develop my editing. – I had to be especially careful in my 2nd shoot of this. Additionally, when selecting images from my last shoot I had to be careful of shaky images, one of my issues in that shoot. When I had selected my final favourites from each shoot, I then rated them with the 5 star rating, and exported them as blog-friendly images (100 pixels on the long edge).
Photoshoot 1

Best images
Abstract Images

Best Images
Photoshoots 2 and 3
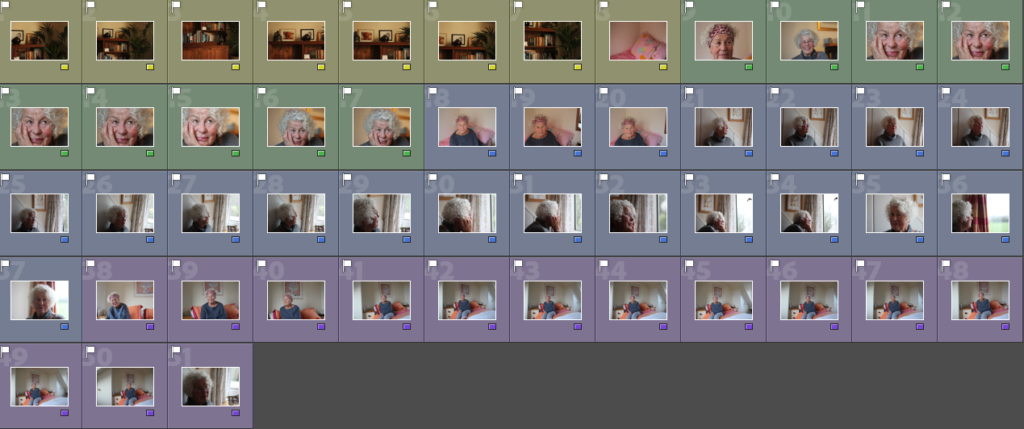
Best Images
Photoshoot 4


