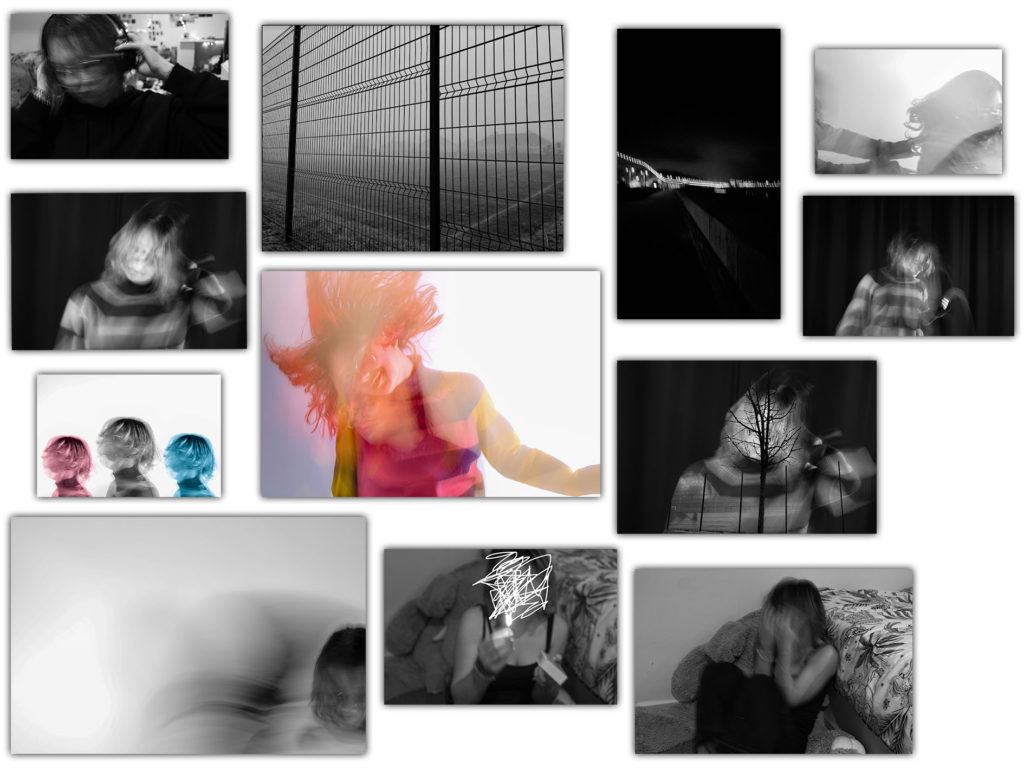
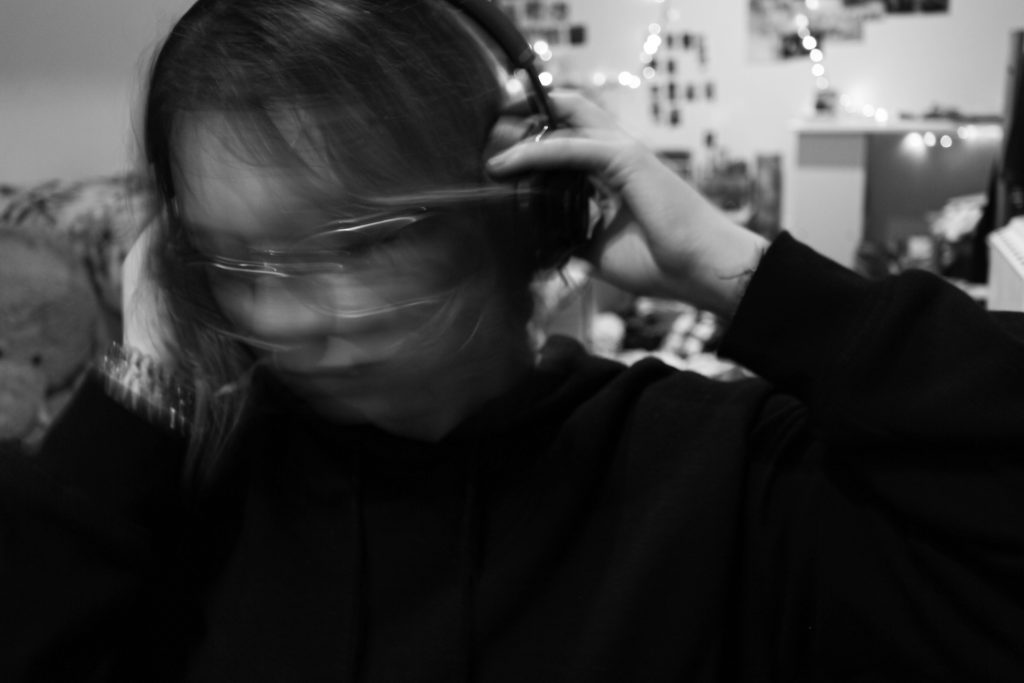
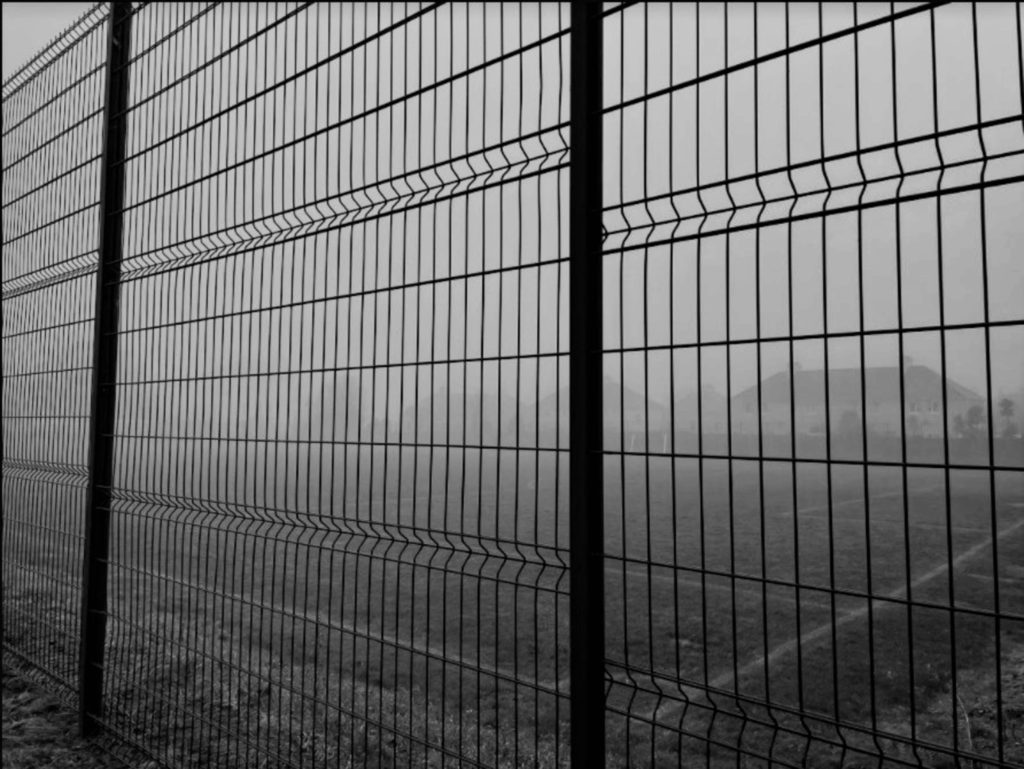
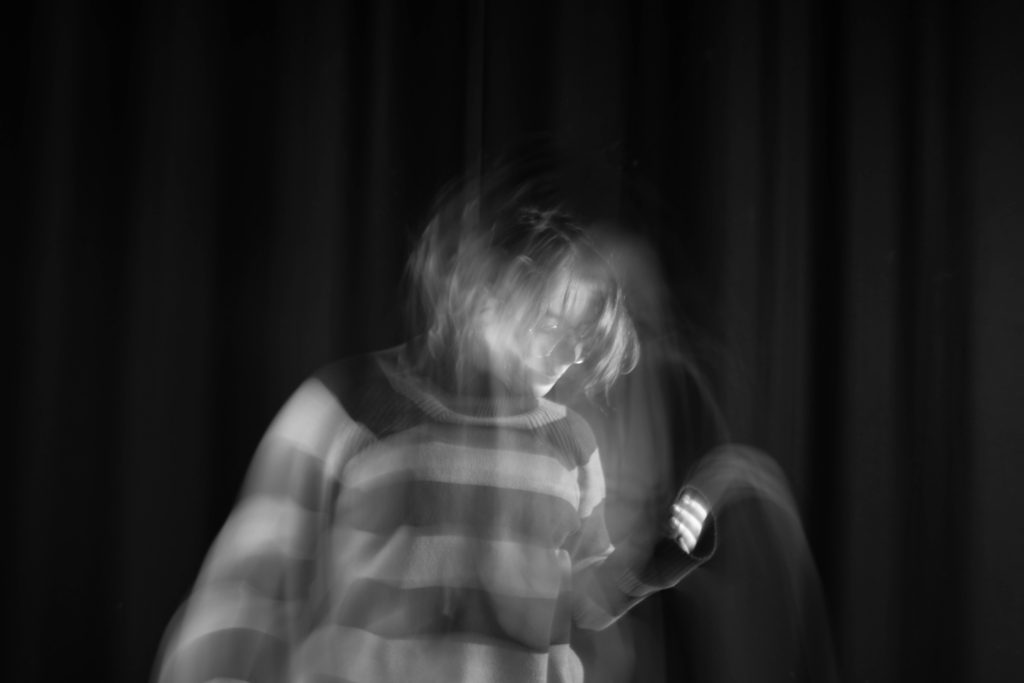
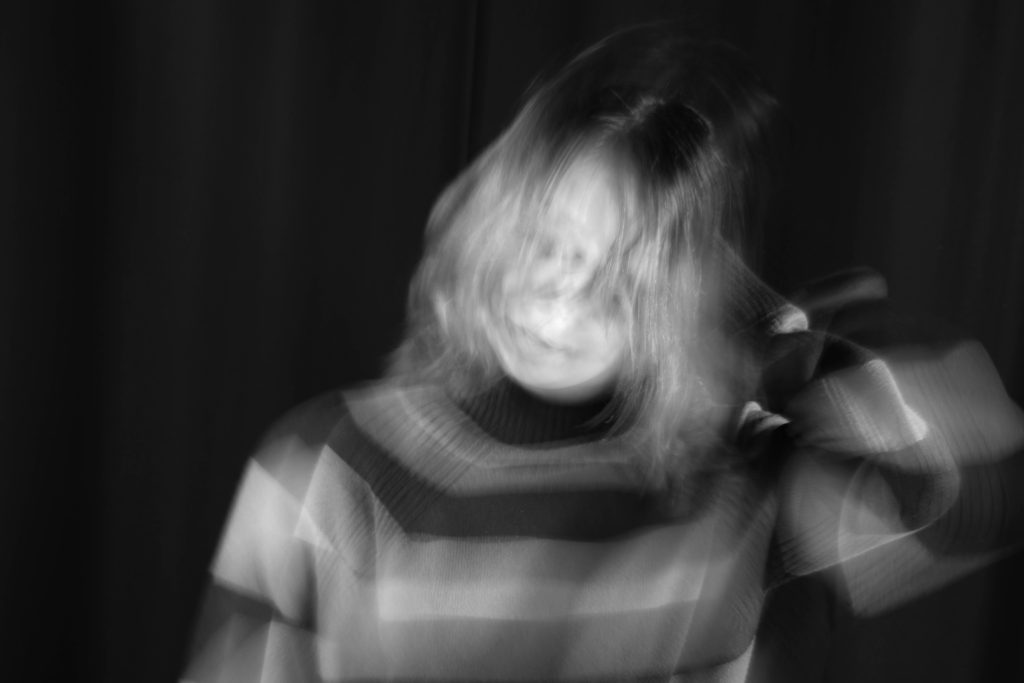
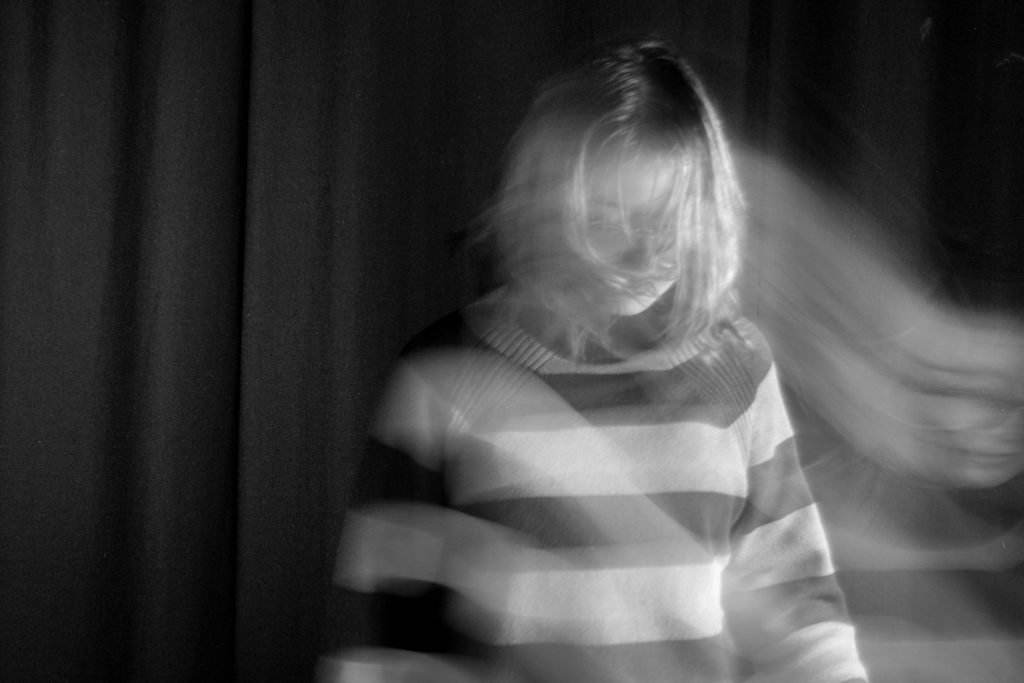
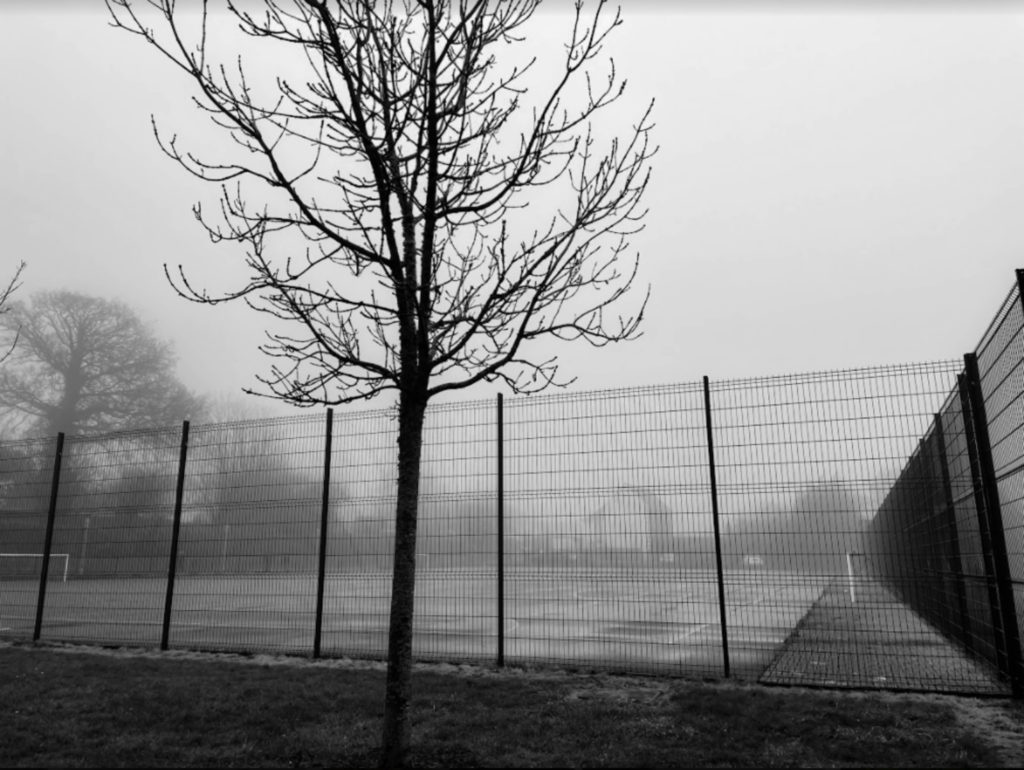
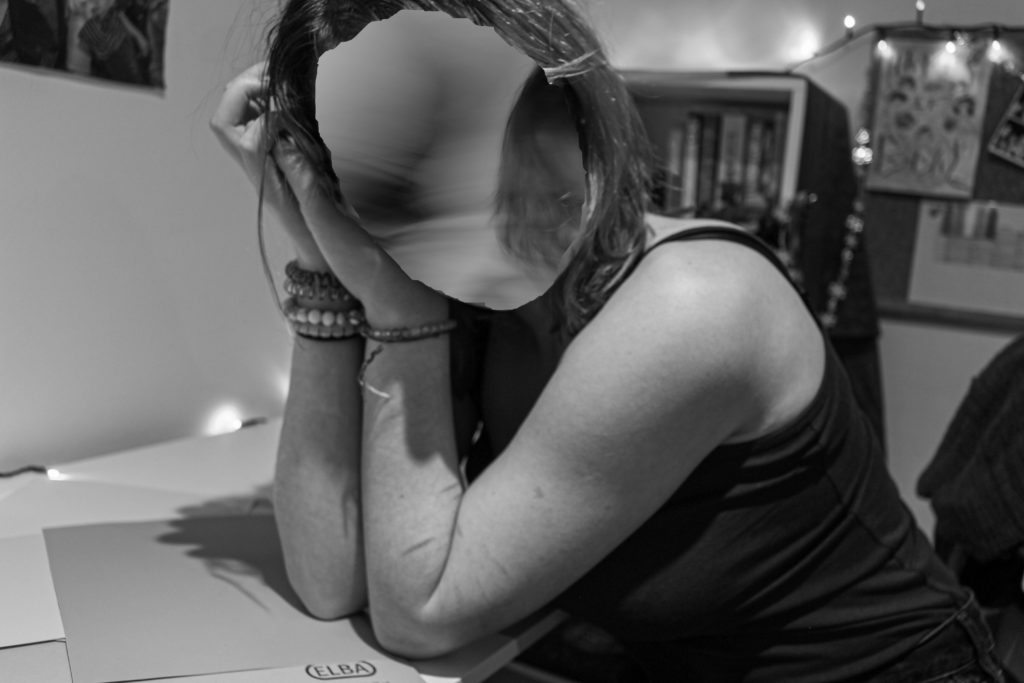
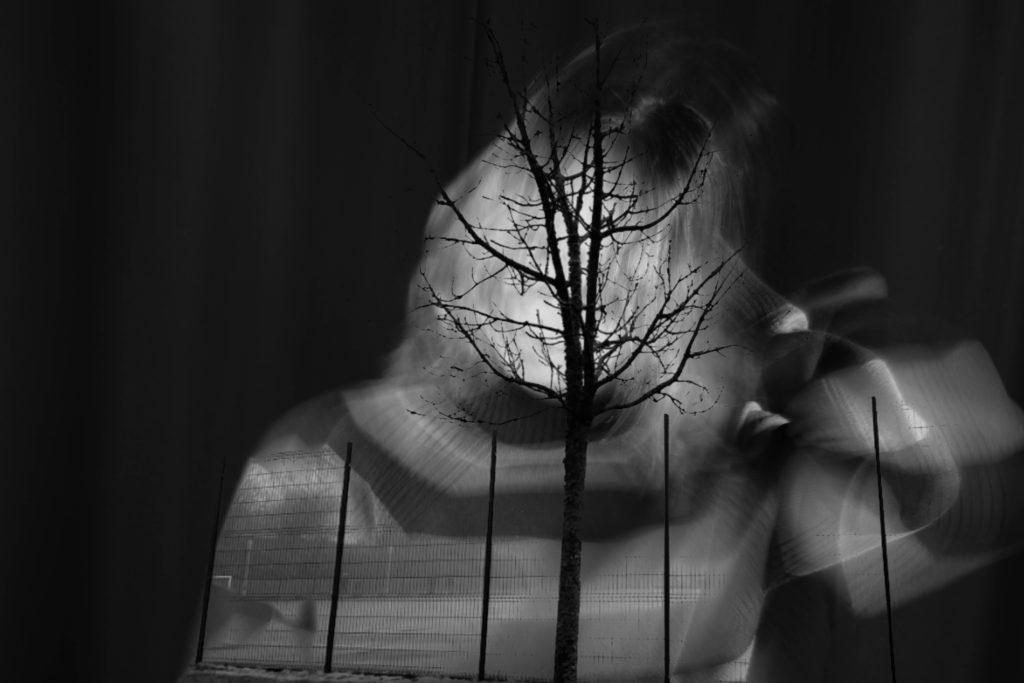
final – I started by editing both of the above pictures in lightroom by increasing the contrast and highlights and just playing around with the settings until I got something that thought looked nice. Then I took both into photoshop and used the 1st image as my base layer, then the 2nd as my top layer. After the images were on top of each other, I took the 2nd one and looked at the double exposure setting that is on the right side of the screen over the layers. Then I tried different ones to see which one I liked more and stuck with the ‘darken’ one. This is one of my favourite edits because I really like how blurry image one is and how you can’t see my face and also because I think the way the tree is positioned in the middle of me looks quite interesting.
Experiment 2:
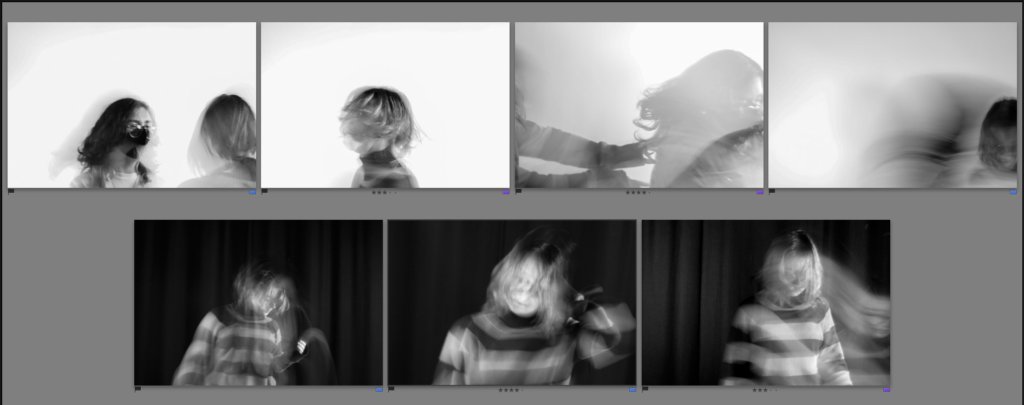
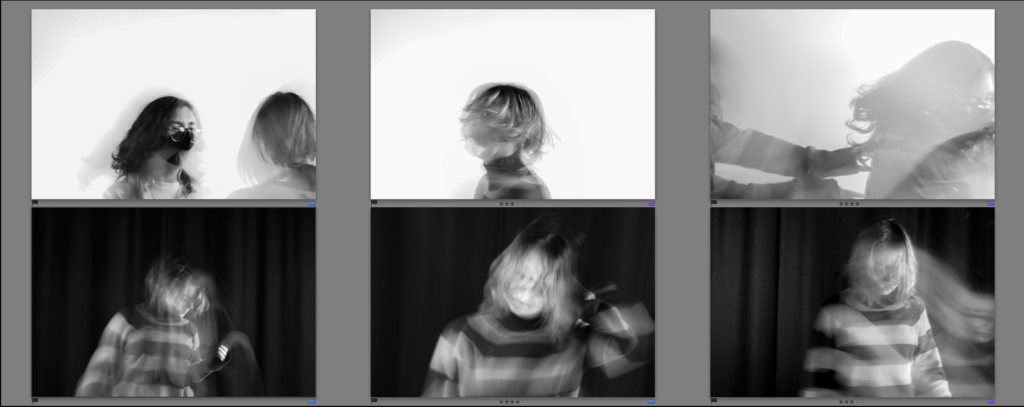
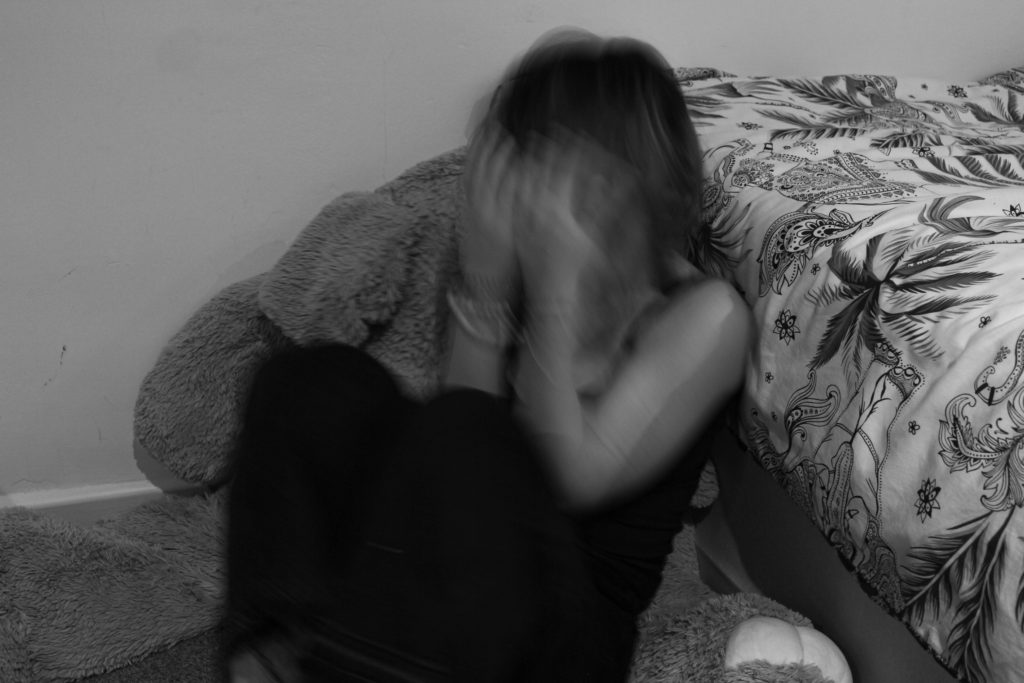
original image
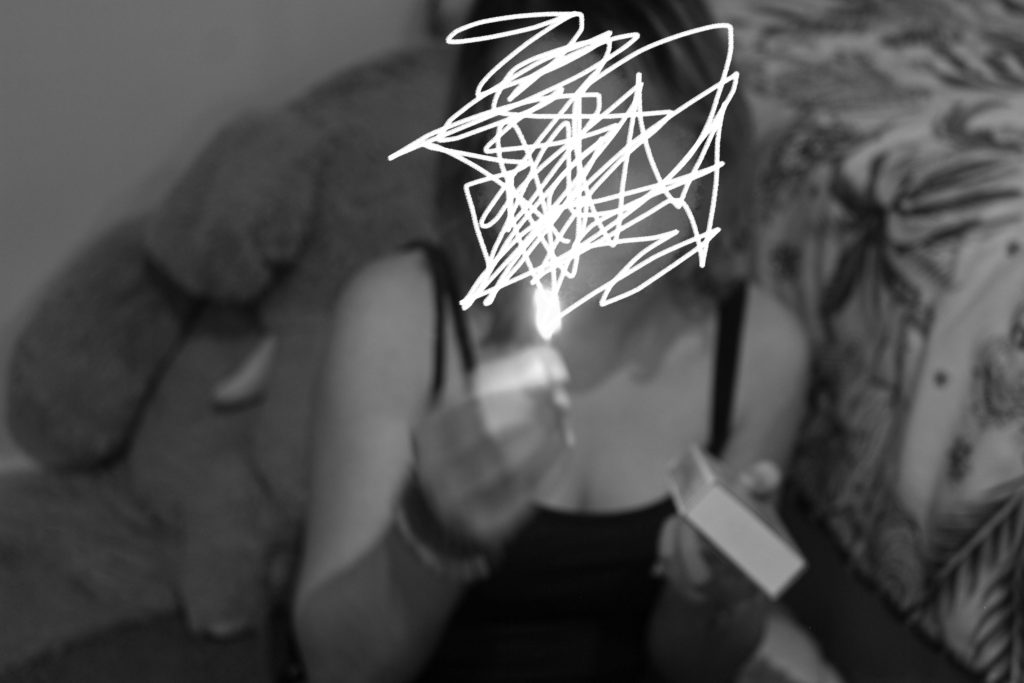
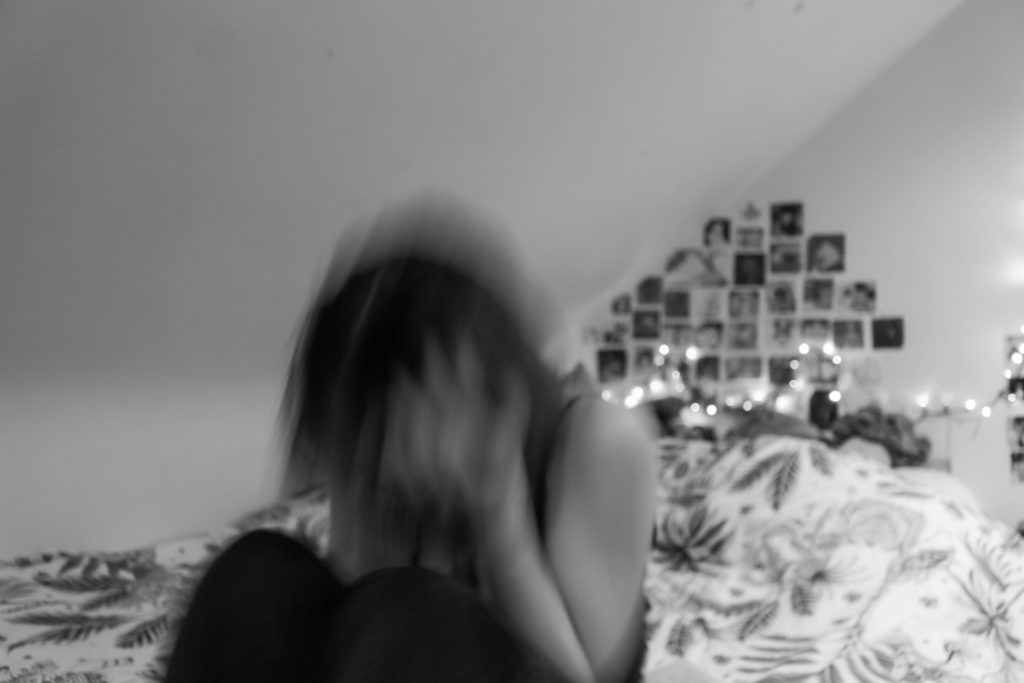
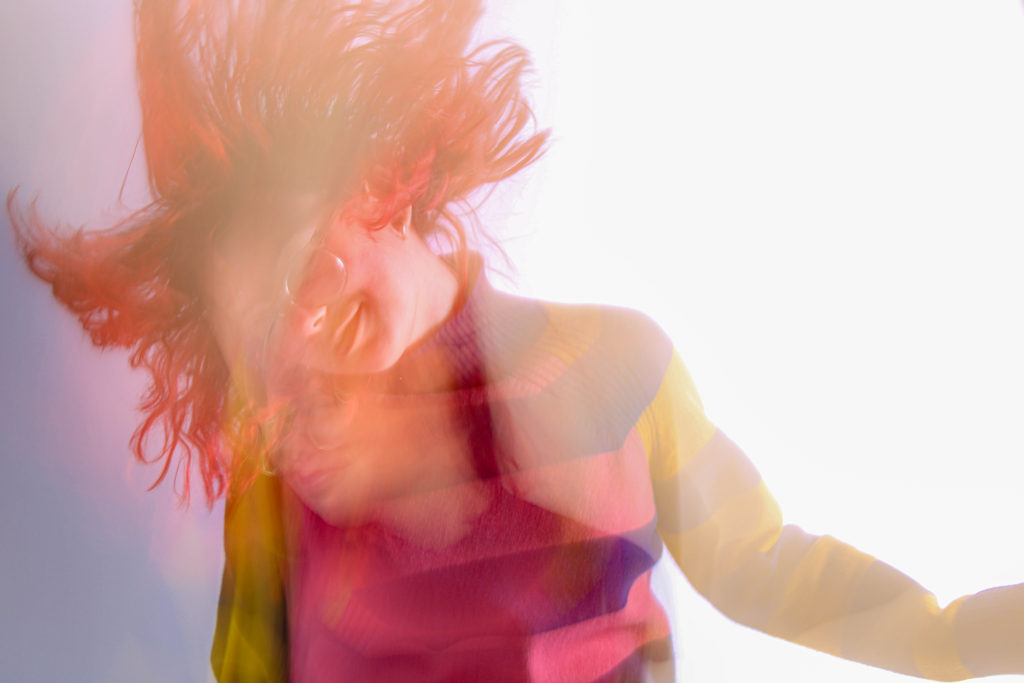
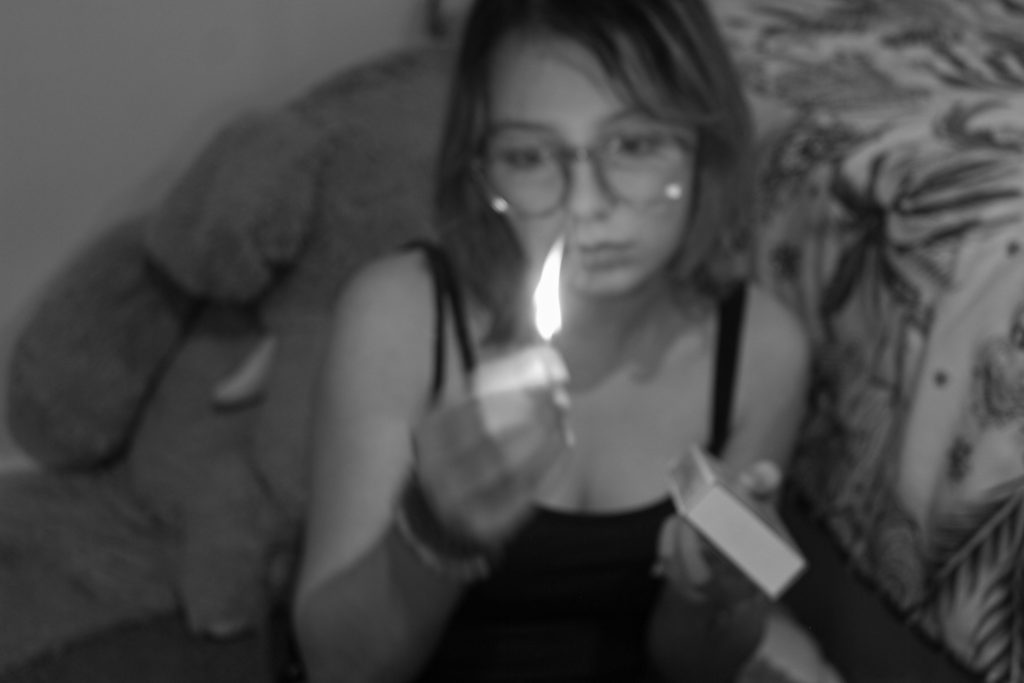
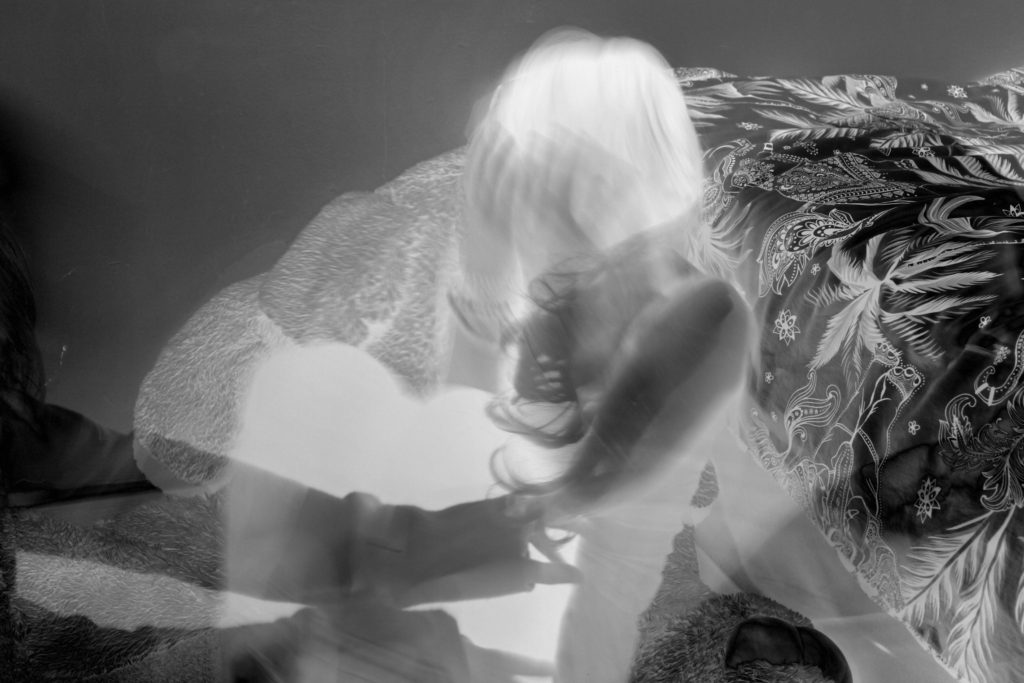
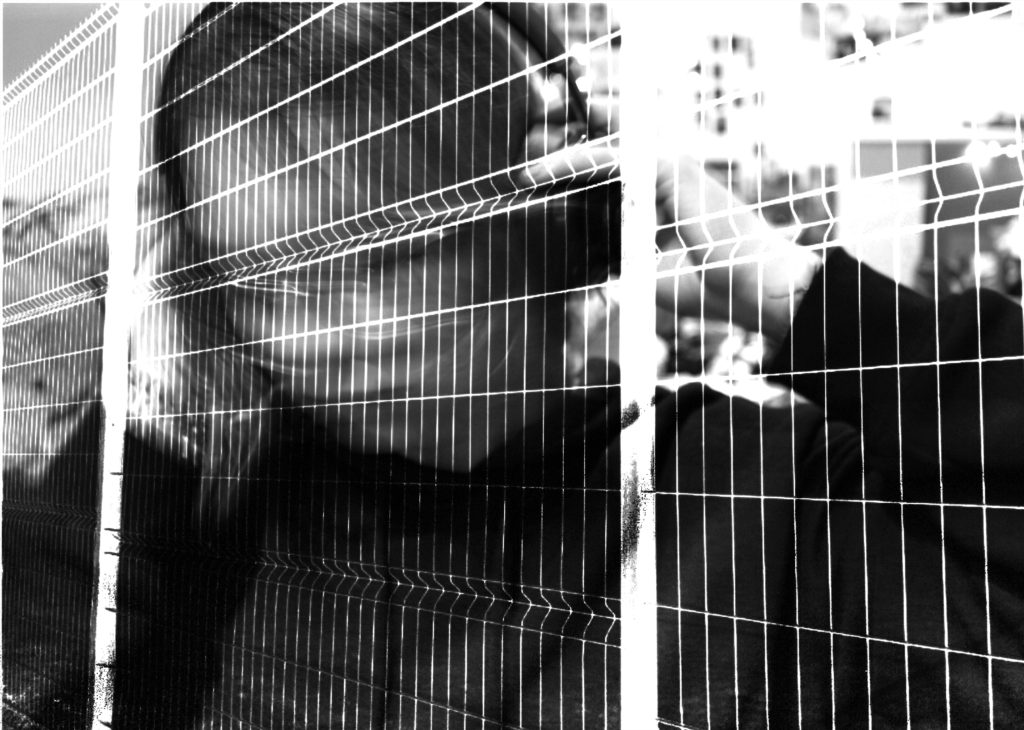
final – I edited this image in lightroom by increasing the contrast and texture, then I took it into photoshoot and blurred my face out then scribbled on top of it with white. I used the “kyle’s paintbox – wet blender 50” brush tool on my face to blend it all together, then one of the dry media brushes to scribble on top. I like how it turned out because I feel like it would make the viewer question what is going on. To improve I think I would have to take images that are more in focus and detailed.