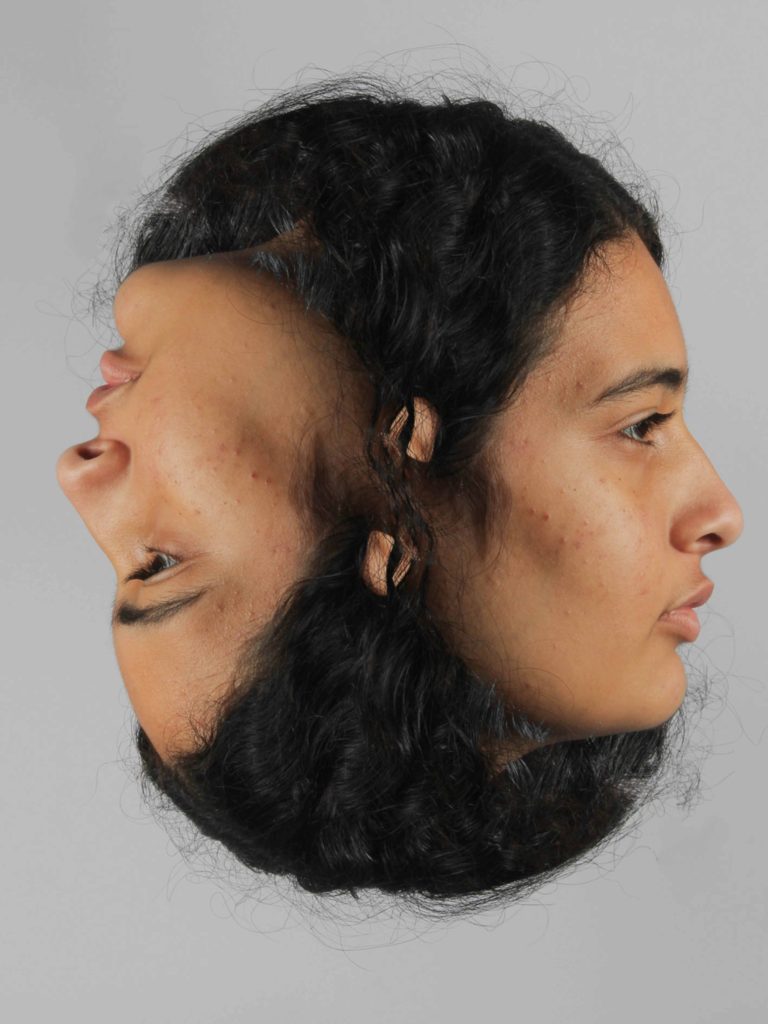
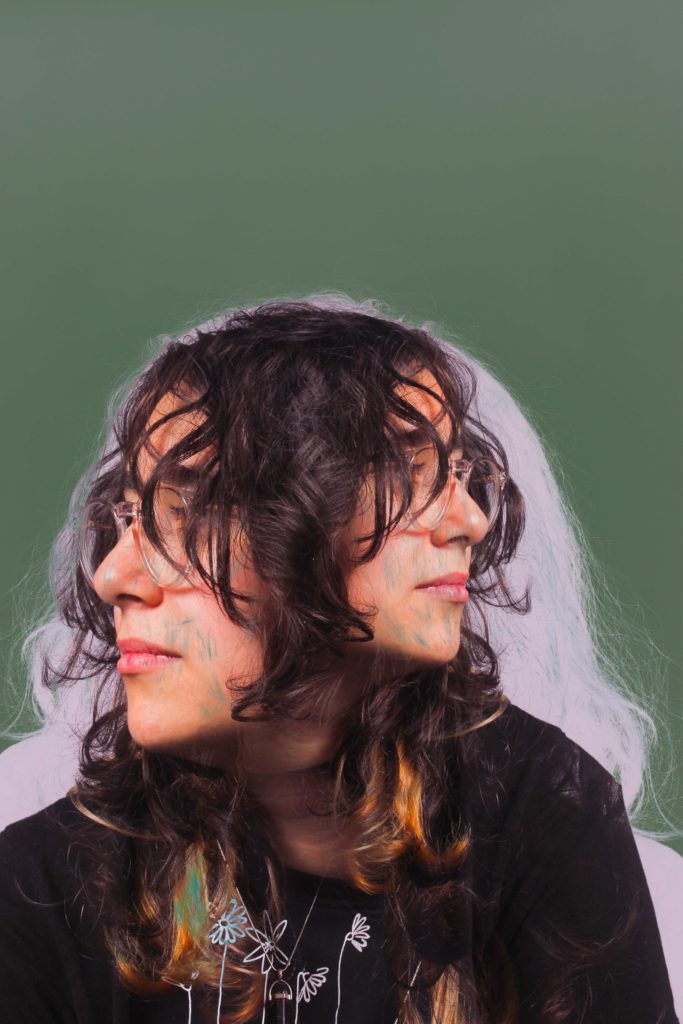
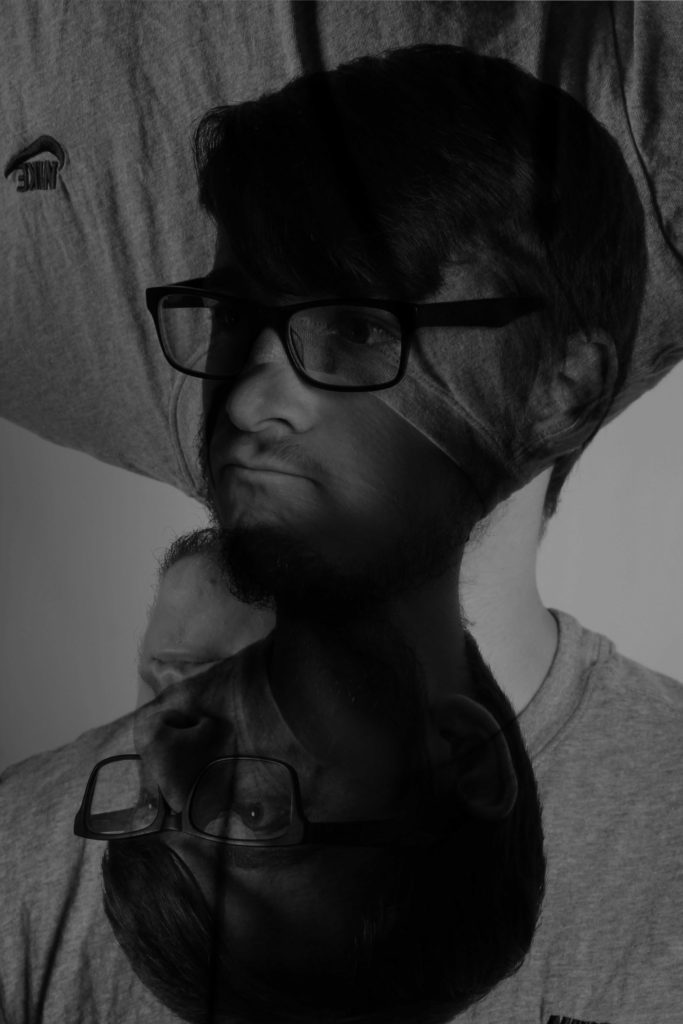
juxtaposition

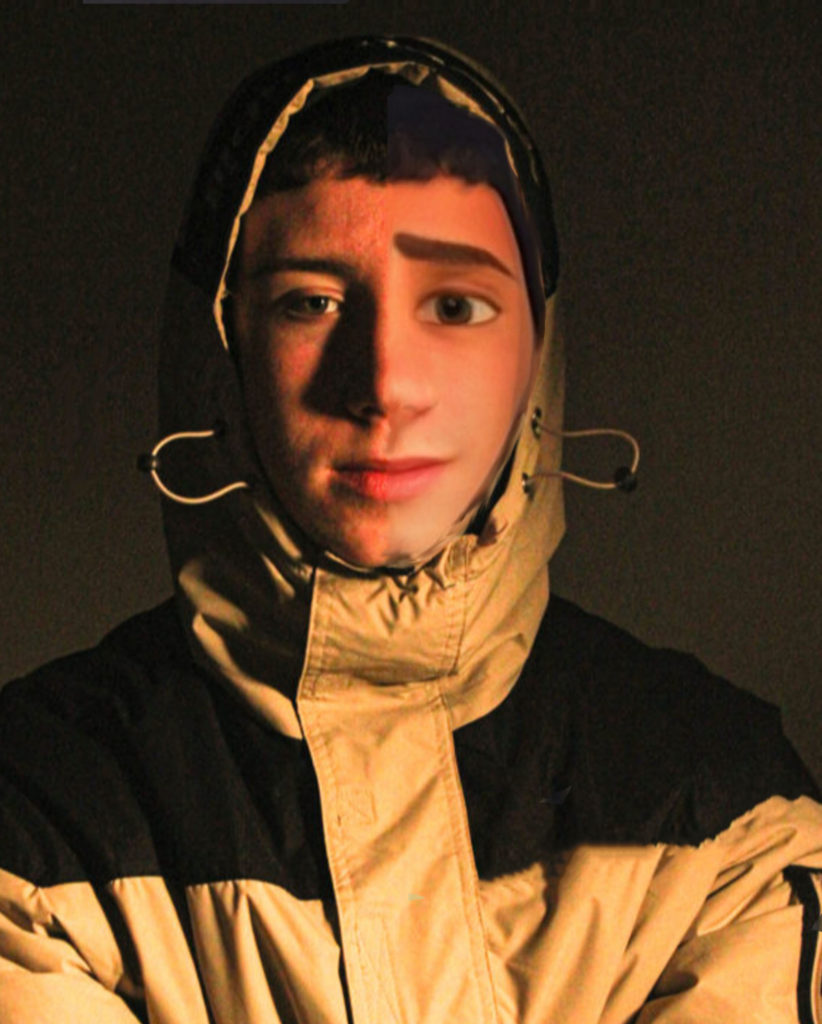
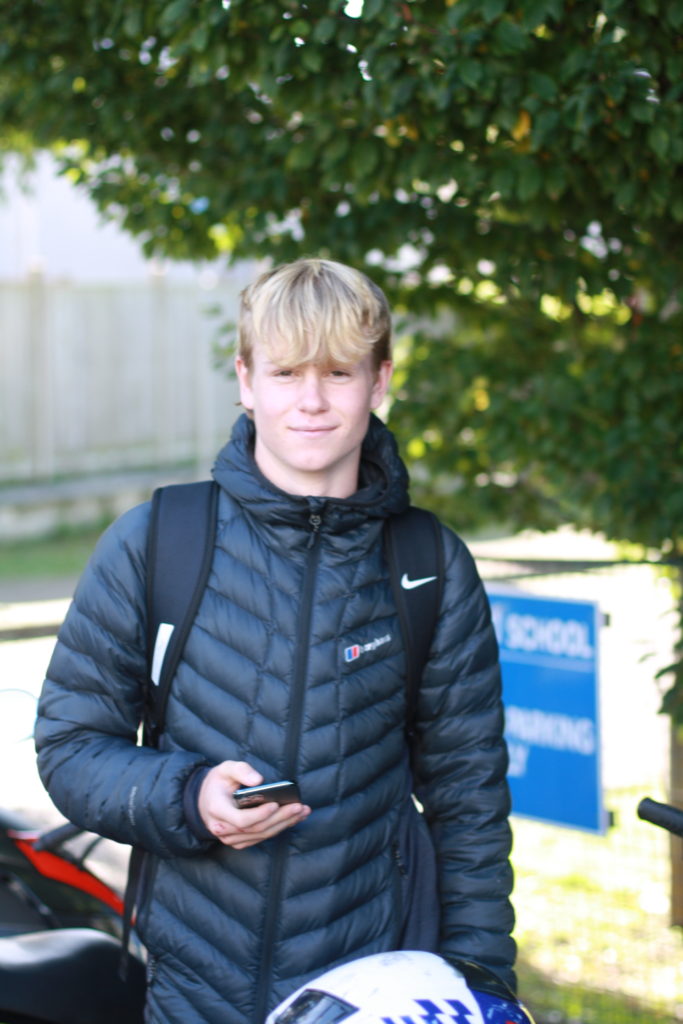
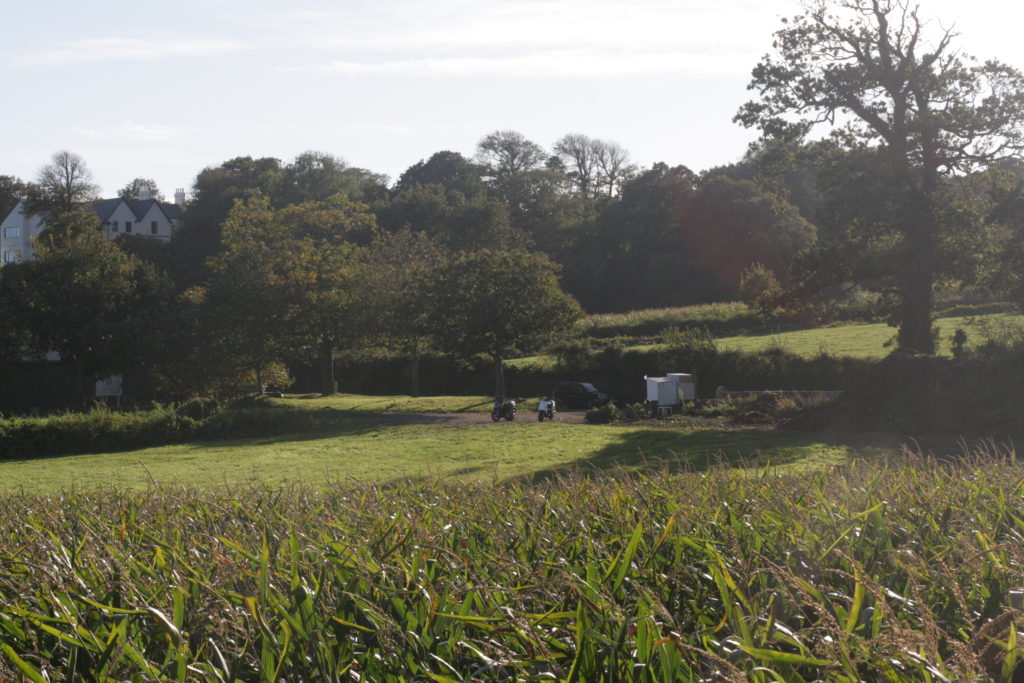
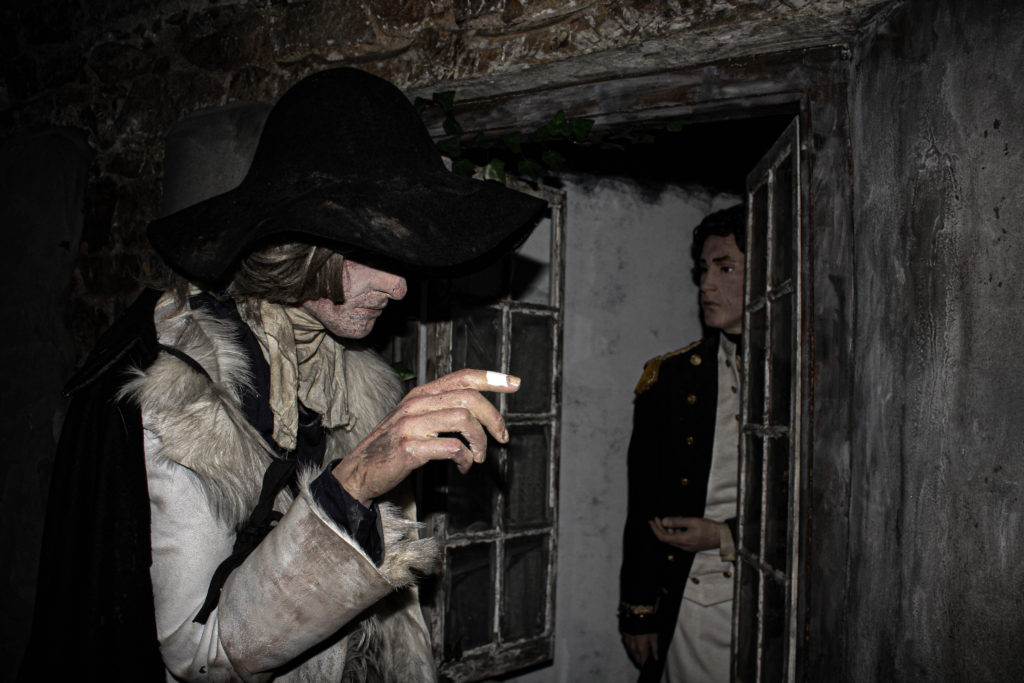
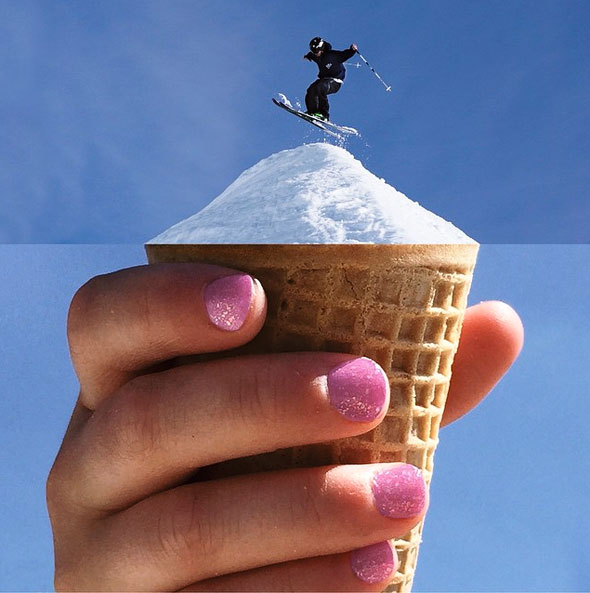
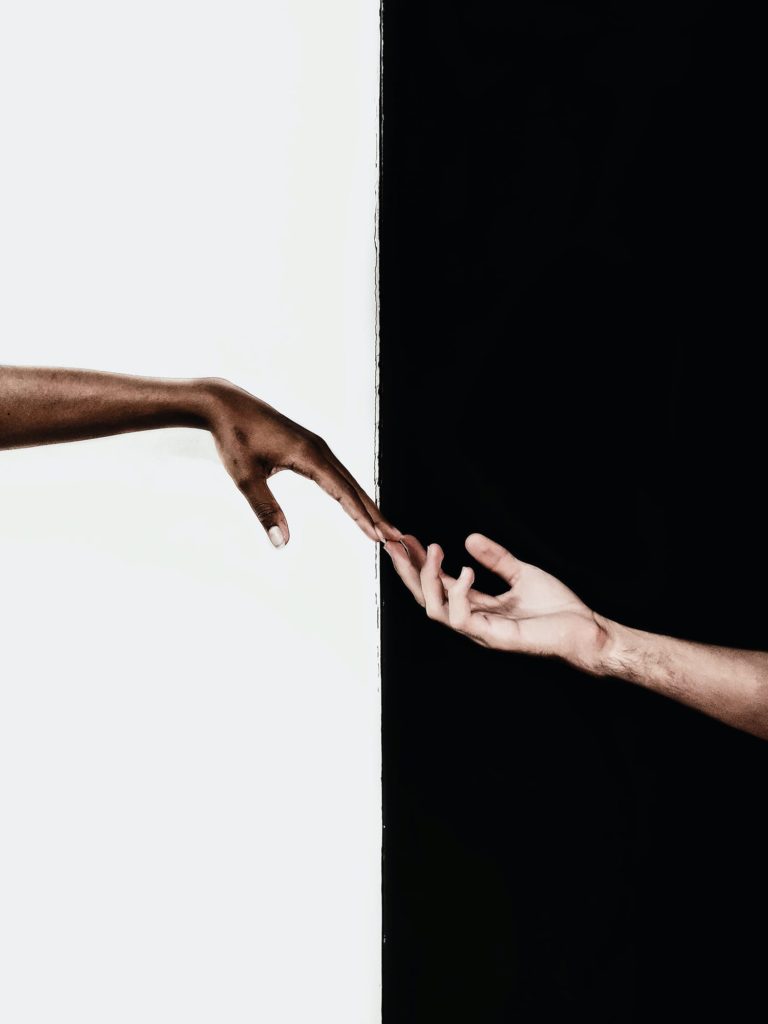
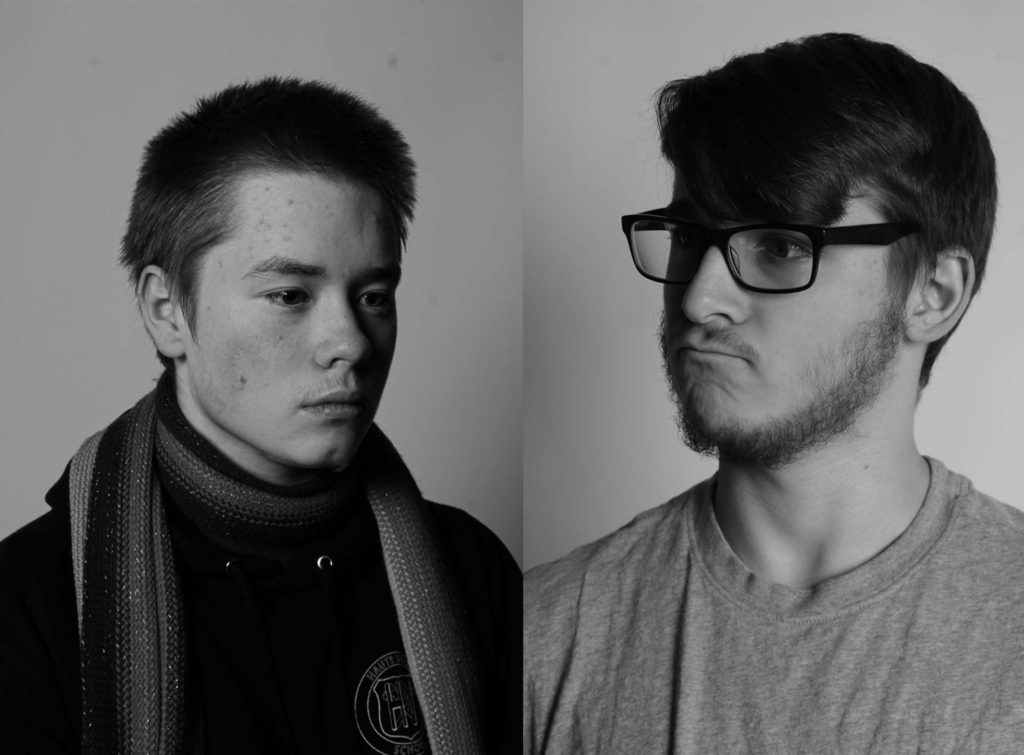
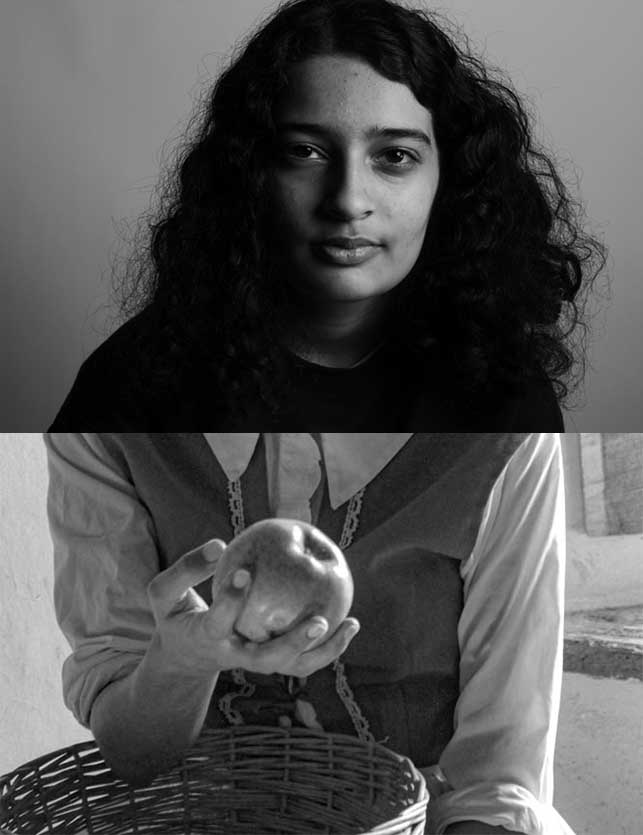
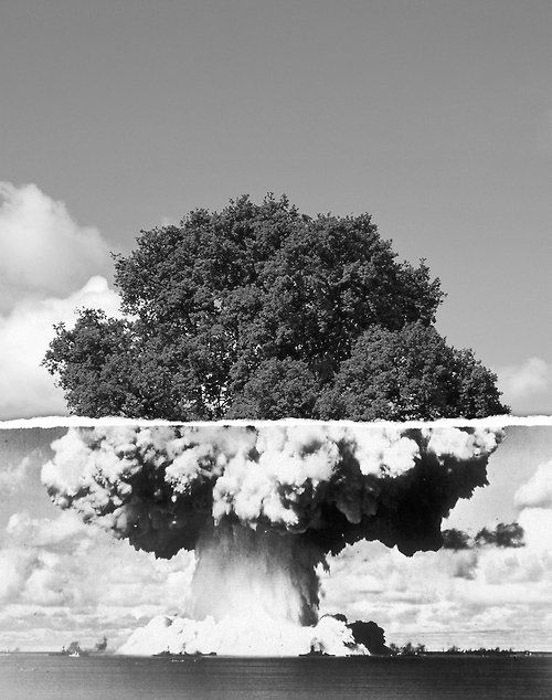
Juxtaposition in photography happens when two or more people/objects are compared side by side, creating an interesting contrast in colours, shapes, lines, etc. It’s a very significant way to describe two contrasting effects of objects, ideas, people, images, and animals in a single photo.

27 Best Juxtaposition Photography Examples to Inspire You
Example of Juxtaposition in photography

My Juxtaposition Images

This image has an empty alt attribute; its file name is josh-edit-2-copy-822x1024.jpg

studio portraits

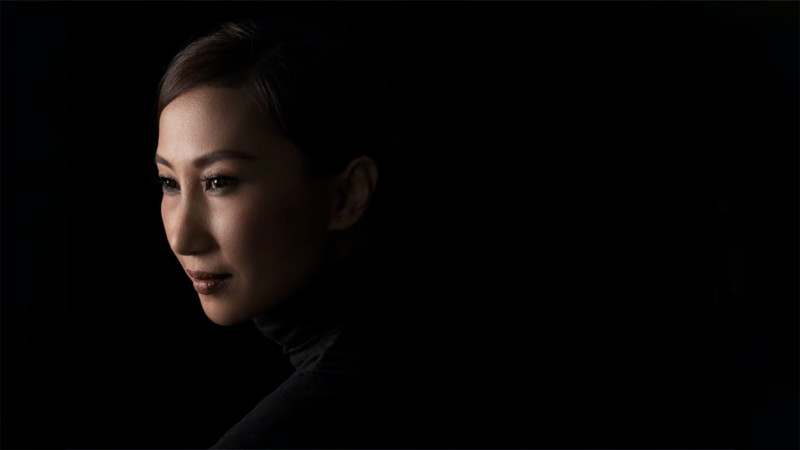
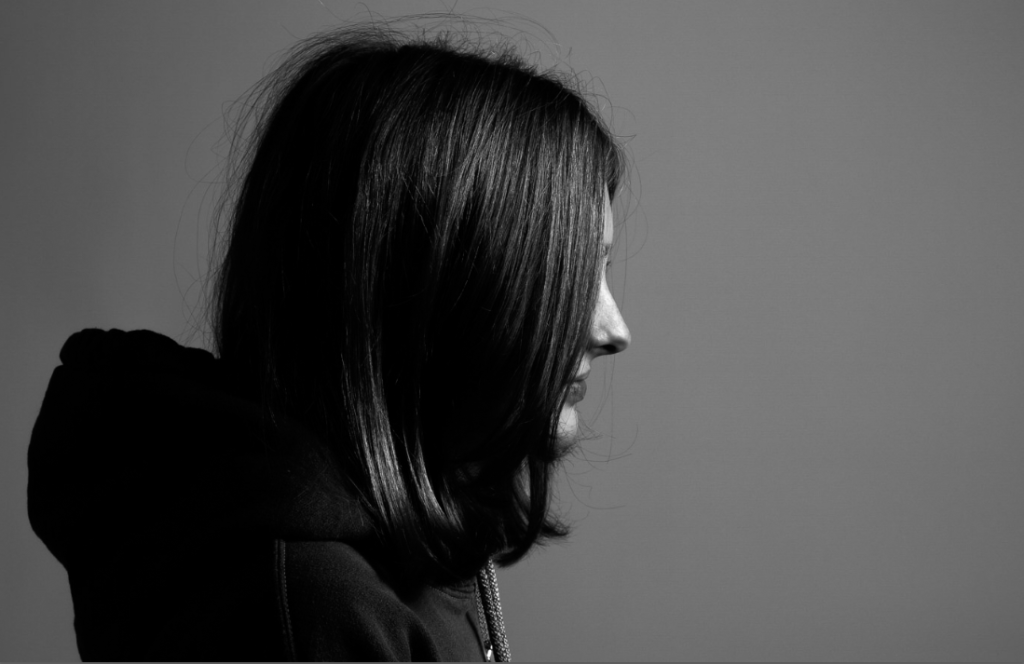
One point lighting

a single source of light creates a very natural, sometimes dramatic look that will draw people’s attention to the single lighted person or surface. And if it’s good enough for nature, there are times it might be good enough for you.

How to Shoot Dramatic Portraits with a Point and Shoot Camera and One Light
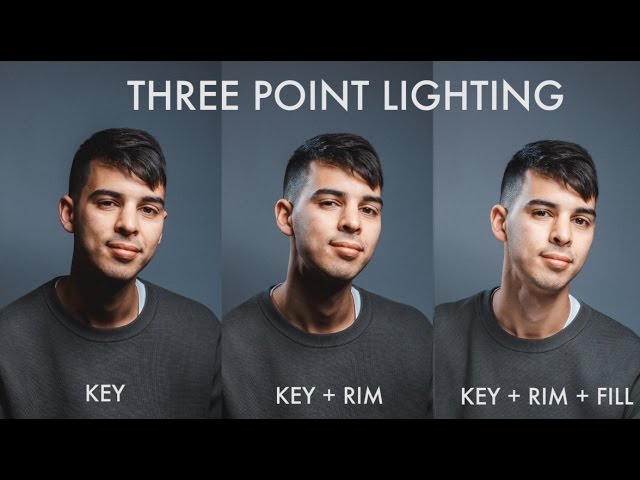
Three-point lighting

Three-point lighting is one of the most common lighting setups. It is traditionally used in a studio, but photographers may use it on-location in combination with ambient light. This setup uses three lights, the key light, fill light, and back light, to fully bring out details and the three-dimensionality of the subject’s features.

What is Three-Point Lighting? 5 Tips for Setting Up Three-Point Lighting.
Photography Lighting like a PRO (Three Point Lighting Tutorial) - YouTube
Key light

The key light, also known as the main light, is placed either to the left, right, or above the subject’s face, typically 30 to 60 degrees from the camera. The purpose of the key light is to give shape to and emphasize particular features of the subject. The distance of the key light from the camera controls the falloff of the light and profoundness of shadows.

The Key Light: What It Is, How It Works, and Why It Matters - Magnum -  Lighting, Stage, Rigging, Audio and Video Rental
Fill light

The fill light, also known as the secondary main light, is typically placed opposite the key light. For example, if the key light is placed 30 degrees camera-left, the fill light will be placed 30 degrees camera-right. The purpose of a fill light is to combat strong shadows created by the main light. Intensity of the fill light may be equal to the main light to eliminate shadows completely, or less intense to simply lessen shadows. Sometimes, the purpose of a fill light may be served by a reflector rather than an actual light.

Back light

The back light, also known as a hair light, helps separate a subject from its background and emphasize hair. In some cases, photographers may use a hair light to create lens flare or other artistic effects.

High-key and low-key lighting
High-key
High-key lighting is a technique used to result in an image that is mostly free of shadows and has a background brighter than the subject. High-key lighting typically involves use of all three lights (or more) in the three-point lighting setup.

Low-key

Low-key lighting is a technique used to result in an image where only part of the subject is lit, has dark shadows, and a background darker than the subject. Low-key lighting typically involves use of just one light in the three-point lighting setup (although sometimes two).

Butterfly lighting

Butterfly lighting uses only two lights. The key light is placed directly in front of the subject above the camera (or slightly to one side), and a bit higher than the key light in a three-point lighting setup. The second light (more often a reflector rather than an actual light) is placed as a fill directly below the camera (or slightly to the opposite side).

This lighting may be recognized by the strong light falling on the forehead, the bridge of the nose, the upper cheeks, and by the distinct shadow below the nose that often looks rather like a butterfly and thus, provides the name for this lighting technique.

Butterfly lighting was a favourite of famed Hollywood portraitist George Hurrell, which is why this style of lighting is often called Paramount lighting.
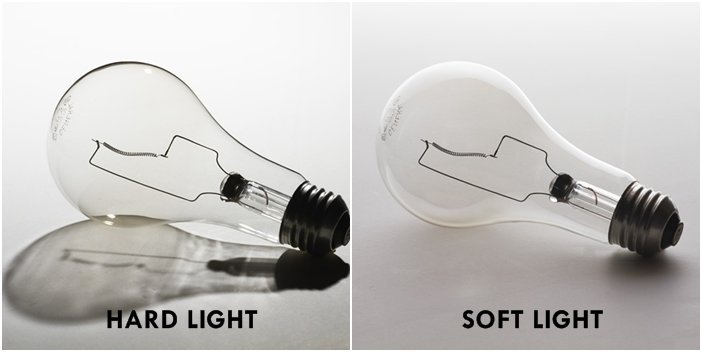
This image has an empty alt attribute; its file name is 1_two-lightbulbs-side-by-side-1.jpg

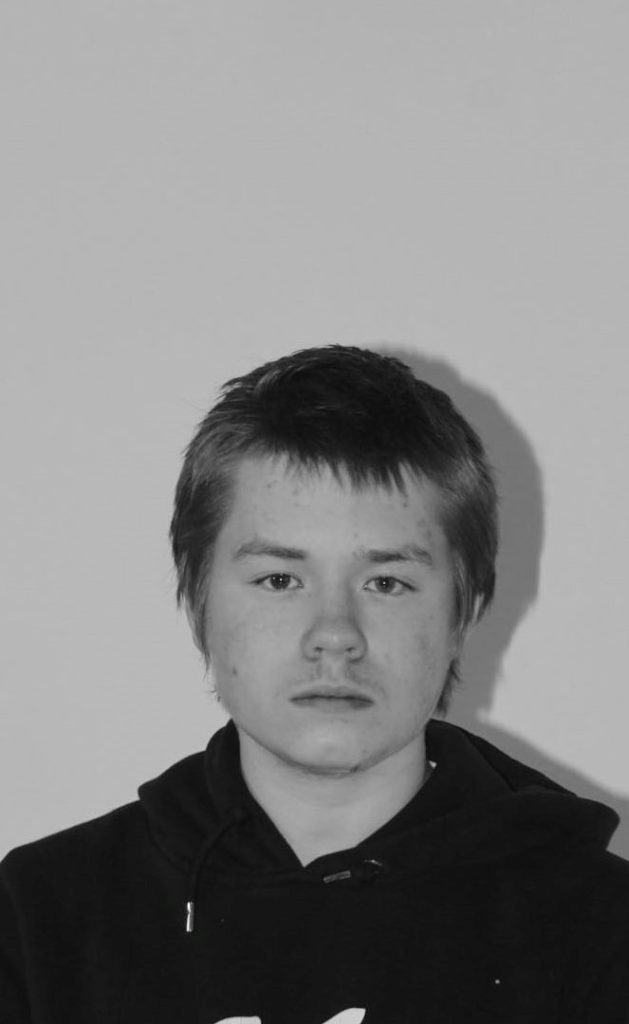
Experimentation: Deadpan/Passport

The origins of the word “Deadpan”  can be traced to 1927 when Vanity Fair Magazine compounded the words dead and pan, a slang word for a face, and used it as a noun. In 1928 the New York Times used it as adjective to describe the work of Buster Keaton.

This style originated in Germany and is descended from Neue Sachlichkeit (New Objectivity) a German art movement of the 1920s that influenced the photographer August Sander who systematically documented the people of the Weimar Republic .

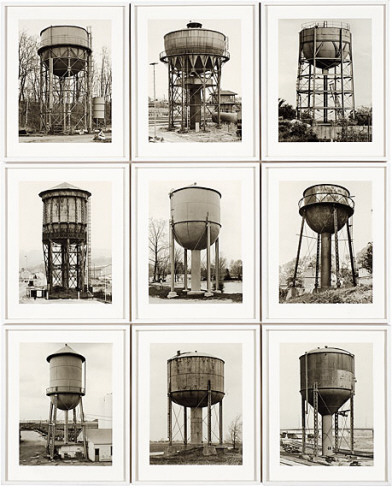
In the 1970s, Bernd and Hilla Becher, known for their devotion to the principles of New Objectivity, began to influence a new generation of German artists at the Dusseldorf School of Photography. These young German photographers included Thomas Struth, Andreas Gursky, Candida Hofer and Thomas Ruff. The Bechers are best remembered for their studies of the industrial landscape, where they systematically photographed large structures such as water towers, coal bunkers or pit heads to document a soon-to-disappear landscape in a formalistic manner as much akin to industrial archaeology as art. The Bechers’ set of “rules” included clean, black and white pictures taken in a flat grey light with straight-on compositions that perfectly lent themselves to their presentation methodology of large prints containing a montage of nine or more similar objects to allow the study of types (typology) in the style of an entomologist.

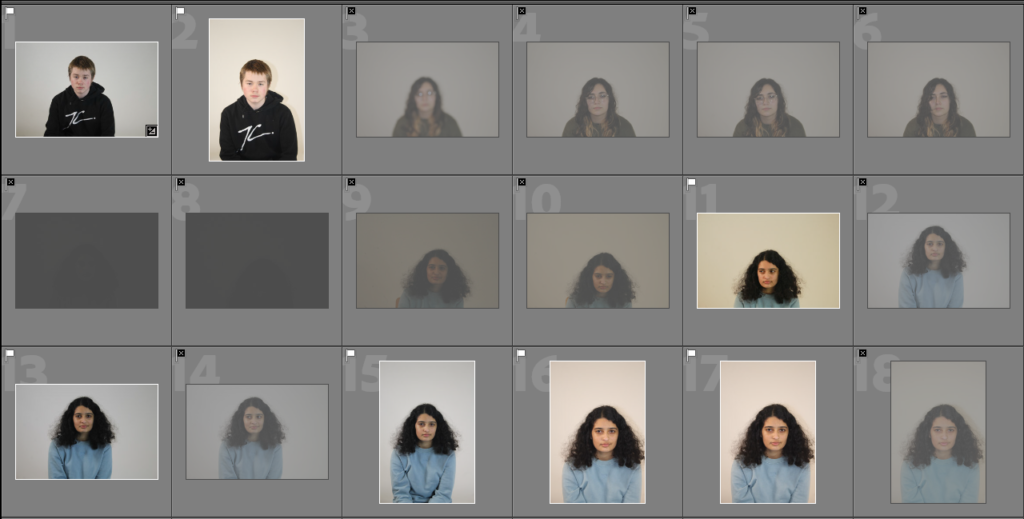
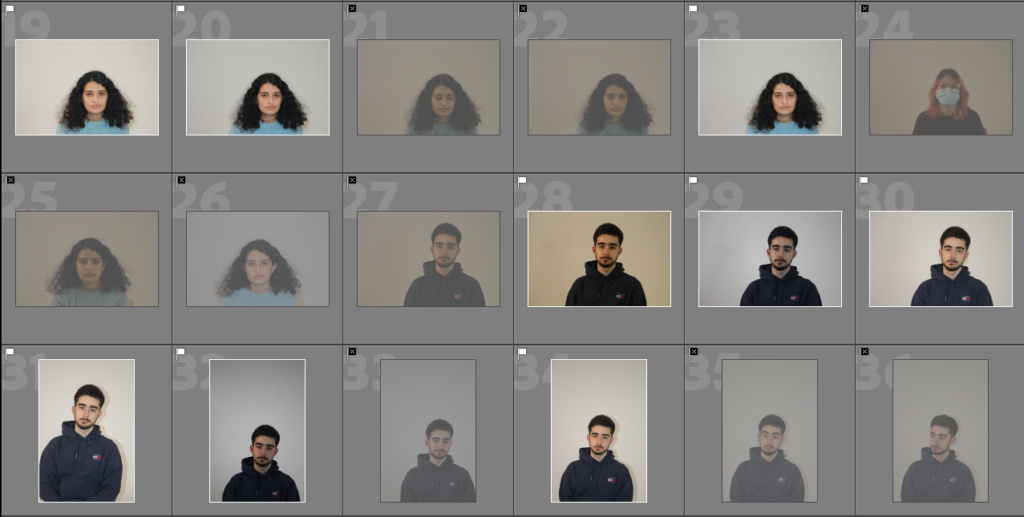
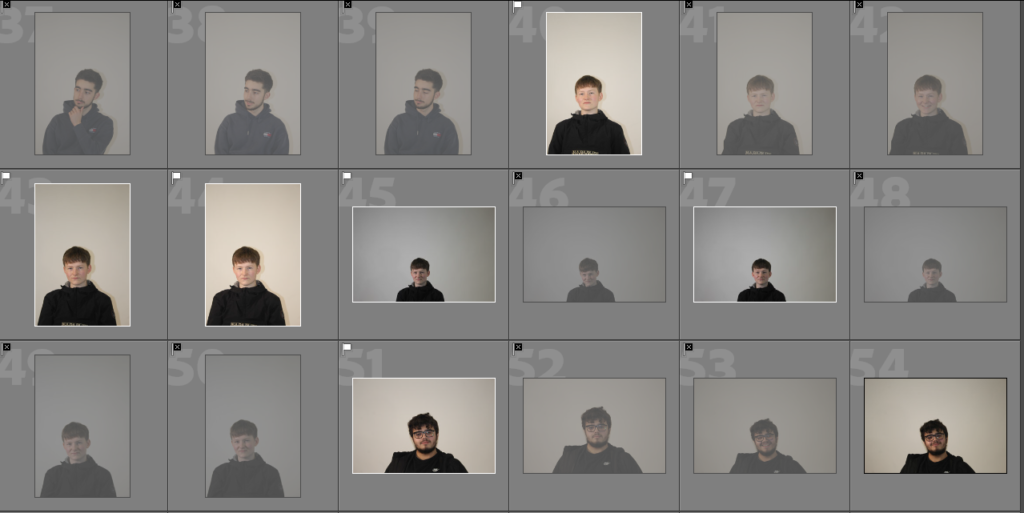
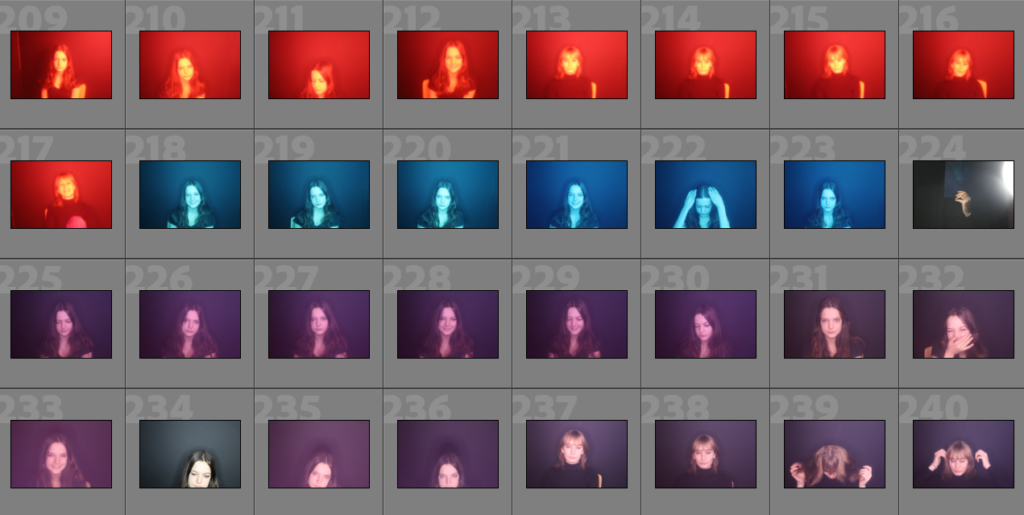
Contact Sheets

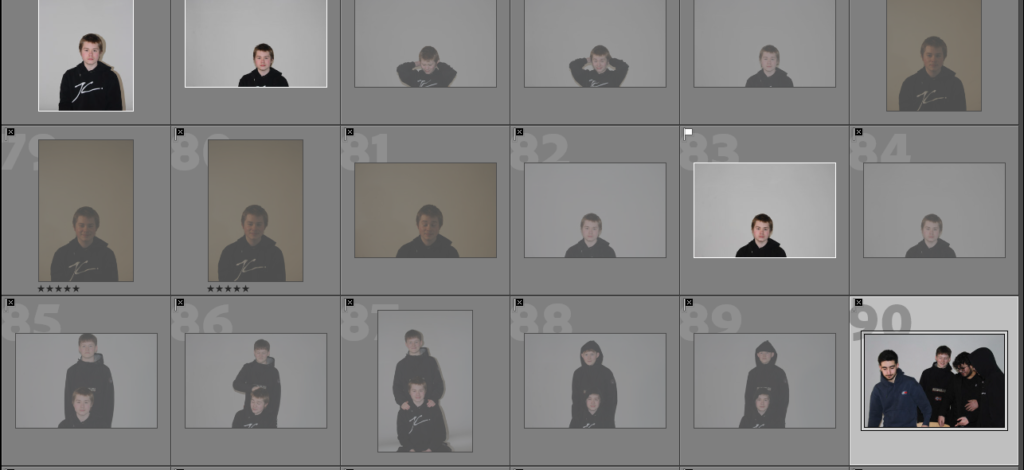
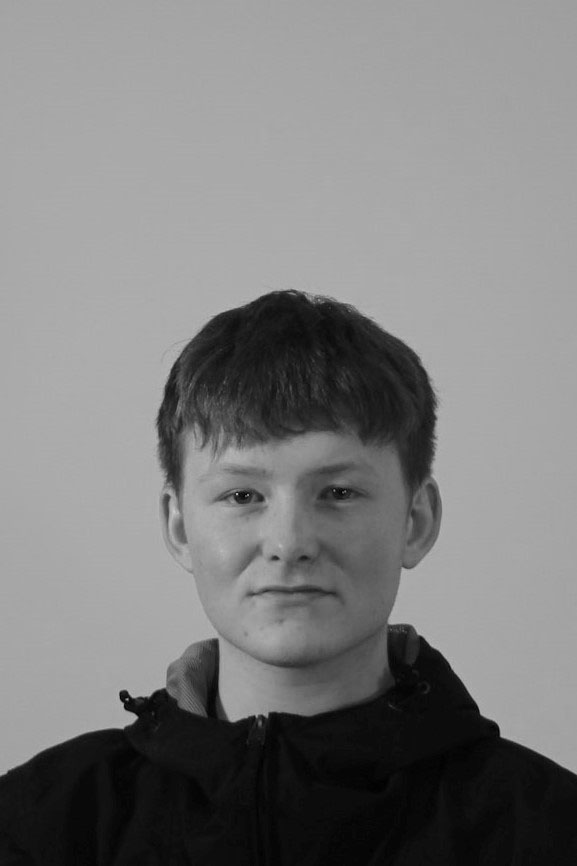
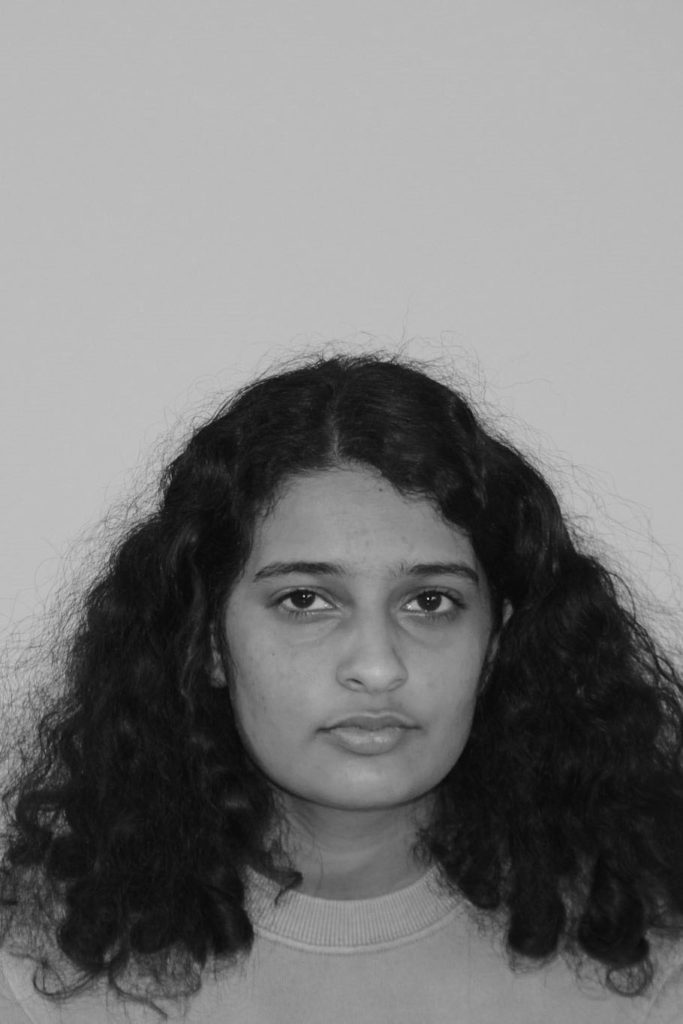
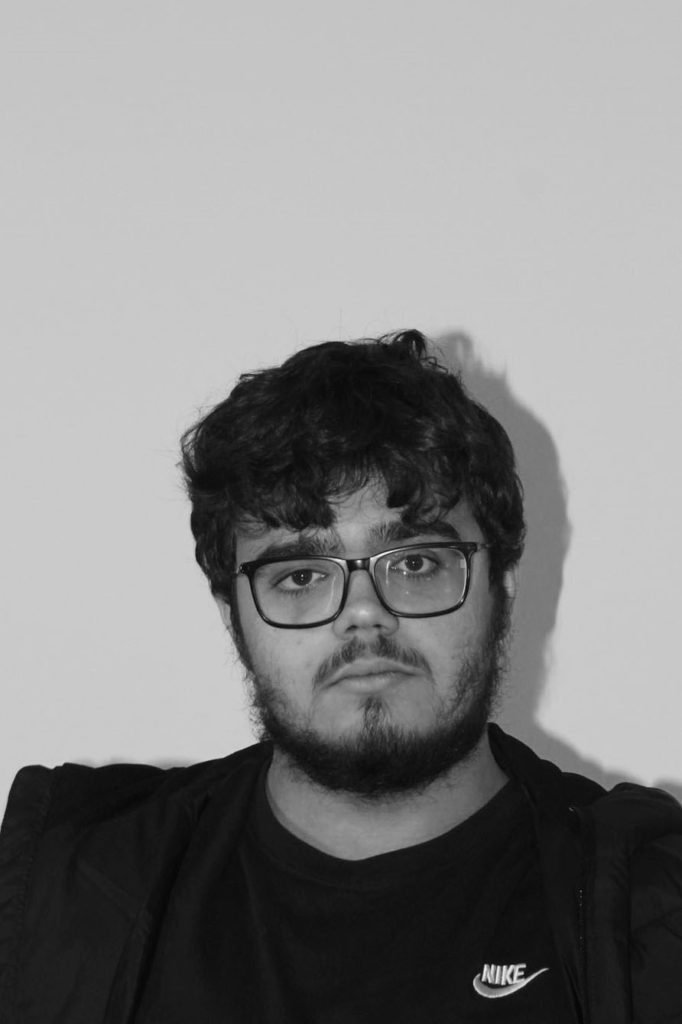
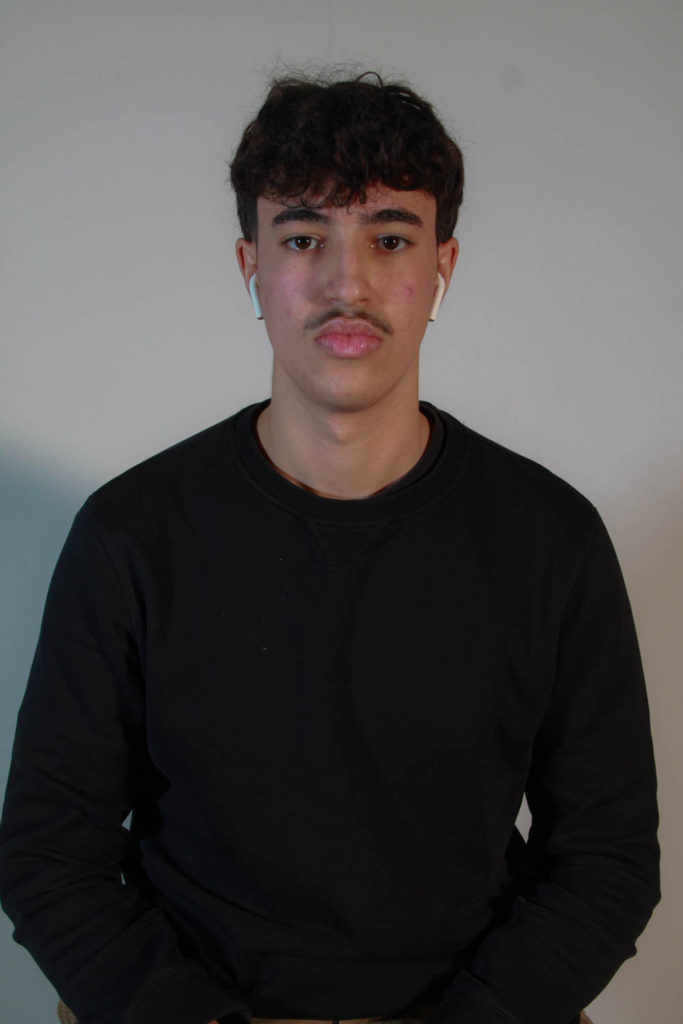
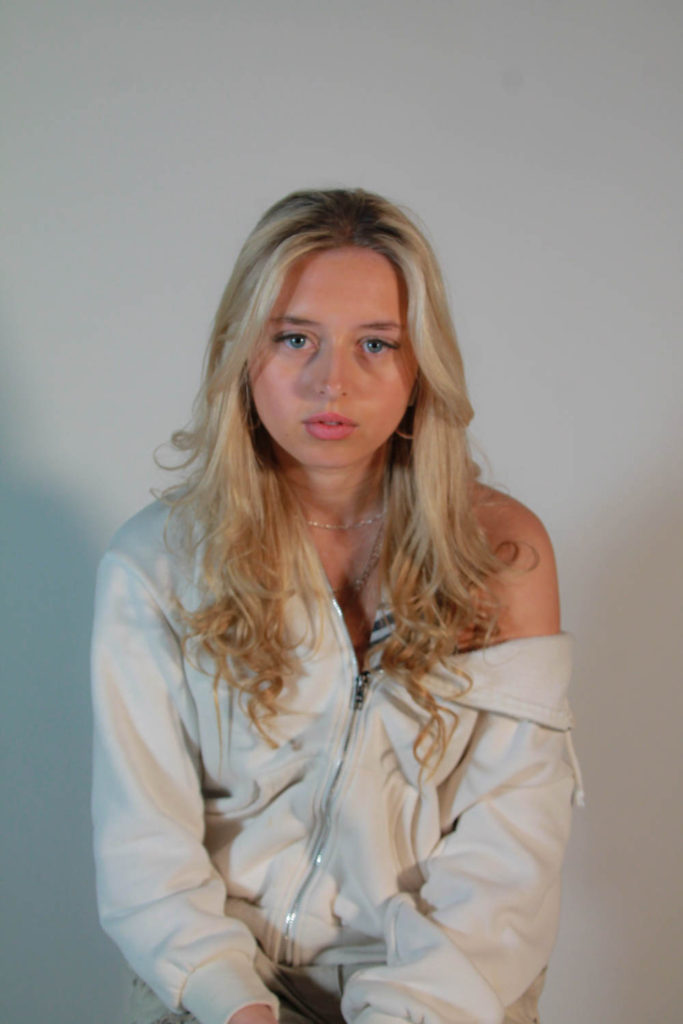
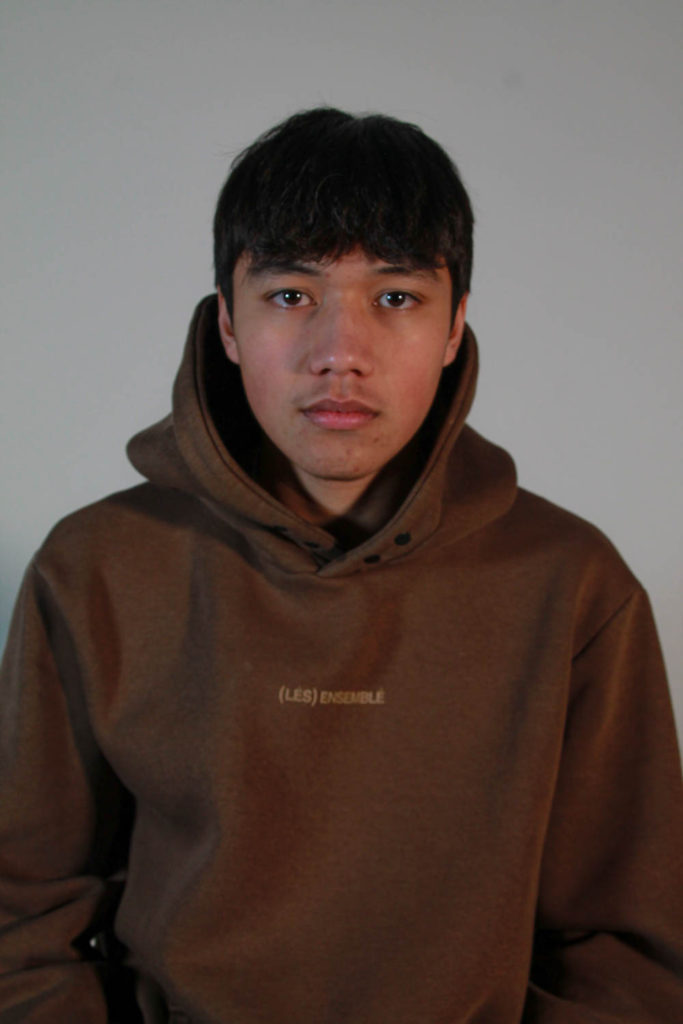
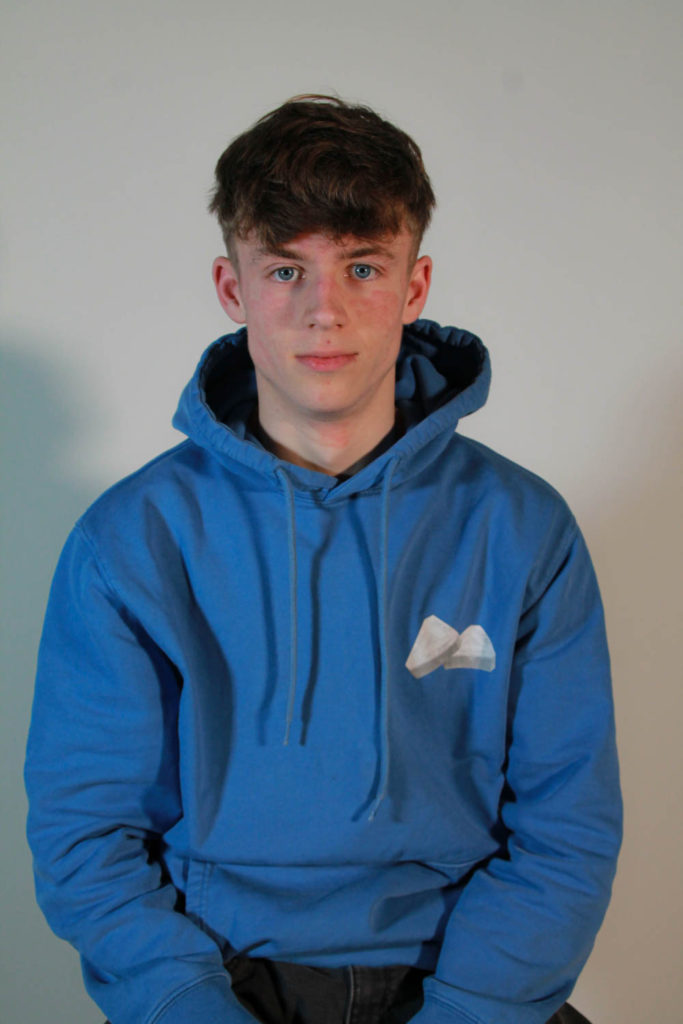
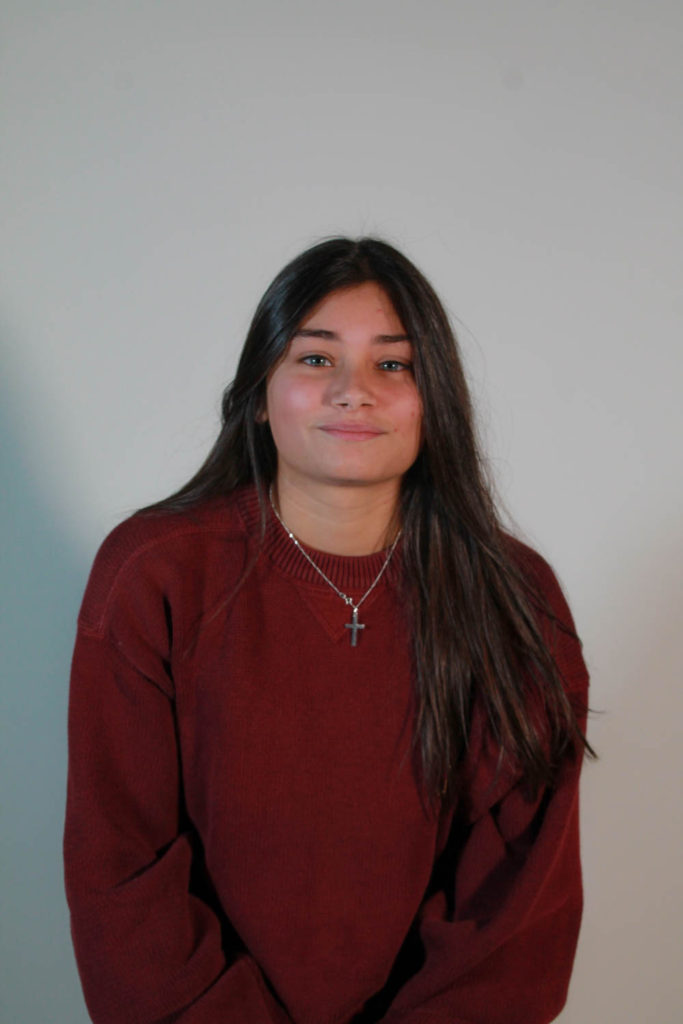
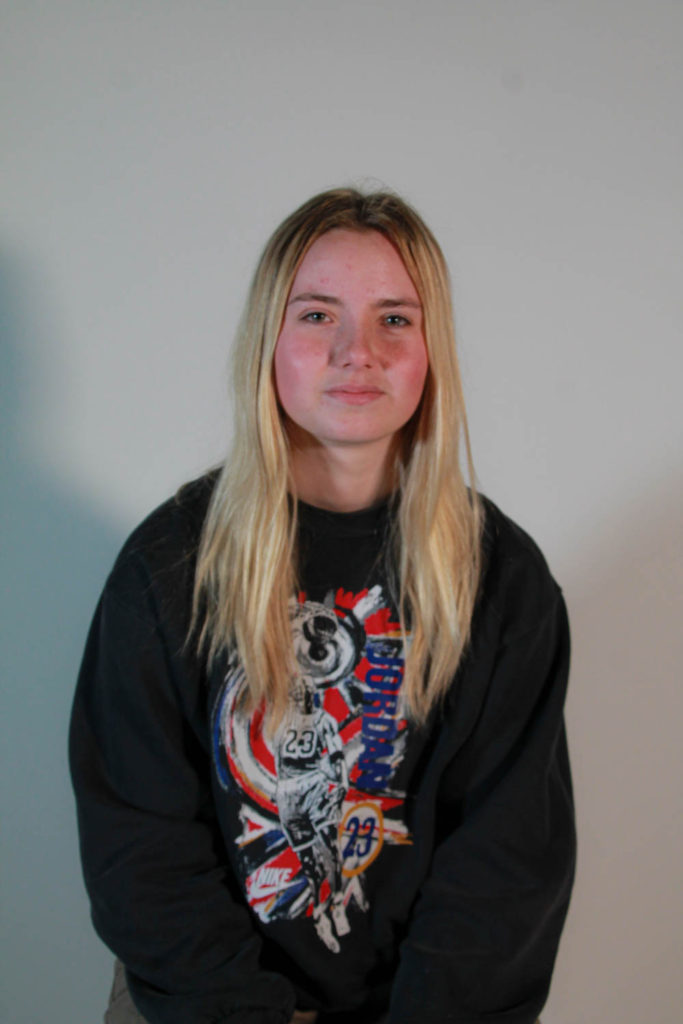
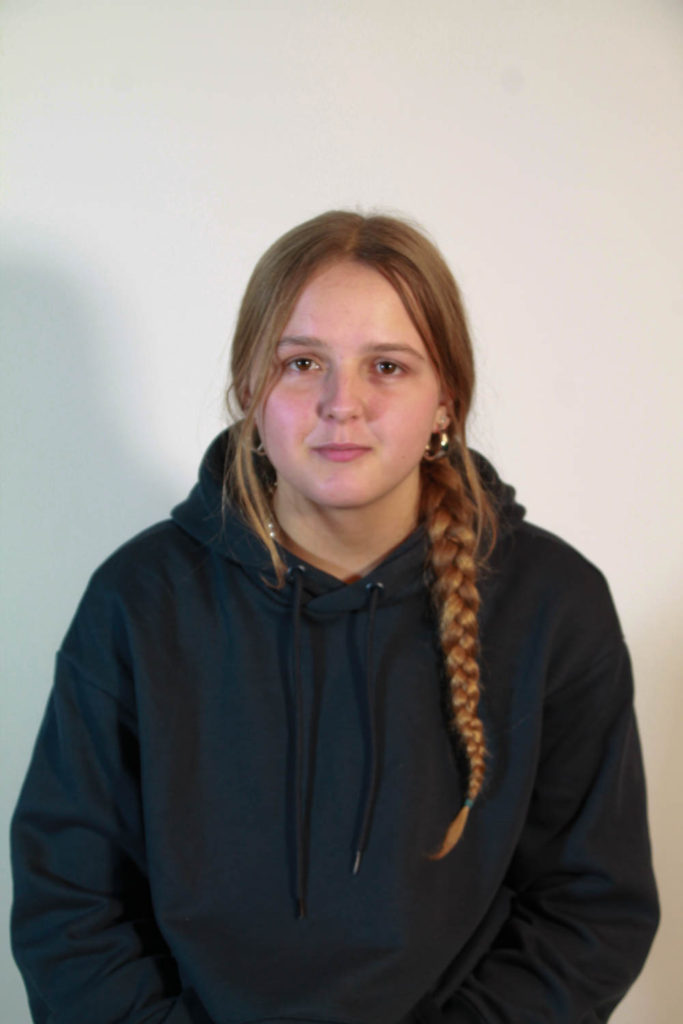
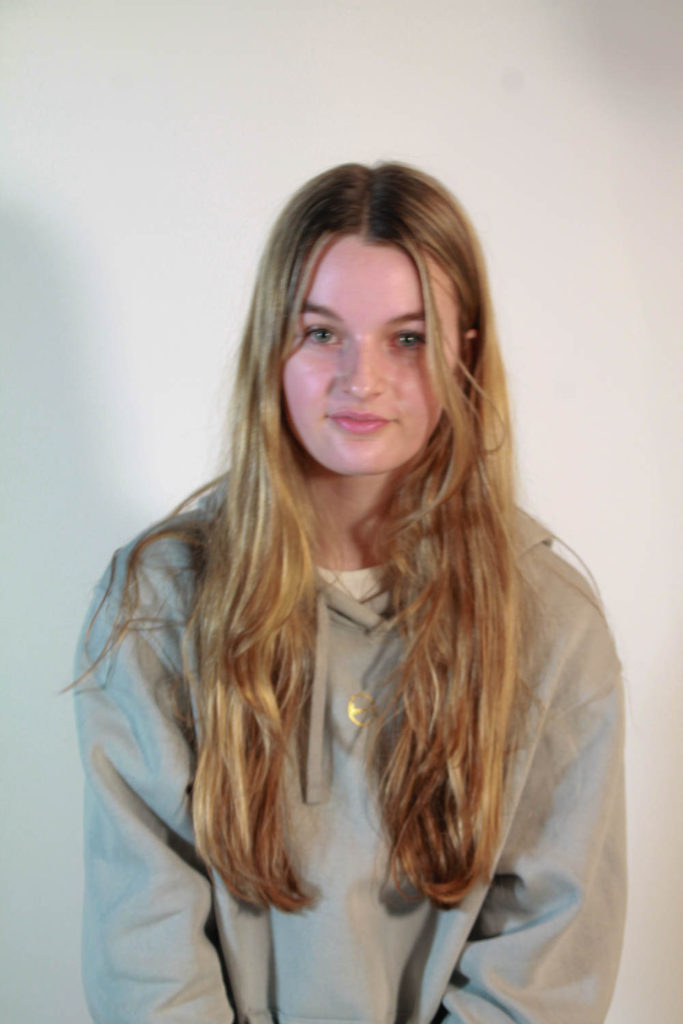
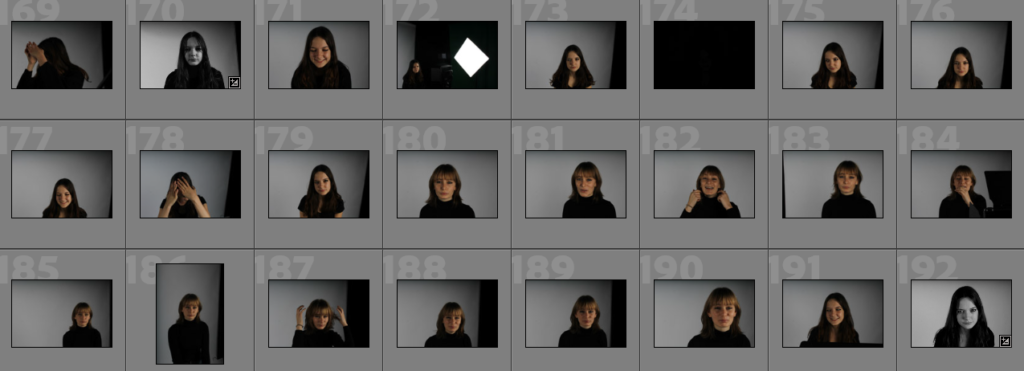
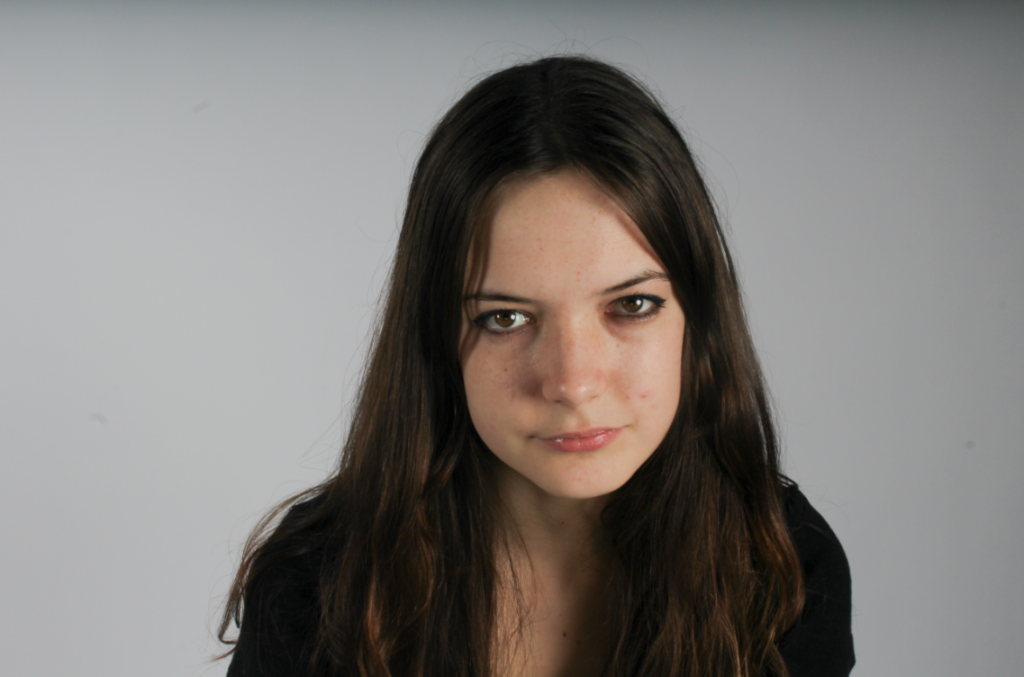
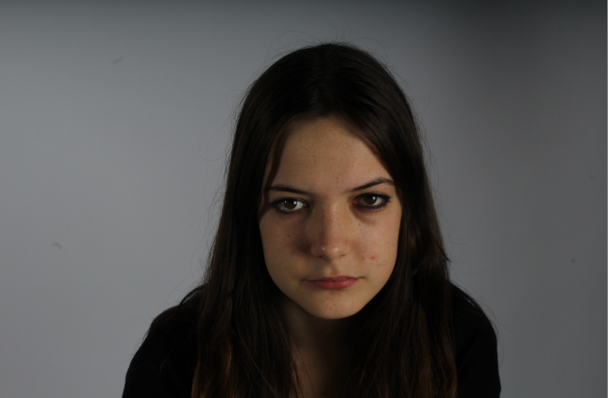
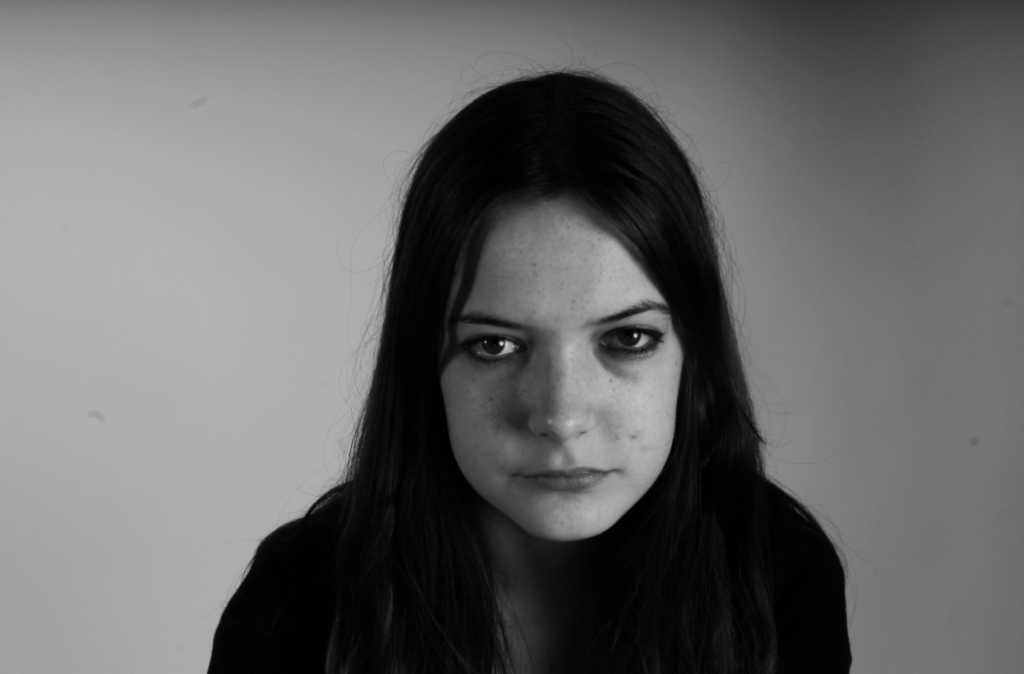
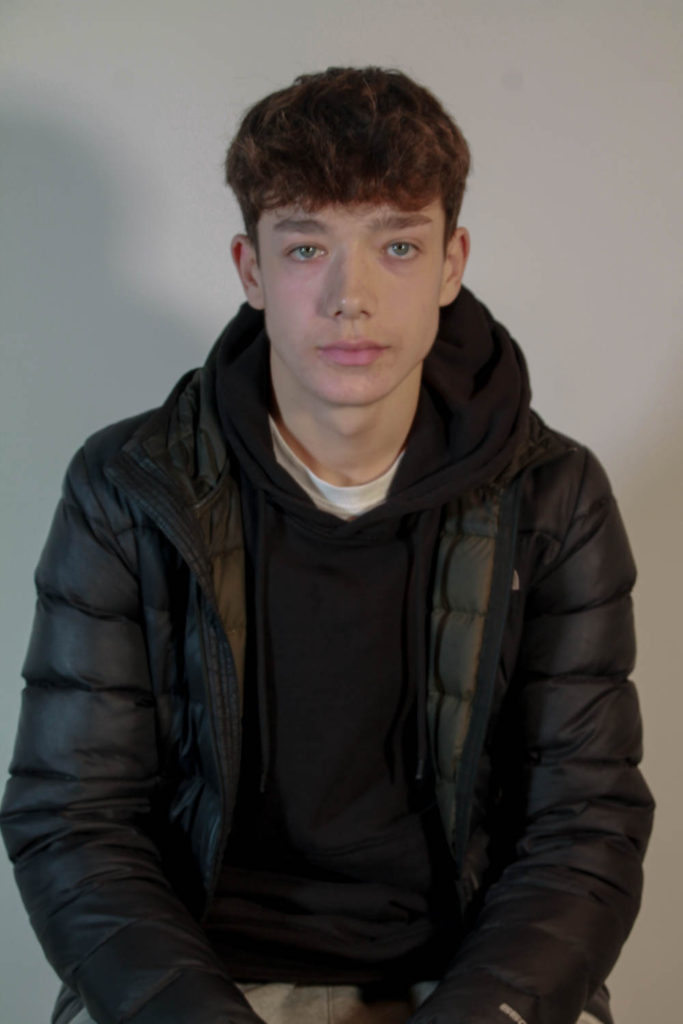
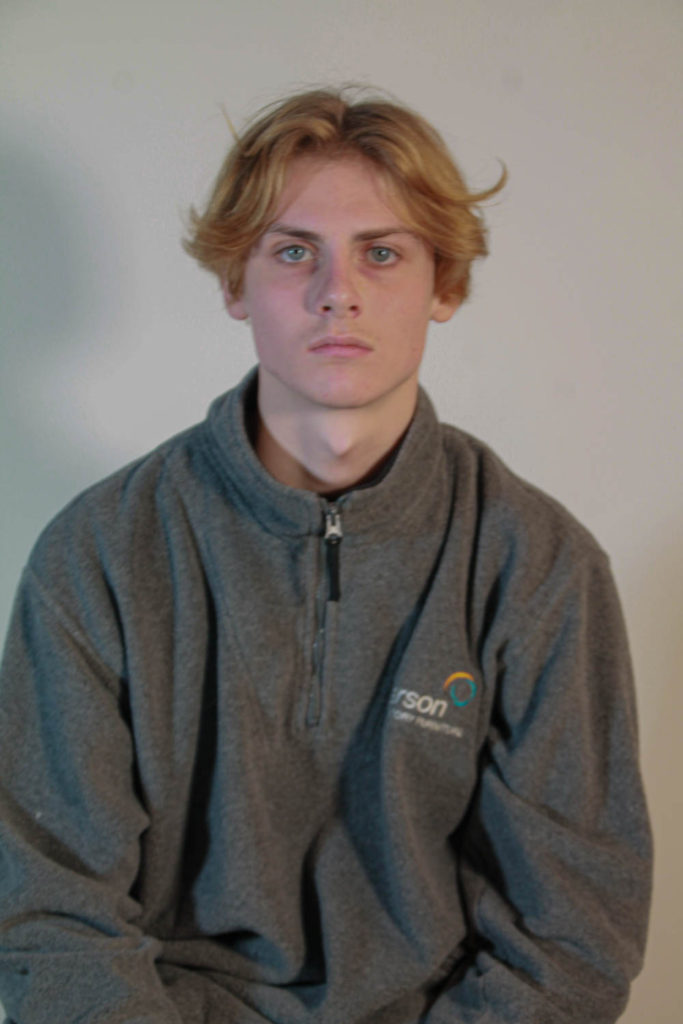
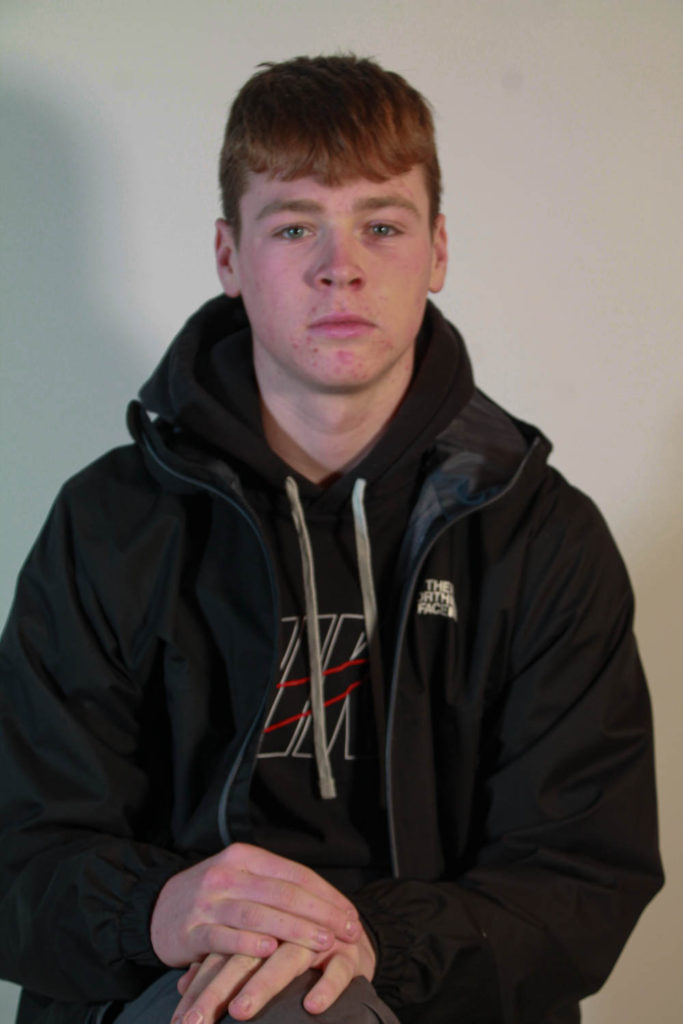
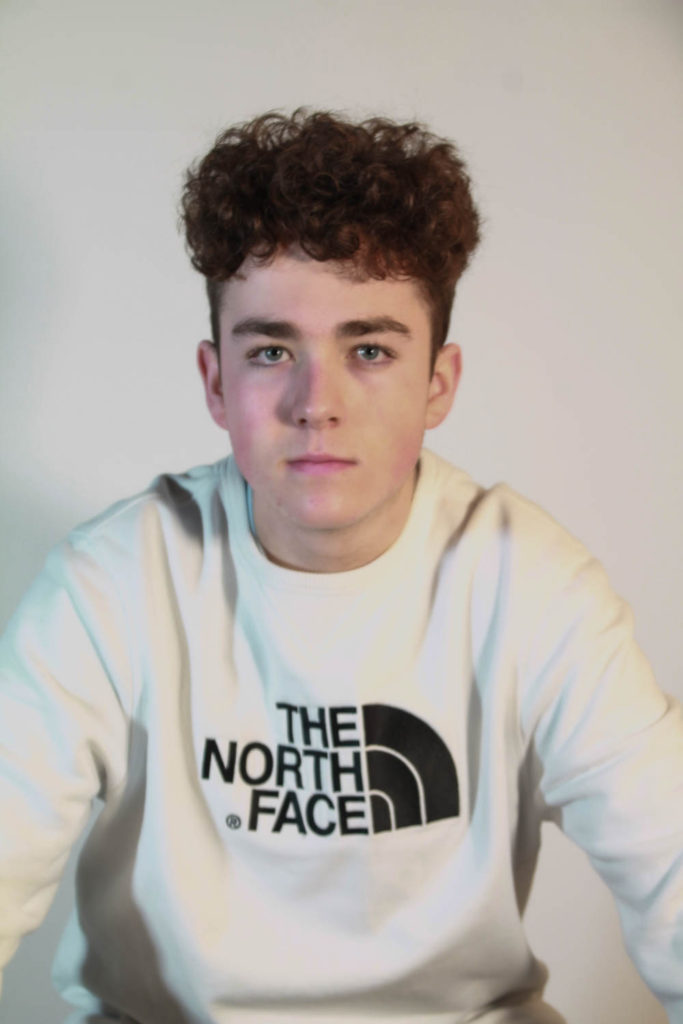
During this photoshoot I aimed for getting deadpan photographs by taking passport like images. I tried keeping the lighting as consistent as possible in order for the images to look the same.

My Edits

Headshots Approaches

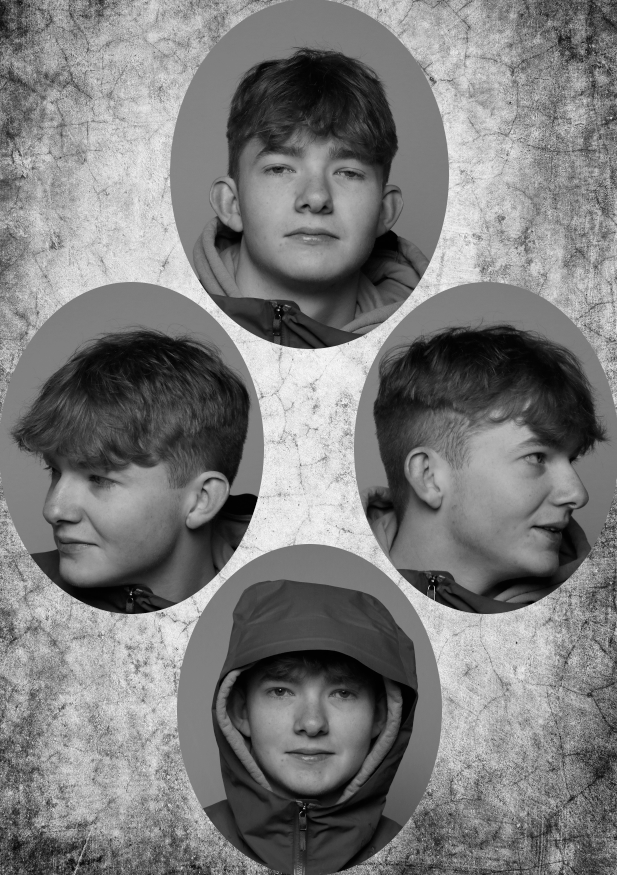
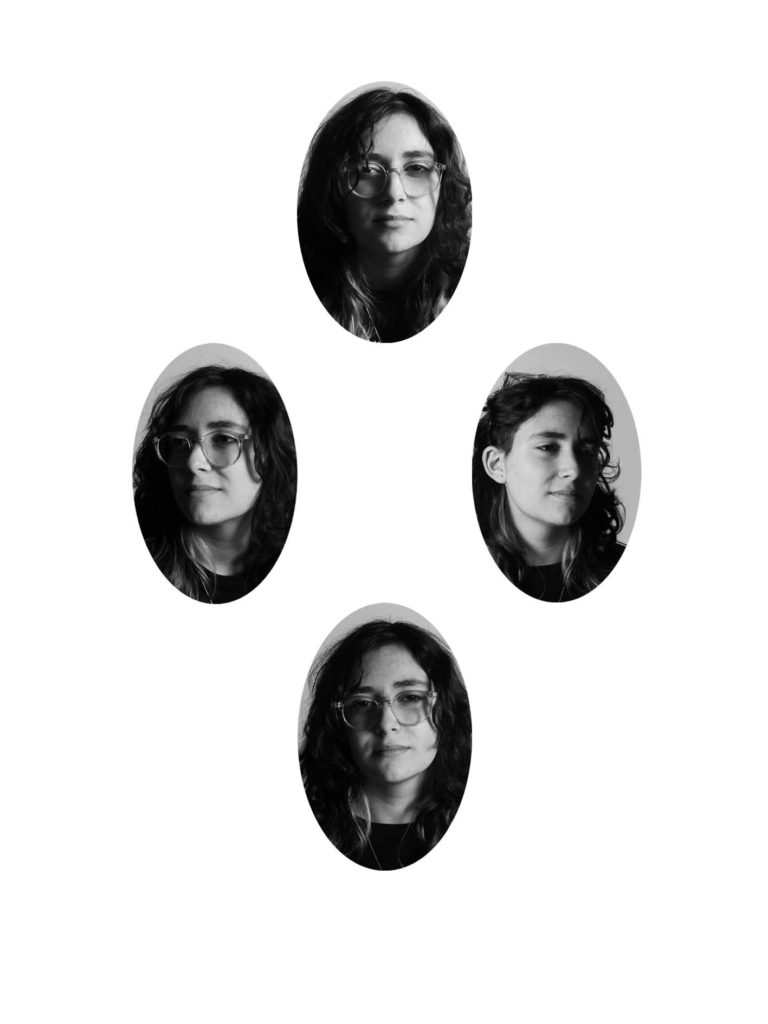
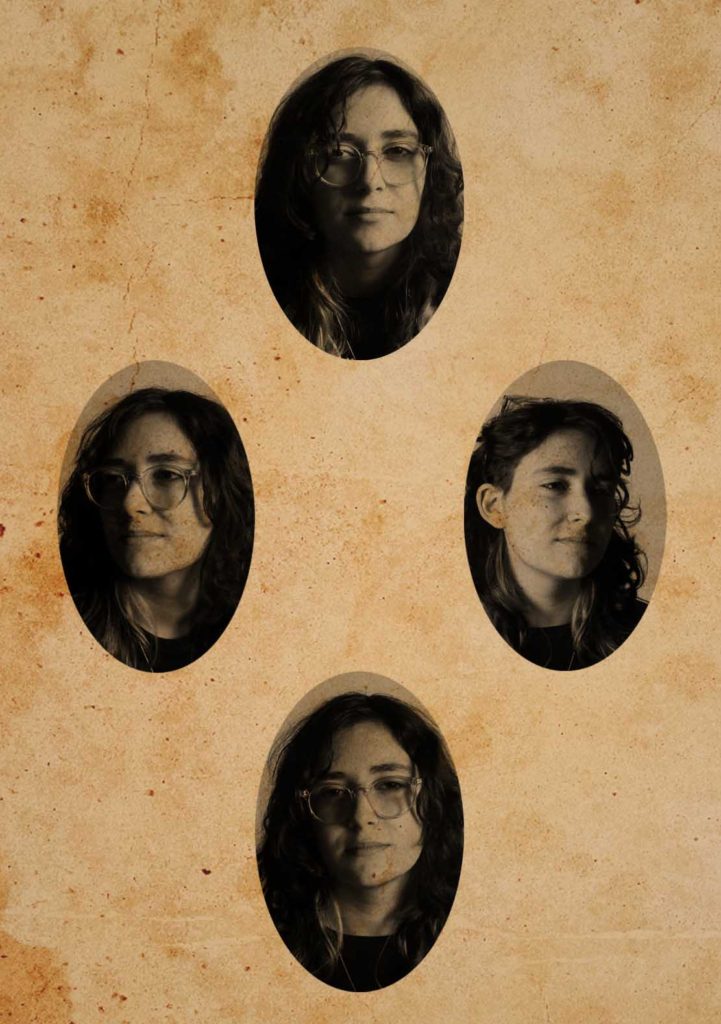
Diamond Cameo

I produced this by cropping an oval shape out of four different images of George. I then arranged them in this diamond formation and applied an old paper-like backfill. The final step was to make it black and white.

Passport Grid

Multi-Exposure

HEADSHOTS – DOUBLE / MULTI EXPOSURES

DOUBLE/MULTI-EXPOSURES

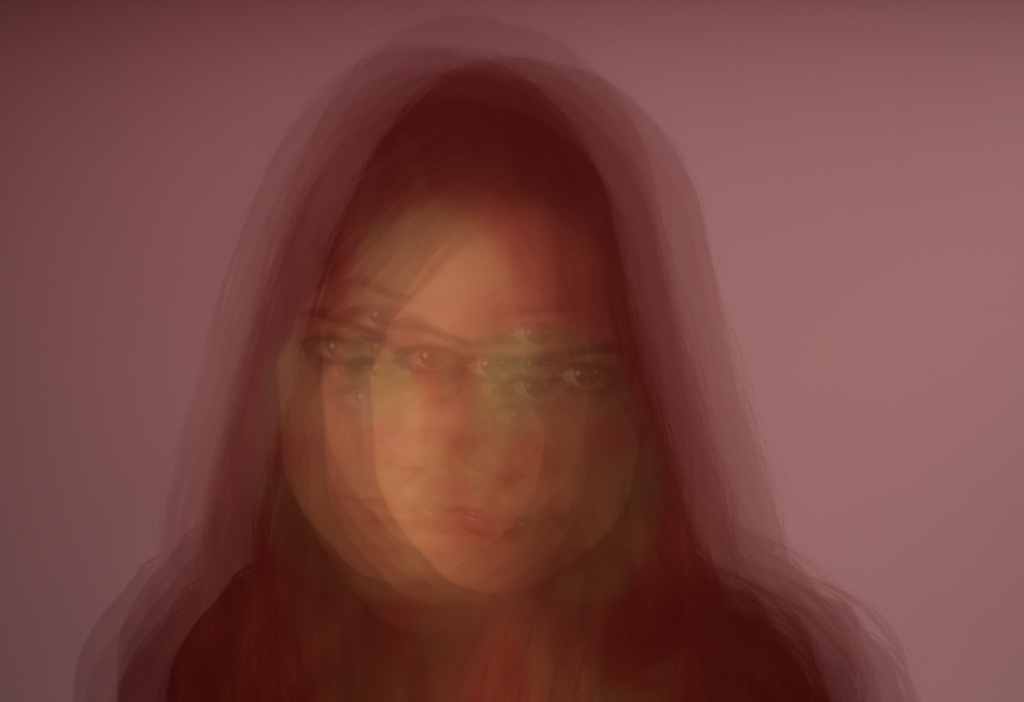
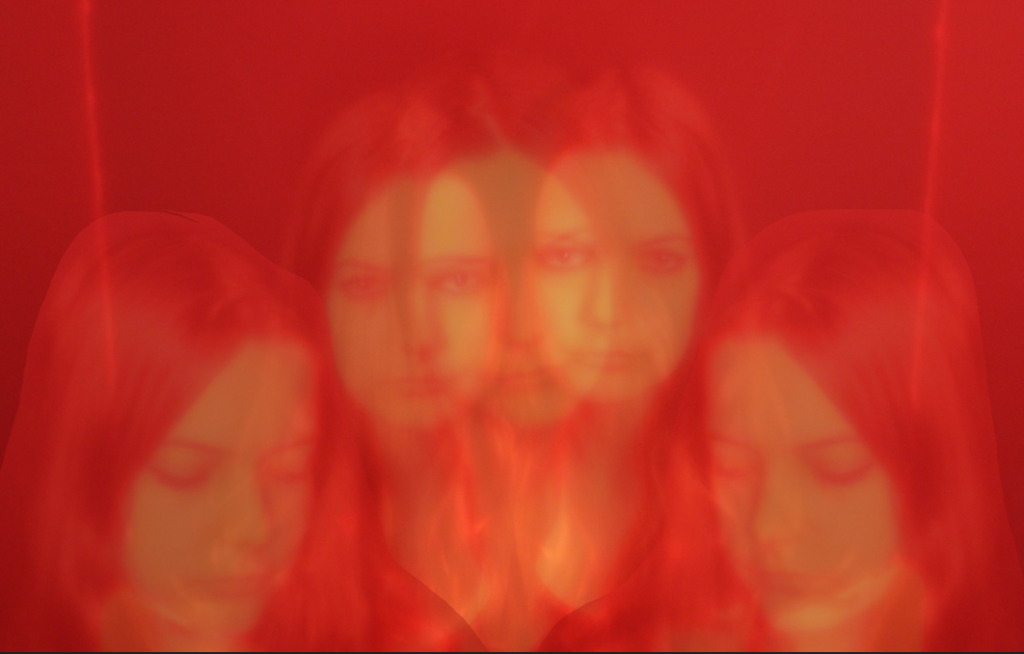
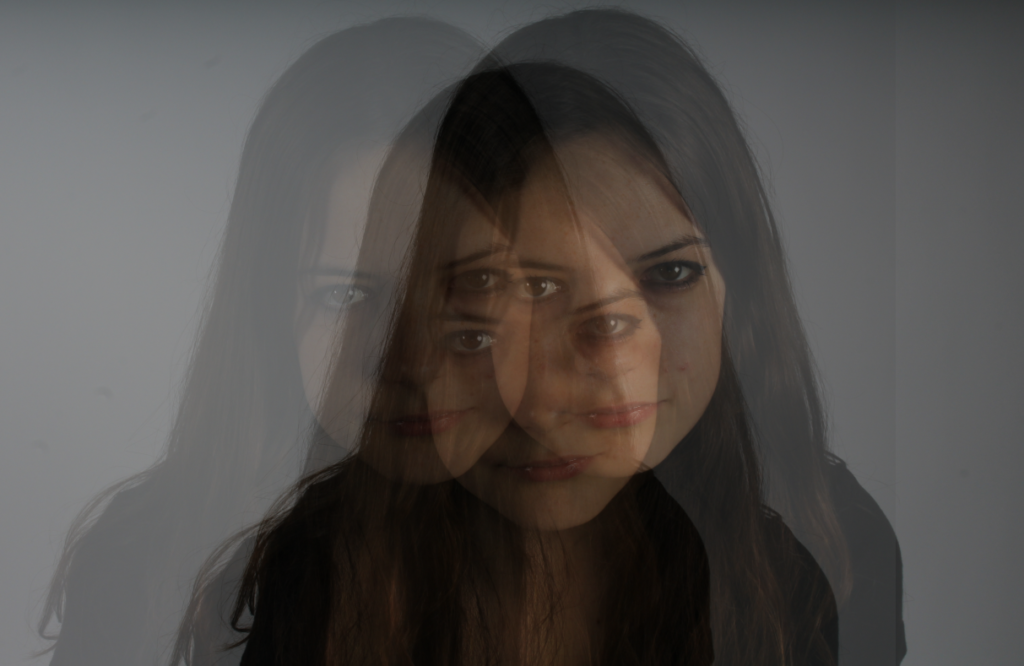
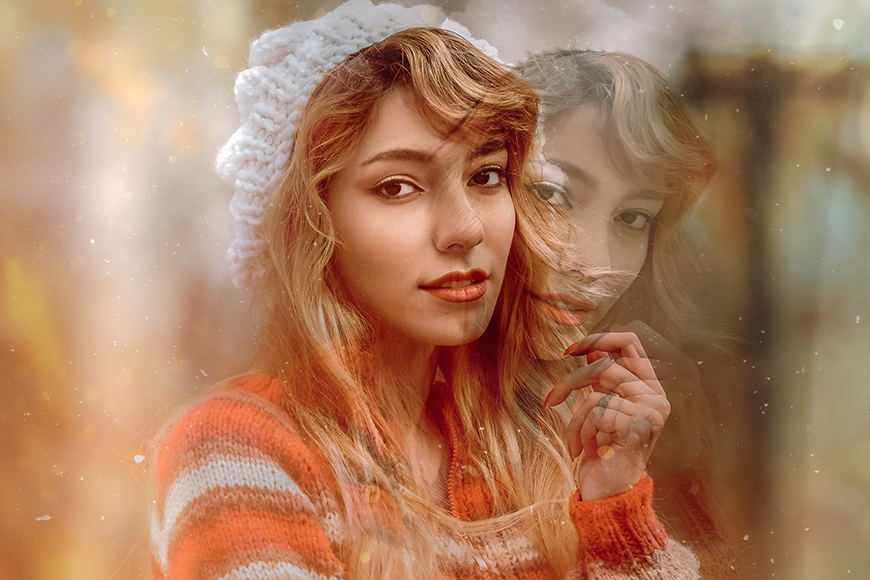
Using my photos taken from the first photoshoot I did in the studio (see blog post here) I created the multi-exposed image above in Adobe photoshop by layering the images then turning down the opacity.

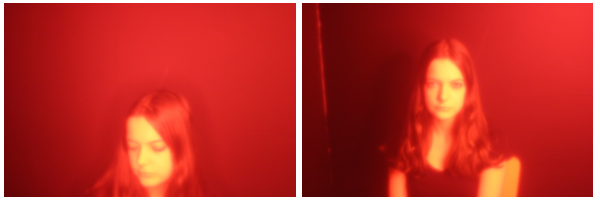
Original images

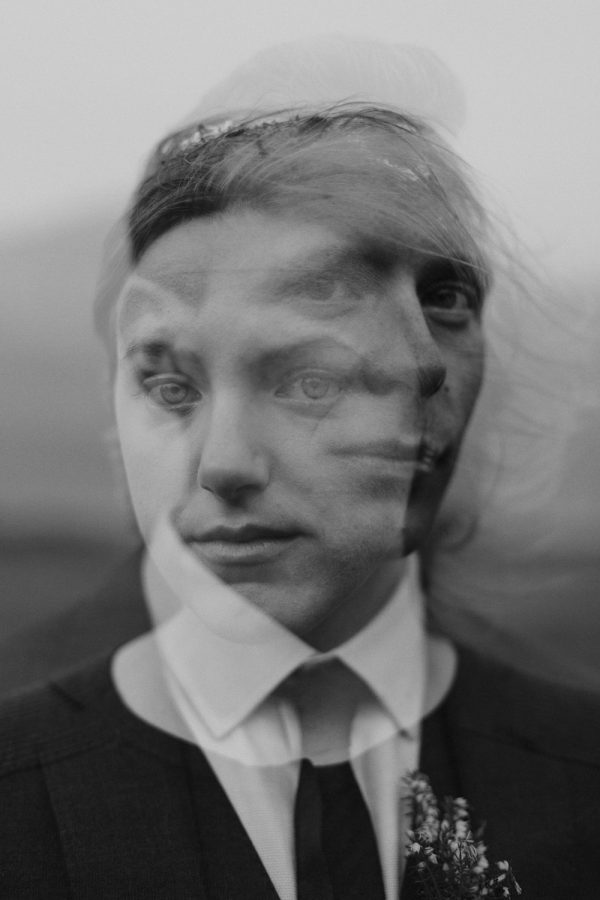
In this image I used Adobe photoshop to first layer the images and turn down the opacity, then I moved the images around and cut out then horizontally flipped the two images on the left and right side so they would frame the middle face.

Original images

I created the multi-exposed image above in Adobe photoshop by layering the images then turning down the opacity.

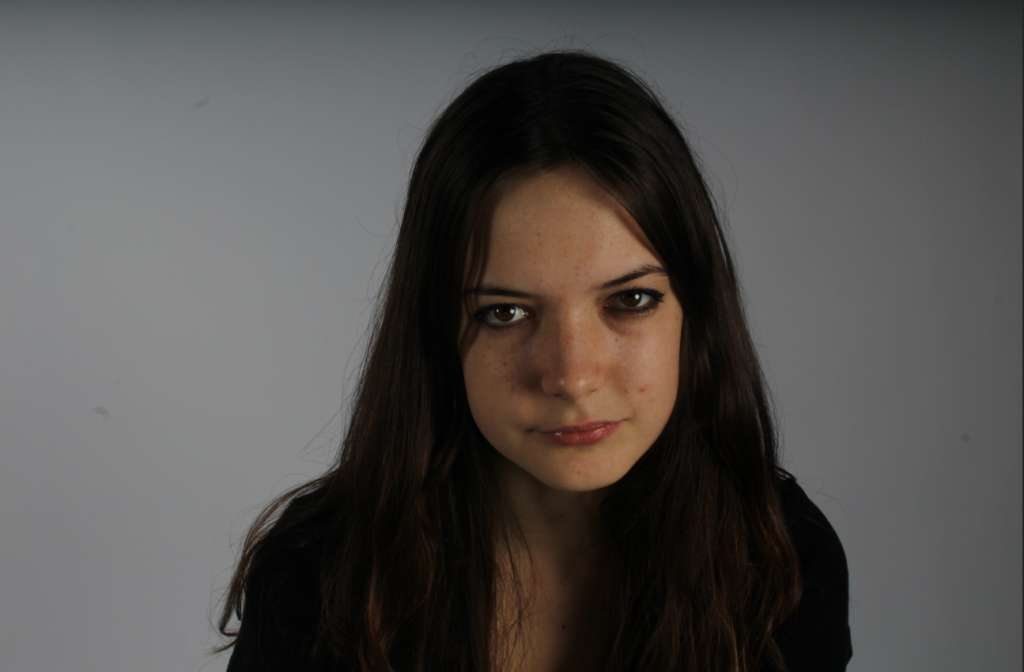
Original image

Overall, I like these images but I do not think they successfully incorporated the same psychedelic feeling that Ira Cohen’s images did, I think this is due to how professional the original images were and my lack of experience on photoshop as Ira Cohen often ensured a relaxed photography style, where subjects were photographed in a unorganised and luck-based way.

My final images

portrait and identity- studio

PORTRAIT AND IDENTITY- FIRST PHOTOSHOOT

Final edited image

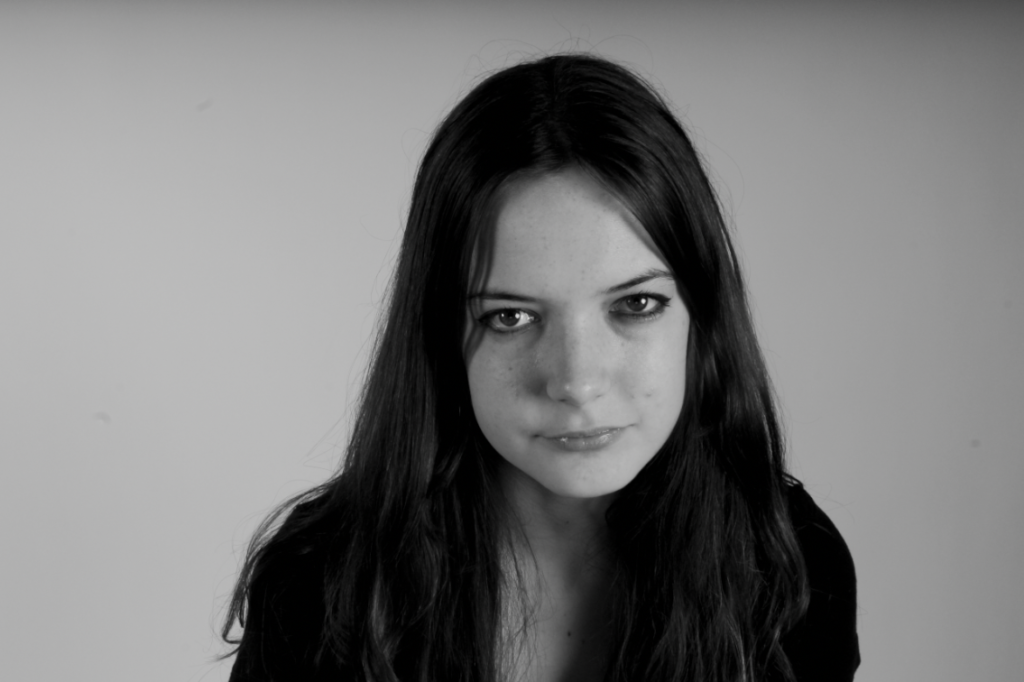
I decided to change my final images into black and white to make them look more professional.

Final image

We used an artificial light and flash in the studio, with a diverse setup of lighting which we experimented with.

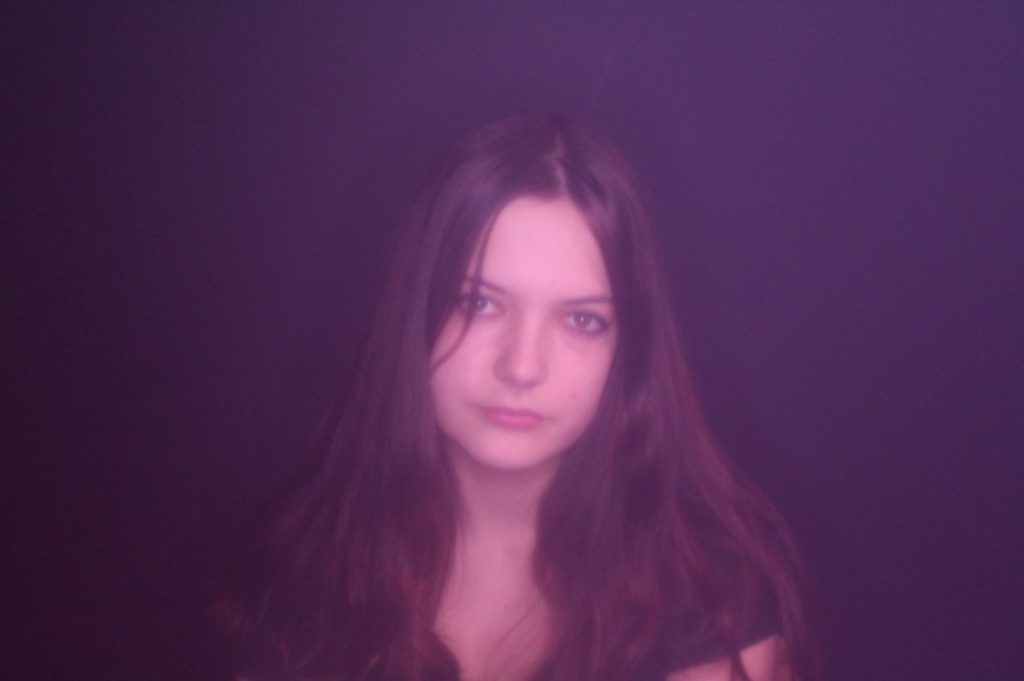
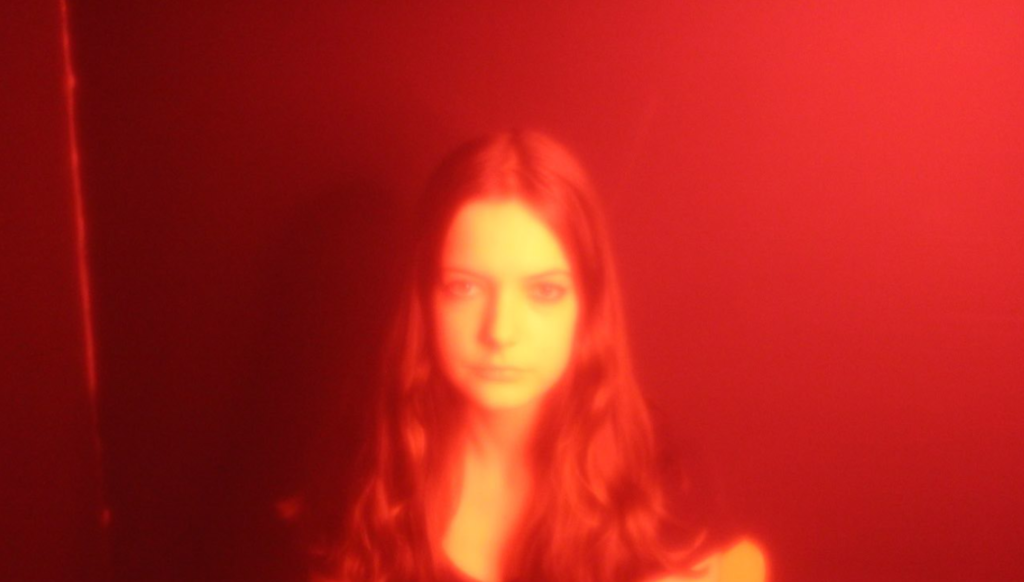
USE OF COLOURED LIGHT

I really like the use of coloured light as it makes the images look dream-like and hazy.

I am planning to use these images when making my double/multi-exposure images as they remind me of Ira Cohen’s work.

Portraits: Photoshoot 1

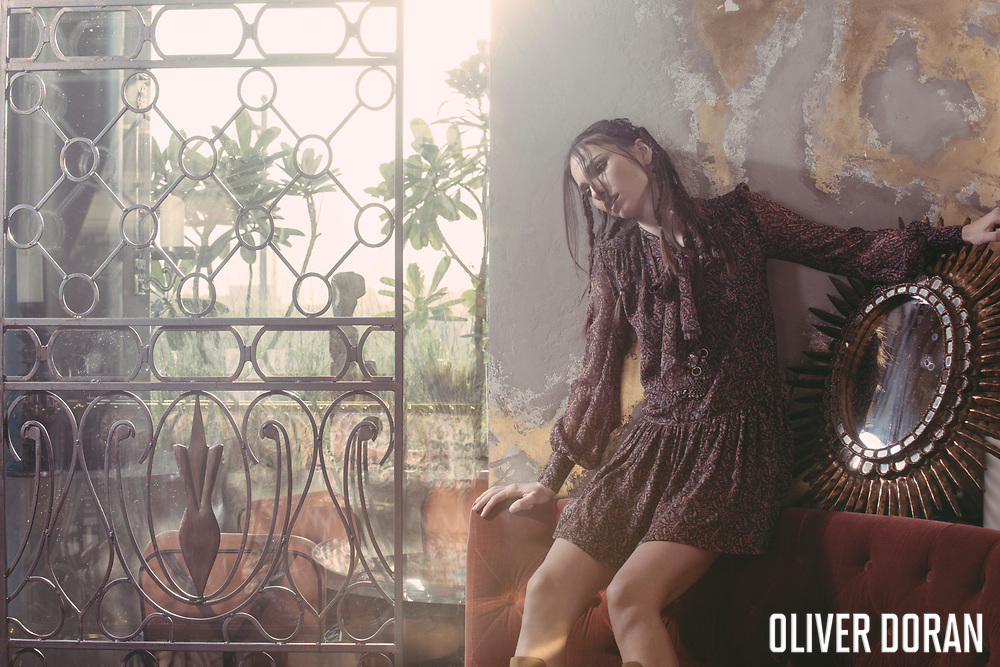
We started taking portraits with the help of a professional portrait photographer called Oliver Doran. He’s a British/French portrait photographer who often uses flash head lights with umbrellas attached to them, allowing the light to be controlled easily and creating a good contrast between the model and the background. He takes his photos in black and white, allowing him to see the different shadows easily instead of focusing on how the colours look in each photo as he understands that he can manipulate the colours later on Photoshop or Lightroom.

Some of Duran’s portraiture

I began by taking a few portraits with his help and guidance, finding it very informative as he kept questioning how I wanted the lighting to fall, whether the background would look better if it was darker or lighter or whether I wanted to try Rembrandt lighting [when only half the face is lit along with a small triangle on the side] etc and would help set up the lights in order to achieve my desired look. This helped build my knowledge of lighting and how manipulating shadows are a key part of taking a successful portrait.

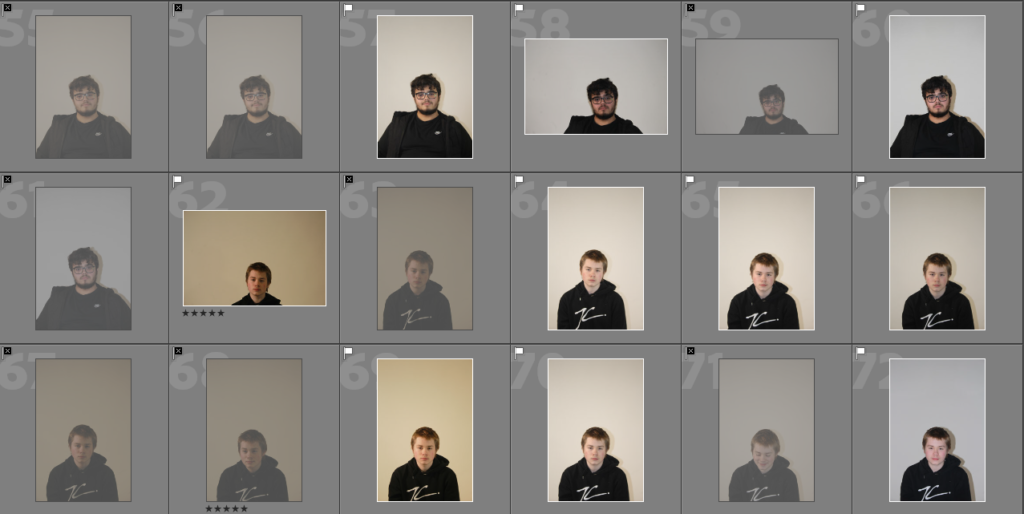
Contact sheet

From this photoshoot, I learned a variety of techniques in order to help me improve when taking portraits such as camera angles [keeping the camera at eye level in order to keep everything in frame], lighting [the height of lights can change small shadows which can improve the photo altogether] and communication [talking to the model is important so they know how to pose in order for you to take a successful and flattering photo of them].

2 of my edits where I turned the images black & white, inspired by Doran’s portraits

In my next photoshoot, I would like to experiment with different types of lighting in order to gain a better understanding of how lighting placement can change the look of a photo completely. Along with that, I’d like to take more photos and try a variety of poses to further experiment with shadows and how differing amounts of lights can create or take away shadows from certain areas without eliminating them altogether.

Experimentation: Diamond Cameo

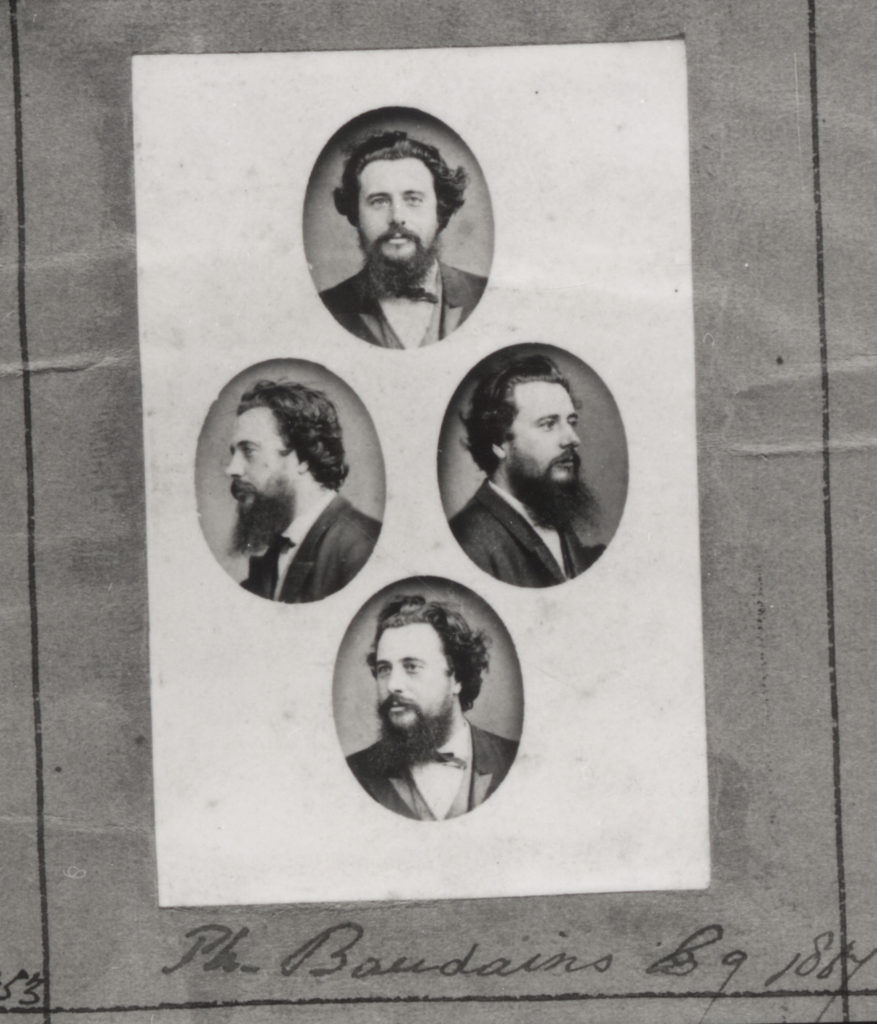
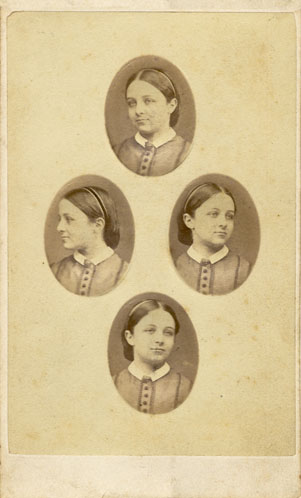
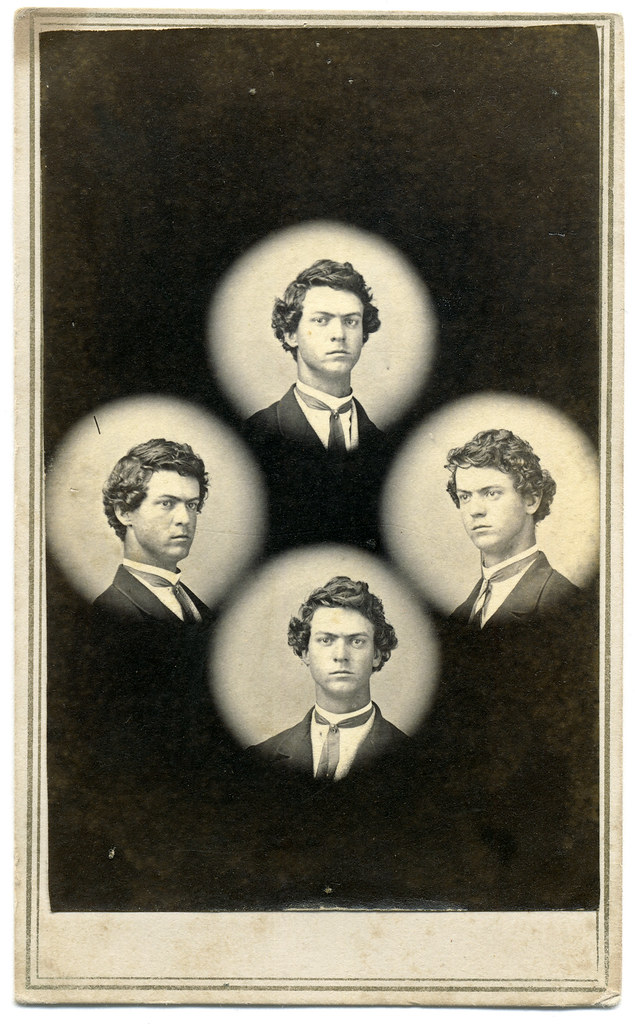
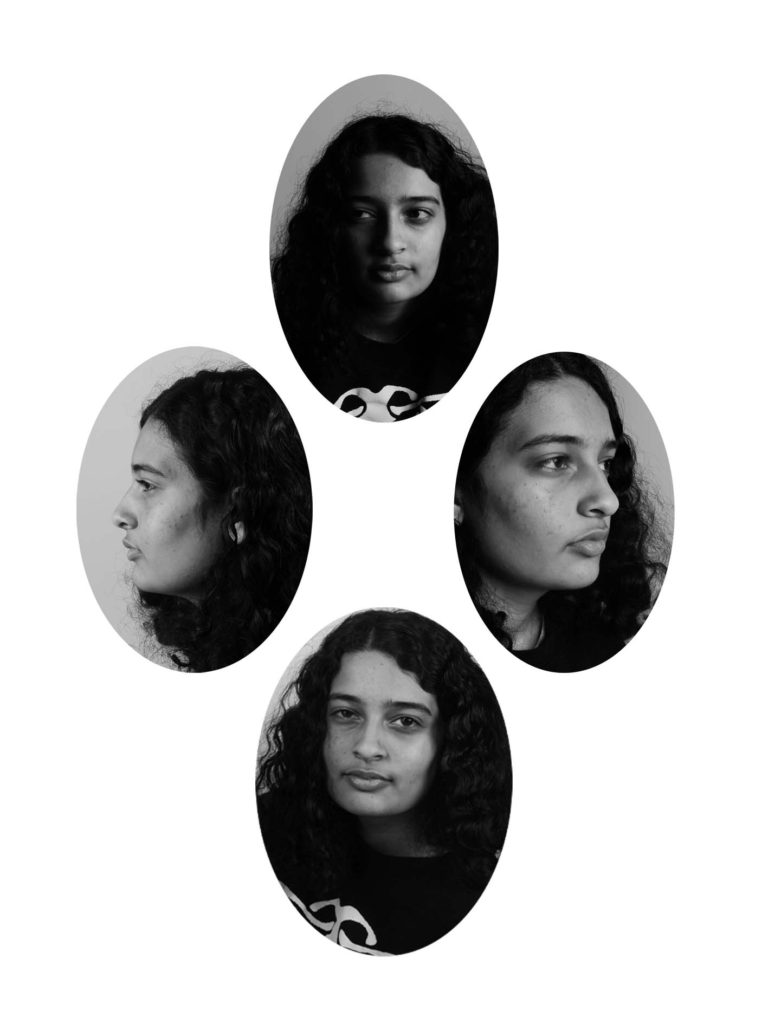
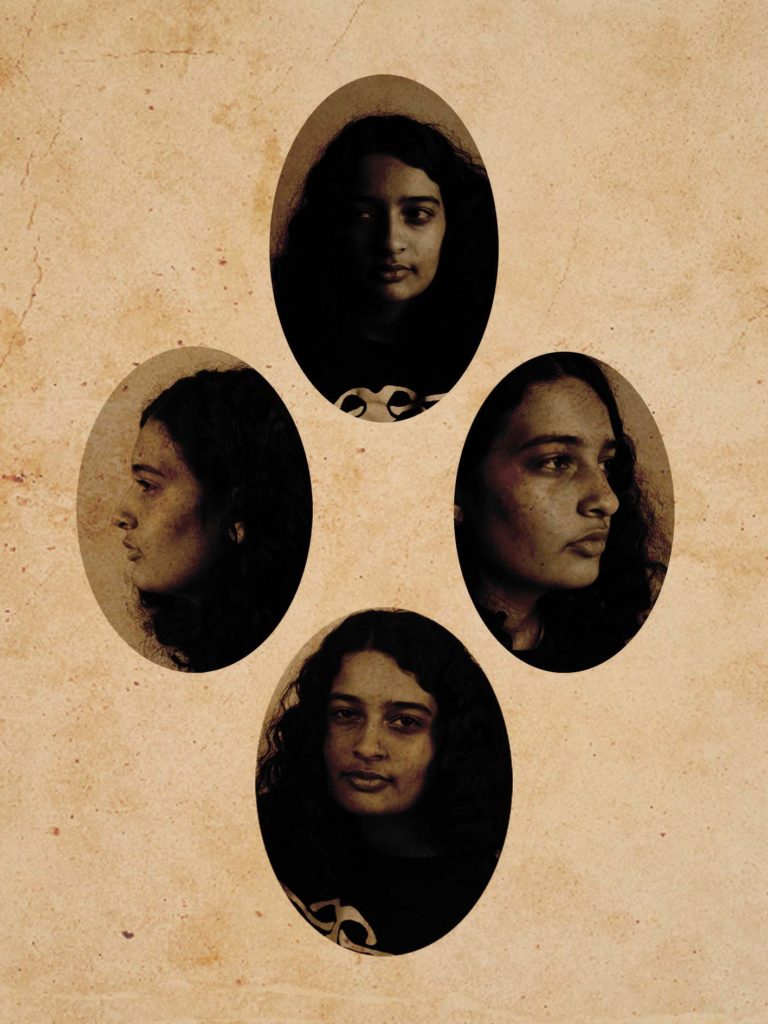
The (patent) diamond cameo photograph was registered by F.R. Window of London in 1864. Four small oval portraits (1″ x 3/4“) were placed in the shape of a diamond, each portrait being of the same person photographed in a different position. A special camera made by Dallmeyer was used in which the one glass negative was moved to a new position in the back of camera after each portrait had been taken, and when the paper print had been pasted on the card a special press was used to punch the four portraits up into a convex cameo shape.

Final Edits

I used the photographs from two of my photoshoots and experimented with a diamond cameo. I did this in order to make my images look older and more interesting. They would’ve probably looked better if I had taken more pictures of the face from more angles.
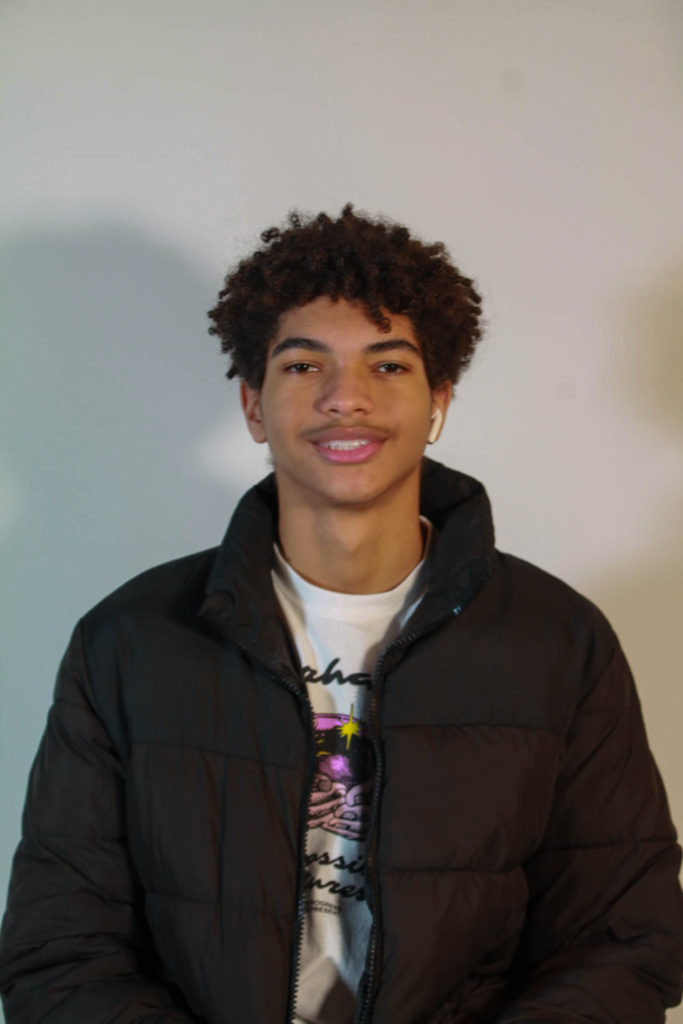
For this edit I did a diamond cameo by selecting four pictures o the same person and placing them in a diamond shape (one at the top, bottom and both sides). The top pictures is them facing forward with the light hitting the right side of their face and making it more visible than the other. In the bottom image, their face is slightly tilted to one side and the whole face is visible because the light is inn front of them. On the right, there’s a picture of them without their glasses and facing that direction and on the left there’s another side profile but with glasses this time. I did this in order to show all of the sides of the person’s face. I like how it turned out and I think it’s interesting.
I then looked for images of ‘old paper’ on google and put it on top of my edit using photoshop. Then I turned down the opacity and used ‘multiply’ on the double exposure setting.
I made another diamond cameo using a different person and the same technique. I like how it turned out however, I don’t like how the left and right picture look together even though they’re both side profiles. I think they don’t go well because on the one on the right you can see a bit of the other side of the face and I don’t like the way it looks. I should’ve asked them to turn their head all the way and then taken the picture.

I then looked for images of ‘old paper’ on google and put it on top of my edit using photoshop. Then I turned down the opacity and used ‘linear burn’ on the double exposure setting.
Experimentation: Multi Exposure

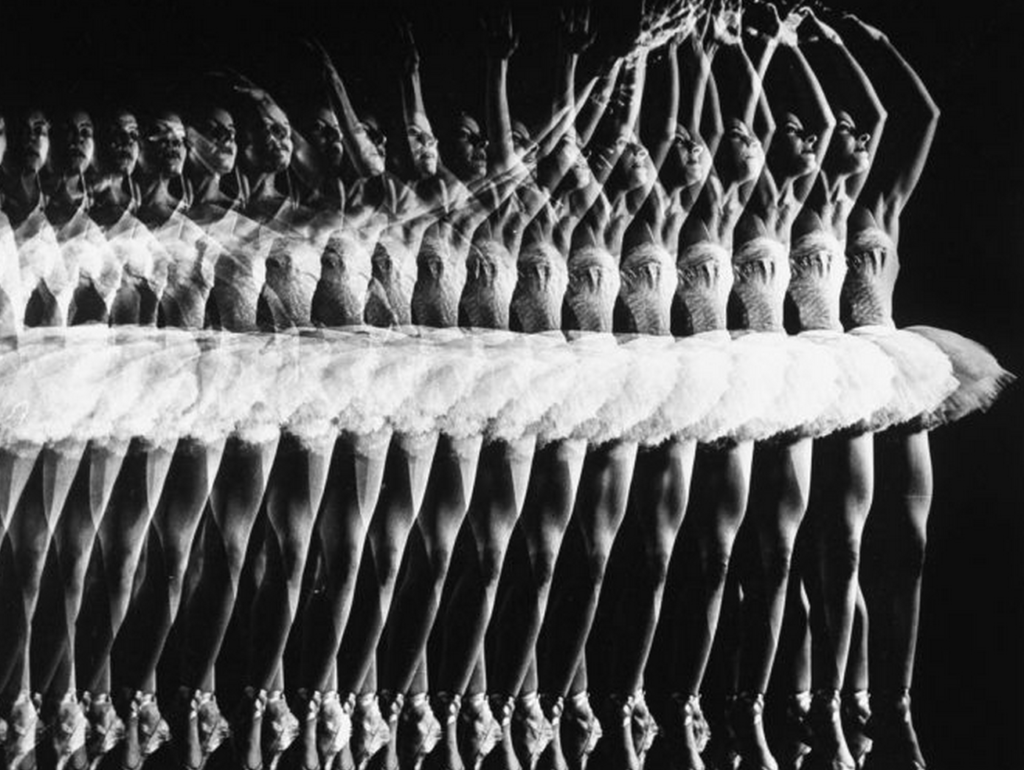
In photography and cinematography, a multiple exposure is the the placing of one image on top of another to create an exposure and a single image. You can use as many images as you want and they can either be identical to each other or not.
Final Edits

I used the photographs I took in my last 3 shoots and experimented with different photography techniques like: multi exposure and diamond cameo. I did this in order to make my images look more interesting and give them personality. I found it quite fun as I was able to experiment and get different outcomes each time.

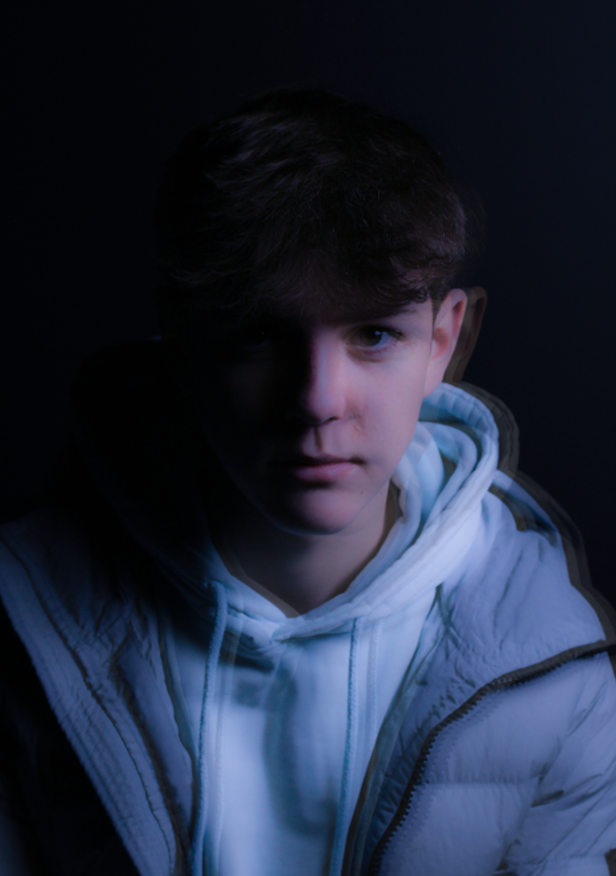
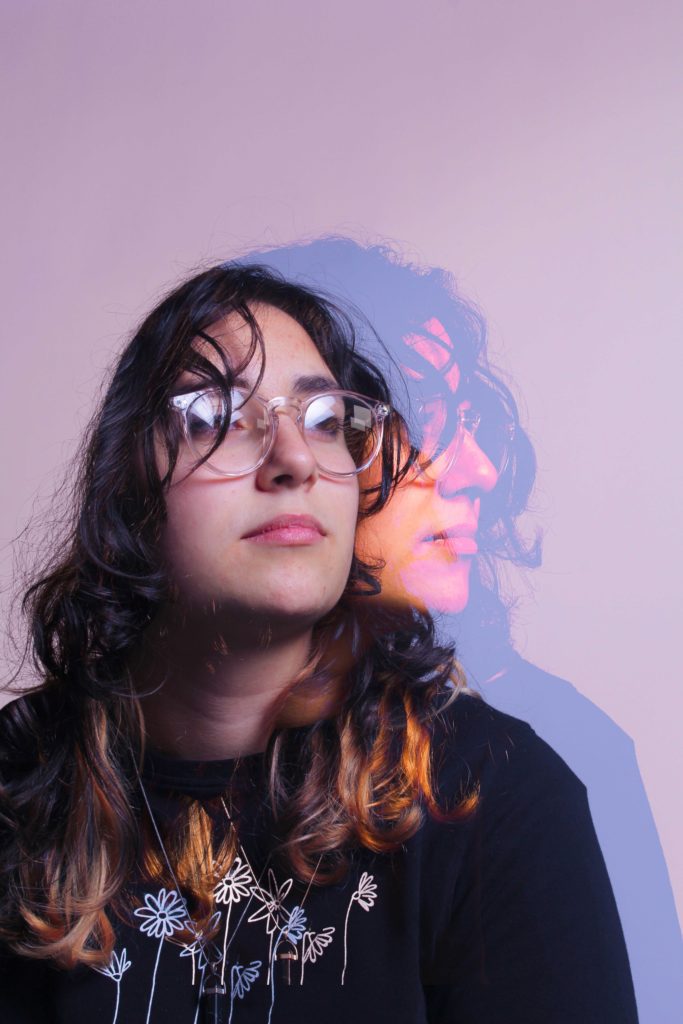
For this edit I did a double exposure using two pictures on photoshop. The base photograph is one of them looking to the top right (image had a slight blue colour because I turned the temperature down in order to get a blue background) and the top layer is their side profile (this one was purple/pink because the tint was increased to get a softer look). I simply just took the second image (made it bigger) and placed it on the background. I moved it higher up so that the face aligns with the other image then used ‘lighten’ for the exposure. I like how it turned out because it almost looks like their soul is leaving their body.

I made this edit by using the double exposure technique in order to get something that looks interesting and different. I used the same image twice and placed one of them upside down. I turned the opacity down (in order to see both images) and moved the image so that it would line up with the other one and then I used the ‘lighter colour ‘ multi exposure setting. I used this specific one because it got rid of the background and made only the two heads visible. Then I went over some areas with the patch tool and spot cleaning brush to clean the background.