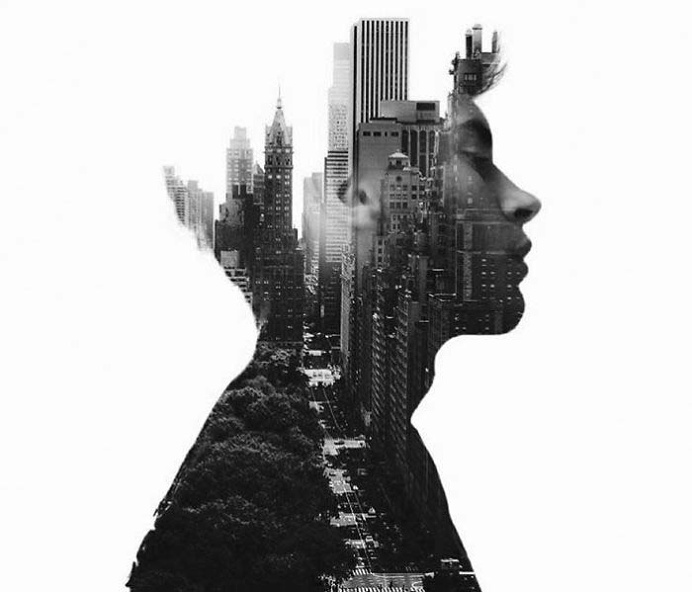
A double exposure allows two or more images to be seen at the same time and create one image, usually by one photo being more transparent as it lays on top of the other. There’s a variety of ways double exposures are created as any combination of images can be used. For example: portraits & portraits, portraits & still life, still life & landscapes etc.
My Edits
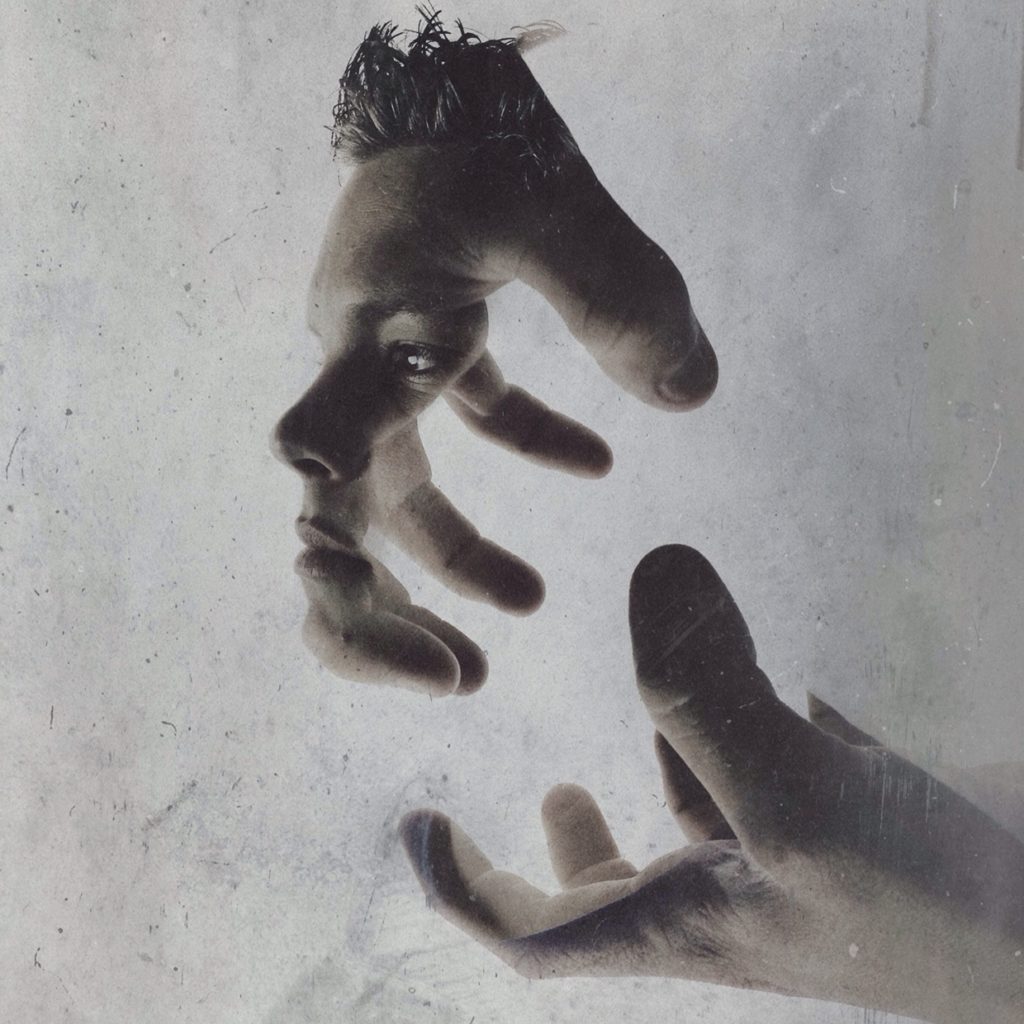
— Edit 1: ——————
For this edit, I only used one image and copied and pasted it twice, gradually decreasing the opacity of each layer along with the size. I also decided to tint the smaller images blue as it would help the image blend into the background, giving them a distant look, similar to one of a ghost. I wanted to keep this double exposure simple as I liked the original image already and didn’t want to manipulate too much of the image as I only wanted to fill up some of the blank space in the background.
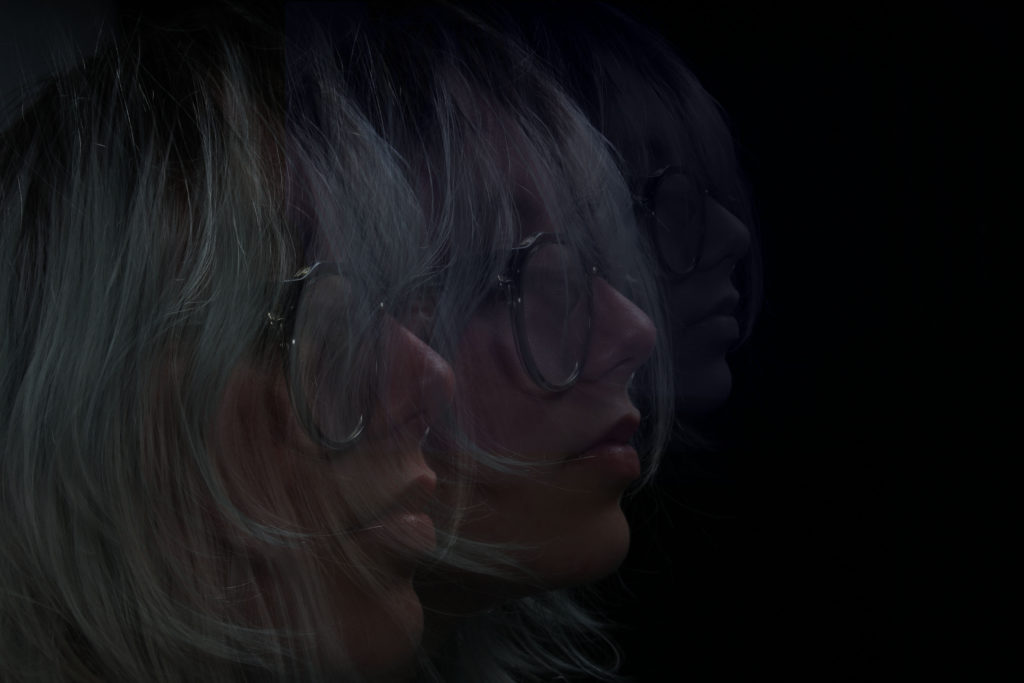
— Edit 2: ——————
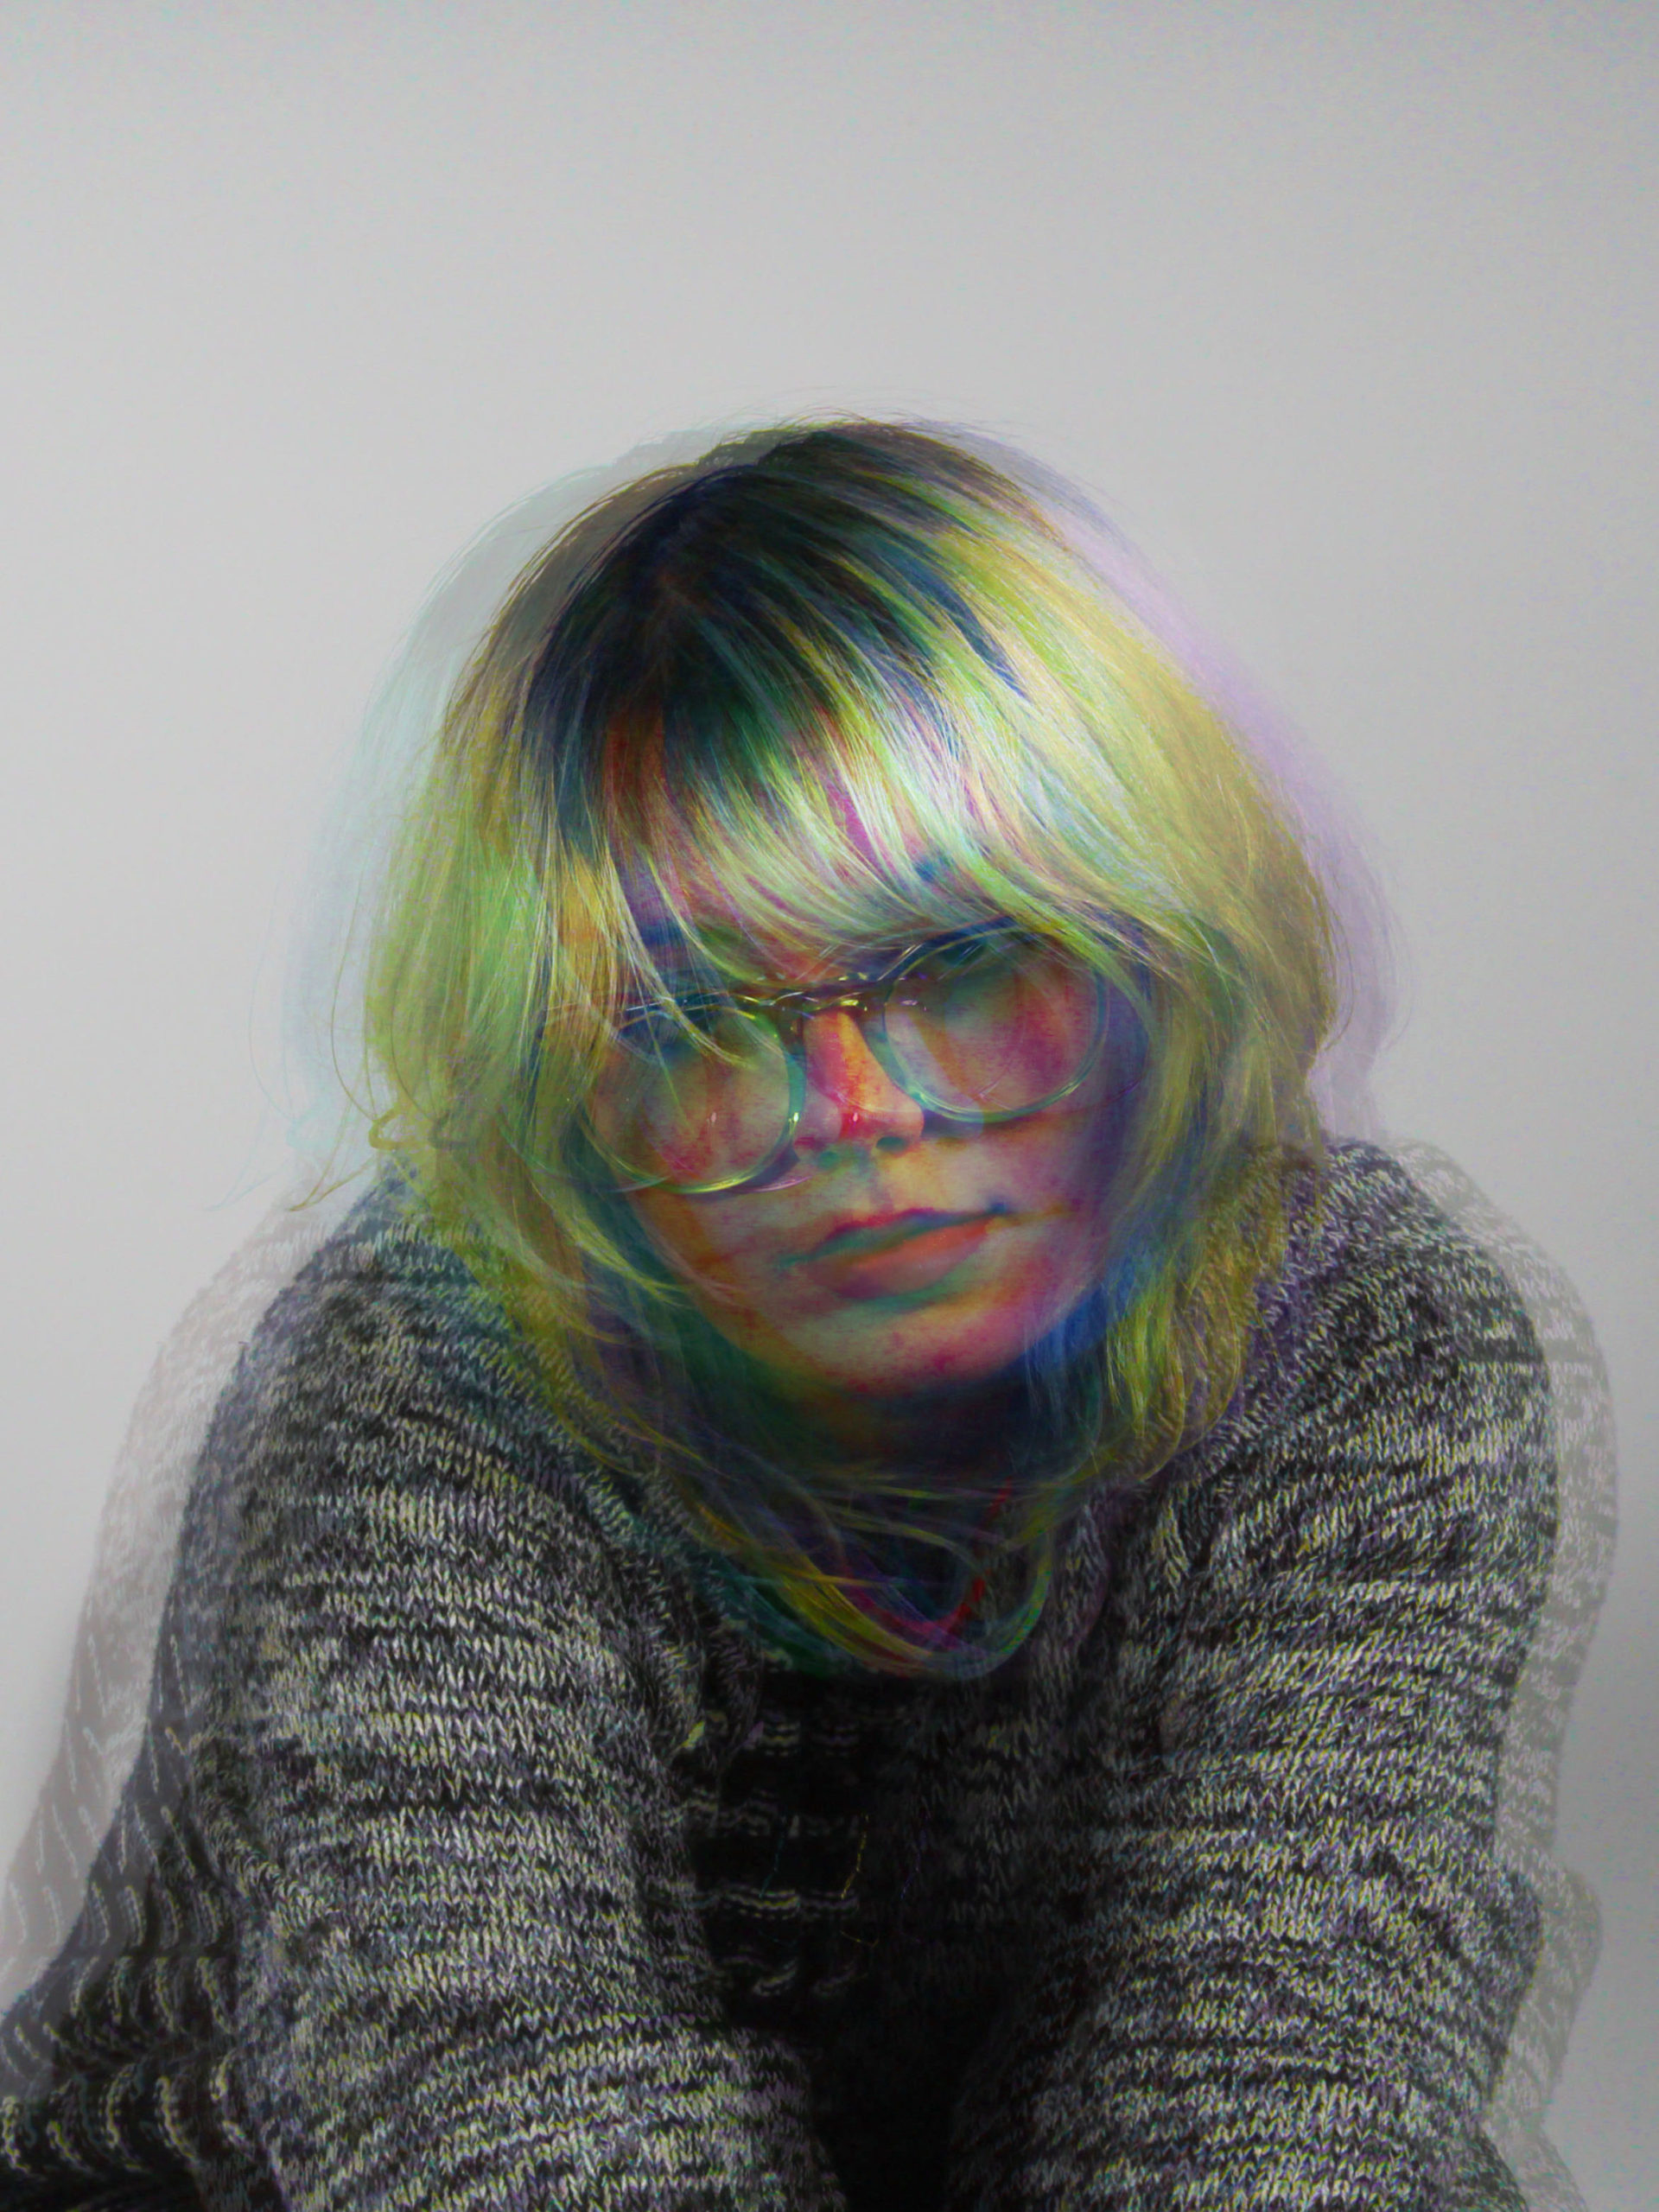
For this edit, I decided to make the double exposure subtle whilst still using one image, moving the transparent copies slightly on both sides of the main photo in order to create a blurred look. From here, I decided to increase the saturation on each layer and tint them all different colours [I ended up choosing orange, green and blue] which gave the image an indie look due to the variety of tones/shades the bright colours created once as they merged together. [The contrast between the colours vs the rest of the image creates an almost dismal look which I quite like]. I then finished the edit by brightening the whole image and using the dodge tool to add some highlights to the hair and nose, making them stand out whilst adding different tones to the image.
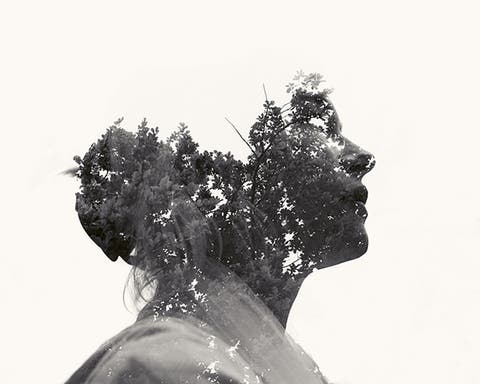
— Edit 3: ——————
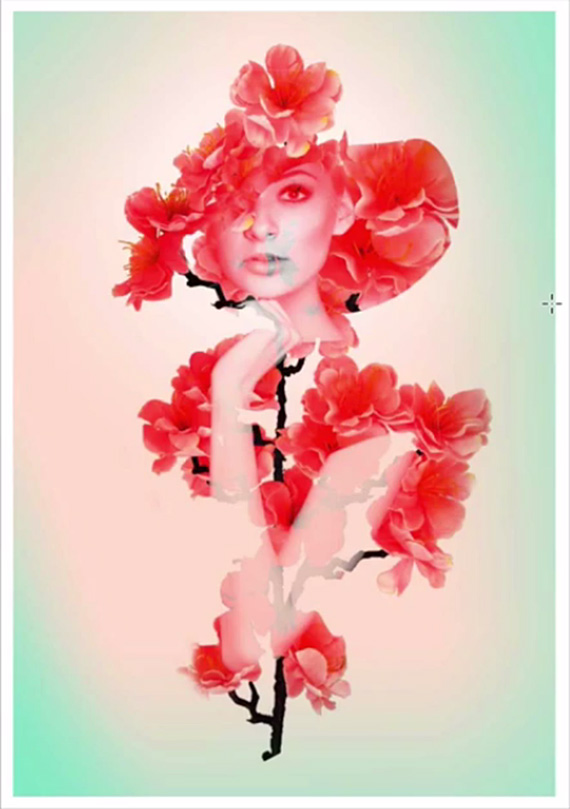
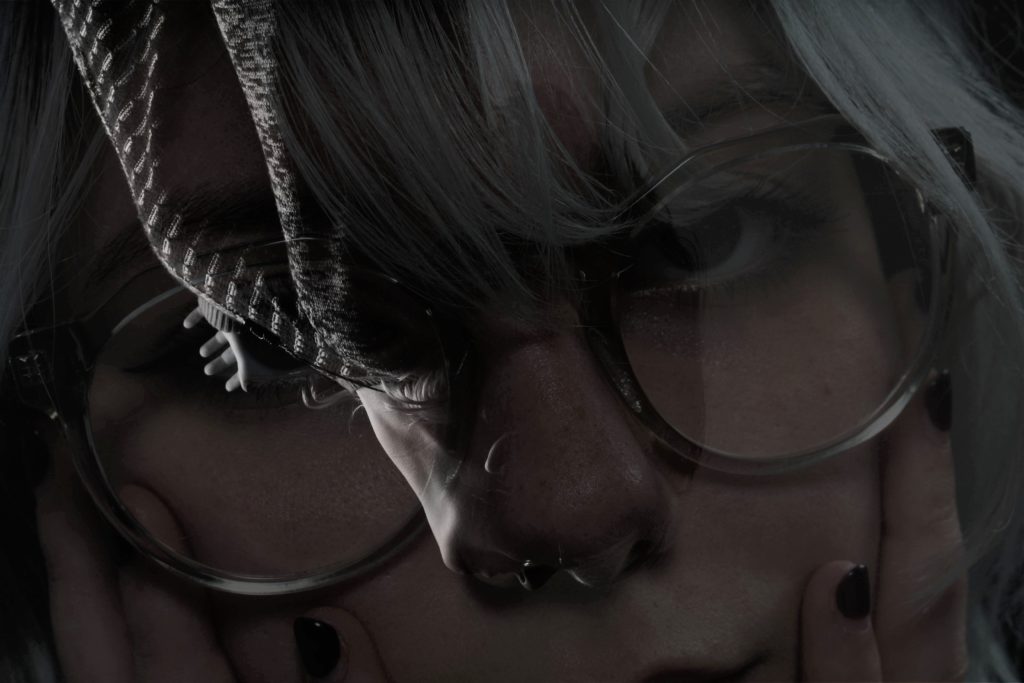
When creating this photomontage, I used two photos that didn’t look alike whatsoever in an attempt to create a contrast between the two. I turned one of images upside down and lowered the opacity, making sure it lined up with the image below in order for the double exposure look cohesive and not messy/rushed. Finally, I increased the brightness of the whole image itself in order to make sure the detail in both photos didn’t merge into each other too well so the details were still clearly visible.
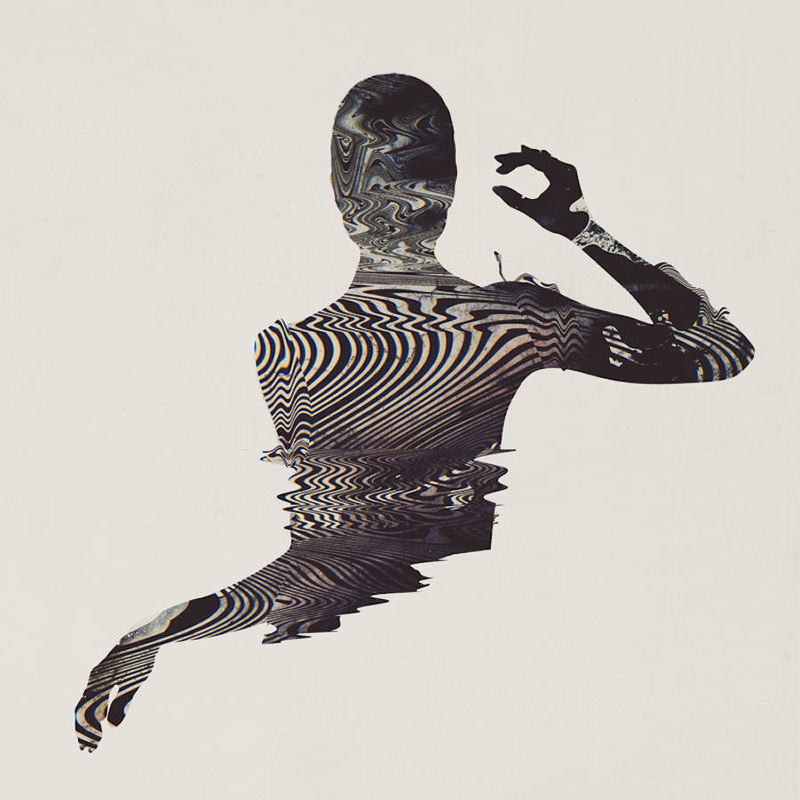
— Edit 4: ——————
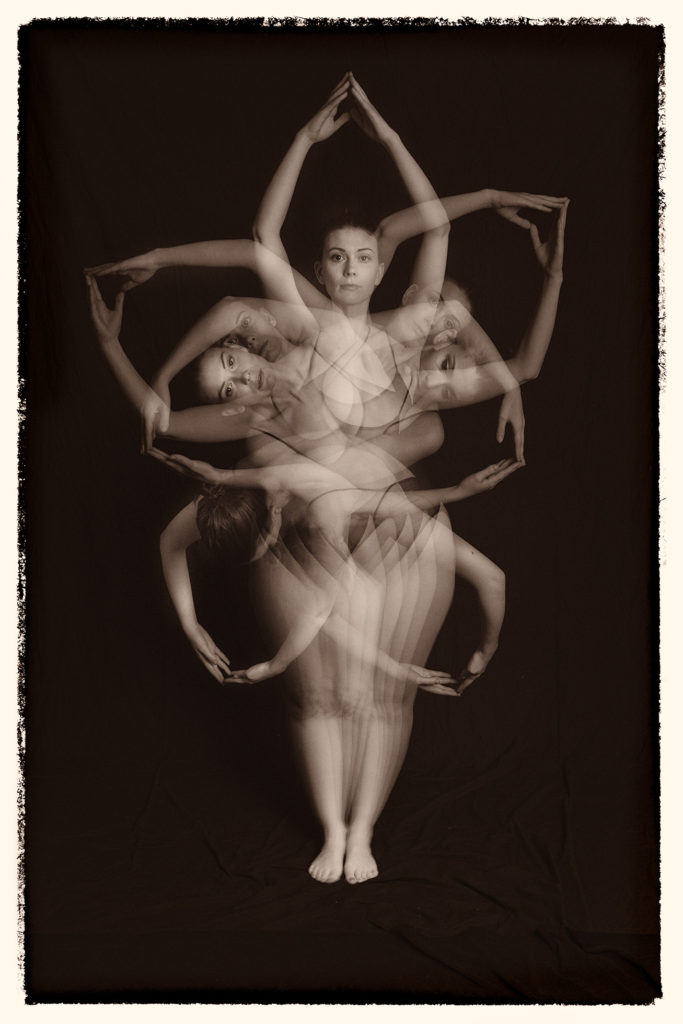
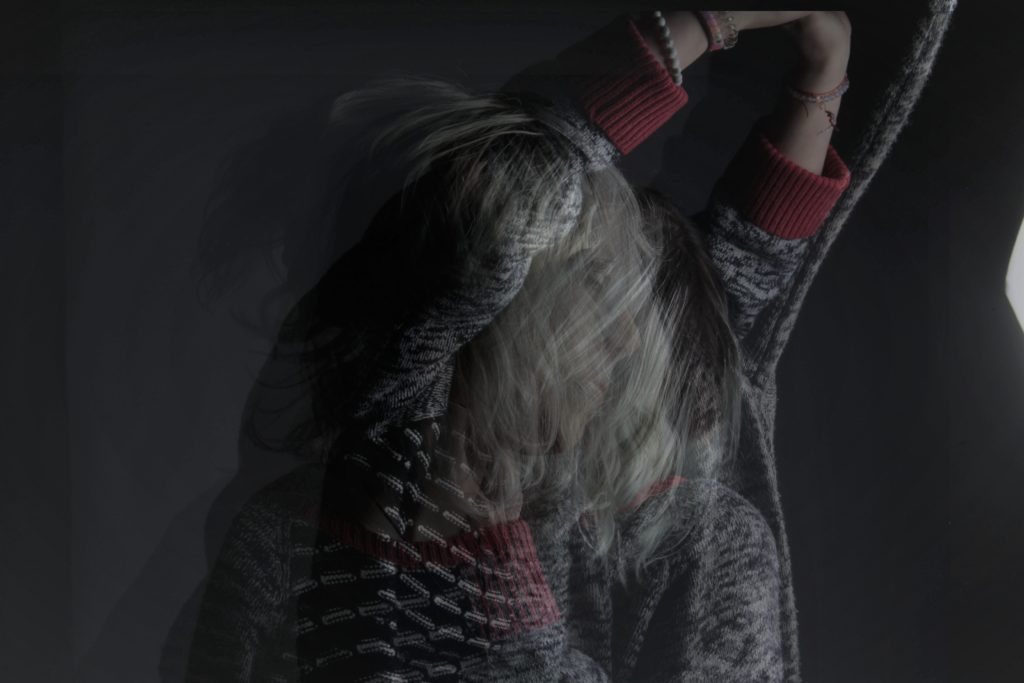
I created this photomontage by taking a variety of photos that were in motion and layered them on top of one another, creating an almost blurred look as the different positions of the head, arms and body can all be seen. I finished the edit by brightening the image and changing the vibrancy slightly on each of the layers to allow each layer to blend together evenly as one instead of appearing like a jumble of photos compiled on top of each other.