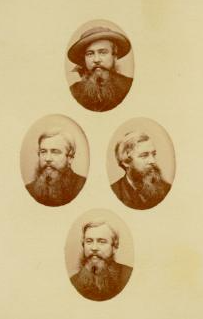
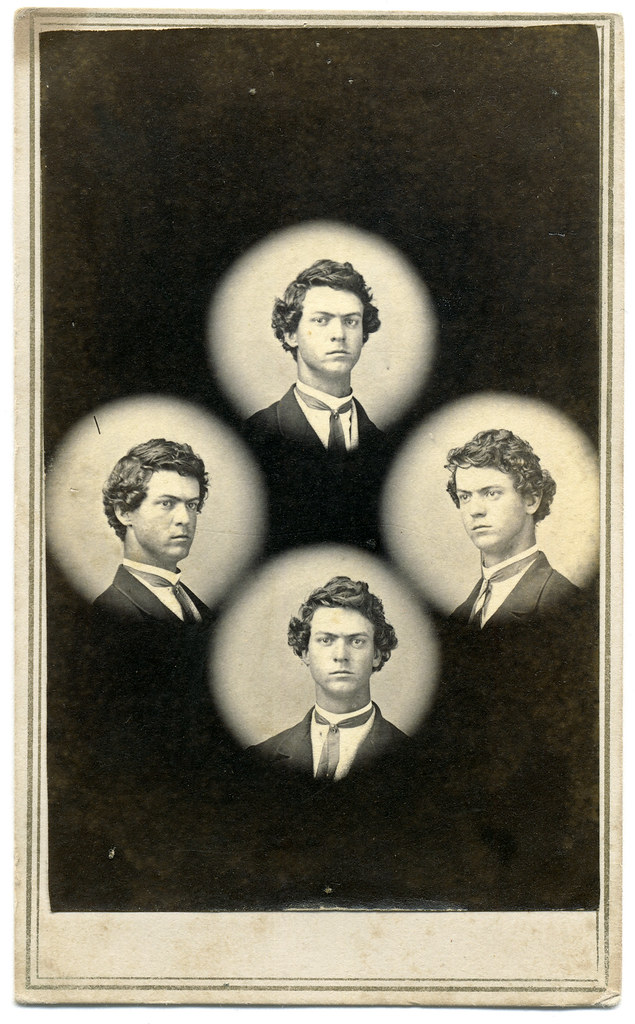
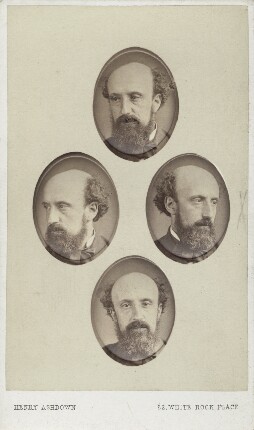
Diamond Cameo
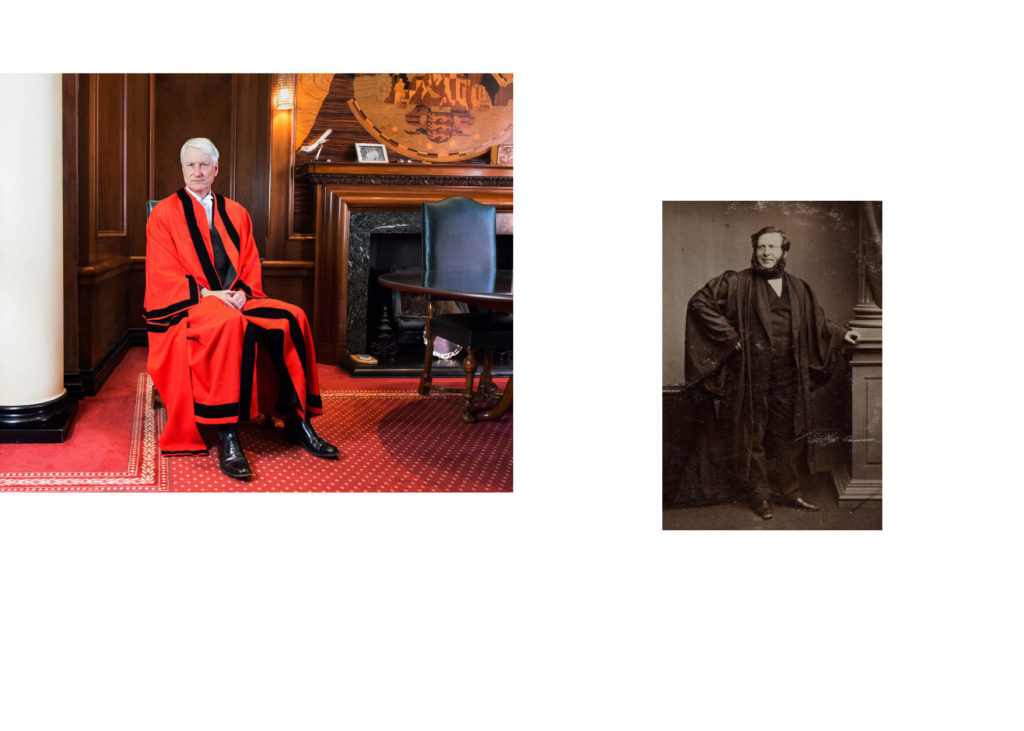
A diamond cameo is when 4 oval-shaped portraits of the same person are taken and arranged into a diamond shape on a ‘carte de visite’, each portrait having the model in a different position/looking into a different direction. They were taken around 1864 onwards with a special camera that automatically moved the photos once they were taken so they could be printed in the diamond shape. Henry Mullins was a famous photographer in Jersey back in the 1840’s who took some diamond cameos, however, despite how interesting the diamond cameo looks, it wasn’t very popular as one bad photo would cause the whole cameo to be rejected and all 4 photos would have to be retaken, making it a time consuming and expensive process.
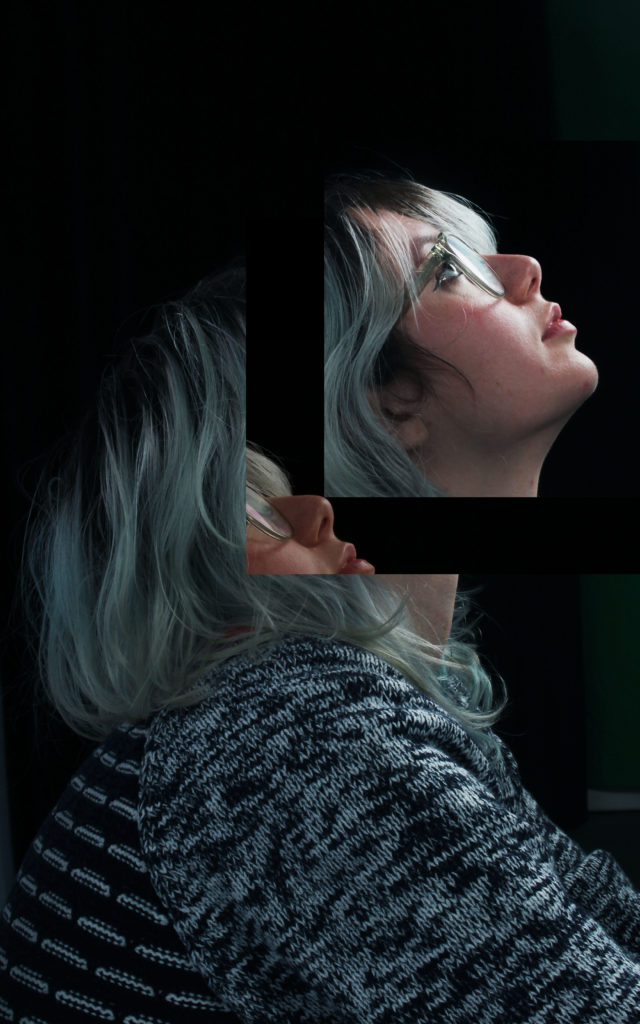
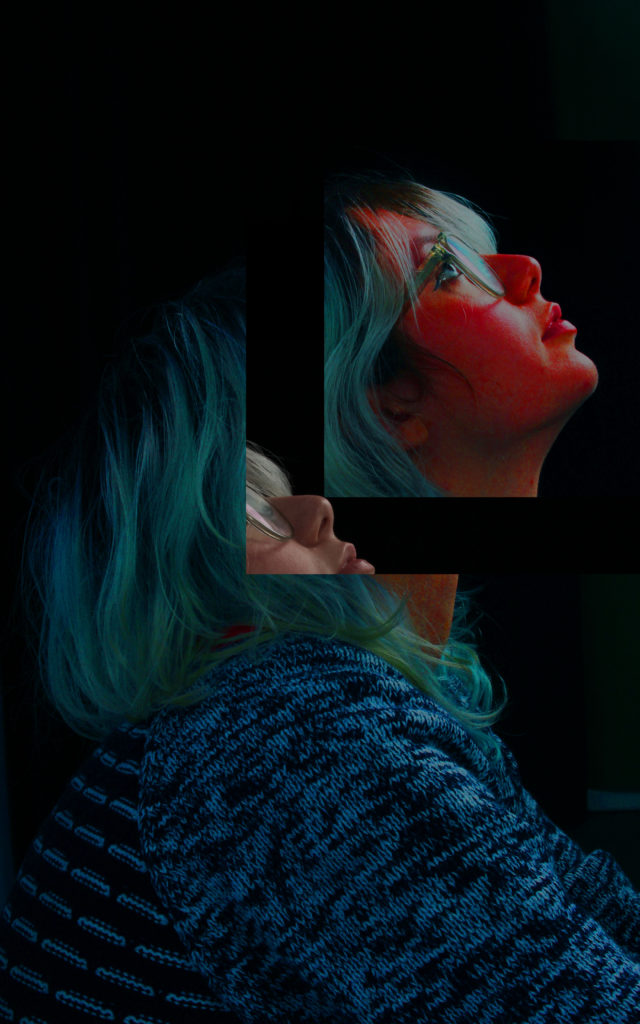
My Edits
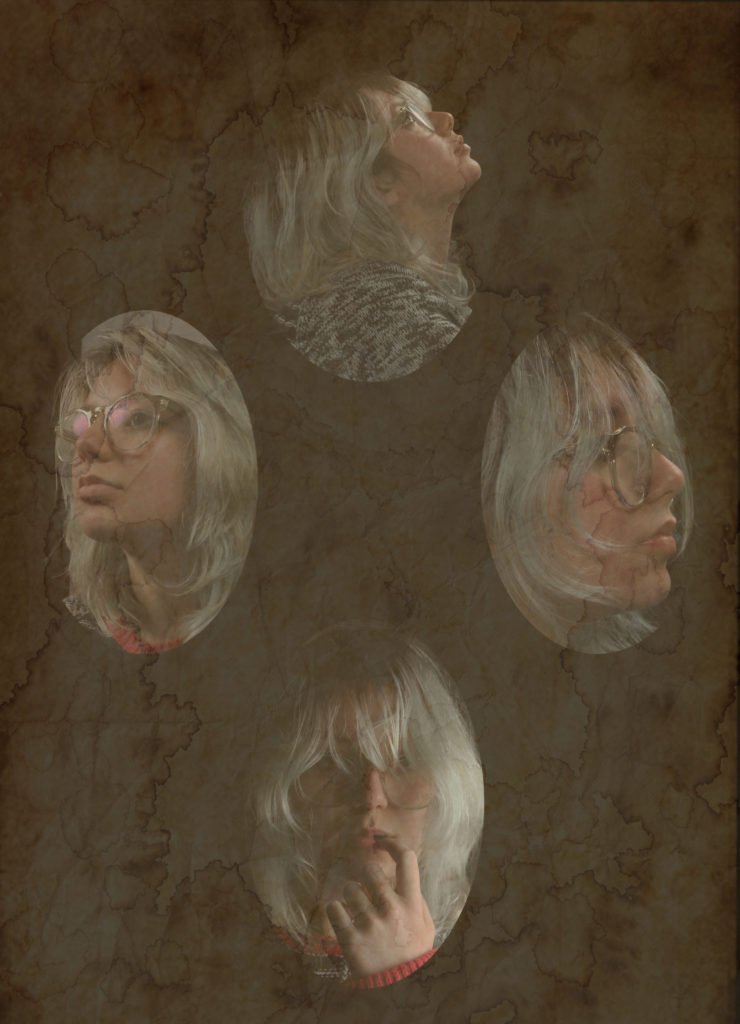
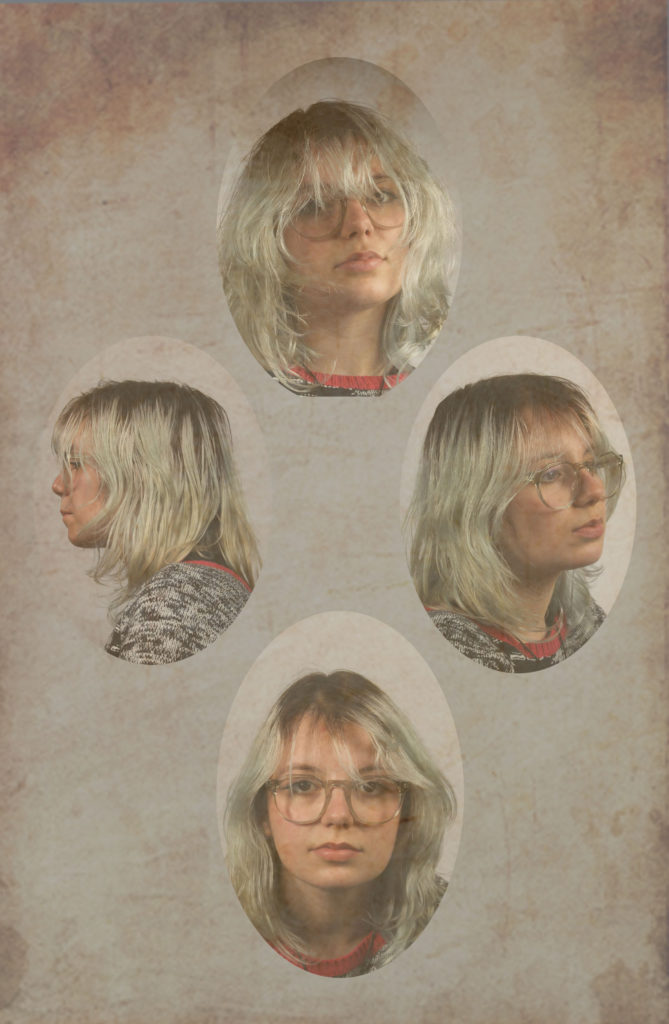
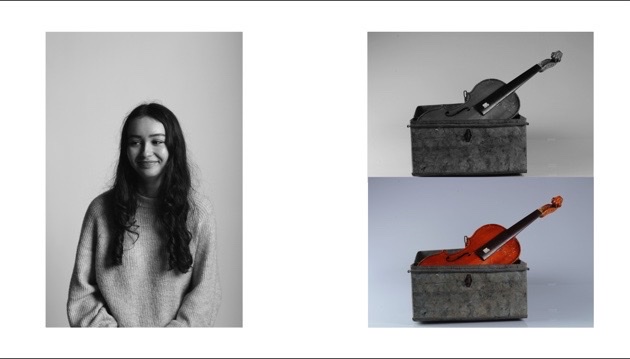
To create these edits I pasted some of my images, making sure they’re cropped into an oval shape, onto a background and placed them into a diamond shape in order to replicate the diamond cameo style.
— Edits 1 & 2: ——————
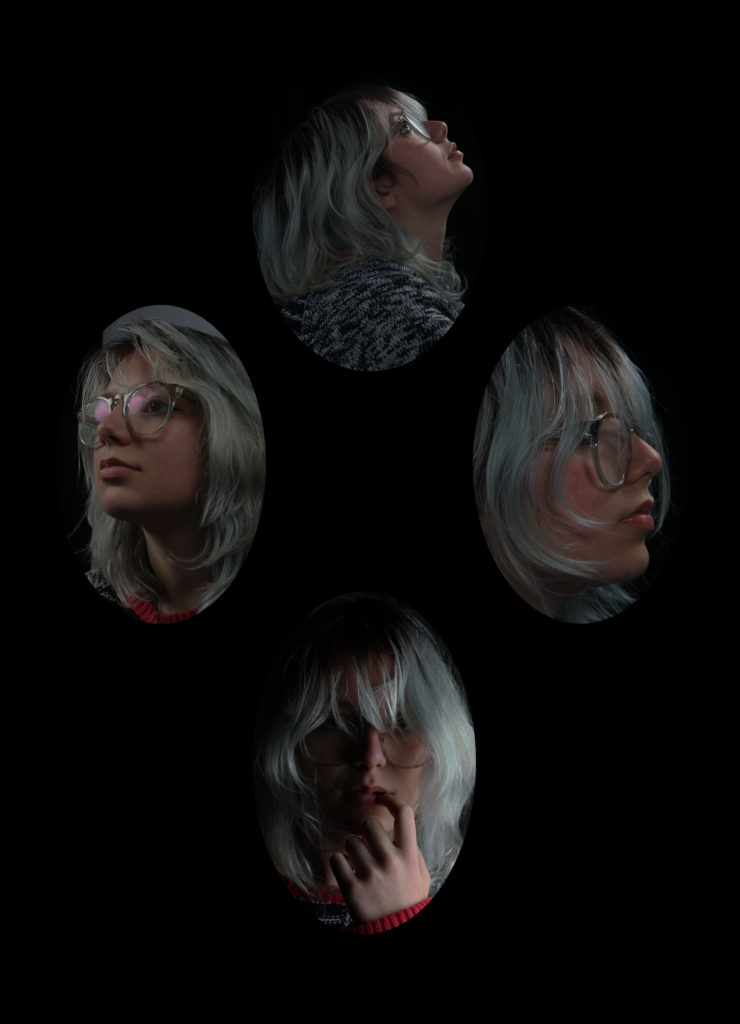

Adding Overlays
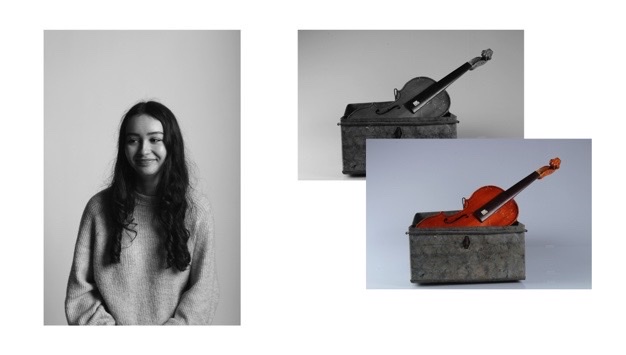
In order to make my diamond cameos look older/aged I added some overlays by using images of scrunched and yellowed paper on a separate layer and lowered the opacity, creating a vintage-esque filter.
I prefer these edits more than my original ones as it looks similar to Henry Mullins work.
— Edits 1 & 2: ——————