
Throughout this Photoshoot, which we also did with Oliver Doran in the second week, this is where we focussed on producing photos using the 2 point lighting technique and flash which I have explained in a previous blog post.
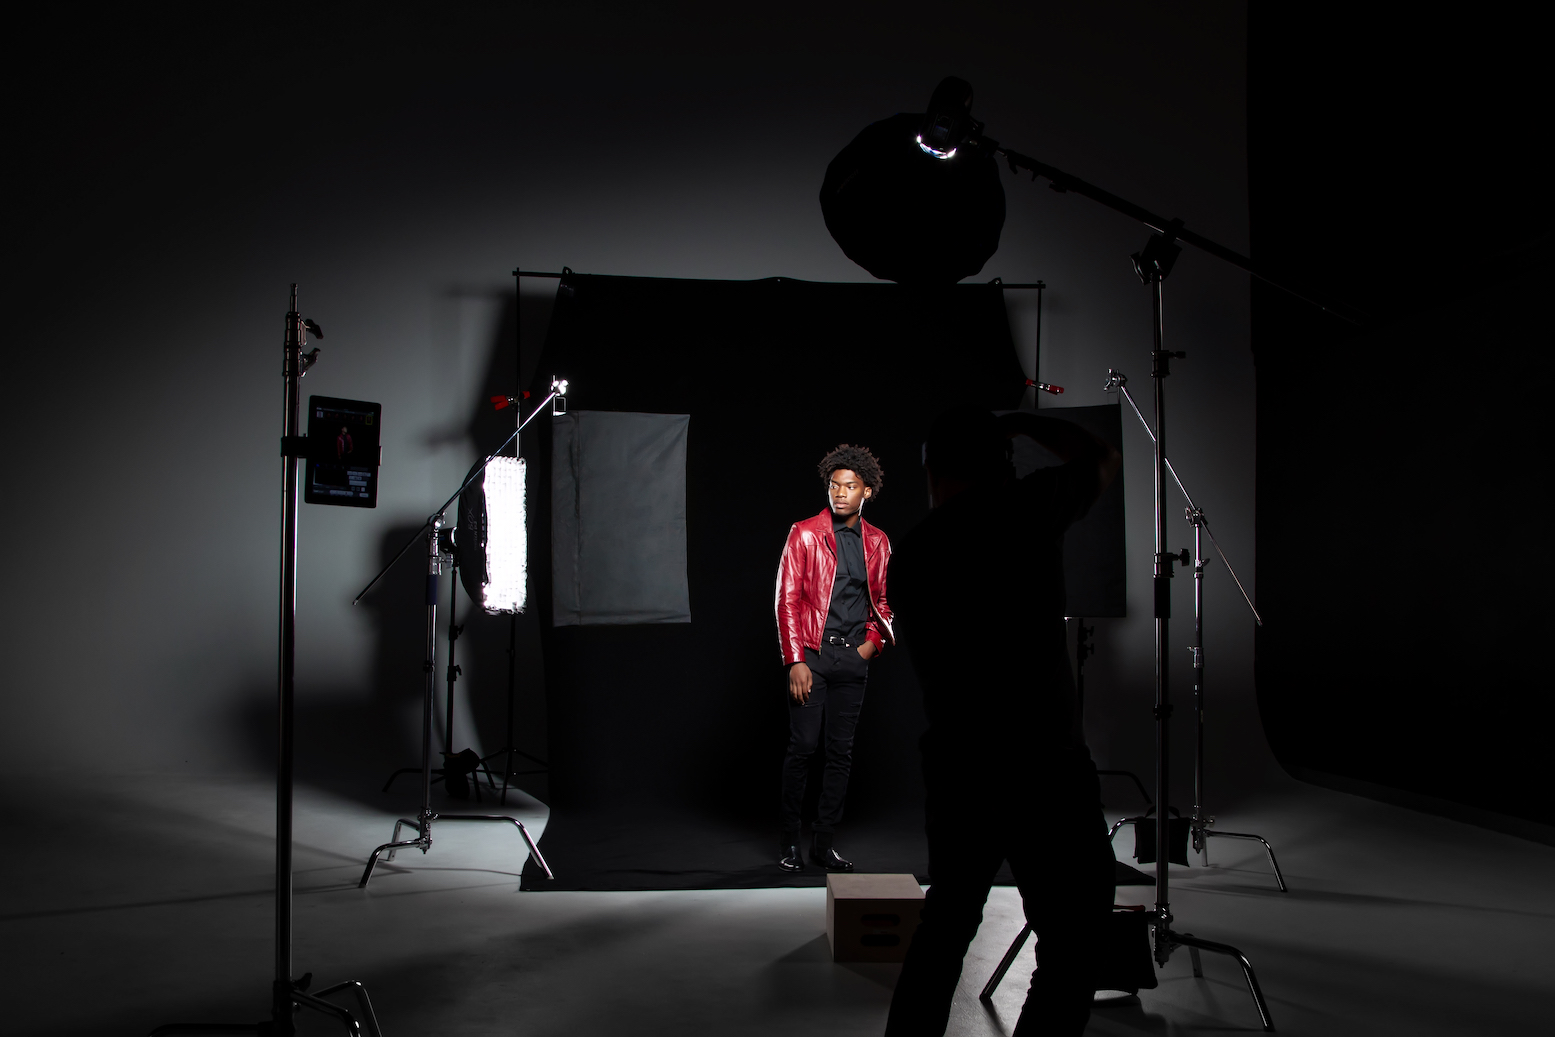
Images which have used 2 point lighting and flash –
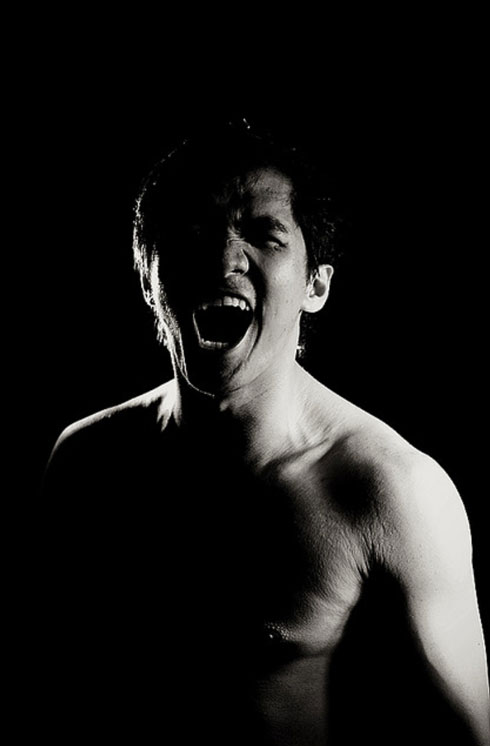
Photos –
I really enjoyed this photoshoot as I was able to experiment a lot of different angles with my model, which range from; the side, front on and zoomed in. This photoshoot also helped to show different shadowed lighting techniques which were used when creating these pictures which can influence the mood/atmosphere which is created along with the variety of facial expressions which the model uses. I will choose one of these photos to edit within Adobe Lightroom, so that I can fine tune the smaller details and lighting.
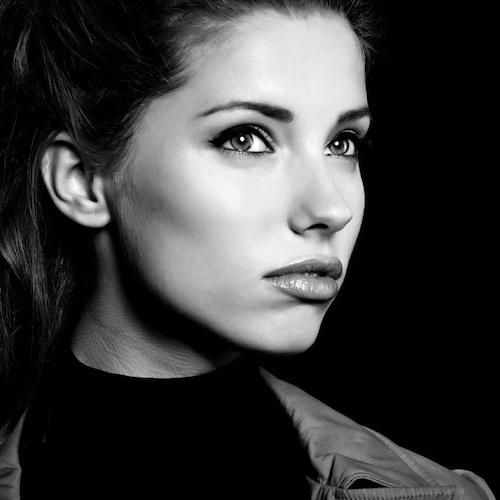
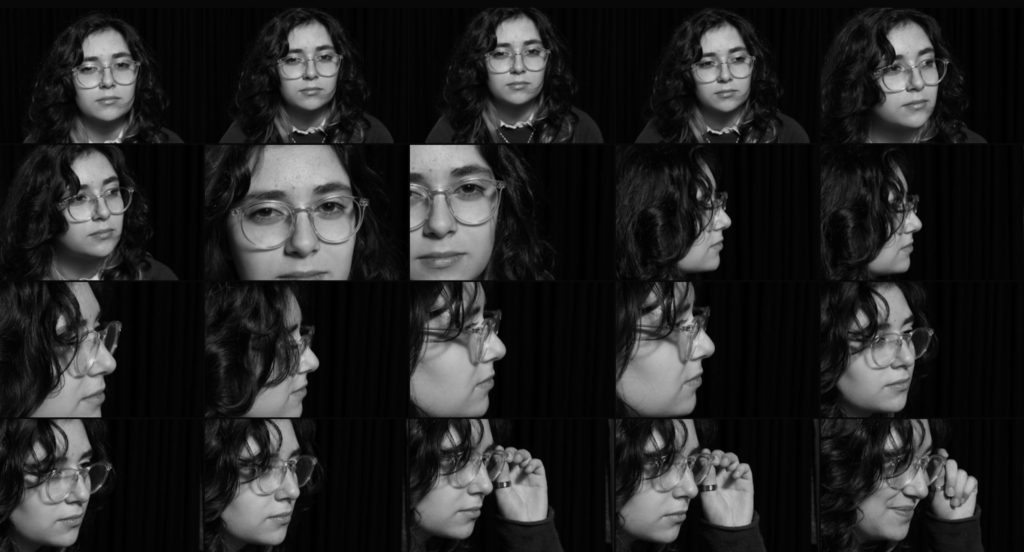
Best shots –
On Adobe Lightroom I selected the images which I think are the most successful when using the 2 point lighting technique with Oliver Doran.
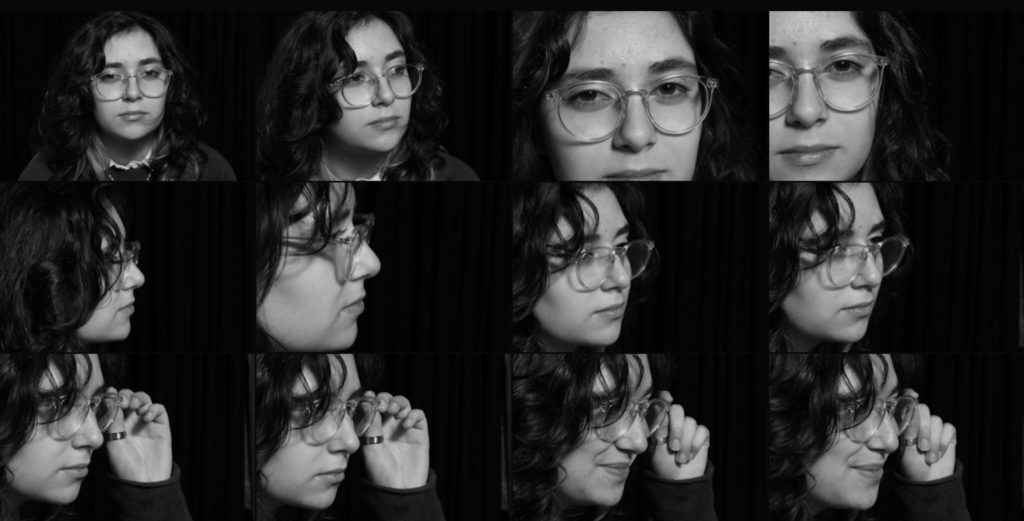
I really like these pictures because the background is really dark yet has texture from the curtain, like a night sky, which creates the illusion that the model is out during the night and a large contrast has been made with the tones due to the 2 point lighting which I used as well as the butterfly technique. I also like how some of these experiment with different angels such as up close, from the front or too the side as we get to see different features which are highlighted through lighting of the model.
Editing –
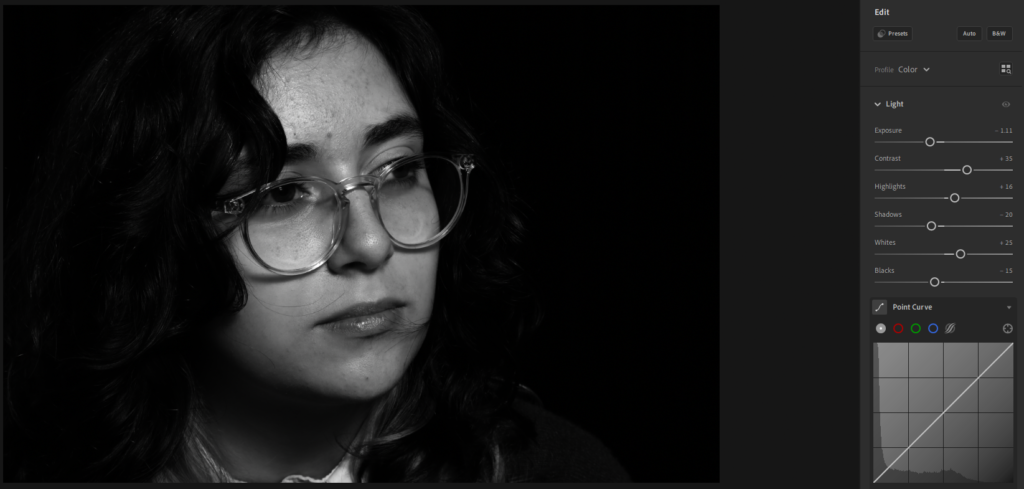
For this edit, which I started in Lightroom, I adjusted the lighting slightly so that it appeared darker. I did this by starting off by bringing down the exposure a small bit, to cast a darker tone of grey over the image. Then I used contrast to bring the light tones on the models face up, so that it would make the details on her face stand out more. This was accentuated through using the whites and highlights which made them stand out well on her face.

Then I went to the “Effects” section where I used the “Texture” this helped to soften the parts of the models face then looked quite dark and rough through the lighting, using the opacity I controlled this more to make it a subtle effect. Then I brought up so that the glare from the lights, I did this because it drained the black and white tones from the image, which I didn’t like, so it made them stand out well. Finally, on Lightroom I used “Vignette”, this effect casts a darker shadow around the models face, which helps to draw your attention to it well as it makes it look centred even if you have taken the picture from an angle, I really like the darker, subtle effect which this adds as it makes the background darker which contrasts highly against her face.
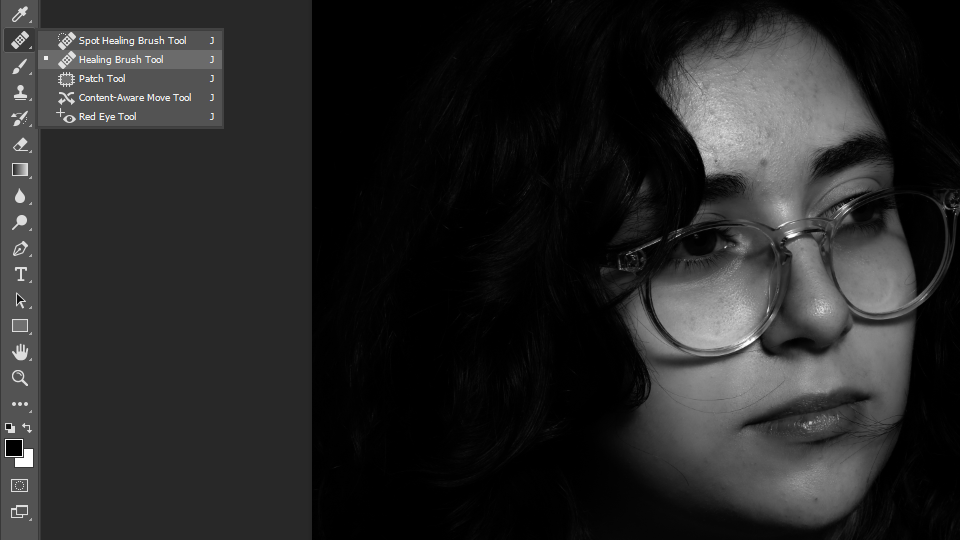
Then I brought the picture into Photoshop, this was because I wanted to fix the smaller details such as the hair which was on her face which I didn’t like because I wanted her face to appear clean and soft. I used the healing brush tool and spot healing brush tool which helped to remove the hair which was on the parts of her face as it replaced it with what could be there instead, which was her skin underneath. I really liked how well this worked as I was able to remove most of it without any difficulty and it made the picture look less messy.
Final Evaluation –

I really liked how this turned out because I think that it creates the effect of a painting which has been made by an artist, which makes it look detailed and professional. This is due to how I edited it on Lightroom which created this softer, yet contrasted tones of black, white and grey which work well with the models face. This is because the lighting which I used was 2-point with a butterfly effect to cast that darker shadow underneath and around her nose. This was my favourite lighting technique to use, which we were taught by Oliver Doran because it highlights the whole face well and makes certain parts highlighted brightly against the darker tones, in the future I think that I will use this technique again because I like how it creates a subtle yet toned effect on the face.
Therefore when I moved I moved in to Photoshop, I saved the picture as a JPEG and then opened it, I only used photoshop to help me tidy up and refine the smaller details of the hair which I wanted to remove because of how it was making the photo look quite messy which I didn’t like.