Lighting
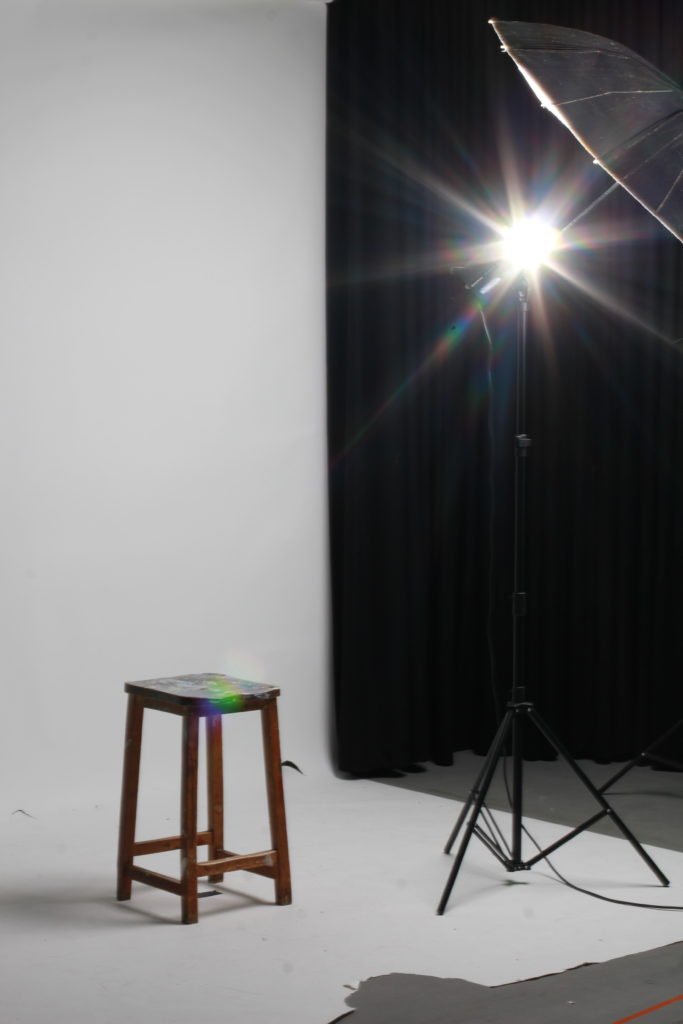
We used three primary lighting setups during our photoshoot. Theses include; Butterfly lighting, Rembrandt lighting and side lighting.
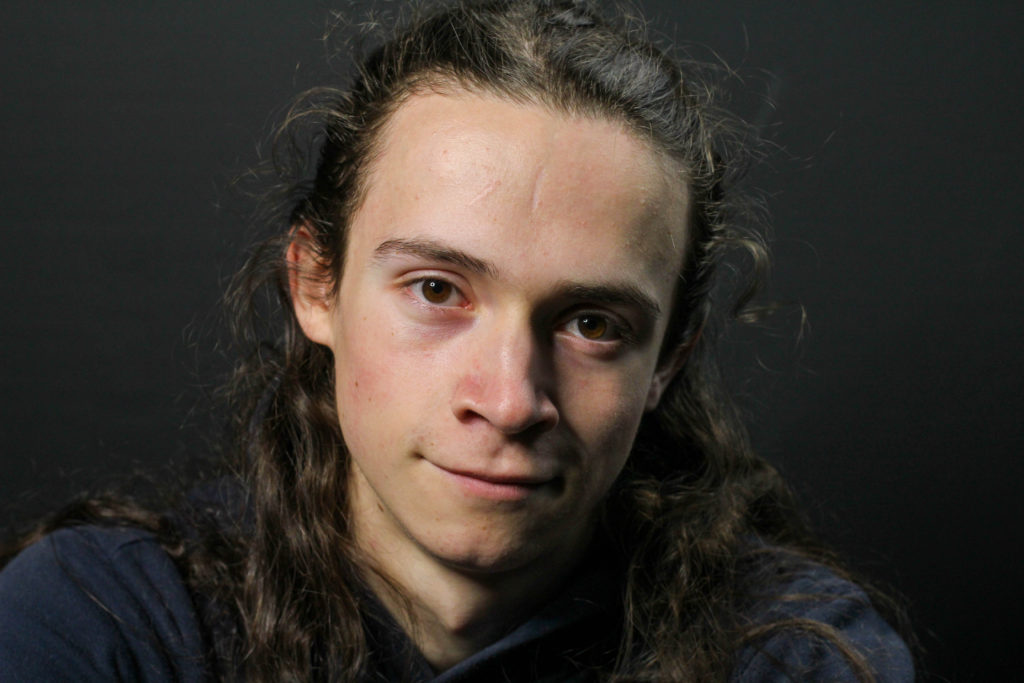
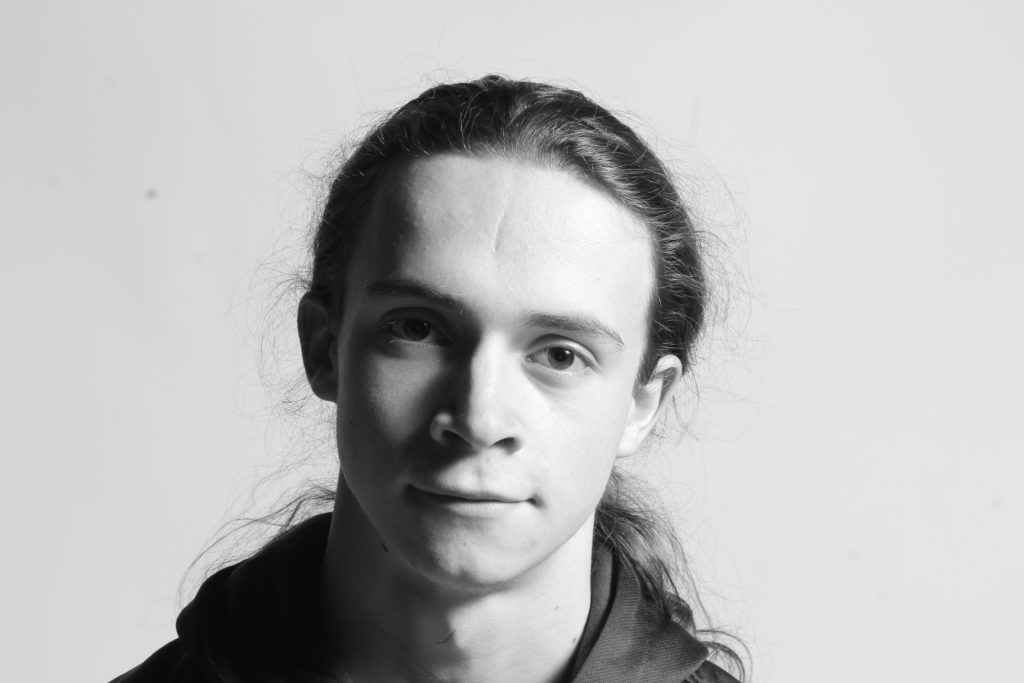
Butterfly lighting
This image was taking using the butterfly lighting style. For this lighting a single light is used. it is positions directly in front of the model and high up at about a 45 degree angle however the height can vary depending on the model. This lighting position is called butterfly light. this is because it creates a shadow under the models nose that resembles a butterfly. This also makes the style easily recognisable.
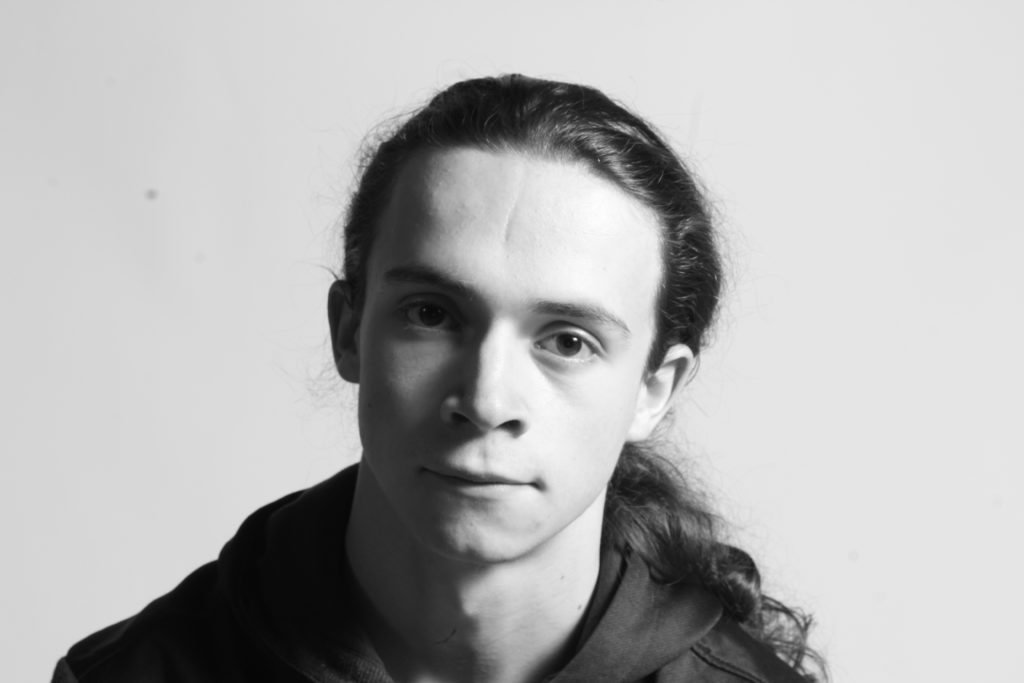
Rembrandt lighting
This image was taken using the Rembrandt light. For this style the light is set up to the side of the model at roughly a 45 degree angle horizontally and a 45 degree angle vertically however this varies depending on the model. The defining aspect of a Rembrandt image is the triangle that can be seen under the eye opposite the light.
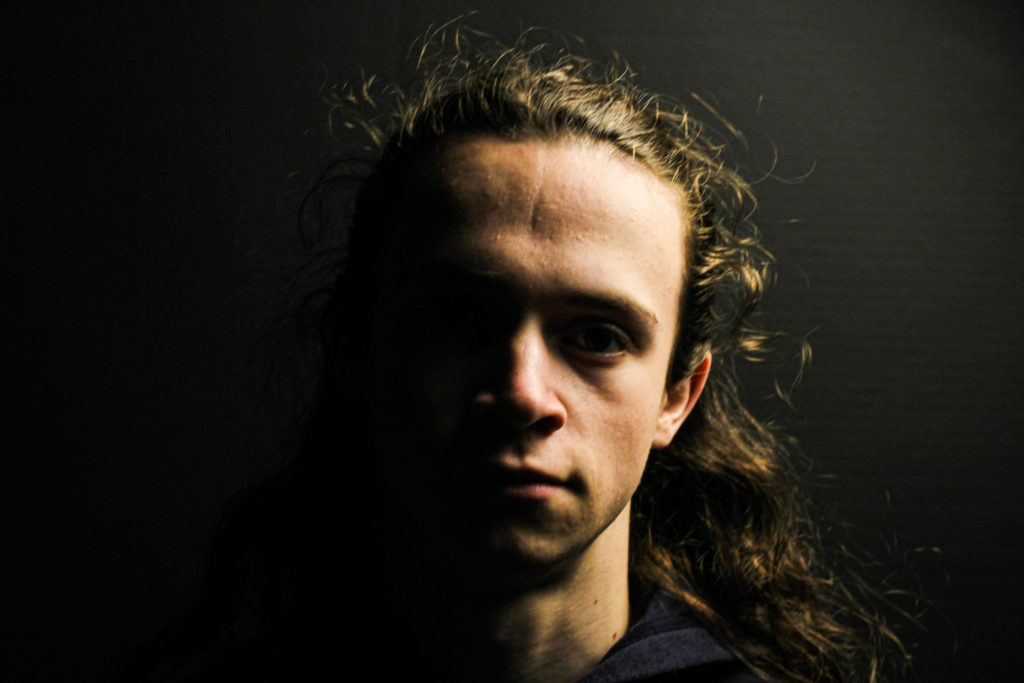
Side Light
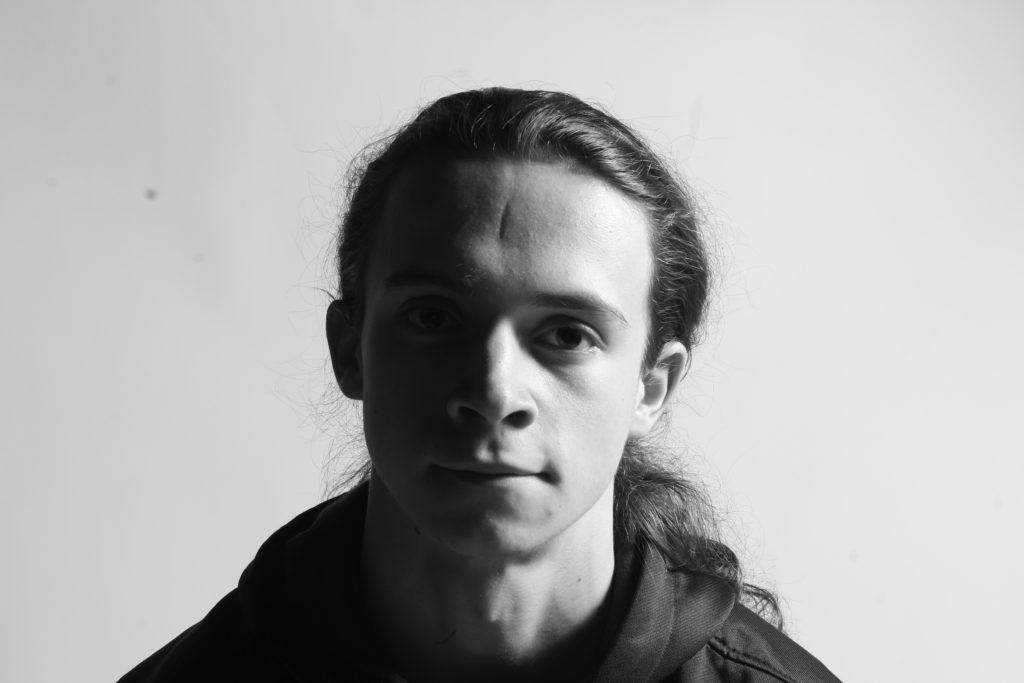
This image was taken using side light. For this set up the light is positioned at 90 degrees of the model. This setup is similar to Rembrandt lighting however the biggest difference is the absence of the triangle which can be seen under one eye in a Rembrandt image. sometimes when using side light the photographer will use another much dimmer light in order to project light to the other side of the models face to more clearly show their eyes. This is called a Fill light as it fills the shadowed side of the face.
Experimentation
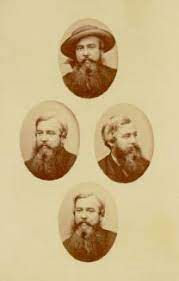
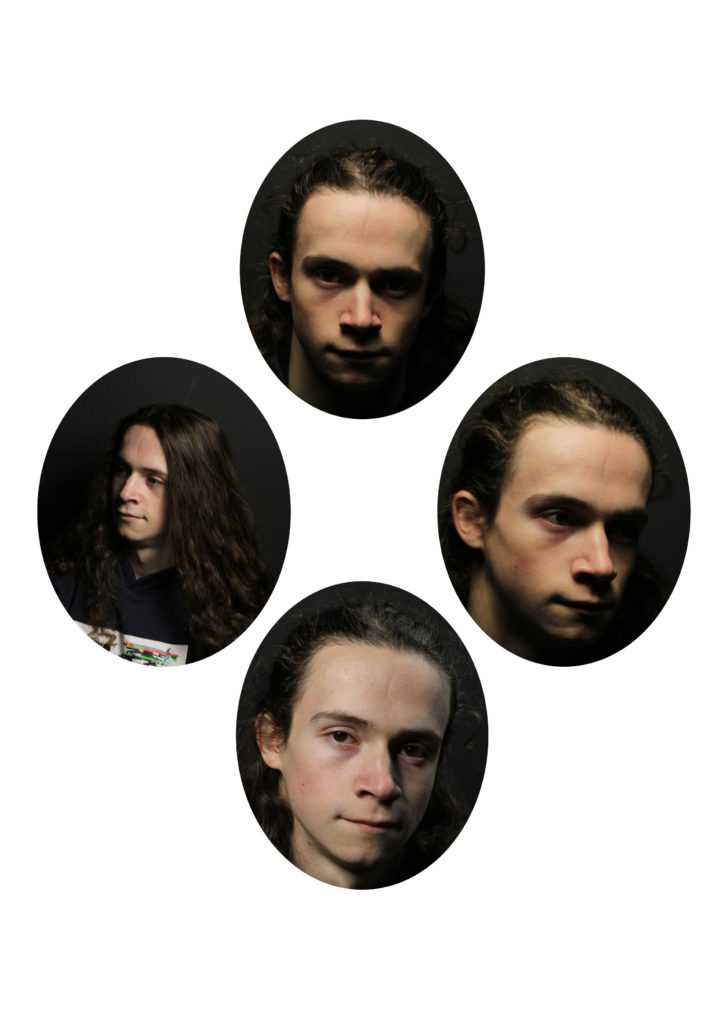
Diamond Cameo
Diamond cameos were created in the mid 1860s. four small oval images were placed adjacent to each other in a diamond shape. this is what gave the style its unique name.


My Diamond Cameos
I created some of my own diamond cameo shots in photoshop using some of my own images. I used a series of tools in order to create my diamond cameos, these include the elliptical marquee tool and the crop tool. I made one cameo in black and white to represent and recreate the original style however I also created one cameo in colour in order to modernise the technique

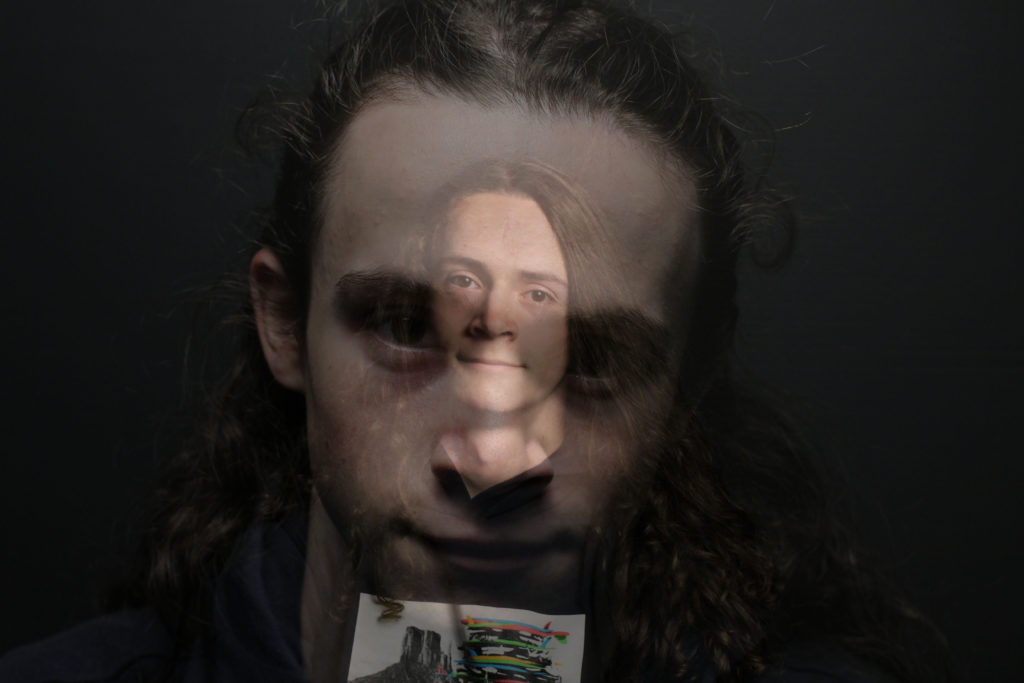
Multiple exposures
Multi-exposure has been used in photography since the early 1900s. I has been so popular due to is simplicity and its confusing yet calm effect. these are some multi exposure images I found online.
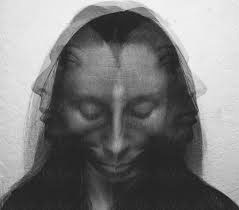
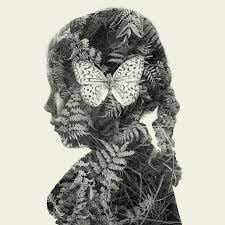
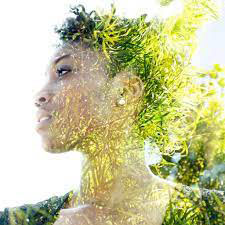

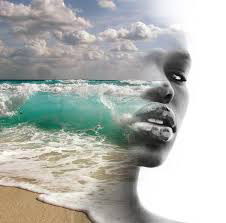
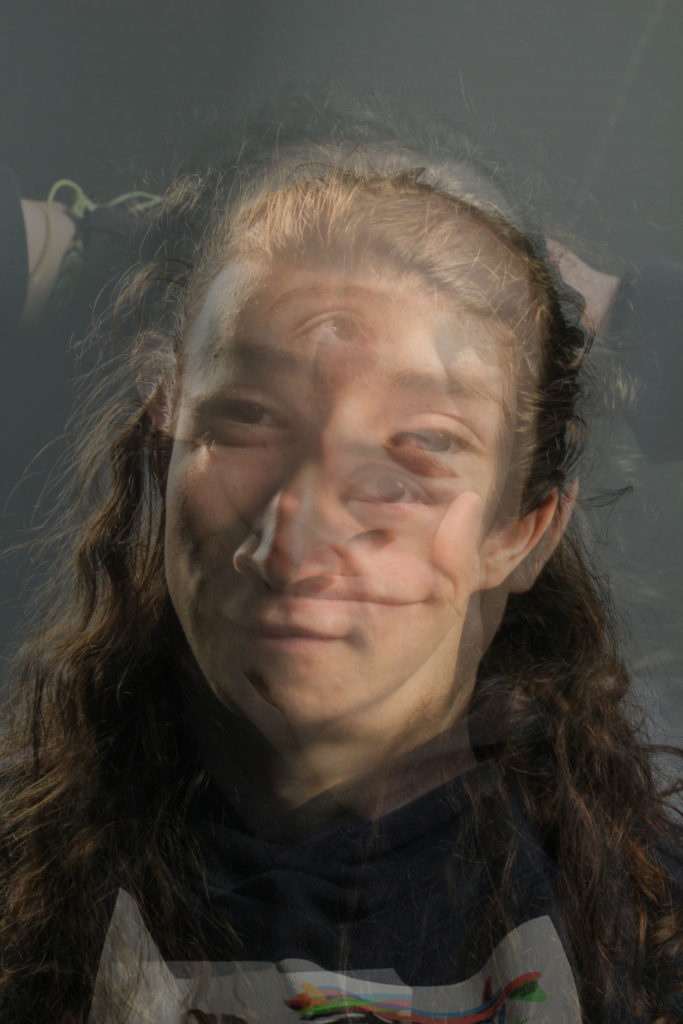
Multiple exposure images are created by layering multiple images of the same origin onto of each other and blending the images using tools either in the camera or on adobe photoshop.
these are some multi exposure images i created using the opacity feature in adobe photoshop.
Juxtaposition
“the fact of two things being seen or placed close together with contrasting effect” Juxtaposition is when two or more images of completely different theme and origin are placed next to each other however the images have small similarities within them which create subtle links between the photographs
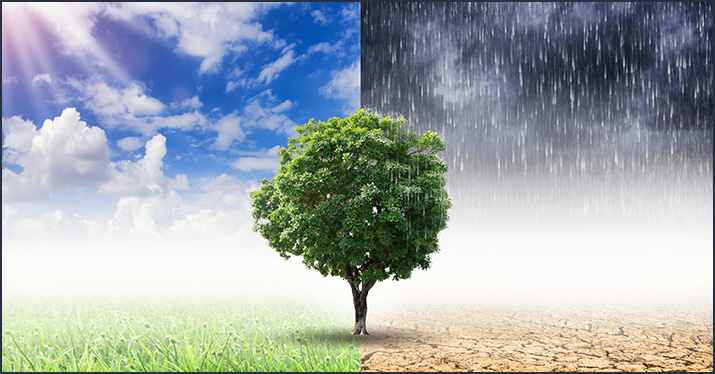
These are some of my attempts of Juxtaposition
I used adobe Lightroom classing to compare my images in order to find images that I think work best juxtaposed