Walker Evans and Darren Harvey-Regan

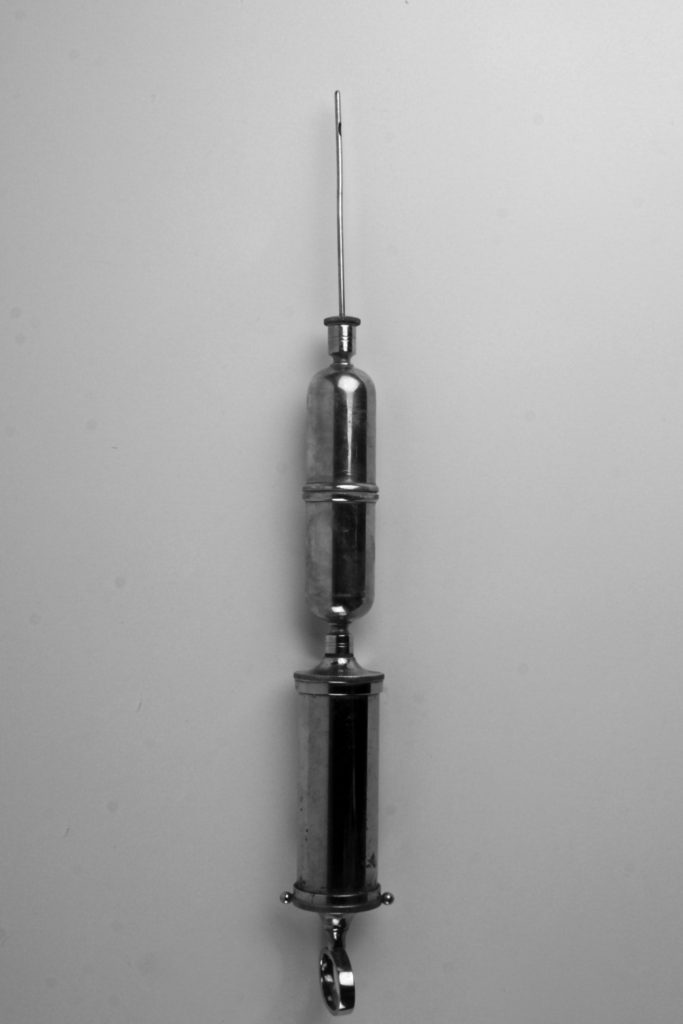
Walker Evans

Walker Evans: The Magazine Work - Wellington - Eventfinda

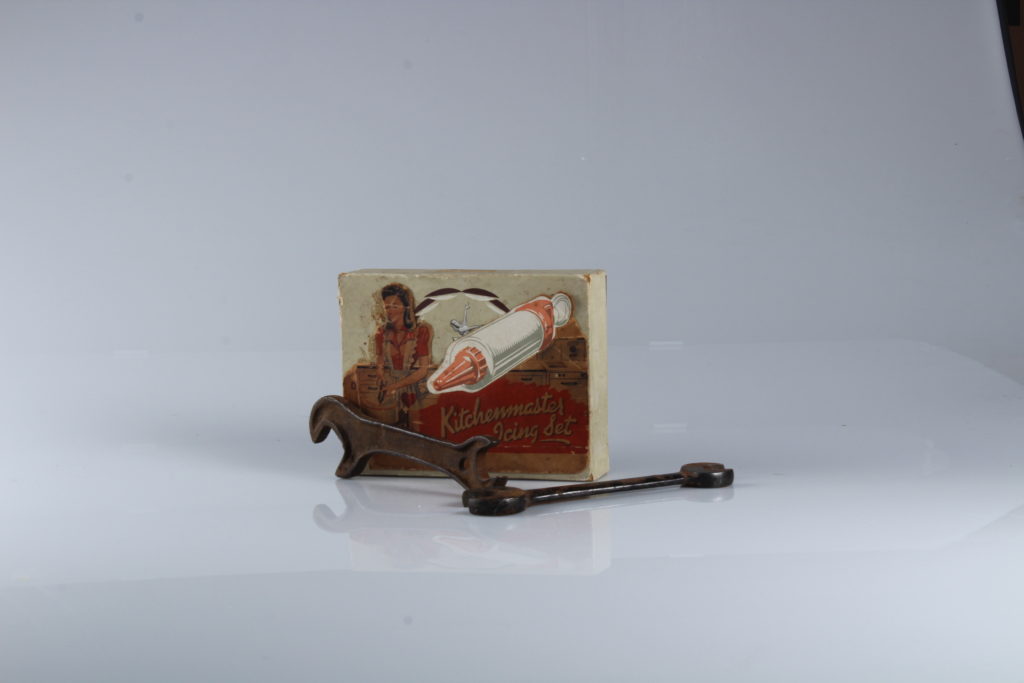
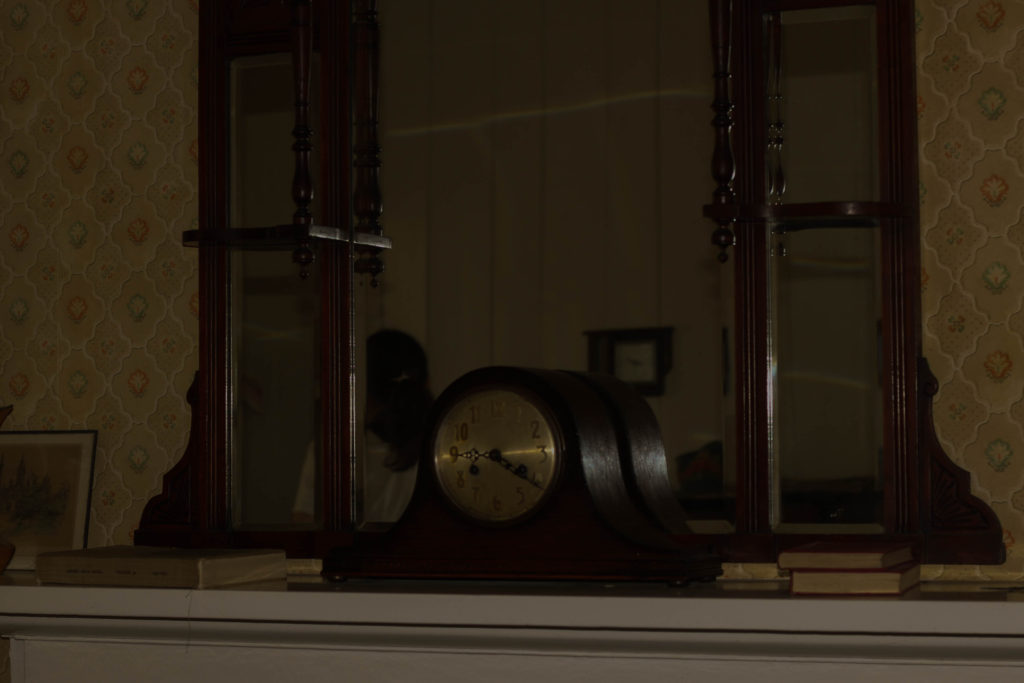
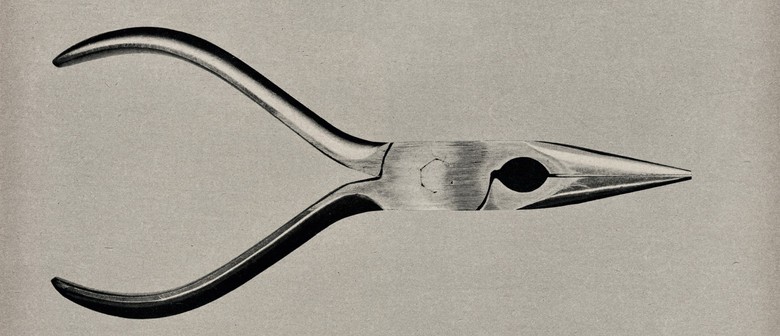
This image taken by Walker Evans is very simplistic, and it is easy to recognise what the picture is of. This image has no shadows due to the way Evans laid out the object, with sort of stilts holding the object up to give it a ‘hovering’ look, and positioned the light source, which looks to be about 12 o’clock and slightly above the object. The light itself is not too harsh nor too dim, giving the image a very formal and straight-forward look. The object does not have many angles, it is mainly curved with a few straight lines on the inside of the head. The contrast of this image mainly comes from the bold shadows on the handles, the hole in the centre and the edges of the head. The background in this image is very plain, it is pretty much the same colour as some parts of the object, this allows the darker segments to stand out more.

Darren Harvey-Regan
The Erratics: Darren Harvey-Regan's Thoughtful Photographic Interpretation  Of A Geological Phenomenon - IGNANT

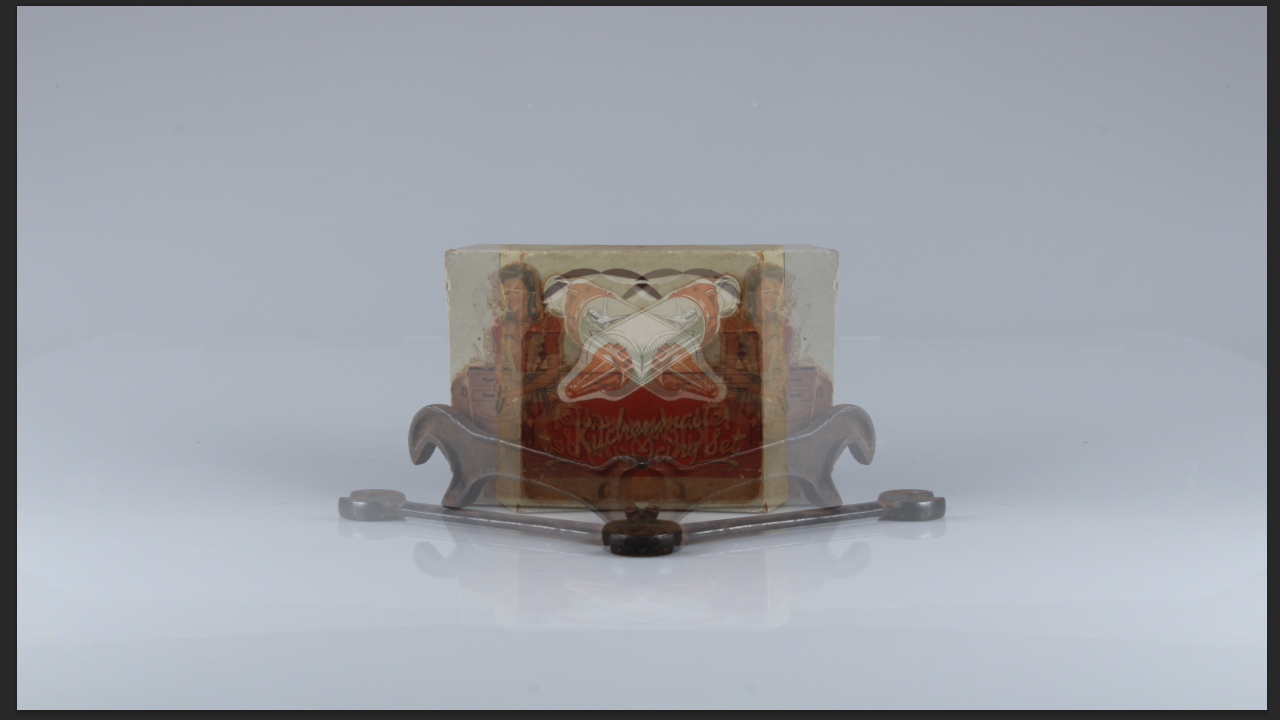
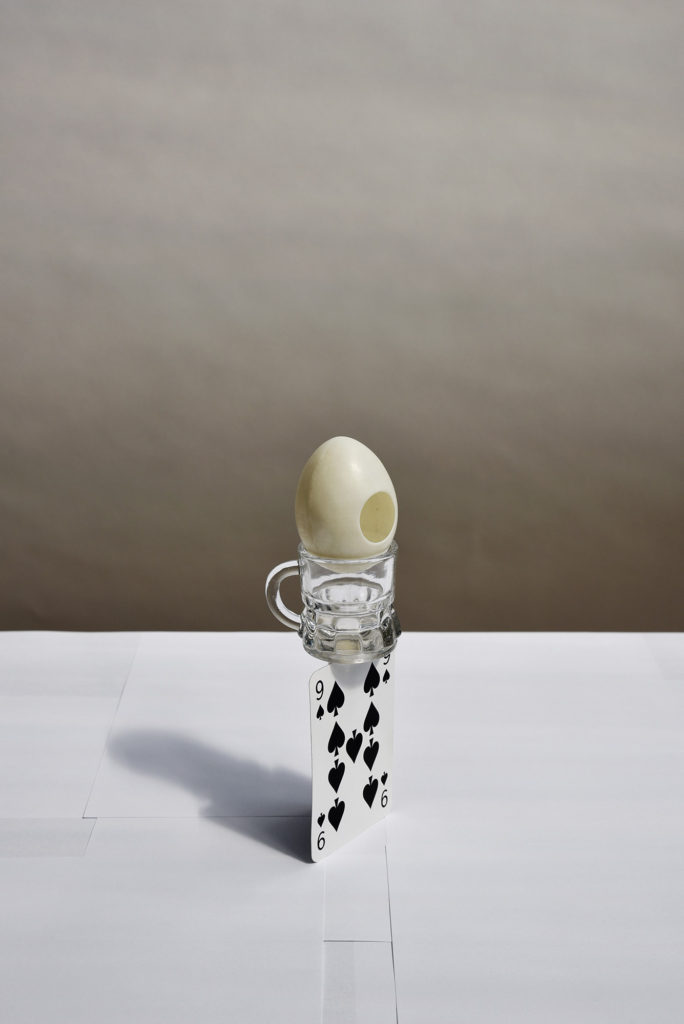
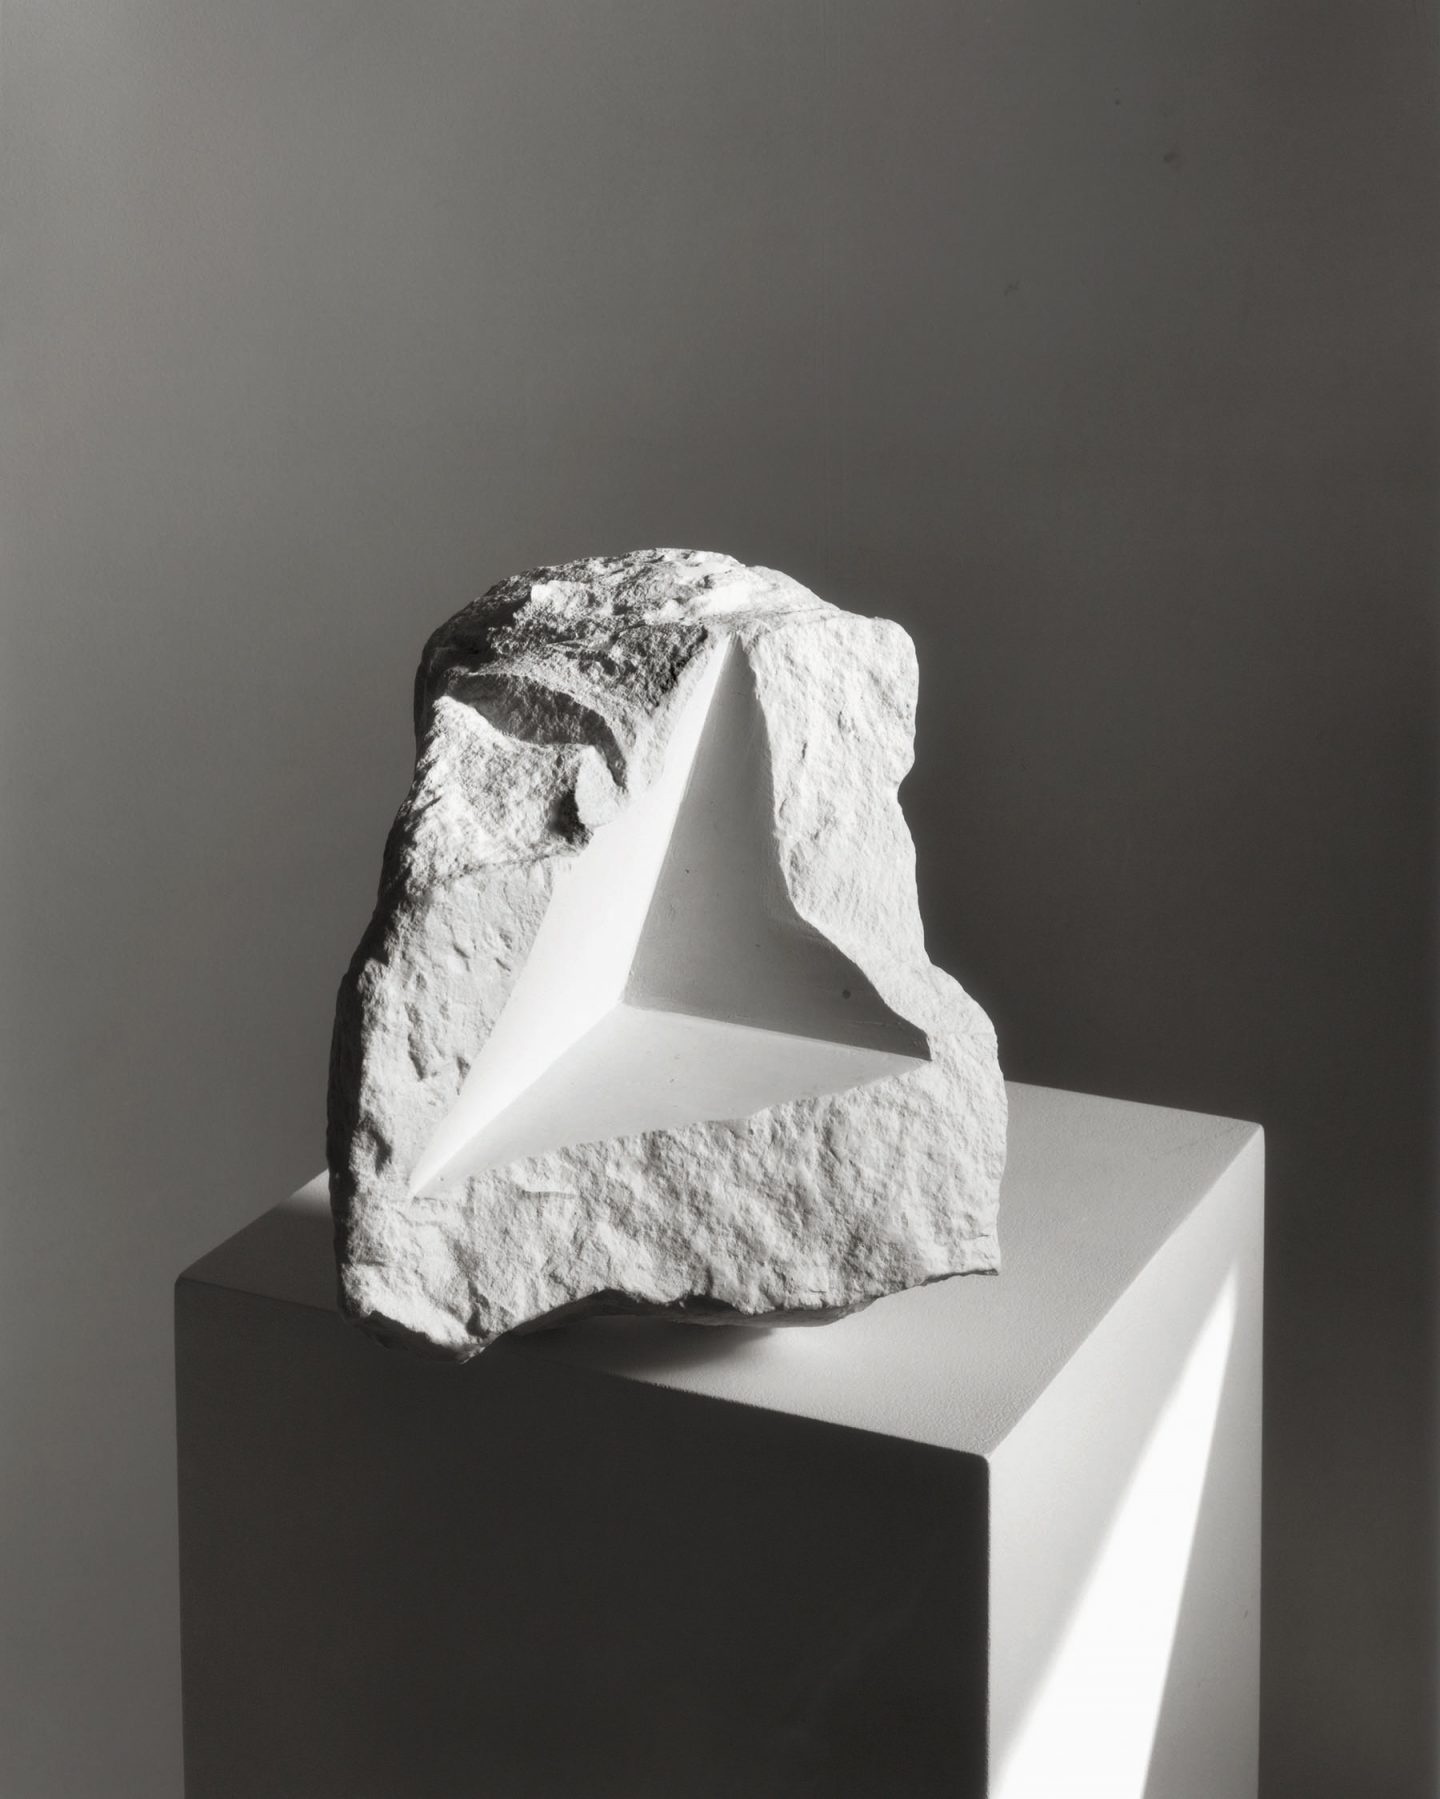
This image by Darren Harvey-Regan looks fairly unnatural, it uses a lot of straight lines and formal shapes to give the object an interesting appearance. The straight lines allow for lighting to give the image clear highlights and shadows, giving the rough texture of the image, as well as some of the shapes created by the lines, a greater emphasis. The light source is likely from around 1-2 o’clock of the object which allows for shadows behind the object and some faces of the pedestal to appear. This image uses contrast as a way of making the object more interesting, cutting out a straight shape in the rough/natural object, as well as placing the object on a regular shape, creates a contrast of shapes and lines. The background in this image is fairly dark, which also contrasts with the object that has been well lit and makes it easier to see the rugged shape of the object.

Comparing the Two Artists:

Similarities

  • Both artists used black and white, I think this is effective as it allows the shadows and highlights to be differentiated more clearly, it also makes light the main focus of the images, rather than colour.
  • Both artists used a plain background as a way to give the object a greater importance in the image

Differences

  • Evans’ image is very simple, with the objects having a simple and well-known shape (being common tools), whereas Harvey-Regan’s image uses an object which has a complex natural shape, but has also been modified to have another simple shape within it.
  • Harvey-Regan made use of a pedestal in his image which helps the object by giving it something simple to compare it to. Evans did not.
  • Evans does not use shadow at all in his image, this makes the object look both simple yet confusing at the same time. Harvey-Regan’s image uses shadow as a way to embolden texture and shape, making the image clearer and more complex.

My own Images
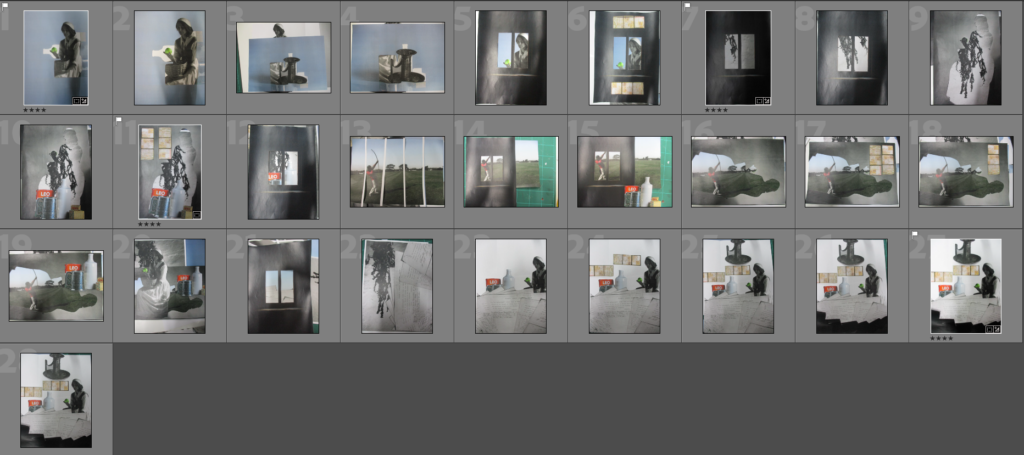
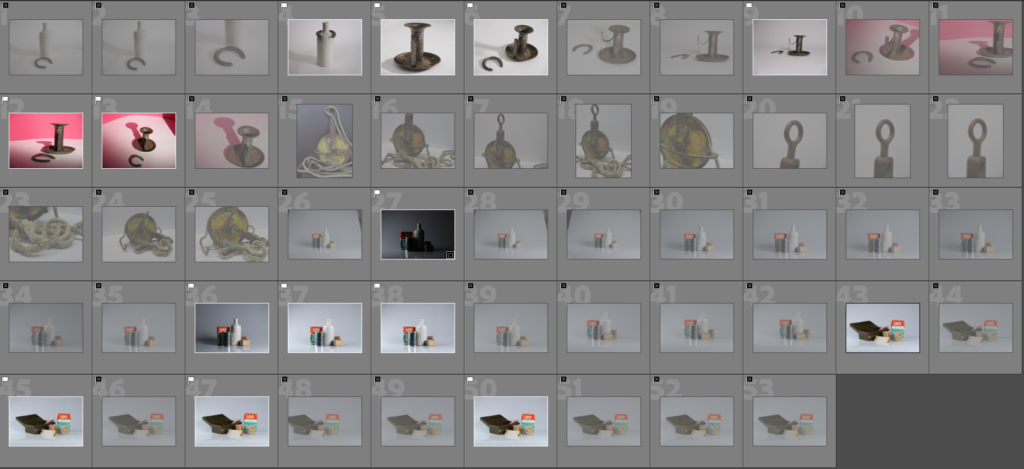
Contact Sheet from my photoshoot
My Final Images from this shoot (Unedited)

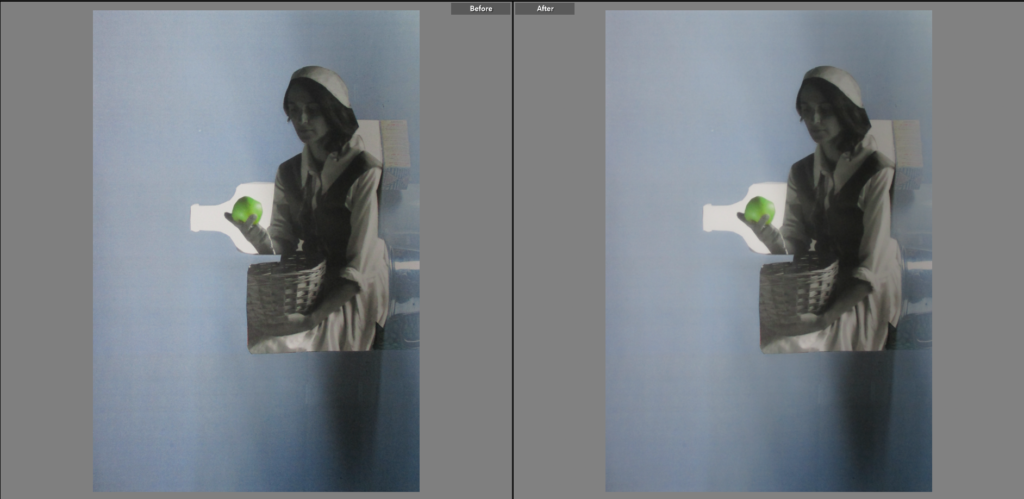
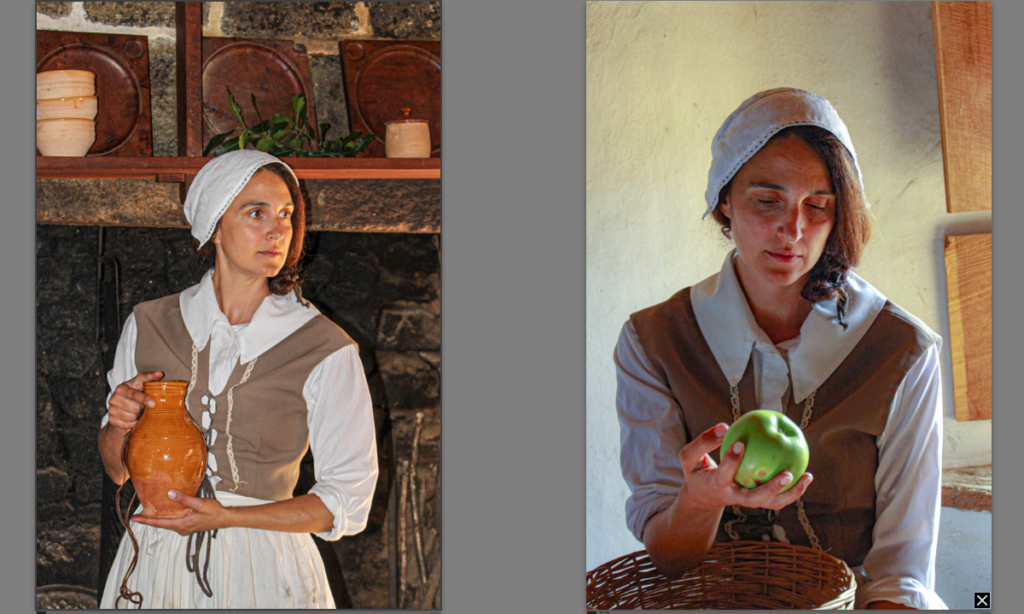
I chose this as a Final Image because I like the way the two pieces of paper subtlety blend with each other, allowing the focal point, the apple, to stand out behind a peculiarly-shaped white backdrop. I think that colour is interesting, as the image is made up of an image with colour and one with black and white (with a part of it in colour), which gives the image a unique look to me, I also think that the soft tone of the blue background gives the image a more gentle and calming look.
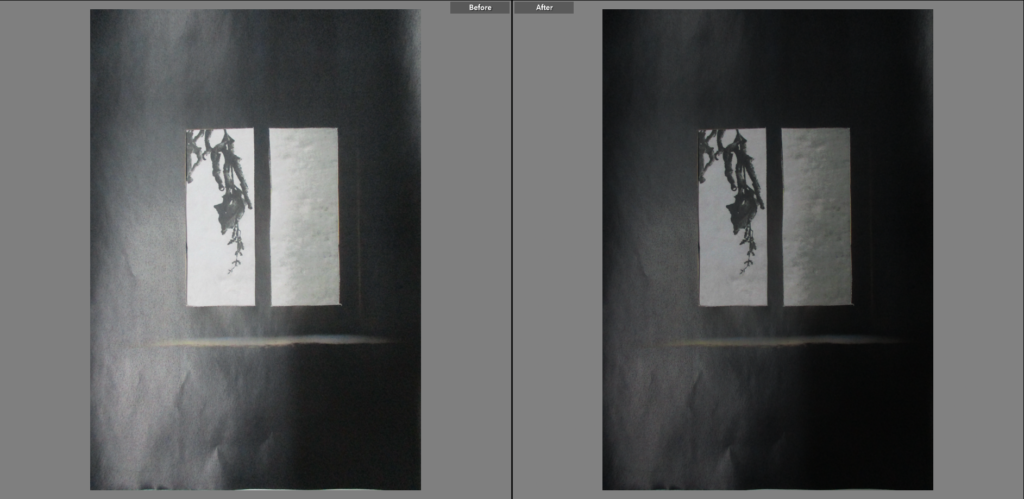
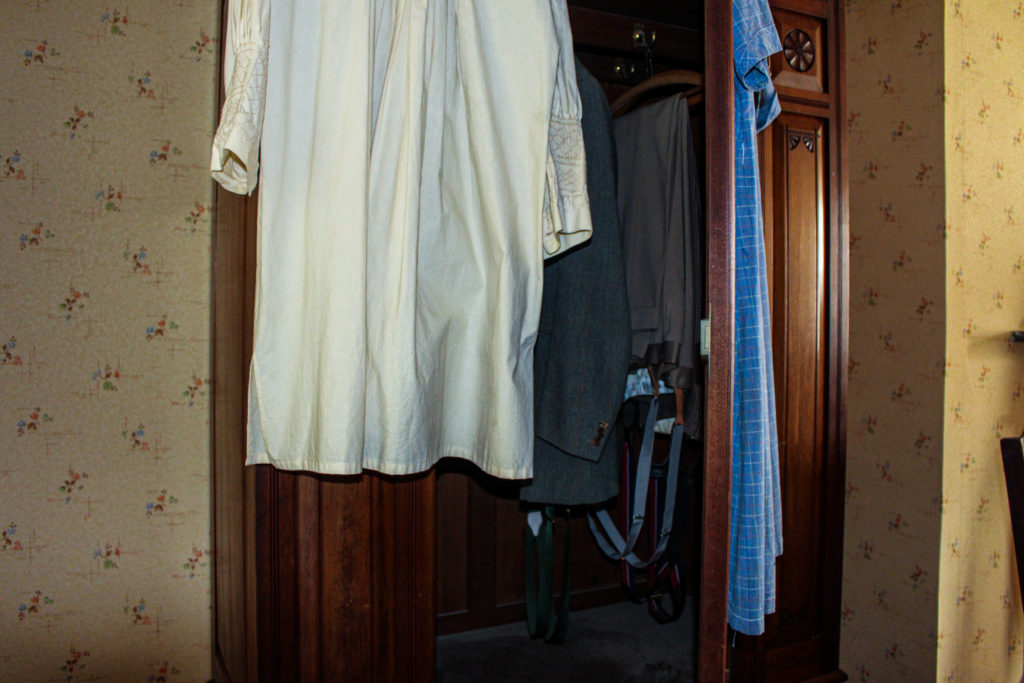
I chose this as a Final Image as it stood out compared to the other images, because of how dark it was overall. I decided to make this image black and white because I thought it would allow the grey colour behind the window to stand out more. I think that the shine on the black paper gives the image more pattern and a greater variety in tones. The plant seen behind the left window frame is mainly made up of straight lines, however in an irregular order, this compared to the regular shape of the window frames, creates a nice contrast.
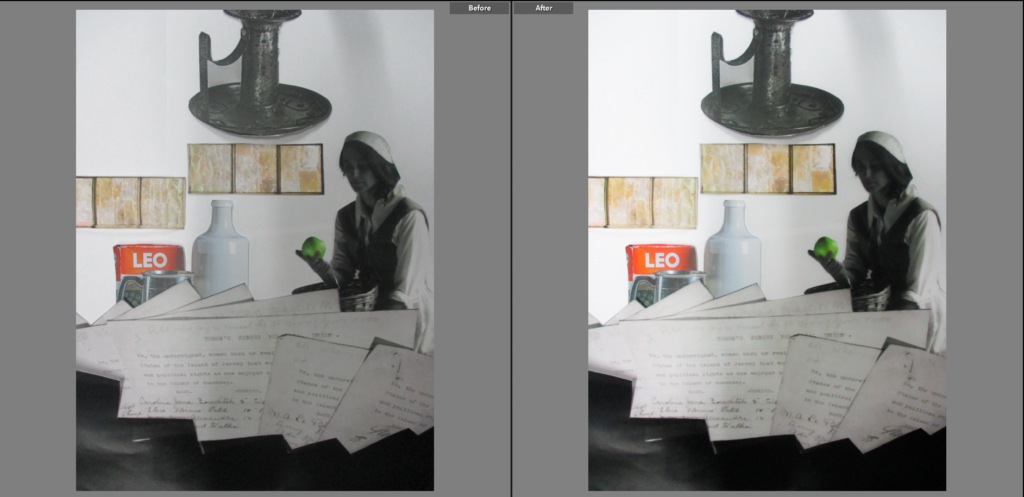
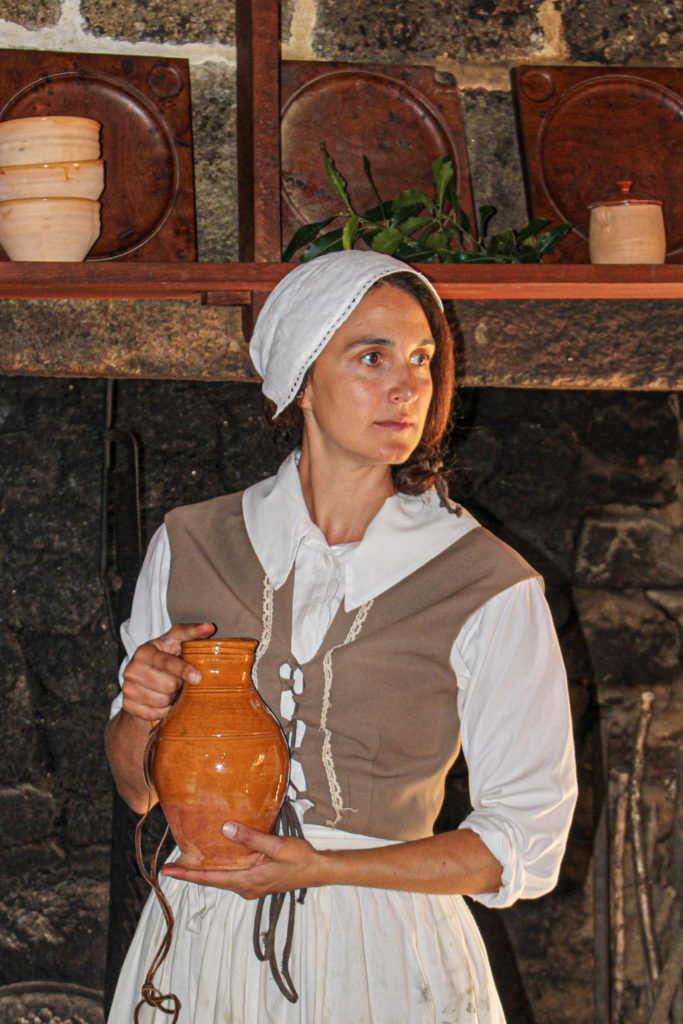
I chose this as a Final Image because I like how it is arranged, it looks as if the pieces have been placed in a planned way, while also looking like they were just thrown on. I think the model is the main focus of this image as she not only contrasts with the objects in the image as a human model, but also as a darker part of the image (contrasting with her white backdrop). I also like how the colour was arranged, with the colour being only seen in the centre of the image, and becomes black and white as the image goes towards the vertical edges of the page. I think the white backdrop gives the individual pieces room to breathe and helps them stand out more.
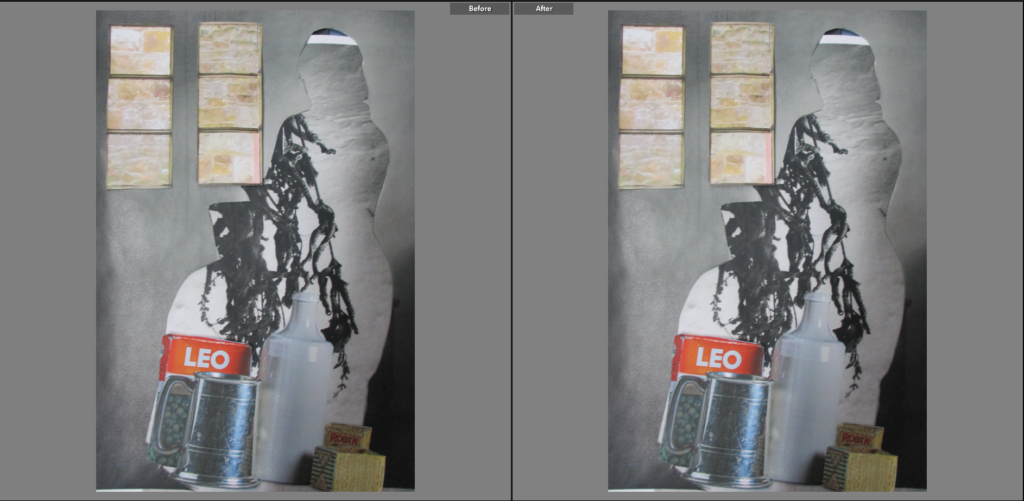
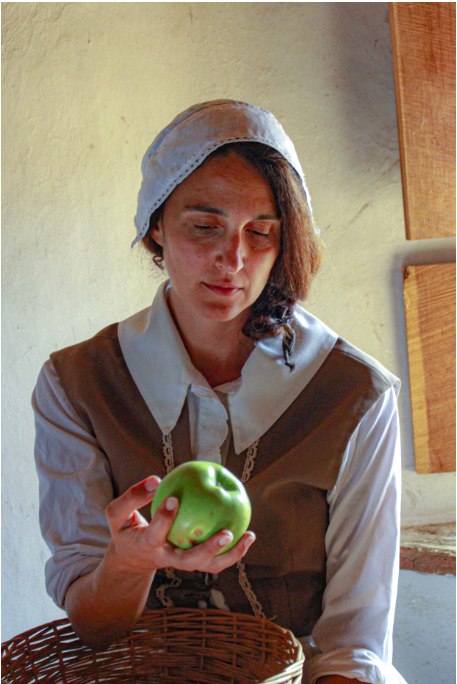
I chose this as a Final Image because I think that the outline of the woman, while it is not exactly the focal point (though it does enclose it), has an interesting look. Unlike the last image shown, the pieces are arranged quite erratically, which helps it look unique, but also rushed and unordered. I also think that the limited colour in the image is almost like a complete opposite to the last image, with the colour being mainly seen on the outer parts of the image.

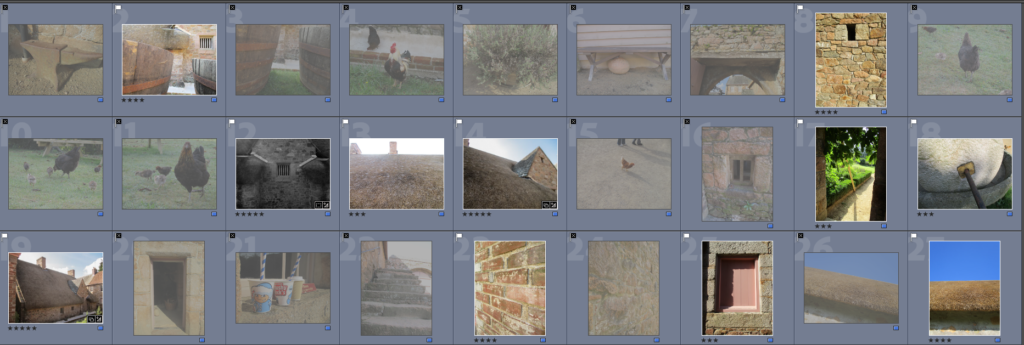
Hamptonne Final Images – Exteriors

At Hamptonne, there were several 15th century buildings, fields and farm areas which provided me with interesting exterior perspectives.

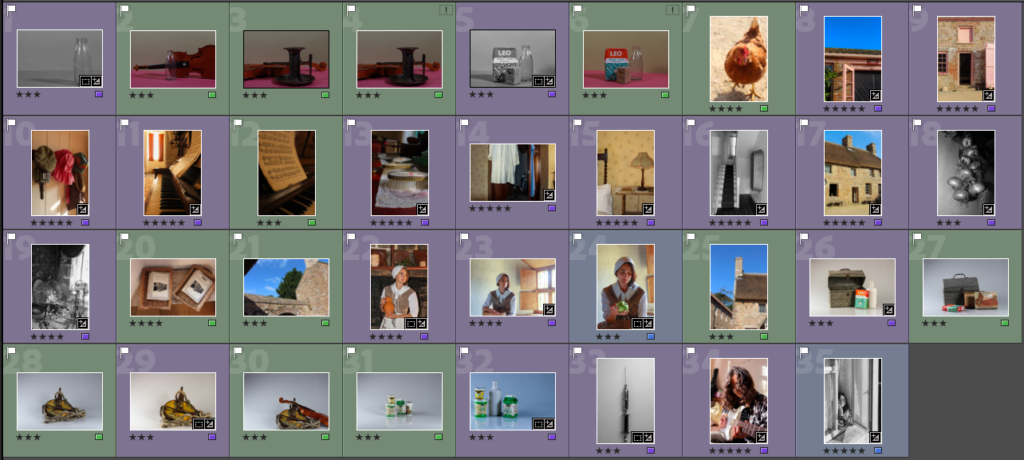
This is a contact sheet of my exterior images
These are the images I have chosen as the best

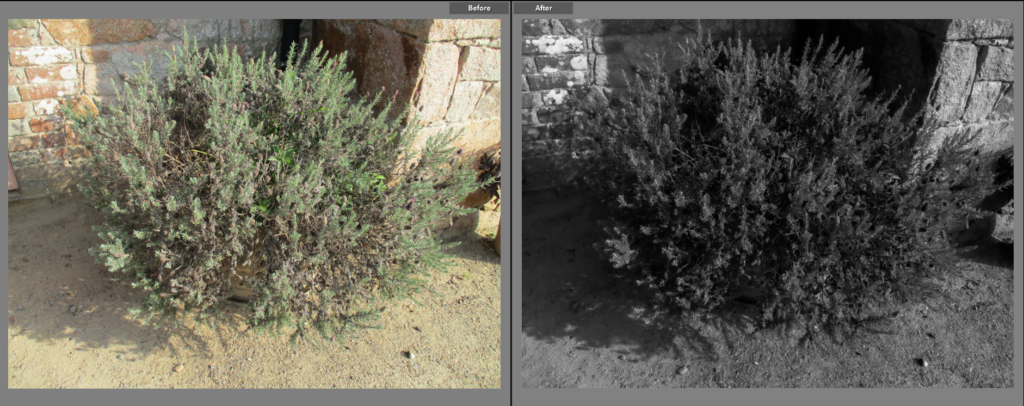
I chose this as a Final Image because I think that it’s use of shadow is effective. This picture was taken at the start of the trip so it was fairly early, which allows the rising sun to create a bold shadow on the left of the plant, as well as between it’s stems which creates a clear contrast between light and dark parts. I decided to make the image black and white because I wanted to emphasise the shadows, rather than the colours of the original (I like how you can still tell what time of day it is even with the black and white filter on). I think the erratic lines coming off of the plant creates an intriguing effect as it contrasts with the straight lines on the walls behind it, as well as the lack of lines below it.

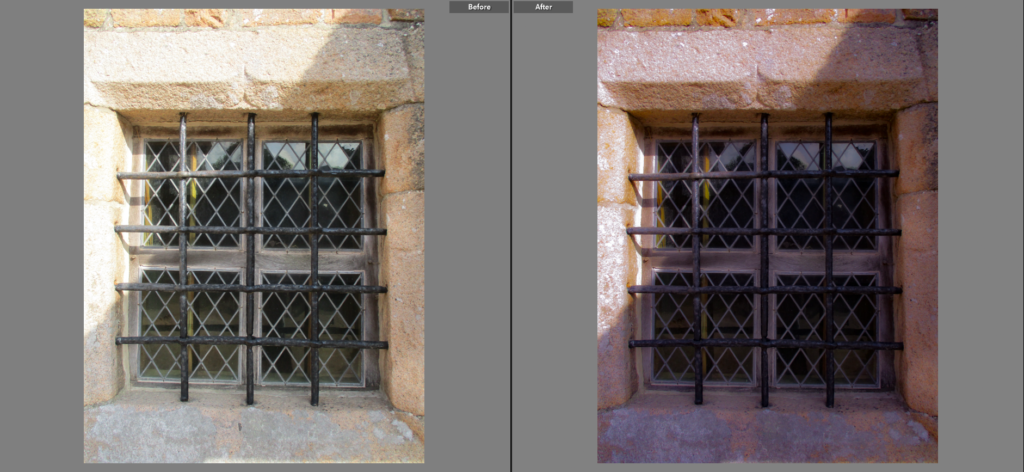
I chose this image because I like the way the window mesh/guard creates an interesting pattern, which gives the focal point (the window as it is the darkest point in the image and is central) leading lines which lead the viewer towards it, and away from it in all directions. I think the way lines are mainly straight in this image, as well as the fact that the lines from the cage are symmetrical, gives it a man-made and unnatural form. I decided to give the image a slightly pink tone to give the image slightly more colour, as well as make the contrast higher and aperture slightly lower to give the image slightly more clarity.

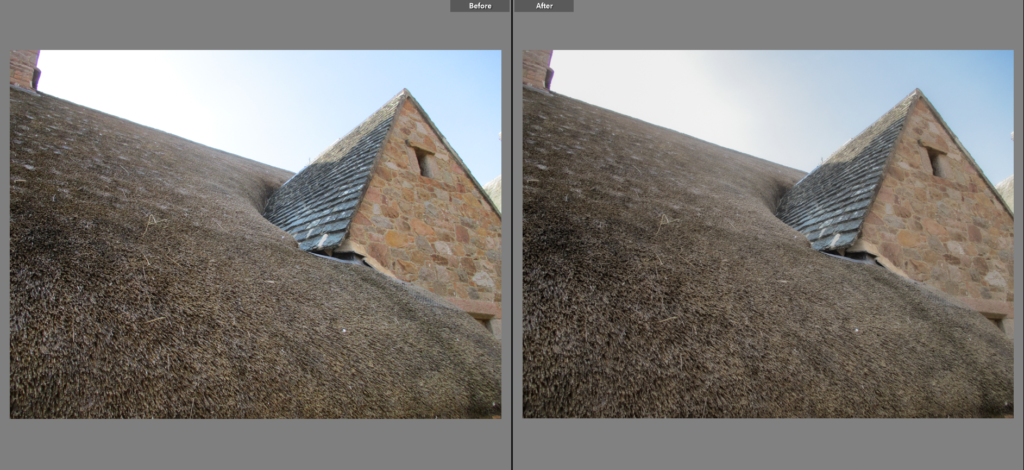
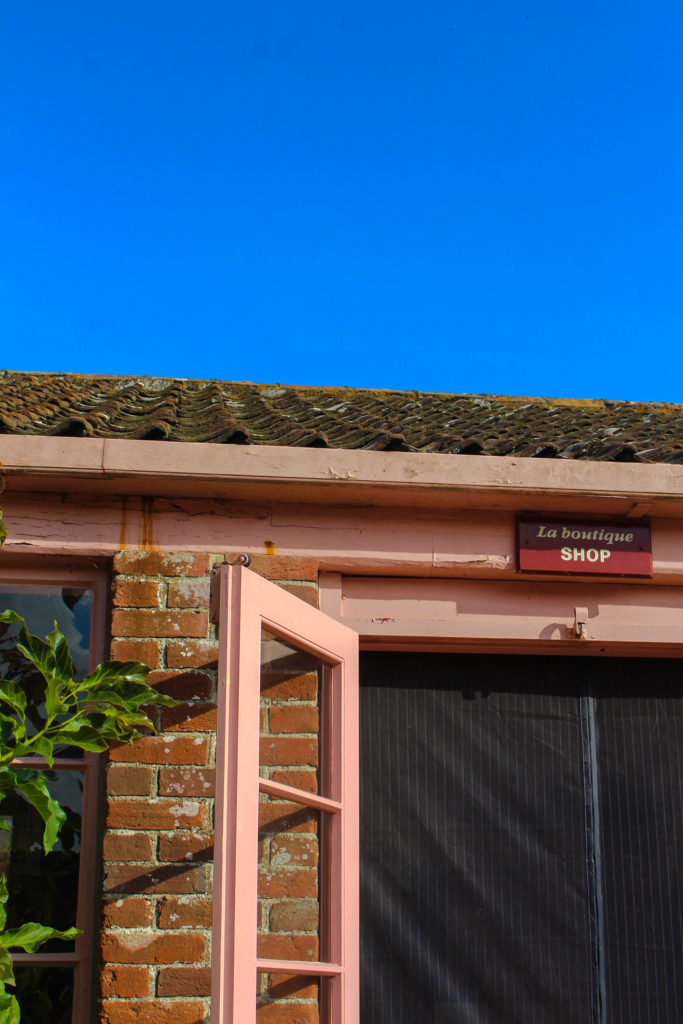
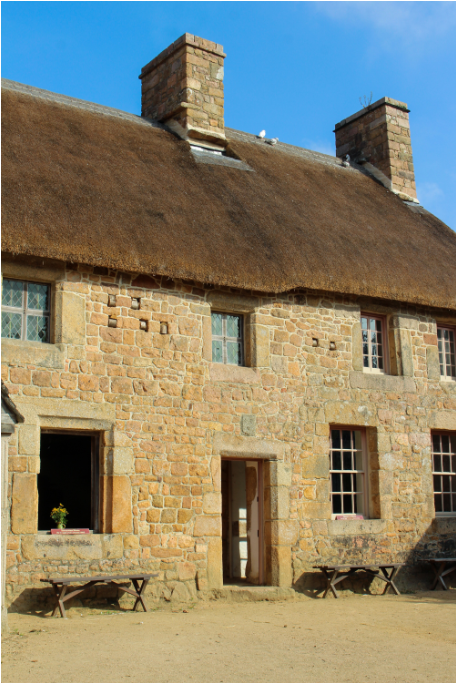
I chose this image because I like how the lines created by the building are easily noticeable, which makes the building’s form stronger and clearer. I think that the way the building towers over the viewer, taking up a very large amount of space in the image, because of the low-angled viewpoint used, is effective as it makes the building seem that more abstract than a full-body shot of it. I like the way the focal point, the triangular shape on the right, stands out as it has a different pattern, using bricks, than the thatch, which is more of an unordered array of lines, and the sky. As this part of the building is shadowed, there is no shadow seen in the image, which makes the darkest part of the image the window/gap in the bricks, which also helps make the focal point stand out.

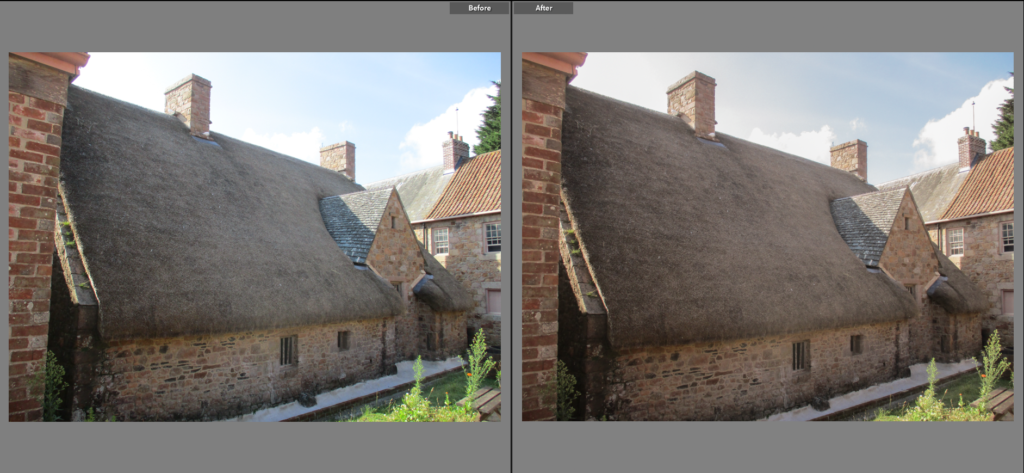
I chose this as a Final Image because I like it’s simplicity. I like the way distance is clearly shown from the diagonal shape of the building with the left side of the building being the closest and right being the farthest to the viewer. I made the tone of the image slightly warmer as I thought it would bring out the browns and greys (which take up a large majority of the image), while also loosely making the buildings seem more rural and old-fashioned. I like the way lines from the structure of the buildings are clearly seen in the image, while the forms of the plants scattered around the image are irregular, which creates a nice contrast.

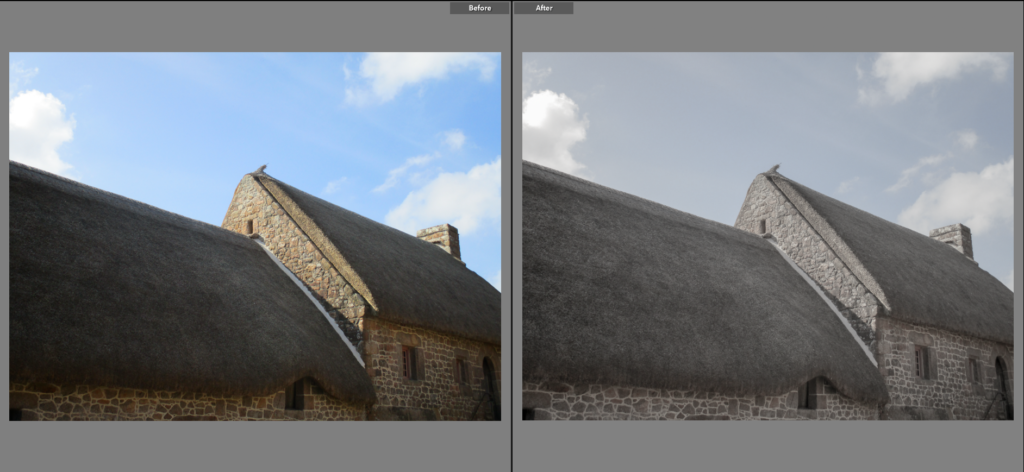
I chose this as a final image because I like its simple yet effective composition, with the building’s roof ascending diagonally creating a composition similar to a golden triangle photograph. I also think that the 60:40 ratio of building and sky is effective as it gives the building space to breath, as well as a way to create a minor contrast in tones. I chose to make the colour of the image slightly diluted as it makes the image look a little older to me, linking to my theme of Heritage. Line is also interesting in this image as it creates a contrast between the man-made lines from the buildings and natural, soft patterns from the clouds.

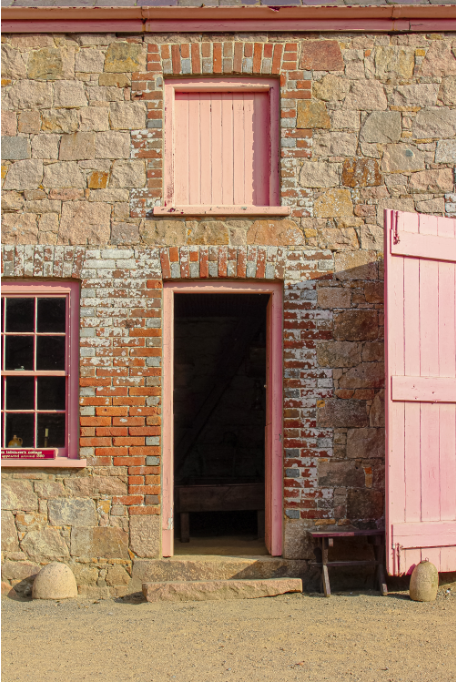
I chose this as a Final Image because I like how the low angle that the image was taken at creates a clear sense of distance between the top and bottom parts of the wall shown in the image. I decided to make the image black and white because I didn’t like the greenish tone on the original, I also think the black and white makes the white patches on the bricks stand out more, which gives the image a nice balance between black and white. I also like how the lines between each brick are clear, as it gives the image an organised look, while the bricks themselves are erratic with the white patterns they adorn.
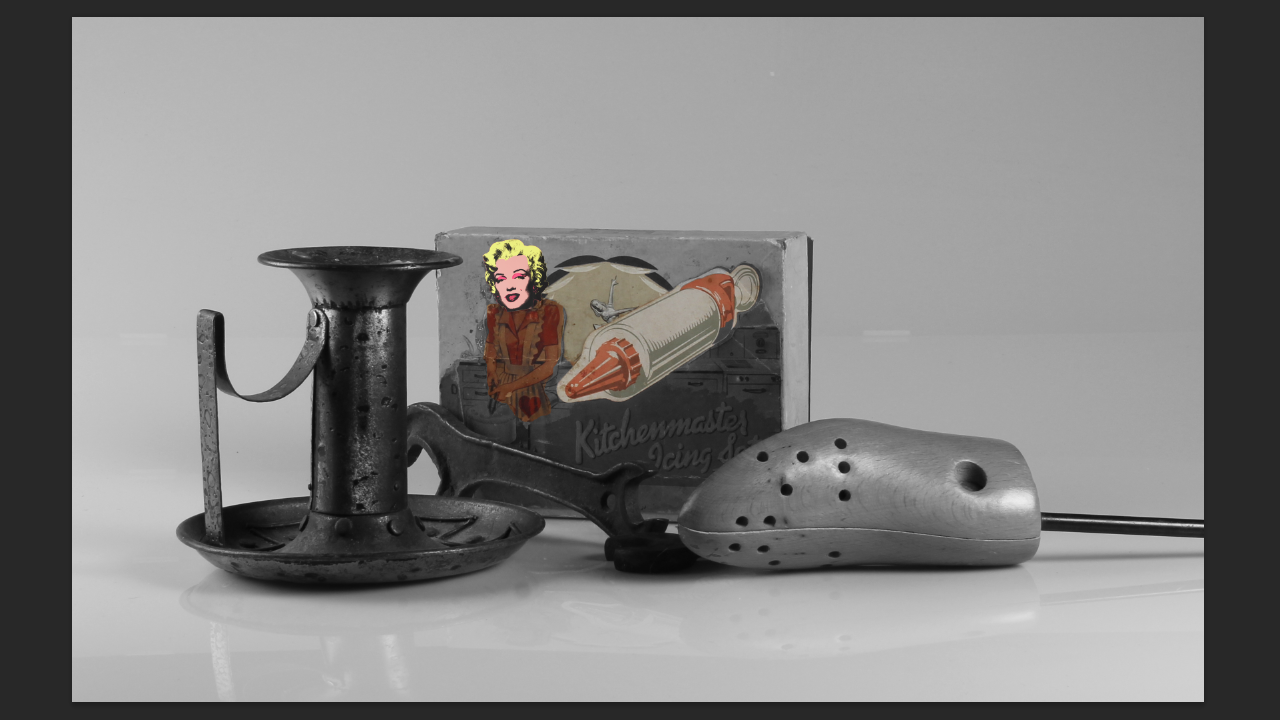
cut n paste experiments

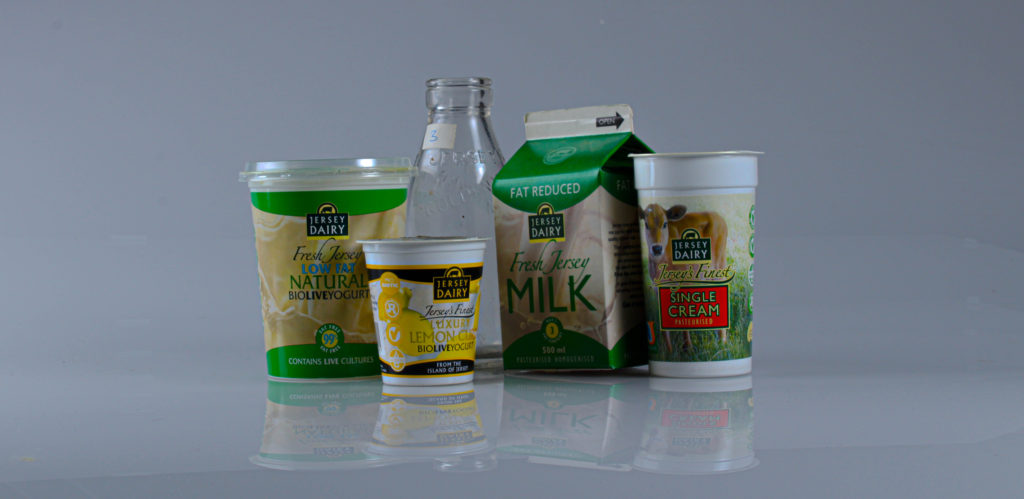
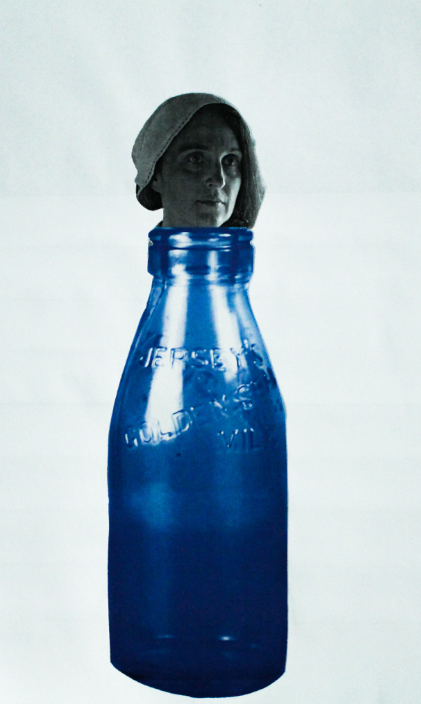
I took a still life of a bottle and put the Hamptonne persons head to appear to come out the top as if the bottle was her body.

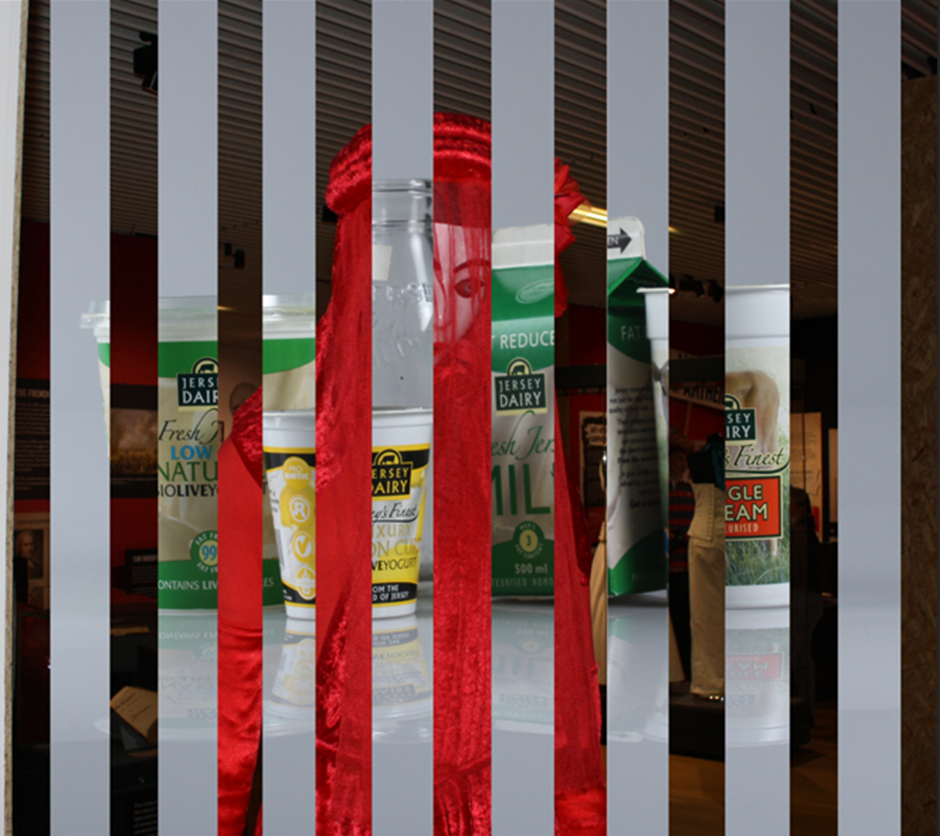
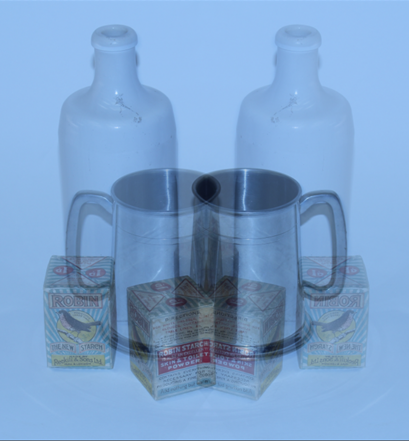
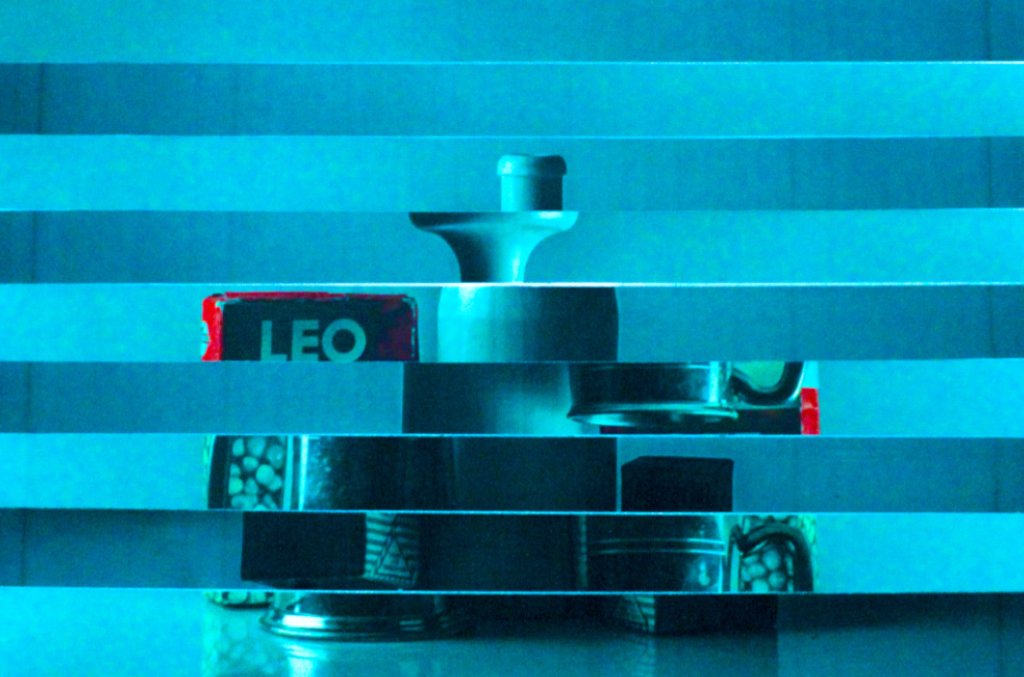
this still life of a group of objects. I cut it into strips and inverted every other strip to create this effect.

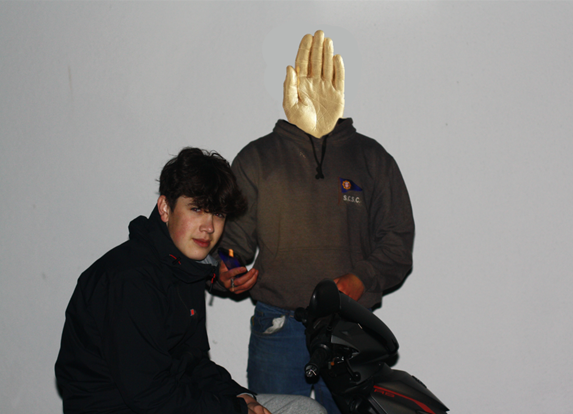
this photo of a person in Gorey I changed their face to a zoomed in dandelion and turned Goreys beautiful bay into a bush

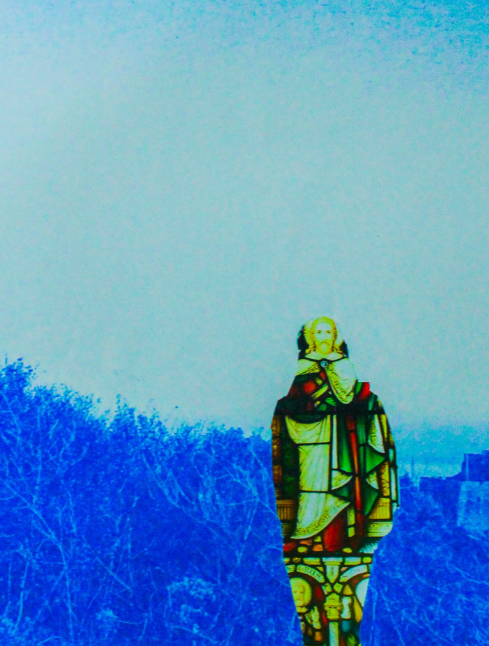
this one I cut out the figure and replaced it with a stained glass window of jesus christ

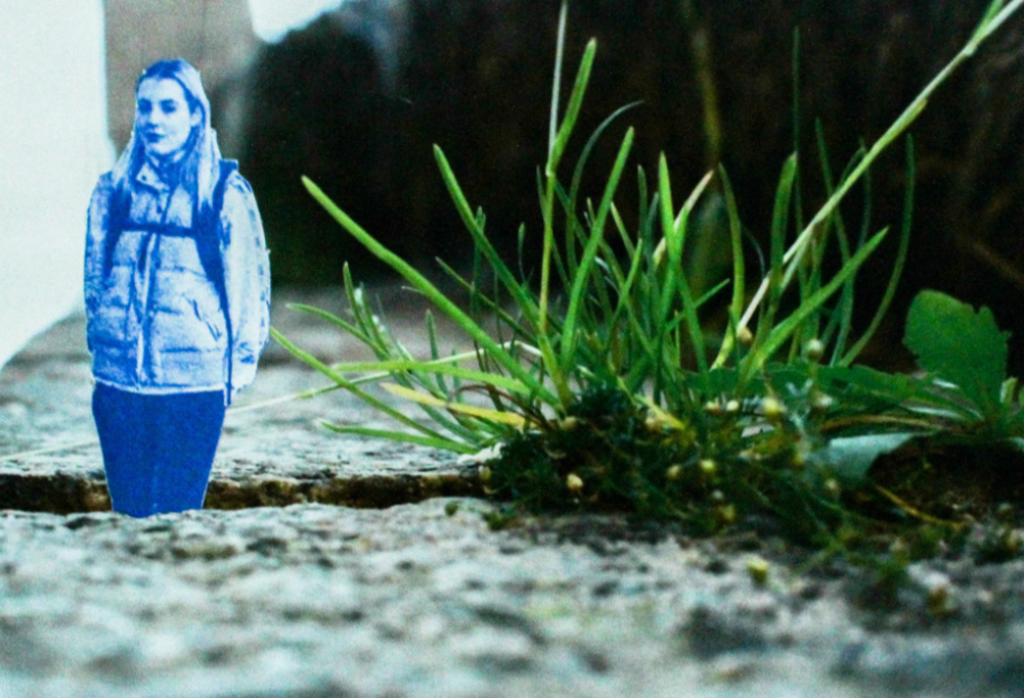
this is the cut out person from the previous image and i have stood her next to a grass protruding through the stone at the Hamptonne this messes with the perception of the viewer because they are at different scales.

Still life OBJECT SHOOT

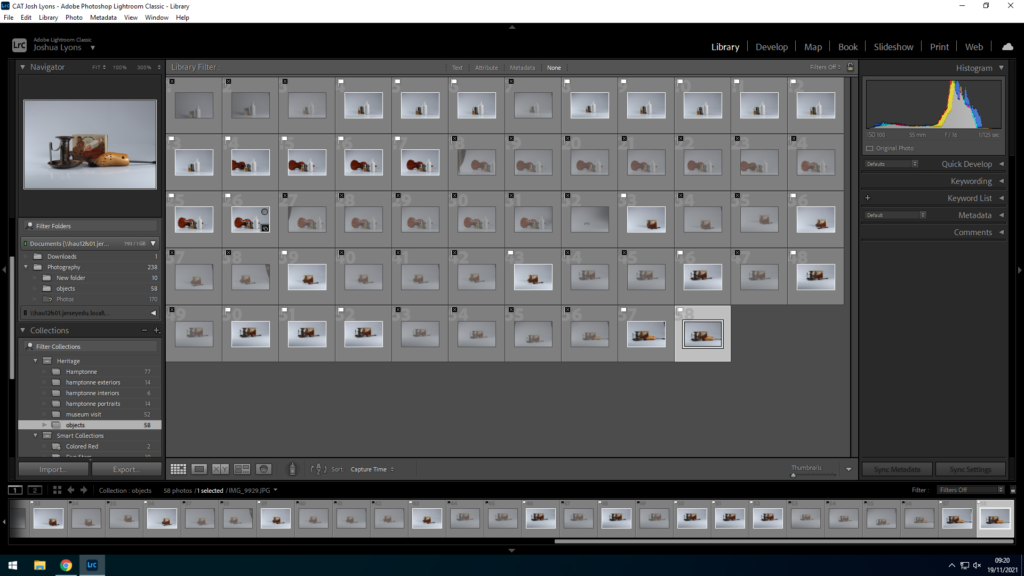
I used a flagging system on Adobe Lightroom to choose what object photos to use and which not to use

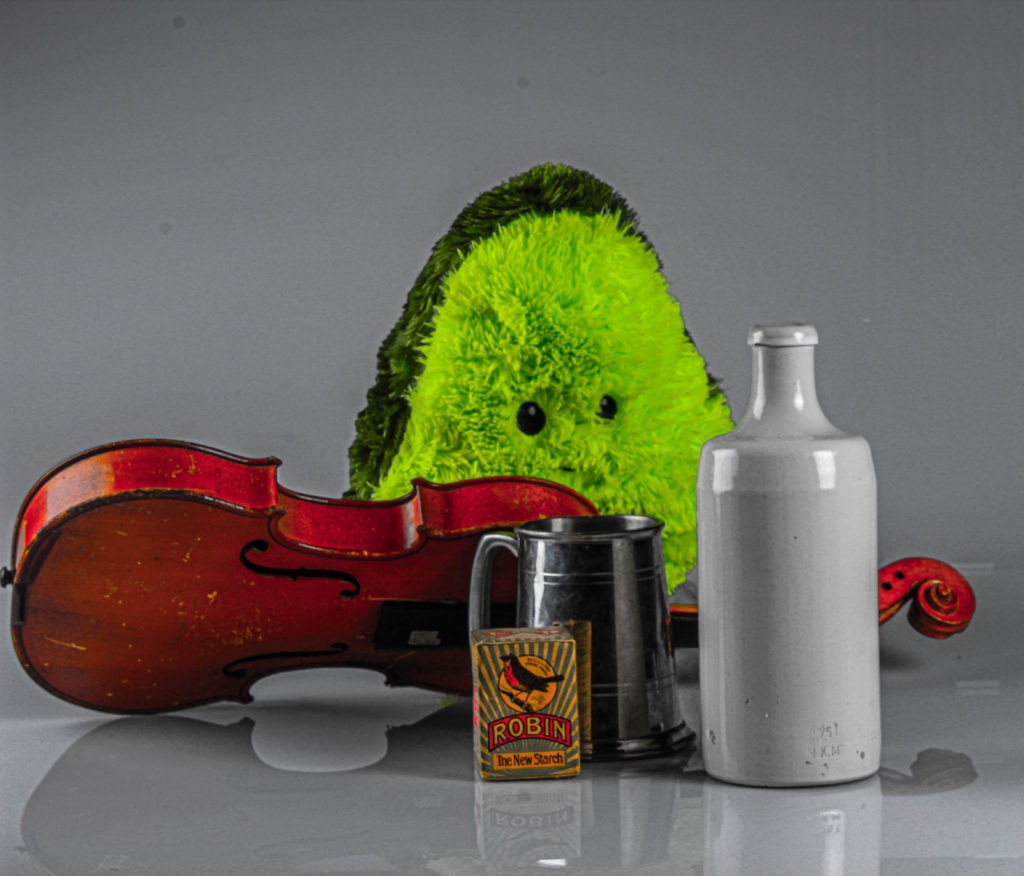
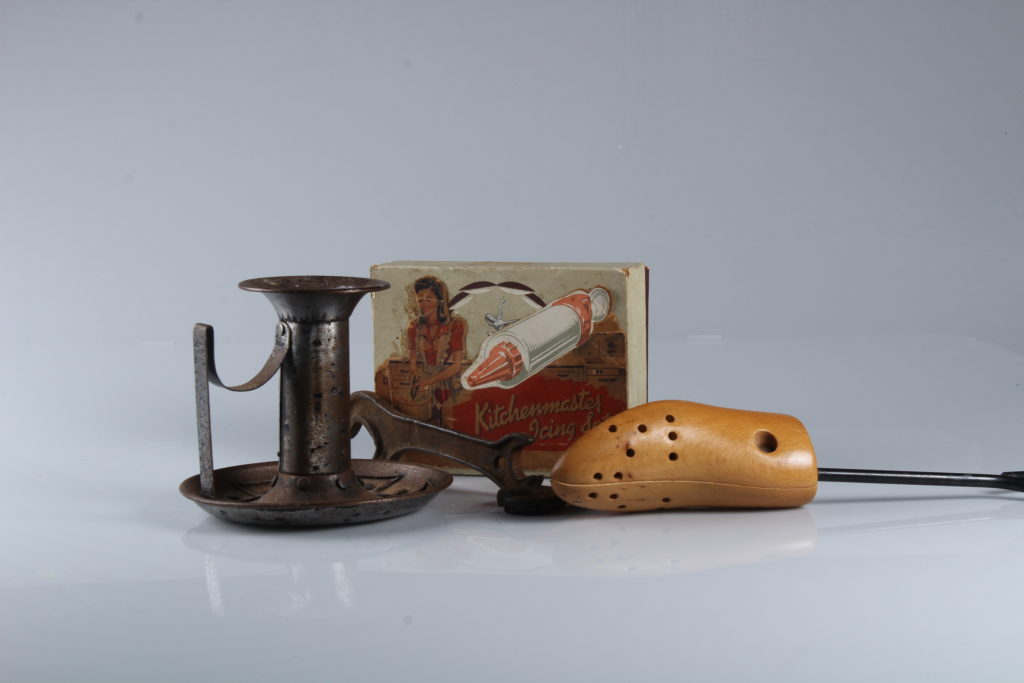
Using one of my best images I experimented with Adobe Photoshop to improve the images and make them more interesting with editing

Basic Edits

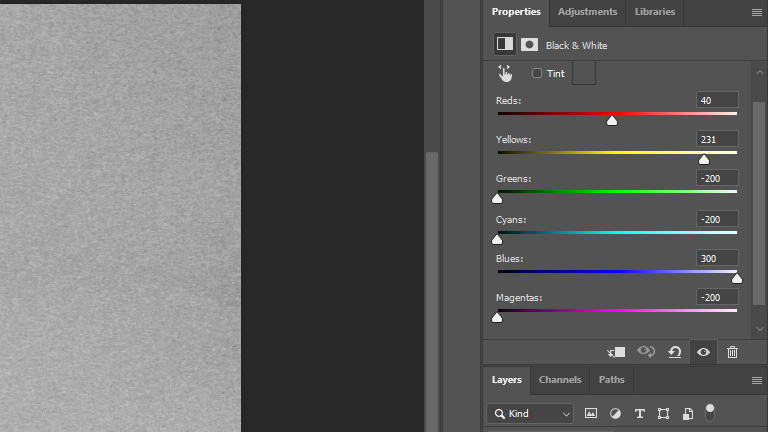
editing I used on photoshop to achieve the black and white effect

I first started with just making an object photo black and white to give it an older feel to the picture, to tie it in to heritage

Further Edits

Photomontage/ Experimentation

What is a photomontage?

Photomontage is the process and the result of making a photograph by cutting, gluing, rearranging and overlapping two or more photographs into a new image. Sometimes the resulting image is made to look like one photo, whereas other times it may be presented as different photos stacked/layered.
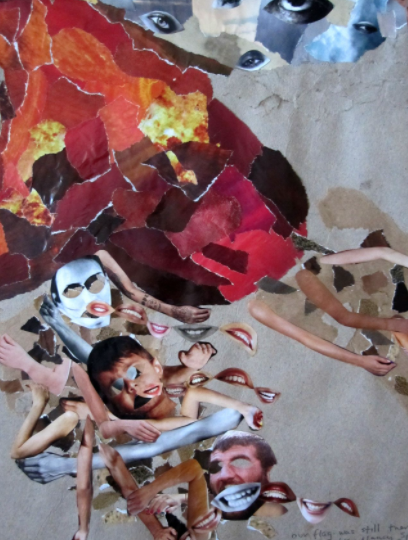
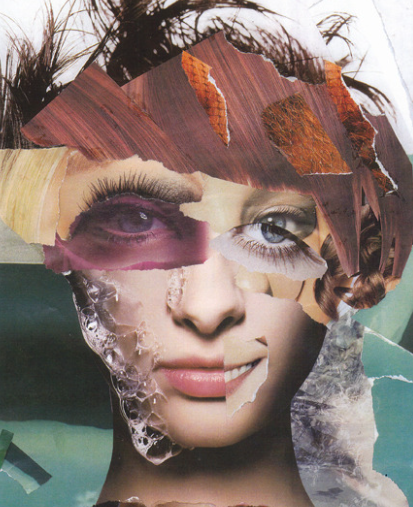
For example, in this photomontage it is clear to see that different photos have been layered to create an image.
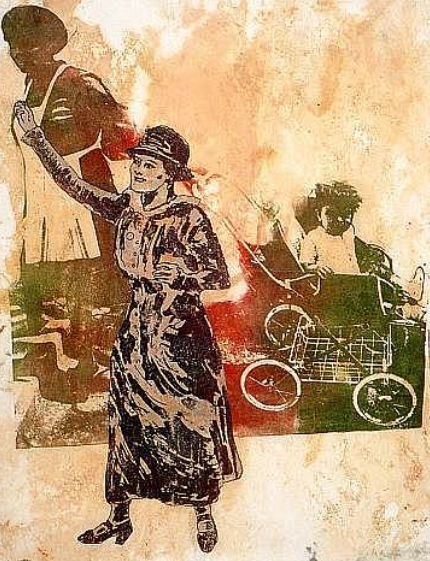
The first photomontages were produced during the mid-Victorian era as experimental photographers aspired to create images that could rank alongside fine art. The practice was at first given the name “combination printing” by Oscar Gustave Rejlander.

Nancy Spero

Nancy Spero (August 24, 1926 – October 18, 2009) was an American visual artist. Born in Cleveland, Ohio, Spero lived for much of her life in New York City. As both artist and activist, Nancy Spero had a career that spanned fifty years. She is known for her paintings that depict different political, social, and cultural concerns, often tackling racism, violence, and sexism through her artwork.

Object Based/Still-Life Photoshoot

Still Life photography is a genre of photography which focuses on objects, or a group of objects, which has been arranged in a way similar to the classic ‘still life’ art style.

Mood Board

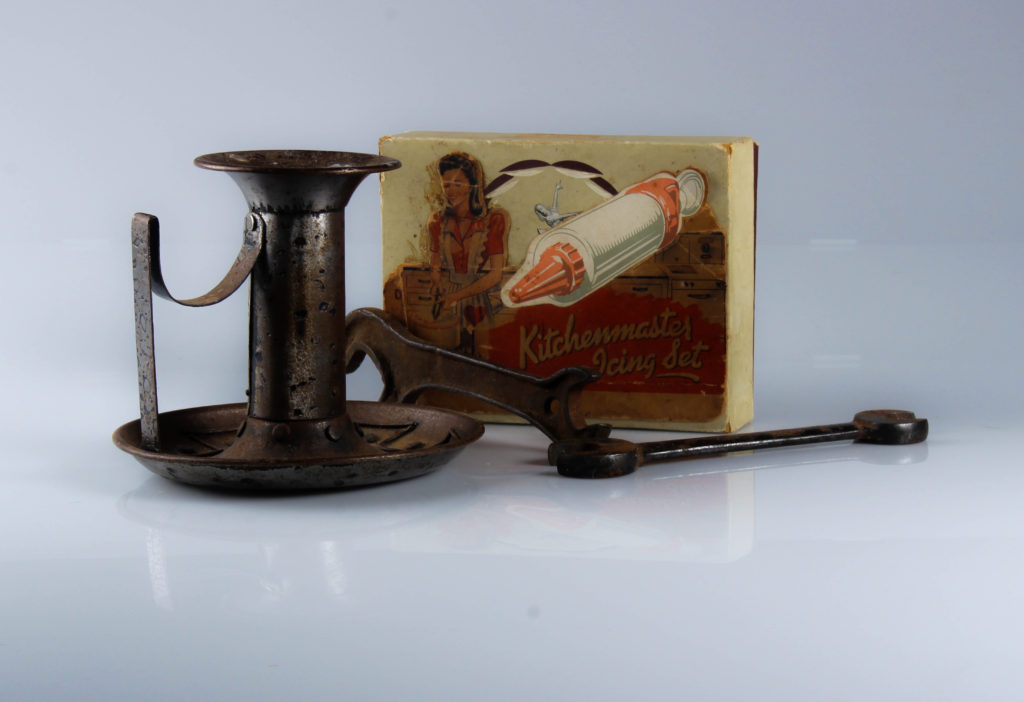
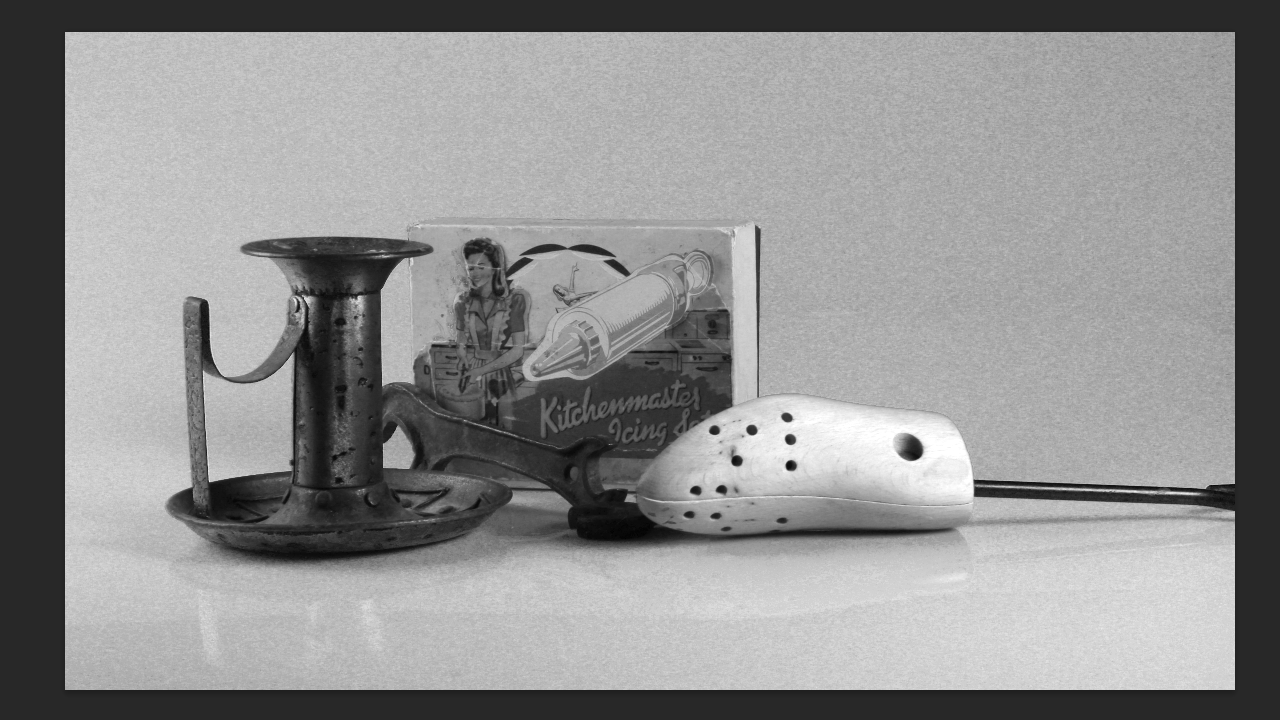
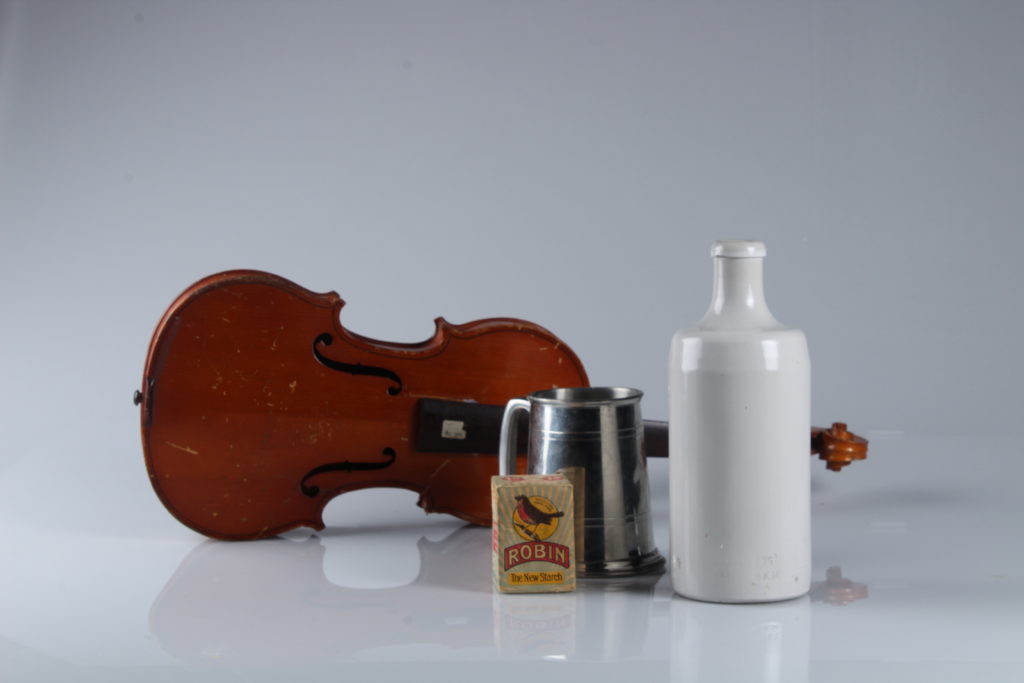
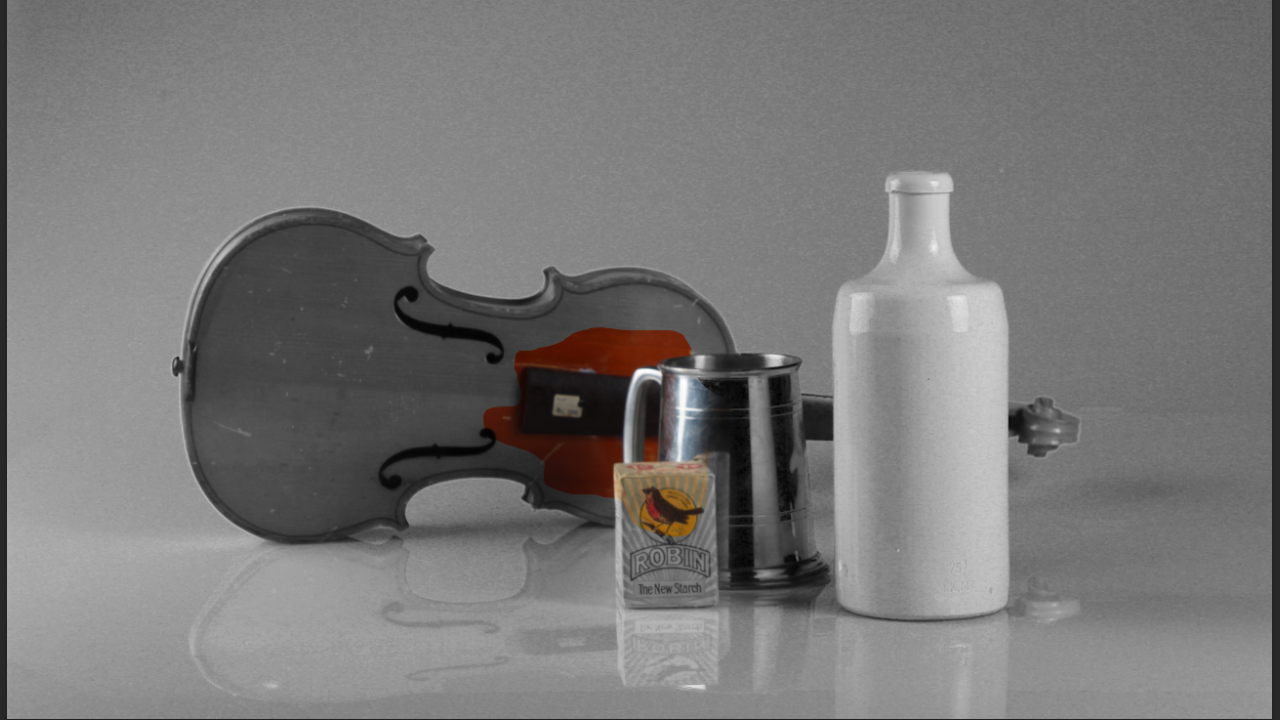
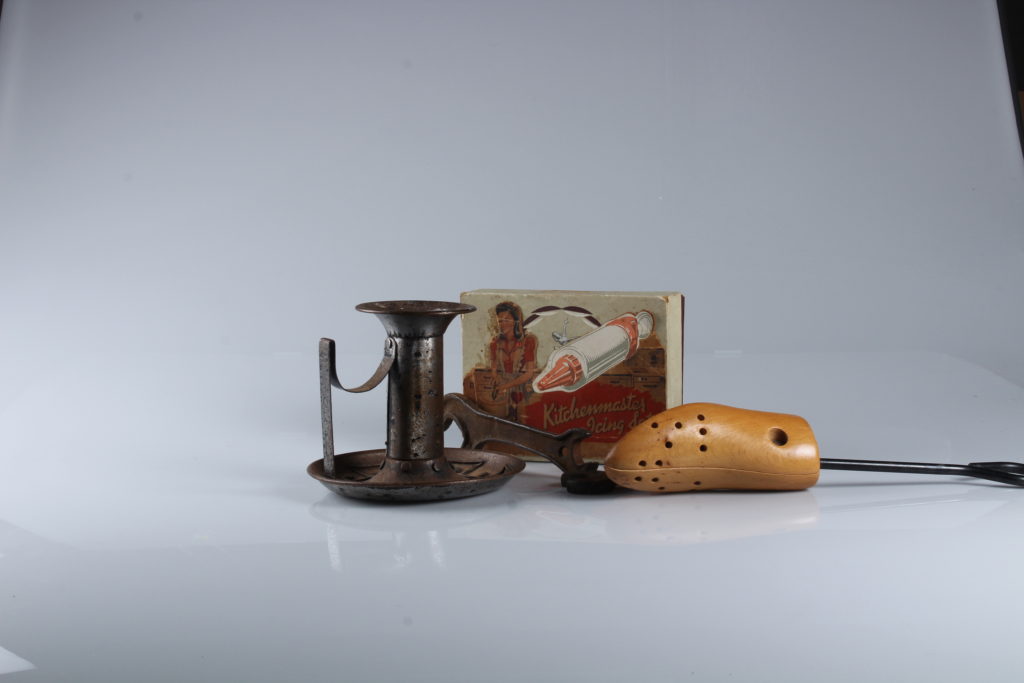
At school, we were tasked with taking Still-Life photographs (in groups) in a studio with objects collected which have a link to heritage.
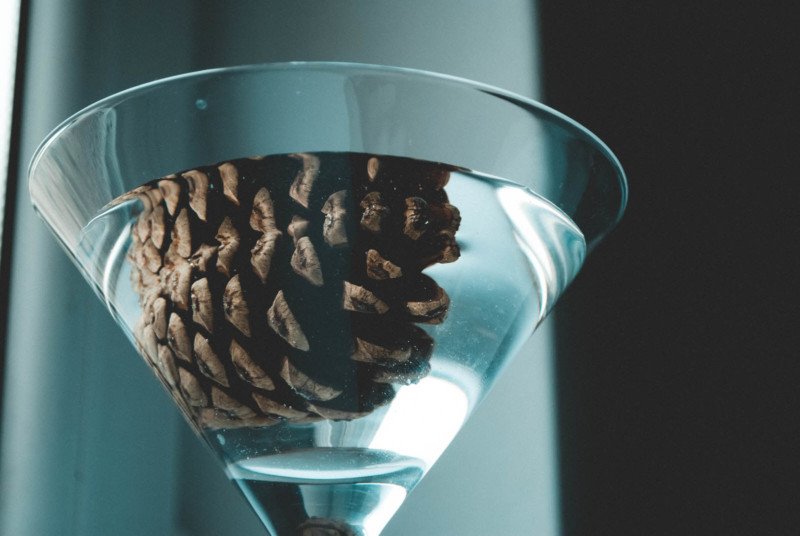
A Contact sheet with my group’s images. I have already selected which images I think are the best.
These are my best images from this photoshoot (Unedited)

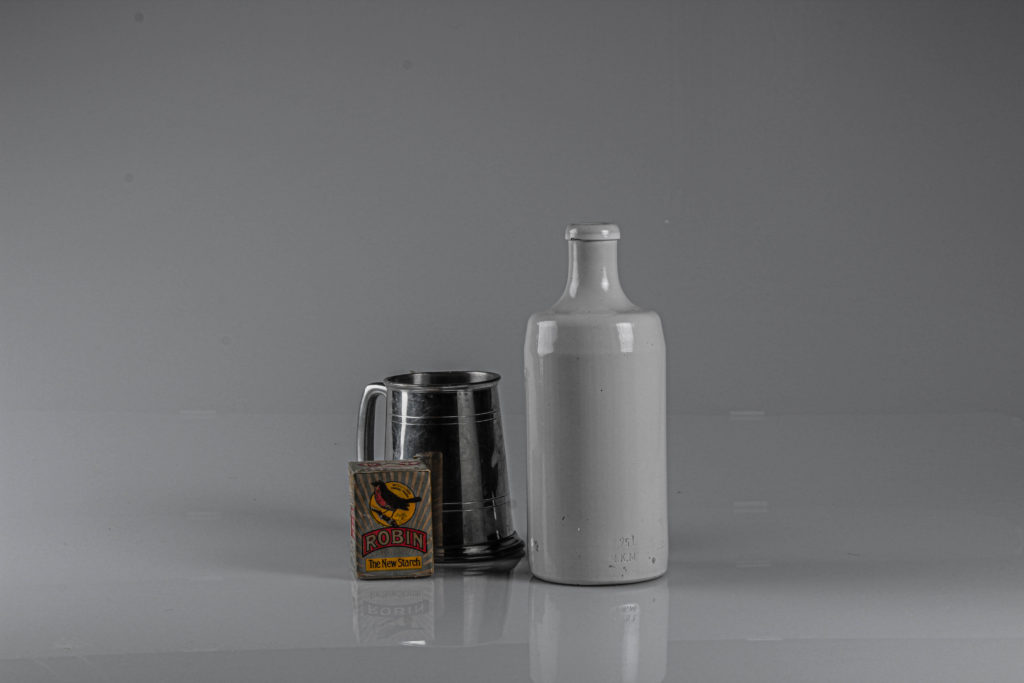
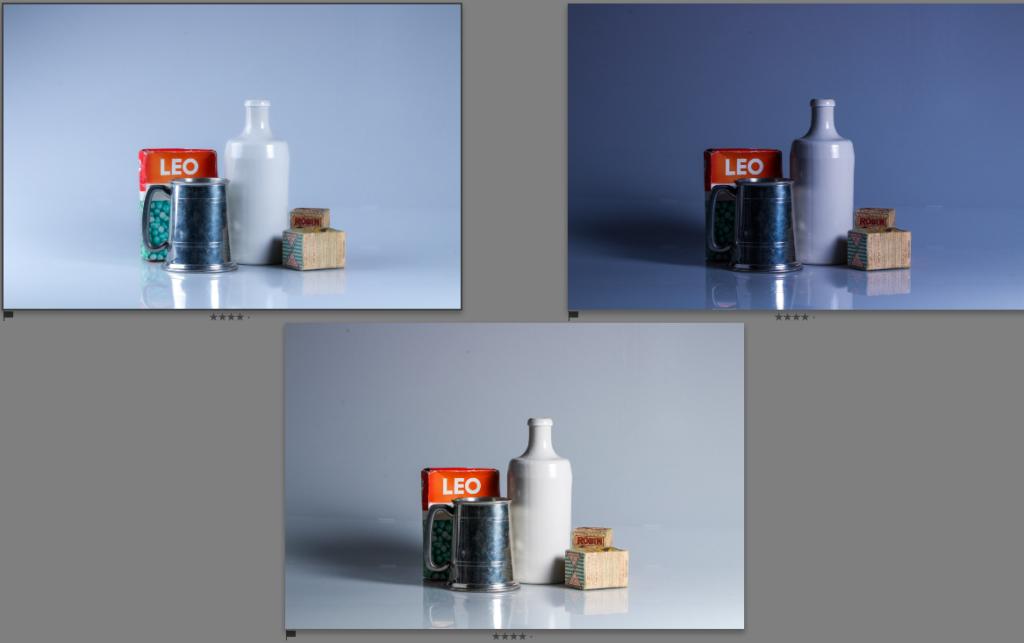
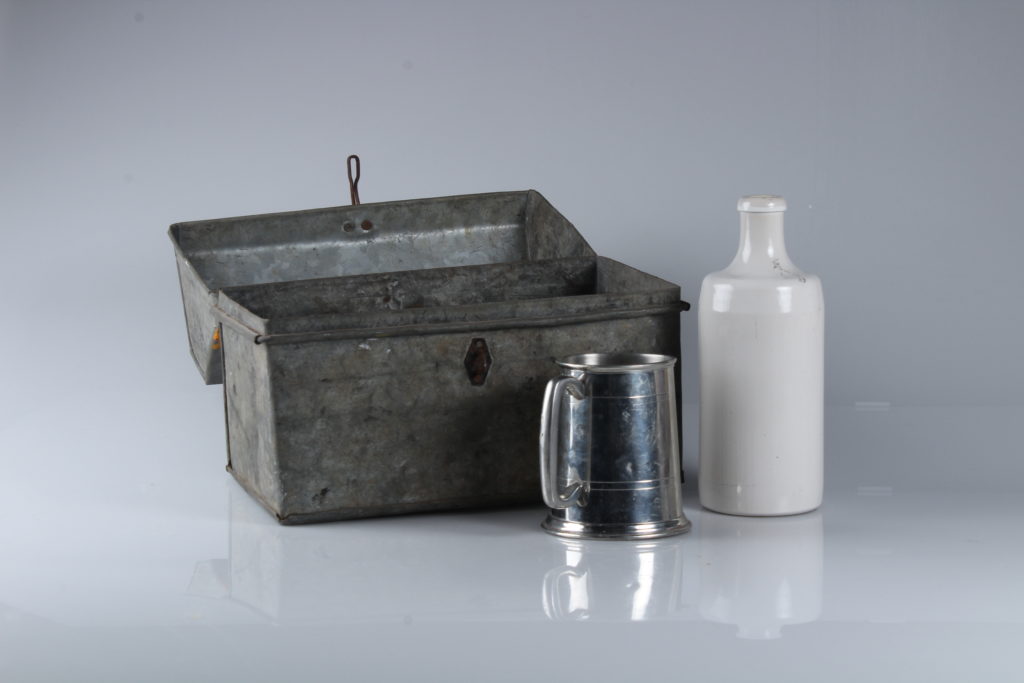
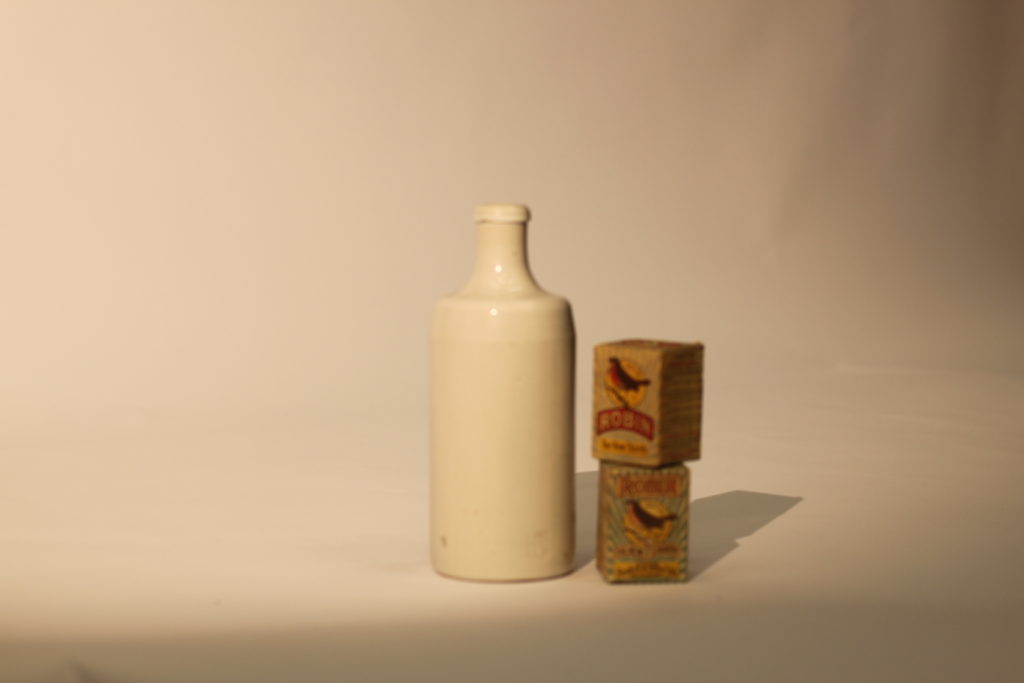
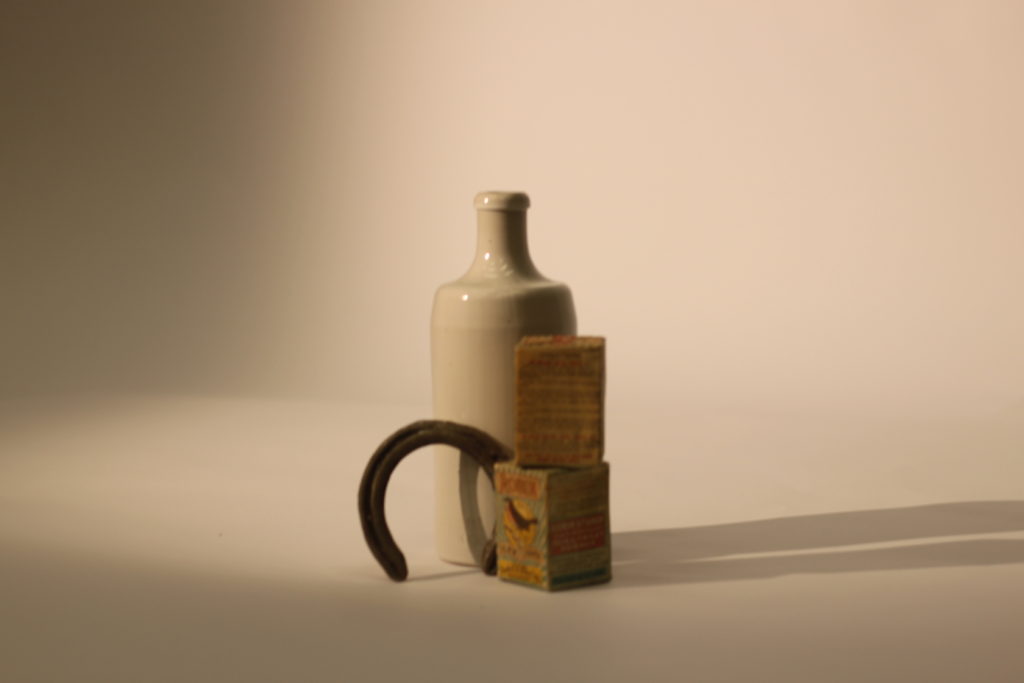
I chose this as a final image because I liked the way it was laid out, almost like a podium with multiple levels of height. I like the way the light is reflected by the white and grey objects as they make them far more noticeable, as well as how all of the objects are reflected by the surface beneath them. While editing, I wanted to experiment with different tones and colours of light which has made the image far more interesting, especially the image on the top right. On that image the blue light looks almost modern, which, in a way, contrasts with the older objects. I also think that the shadow in the top right and bottom images makes the objects stand out more from their, mainly singular toned, backgrounds.

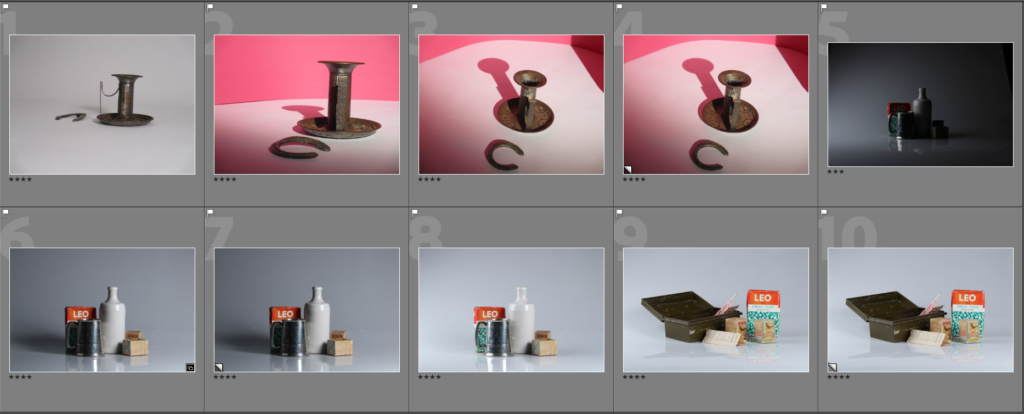
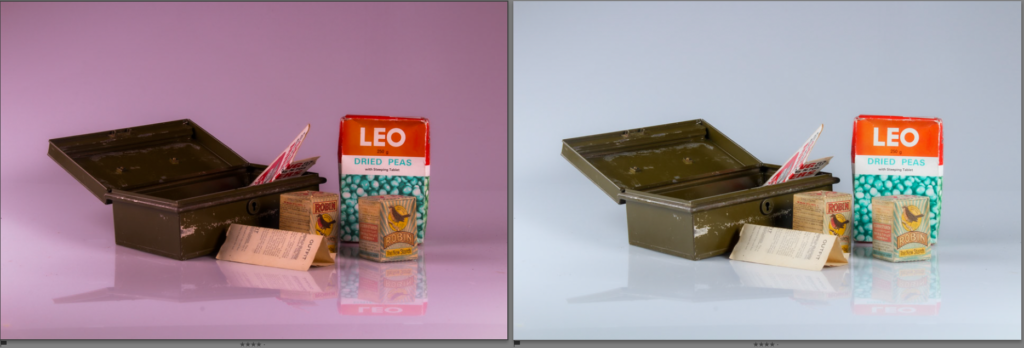
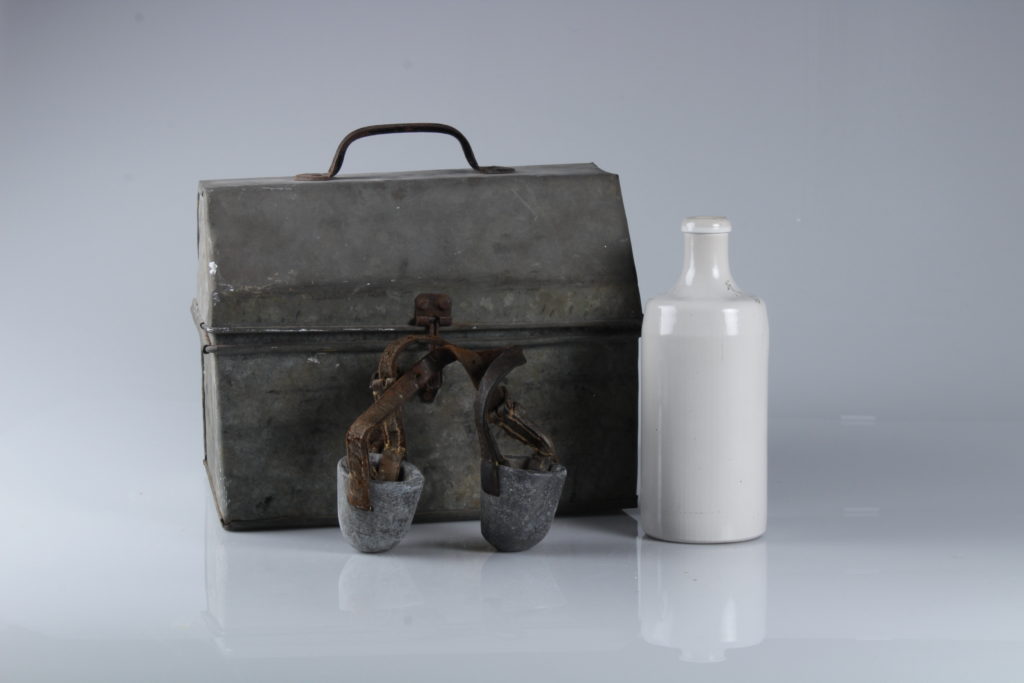
I chose this image because I liked the wider composition of the image, as well as how the objects themselves are very angular, which, to me, stands out while placed behind an infinity curve. I think the metal box in this image is the most interesting object because not only is it the focal point in the image (because it is the darkest part of the image, which contrasts greatly with the pure white/pink background), but also because of how it would not usually be seen in the same place as the other objects. I chose to make the tone of the image pinkish because I thought it would make the white and red parts on the pea box stand out more and change the pure white background to something more energetic.
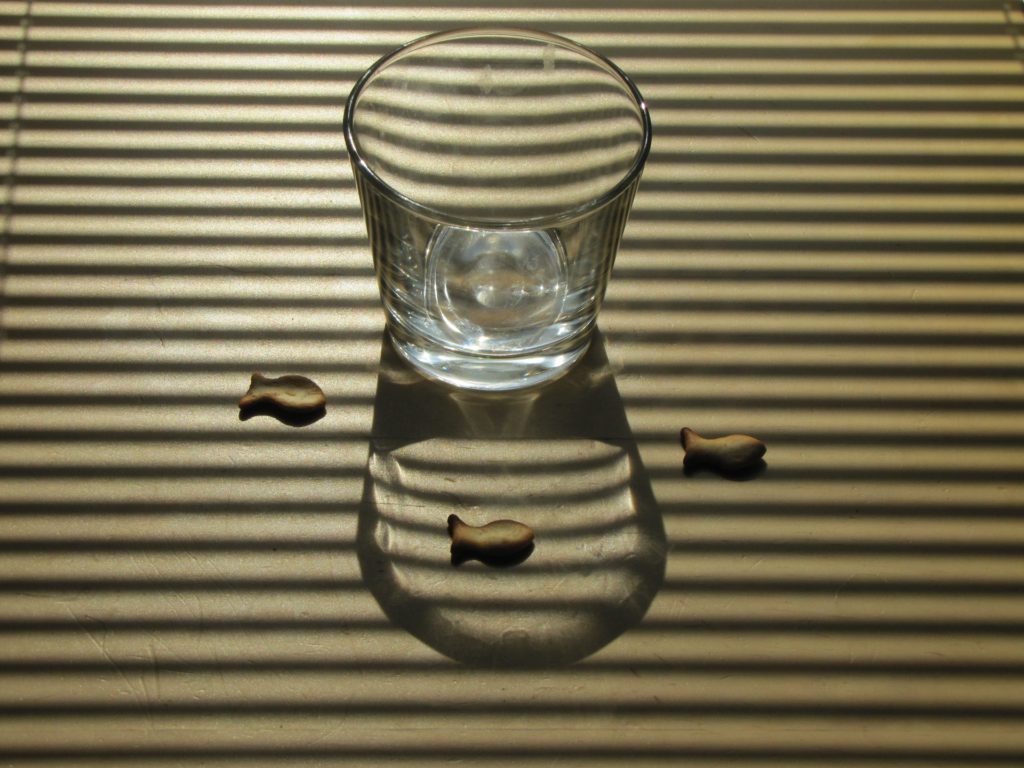
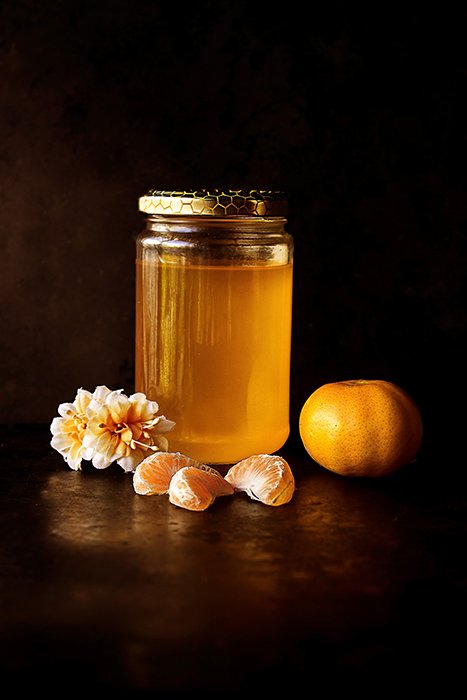
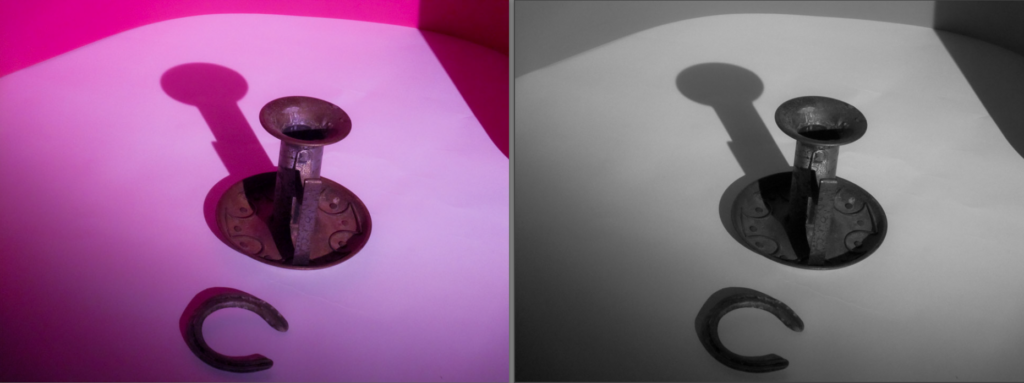
I chose this image because it has the most interesting colours and shadows from the photoshoot. I edited the image to make the pink colour from the boards behind it in the original stand out more, which I think made the objects look more compelling. I also made a black and white version to emphasise the shadow in the image, while also possibly relating to an older style of photography, linking closer to ‘Heritage’. I think the viewpoint at which the image was taken (at sort of a partial downwards angle) is interesting as it allows different shadows and shapes to be seen from the object.

Selecting Final Images

I started by looking through my best shots (green) and final edits (purple)
Then I selected some pictures that I thought would look good together
I used the survey view button to see them all together
I got rid of some images and added more that I thought would look good with the other ones I had. I’m doing this because I want to create a final montage that looks like a constellation. The pictures will be different sizes and carefully placed around each other to tell a story.
I then did the same thing with my portraits.

Final Prints