Principal Shoot Plan
Before we planned teh shoot we established initial ‘job roles’ for the project:
- Matthew
- Camera man
- Animator
- Reuben
- Actor
- Secondary editor
- Ollie
- Director
- Manager
- Myself
- Main Character
- Chief Editor
We will shoot our video using a DSLR paired with a drone. Referring back to the story board, the DSLR will shoot close up shots and eyelevel perspective shots, while the drone will take the birds-eye-view shots.
We will shoot during the day time, during overcast weather to remove any harsh lighting and add drama to our footage. We found an open field area with a cliff which is were we will film as we plan for the main character to appear as he is isolated when shooting birds-eye-view shots. The cliff also adds to the drama and the cliff will add more sublime romanticism to our footage. We want our narrative to be obvious and we are using characters who will act out this narrative effectively. In terms of props we will be using a VR headset which we have crafted ourselves using accessible materials.
Behind the scenes:
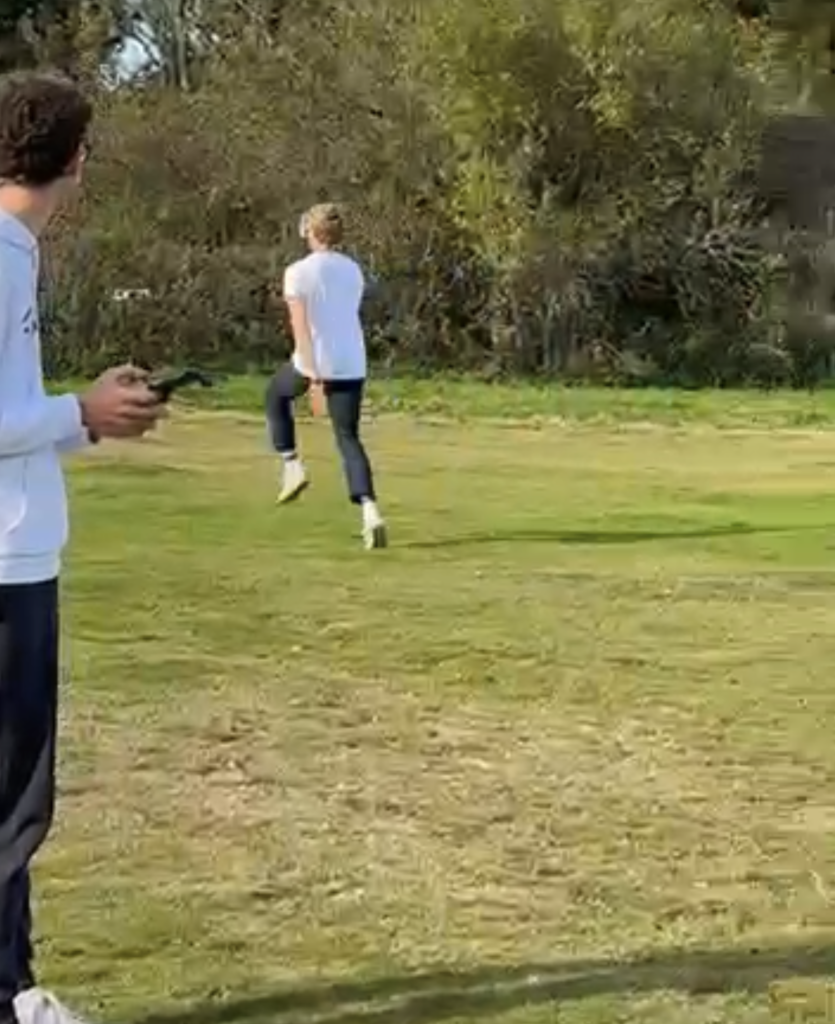
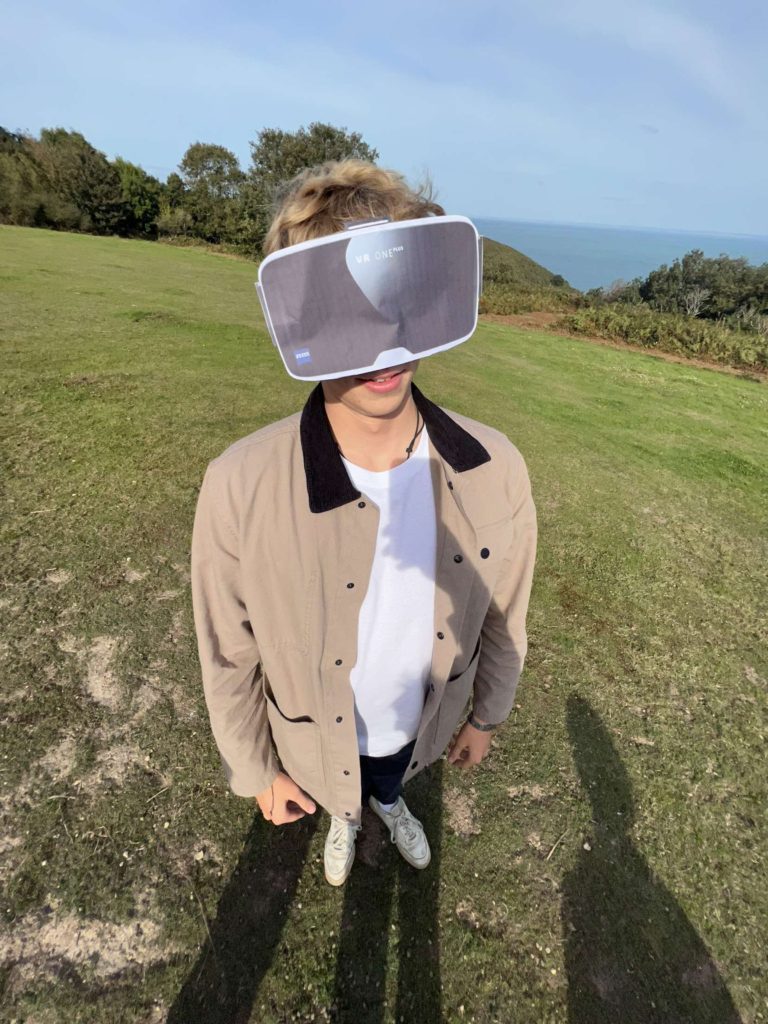
Am I satisfied that I have enough images/ material? – Yes I am satisfied we have shot an abundance of imagery.
What are you going to do differently on next shoot? – Do not rush the takes as much and refer to the storyboard more directly.
How are you going to develop your ideas? – Add animation and editing to piece the narrative together and further add visual effect to the piece to relay a more emotive campaign.
Film Inspirations:
Editing:
Video
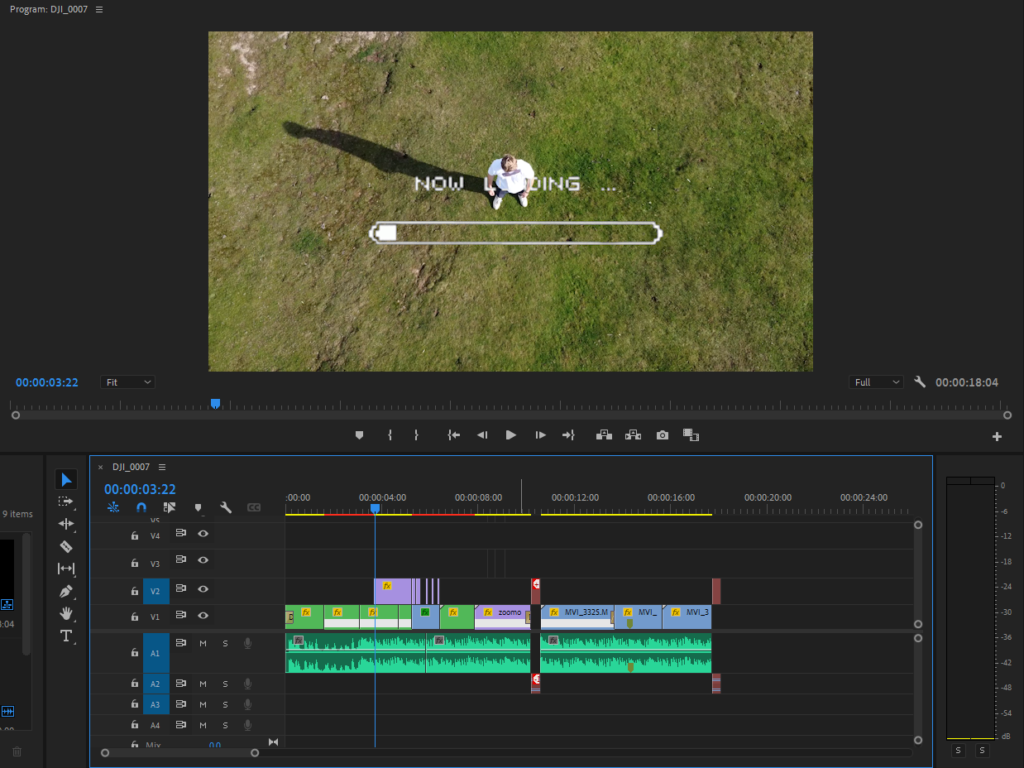
I began by laying delegating the task of finding a backing track for the video. We found a royalty-free electronic song with a fast paced beat which would complement the narrative and visuals well. I then laid the soundtrack in a new sequence in Adobe Premiere pro. Thereafter, I began introducing clips into the sequence and cutting them to the beat. Once satisfied with how the clips where positioned and the overall sequence, I moved onto the next element of post-production, colour grading and Effects. I added a grade on all of the clips using adjustment layers. I went for a high saturation and high contrast grade to dramatize the action in the video. I then added video-game style overlays such as the one below.
For the split screen concept I first had to motion track my face to stabilise the clip more so that my facial features lined up with the animation characters features. The animation was designed by Matthew. You can see his editing process for this HERE
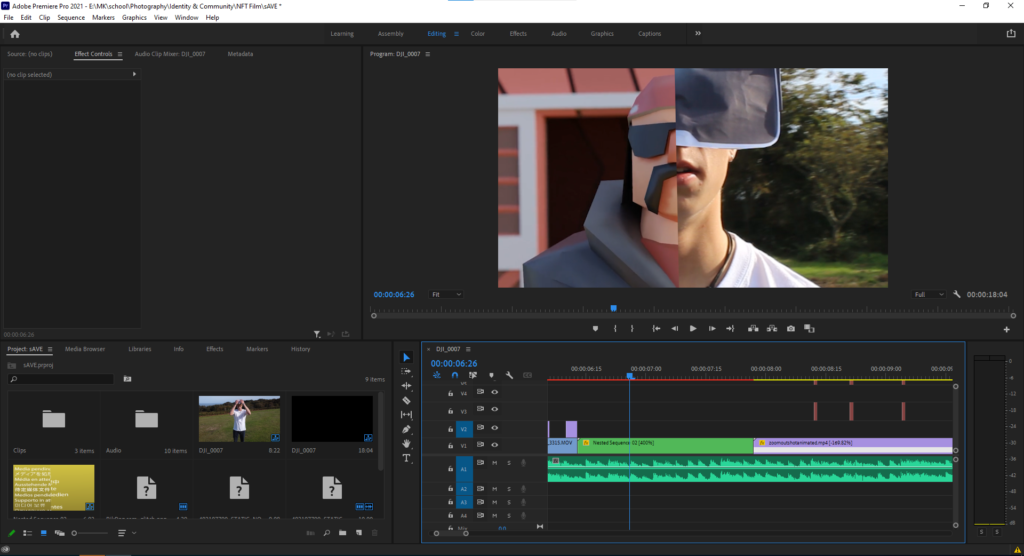
This involved an intricate frame-by-frame masking process.

I added speed ramps to add a sense of hyperreality and the idea that time is controllable in the metaverse more. Finally I added sound FX to add a more immersive feeling.
Image
Matthew made the the digital image in photoshop. He used a screen grab from one of the videos of me wearing the VR, and the 5 animated scenes all at the same timeframe so the character lines up.

He then added some glitched text effect by using 2 layers behind each text. To make it better he added some blending mode features, such as, emboss and bevel, etc.
He used shapes and clipping layers to add all the images into to ensure all the shapes are even.
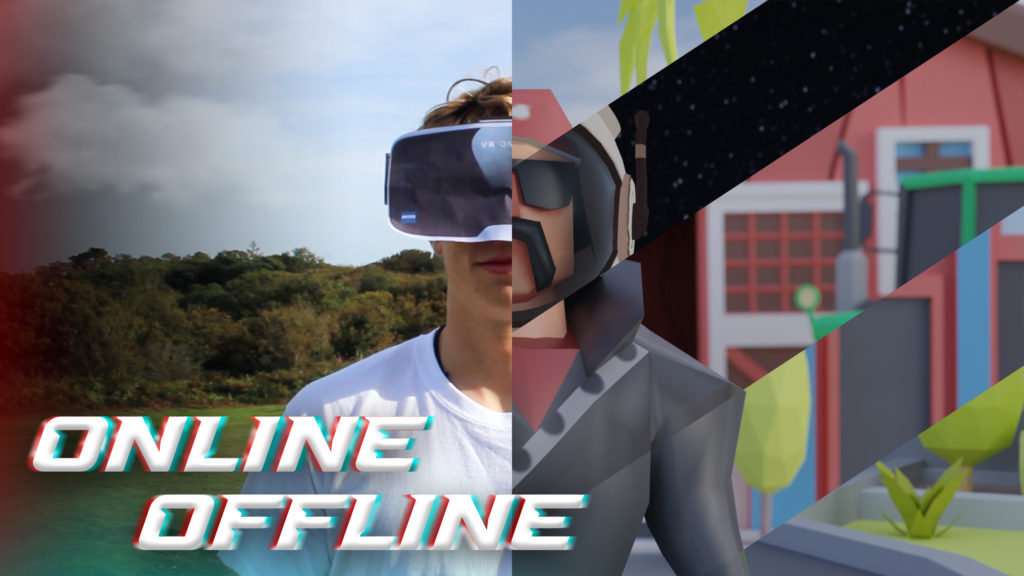
This is the final image which represents the whole NFT film. It shows the most important scene, which is the split scene that includes the animation as the NFT exhibition is called 2lives (online and offline), it shows the real world and the virtual meta verse.

