Category Archives: Uncategorized

Filters

Author:
Category:

PASSPORT photos

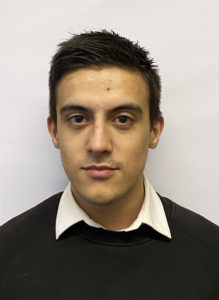
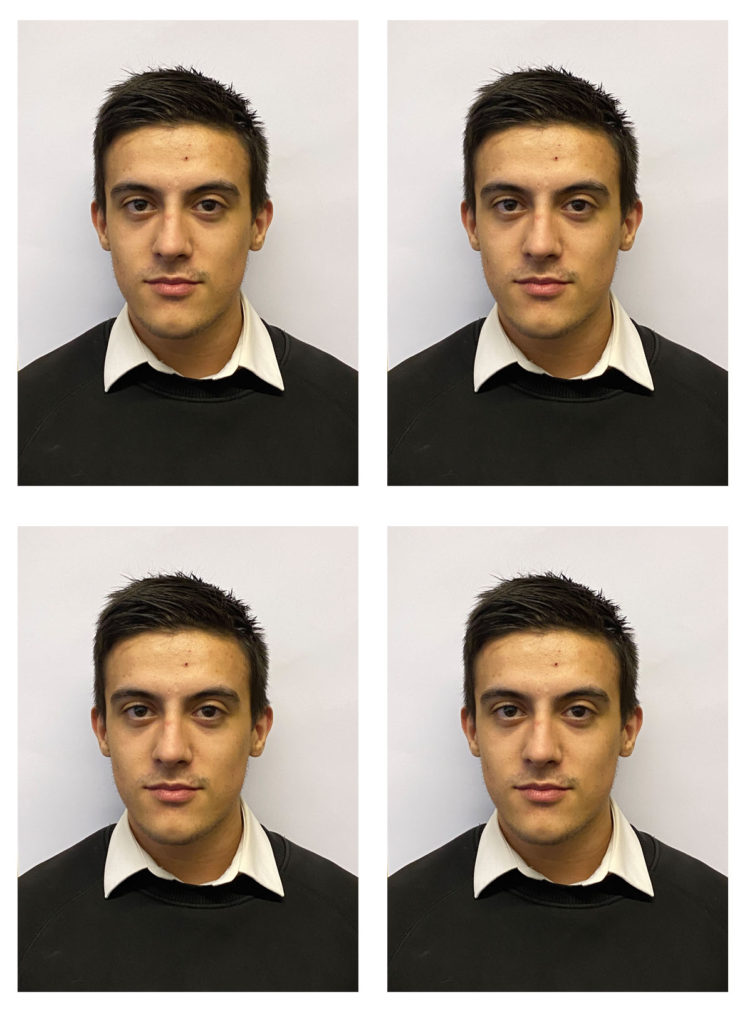
Passports are very basic images that’s sole purpose is a means of identification. In the UK the photos are very simple, a clear head shot with a white background however, in a beauty obsessed country like south korea, passport photos are so heavily edited they no longer look anything like the passport owner.

I am going to create two different pieces, one based one the utilitarian style British passports and another heavily Photoshop-ed to fit strange and unrealistic beauty standards.

SHOOT PLAN

WHENWHEREWHONOTES
2:30
03/02/21
Photography classroomTiagoPhotography studio not available so need to create white backdrop with A3 paper

CONTACT SHEET

A lot of these photos need parts of the background cropped out. This is because the photography studio was not available so I had to create my own white backdrop using white A3 card however the card was not big enough and some of the wall can be seen. Some of the photos are not deadpan or central, with my models head often tilted to the side. These photos will not be used for my final piece.

The photos outlined in red will not be used

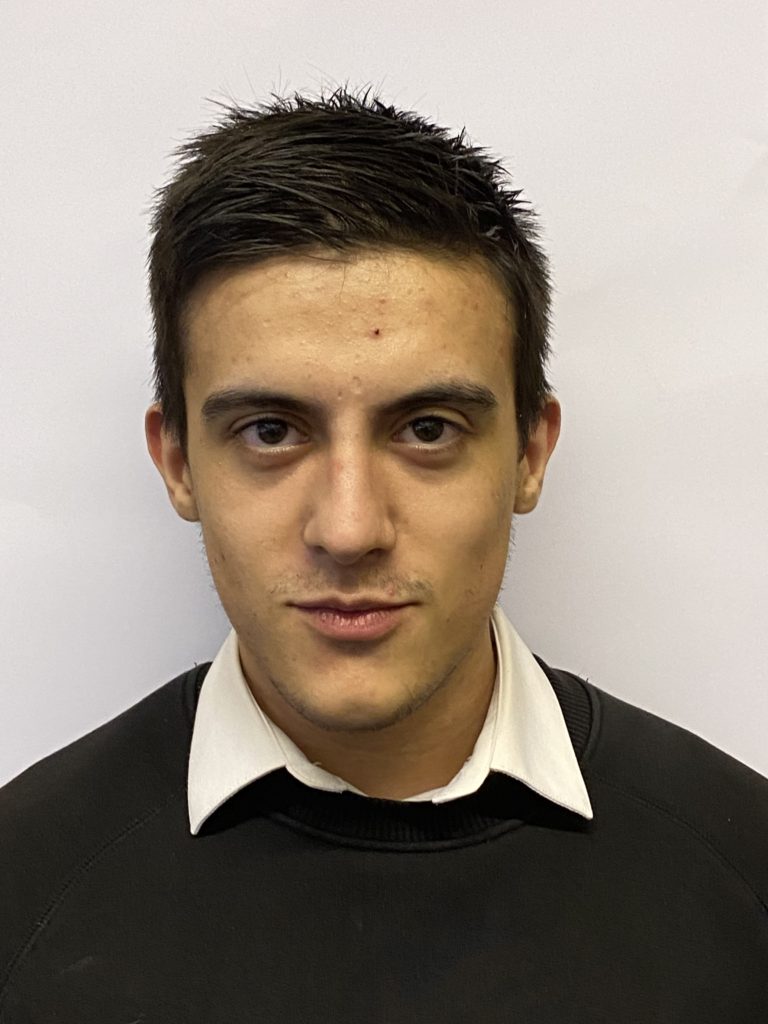
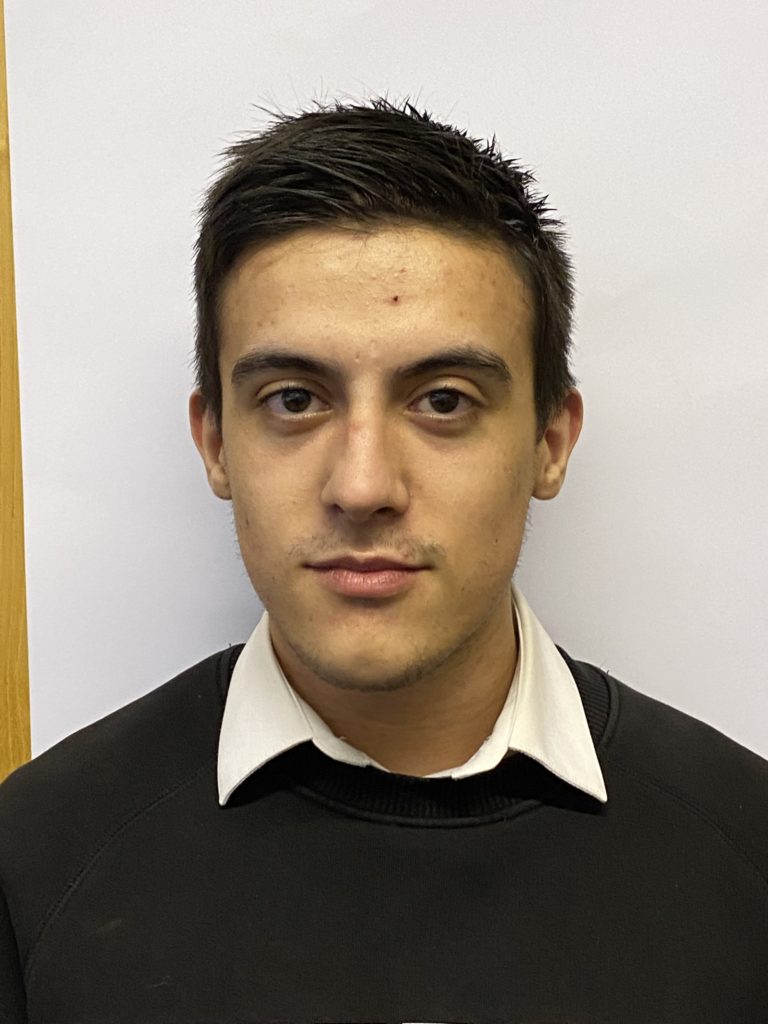
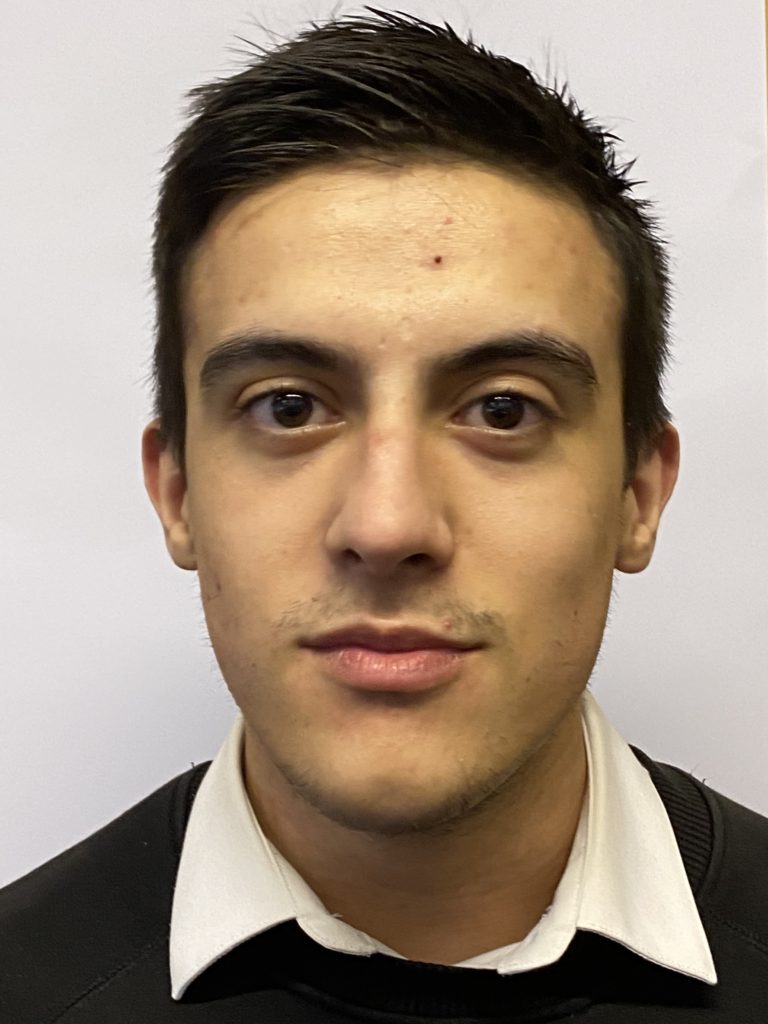
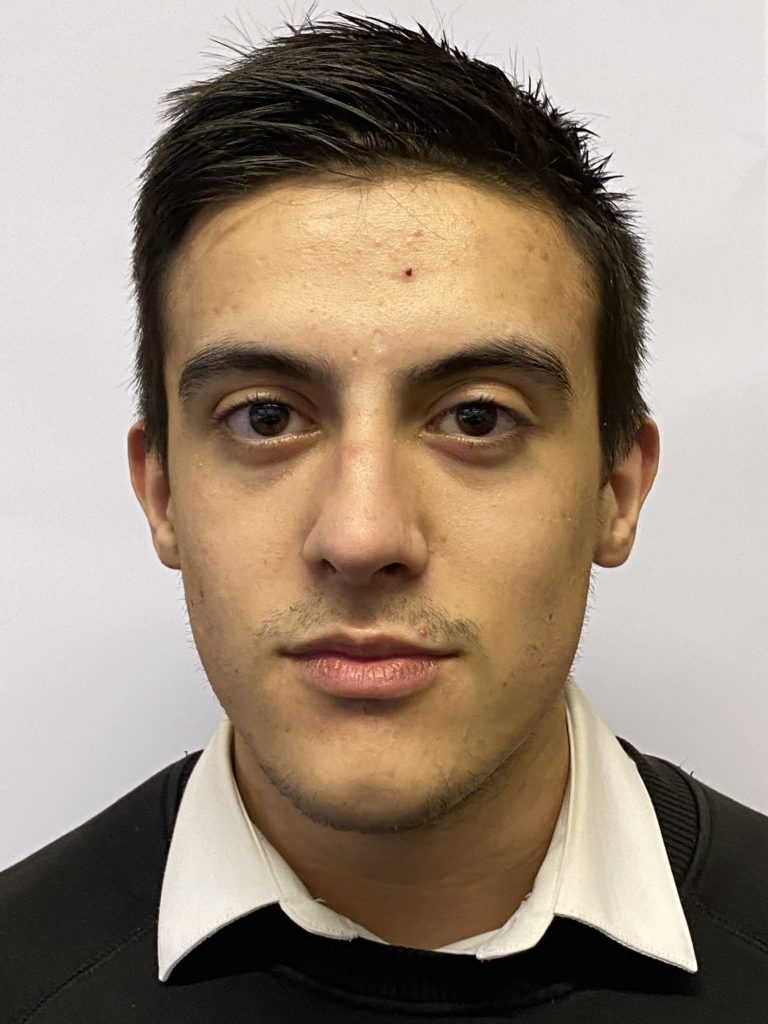
I removed a few more of my selected photos as his hair wasn’t fully pictured. These photo are very central and have a consistent deadpan expression which makes them look like passport photos. For my British passport version all i am going to do is slightly crop the photos.

This is my chosen photo as it shows more chest area than the other photos which is often a requirement in passport photos

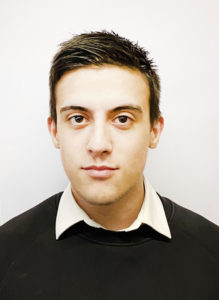
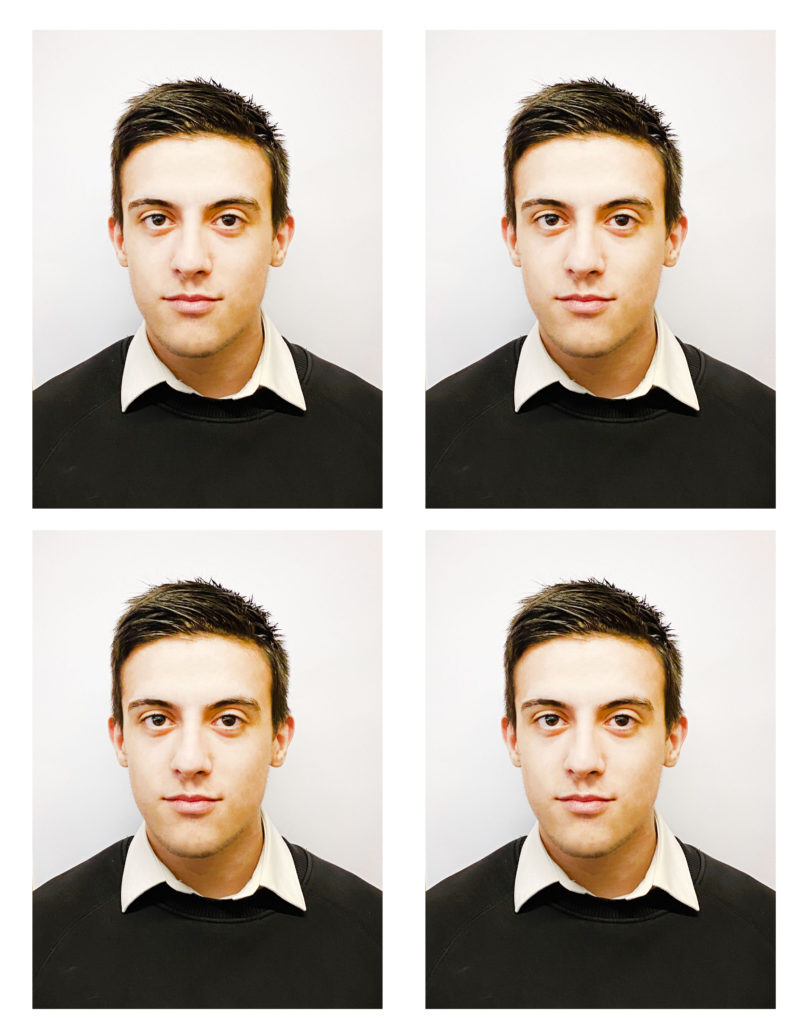
To create the Korean version I used spot healing tool on Photoshop to remove blemishes and then lightened the images to emulate Korean passports I have seen. I would’ve liked to make more extreme changes to my models facial features however I was limited by my lack of photoshop skills.

Here is my edited photo

To display I copied the same image four times and layed them out in the same format you would get when you had your passport photos taken as I think that it shows the contrast best between the two cultures while also gives a sense of verisimilitude.

street photography

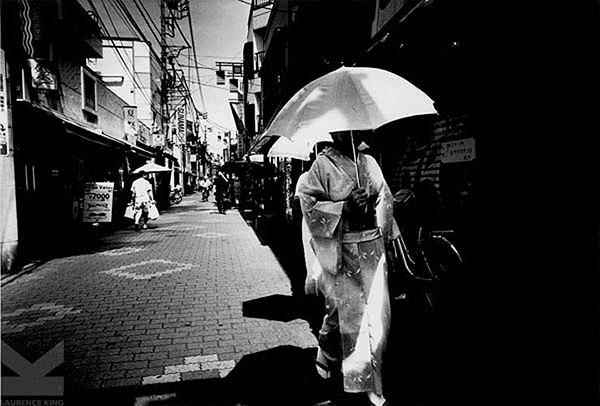
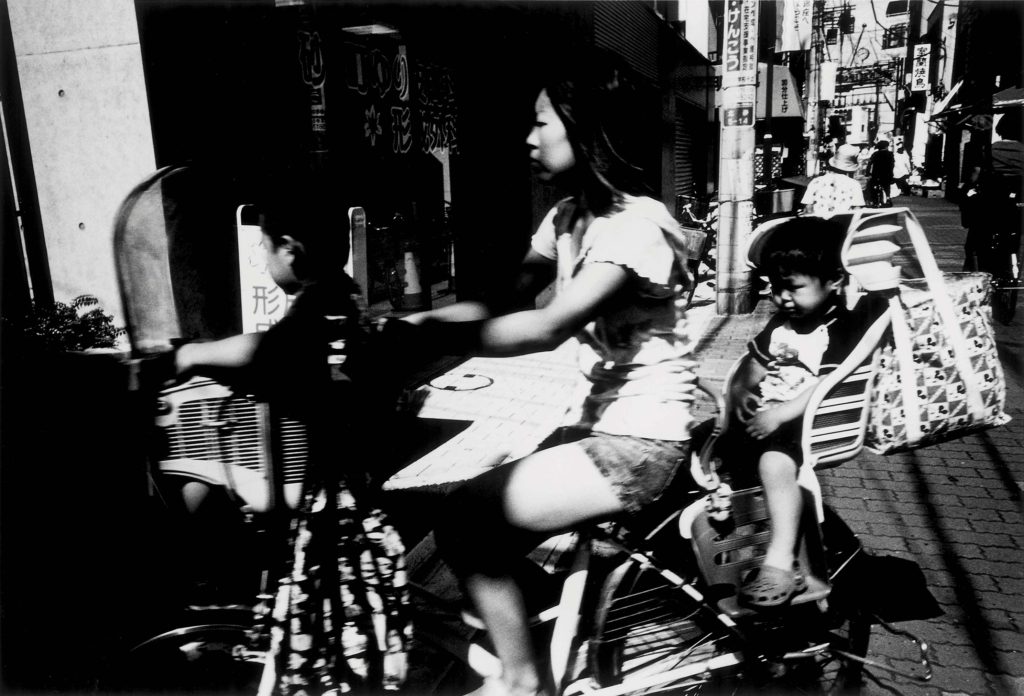
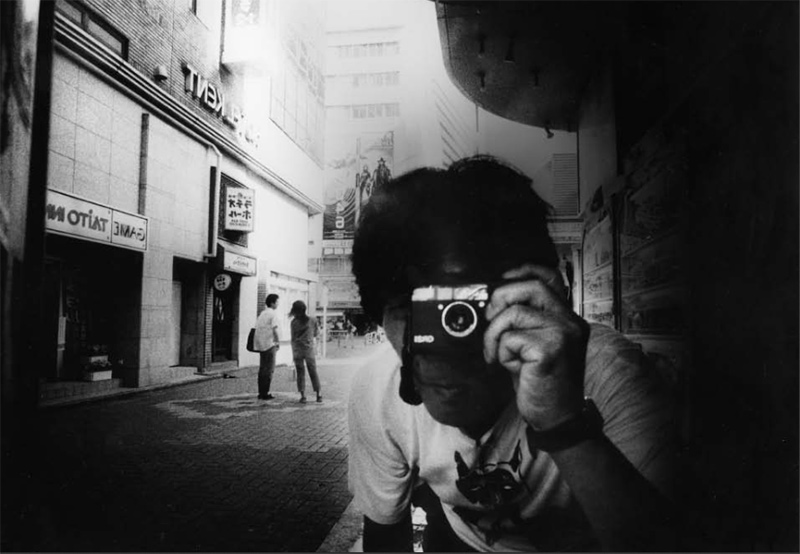
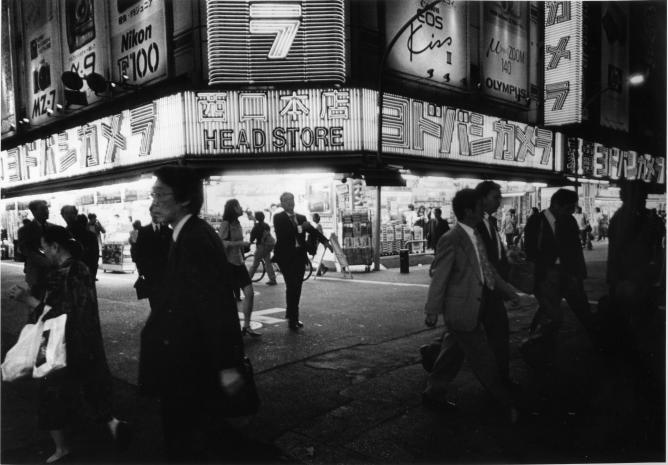
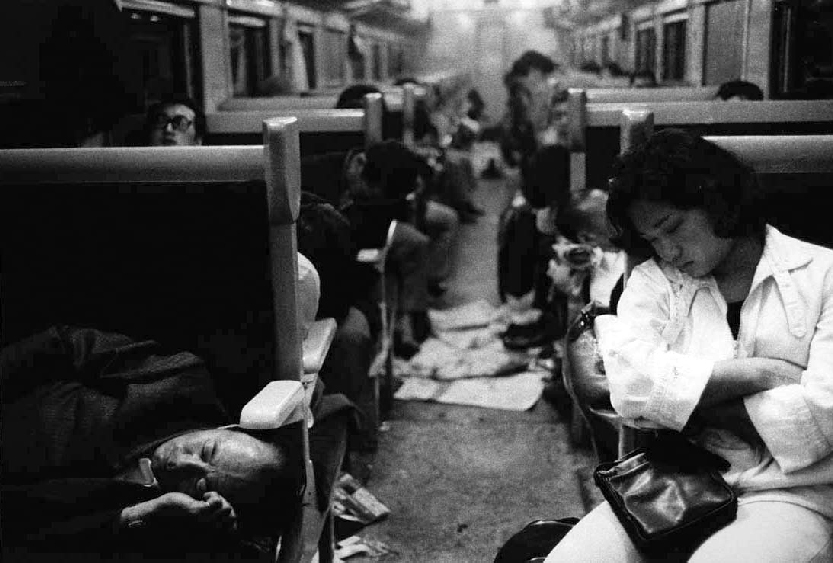
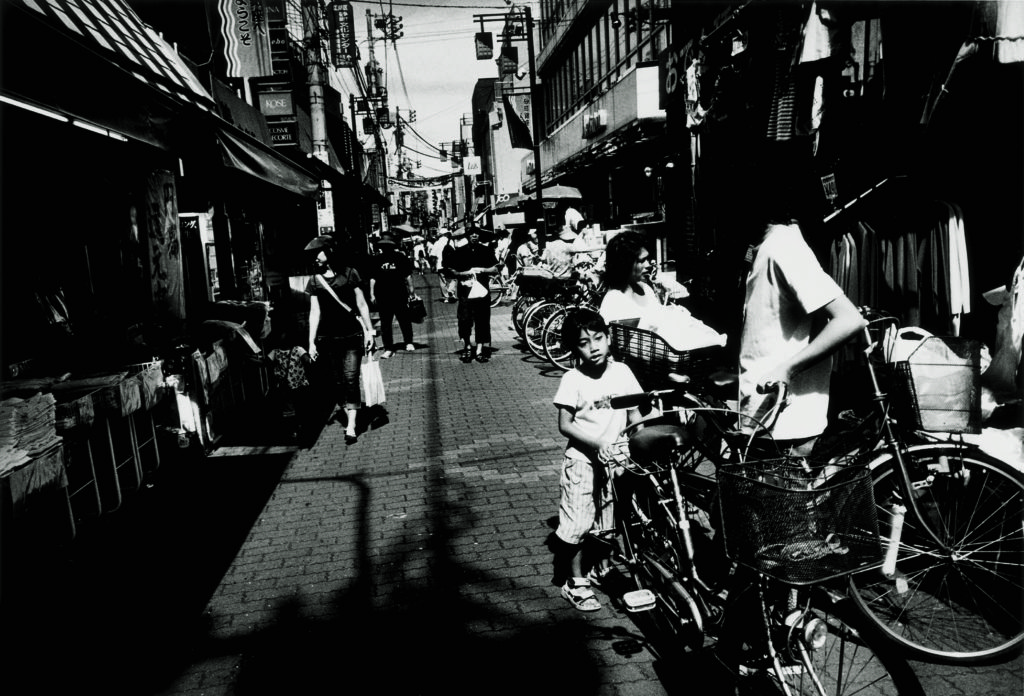
Street photography is a common form of candid photography in which photos are taken in a street and the subjects are unaware of the photo being taken which creates a more natural look. These photos can be used to document historic events as well as showcase the differences in cultures as exhibited in Moriyama Daido’s Japanese photography.

SHOOT PLAN

WHEREWHOWHYWHEN
Main street in townRandom people in townTo find interesting features in people walking around After school
19/11/20

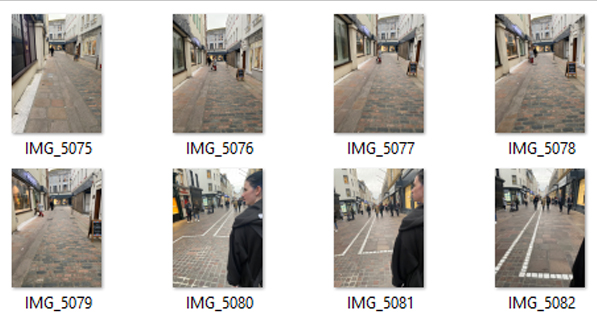
CONTACT SHEET FOR SHOOT

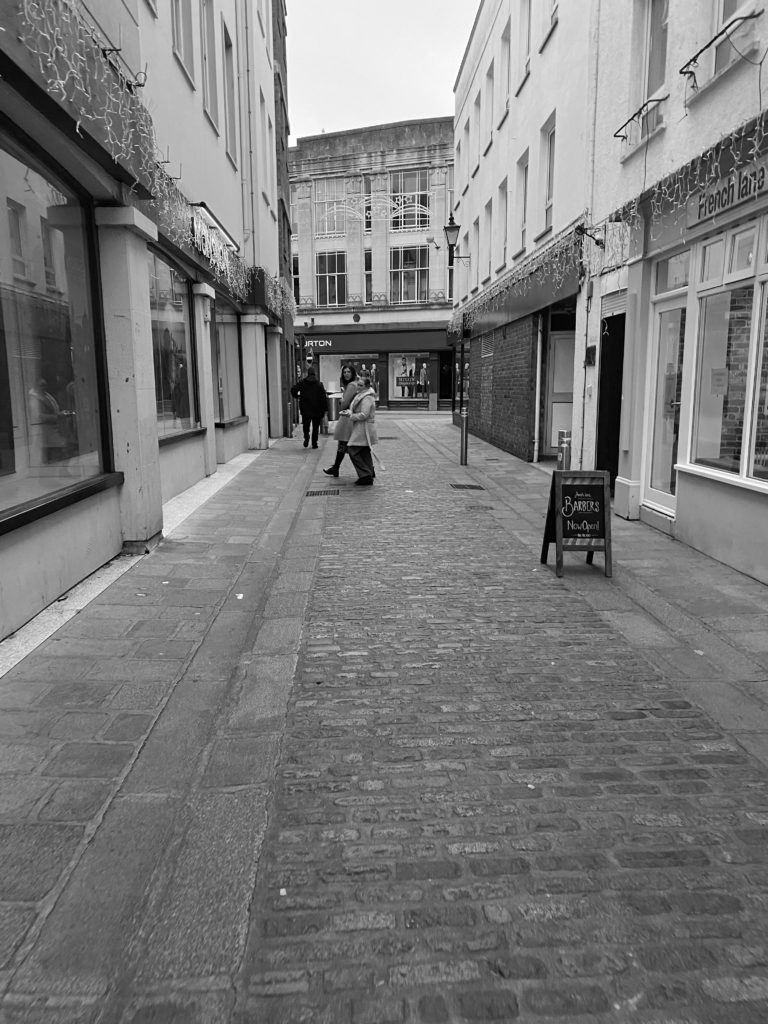
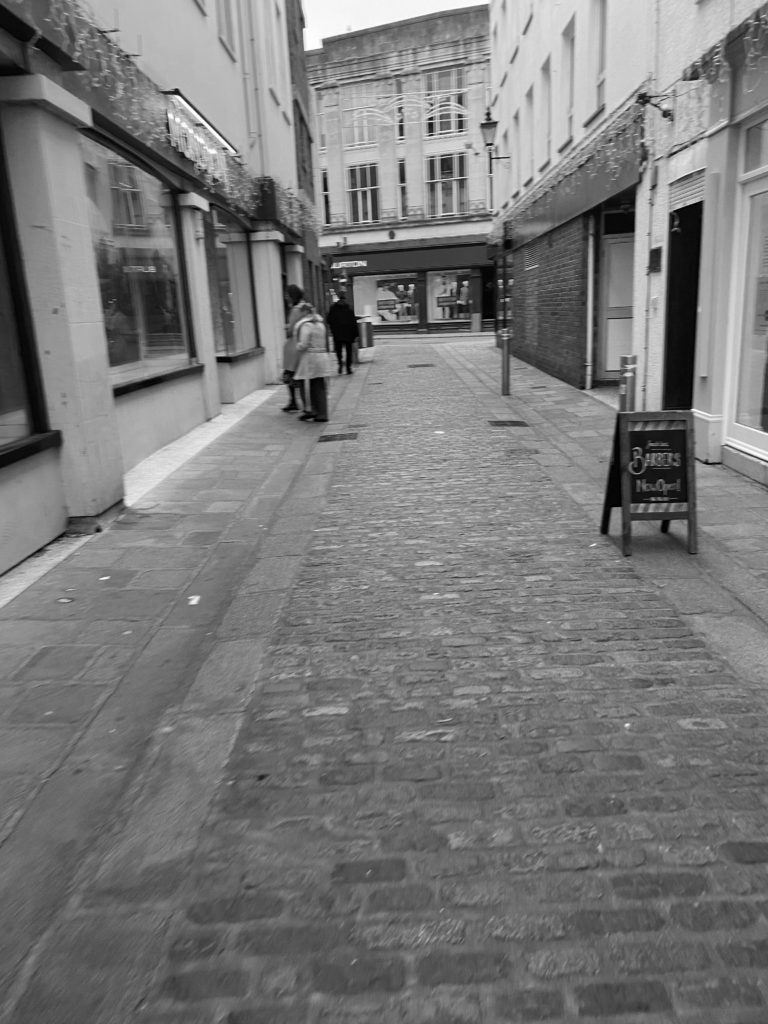
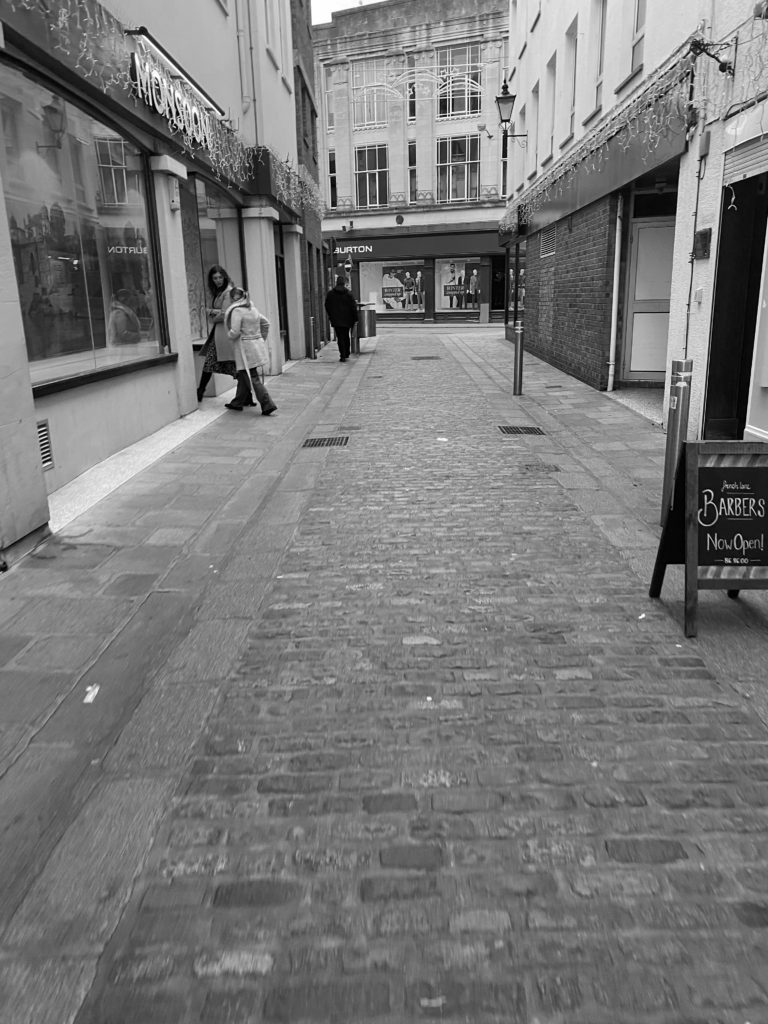
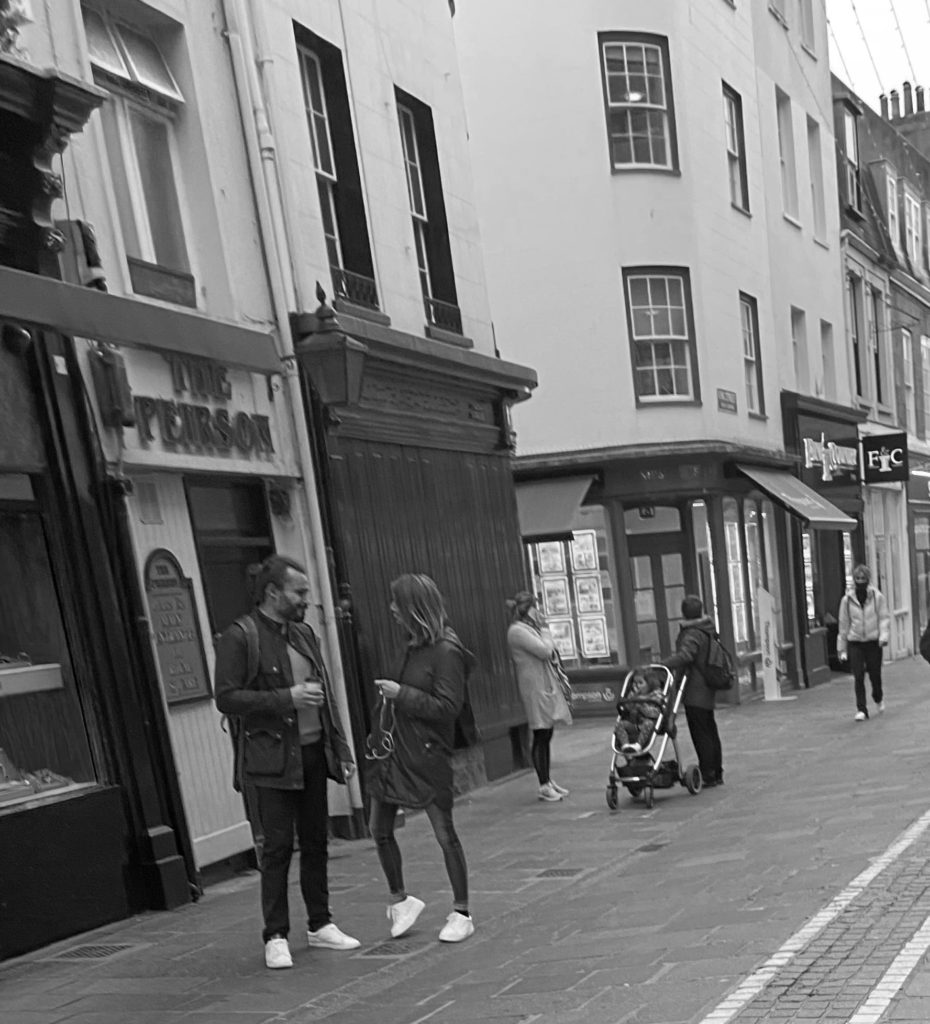
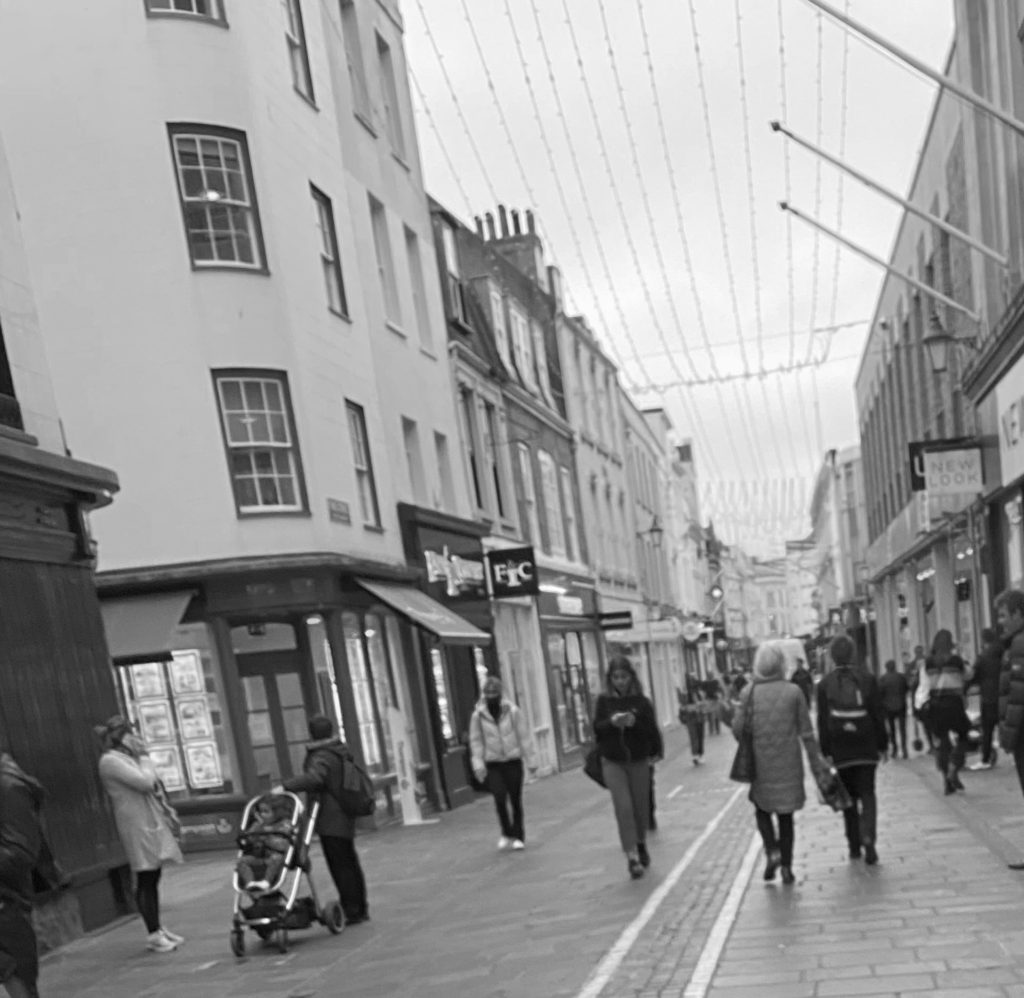
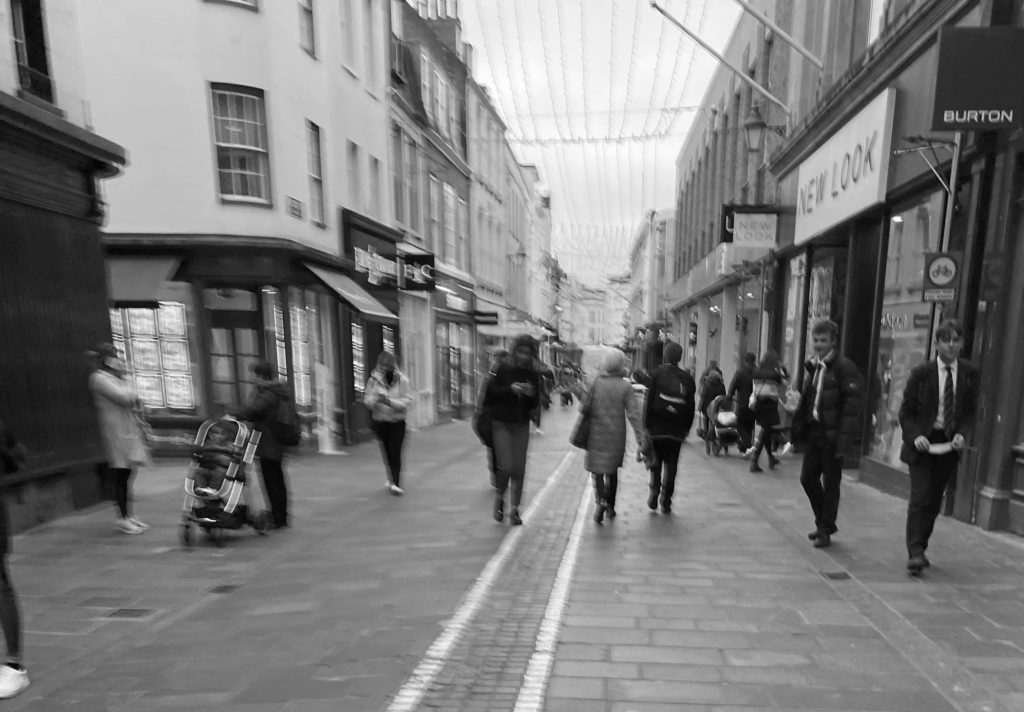
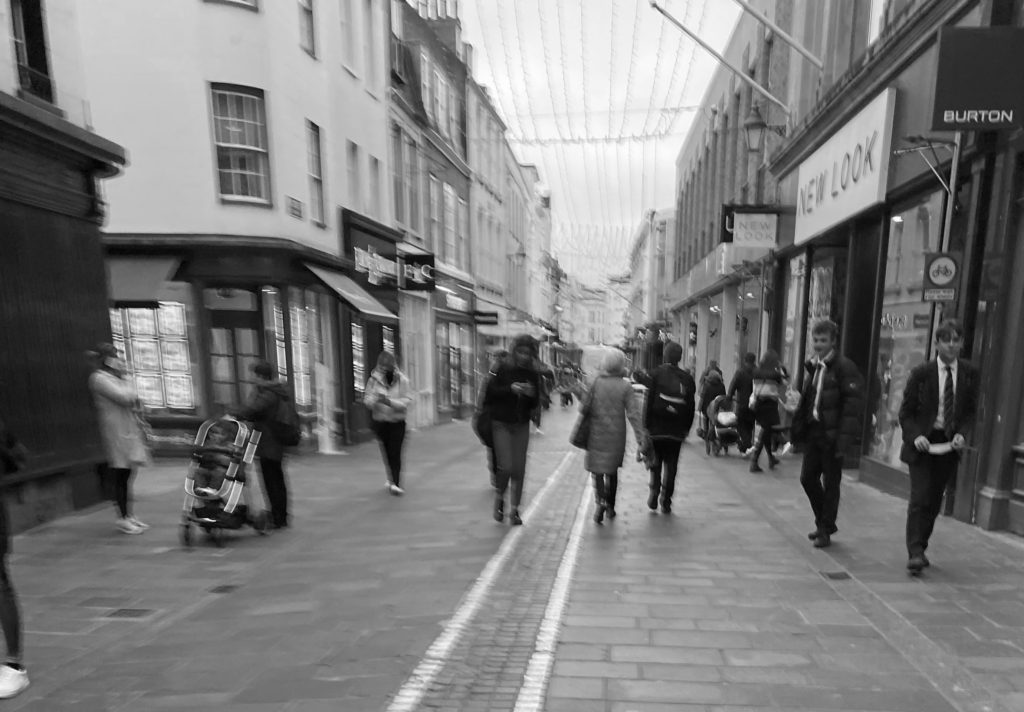
These photos turned out horribly as the street was not busy due to many people avoiding crowded streets because of COVID so I couldn’t get the crowded kind of photos I wanted. I also l felt really uncomfortable taking these photos as I felt very morally dubious taking photos without consent so stopped very early on. With the photos I do have I am going to put in black and white to replicate Moriyama Daido’s.

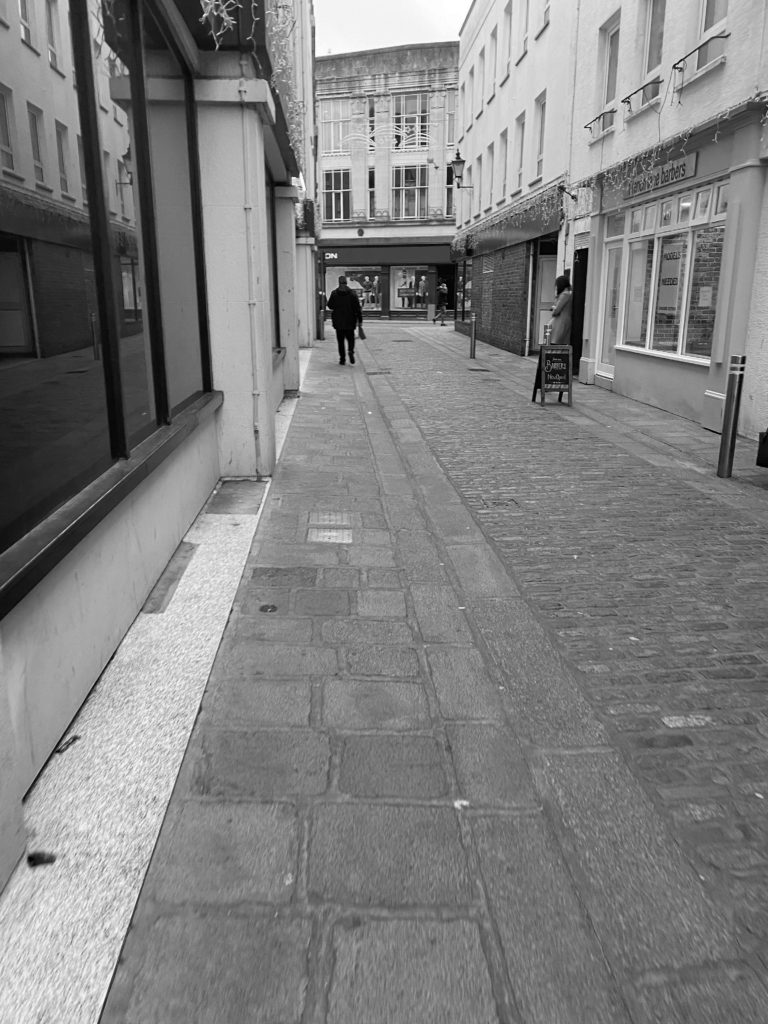
On Photoshop, I cropped the images to make them focus more on individuals and then made them back and white to thew setting of maximum black. This made the photos look more dramatic and unsettling and I really liked how they turned out.

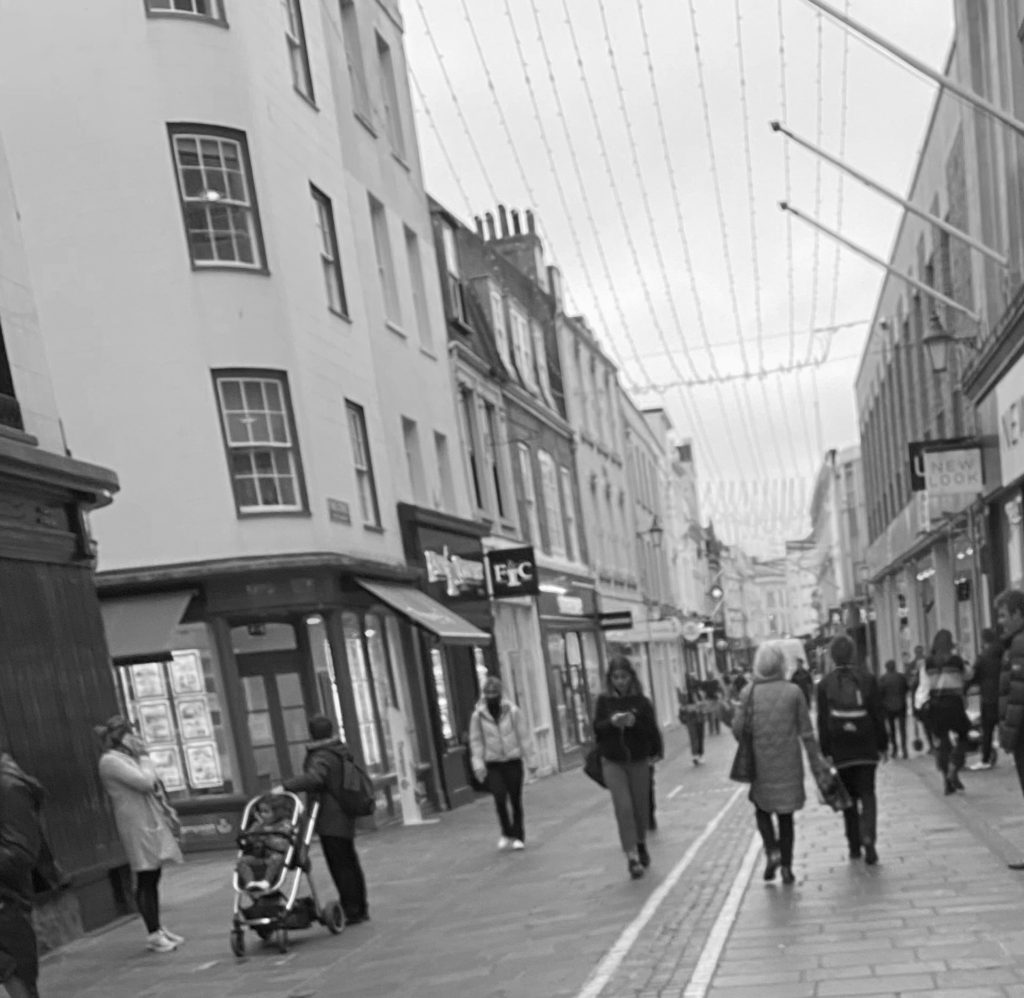
Here are my two favourite images. I like how the black and white tonal has given the photos a gloominess that effectively conveys the atmosphere at this current time period where not only is the weather cold and grim but also everything else is as coronavirus has shut everything down

Identity and place final evaluation

Overall I fell that my first initial thought of this project was that it was going to be something in which I would not be interested in however as I slowly started to develop ideas for photo-shoots as well as understanding multiple different artists perspectives of their photographs relating to identify; I started to create more of an interest to this project. One of the most interesting discoveries I made while working on this project is that Claude Cahun’s photography is very different to others as its very original. There were several challenges in which I faced while creating this project. For example putting the photo shoots together took a lot of planning as I needed to find models willing to go out of their comfort zone to put on feminine items. The most important thing I learned is that you have to experiment with different lighting and backgrounds before you come out with the best result in which you can.I came up with my final solution by analyzing each photo I took and decided which one had better features. During this project I had to other come several objects such as understanding other artists opinions as well as understand and develop new ideas of my own. If I was to redo this project I would maybe take a closer look at place as in the majority of my photos its more focused on the models identity rather than the place which could of reflected their identity. I feel like I could improve on my planning skills as although I planned some photo-shoots I could of thought to include place.

Headshots – deadpan / passport / typologies

Deadpan simply is described as a portrait of the shoulders up. The face central, eyes directly looking into the camera, and background plain and empty. No shadow just either a white, grey or plain colour to fill the image. The words dead and pan is a slang word for a face. Deadpan photography is a cool, detached, and unemotional presentation and, when used in a series, usually follows a pre-defined set of compositional and lighting rules. Its another image word to use for a passport image. Passport images have a lot of rules compared to a lot of portraits. But some deadpan images will be allowed to use if the right size and colour.

Examples

Deadpan Portraits | Noah Waldeck
Image Lab - Emma Marks: Deadpan PortraitureNaomi James Photography: Week One: Deadpan Portraits cont.

My Experiments of deadpan images and passport images

Evaluation-

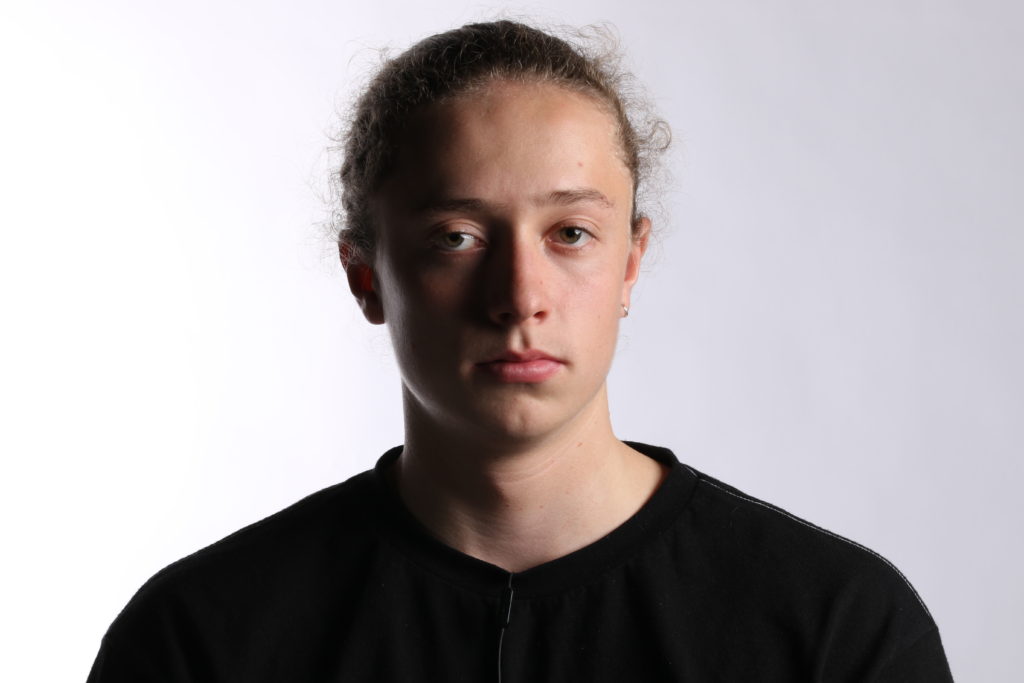
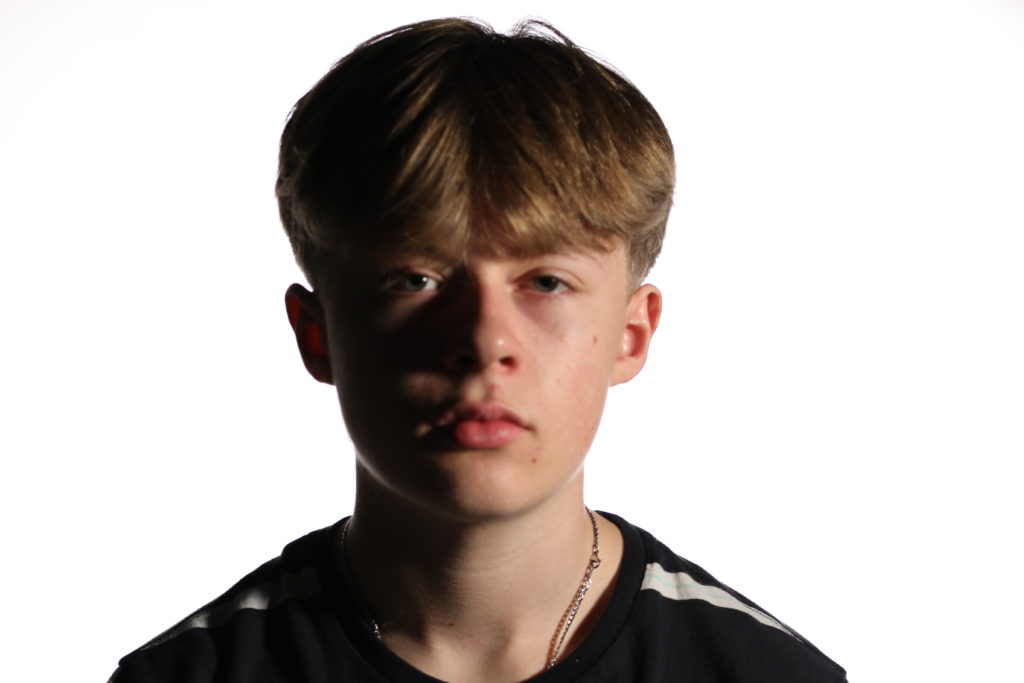
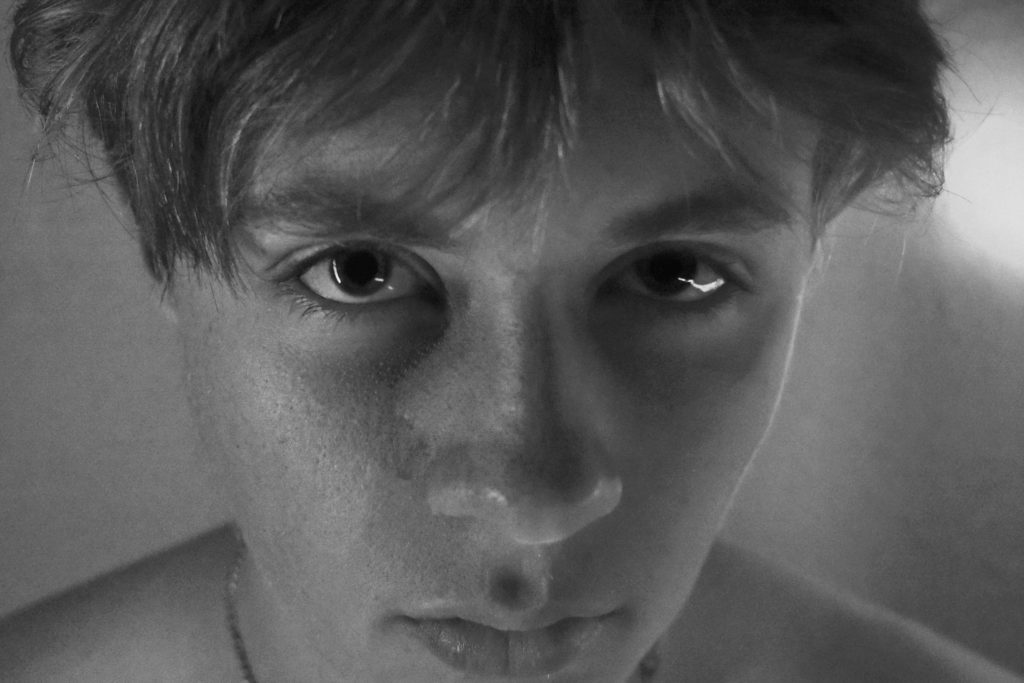
These two images are a good example of a deadpan image as for the dead facial expression and how central the face and shoulders are to the camera. The white background clearly outstands the portrait itself. The image on the right has a better background as all of it is white and no shadow or greyness is seen. The shadow created on the left side of the faces in both images by the spot light in front creates a cool, natural portrait. But this would not be acceptable for a passport photo or a successful perfect deadpan photo. If I was to do this photoshoot again I would direct the light either straight in front of the model, or place another spotlight/main light on the shadow side of the face to cancel out the shadow formed.

Headshots – Up Close! – inspired by Satoshi Fujiwara

Satoshi Fujiwara

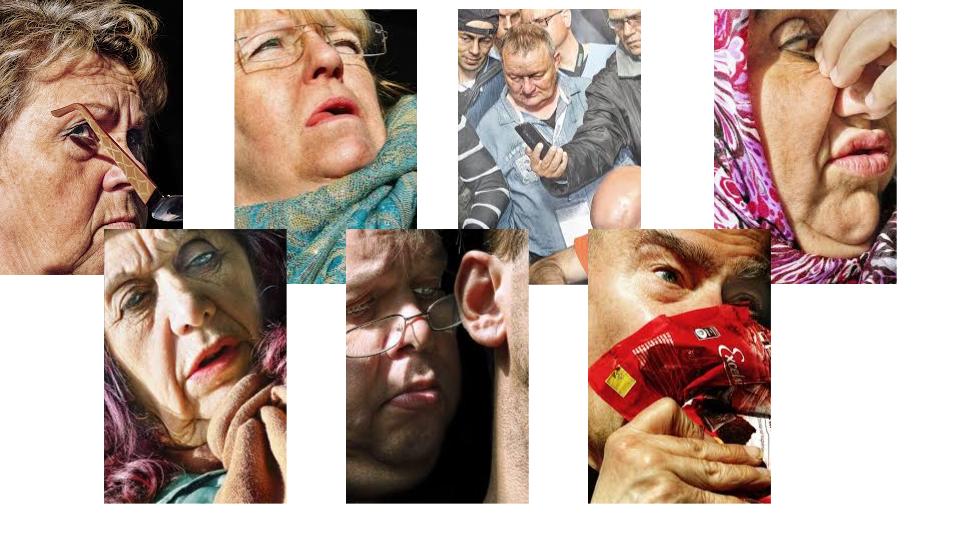
 Satoshi is a photographer and artist based in Berlin. The portraiture she bases her work on mostly is up close images of human faces. These images are taken as street photography, with the models not knowing that they are being photographed. Some examples are seen below…

Images by Satoshi

My experiments

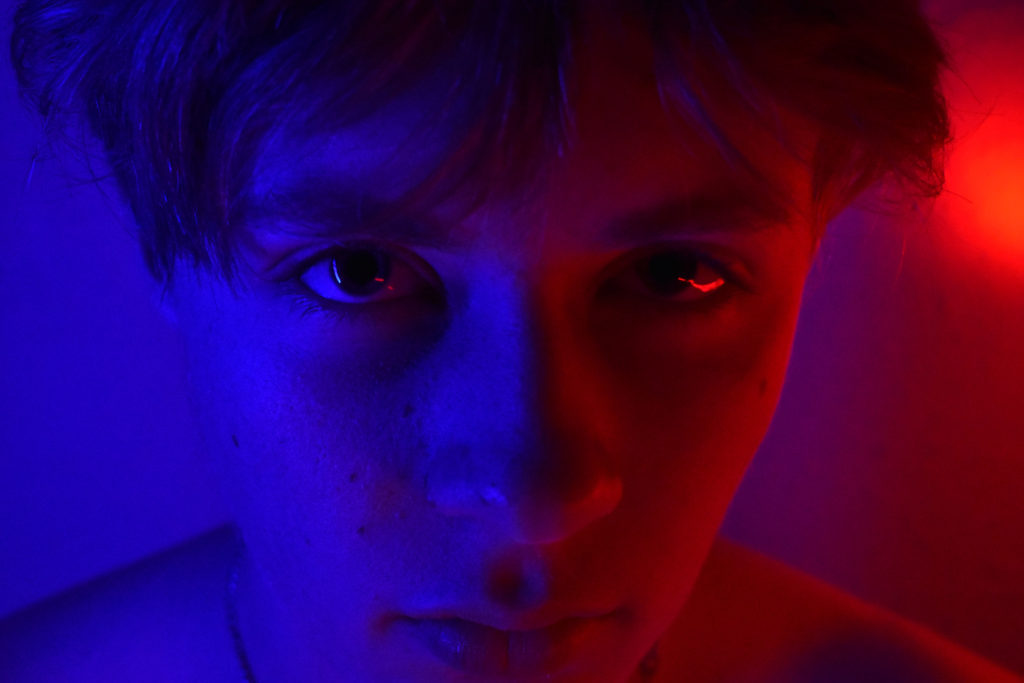
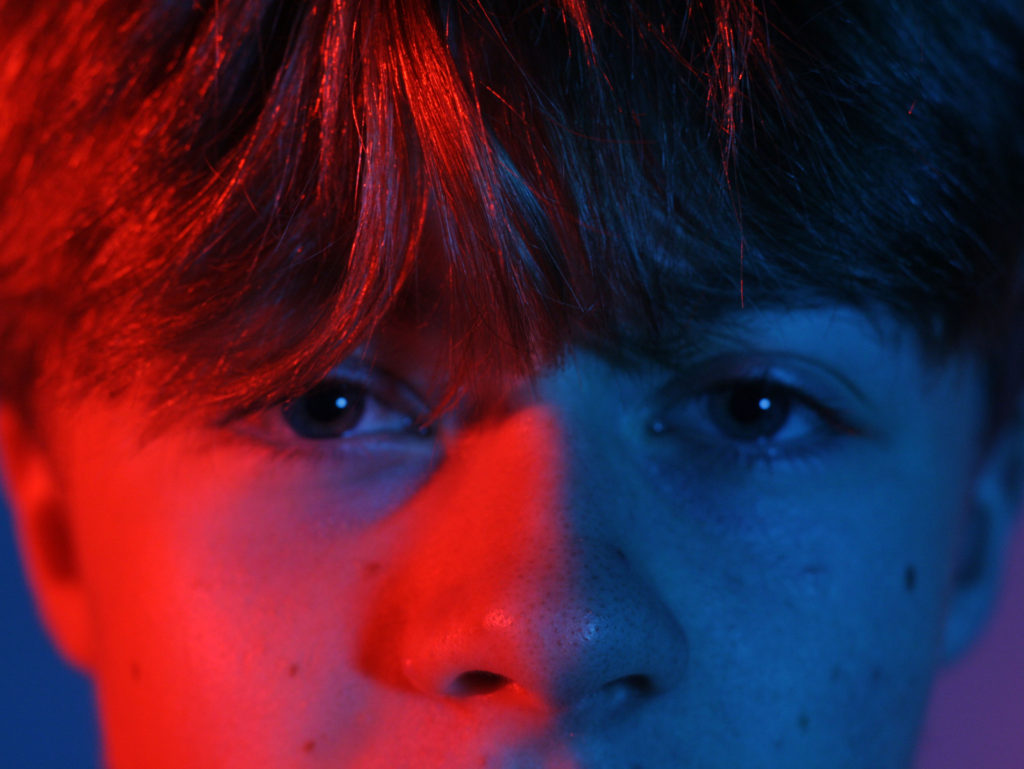
These images i tried to get as close up as I could to the face but my camera would not focus if too close. There are two colorful images as for Satoshi’s work seems to have a lot of color to it. These images are not street photography images but have similarities to Satoshi’s work in the sense that the portrait taken is up close and cuts out the edges of the face. If i was to do this shoot again i would take some photos in town that way i could capture people in the moment and get some better images that linked to Satoshi’s work.

Headshots – montage- cut n paste

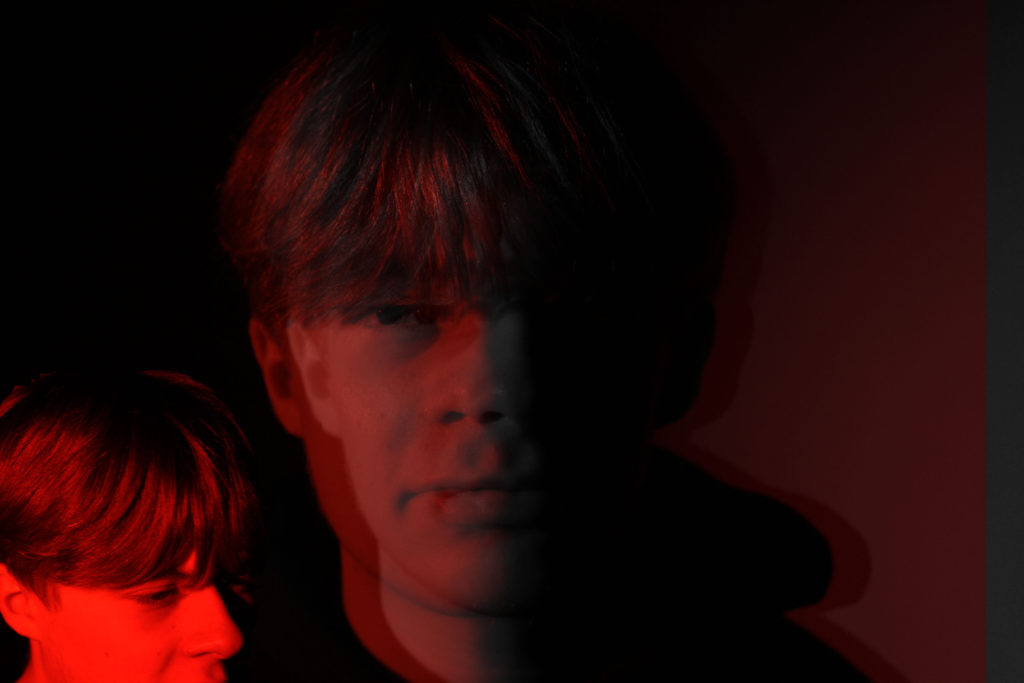
For this image i used two images and one of those i duplicated to create a double exposure image. With the smaller portrait in the corner i simply used the lasue tool to cut around the head and copied the head on top the main image. Using the magic wand tool i cropped out any white or standing out parts of the cut and paste image to make the image merge together better. One of the images of the duplicated image i changed into black and white to create a more contrasting and interesting image to look at. This montage is simple and diverse. It has a sense of darkness to it as for the red glow effect on the face and the black background. This black background fades in with the right side of the face. This makes the contrast between the left side of the face being red and the right side being black strong and effective to the overall image.

Headshots – double / multi exposures

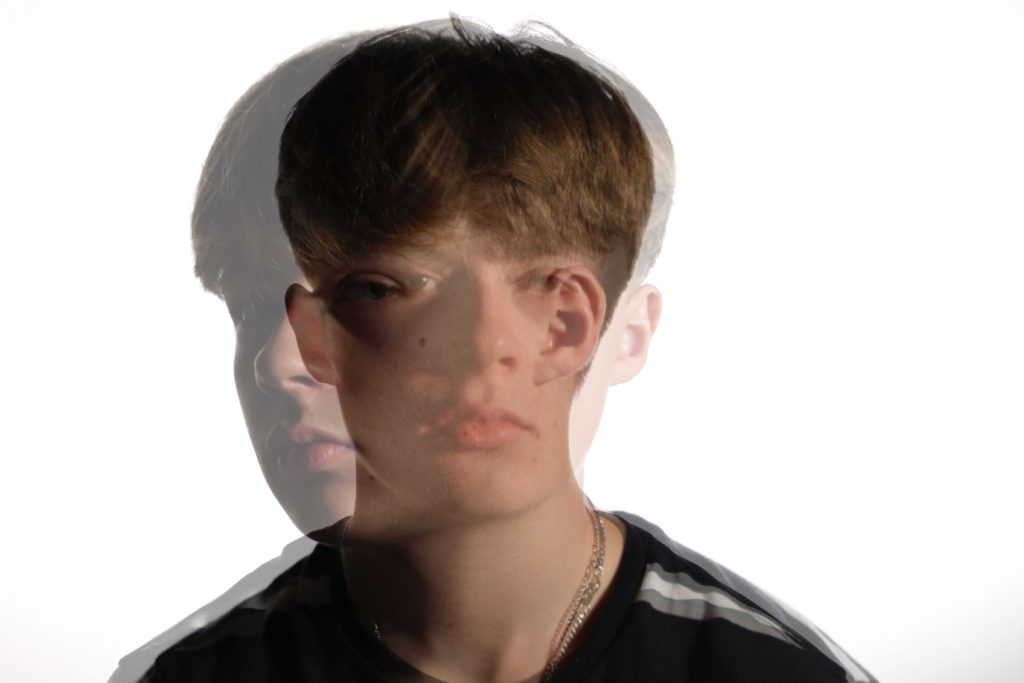
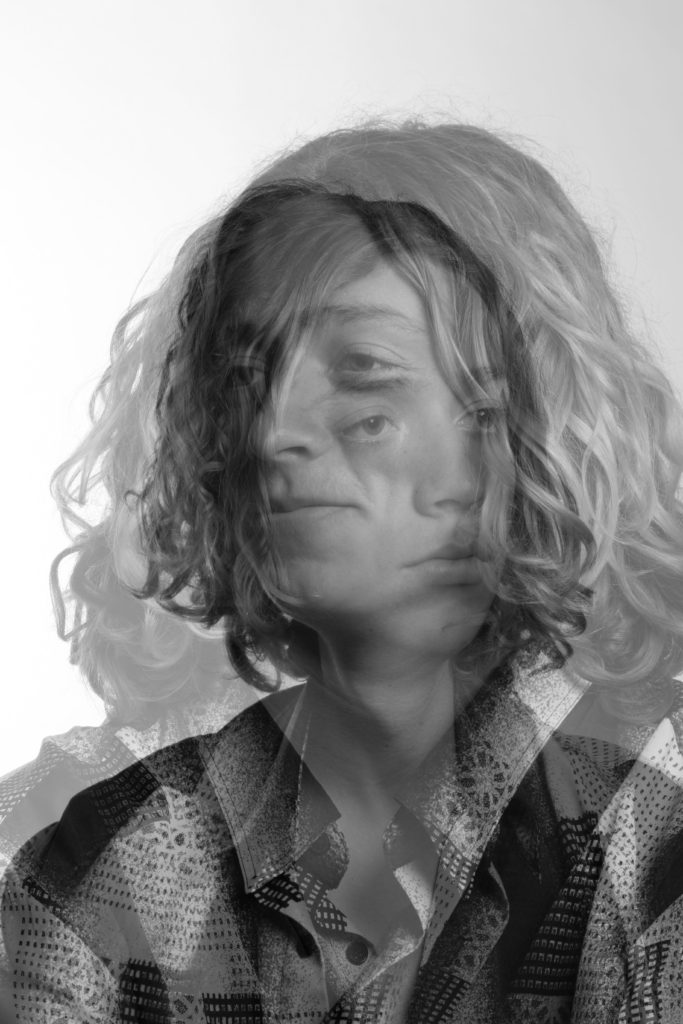
By selecting two images of the same portrait, i have merged them together by changing the opacity of the image that is on top of the original image to make a double exposure portrait. This portraits are interesting to look at as your eyes try and focus on tow portraits at the same time. To get the best outcome for each image, I have chosen two portraits, the first one of a face facing the camera and then the other face facing s different way. This way we can still see both images. These photographs were taken in the studio using a spot light for a main light and the same light directing on the wall behind the model to get rid of the shadow. This creates a white background.

SELF-REFLECTION BLOG POST

Now that it’s over, what are my first thoughts about this overall project? Are they mostly positive or negative?

My first thoughts about this project are that I feel as if I should have thought more in depth about what the assessment was asking me to photograph rather than going off on my own idea which might not link very well to what is asked of me.

If positive, what comes to mind specifically? Negative?

My positive views about this project are that i enjoyed the topic of identity and place. It seemed as if the whole identity theme was not too hard to understand and easy to find something to work on.

What were some of the most interesting discoveries I made while working on this project?

During this project I found out how to use different light to effect different parts of photos that I was taking. For example, to get a glow effect on a front of a face, use mostly a white light , and then use coloured light in the background.

What were the challenges?

I found it tricky to find an artist that related to my work and my final outcomes. The artist in the end that I chose was good enough to relate to but wasn’t very helpful when coming to analysis and comparing my work and theirs.

What is the most important thing I learned personally?

The most important thing I have learned during this project is that I definitely need to get more work done before the exam as I was very close of running out of time.

How did I come up with my final best solution?

My final solution to this project was to use inspirations from other photographers and input that into my work, then i would confidently know that my work has some sort of connection to the topic.

What most got in the way of my progress if anything?

The time that I had I felt as if I wasn’t going to have enough time, therefore I worried and struggled to focus on what needed to be done with the time that I did have.

What obstacles did I overcome?

In the end I didn’t doubt myself that my work was that bad, so i overcame my fear of thinking that my work was rubbish when actually it came out okay.

What did I learn were my greatest strengths? My biggest areas for improvement?

My greatest strengths that I found was analysing a photographers piece of work and working in the studio. In the studio I used equipment that I hadn’t really used often and my images turned out good. I improved on my editing skills in photoshop and how to recover an image that had not gone to plan with wording and comparing it to a certain photographers work.

What would I do differently if I were to approach the same problem again?

If I came across some images that I was not happy with in the exam, I would make sure that I had enough other images to use and another plan if needed.

What could I do differently from a personal standpoint the next time I work?

I would make sure that if I would have the exam again or a similar one, I would check my images first before choosing my best ones in the exam.

What can I improve?

I can improve on my knowledge of how to evaluate my own images and how to link them back to the question asked or the topic or a photographer. I would write more in detailed of what my point is for my work and explain exactly what i am trying to get across to people in my images.

How will I use what I have learned in the future?

Hopefully in my next exam i can improve by getting a better grade than I did before by using my free time to make the exam be easier for me and for me not to stress. I can also think more about what is being asked and be more creative with my final outcomes.

WWW – WHAT WENT WELL

In my opinion , my (what went well) would be my research and analysis and understanding of the topic. This is shown as I got I better grade in that part of the exam then the other parts. My own understanding for the work I can write in detail and I can add in other views of the topic from different people.

What are your strengths and weaknesses?

As said before I feel as if my strengths in this project were the analysis with both a photographers work and my own.

My weakness in this project would defiantly be the skill level of using photoshop.

EBI – EVEN BETTER IF

I feel I could improve my work if I came up with a more creative and advanced outcome with my final images. This could be either how i present them on the blog, or how and when and where I take them. I could change my idea on the topic and think of something more interesting that I would have more to write about.

controlled conditions SELF-REFLECTION

Now that it’s over, what are my first thoughts about this overall project? Are they mostly positive or negative?

Overall i feel positively about this project because i think that i did fairly well.

If positive, what comes to mind specifically?

I think i did well in my final outcomes and final ideas

My biggest areas for improvement?

AO1 is my biggest area of improvement because that is the area i got the lest marks in

What can I improve?

Research, analysis and development of ideas

How will I use what I have learned in the future?

The specific areas of improvement to improve my overall grade

Self-Reflection Blog Post

Create a Self-Reflection Blog Post
Answer some or all these questions:

  1. Now that it’s over, what are my first thoughts about this overall project? Are they mostly positive or negative?
  2. If positive, what comes to mind specifically? Negative?
  3. What were some of the most interesting discoveries I made while working on this project?
  4. What were the challenges?
  5. What is the most important thing I learned personally?
  6. How did I come up with my final best solution?
  7. What most got in the way of my progress if anything?
  8. What obstacles did I overcome?
  9. What did I learn were my greatest strengths? My biggest areas for improvement?
  10. What would I do differently if I were to approach the same problem again?
  11. What could I do differently from a personal standpoint the next time I work?
  12. What can I improve?
  13. How will I use what I have learned in the future?

In addition, think about and comment on:
WWW – WHAT WENT WELL

What are your strengths and weaknesses?

Think how you could improve your task/outcome:
EBI – EVEN BETTER IF

Set yourself some targets for moving your photography forward.
These could be skills based, analytical understanding, written analysis, organisation, blog post structure etc, etc,