Category Archives: Task

Filters

Author:
Category:

Studio Portraits

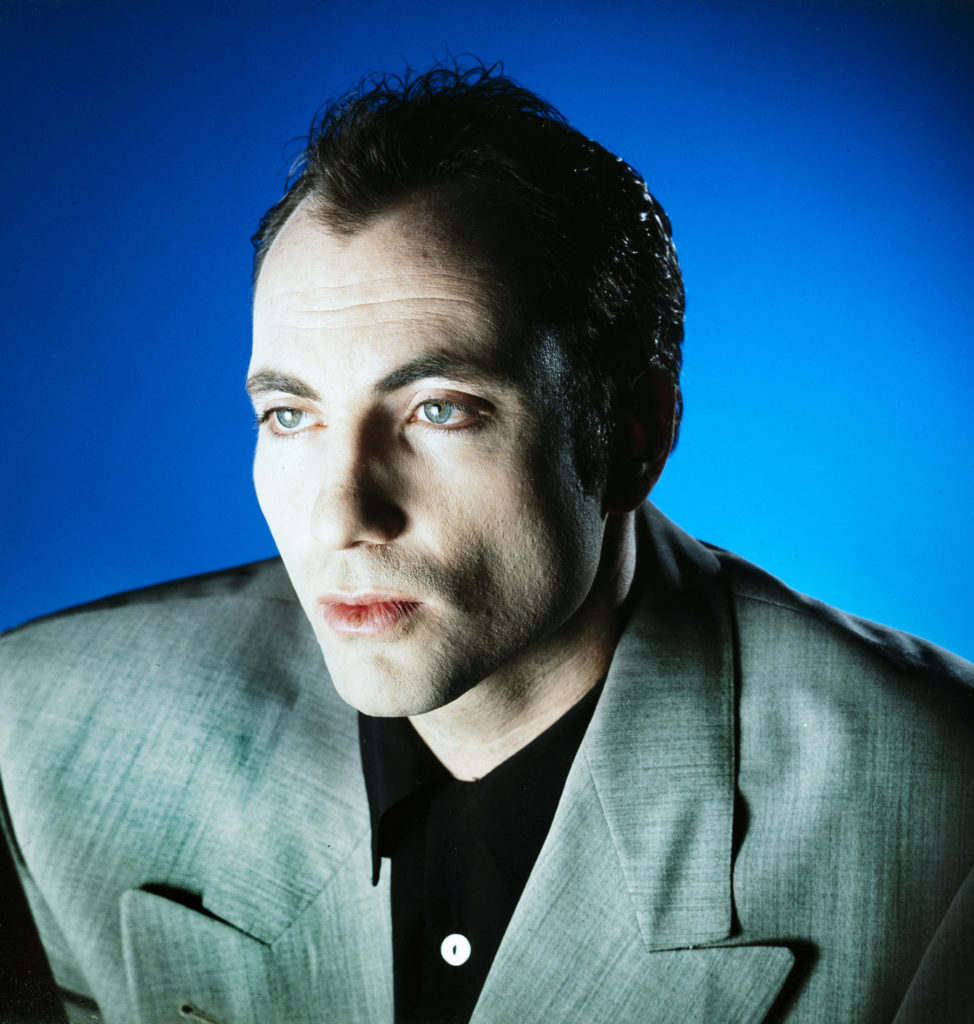
Inspiration – Ole Christiansen

“Ole Christiansen is known for his covers of Euroman and record covers of bands such as Sort Sol, TV2, Thomas Helmig and many others. His visual signature is unique and differs by a very graphic look.”- His profile from Profil : Ole Christiansen
Main inspiration

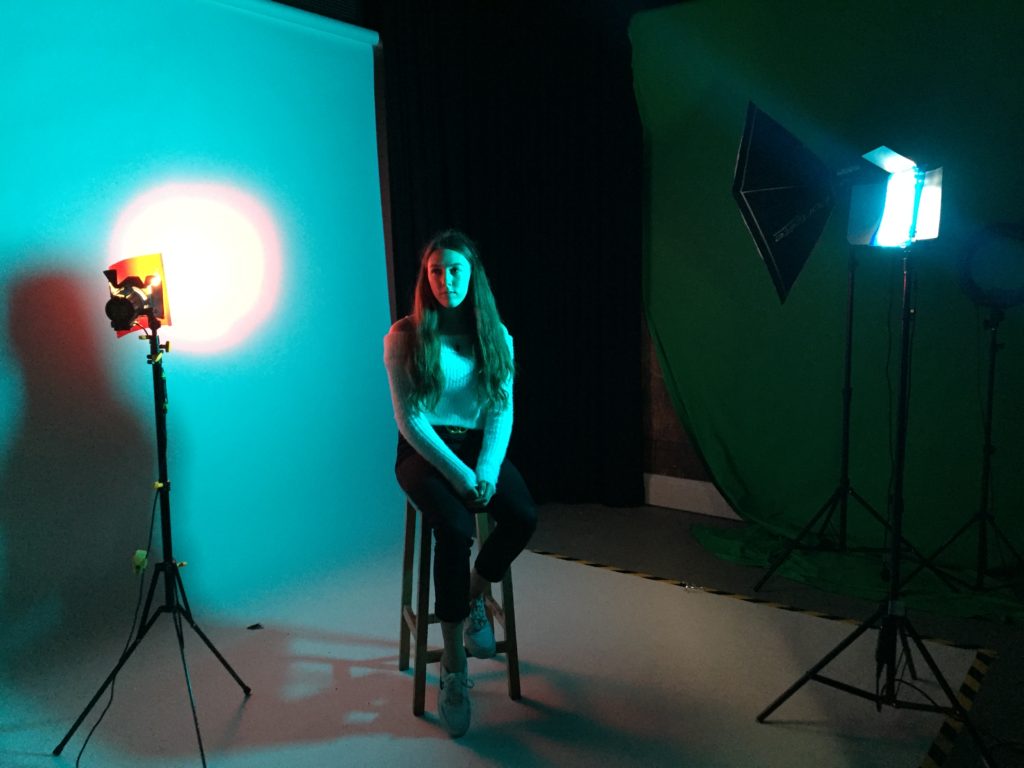
Setup

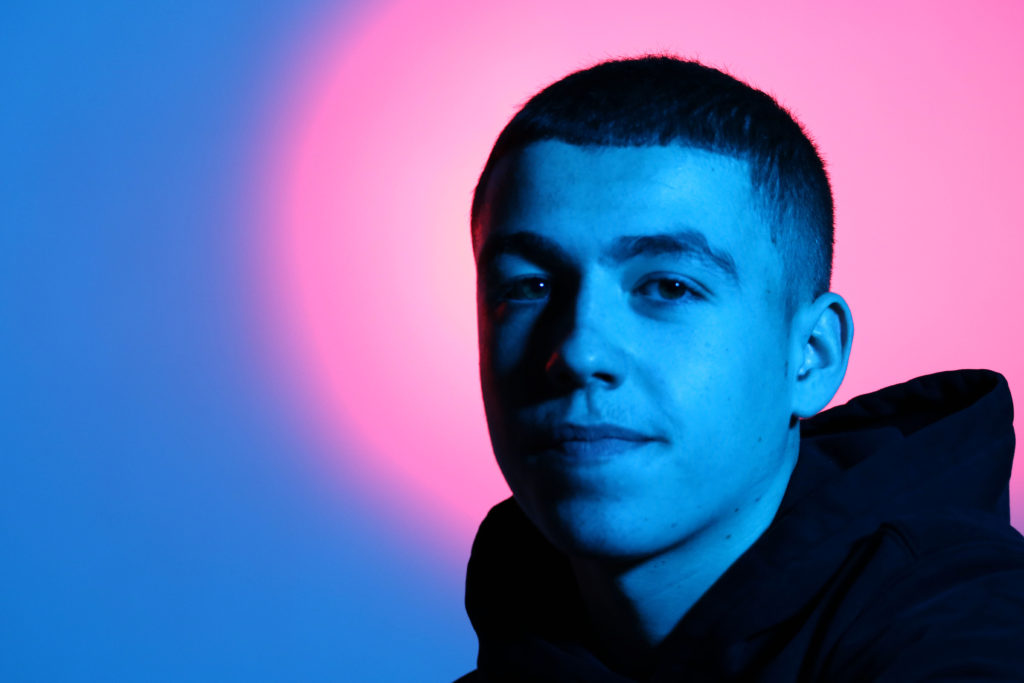
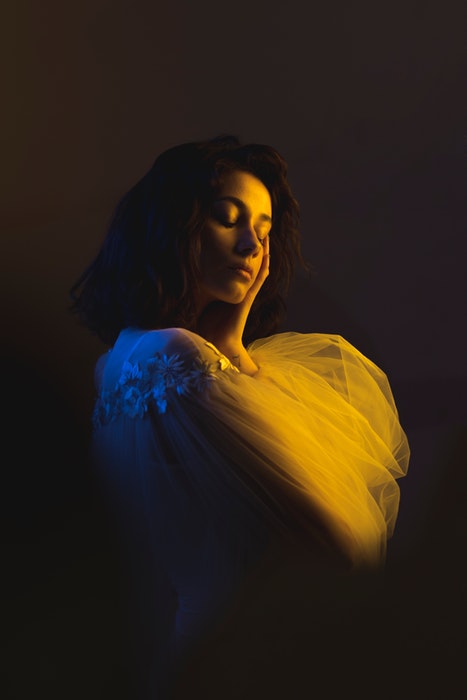
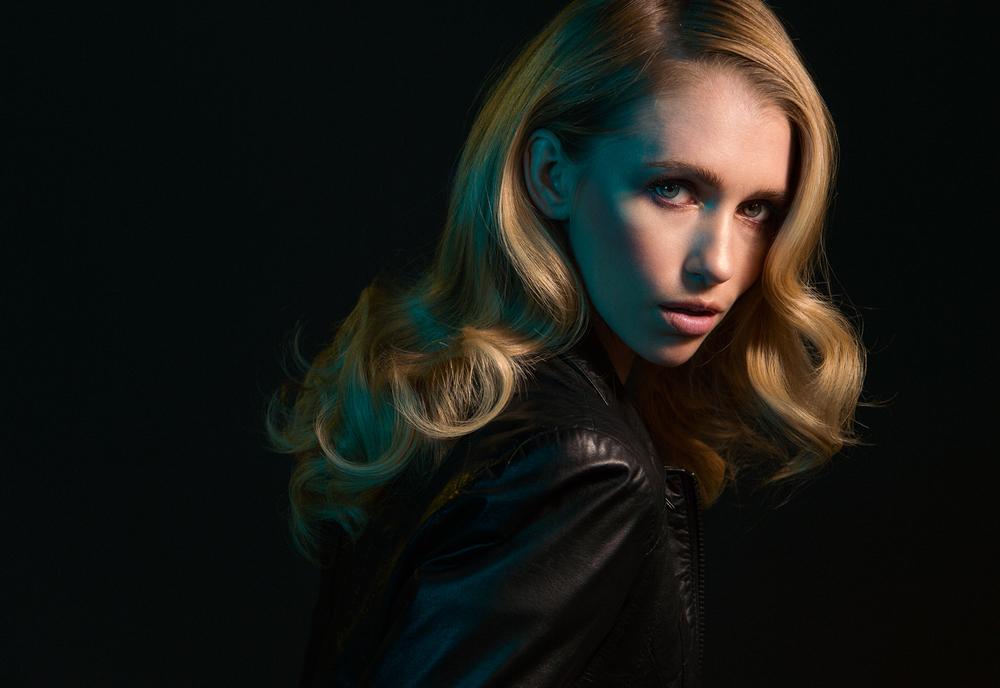
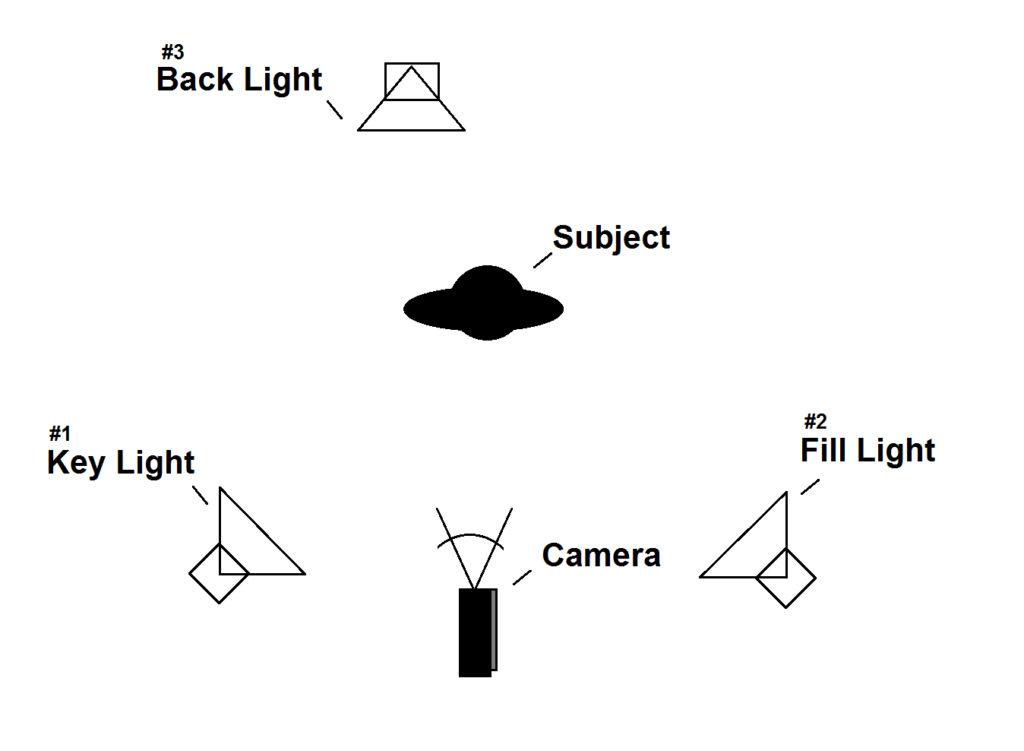
We had a blue gel on the key light so that the subject had a blue hue and a red gel over the back light so there was a red circle in the background which some could interpret as a halo.

The two colours merged together on the screen meaning there were no harsh lines and they made purple which allowed the colours to smoothly gradate.
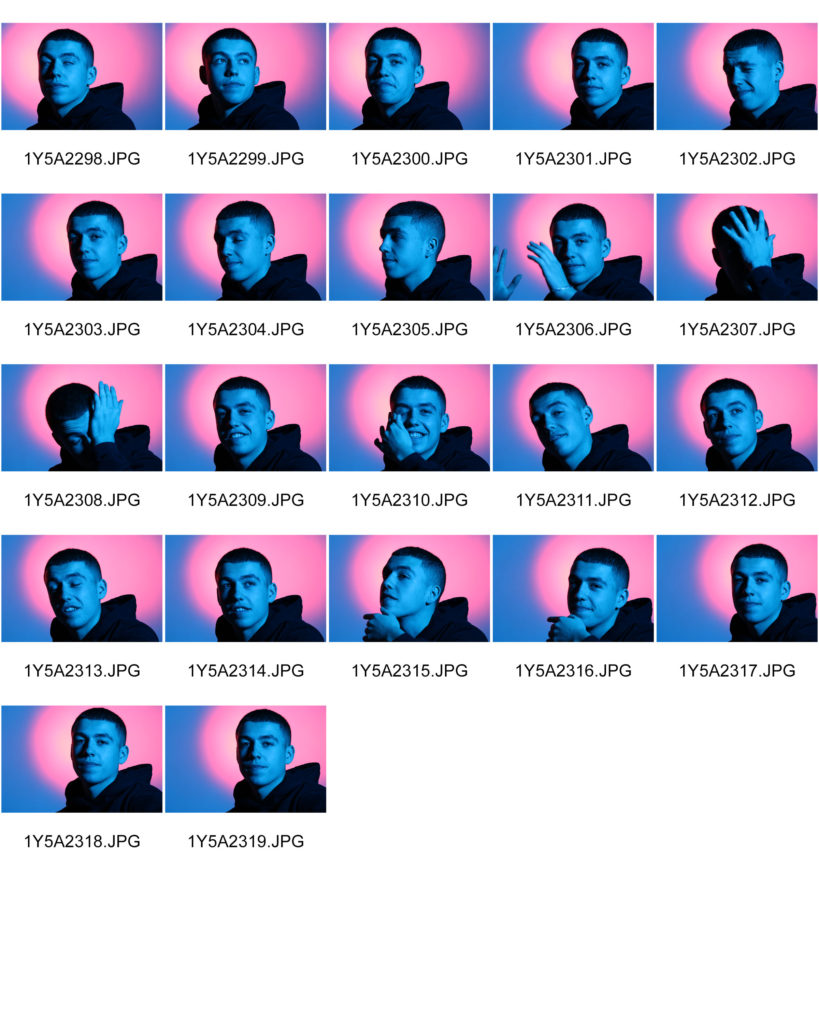
Contact sheet
Best Images

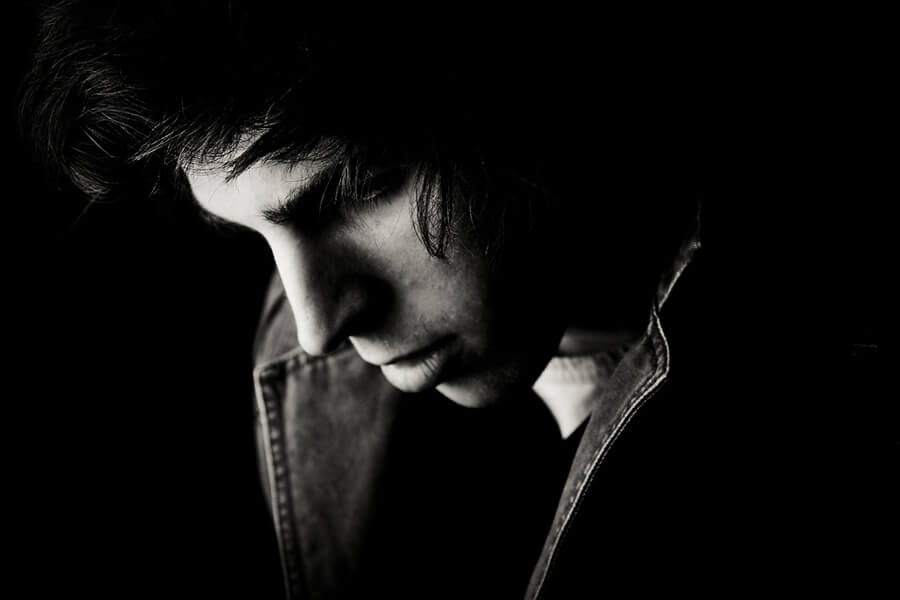
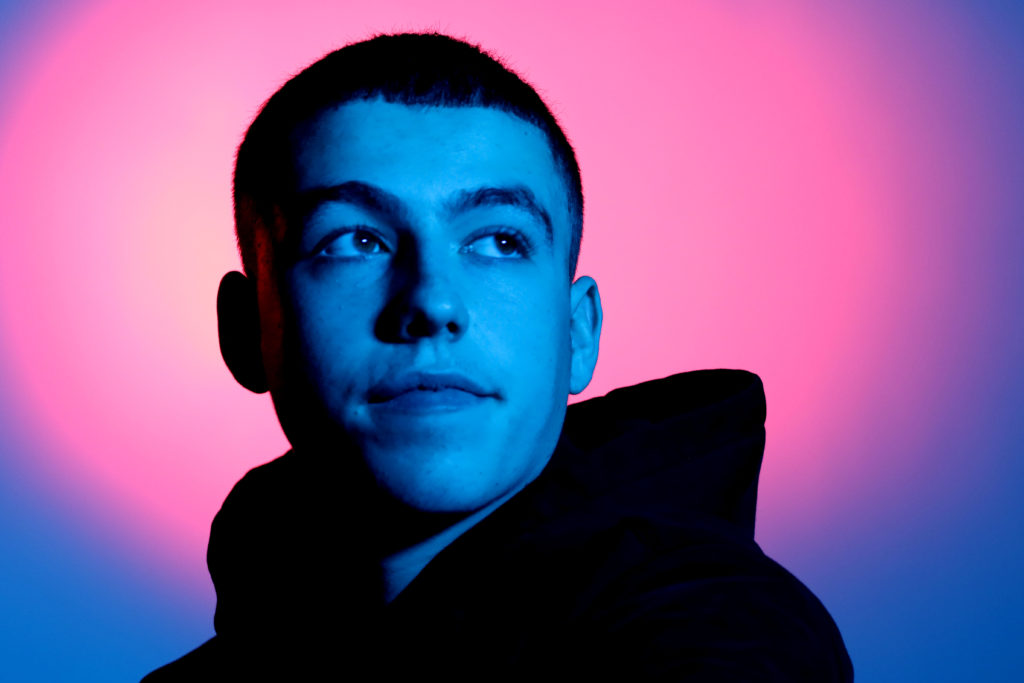
These are my most successful images because they aren’t blurry and have a balanced contrast of light and shadow.

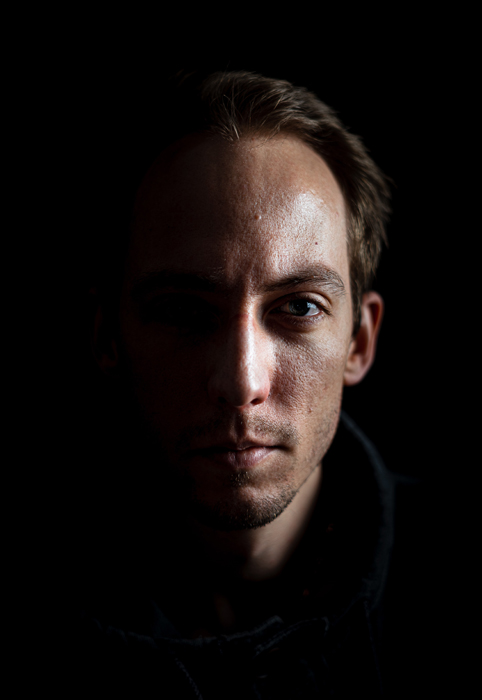
The first image I think, is my most successful image. It is also the photo that is most similar to Christiansen’s image that is displayed earlier on in the blog post.

The model is looking away from the camera into the distance and the light is focused on the center of his face creating a shadow on the left side of his face and neck.

Experimenting with Photoshop
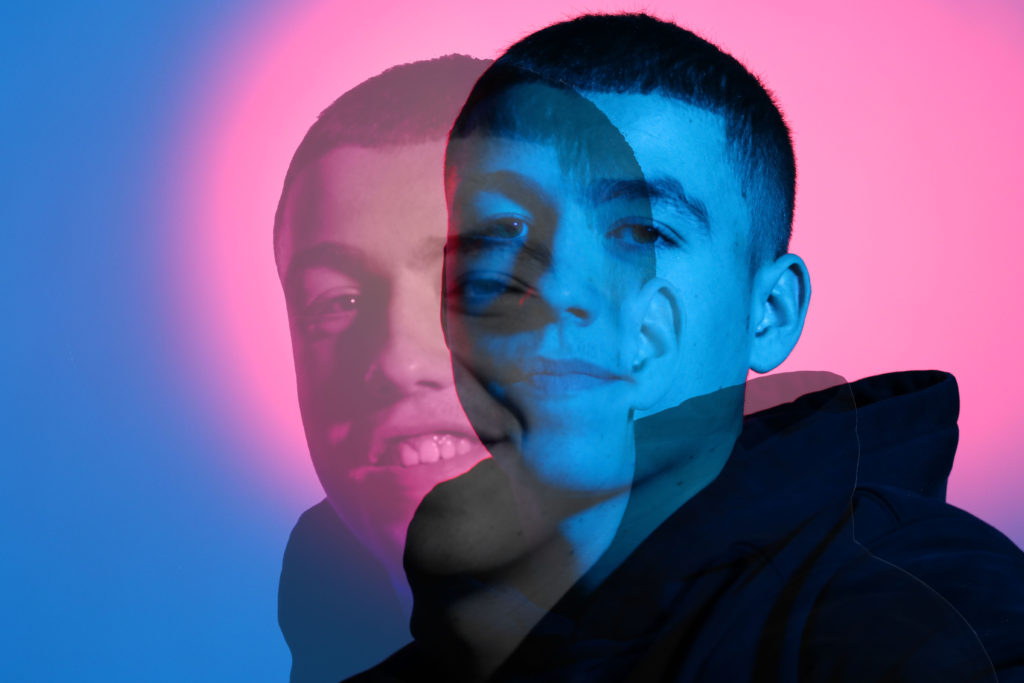
I wanted to layer two of my images so I went into Photoshop and used the magic eraser tool to get rid of the background of the image. Then I zoomed in so that the background was completely erased and only the models body was visible.

I used ctrl T and dragged the image onto the other and went through the options and the final blending option I chose was Luminosity with opacity at 72% and fill at 73%.

I’m very pleased with how the image turned out and how the two images blend in together. The two image contrast each other; the background image is of the model with a straight face, and the second image layered on top of that is of the model more relaxed with him leaning forward and smiling.

Double Exposure Portraits

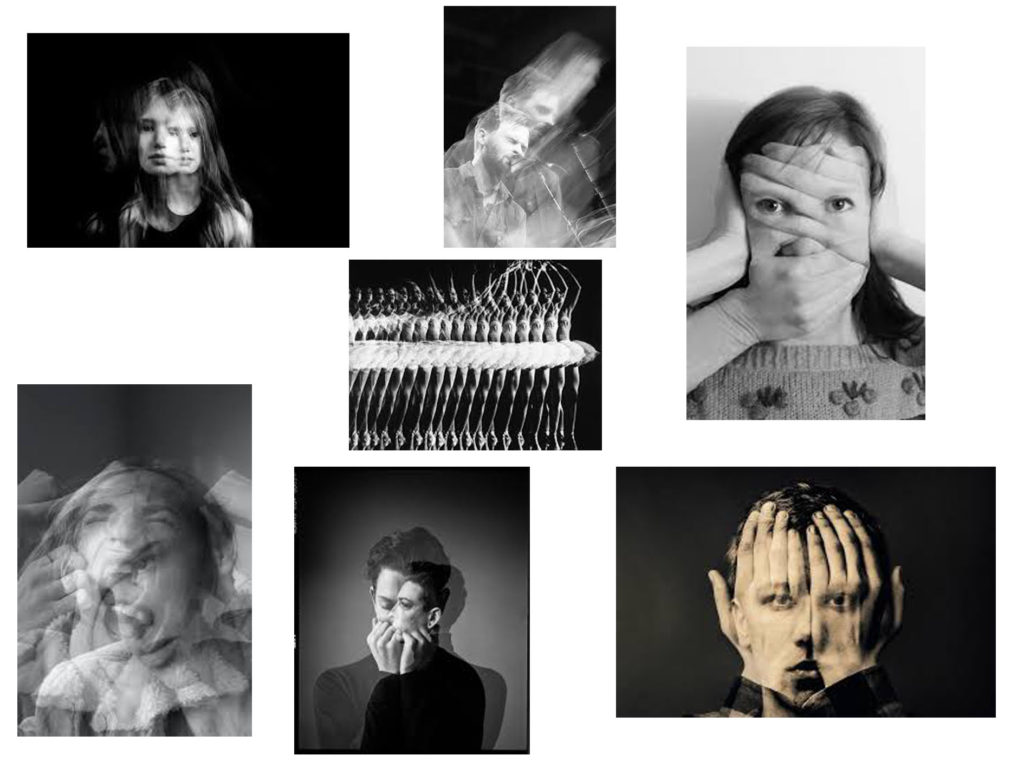
Double or multi exposure is a technique used by photographers that uses layering in order to combine 2 or more photos into 1 to create an almost ghost-like affect. This can be done on film cameras by inserting used film back into the camera and taking photographs over the top of the film, or in Photoshop by layering images and adjusting the opacity.

Double Exposure moodboard

Double exposure inspired photoshop development

Original image
Edited image
Original image
Edited image

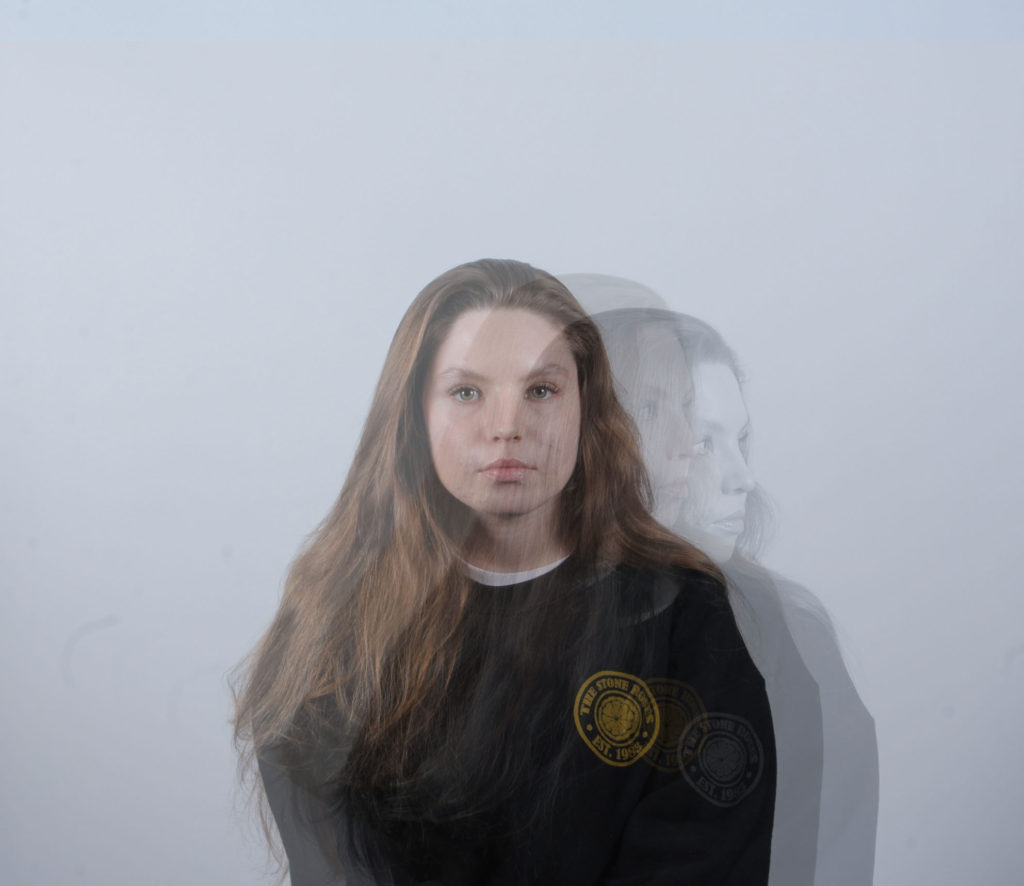
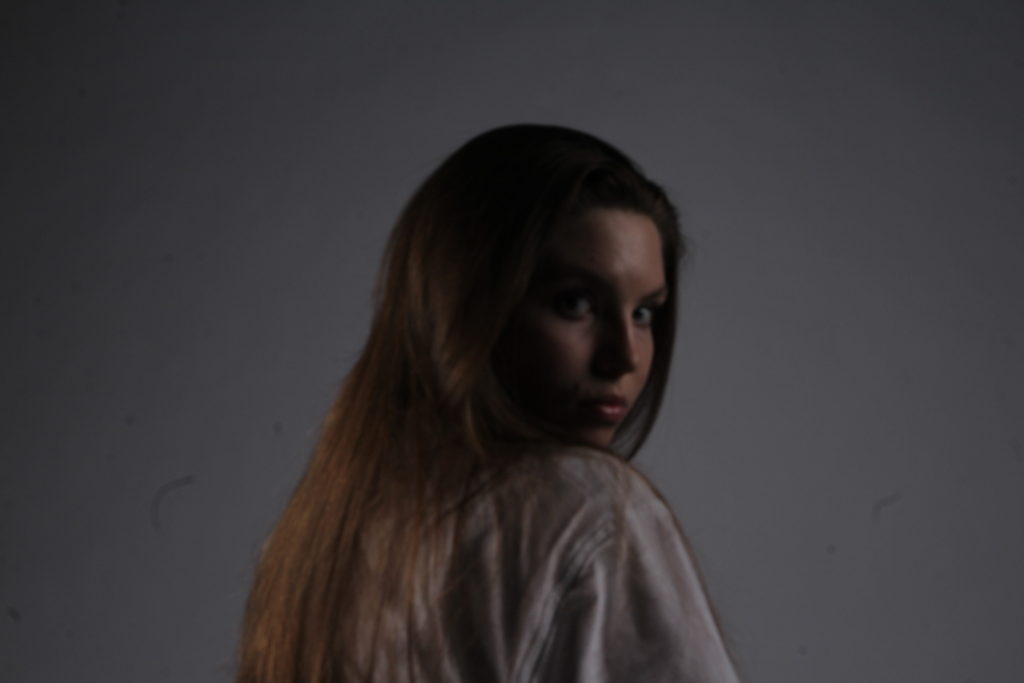
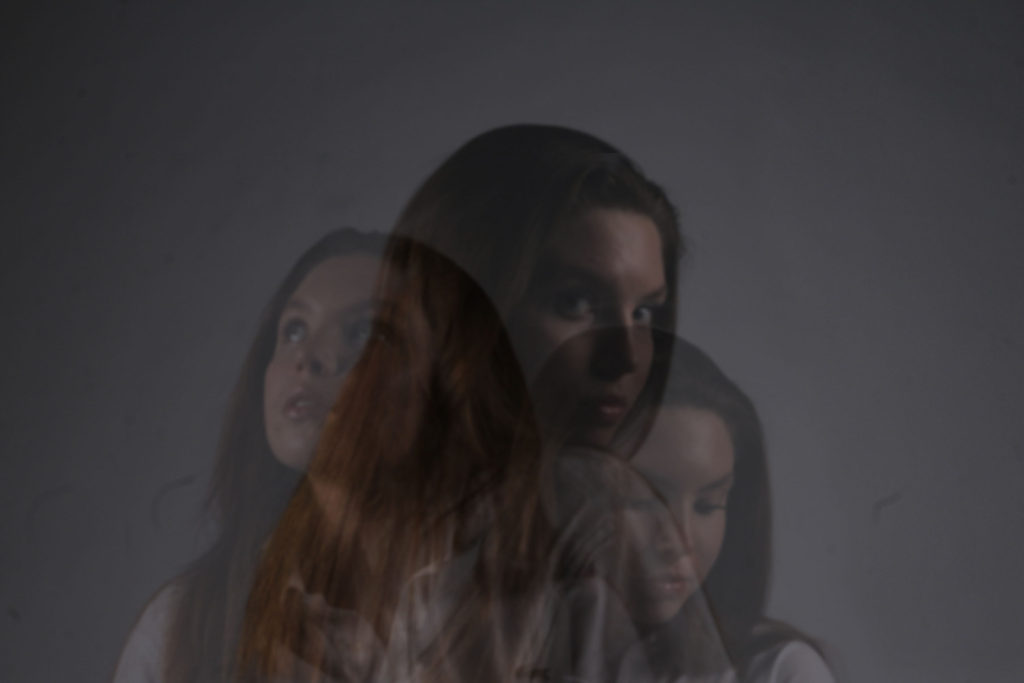
To edit these images I layered 3 images over each other and adjusted the opacity in order to fade out the images as they get further from the original image. I also used the monochrome filter on one of the layers to create a ghost-like affect.

Close Ups – Headshots

What is a close up image?

A close up is when the photographer only focus on a part of the face, which fills up most of the image. It draws more attention on their facial features and expressions.

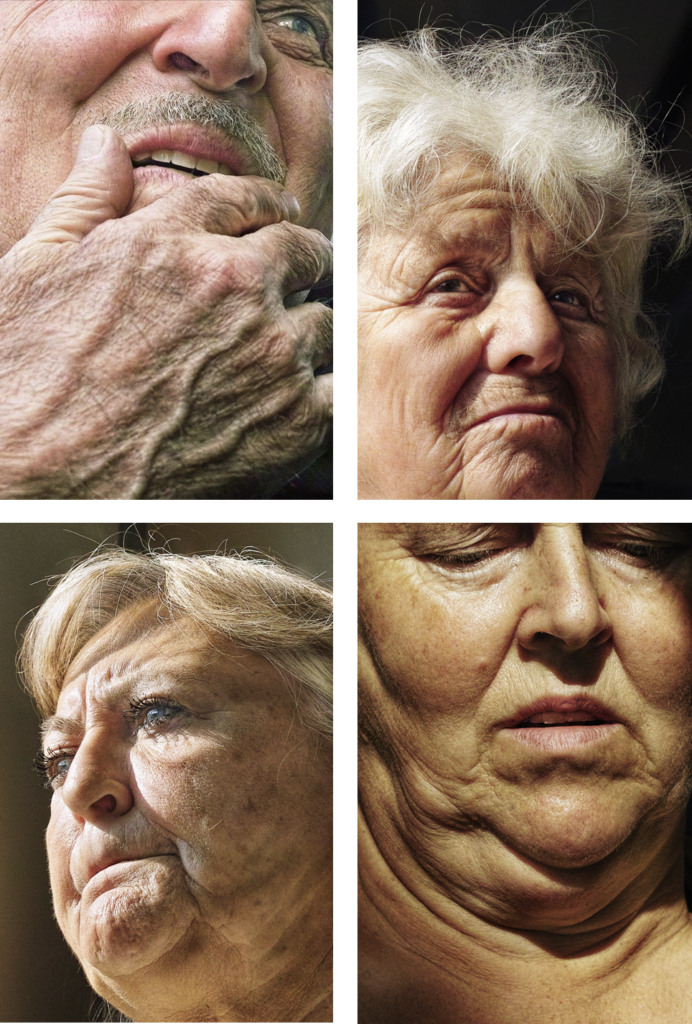
Satoshi Fujiwara – (reference)

Satoshi Fujiwara is a Kobe-born, Berlin-based artist and photographer.

He creates emphasis on facial features and expressions through the focal length.

He mainly uses different people to photograph as it tells a different story and has a different meaning every-time. He creates different angles and composition to make the viewer re think what the subject is feeling.
As you can see, Satoshi Fujiwara uses a low f stop to create high depth of field, as it creates a stronger focal point. In the images all 4 include high detail, where you can see every strand of hair, and detailing in the skin. The subject isn’t looking at the camera, and most of the entire head is in view. The exposure is good, as there is a balance between the shadows and the highlights.

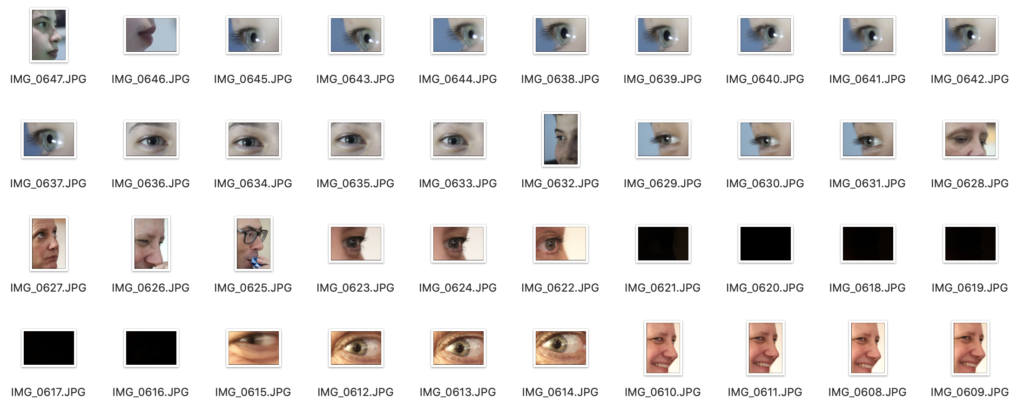
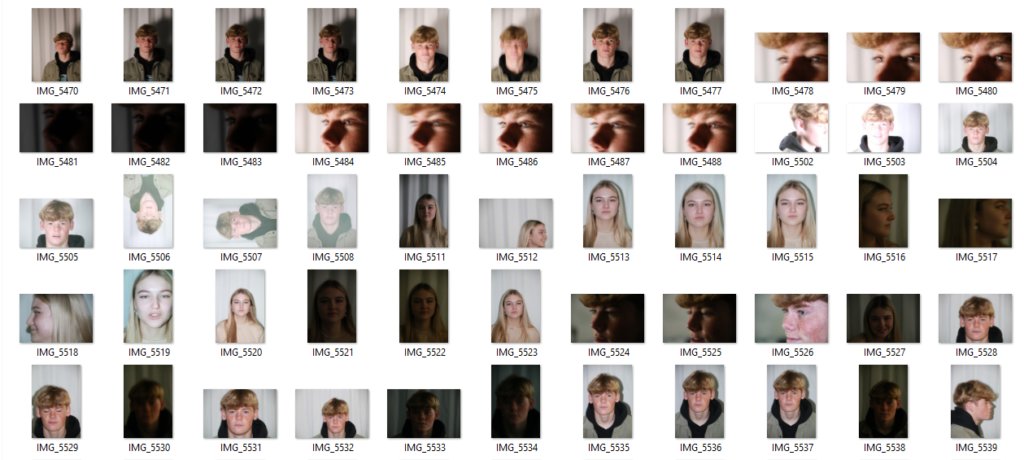
My images – Contact Sheet

I picked out 4-6 images that I felt were the best ones, which I would later pick 1 or 2 as my final images. This really helped decide what images were stronger.

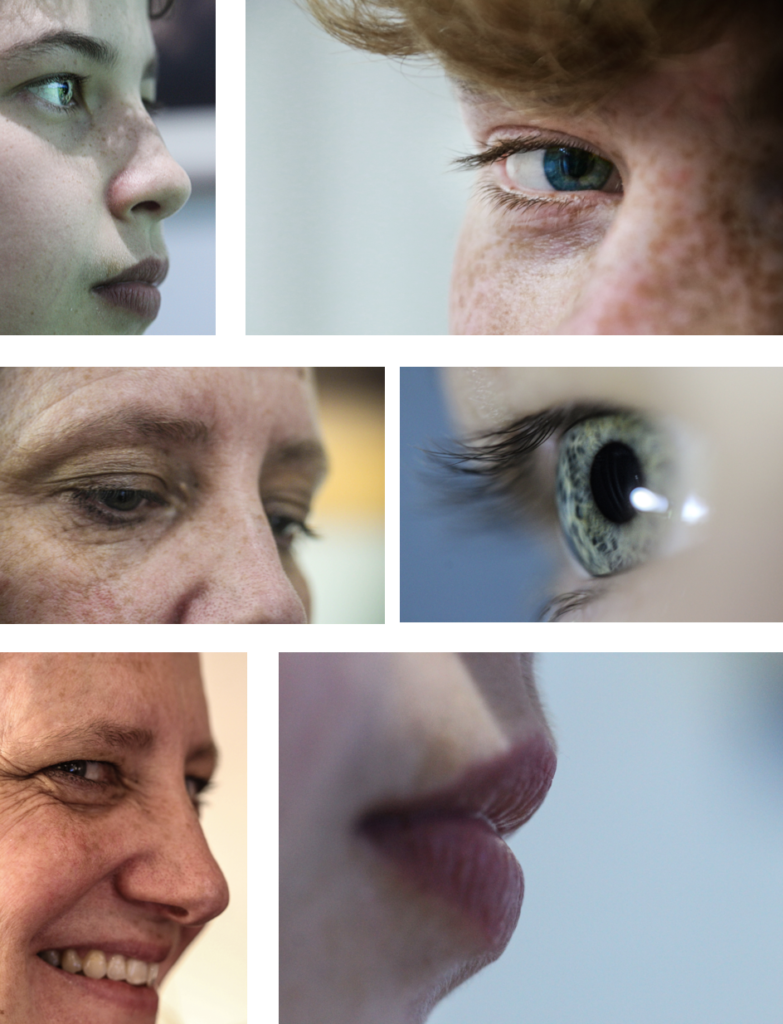
Best Images

These were the best images off of the contact sheet, which I edited in Photoshop.

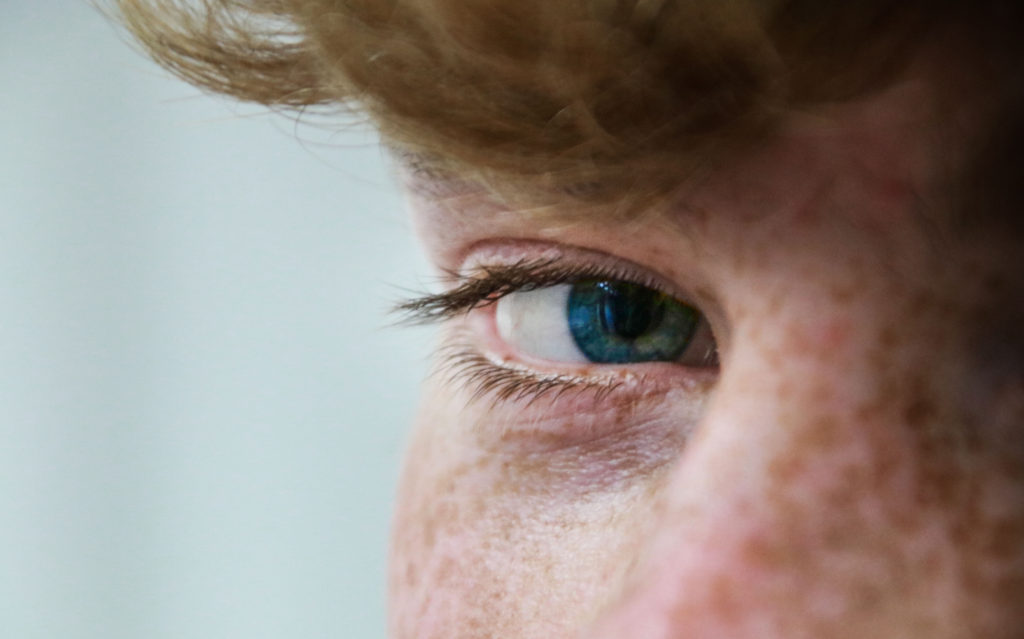
Final Images (1)

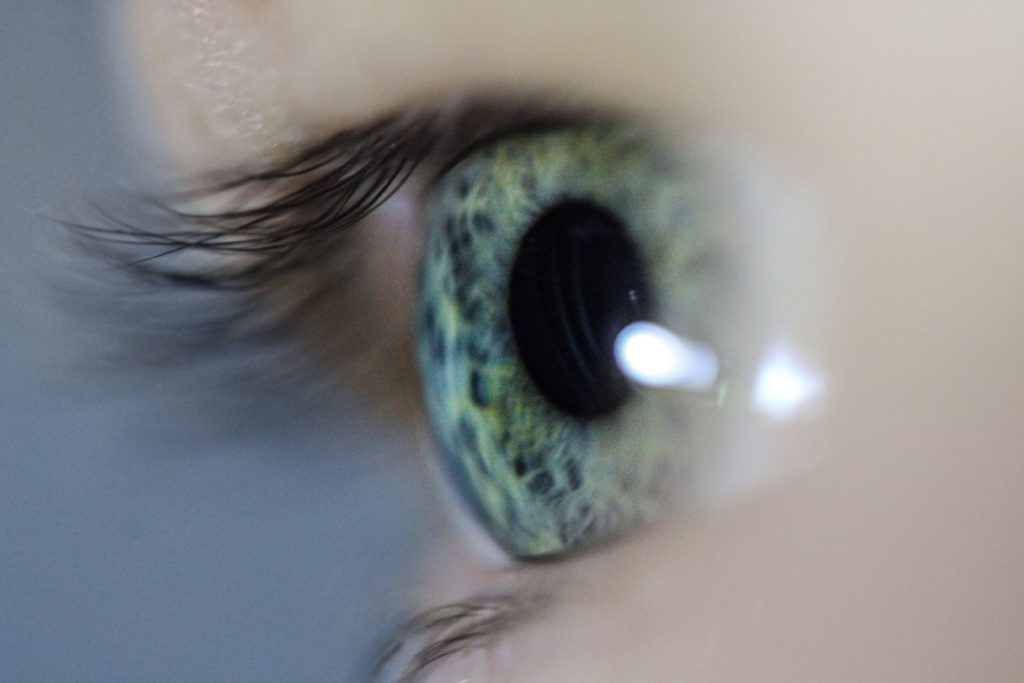
I chose 2 images as i thought they were both equally as good. They both focus on facial features, specifically the eye, like Satoshi Fujiwara work.

The eye is the centre piece in this image, which displays the complexity in the detail.

The blur around the outside of the eye make the eye the focus point, make it seem that the eye is staring at you.

The eye contact with the camera makes it a stronger image as there is more of a direct and emotional atmosphere between the viewer and the image.

Overall, the skin tones are nicely balanced and the composition creates a slight foreground, that contrasts the eye behind it.

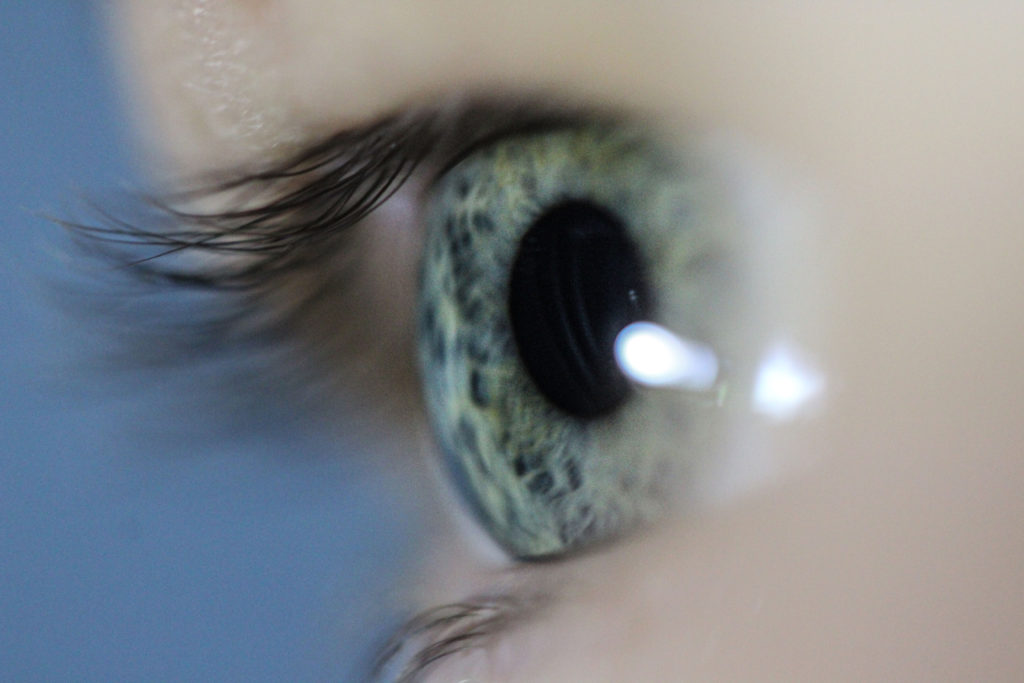
Final Images (2)

There is so much detail and intricacy in the eye which makes the image stronger.

Since I used a macro lens I was able to create a shallow depth of field. This made it so the eye and part of the eye lashes were focused, and the rest wasn’t, which draws more attention to the eye itself.

Overall, I like how the eye is in the centre and fills up most of the screen. The colours are strong and provide key details, although I feel like the blue background takes the blue and green eye colour and takes some of the value or significants away.

Therefore, this maybe be considered better, as that blue background is now more dull, as I desaturated it. Which brings more “life” and attention to the eye.

headshots – diamond cameo

HENRY MULLINS

Henry Mullins started working at 230 Regent Street in London in the 1840s and moved to Jersey in July 1848, setting up a studio known as the Royal Saloon, at 7 Royal Square. He would photograph the upper class such as doctors and political elites as they were able to afford to visit his studio. He would photograph the upper class such as doctors and political elites as they were able to afford to visit his studio.

File:E16MullinsMulti2.jpg

MY RESPONSE

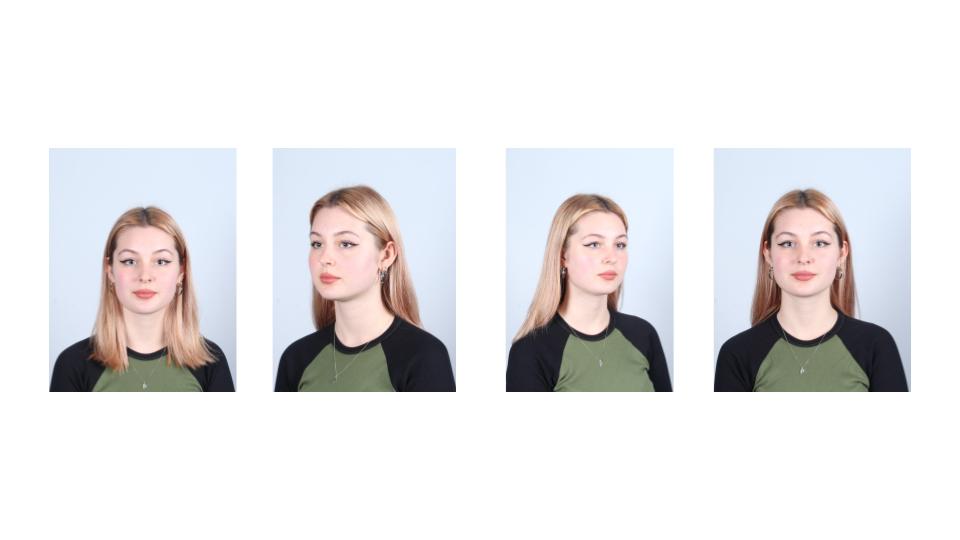
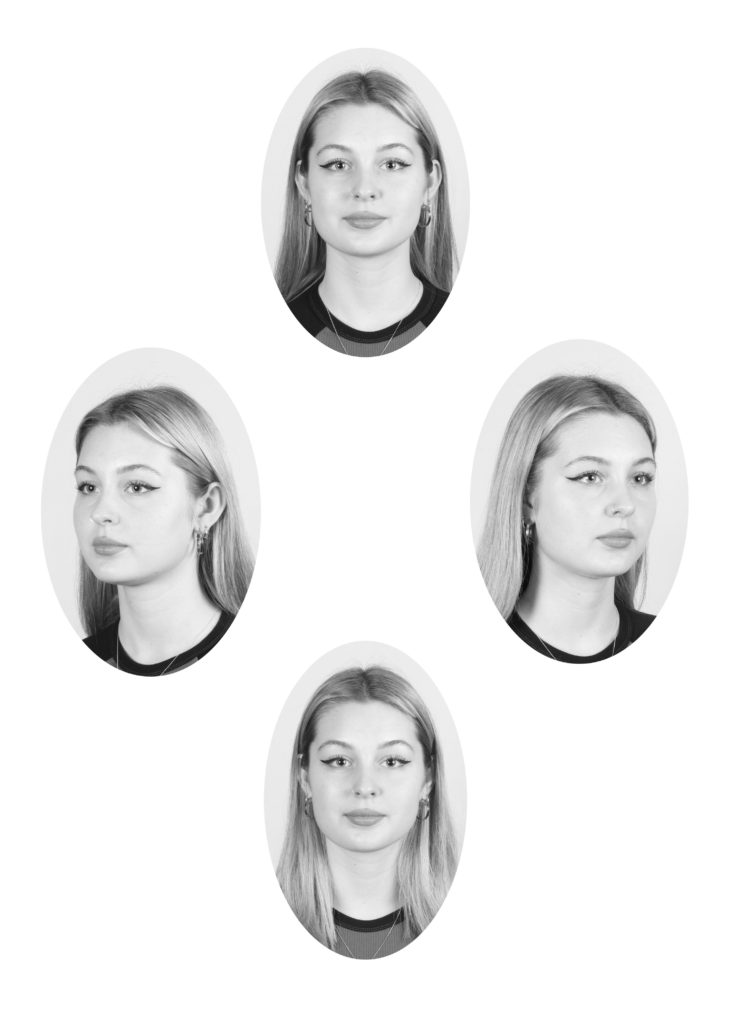
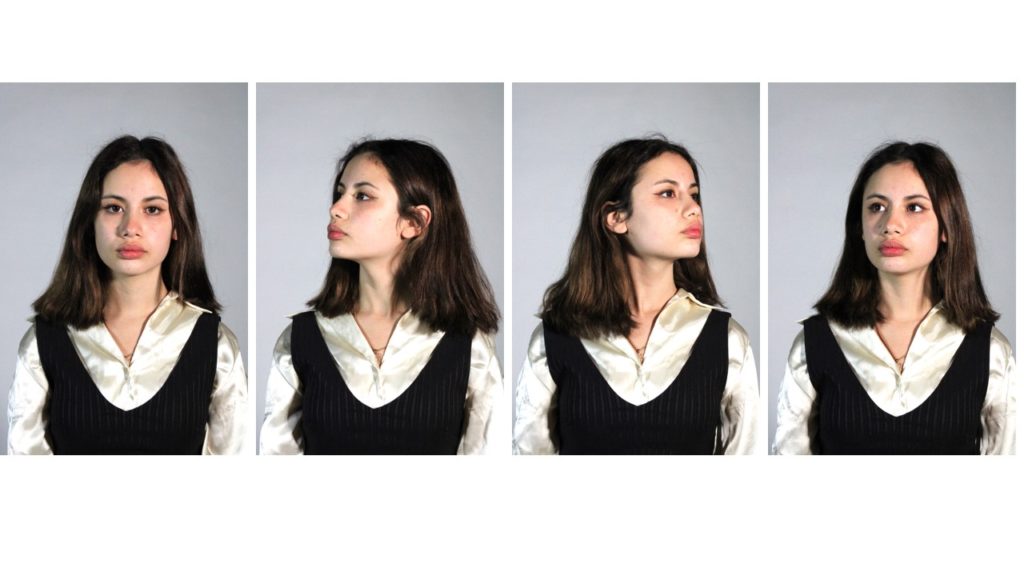
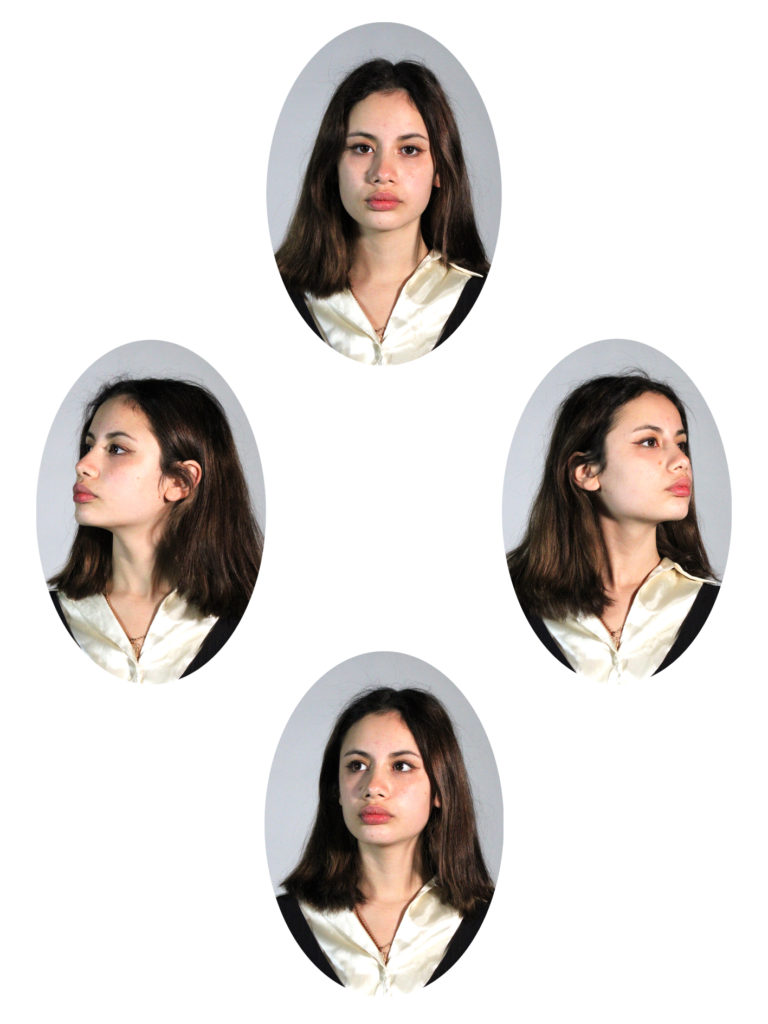
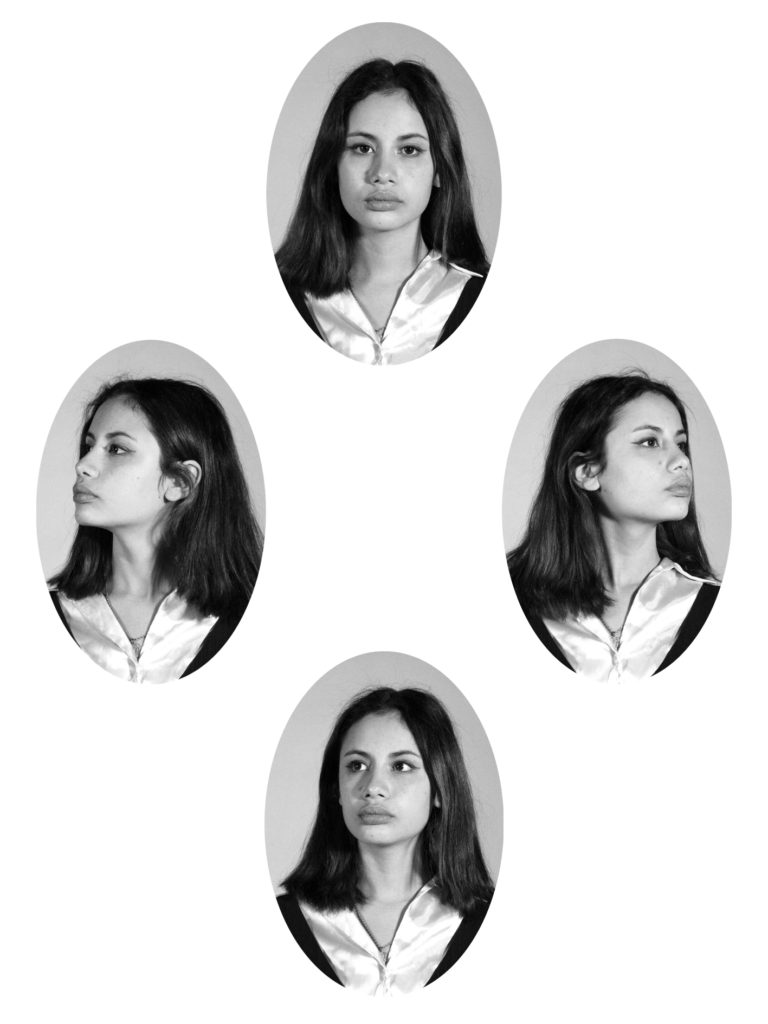
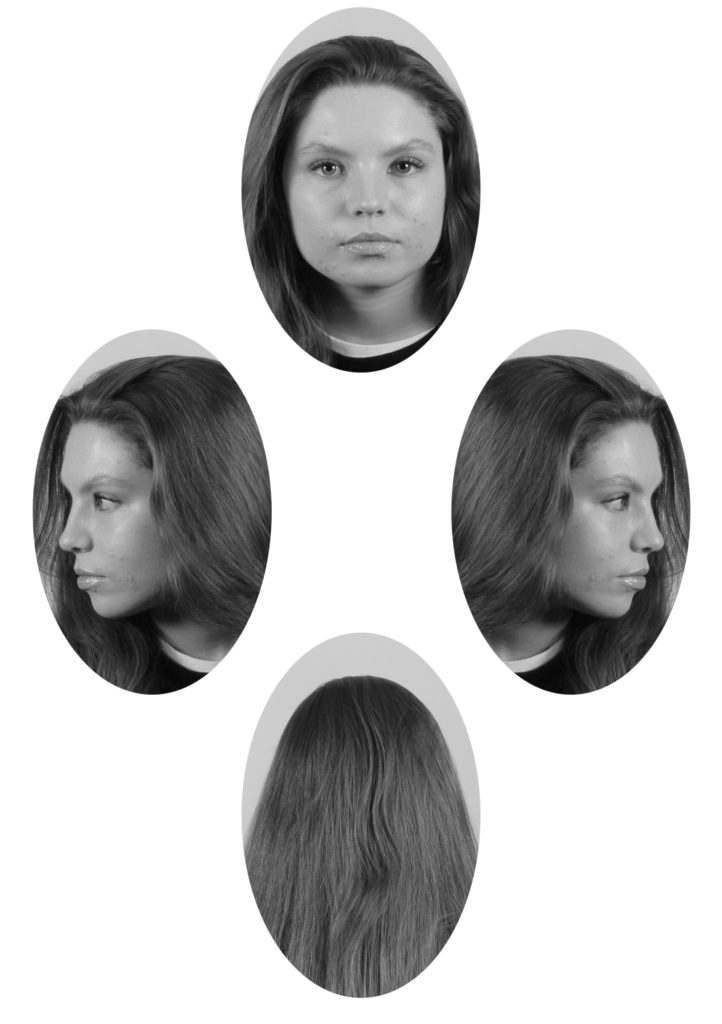
Before I started working on the diamond cameo, I adjusted the brightness and vibrance by selecting the image tab, then adjustments, then brightness/contrast first, then vibrance. Then I used the Marquee tool in PhotoShop to draw an oval shape around my subject, then I copied and pasted the image onto a plain white background. I repeated this four times, and I also added a black and white filter onto my images.

the decisive moment

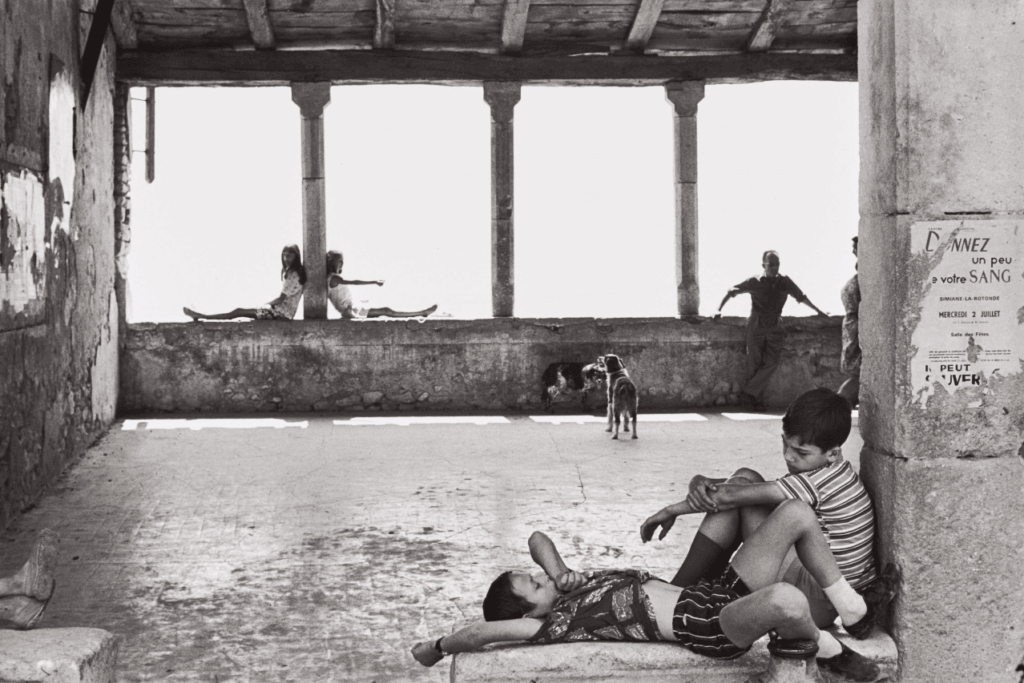
Henri Cartier-Bresson (1908 – 2004) was a French humanist photographer who is considered the master of candid photography. He pioneered the genre of street photography and viewed photography as a decisive moment.

Alongside Robert Capa, George Rodger, and David Seymour, Cartier-Bresson founded Magnum Photos in 1947, which today has approximately 80 members. Magnum Photos is a cooperative wholly owned by its photographer-members. This independence offers a great freedom of choice and treatment of subjects. Magnum photographs are famous for their journalistic and aesthetic qualities. Through its four editorial offices in Paris, New York, London, and Tokyo and a network of fifteen sub-agents, Magnum Photos provides photographs to the press worldwide. At the heart of this activity is a concern to encourage the photographers to carry out their individual projects and to act as sensitive witnesses to world events.

IMAGE ANALYSIS

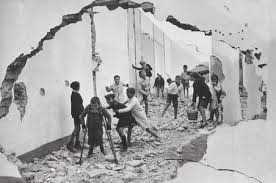
Henri Cartier – Bresson | 1969

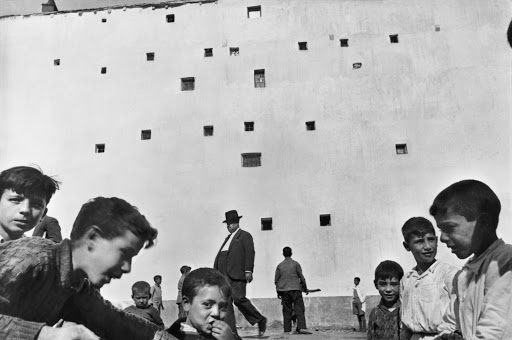
This photograph was captured in Simiane-la-Rotonde, France in 1969. It depicts several people, both children and adults, sat relaxing in what appears to be an old, derelict building. Cartier – Bresson has taken advantage of the bright and harsh natural light in this image, using it to illuminate the foreground of the photograph. This intense lighting also allows the people sat on the wall in the background to be silhouetted against the white, creating numerous contrasting figures. As the lighting in the photograph is so bright, it appears to be over – exposed, creating a more modern feel, even though the image was captured over 50 years ago. Cartier – Bresson has utilised the natural straight lines of the pillars in the background to create an interesting composition; it is an example of the rule of thirds, with the second pillar landing directly in the centre of the photograph, making it the main focal point which instantly draws the viewer’s attention to it. This image has a range of tones varying from bright white, to grey and black. Some of the darkest points of the photograph are the people silhouetted against the bright light in the background, again creating a heavy contrast between the two.

Diamond Cameo

Henry Mullins

Henry Mullins was the first professional photographer to arrive in Jersey and start a portraiture business in the very early days of photography. Henry Mullins started working at 230 Regent Street in London in the 1840s and moved to Jersey in July 1848, setting up a studio known as the Royal Saloon, at 7 Royal Square. He would photograph the upper class such as doctors and political elites as they were able to afford to visit his studio.

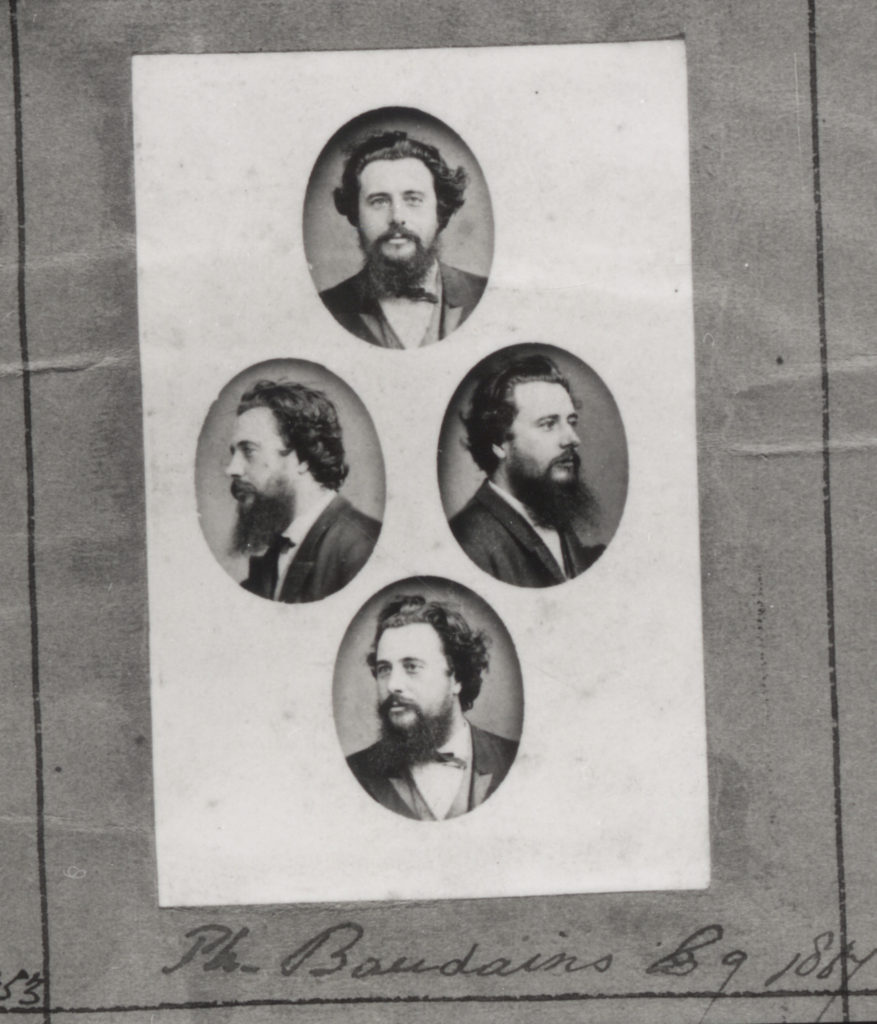
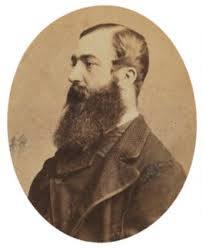
Henry Mullins| Headshot of Philip Baudains

Above is a diamond cameo, created by Mullins, of Constable and Deputy of St Helier Philip Baudains taken in the 1800’s. I wish to recreate this style of photography by capturing the same subject in the same setting, turning their head to different positions, with a monotone facial expression. My plan is to experiment with two-point lighting to produce bright clear images that will be easily seen in the diamond cameo format.

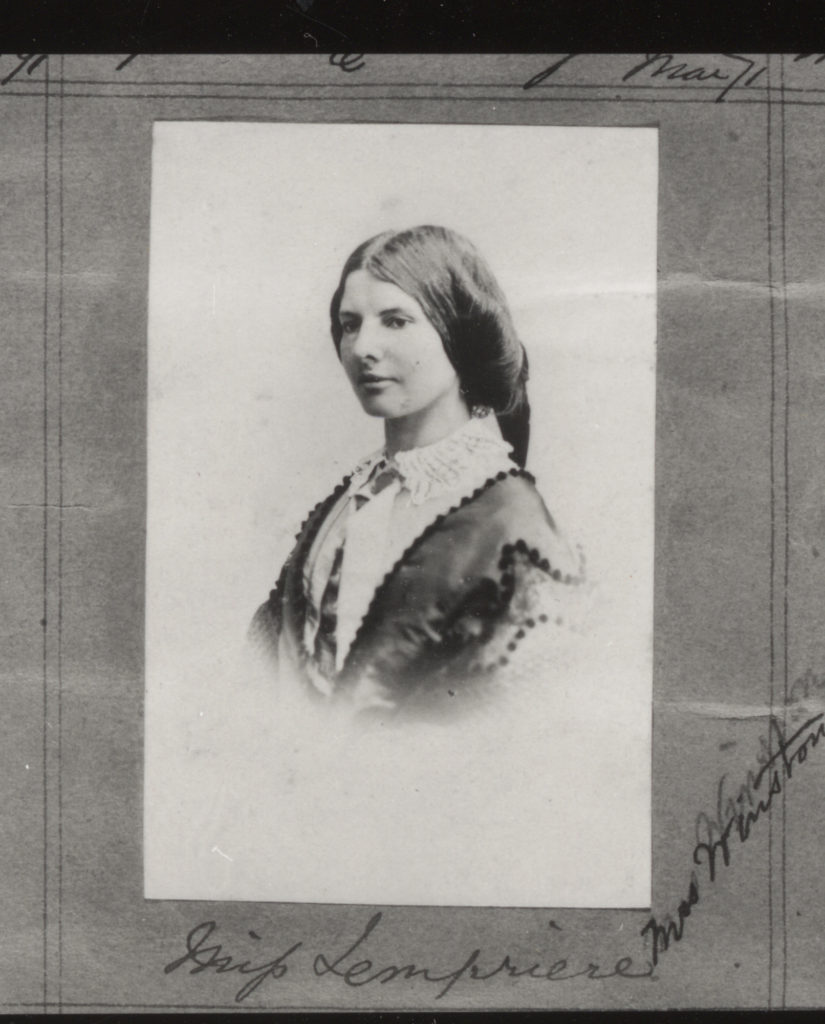
More examples of Henry Mullins’ Work

My Images

Editing Process

To create my diamond cameos, inspired by Henry Mullins, I first produced a photoshoot using two-point lighting. My camera’s white balance was set to daylight (5000K) and I used a fast shutter speed of 1/125 in order to capture bright portraits with limited shadows on the subjects face. When editing my images I slightly heightened the exposure and brightness to further this effect. Next I used the Elliptical Marquee tool in photoshop to draw an oval shape around the subject, I then copied and pasted this circular image onto a white background. I repeated this four times to produce my final diamond cameo portraits, I also experimented with editing a black and white filter onto my cameos to mirror Mullins’ work further.
Final Diamond Cameos

Photo Montage

What is a photo montage?

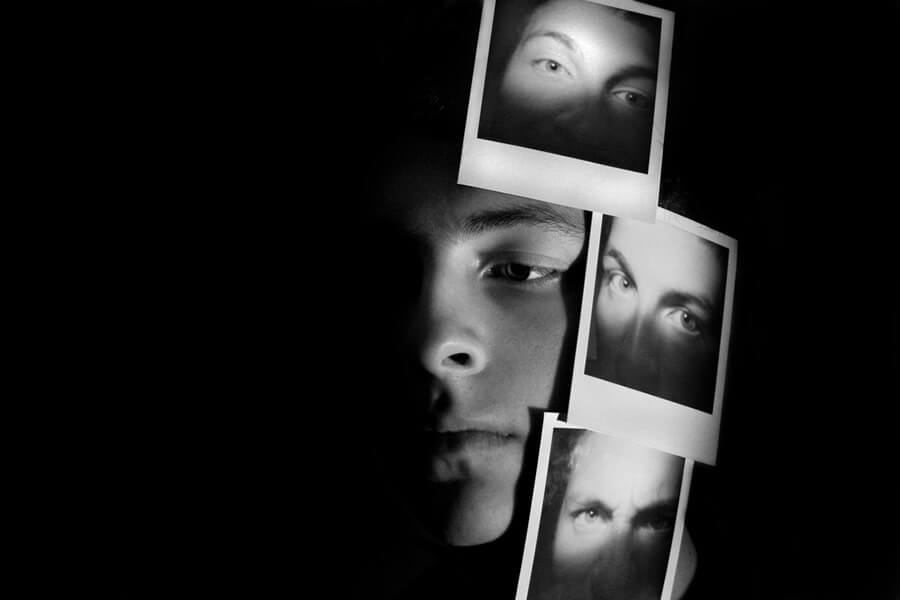
A photo montage is when you copy and paste parts of different images of different peoples faces, and put them into one image.

Brno Del Zou

Brno Del Zou is a French born artist in 1963. He uses fragmentation of the body in order to better understand it.
The body and the faces are revisited and their volumes are highlighted in order to create installations of multiple scales.
These “photo montages” suggest a clear aesthetic preference which does not hide the chaotic and “messy” side of our minds.

How I made mine?

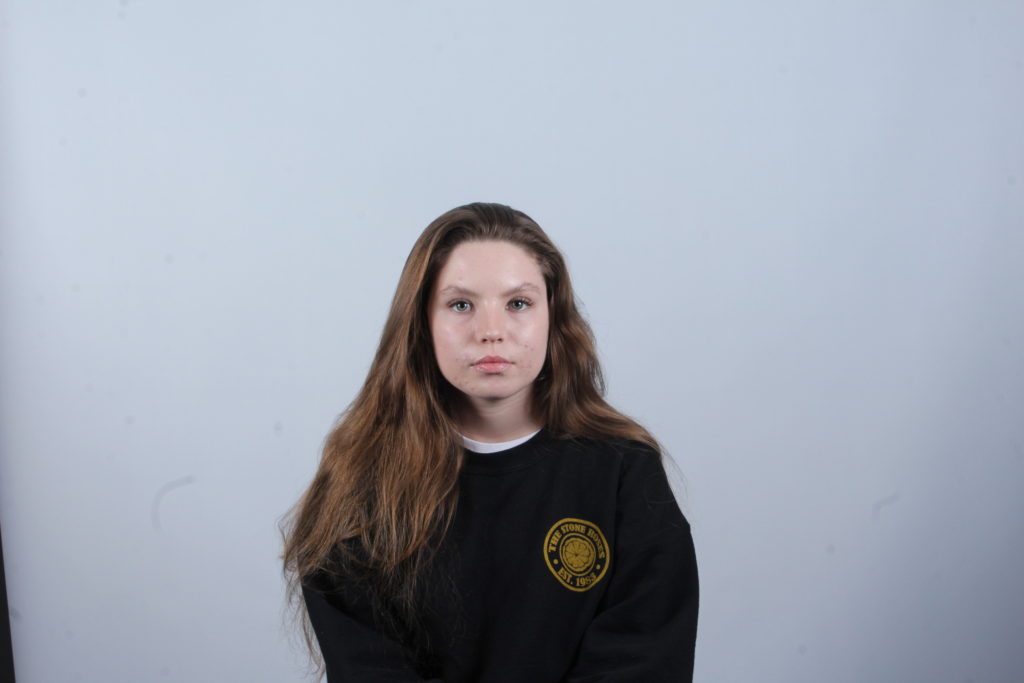
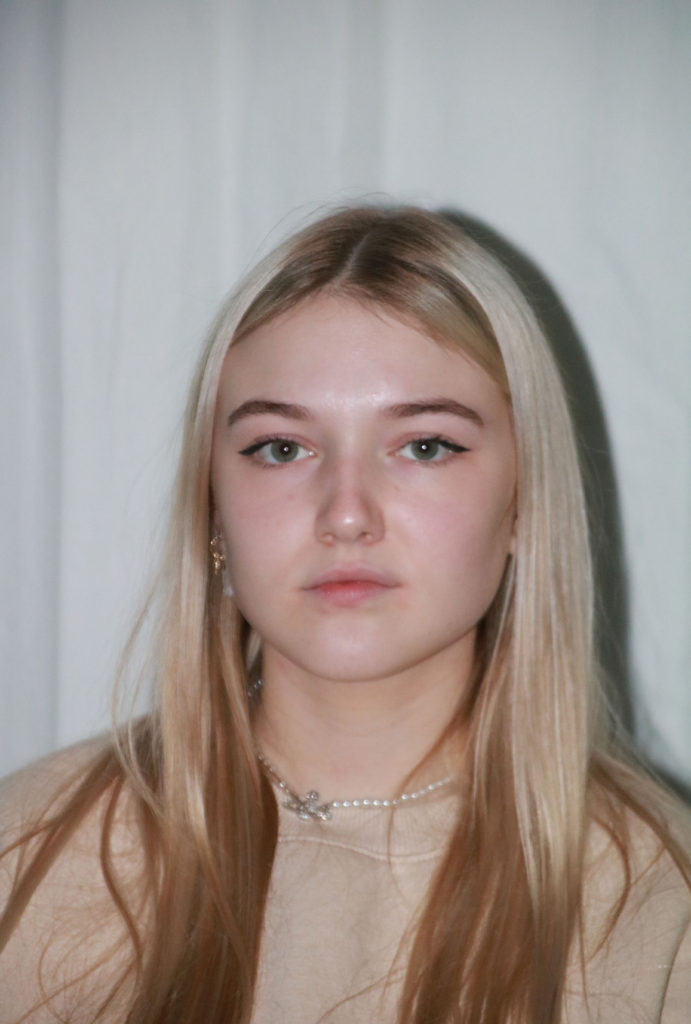
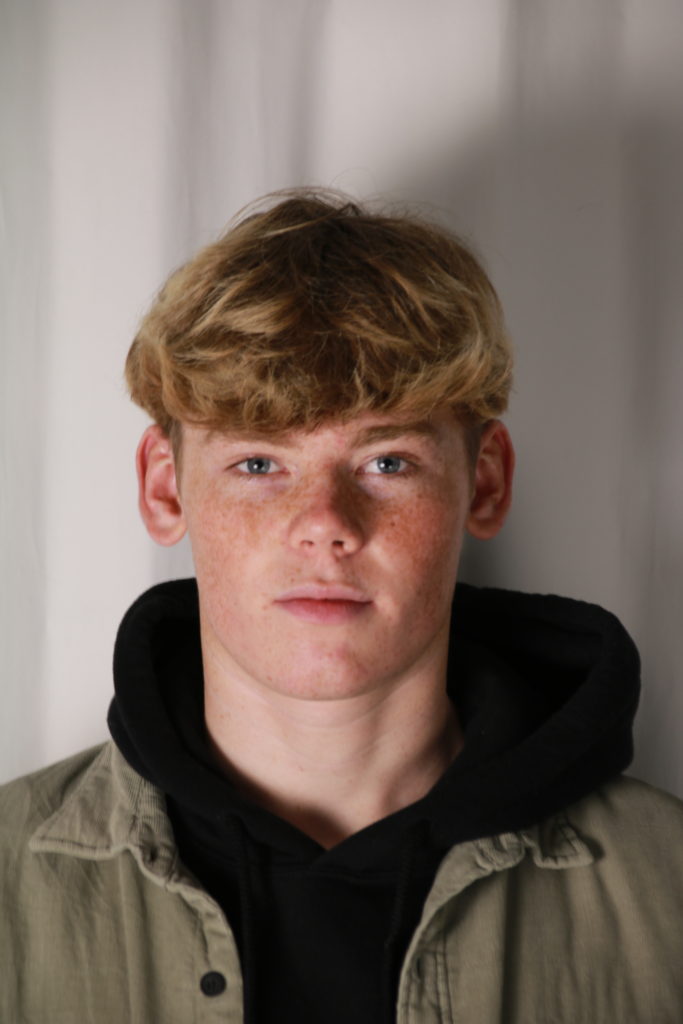
I started by taking images of my friends. They looked into the camera with no expression, this was because it would be easier to match their faces together in Photoshop

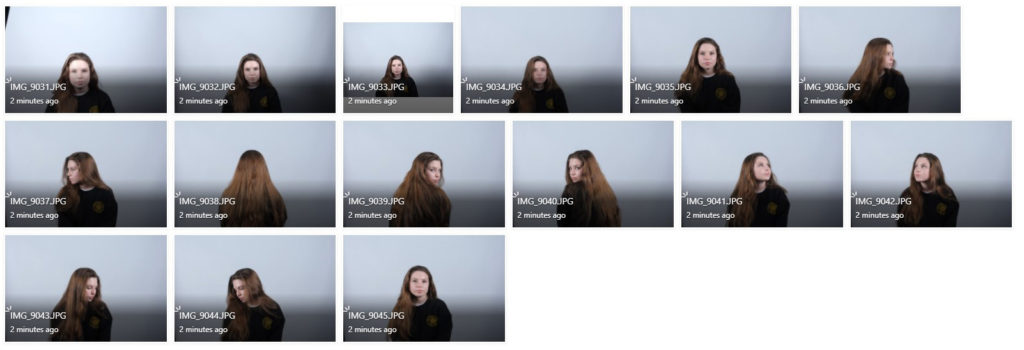
Contact sheet:

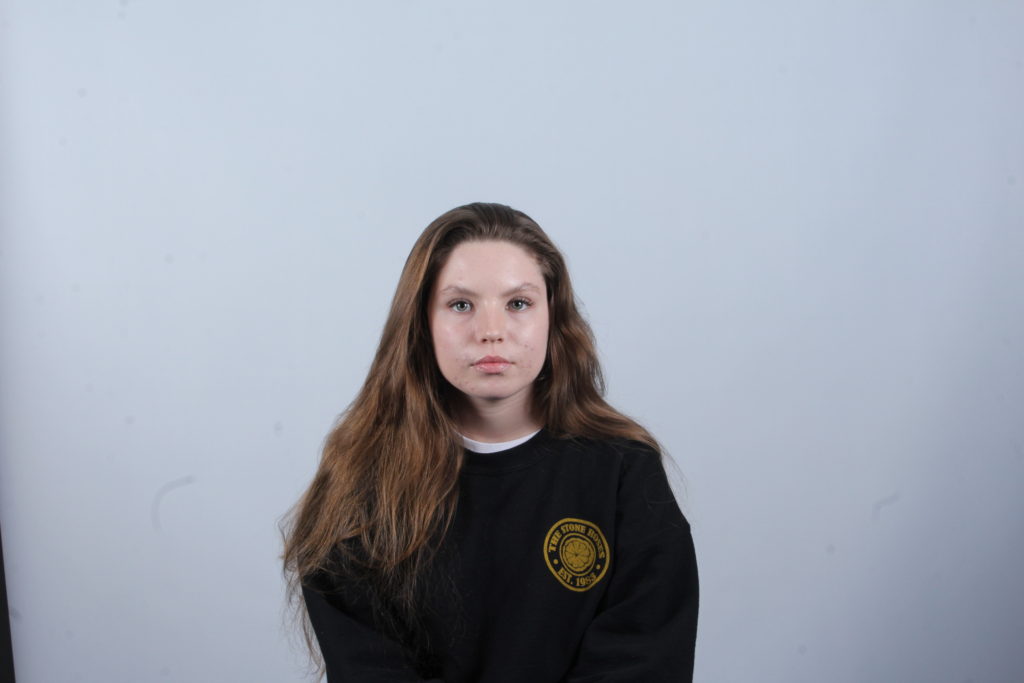
This were the 3 images I chose to use.

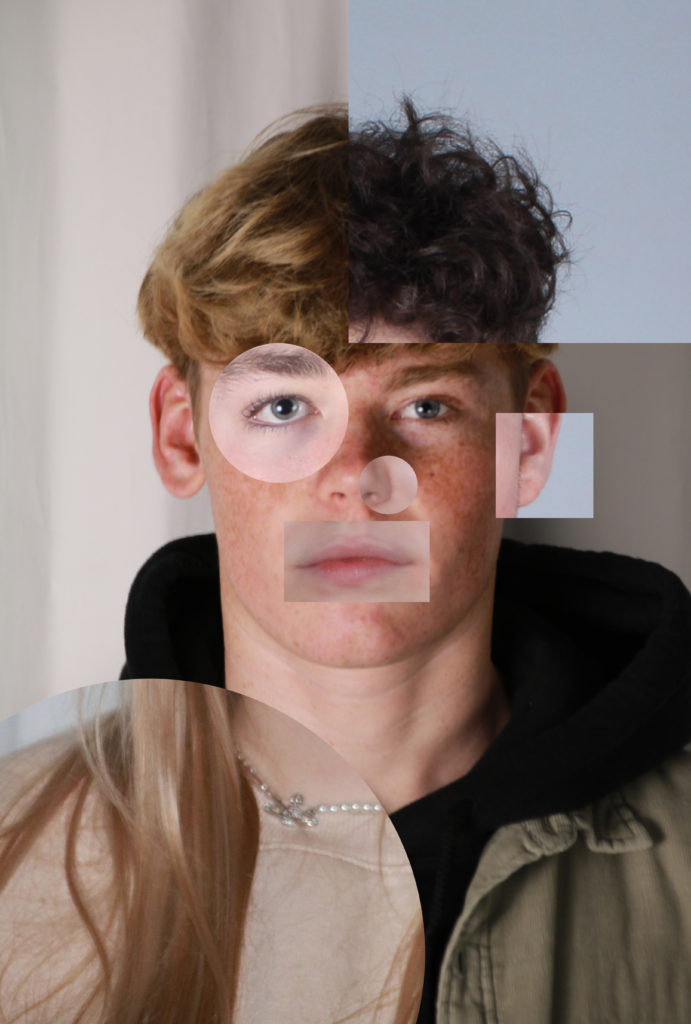
I made layers of shapes in Photoshop to create clipping masks so the image overlays the background image to create a “cut-out” section which would be another person face.

I moved the layers around to see what looked best then saved it.

Final Images

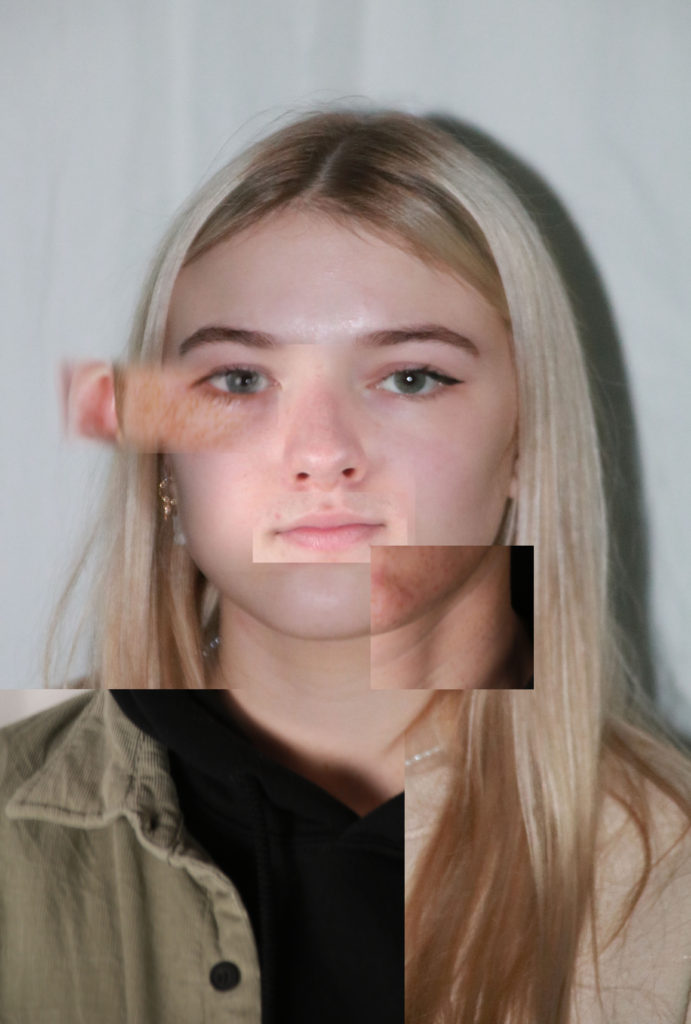
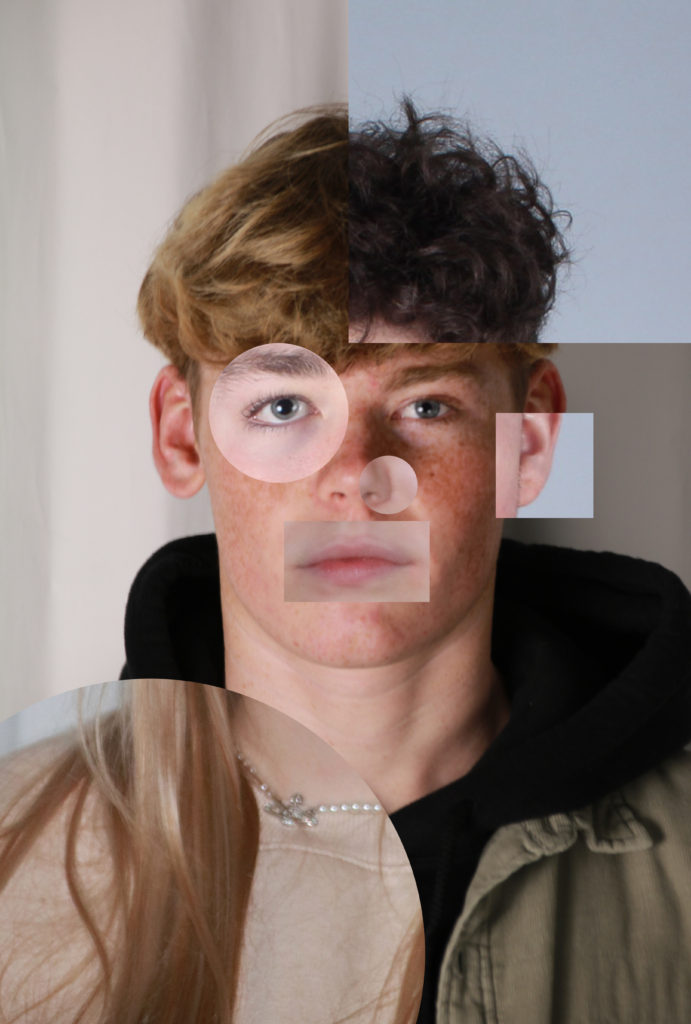
I experimented with different compositions as used circles and rectangles to show the different faces. Overall, I thought that all 3 looked good, but 1 stood out better.

Best Image

I like this image as it worked out well. The shapes that contained the other images contrasted the background image, I think it made it more clear so that you can see the edges. Therefore creating a better outcome. I lined the others images up with the background image so that it looks more natural.

Critique

I don’t really like the harsh lines, so I could of used the eraser tool the fade the image together, although I think that it would take the photo montage aspect away.

environmental portraits photoshoot

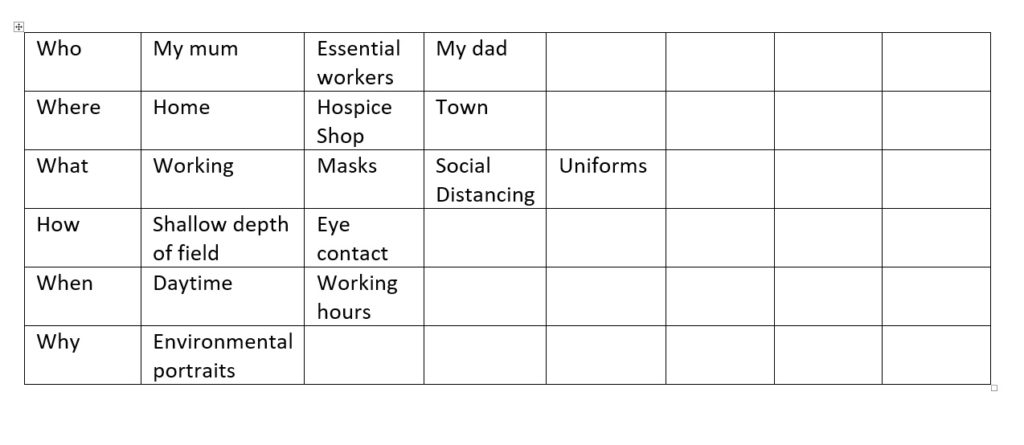
Photoshoot Plan

Environmental Portraits inspired photoshoot

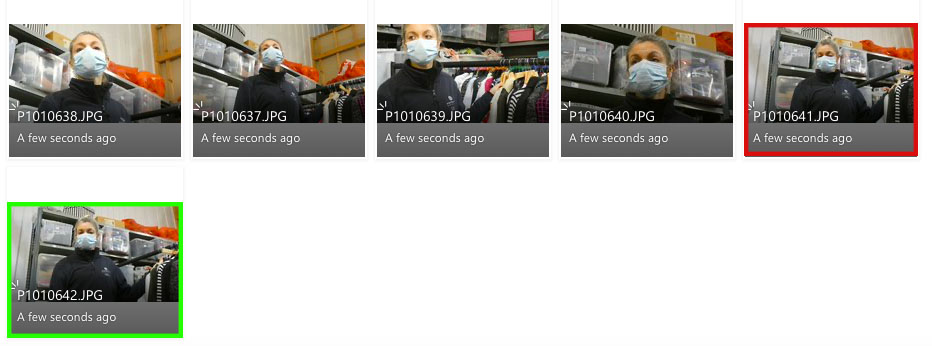
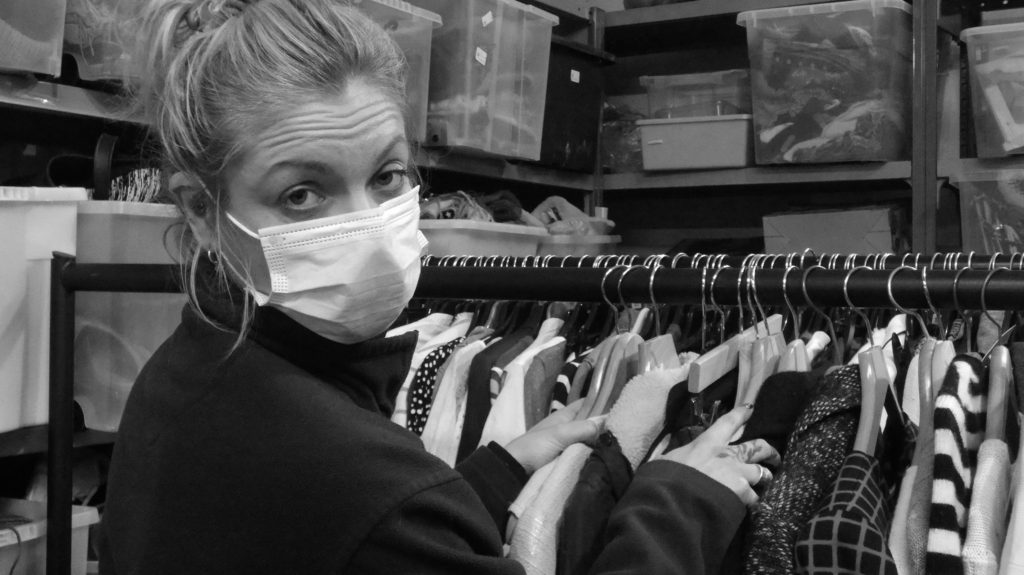
The photographs highlighted in red are what I believe to be my least successful images. This is because these are out of focus, the worker’s eyes are closed or the image doesn’t focus on the aspect I want to highlight.

My most successful images are highlighted in green. I think these are my most successful photographs because they represent the worker in their environment, therefore they represent the theme of environmental portraits the best. These images are taken at various angles in order to achieve different perspectives. Also, the use of the essential worker’s uniform notifies the audience the role the worker plays, which was the key signifier for this project.

Photoshop development

Original image
Edited image

To edit this image, I used the monochromatic filter and adjusted both curve levels and contrast in order to make the photograph more dramatic. The mask creates a focal point as it is a point of extreme contrast against the darker tones.

Diamond Cameos

Henry Mullins

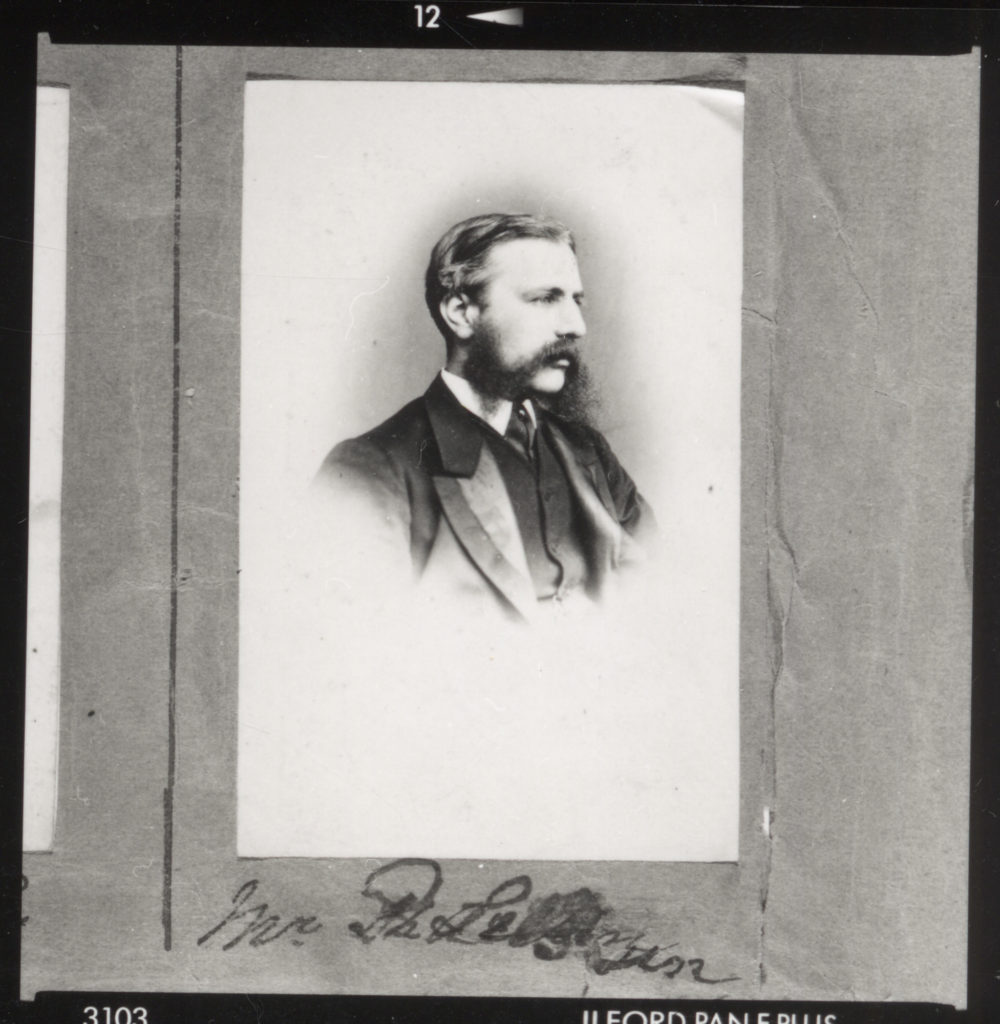
“Edward Joseph Bellew, 2nd Baron Bellew” – Henry Mullins (circa 1862)

Henry Mullins moved from London to Jersey in 1848. He set up his studio knows as the “Royal Saloon” at 7 Royal Square, where he worked in partnership with Mr Millward for a year. He then worked alone in the same studio for another 26 years. He would take multiple portraits of high class people such as police officers and the Royal Militia, and narrow his portraits down into a set of 4 images cut into oval shapes, and placed into a diamond formation.

Analysis of Diamond Cameo images

Headshot of Philip Baudins – Henry Mullins (circa 1850)

Henry Mullins uses 2-point-lighting in his portrait photographs to gently illuminate the face. The soft lighting subtly highlights the high points of the face without creating harsh shadows. However, some of Henry Mullins photographs can be seen as over-exposed as not a lot of detail of the face is captured, and the photos tend towards lightness although the clothing creates a strong contrast between light and dark.

He instructs the model to turn themselves at different angles in order to capture multiple perspectives of the face. Mullins uses a white background so that nothing is distracted from the face. He would usually take photographs of the models entire body and cut down the selection of images to create headshots

Once Henry Mullins takes the images, he cuts them down into a card which was commonly traded amongst both friends and visitors around the island.

Photoshoot Plan

Diamond Cameos inspired photoshoot

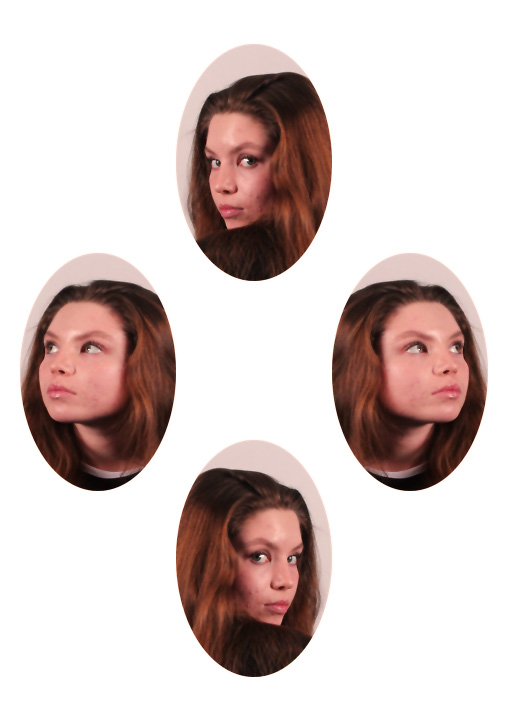
For this photoshoot, I used two-point lighting with soft box lighting to gently alluminate the face without creating harsh shadows. I took photos of the face at different angles and used a tripod in order to keep the camera still and prevent the photos from blurring.

Photoshop Development

Original Image
Original Image
Original Image
Edited Image
Edited Images

To edit these images into the diamond cameo style similar to the technique used by Henry Mullins, I used the elliptical marquee tool and cut oval shapes over the face of the model. I then copied and pasted these onto a new page on Photoshop and arranged them into a diamond configuration. For one of my diamond cameos, I used the monochrome filter to achieve the same effect that Mullins does in his images, however I tried a more vintage look on my second diamond portrait to give it a more modern look without discarding the aged appearance of the photographs.
STudio Portraits

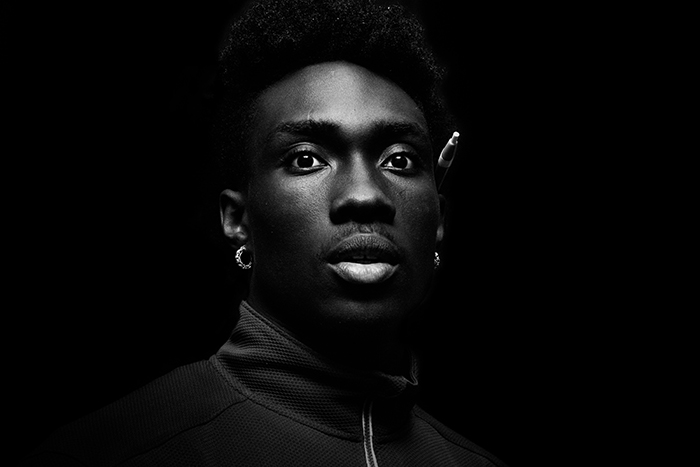
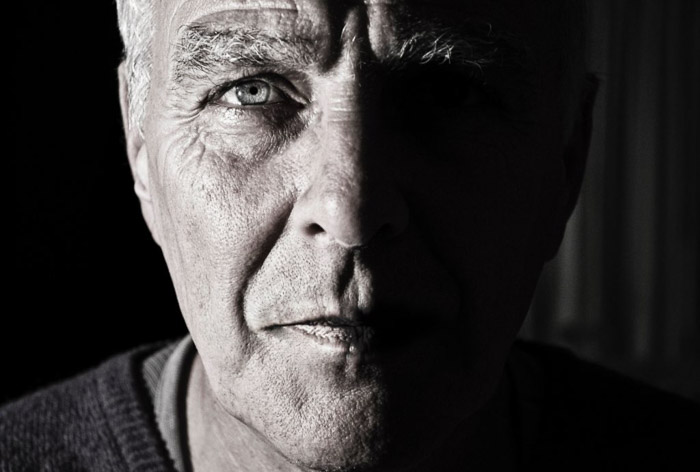
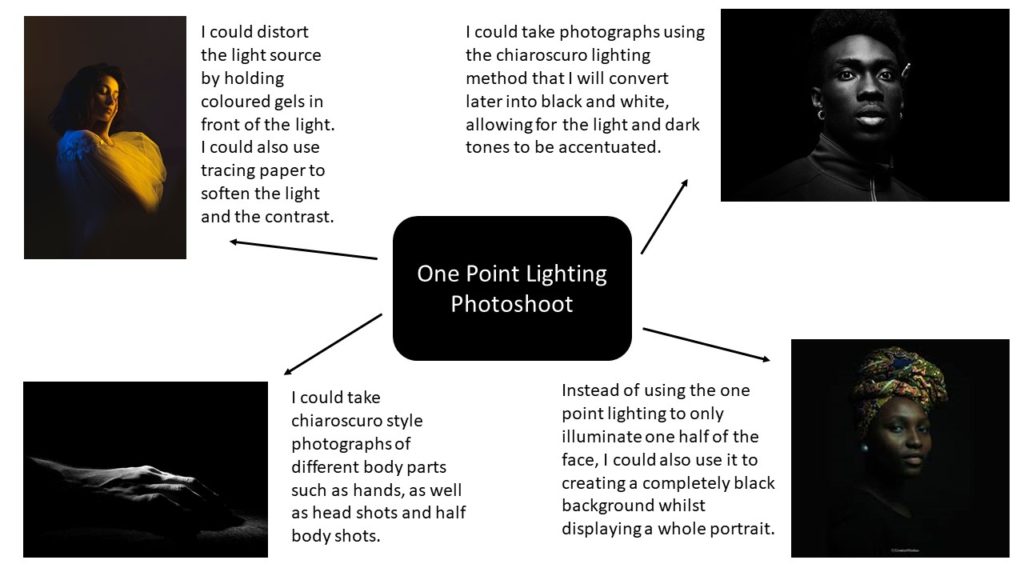
The use of artificial lighting offers many creative possibilities such as chiaroscuro, Rembrandt, hard and soft lighting. This can be done through the use of 1 and 2 point lighting. One point lighting is a type of studio portrait, in which only one light source is used to illuminate the subject, resulting in often dark and moody images. On the other hand, two point lighting is a type of studio portrait, in which two light sources are used to illuminate the subject, causing the images to often look clear, professional and shadow-less.

One Point Lighting and Chiaroscuro

Chiaroscuro is an Italian term literally meaning ‘light and dark’, and also is a method of lighting in which the use of contrast and shading is used to produce a composition. This type of lighting was originally showcased and developed to its full potential by artist Leonardo Da Vinci. Artist or photographers often use this technique in order to achieve a dramatic or impactful final image.

Analysis

Peter Lindbergh

Peter Lindbergh was a German fashion photographer, born in 1944, known best for his cinematic photography and being one of the most influential contemporary photographers. Lindbergh first started off his creative career by studying painting at the College of Art in Krefeld. After graduating Lindbergh turned to the medium of photography, later working for Stern Magazine.

Lindbergh was said to set himself apart from other photographers by redefining beauty standards in fashion photography. He did this by not defining the subject in the photographs by their age, and excessively retouching the images to conceal it. Lindbergh believed that photographers should “free women, and finally everyone, from the terror of youth and perfection”.

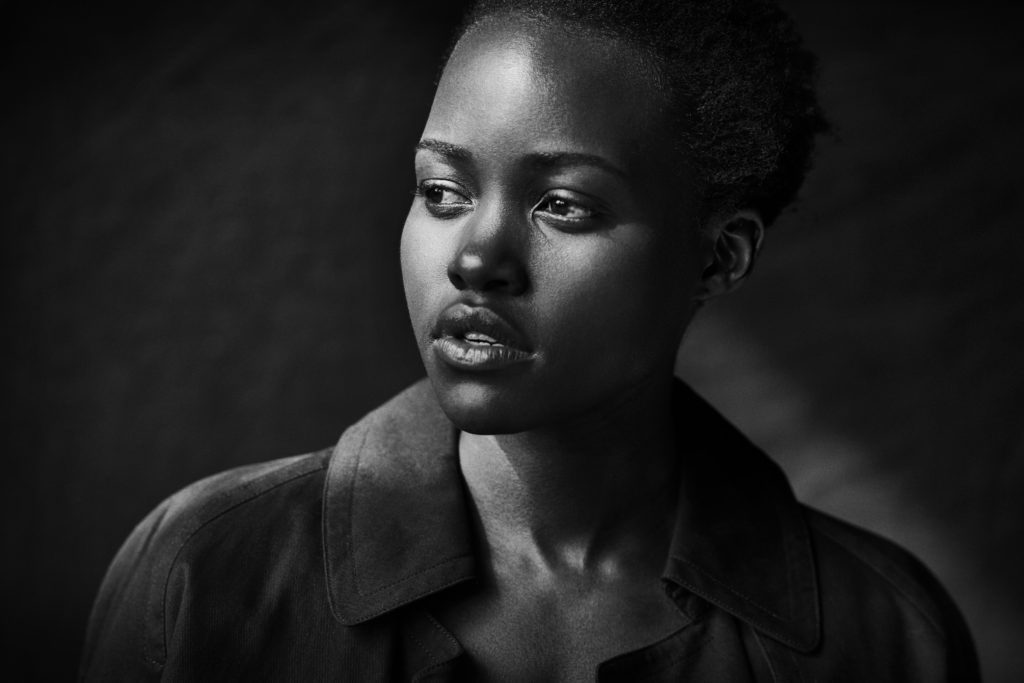
Lupita Nyong’o, photographed by Peter Lindbergh for the 2017 Pirelli calendar.

This black and white image taken by Peter Lindbergh displays a head shot of actress Lupita Nyong’o in one point lighting. By using this method Lindbergh has illuminated the left side of her face while casing a dark shadow on the other. In addition, it can be said that Lindbergh’s use of black and white, instead of colour, accentuates this chiaroscuro lighting and the contrast between light and dark. These contrasting tones also create various angular lines around the image, such as the sharp diagonal shadow line on her neck, which can be said to lead the viewer’s eye towards the focal point of her face. Here Lindbergh has centred Nyong’o in the centre of the image, which allows for almost an even amount of empty space either side of her and the main focus to be on the headshot itself.

Focusing on the technical aspects of this photograph, you can see that Lindbergh has used a fast shutter speed to capture this image, due to the fact that there is little to no blur and it was taken in a dark setting. Furthermore, he has also used a medium to large aperture, as you can see that the background has been given less focus than Nyong’o herself, allowing for a small depth of field. The one point studio lighting for this photograph also means that Lindbergh must have used a high ISO, so that the camera would be more responsive to the little amount of light in the room.

Photo-shoot

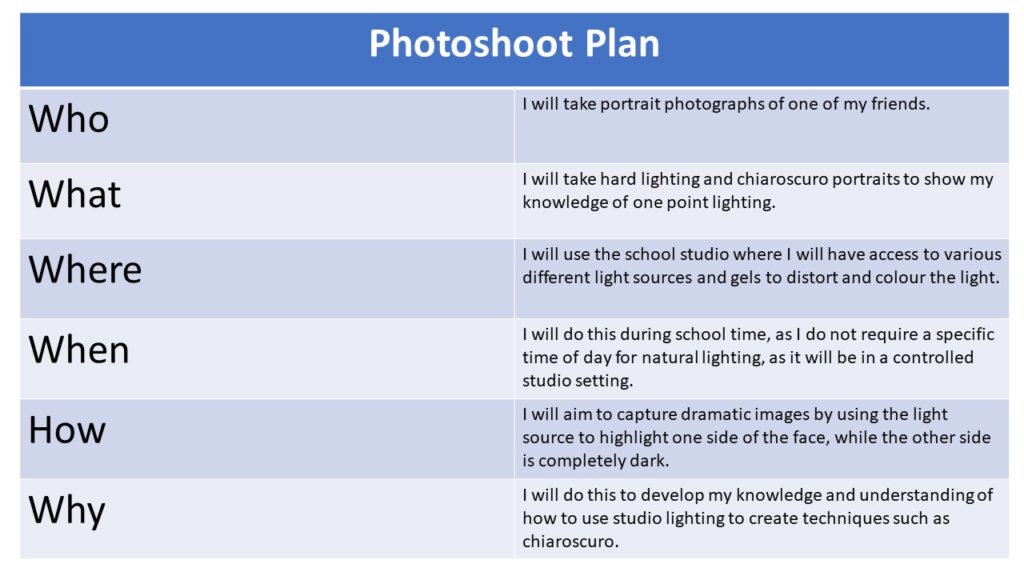
Plan

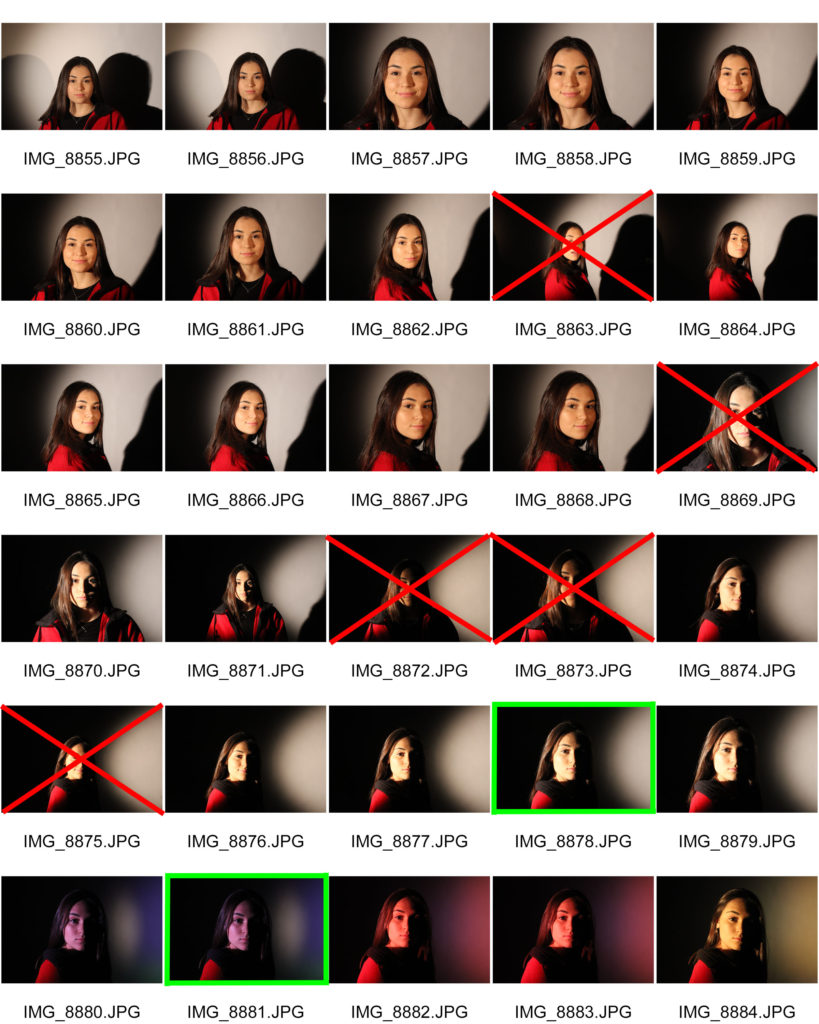
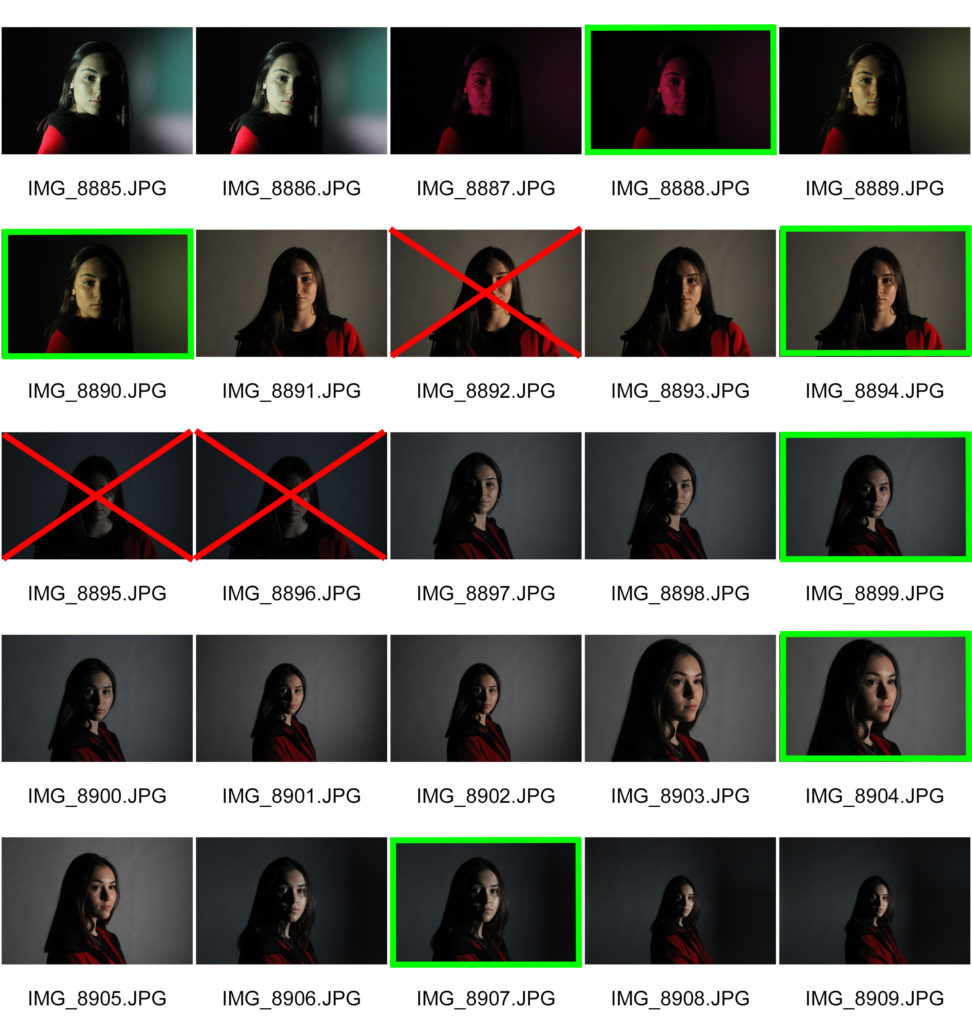
Contact sheets

Edited Images

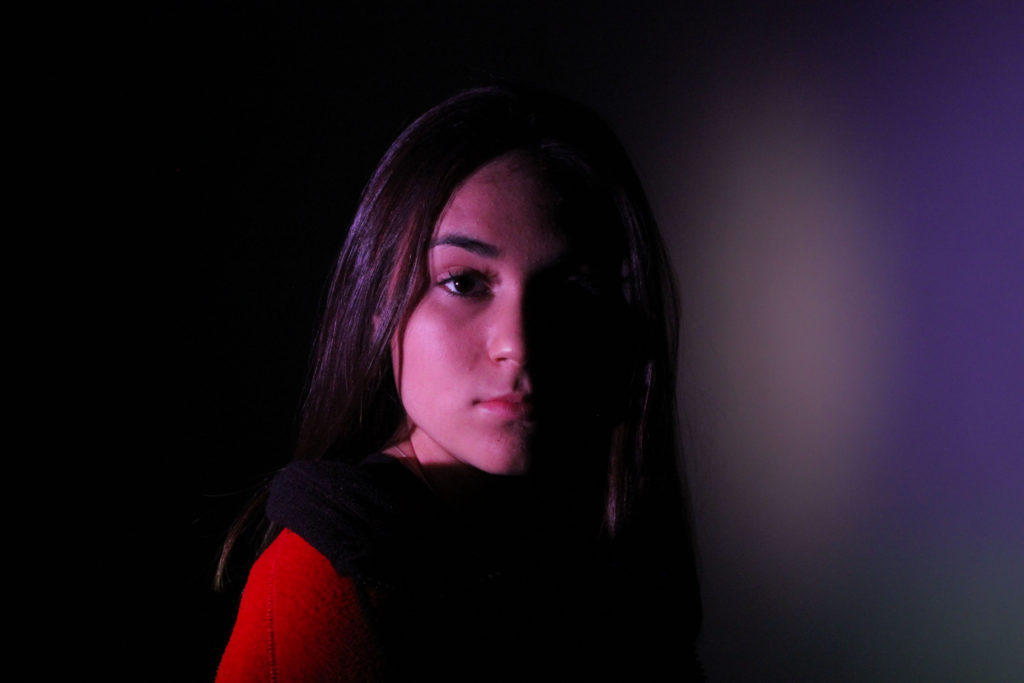
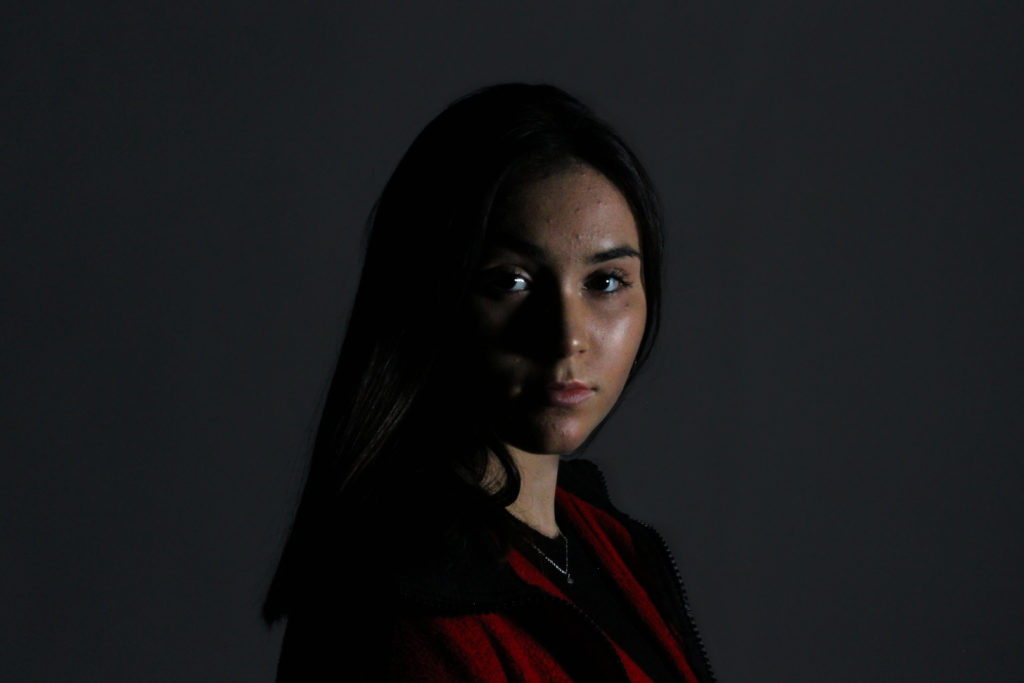
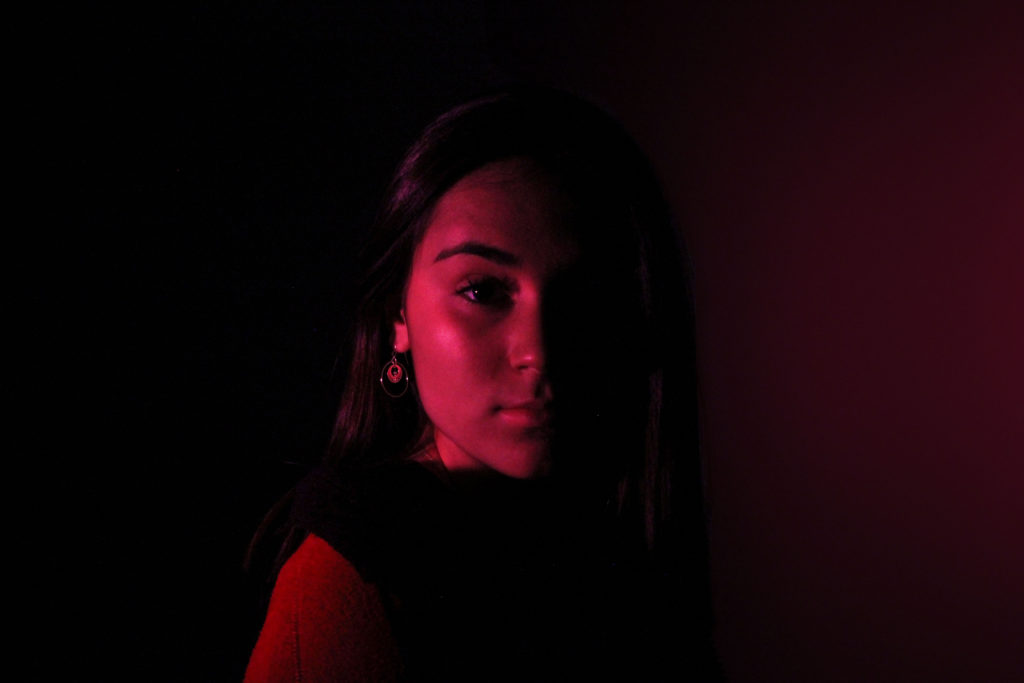
While editing these images I focused mainly on adjusting the exposure and contrast, so that my use of one point lighting would be best displayed. To do this I made sure my images were not too under or over exposed, allowing for a clear and sharp portrait. To further the effects of this type of lighting I increased the contrast on all of my images, in order to get a more dramatic chiaroscuro photograph. I also reduced some of the noise in the background of the images, due to low light.

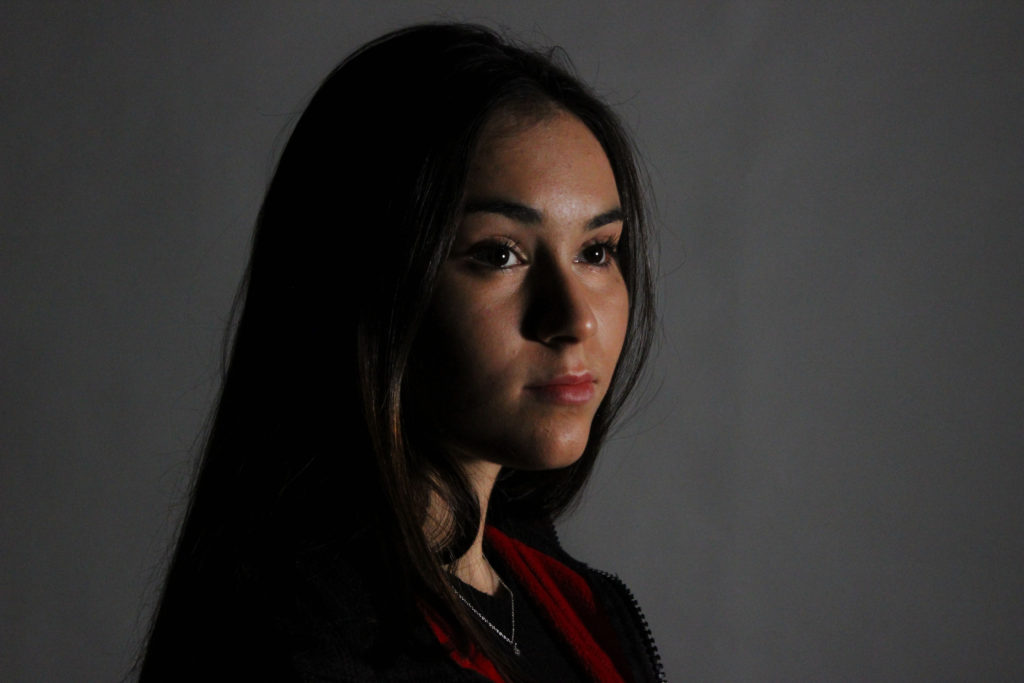
Final Image

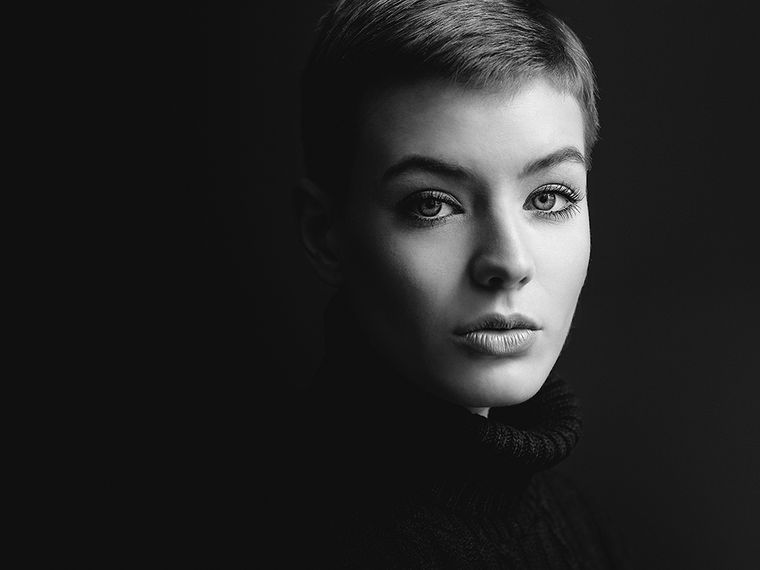
I believe that this is my best image from my studio one point lighting photoshoot, due to the fact that I think it best showcases the technique of chiaroscuro and the contrast between light and dark. In addition, it is also one of my sharpest images and is well centred with a basic background, allowing for the viewers attention to be drawn to the focal point of the subject in the image.