Category Archives: Resource

Filters

Author:
Category:

PERSONAL PROJECT PHOTOSHOOT 4 – Minimalism / Objects

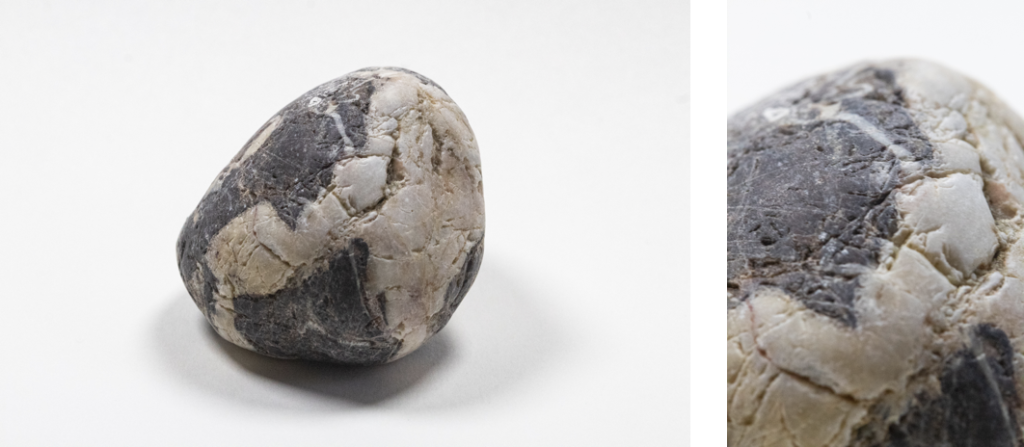
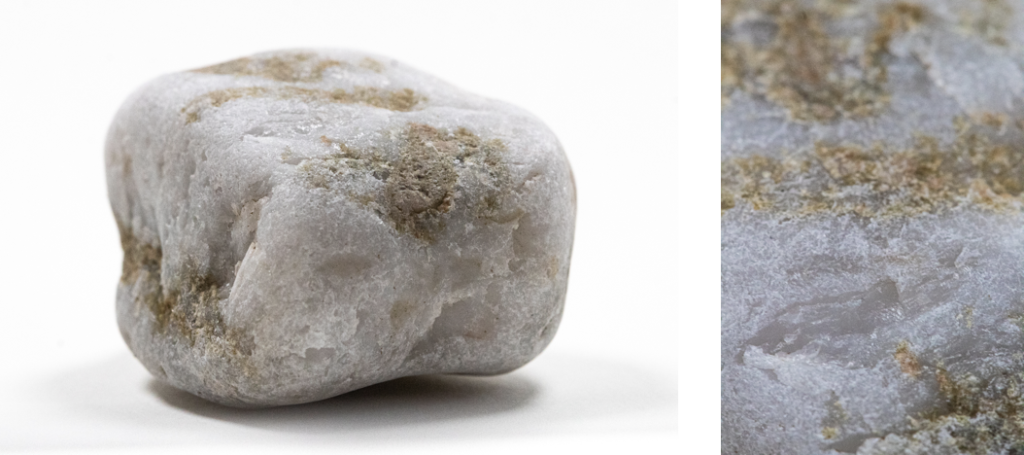
I went on a walk and collected stones, cuttle fish, shells, and sticks that I found on the beach, whilst I was taking long exposure photos in the evening. I put all the different objects in a bag so that I could photograph them under proper lighting.

Then at home I made a mini studio using a 2 or 4 point lighting setup depending on what I thought looked best, as it varied on the object.

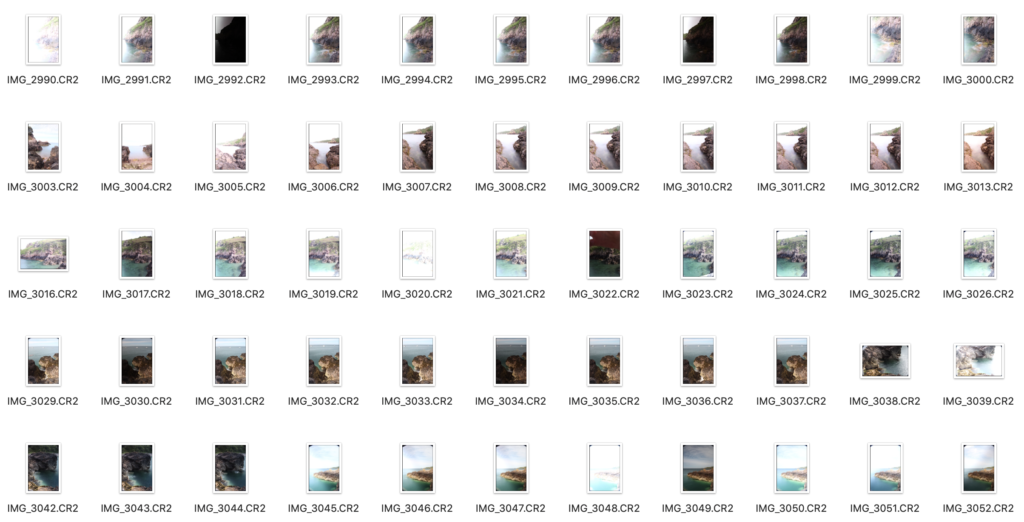
I mostly shot under white light, however I also experimented with different coloured light, for example, red. This helps show texture and surface structure.

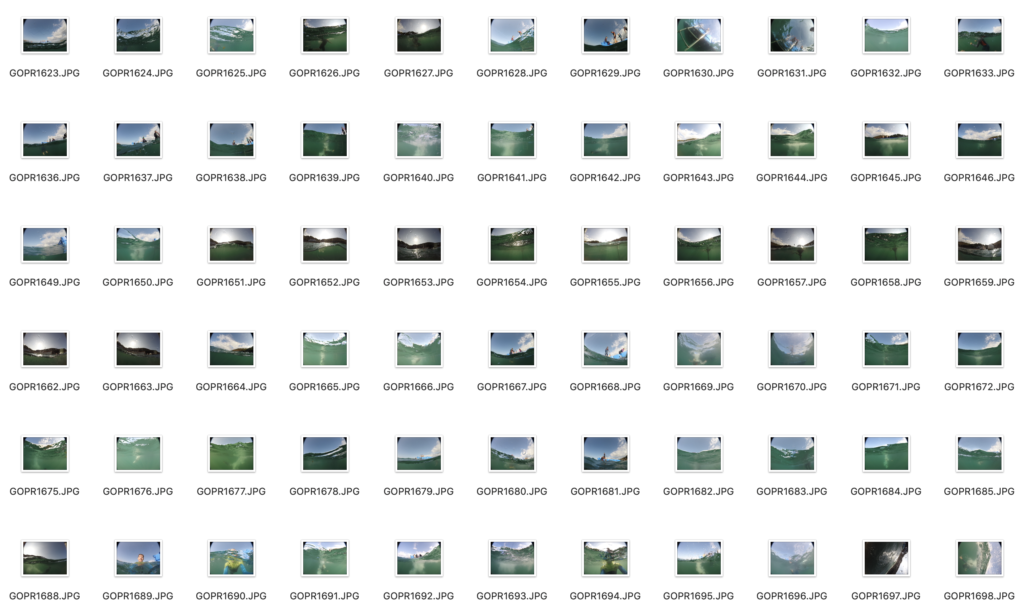
This is a small contact sheet form the shoot:


Editing

I edited all of the images in Photoshop, after choosing all of the good images by placing tags on a MAC.

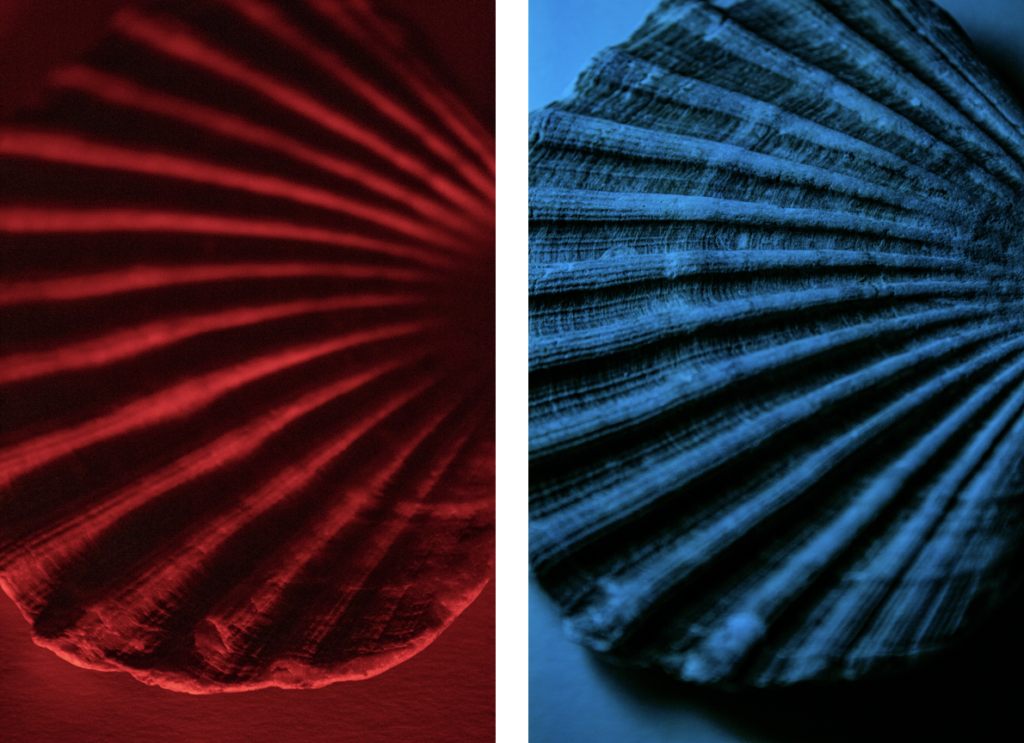
I used 4 images of the shells which I took on a black background in the dark, and I placed the shells on top of my phone torch. Then in a portrait document in Photoshop I drew 4 rectangles all the same size, which I aligned with the guides, then I used clipping masks to insert the images into different rectangles. After all the images were in the correct places I used a camera-raw filter to make small adjustments to the colours and tones in the images. I had to use a radial filter on the bottom left shell as it had more extreme shadows.

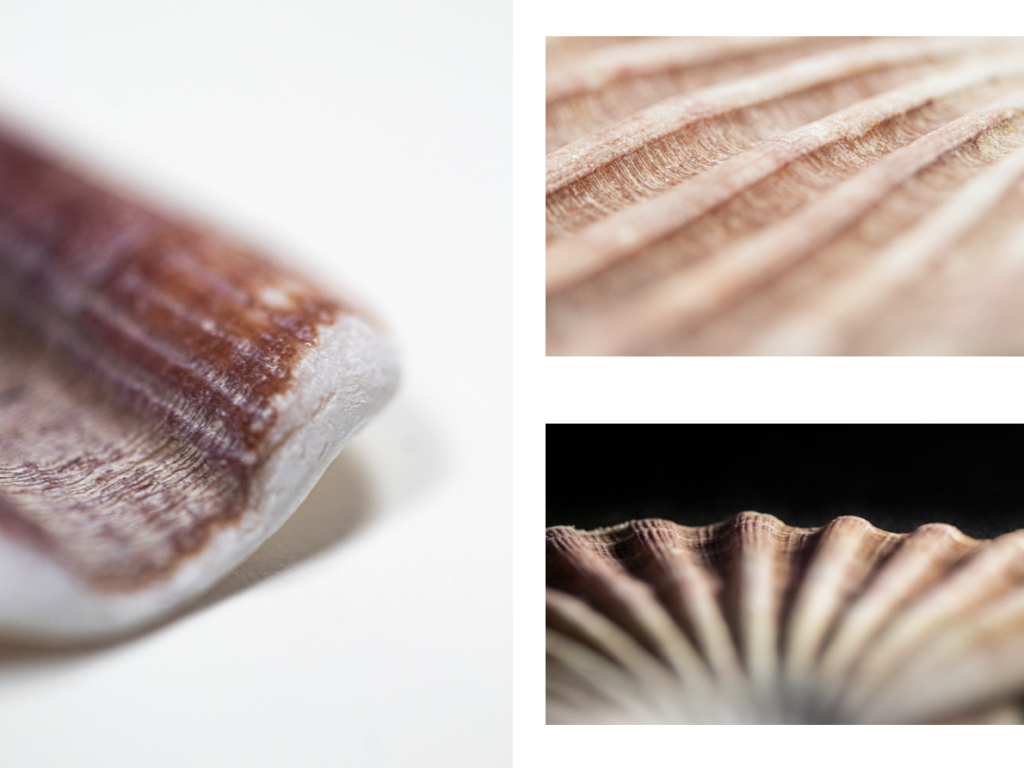
These images are of the same shells but from a different angle. Since I used a macro lens, I took 2 images, the first image the top of the shell was in focus, the second image the bottom of the shell was in focus. I aligned both images on top of each other then, I used clipping masks to erase the unfocused parts of the image. I used clipping masks so that I can recover anything I erased at anytime, instead of using CTRL Z. After the shell looked good I used a black brush with 50% hardness to brush over areas were the light was escaping, this allowed metro create a minimalistic effect and cleaning up the overall look of the image. Finally, after the image was done I added a camera-raw filter to make final colour adjustments.

For the majority of the images I just loaded them into Photoshop and by default they would open in a camera-raw filter since I shot in RAW. Here I would make all the adjustments that I need to.

Final/Best Images

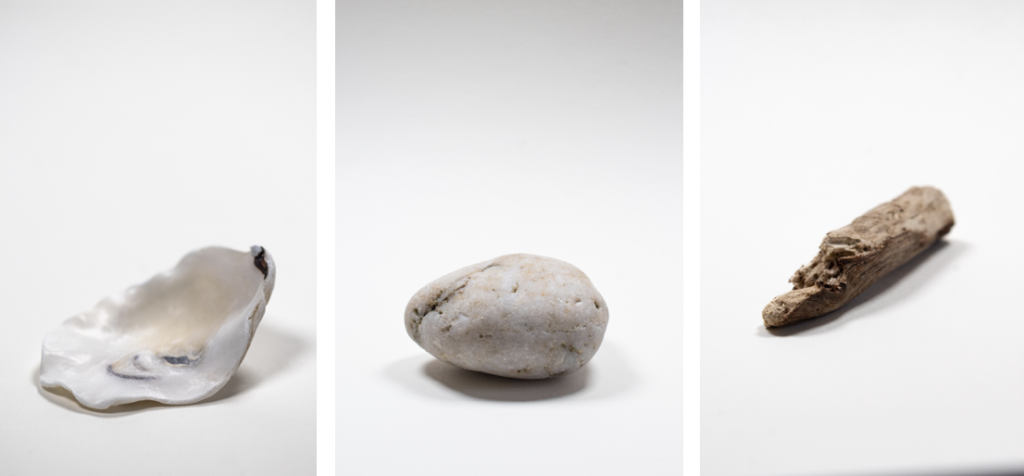
These are all of the images that I edited and think are the best from this photoshoot.

Overall, I love how simple the images look, and they would work so well to juxtapose other images that I’ve taken. They look like they have been taken in a professional studio, as the lighting and background is setup properly.

PERSONAL PROJECT PHOTOSHOOT 3 – Underwater

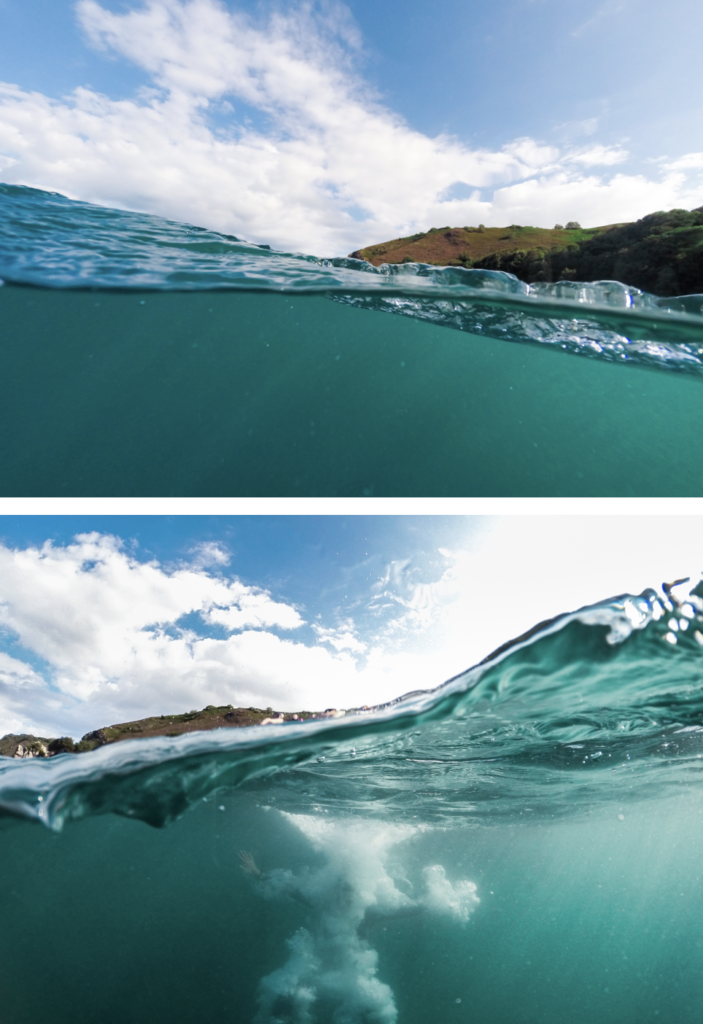
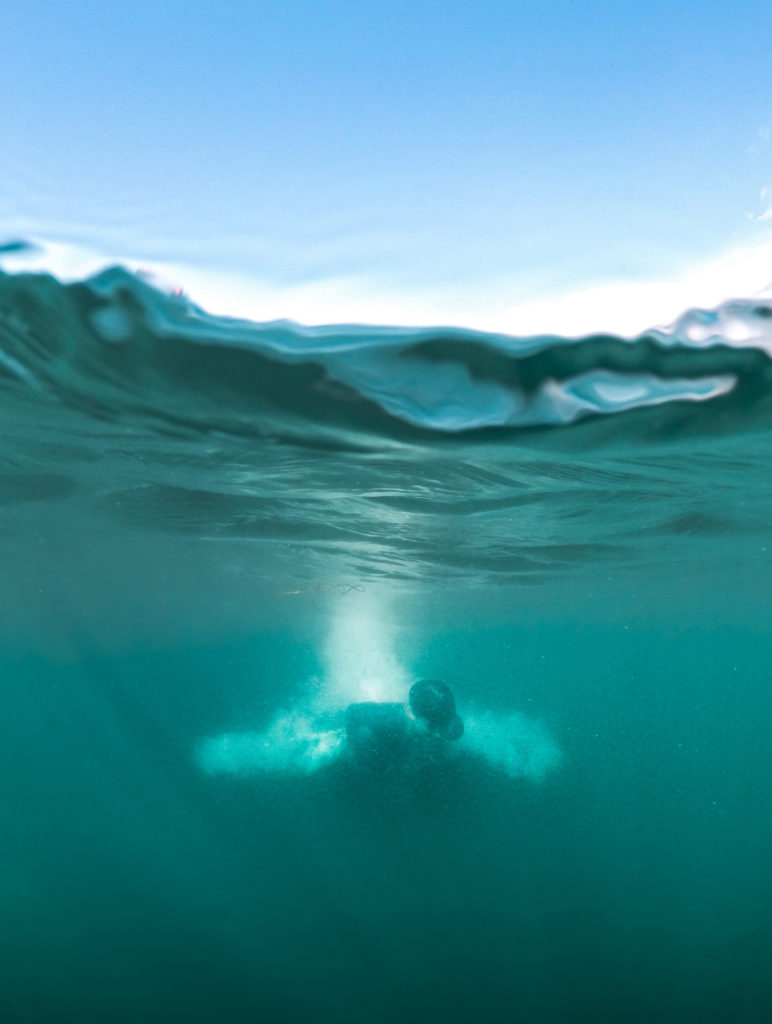
I put a GoPro dome attachment on the front of a GoPro, so that I could get a 50/50 shot. Half underwater, half above the water. I couldn’t see what I was shooting as there isn’t a screen on the back of the GoPro, as it is an older version. So I had to point and guess that the subject was in frame and that it was a good composition.

Overall, looking at the photos there were some good images that have a potential after post-production in Photoshop. Due to the water being “foggy” the clarity and dehaze slider will be extremely useful. However, since I shot during midday the water was lighter which allowed me to capture the underwater subject in more detail.

Final/Best Images

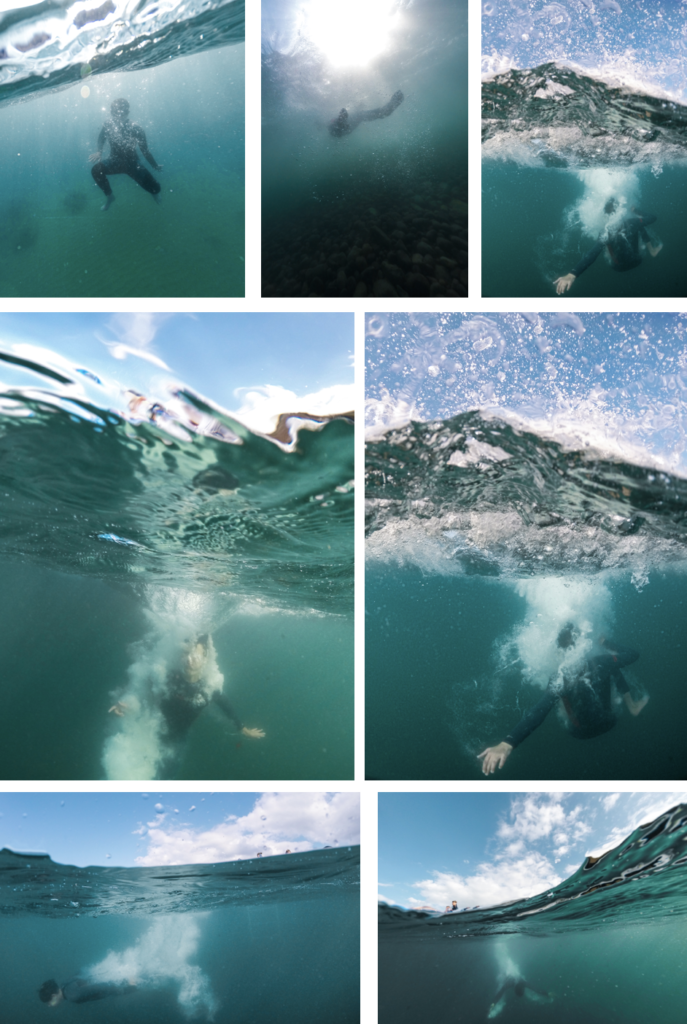
These are the best image from the photoshoot, after editing them Photoshop. There was no complicated edits involved, all that I did was make adjustments in a camera-raw filter, and occasionally use gradual and radial filter to emphasis the subject better.

Overall, these are my favourite images, especially the last three. They have a good composition compared to some of the photos that were produced on this shoot. They have great colours that give off summer vibes. The subject fills most of the underwater space in most of the images.

PERSONAL PROJECT PHOTOSHOOT 2 – Drone Photos

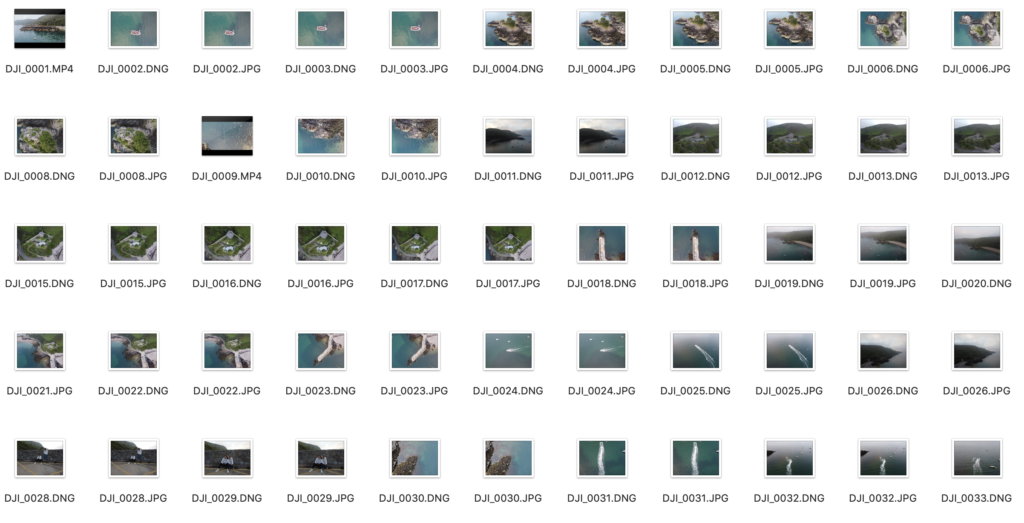
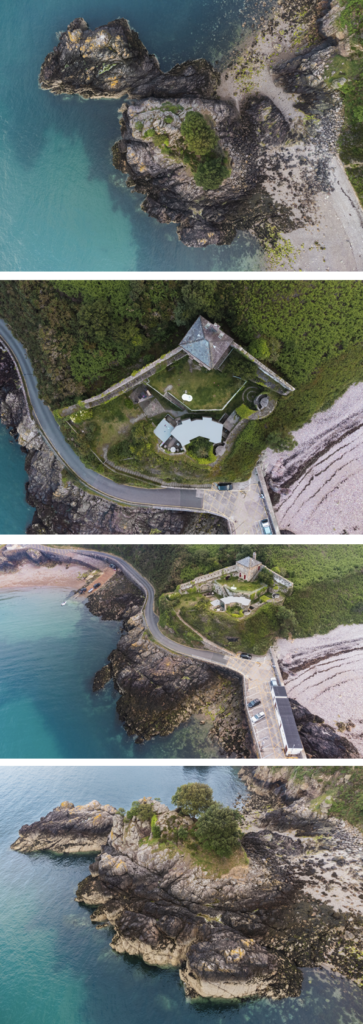
Firstly, I flew my drone around the bay and captured some unique angles of the bay, and a general overview shot of the bay. It allowed me to capture some of the features of the bay in greater detail such as, Fort Leicester (heritage site), and the l’islet. The contact sheet that contains the images from the drone flight of the bay.

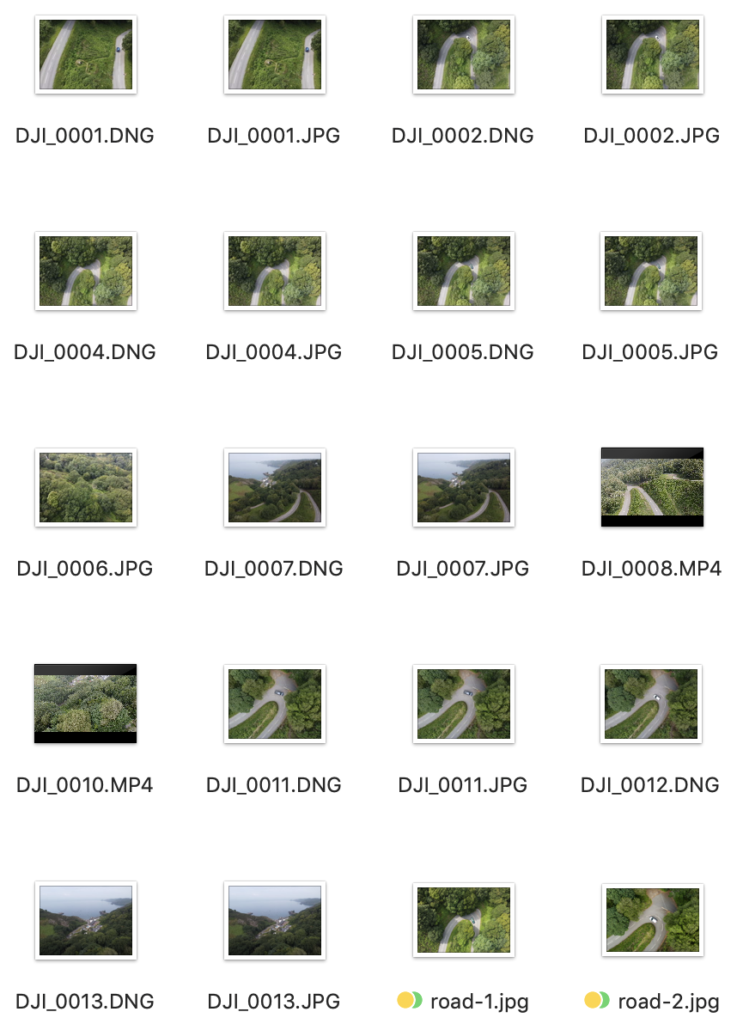
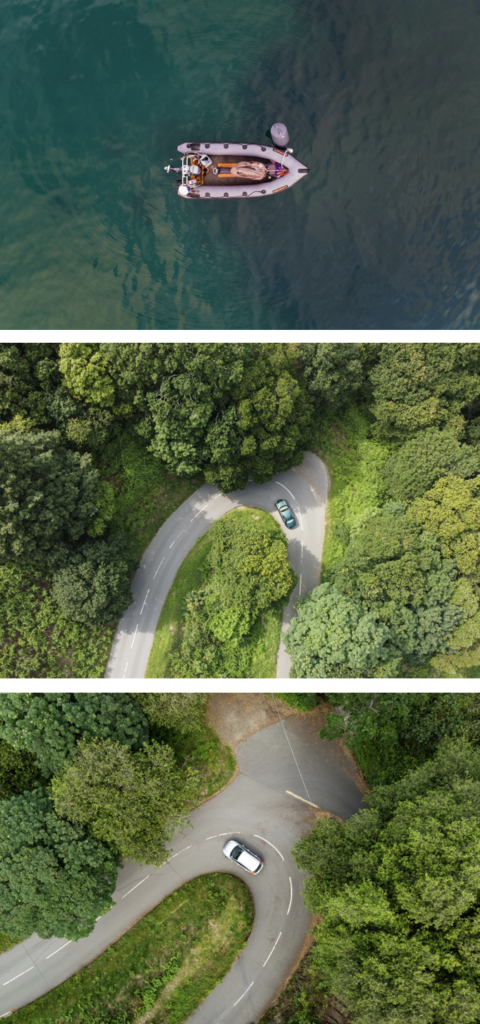
I also explored the hill leading the Bouley Bay, as I could compare the images with some of the old photos form the archive. Using the winding road images, means that I could link in some photos of Bouley Bay Hill Climb, which is an iconic event which happens in the area. An example of the contact sheet featuring the hill.

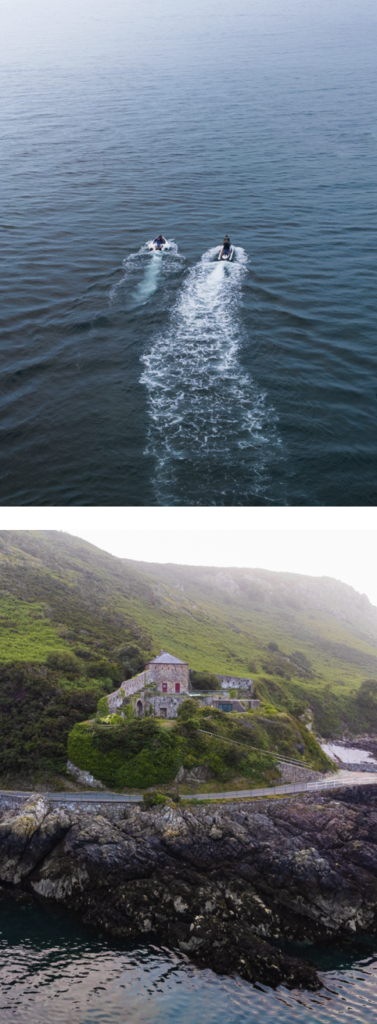
These are the best images that I took with my drone, after being edited in photoshop.

These 2 images are my favourite images. I really like how the sky has a hazed look to it, and has a gradient of overexposed sky, which gives the image a softer look. For the jet ski image, I used the clone stamp tool, and the spot healing brush to remove distractions such as, bright orange buoys, and some floating seaweed.

I made sure to capture images of the road which the Bouley Bay Hill Climb takes place on, which makes linking images of bikers and racers easier to connected relations to.

Overall, I like how the images came out. I feel that I achieved my main goal when taking photos with the drone, which was to show unique angles, that offers a new perspective. I like the images that show the object in a more 3D aspect, rather than the straight down, birds eye view shot. However, it still works well, especially for the cars driving down the road. I found that editing these images were easier as I could easily change the composition at which I took these images, as there were no limits for example, with a normal camera you can only shoot from as high as you climb to reach, where as a drone is controlled remotely.

PERSONAL PROJECT PHOTOSHOOT 1 – LONG EXPOSURE

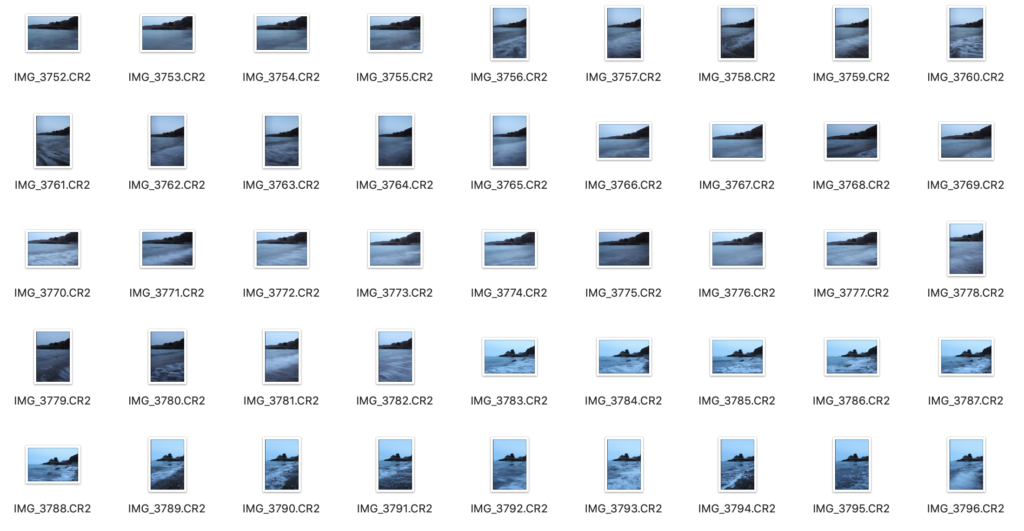
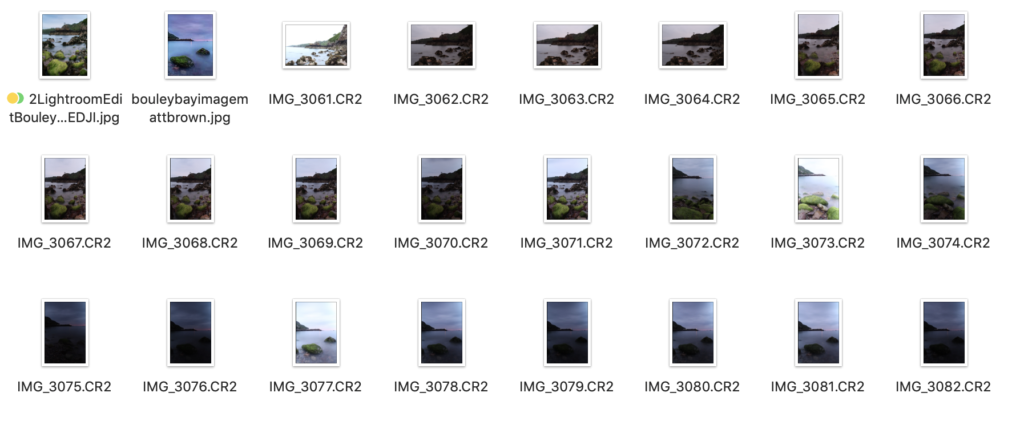
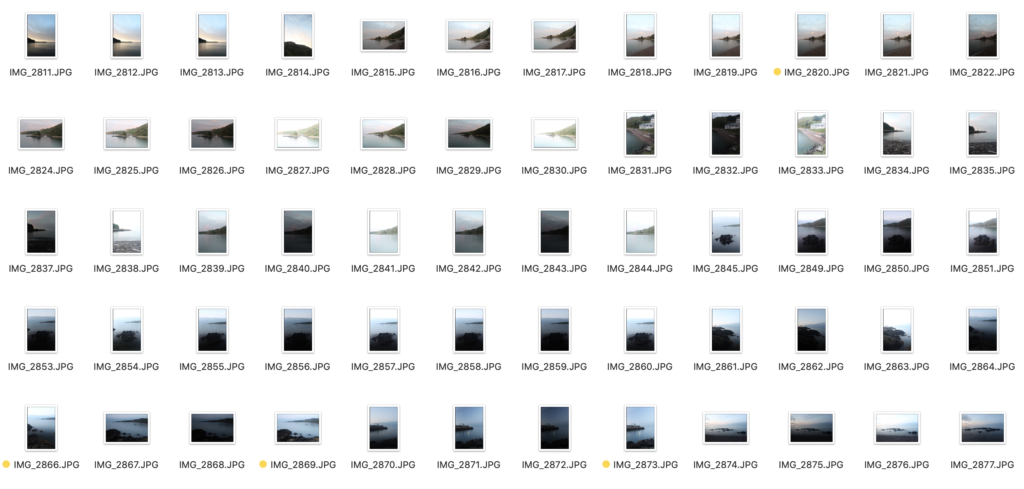
These are some of the contact sheets that include all of my long exposure images. They weren’t all taken on the same day, which allowed me to capture the area in different light.

Editing

Most of the images have been editing in the same way using similar processes, so I will only show one example of the editing process.

I decided not to use the basic filters, gradual filters, and radial filters. Instead I used the brush as there are lots of different elements that need to be individually focused on. I used the brush to select different parts of the image, for example I started with the pier, I increase the shadows, clarity, and the sharpness. The red is only showing the mask and won’t be there in the final image, as it helps you see where the edited are happening, but I turn it off when making the adjustments. I also used a brush filter on the water where I decreased the temperature, clarity, and texture.

For images that I combined multiple image to create one final image. I made sure that they were all aligned before making them into one image, then made the edits.

Final/Best Images

I edited all of the good images in Photoshop. For some of the images I had to merge approximately 10 images to create a single final image, and then do all of the simple edits, such as gradual and radial filters, brushes, contrast, exposure, etc.

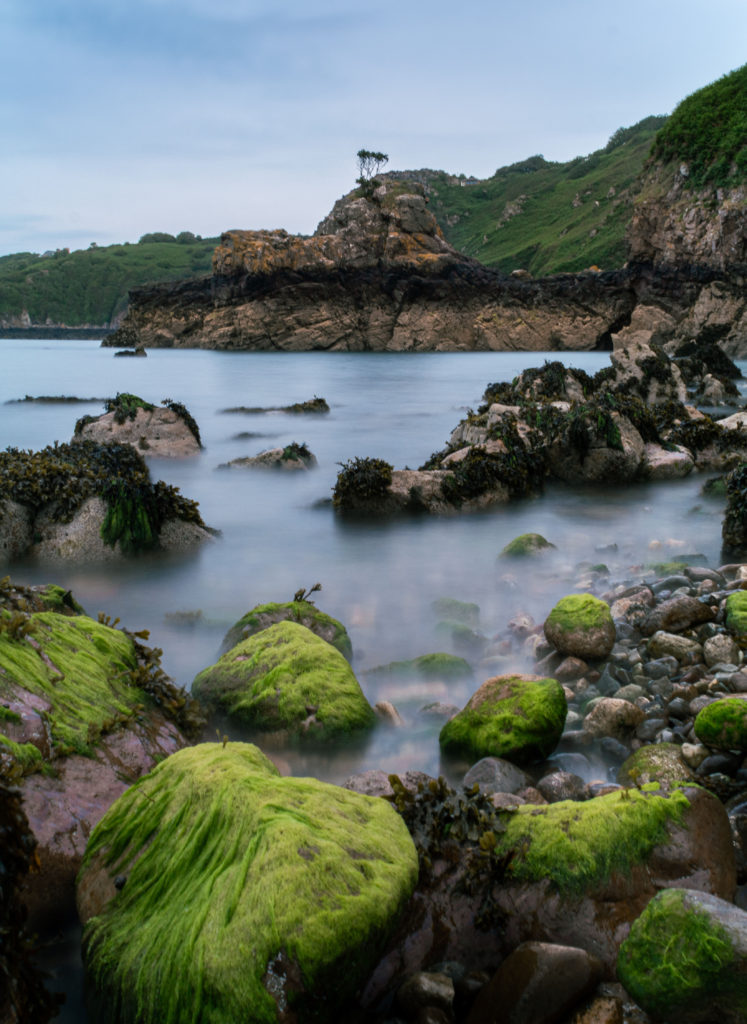
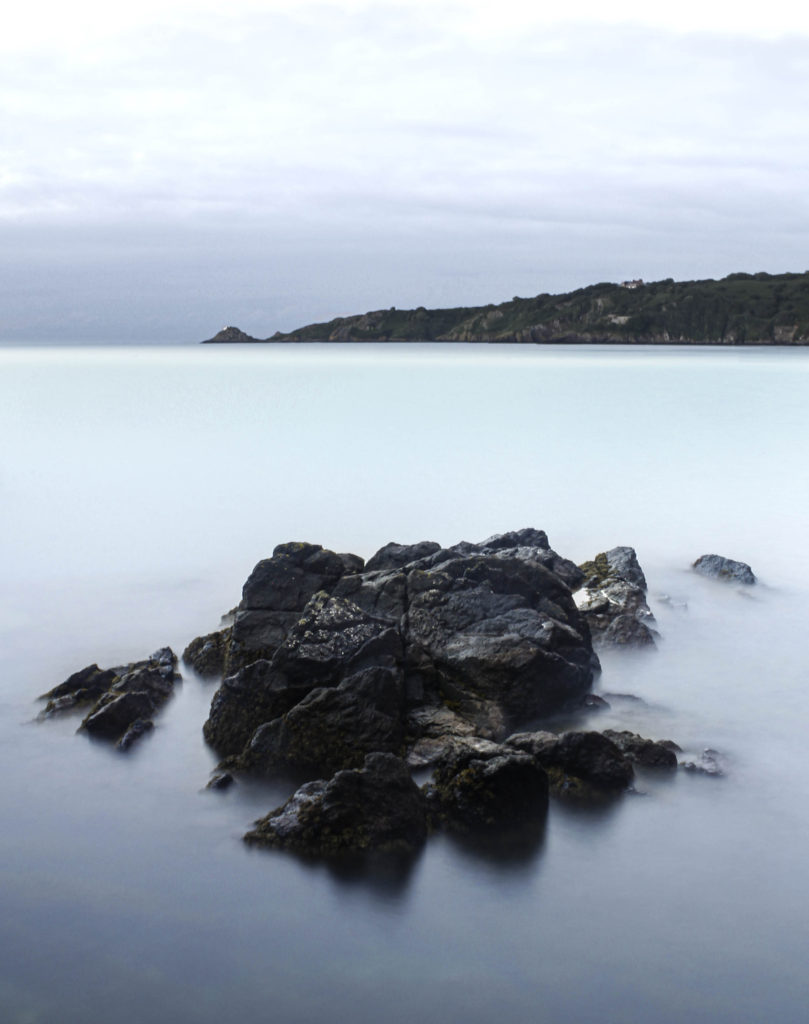
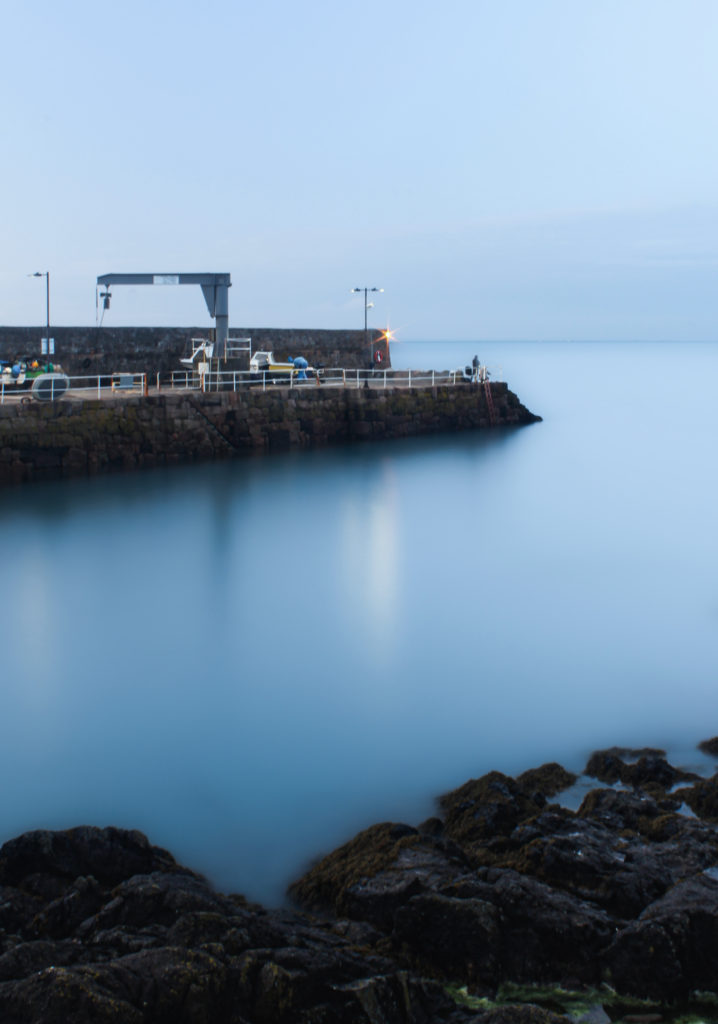
I love the mist look that the water has, due to the long exposure. It is a combination of 8 images, which really helped display the effect. The composition is good as it includes the green, seaweed covered rocks, which balances out the green in the background of the headland.

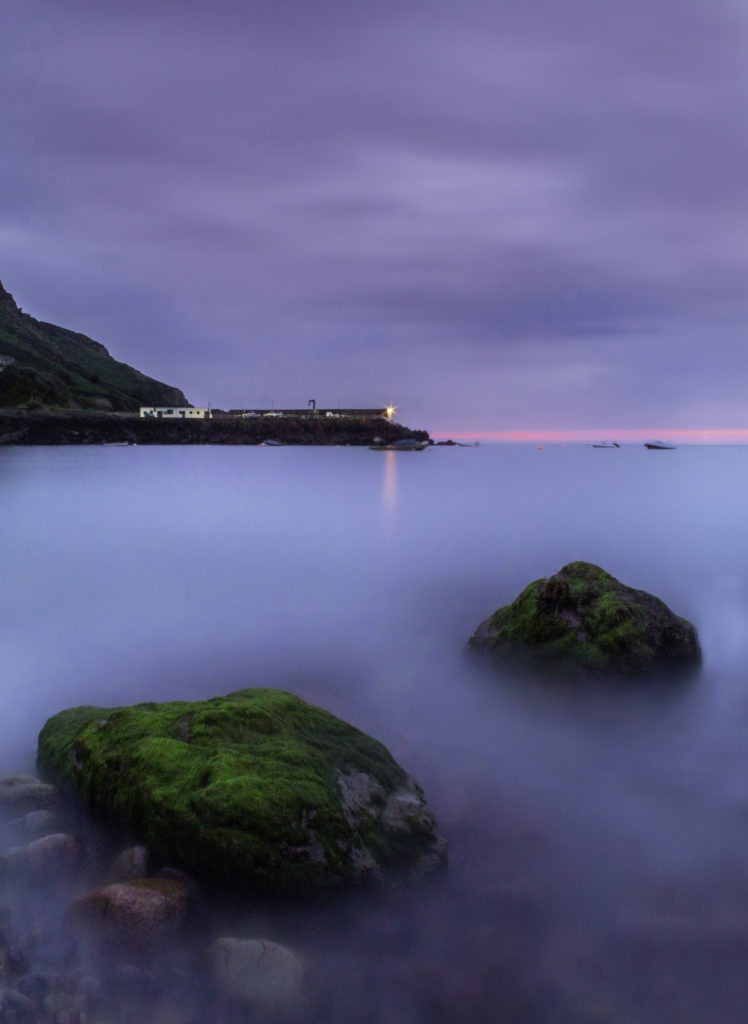
This image expresses a wide selection of colours as it was shot during sunset. It is a composition of 10-15 images, as this helped it get the surreal look.

These images give off a cold atmosphere, they were shot earlier in the day compared to the two images above. They are my strongest images however they still show great camera skills and they have an interesting composition.

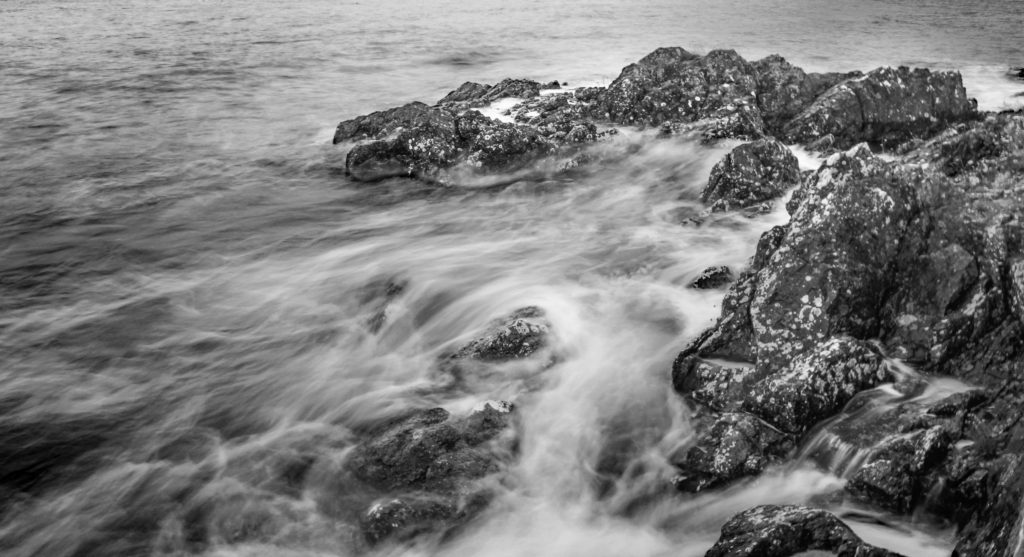
I like this image a lot, although it is not clear it was taken at Bouley Bay, it is clear that it is associated with a bay and the rock formations around a coastline. It strongly captures motion and the black and white edit creates more of a contrast, that brings out the blurred lines that is the highlighted water from where the sun is shining on it.

Another one of my favourite images, however there where boats in the image, but I removed them as they were blurry because they were moving. Plus, it gives a more natural look to they photo, although it takes away from the authentic bay feeling.

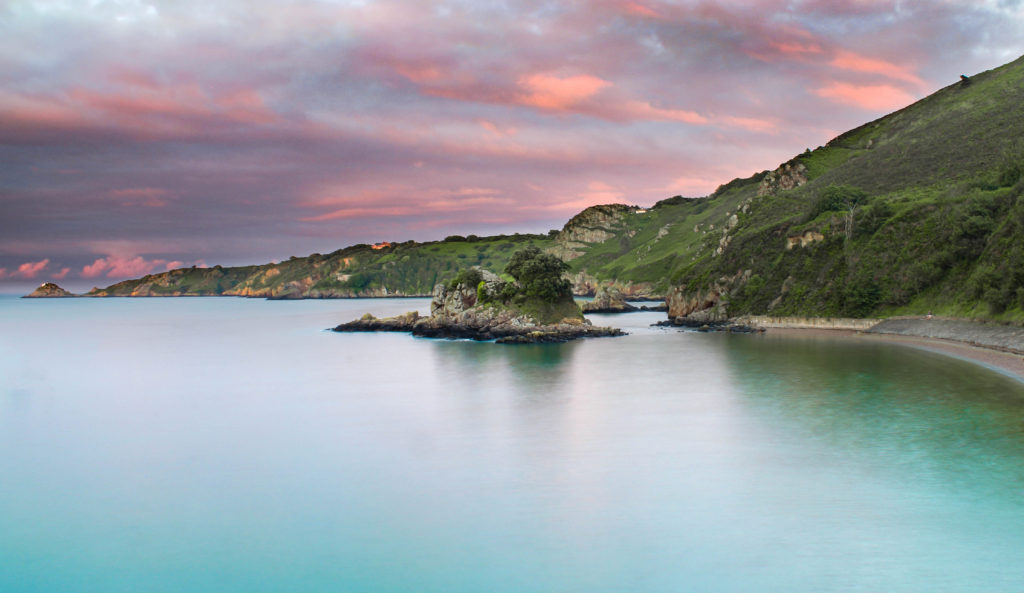
This is another more colourful image. It was taken at high tide during a sunset. If gives off tropical ocean blue colours, which contrasts with the pink sky. This colour combination gives off a calming feeling.

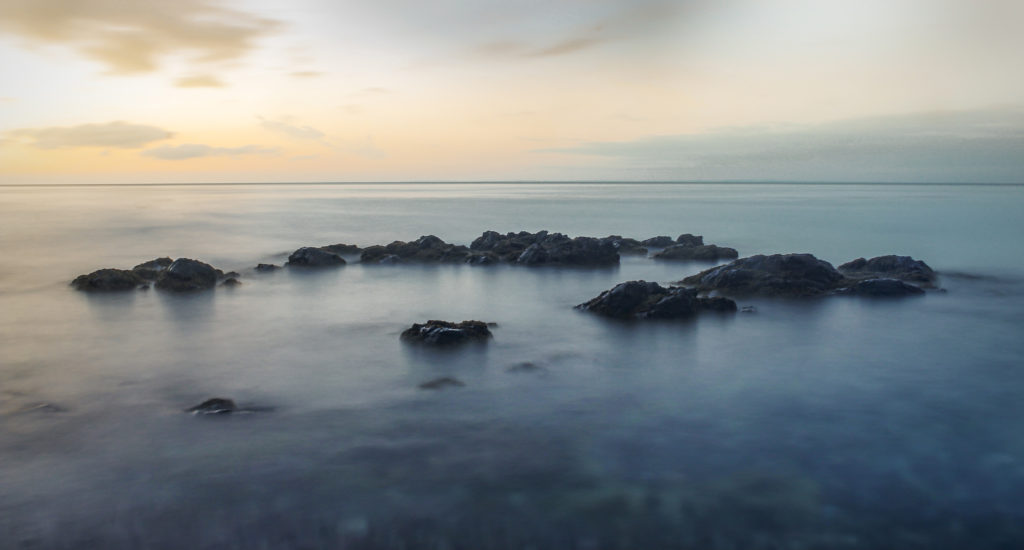
This image was taken at the secret bay behind the pier at Bouley Bay. The rocks were just peaking above the water, which made for some interesting shots. The combination of blue and orange gives off a tranquil vibe.

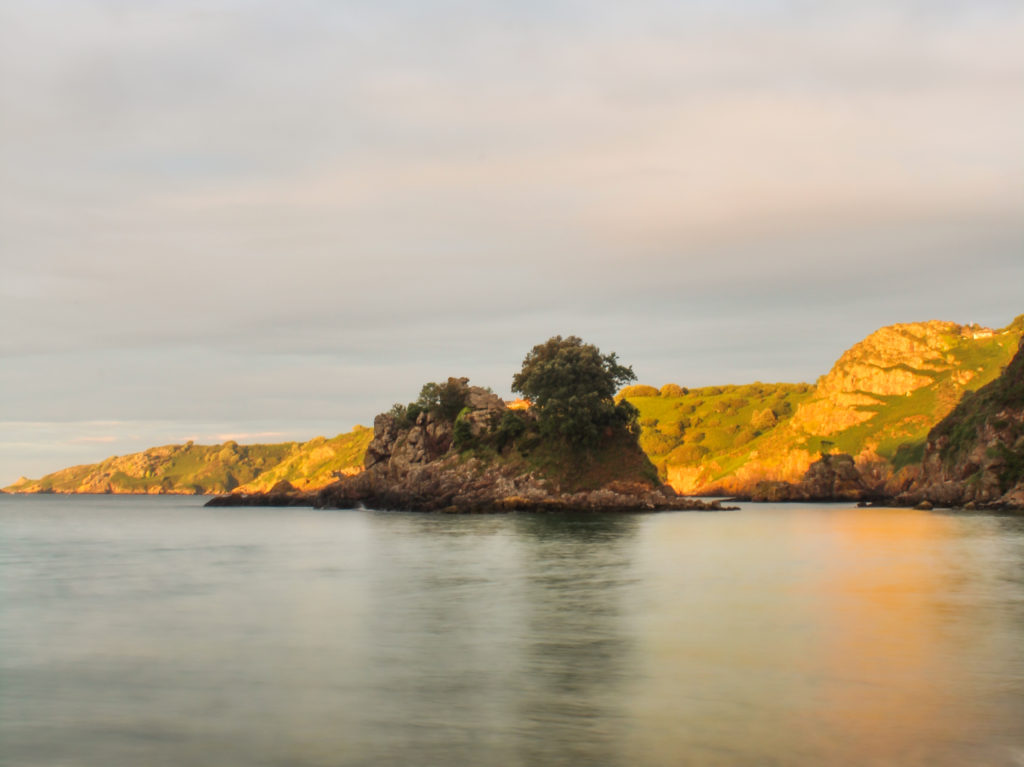
Not the best image, however it showcases the bay during golden hour. And having the water out of focus makes the viewers focus shift to the islet and the headland behind.

Another favourite image, the blue tone creates a surreal, alone, spooky atmosphere. Whilst, the shuttle

Overall, I love how these photos came out. The long exposure effect creates a new perspective on the area

Personal Project – Photoshoot Plans

Shoot 1 – Long Exposure

I plan to take long exposure photos of the bay at high tide, I will have to do this in the evening, as it is too bright in the day and the images will be overexposed, as the I’m using two gradual filters. 1 right way up and 1 upside down to create a homemade ND filter. I will also use a tripod to create a sharp image, to reduce camera shake, and I will use a 2 second delay to give the camera enough time to stabilise after I press the shutter release button.

Shoot 2 – Drone

I will use my drone (DJI Mini 2) to take aerial photos of the bay, the Heritage site, the islet, the pontoon, and the boats/jet skis. This lets the viewer see a angle of the bay that they have never seen before. I can also go up on top of the headland, which gives me access to a wider overall angle of the bay.

Shoot 3 – Underwater

I will also create a set of underwater photographs of people jumping off the pontoon. To achieve the summer look it must be sunny. This will also make the underwater section more clears as the sun is lighting it up. I will use a GoPro and an attachable underwater dome. This allows me to create a half above water and half under water shot. When in the water i can also take photos of the headland around the bay, as the angle offers a unique perspective.

Shoot 4 – Minimalism/Objects

For this shoot I will collect items/objects from the beach and take them to a makeshift studio and photograph them. I will use a black background and 1 light source to create some interesting photos. I can also use these photos to experiment with some photo manipulation and recreate an alive oyster in Photoshop.

Shoot 5 – Day Long Exposure / Shots

I will go down to Boulay Bay when it is high tide in the day time and attempt to take long exposure photos of the waterfall, the water, and water splashing off of the rocks. I’ll need a tripod and ND filters. I have taken some photos for another project, which I feel would fit in very well with this project

NFT’s research and analysis

What is an NFT?

NFT stands for “Non Fungible Token” which represents either a digital file/ item. The token in NFT is an object that is built onto a blockchain, non fungible means that it is unique being different and 1 of 1 to the person who makes a purchase of it.

2 Lives exhibition

The “2 Lives exhibition” is Jerseys first Art exhibition the brings together Art and Finance, due to the introductions of NFT’s. It is a project that has been put together in order to build a future of the art world, as it seems to fade away with no technological advances being put into the art world. Therefore, this will leverage NFT’s as a tool leading to the creation of new communities, opportunities and even art overall.

NFTs in art

NFTs in terms of art is revolutionary for artists in this day and age. The reasoning behind this is because artists now have a second option of being able to sell there art online to anyone who wants to buy it from around the world. Whereas, if you where to sell your art in person you would have to put it up in a exhibition or auction in order for you art to sell. Moreover, if you sell a physical piece of art, you only get the money that the customer has offered for it and thats the money you earn. As for NFT’s, when you sell your own NFT you get money from that sale and when the person who bought your art sells it, you get a fixed percentage for every-time your art continuously gets sold off. Alongside this, the NFT you make becomes a certificate of authenticity in order to cancel out people trying to make counterfeits.

NFT’s in gaming

NFT’s in terms of gaming has also revolutionised as any items you buy in your game; for example skins on Fortnite, you would be able to keep these ‘skins’ if you where to stop playing the game and you could use them again if you like. Moreover, with these skins you could sell it on the game marketplace to other players who are going to jump onto the game. Alongside being able to sell them, you could use your skins for the appearance of your digital avatar for others to look at.

NFT’s for collectionist’s

People who collect items in the real world in order to flip there items to make money, now have a whole new platform of being able to purchase NFTs to make more money in terms of collectables. This change kicked into place during the covid pandemic due to the fact that the whole world became more digital as people could online socialise via internet. Moreover, this lead to a larger increase in people around the world trusting the internet more. Therefore, in society we now appear to have more people collecting digital assets as much as physical assets which can de sold through exhibitions or other places on the secondary market giving sellers a wide range of choice in selling of collectable items.

NFT’s in virtual worlds and virtual exhibitions

Virtual worlds have been starting up in the NFT’s space such as Decentraland and somnium space. Decentraland as an example is an online world where users have to create an avatar in order to express their presence online. Moreover, you are also able to communicate wit other peoples avatars online as well from participating in concerts, art shows and even being able to build your own digital house with other people as well. This is great as friends or people in general from around the world are able to share there own sense of community, or even mix culture together which can have people from around the world gain a better understanding of different communities and how they work. This is accessible on 2d screens which is via computer. Decentraland also have another layer of connection with cryptocurrencies in order for people to be able to make purchases on the virtual land that exists, art on the walls in galleries and making these purchases can give you ownership on the virtual world, leading to people being able to give users a say on how the world should operate.

NFT’s blockchain, cryptocurrencies, coins and defi

The next revolution alongside NFT’s is by changing the way we see and use money. People in todays society don’t trust authorities, which helped in the gradual increase of people using cryptocurrencies for a substitute to physical and money kept away in a bank with the creator being a random person that no one knows of. Therefore, this means that the person who invented cryptocurrencies has no ties to the government or any authority, its a universal currency having the same value everywhere across the globe and the market is open 24 hours in a day. A cryptocurrency is a digital asset that is designed to be a medium of exchange for real money, the individual coin ownership is then stored away in a ledger existing in a form of computerised database and cryptography is used to secure transactions and records, which controls the creation of additional coins and verify the transfer of coin ownership.

How to create, buy and sell NFTs

In order to create an NFT, you will need whats called a NFT wallet and an account inside FT platforms.

A digital wallet can be used as if it was your physical wallet but just virtually. Metamask appears to be used most commonly do far keeping your NFT’s, these wallets allow you to move your digital assets within the metaverse.

NFT PLATFORMS: Opensea, Nifty Gateway, KnownOrigin, Foundation, Mintable, Rarible, Hic Et Nunc, Zora, Makersplace, VeeFriends, NBA TopShot, Crypto.com NFT, Eenjin, Superrare, Sweet, Doingud.

NFT’s environmental impact

For NFT’s to not damage the environment the use of renewable energy would be useful such as solar and wind. However, NFT’s are only a small contribution to this as the energy consumption it takes to mine a singular etherium is 0.0006, which in comparison is the same as watching a youtube video.

mining crypto takes a lot of electricity, needing big computational work by hardware. The process of mining and rewarding the miners for closing a block of the blockchain is called Proof of Work, that was the way Bitcoin was applied in 2009, until now.

In the crypto ecosystem there has been a transition from the ‘Proof of Work’ to ‘Proof os Stake’, which is a lot more environmentally friendly. This is because POS doesn’t require miners anymore, but validators. These are the people that deposit their owned crypto to validate block transactions, then the reward is given on a random basis.

In some ways, NFT’s can also be good for the environment, this is because Fashion at the moment is the 2nd most pollutive industry in the world. Therefore digital clothing could revolutionise this issue that is currently taking place across the globe.

Here is a link to a website called the 2 lives exhibition, which gives out additional information on NFT’s, Metaverse and Cryptocurrencies. https://2lives.world/

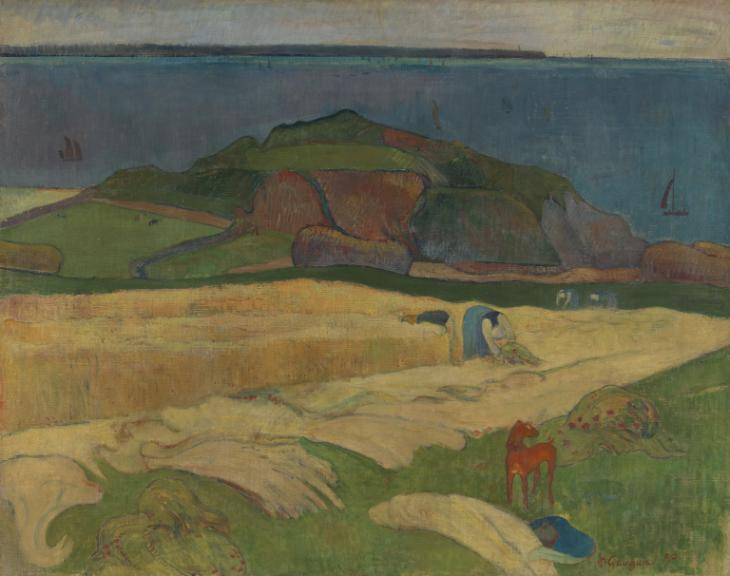
art movements and isms

ROMANTICISM

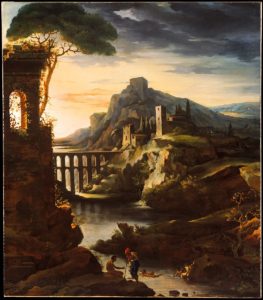
Romanticism was an artistic and intellectual movement that ran from the late eighteenth century through the nineteenth century. It focused on strong emotion as a source of aesthetic experience, placing emphasis on such emotions as trepidation, horror, and the awe. It elevated folk art, language, and custom. Romanticism rose as a reaction against the excessive rationalism of the Enlightenment. It drew upon the French Revolution’s rejection of aristocratic social and political norms. It was also influenced by the theory of evolution and uniformitarianism, which argued that “the past is the key to the present.” This lead some Romantics to look back nostalgically to the Middle Ages and elements of art and narrative perceived to be from the medieval period. The ideals of the French Revolution influenced the Romantic movement in other ways. Romanticism elevated the achievements of what it perceived as misunderstood heroic individuals and artists that altered society, and legitimized the individual imagination as a critical authority which permitted freedom from classical notions of form in art.

IMPRESSIONISM

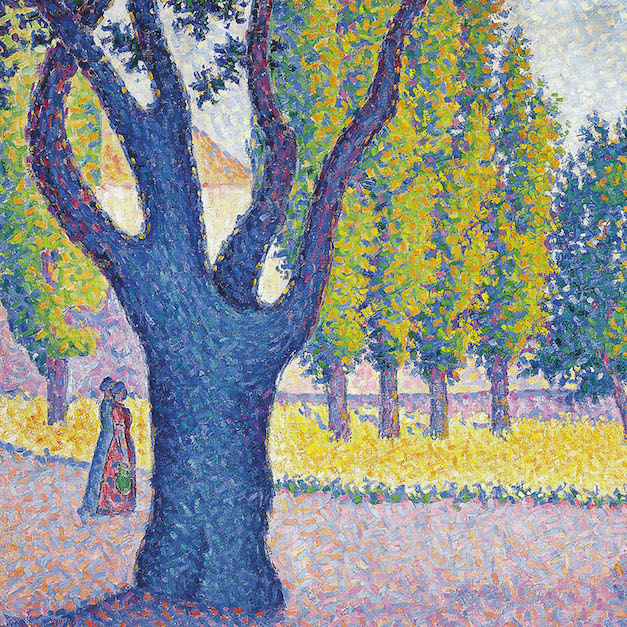
Impressionism was a radical art movement that began in the late 1800s, centered primarily around Parisian painters. Impressionists rebelled against classical subject matter and embraced modernity, desiring to create works that reflected the world in which they lived. Uniting them was a focus on how light could define a moment in time, with colour providing definition instead of black lines. The Impressionists emphasized the practice of plein air painting, or painting outside. Initially disapproved by critics, Impressionism has since been embraced as one of the most popular and influential art styles in Western history. Artists abandoned the traditional landscape palette of muted greens, browns, and grays and instead painted in a lighter, sunnier, more brilliant key. They began by painting the play of light upon water and the reflected colours of its ripples, trying to reproduce the manifold and animated effects of sunlight and shadow and of direct and reflected light that they observed.

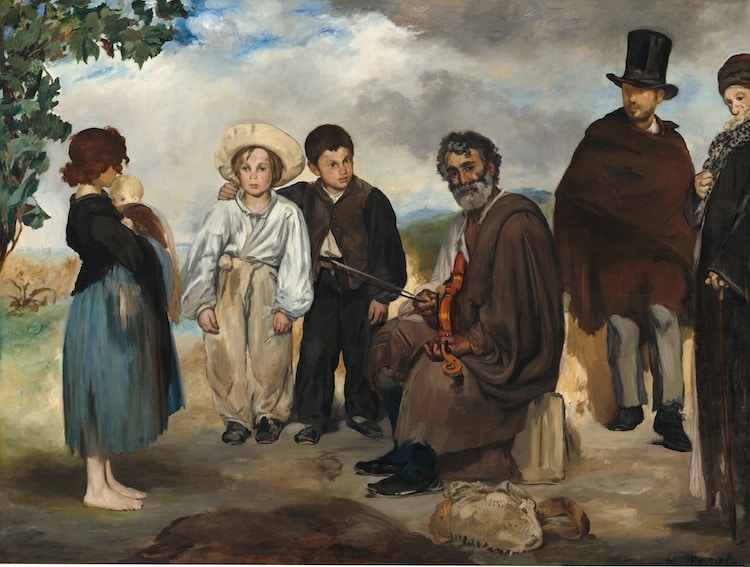
MODERNISM

Modernism, in the fine arts, was a break with the past and the concurrent search for new forms of expression. Modernism fostered a period of experimentation in the arts from the late 19th to the mid-20th century, particularly in the years following World War I. In an era characterized by industrialization, the nearly global adoption of capitalism, rapid social change, and advances in science and the social sciences, Modernists felt a growing alienation incompatible with Victorian morality, optimism, and convention. New ideas in psychology, philosophy, and political theory kindled a search for new modes of expression. In the visual arts the roots of Modernism are often traced back to painter Édouard Manet, who, beginning in the 1860s, not only depicted scenes of modern life but also broke with tradition when he made no attempt to mimic the real world by way of perspective and modeling. He instead drew attention to the fact that his work of art was simply paint on a flat canvas and that it was made by using a paintbrush.

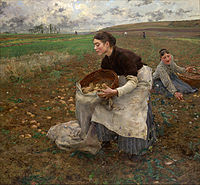
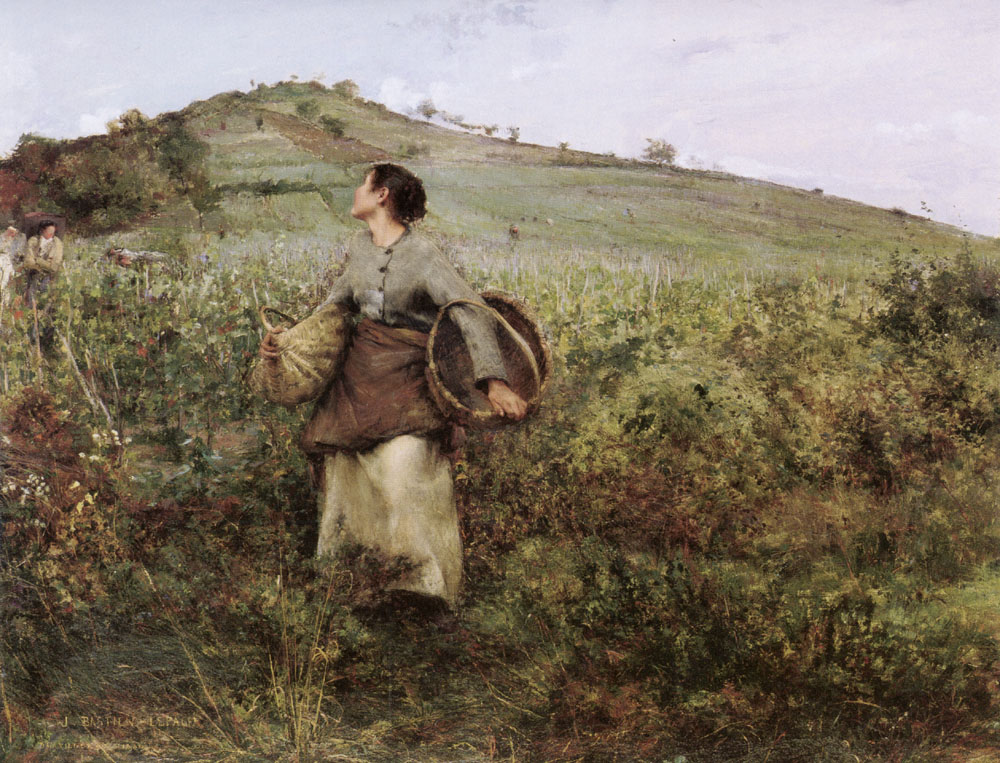
REALISM

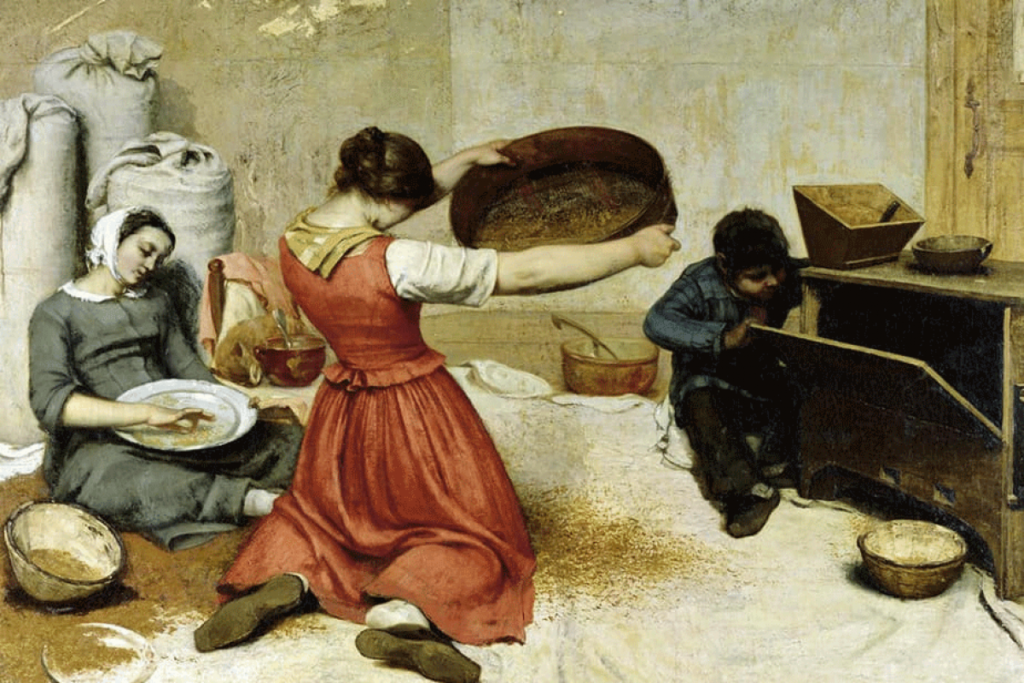
Realism, in the arts, is the accurate, detailed, and unembellished depiction of nature or of contemporary life. Realism rejects imaginative idealization in favour of a close observation of outward appearances. Realism was stimulated by several intellectual developments in the first half of the 19th century. Among these were the anti-Romantic movement in Germany, with its emphasis on the common man as an artistic subject. Gustave Courbet is often considered the leading figure of Realism. He laid the groundwork for the movement in the 1840s, when he began portraying peasants and labourers on a grand scale typically reserved for religious, historical, or allegorical subjects. Prior to Courbet’s radical emergence, painters did not depict scenes as they saw them; instead, they idealized them, virtually erasing any flaws or imperfections. To Courbet, this approach was detrimental to painting, as it eliminated any sense of individuality.

CUBISM

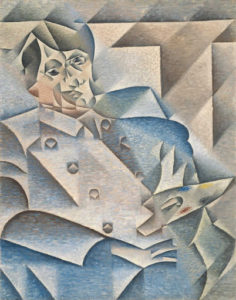
The Cubist style emphasized the flat, two-dimensional surface of the picture plane, rejecting the traditional techniques of perspective, foreshortening, modeling, and chiaroscuro and refuting time-honoured theories that art should imitate nature. Cubist painters were not bound to copying form, texture, colour, and space. Instead, they presented a new reality in paintings that depicted radically fragmented objects. The monochromatic colour scheme was suited to the presentation of complex, multiple views of the object, which was reduced to overlapping opaque and transparent planes. Some historians have argued that these innovations represent a response to the changing experience of space, movement, and time in the modern world. This first phase of the movement was called Analytic Cubism.

Reviewing And Reflecting

My pervious work over Year 12 and Year 13, that showcases some of my best images and interesting photographic techniques

Formal Elements

My first project I started was based on the formal elements using formalism, where I scrunched up and teared up paper into shapes such as, balls, holes, and different textures, then took photos of the paper. I set up multiple different lighting environments to shoot in.

Firstly, I used 1 light source, which was the camera flash, for the image of the paper ball I also made the exposure darker to emphasis the contrast between the highlights and the shadows which made creases in the ball more noticeable, additionally it made the black paper background even darker so that you couldn’t see any of the marks on the paper. This is using minimalism to direct the focus of the image to the main focal point.

In the other photos I used 2 phones to emit different coloured lights, which made the colours clash as the paper as at different heights as it was crumpled up.

In Photoshop, I didn’t really do much adjustments image were very basic. All I adjusted was the contrast and saturation, to boost the colours, or the opposite to make it black and white by setting the saturation to 0.

Surface and Colour

In this topic I used serval different camera lens to gain a different perspective. However, most of these image were shot using a macro lens.

This allowed me to achieved a really close up shot were you can clearly see the pattern and the repetition of shapes and the different textures of the subject. Additionally, I was able to use a shallow depth of field, which created a focus onto key features by blurring the edges.

Having these images in black and white helps remove any distraction of colour and helps the viewer focus on other aspects of the photo, such as the subject, the textures, shapes and patterns, and the composition.

Abstract

To create these images I played a colourful video on my laptop and shot the images through different glasses, eg, wine glasses and perfume bottles to distort the video, which created a unique and abstract effect. I also used the glass to make reflections to act like a mirror.

To also create some of these images I changed my camera to manual focus and made it super blurry, then I took photos of different glasses in front of the screen, using the same method.

Minimalism – (Artist Reference / Kevin Saint Grey)

Kevin Saint Grey is a photographer I studied who is a primarily black and white LA based photographer with a minimalist approach to his subjects which creates a drastic contrast. He shoots mostly landscape and architecture, and his work distinguishes itself for the serendipity of black and white, “humanness” and silent images. He accomplishes this by using techniques such as, symmetry and long-exposure, and he manages to get amazing, creative photographs, by using camera movements while exploring unique angles while shooting architecture.

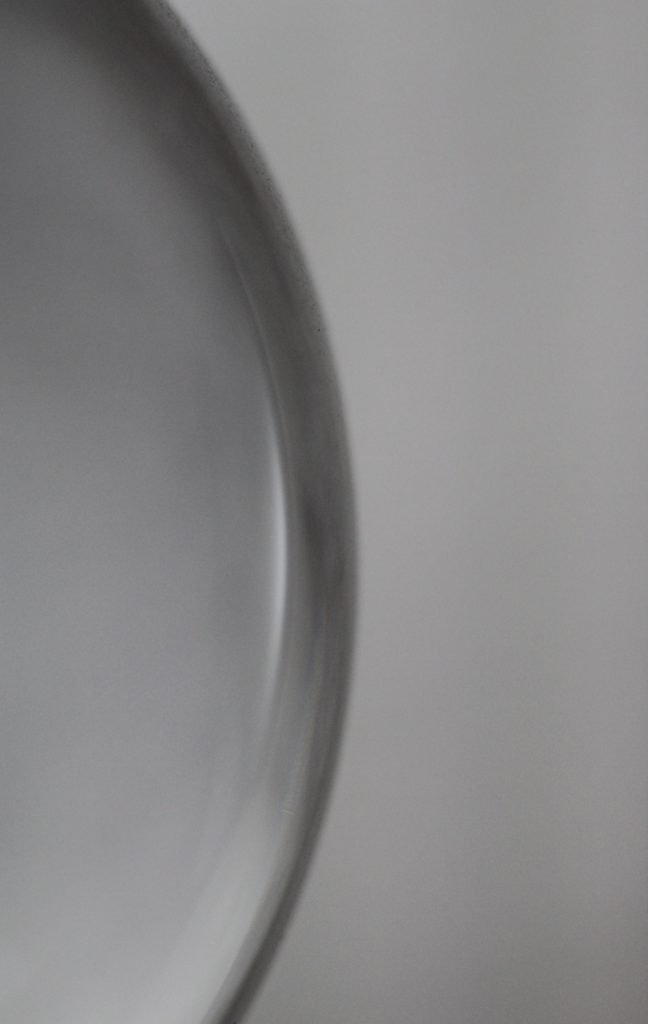
This is one favourite minimalistic images I took, it is of a glass lamp stand. I made it so the full object is not in view as it creates a minimalistic effect, that features the curve of the sphere, and the light which reflects off of it.

I submitted this image to a photography competition hosted by the Jersey Arts Centre on their Facebook page, and it won “Best minimalistic photo of the day.”

Portrait/Close Up

This image has an empty alt attribute; its file name is image-1.png

I have used the photography studio when taking portrait photos. This allowed me to experiment with different lighting colours, set-ups, etc.

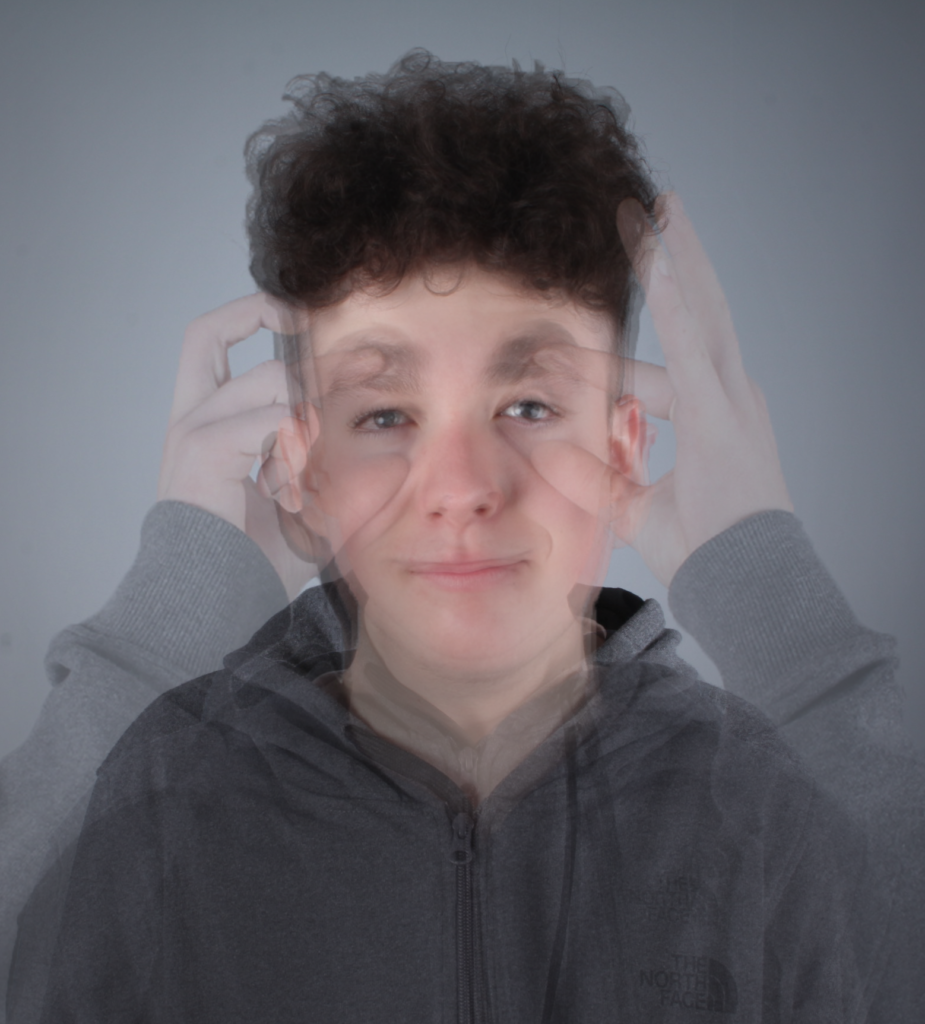
This image has an empty alt attribute; its file name is multiexposure-925x1024.png

I have created a photomontage using post-processing techniques in Photoshop by using layers after lining all the images up, which created a multi-exposure image.

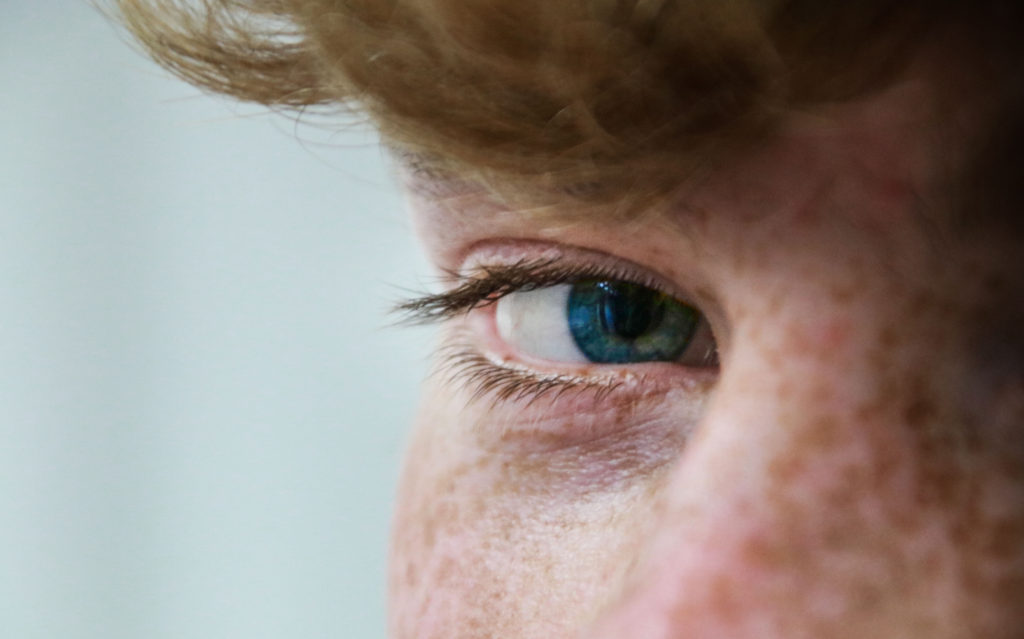
This image has an empty alt attribute; its file name is smallamxeye-1024x639.jpg

The eye contact with the camera makes it a stronger image as there is more of a direct and emotional atmosphere between the viewer and the image.

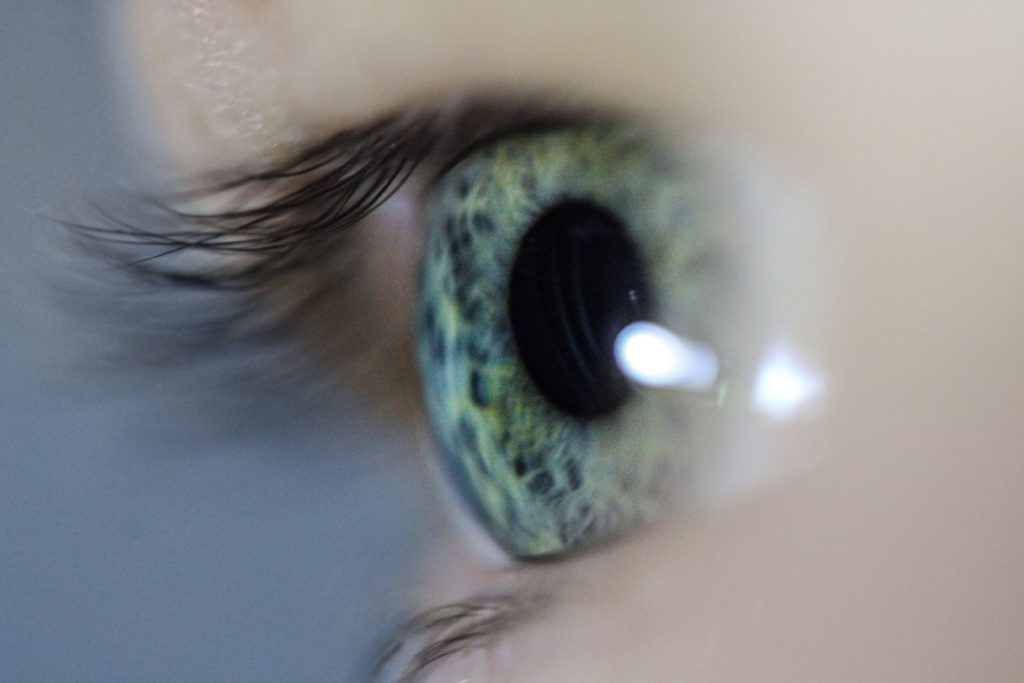
This image has an empty alt attribute; its file name is UCeye-2-min-1024x683.jpg

Since I used a macro lens I was able to create a shallow depth of field. This made it so the eye and part of the eye lashes were focused, and the rest wasn’t, which draws more attention to the eye itself. Macro photography is one of my favourite ways to shoot however, it one of the hardest to get right, as its only manual focus. This means you have to move closer/further away from the object or adjust the focal length.

Landscape

The landscape project was heavily inspired by Ansel Adams. Ansel Easton Adams was an American landscape photographer and environmentalist known for his black-and-white images of the American West. Also, he is considered the most important landscape photographer of the 20th century.

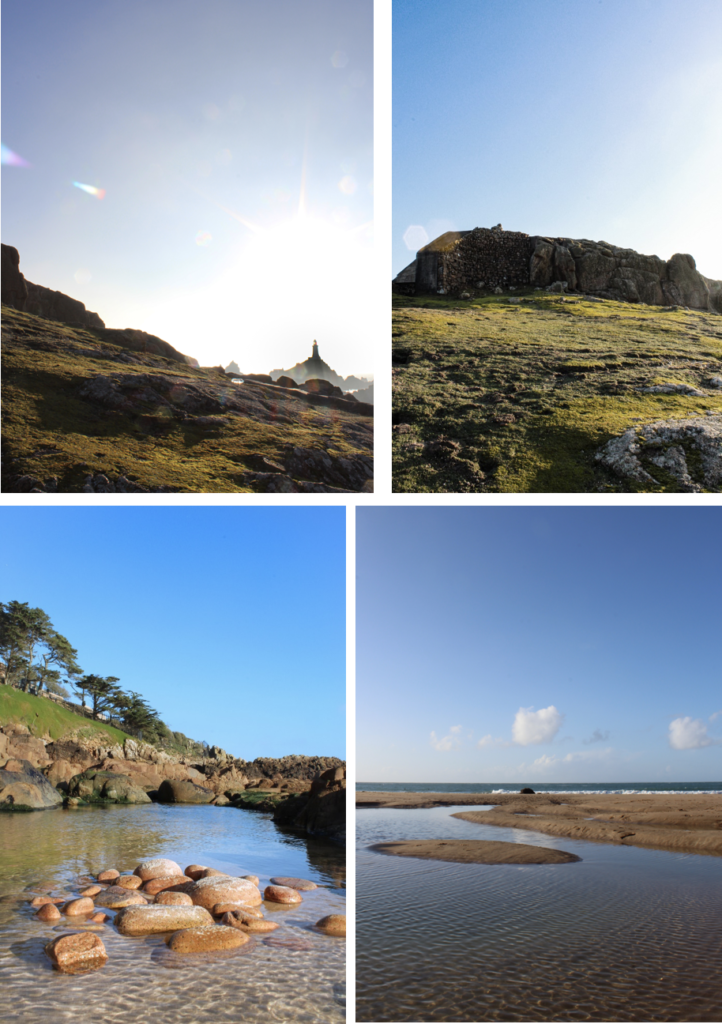
Both images are of natural landscapes, which display rock formations and both cover the whole of tonal zone system, going from 0, being black through to 10 being white, displaying different shades. This really puts emphasis on the highlights as it creates a high harmonious contrast.

These two images demonstrate the 3 levels of tonal values, is what makes this image stand out. It consists of the blacks in the foreground, with the grey behind it, then finally to the light-grey figures in the background which the lighthouse is apart of. Overall the harsh contrast between the sky and the rocks juxtapose each other against light and dark. I achieved the star effect caused by the sun, by using a high f-stop value, eg. f-32.

I used multi-bracket exposure to capture these images. The camera takes 3 photos, 1 over exposed, 1 normally, and 1 under exposure image. I edited it in Photoshops Camera Raw Filter after Photoshop merged the 3 images to create a HDR image. (High Dynamic Range.)

This image has an empty alt attribute; its file name is image-52-722x1024.png

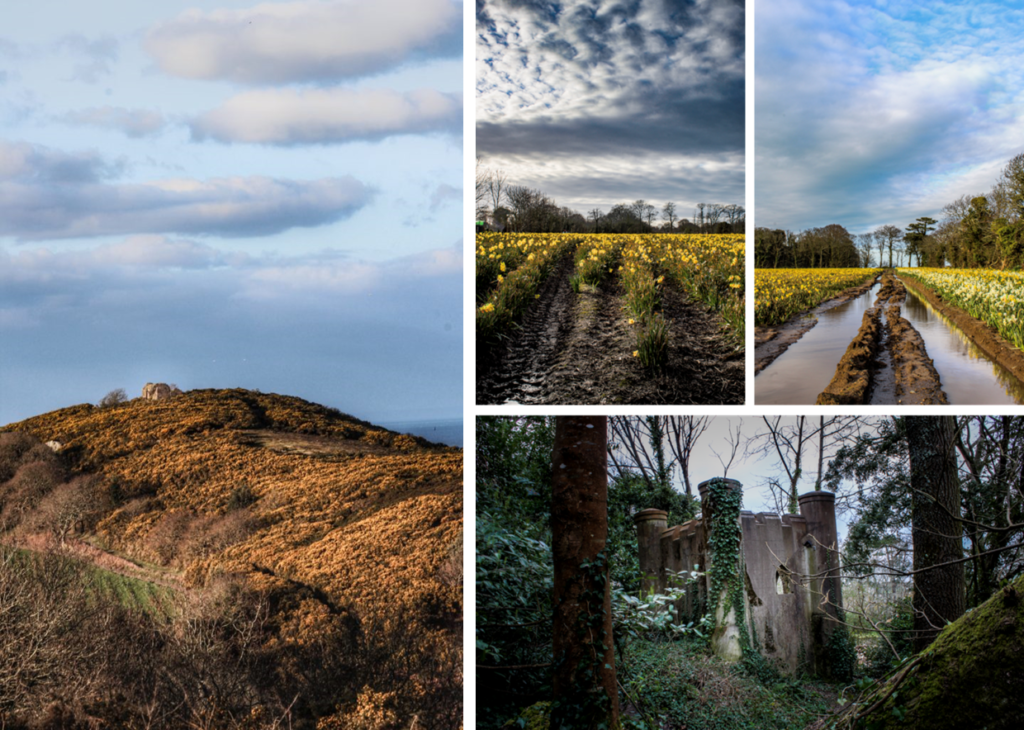
These 4 images are more generic landscape photos, however do include unique aspects such as lens flares and reflections from the water.

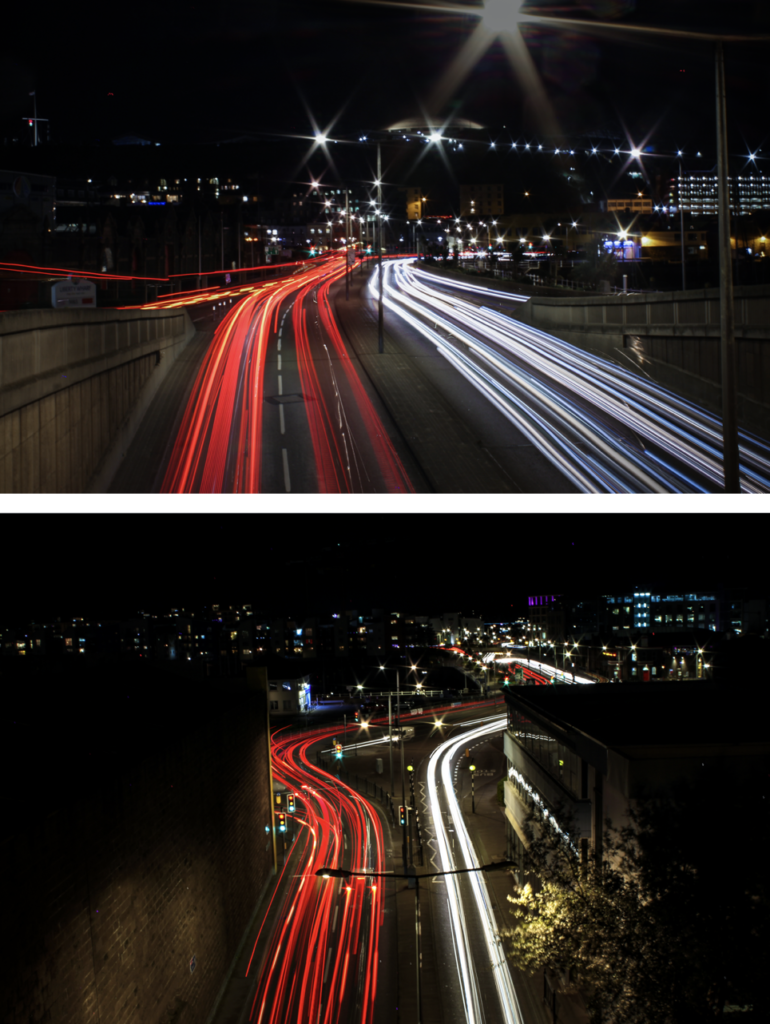
This are some of the urban landscape photos I took at night in town, using long exposure. Since the exposure time was so long I had to use a tripod so that the camera was stable to create a clear image. Long exposure is one of my favourite photography techniques, as it creates unique images every time.

This image has an empty alt attribute; its file name is image-15-770x1024.png

This is my favourite image from the whole urban landscape topic. It captures a bus driving past a traffic light. However it did take many attempts to capture this shot, which is part of the fun.

Long Exposure – Water Photo Shoot

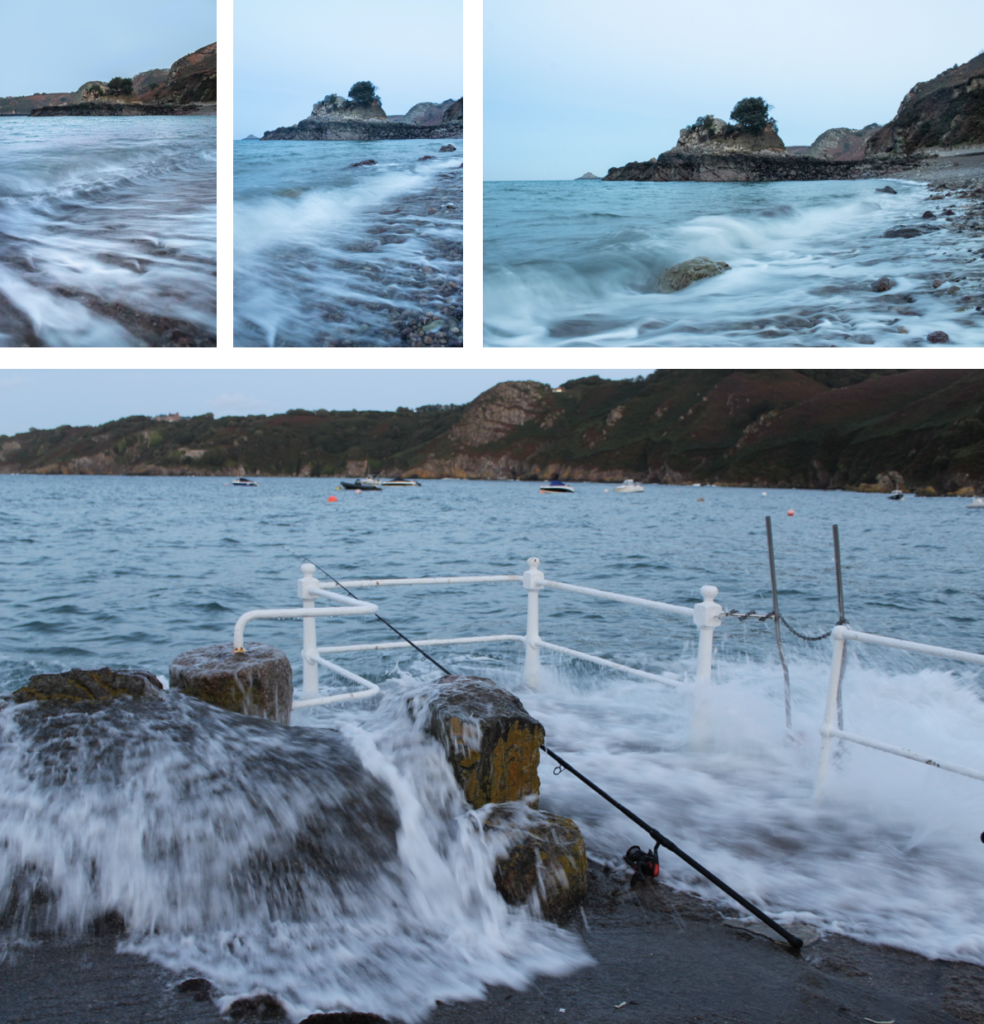
On the topic of long exposure these are 2 strong images that where apart of another topic, that I really like.

Street Photography/ Candid Photography

These 2 images were tableaux (set up/knew they were being photographed) Overall, I didn’t really like asking people if it was ok to take their pictures. However, it did allow me to capture the subjects closer compared to the photos below.

Where as, these 2 images aren’t set up and captures peoples natural state, emotion, and pose. Therefore, i fell that they poses more of a story.

Anthropocene

For my Anthropocene project I split it into 2 sections. The first was space, and the second was plastic water pollution.

These were some of my favourite photos I got of the full moon at 4 AM. I used a telephoto lens and a tripod to capture the moon.

These are my attempts astrophotography, I went to the west of the island at 12-1 AM and used a 18mm lens, with a low aperture using a long shutter speed of 20 seconds to capture the stars. Before I took the photo I had to manually focus the camera on the north star, this is so that the stars would in focus. Overall, these turned out good, however it wasn’t the right season, so I could do better when the milky way is more visible.

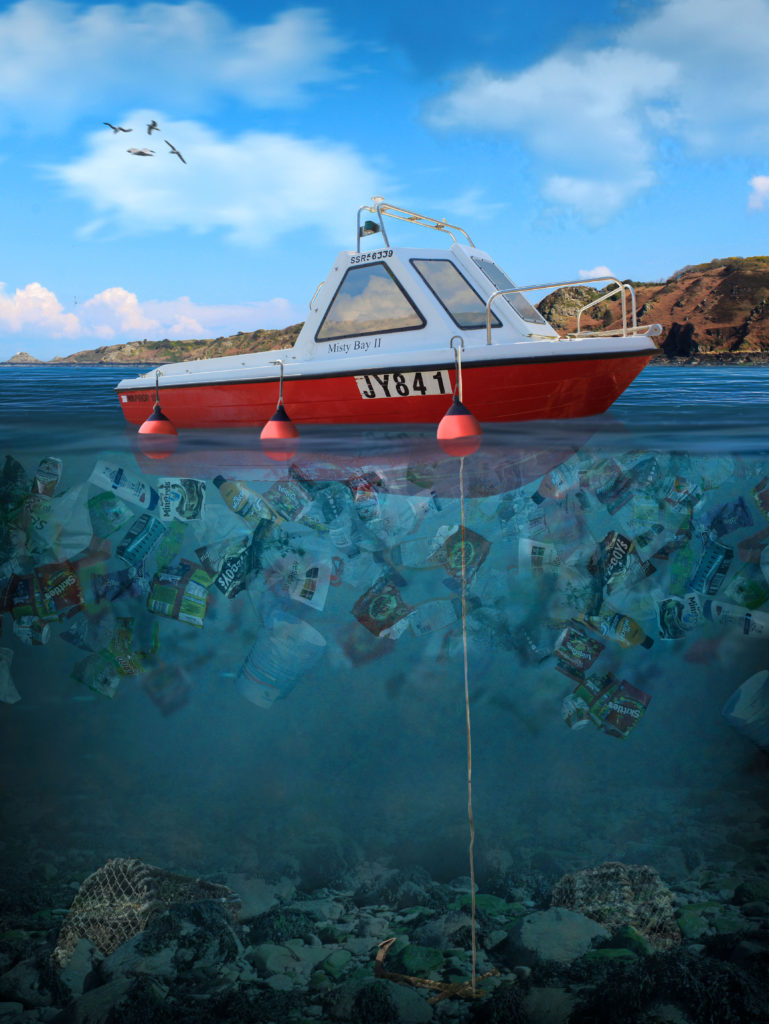
This is my best final piece which I made in Photoshop, using my own images to create a concept image using photo manipulation of plastic water pollution in Jersey. This took approximately 7.5 hours, using over 500+ layers inside photoshop, where I documented the process on my blog. I have lots of experience in photoshop and a great knowledge of the software.

Identify and Community Photoshoots Best Images

These images were taken whilst I was walking around town. This is one of my favourite ways to photography unique and different things in a new place/area.

In these images there was a metal chain across the car. This was very distracting so I removed it in Photoshop which improved the image. I also made the black background darker to remove the small details to create an old, minimalistic style.

These images work well in black and white. The image on the left demonstrates depth of field and unique angles, however the right image captures motion of flying pigeons.

These images use framing to create a focus on the key features and remove distractions around the outside of the image.

Personal Investigation – Reviewing and Reflecting

1. Describe which themes, medium (photography, film), approaches (documentary, tableaux, conceptual), artists (incl contextual references to art history, movements and isms) and photographic skills, processes, techniques and methods (incl learning new software) inspired you the most and why.

2. Include examples of both previous and current experiments and imagery to illustrate your thinking.

3. Produce a new mind-map and mood-board based around how you interpret one/ or both theme(s) of IDENTITY & COMMUNITY using new artists inspirations and visual references etc. Reflect on the Island Identity project and also consider themes more broadly (see below)

Inspirations throughout the course;

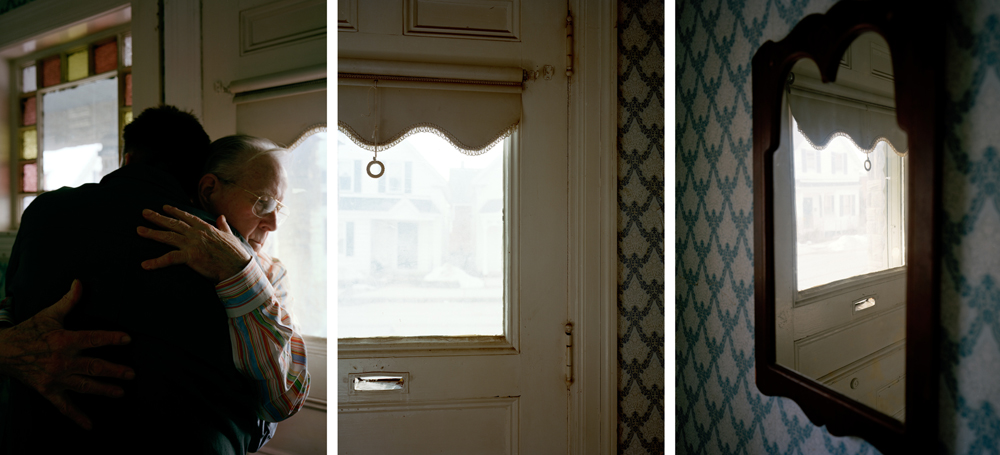
During the photography course, in both year 12 and 13, we have learnt a considerable amount of photographic techniques around portraiture, landscapes and abstract images. My favourite medium to use is taking still shots on a camera, although I have enjoyed learning about film making and taking moving shots I believe my skills lie more in the world of static photography. I believe I do well in portraying a certain storyline or narrative with my images, it is something I wish to continue in my personal investigation – I was very inspired by the work I created in response to photographer David Hilliard during my Identity and Place project. I enjoy the way he captures naturalism in his images, they connote a sense of normality and honesty that I really loved recreating. I have taken lots of inspiration from the documentary technique of photography, I believe it allows the observer to understand the subject more within their storyline. I really enjoy using natural lighting in my images, I have used it during the course a lot more than artificial lighting and am therefore more confident photographing with it.
More on how Hilliard inspired me.

My Response to Hilliard

Additionally, I was inspired by our year 12 abstract photography project, specifically studying repetition, pattern and rhythm. The photographer Ernst Haas was one I really enjoyed looking at, I enjoyed his use of repeating lines and shapes to create movement and rhythm in his images. I gained inspiration from the abstract unit as I loved experimenting with how different shapes and patterns could represent meaning and themes – I want to continue learning about how I can manipulate an image in terms of geometric aestheticism, using symmetry and repetition to connote ideas of memories being re-lived. I also really enjoyed studying Saul Leiter during the abstract unit, his use of colour and distorted aperture settings were really interesting to experiment with. I found inspiration with how Leiter captured windows and reflections in his images, I like how the abstract elements are still recognisable as everyday sights and objects – a sense of normality is something I really hope to experiment with further in the course. Additionally, I was influenced strongly by colour during my Saul Leiter study, I wanted to exaggerate the bold colours I captured to create an expression of freedom and non-naturalism. Previously in the course I focused on black and white photography, however during this project I enjoyed working with colour and emphasising different emotions through tones and hues.

During the photography course I have enjoyed learning about different software, such as Adobe Photoshop, Lightroom, Premier Pro and InDesign. Creating a Zine during the course has inspired me to produce a photobook for my final assessment. I believe having a physical copy of my work, where I can layout sequences of images with narratives and meaning, allows me to better use my imagination. I have been influenced throughout the course by several different artists, photographers and creative individuals that demonstrate ideas through different mediums – I look forward to experimenting further with the compositional elements of photography in this Identity project. The three areas of study that I have mentioned and shown evidence of above have been my most enjoyable parts of the course – I have been inspired by creating meaning and speaking out on prominent topics during year 12 and 13, this is something I wish to continue working on during my new project.