All posts by Wiktoria J

Filters

Author:
Category:

storyboard

A storyboard is a graphic organizer that consists of illustrations or images displayed in sequence for the purpose of pre-visualising a motion picture, animation, motion graphic or interactive media sequence

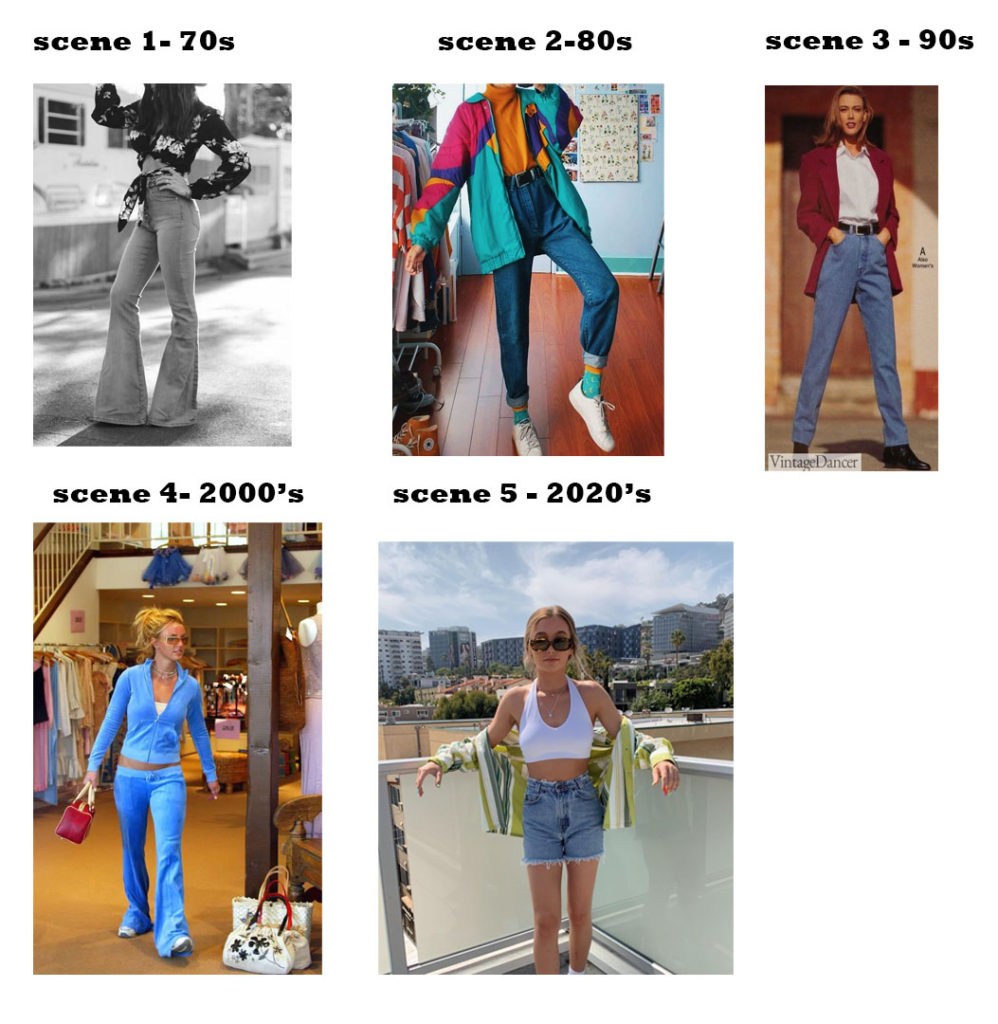
We are going to film fashion through all the different decades. Our chosen decades are – 70s, 80s, 90s, 2000’s and 2020’s. We will do this by using one of our female friends to model for us. She will walk across two set points in the studio and film each decade in the exact same way. After all these clips are filmed we will put them all together and each second will cut into a different decade, with the finishing video being her walking across and her outfit changing several times representing the different decades.

scene 1 – the first thing we will film will involve a 70s based outfit, our model will walk across two points.

scene 2- then we will film our second scene which involves an 80s based outfit

scene 3- model walking across wearing a 90s based outfits

scene 4- model walking across wearing a 2000’s based outfit

scene 5- model walking across wearing a 2020’s based outfit

then we stop shooting, after we have filmed all of our clips we will merge them together to make sure the scenes change and cut through all the different decades.

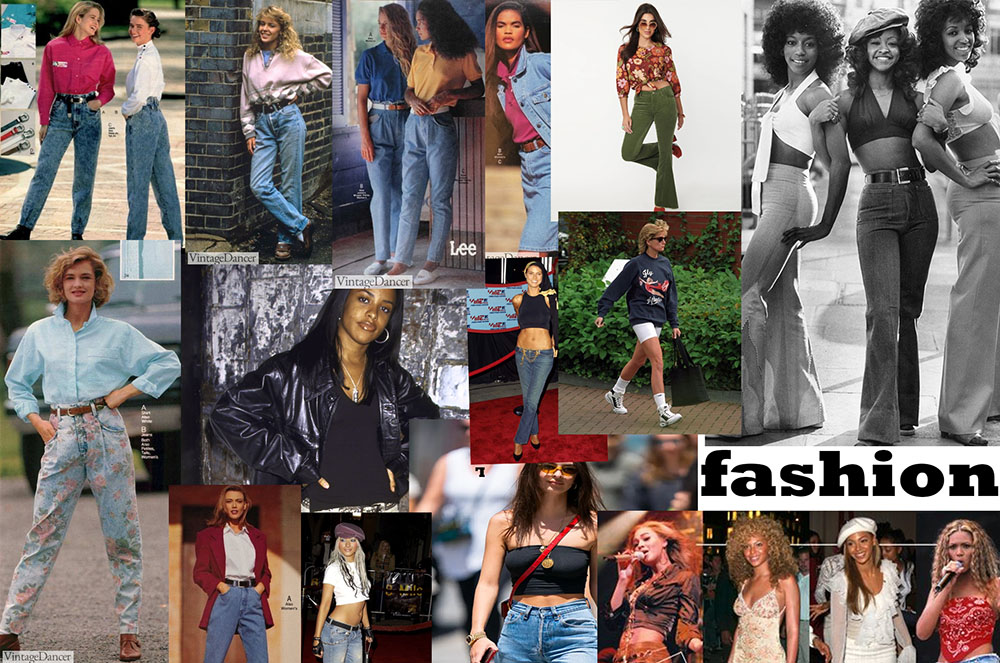
a small storyboard plan of our outfit inspiration;
we will mark two points in the studio, in front of a large white backdrop, the model will work vertically towards the camera to make the outfit the most visible. We will have to take 5 videos of the model, each video with a different outfit from one of the 5 decades. Once we have those clips we will cut them into small second videos on a software so that the decades are swapping a the model is walking.

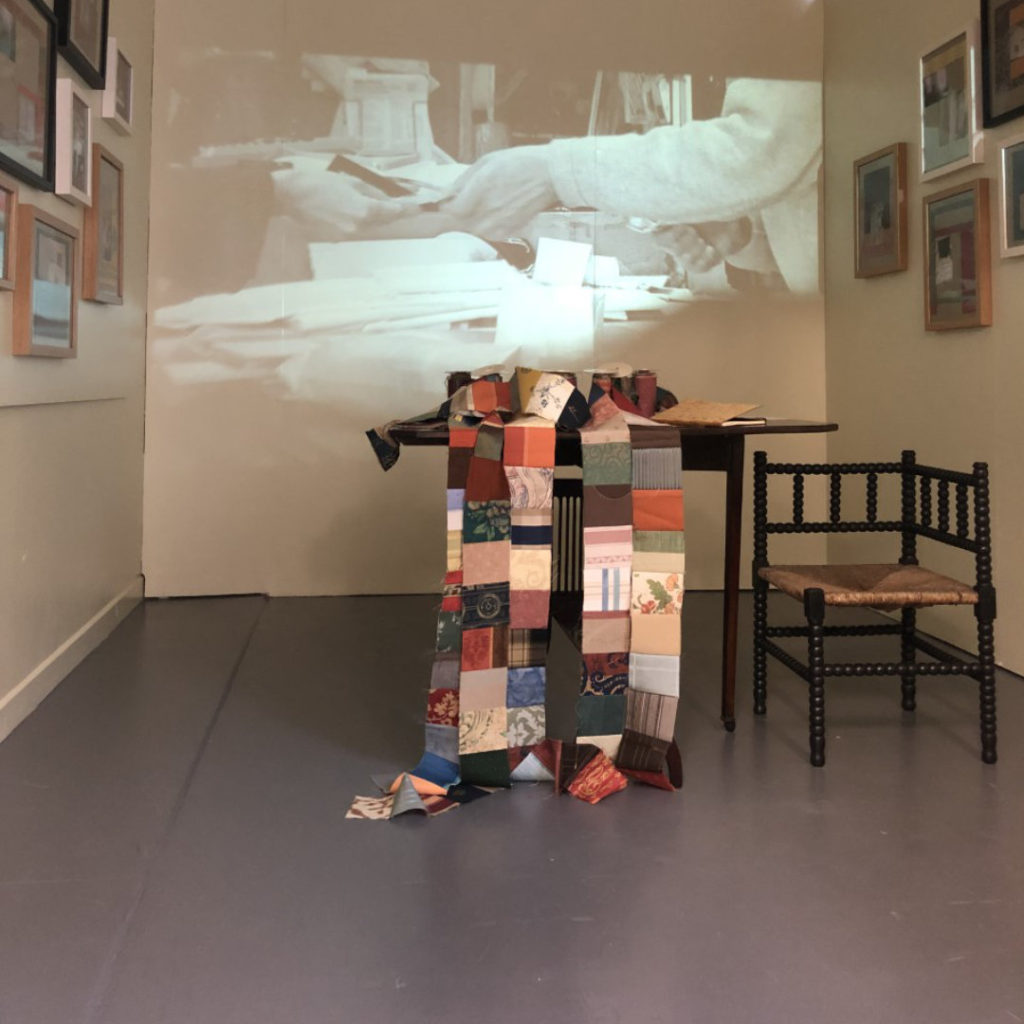
artist reference 2; textiles & embroidery

The textile artist that I chose to study for this topic is Yulia Makeyeva. Our class was lucky enough to have a textile learnng workshop with her , which allowed us to learn more about her and her unique work that she produced through many different ways of stitching.

She is an emerging multidisciplinary artist. She grew up in Russia and is now based in Jersey, Channel Islands. With a Linguistics degree, an education in Art History, silversmithing and jewellery making background, she turned her full attention to art in 2019. Yulia has always used photography as a means of observing textures, patterns and shapes from everyday objects, constructing unique, sometimes unexpected images.

some images of her work;

Fleeting: Installation View

She uses different types of stiches in her work such as a running stich, back stich and a few others that we actually got to do when working with her in her workshop.

Graphology, 2020
embroidery on cotton canvas

Yulia is also the founder of Connect with art an online network that provides a platform for artists and art lovers to connect, interact, meet and discover. It also includes an Exhibition space in St Helier where the work produced by students will be exhibited as part of 2 Lives NFT Art Project.

Her work will be helpful when it comes to producing our work as if we chose to stich in our images we will know how to do it confidently due to her work shop.

my experience working with her and my experiment;

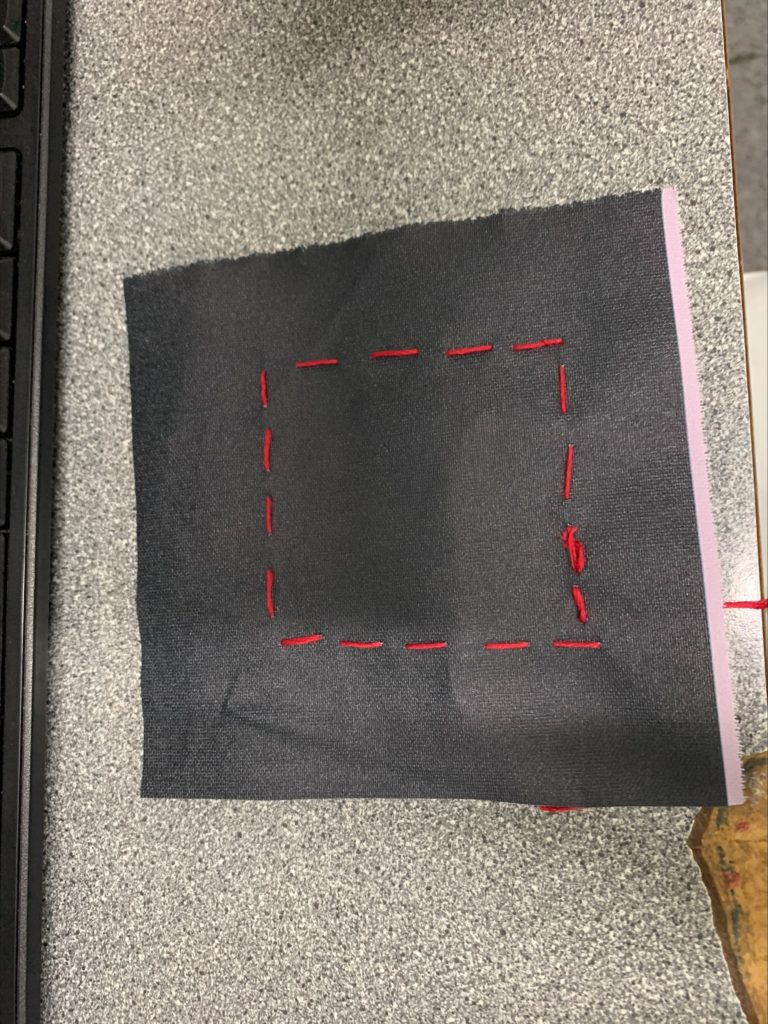
this is what I produced when Julia showed me how to stitch. I used the first method as it was the quickest way of stitching, knowing how to do this is beneficial for when we want to stitch onto our work.

contextual study 2 ; Occupation Tapestry

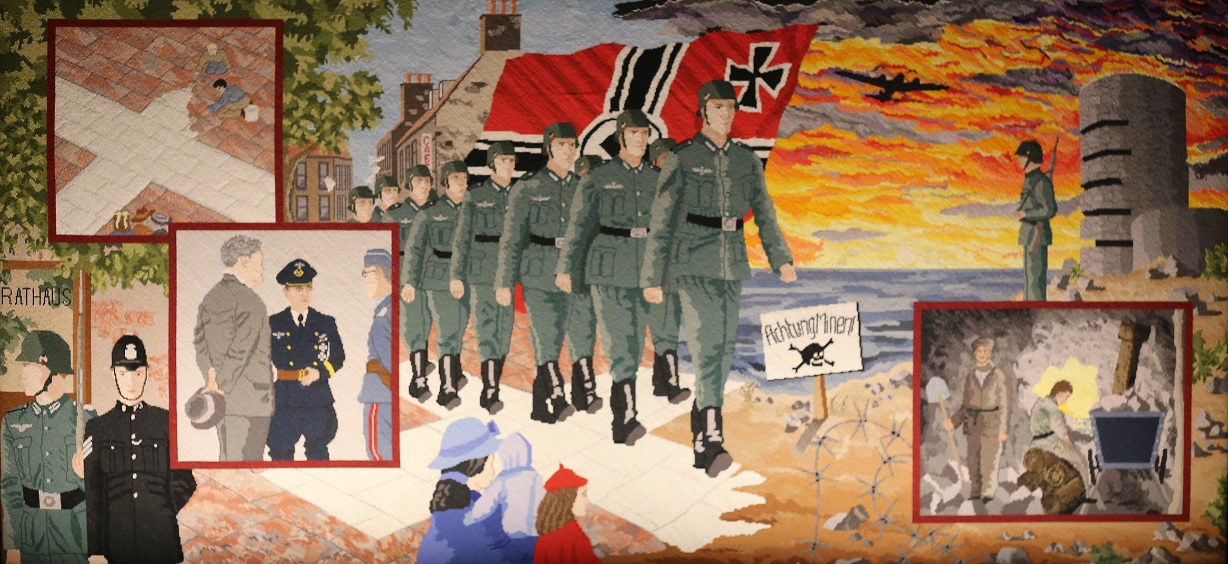
The Occupation Tapestry was the biggest community art project ever undertaken in Jersey, and made by Islanders for Islanders. It was conceived in order to tell the story of what life was like during the five years of German occupation

The original idea about creating a tapestry came about when, in the lead-up to the 50th anniversary of the Liberation, suitable projects were sought which would have a enduring life after the anniversary.

In a collaboration between Doug Ford, who worked for the Jersey Museum, and Wayne Audrain, a local artist, the tapestry evolved from a single panel to the twelve panels, each of which depicted a scene of local life during the German Occupation. Each of these panels was designed by Wayne who gave guidelines on colours to be used on the key elements of the panels to ensure consistency.

Each panel was then woven by one of the twelve parishes which make up the Island, following those guidelines set by Wayne. They did, however, have a degree of flexibility, and could use their own artistic talent in the colours used in the skies and sea .

What is amazing about the project is that although there were a core of “stitchers” in each parish, over the few years that it took for all the panels to be completed, thousands of Islanders, as well as visitors to Jersey, put a few stitches in the Occupation Tapestry panels.

here’s a link for more info about the making of it; https://www.historyalive.je/2017/05/13/occupation-tapestry-jersey-channel-islands-commemorating-liberation-5-years-nazi-rule/#:~:text=The%20Occupation%20Tapestry%20was%20the,five%20years%20of%20German%20occupation.

As each panel measures 72 inches by 34 inches, there are 626,688 stitches per panel. In all, the twelve panels contain 7,520,256 stitches!!

some images of the tapestry;

Occupation Tapestry Gallery | Jersey Heritage | Visit Jersey
occupation tapestry
The Occupation Tapestry, Jersey, Channel Islands - commemorating liberation  from 5 years of Nazi rule - History Alive
jersey tapestry

planning and recording- shoot 1

For this photo-shoot, we decided to take some simple full body portraits with a plain backdrop to avoid anything in the background as we wanted the models to be the main focus.

We took photos of two friends who were our models for this shoot in the studio. In order to successfully complete this shoot we used a big white backdrop so that there was nothing in the background and we could easily edit over them. We took mostly full body shots as our topic is fashion and therefore this will allow us to edit different clothes and outfits over them and stitch into the images when printed.

Experiment 2: Animation

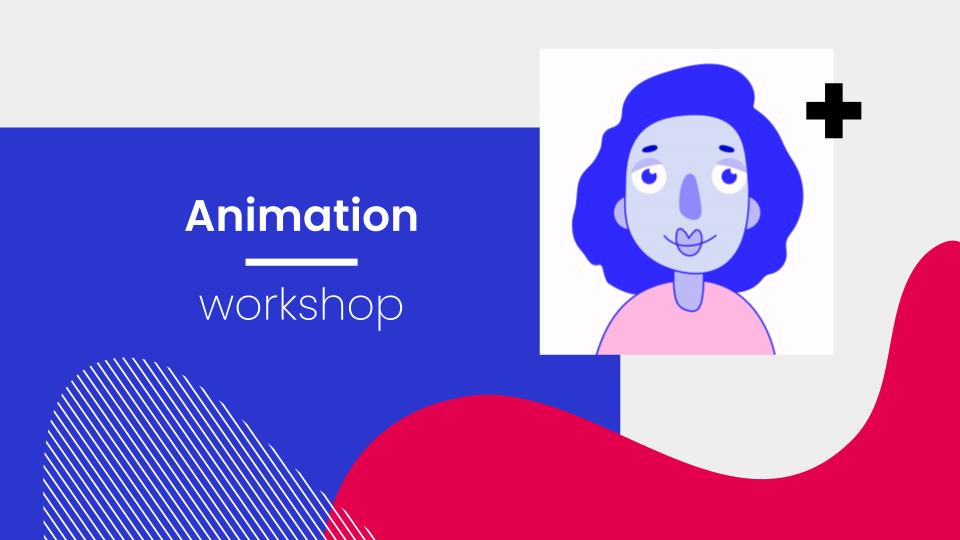
In order to help us with editing our own NFTs, we had a animation workshop with Liam Nunn who specialises in using AfterEffects, that’s a digital software where you can edit videos and create animations. He’s a well known local editor/ animator in Jersey that has recently started his own digital software company called Milk. This helped us get used to the software to make sure we are comfortable with the tools when it comes to editing our own video.

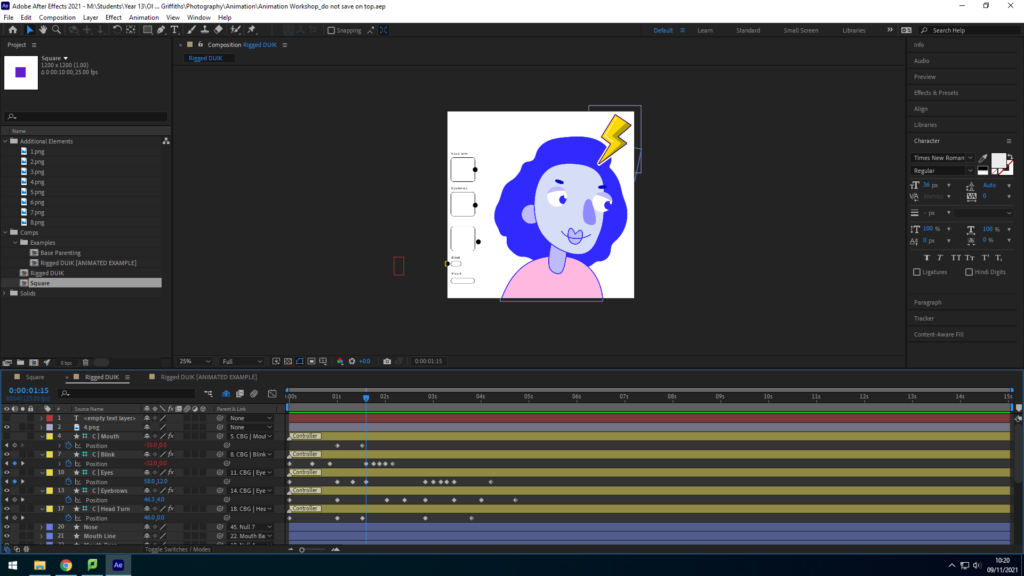
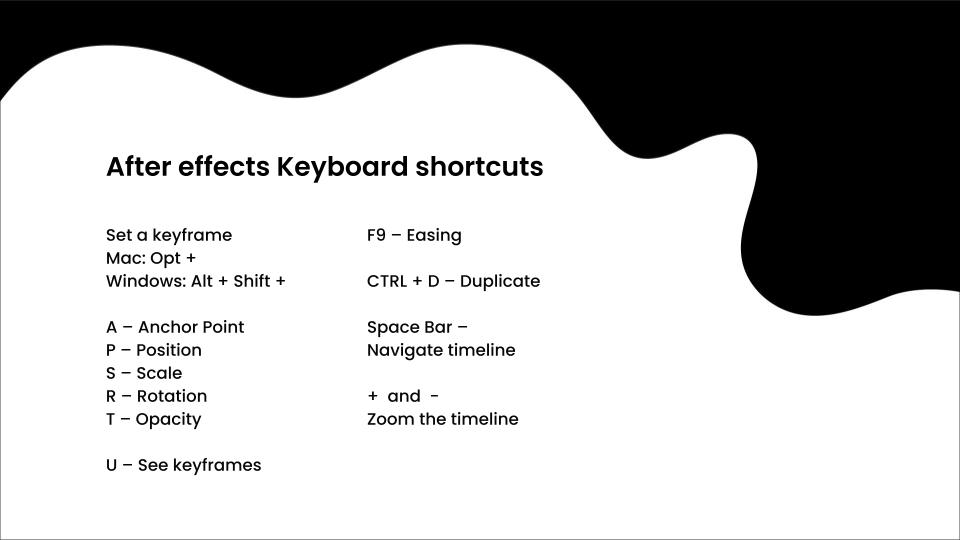
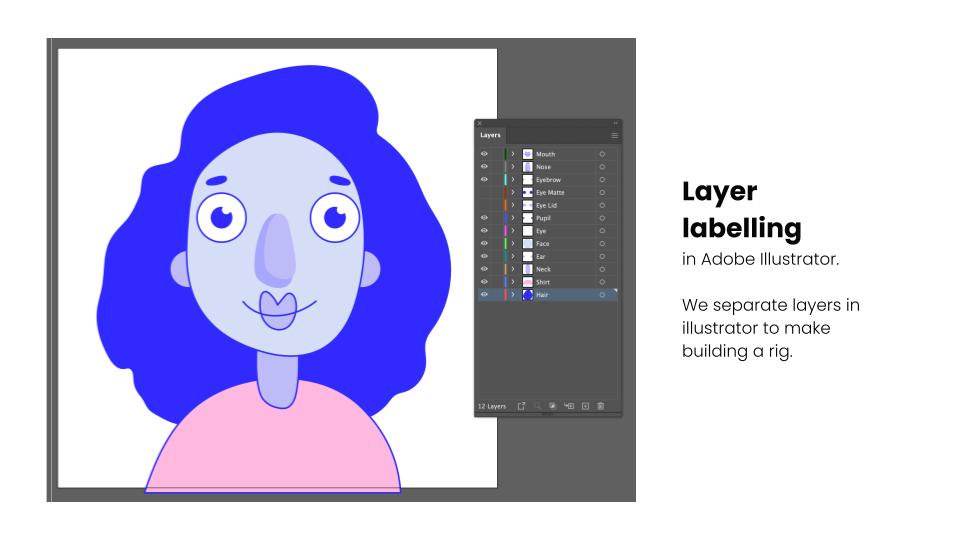
We learnt all about the different key frames and how you use them for each movement you code , which marks the start and finish of each movement. Once we got used to the basics we then got shown how to increase or slow down the speed of the movements of the face as well as getting shown how to use rotations which you plot on each key frame. We used a very simple template that Liam Nunn created for us , and we could change the facial structure and movement of each face part just through sliding the mouse around the screen. Using this template, we were allowed to work on top of his work and plot key frames we wanted to do , such as I plotted a key frame and made a square move along the animated face, clockwise at a 1x speed. I then caused the eyebrows to move from the left to the right as well as the mouth moving up and down. This workshop was very useful as it helped us get to know the way the editing process of AfterEffects works and when it came to using it in the editing process of our NFT project.

Some screen prints from what we worked on;

nft artist reference

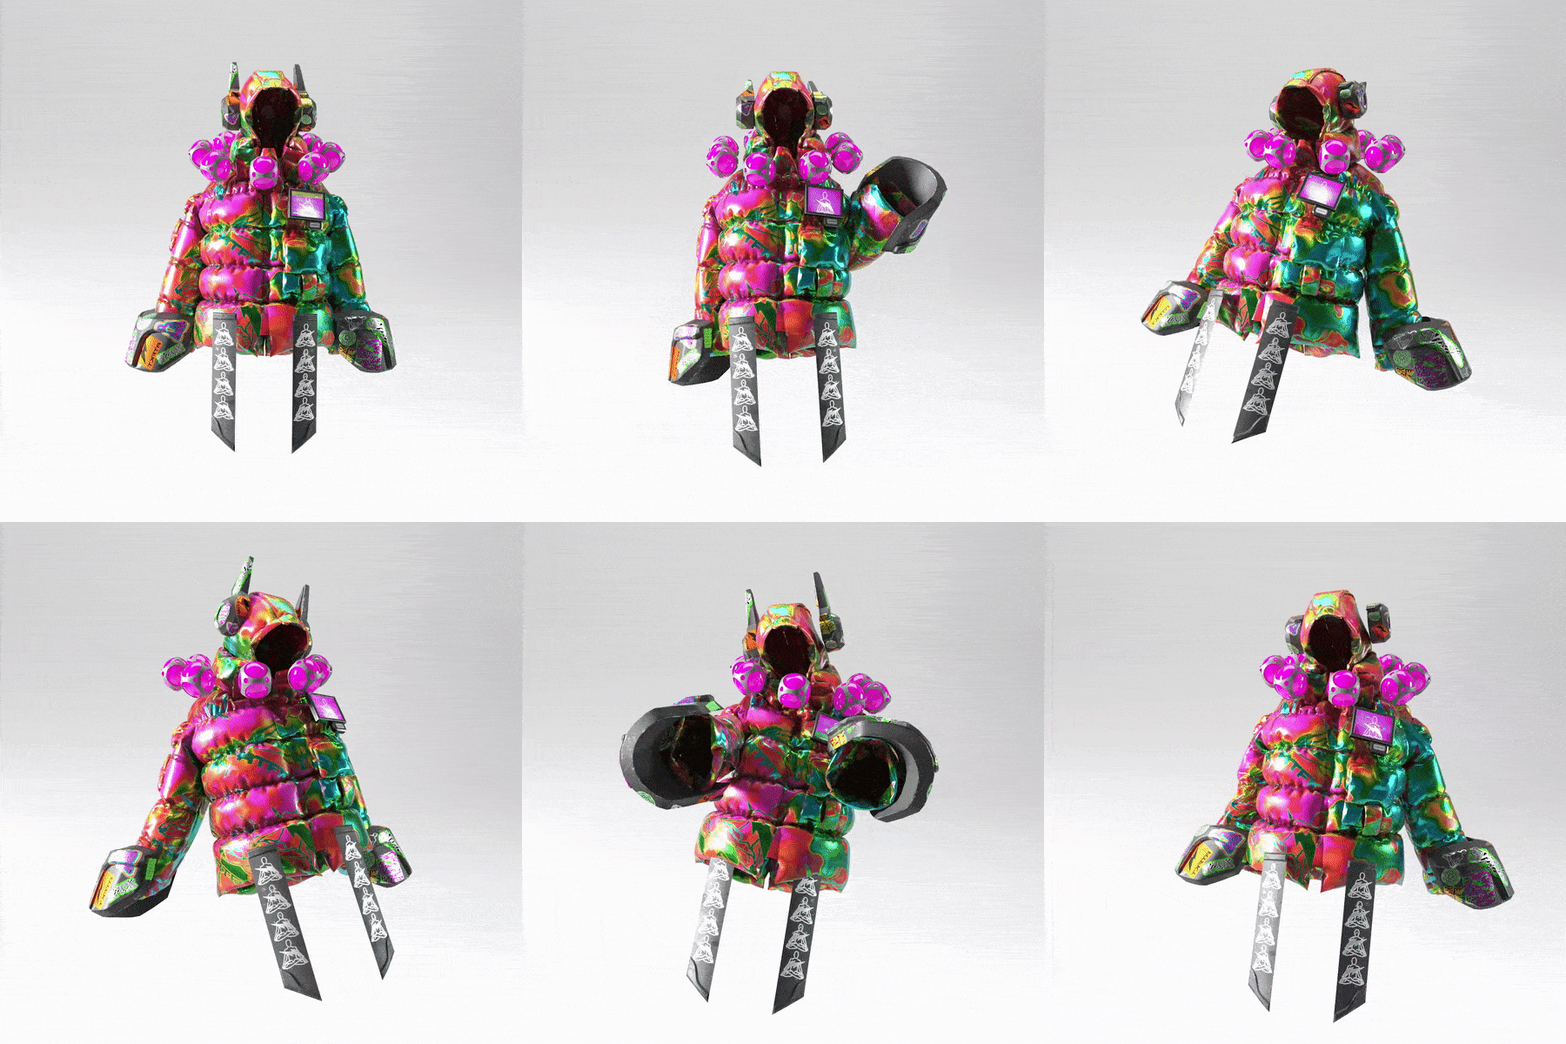
The artist I chose to look at and get inspired by is Toby Evans. He is a NFT fashion artist who designs outfits and different skins digitally and sells them. He produces stills of his designs as well as small videos. His main focus is designing huge coats that are known as the Metajackets.

some examples of his work;

METAJACKET RTFKT NFT fashion Toby Evans
The METAJACKET: RTFKT X Toby Evans – Sold for 14 $ETH Source
Immaterial gains: the NFT boom comes for fashion | Financial Times

As this isn’t an actual photograph it’s quite difficult to analyse it as it’s just a design for the fashion NFT community. However Toby uses a lot of colours when it comes to designs to make his outfits stand out. He mainly focuses on winter styled outfits , such as his most famous creation the metajacket, which is a huge chromo like puffer jacket with loads of pink and green highlights. The purpose of his work is so people can buy his creations digitally and own it as an asset instead of buying it at a store.

here’s a link explaining how fashion artists like Toby find themselves in the NFT fashion community- https://vagazine.com/blog/crypto/real-life-nfts-in-fashion-and-opportunities-for-creators/

Using him as a reference will help my team when it comes to thinking of ideas for designs as we will have to create them ourselves and put them digitally on our models that we use in our photo shoots.

statement of intent

After we brainstormed some ideas of the different communities in the world, we decided to focus on fashion as it has such a big impact in real life and online. We think that in the future fashion will have a huge impact on the metaverse as people will probably buy outfits online and have them stored digitally instead of wearing them.

For this project we are going to design a 3 minute animated film , in this animation we want to show sustainable fashion and the impact it has on the world and digitally. For example we will photograph individuals and then digitally edit outfits over them or stich into the photographs. We want to explore loads of different editing ways such as projecting the outfits onto people or using photoshop to do it.

CONCEPT: What will the future of Jersey look like as a community in the metaverse?

What is a metaverse? The word “Metaverse” is made up of the prefix “meta” and the stem “verse”; the term is typically used to describe the concept of a future iteration of the internet, made up of persistent, shared, 3D virtual spaces linked into a perceived virtual universe.

3 words; online , different, digital

a sentence; a place where any community can interact with one another or buy/sell anything digitally

a

CONTEXTUAL STUDY

What is an NFT?

NFT means Non-Fungible Token representing a digital
file/item. Every NFT has its own identity and characteristics, and every digital file can be classed as an NFT. The
metaverse is the complete virtual twin of our physical
world, and it’s the total amount of all the digital assets
that live in the web and on the blockchain, creating a digital ecosystem.

2 LIVES is the first exhibition ever that aims to educate and connect traditional art to digital art
and the finance world to the art world, by showcasing NFTs through their multi-businesses opportunities
to artists, students, curators, collectionists, stakeholders, creators and whoever involved in the NFT space.

NFTs in art- NFTs for artists are the means by which they can create and sell their own art, keeping independence from someone else (a manager or a client) or an institution. This also enables the artist to have complete freedom on their art as they dont have any contracts or requests upon their art.

The metaverse; The metaverse is the complete virtual twin of our physical world, and it’s the total amount of all the digital
assets that live in the web and on the blockchain, creating a digital ecosystem. The Metaverse is a collective virtual shared space, created by the convergence of virtually enhanced physical reality and physically persistent virtual space, including the sum of all virtual worlds, augmented reality, NFTs and the Internet.
You can access the Metaverse through a VR oculus, entering the virtual worlds mentioned before. This is the future of meeting, creating communities, socializing, working and playing.

Some examples of famous NFT and digital artists;

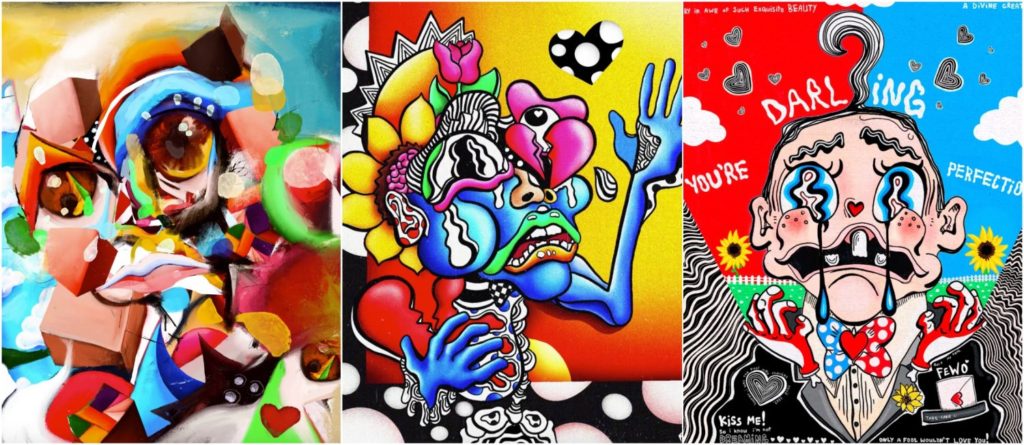
  1. Fewocious- Known as one of the world’s leading digital artists, the 18-year-old has staged multiple successful solo releases, as well as two groundbreaking NFT space collaborations 

2. VeeFriends – the name of Gary Vaynerchuk’s NFT collection. He created VeeFriends to bring to life his ambitions of building a community around his creative and business passions using NFT technology and their smart contract capabilities. By owning a VeeFriend NFT, you immediately become part of the VeeFriends community and get access to VeeCon. 

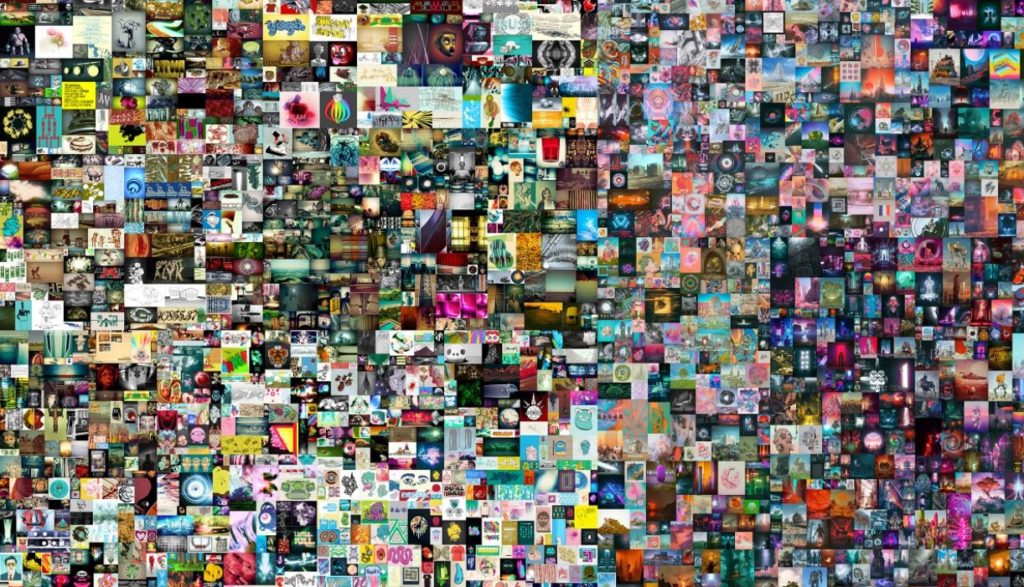
3. BEEPLE-  Mike Winkelmann, better known as Beeple, has sold the most expensive digital artwork in history, The First 5000 Days, sold for $69 million. It’s part of an explosion in the market for NFTs — tokens that prove ownership of things like digital art that you can’t even touch

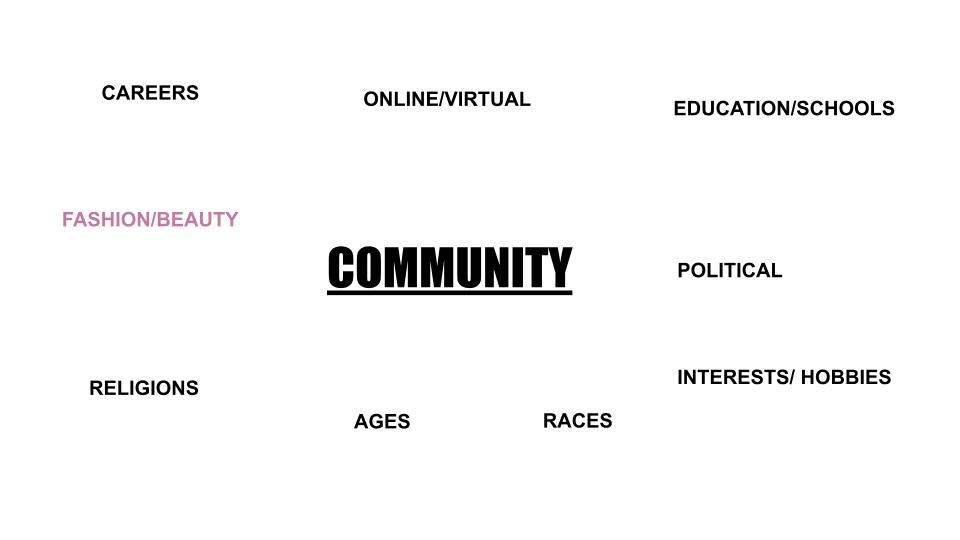
MIND-MAP and mood board

A community of the future will celebrate diversity, equality and inclusion and propose a new digital world; a metaverse where everyone is equal regardless of class, race, gender and age. A digital ecosystem that transcends all virtual identities into a utopia for peace, prosperity and progress.

We chose to do fashion for our group project as we all think the fashion industry is one of the biggest communities and has one of the biggest impacts on our planet AND the media. I then created a mood board for this theme as we want to focus on different decades in the fashion history as our focus and question is how do we think fashion will look like in the future and on the metaverse?

editing on InDesign

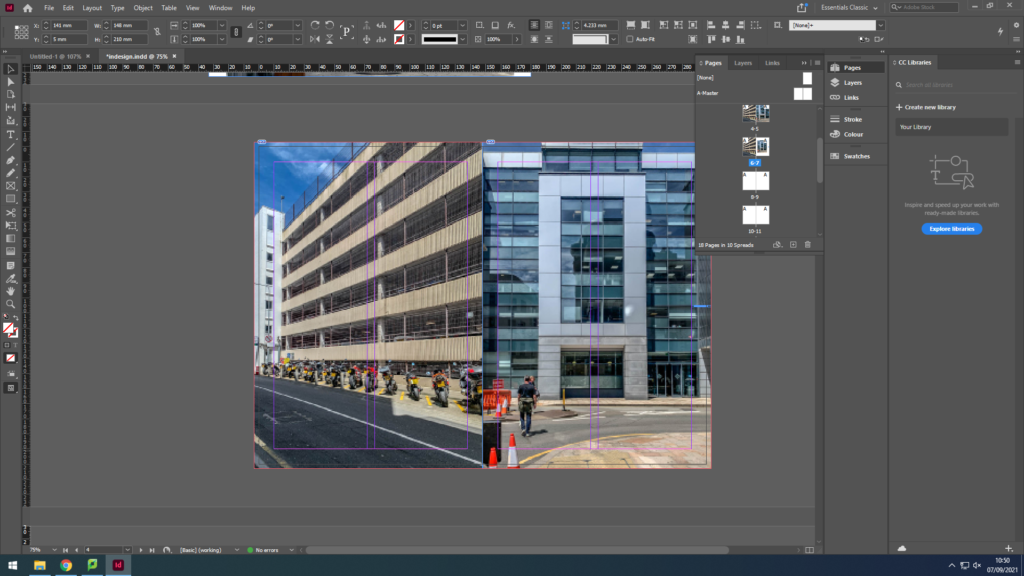
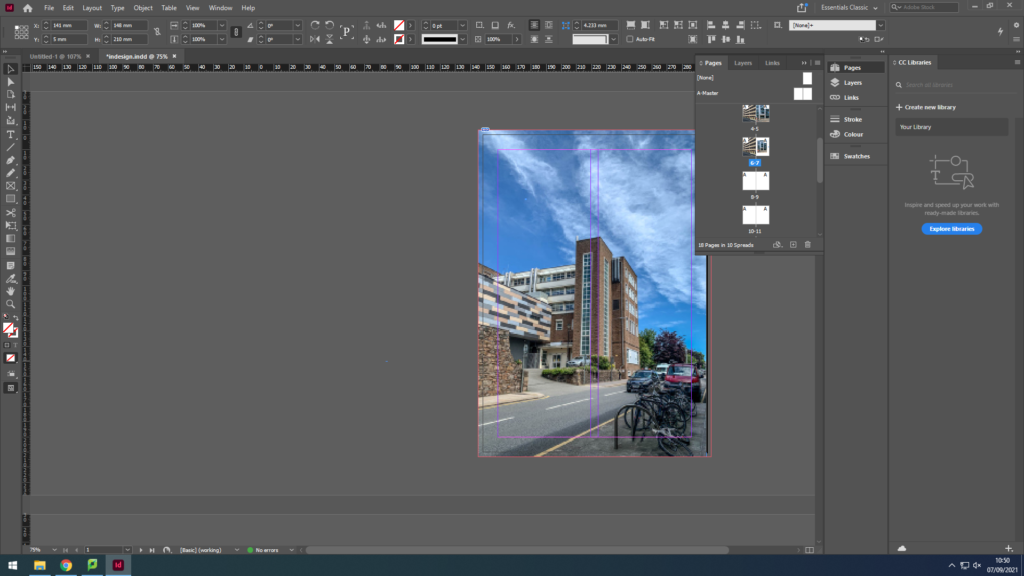
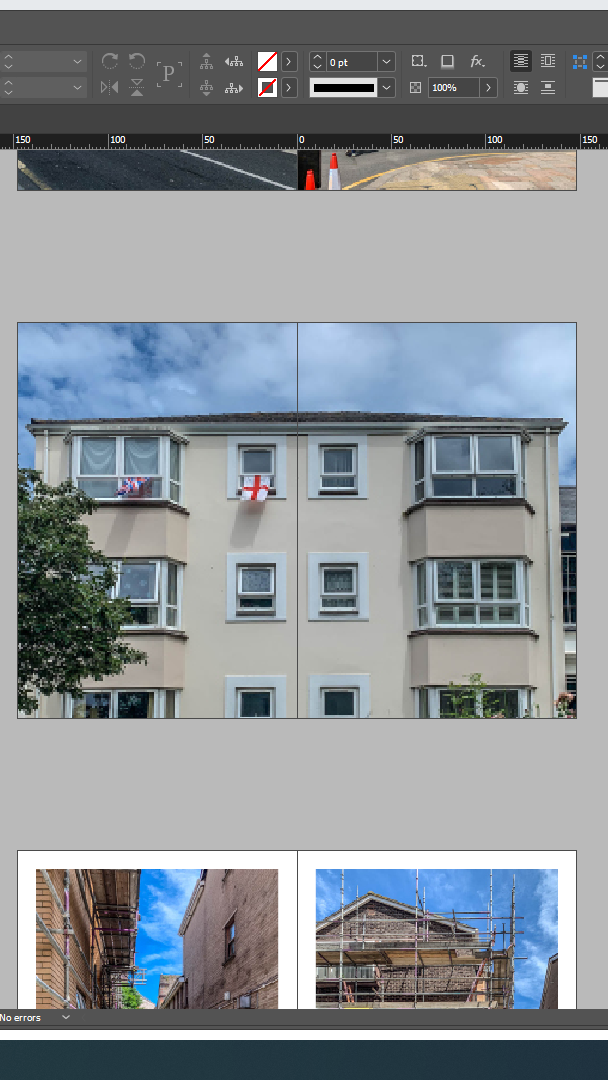
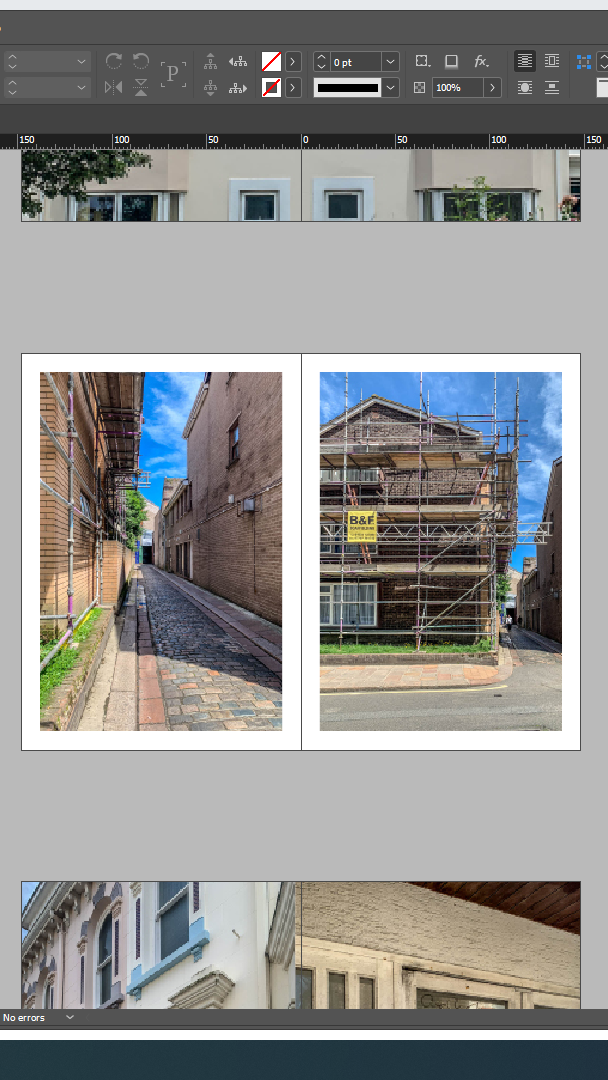
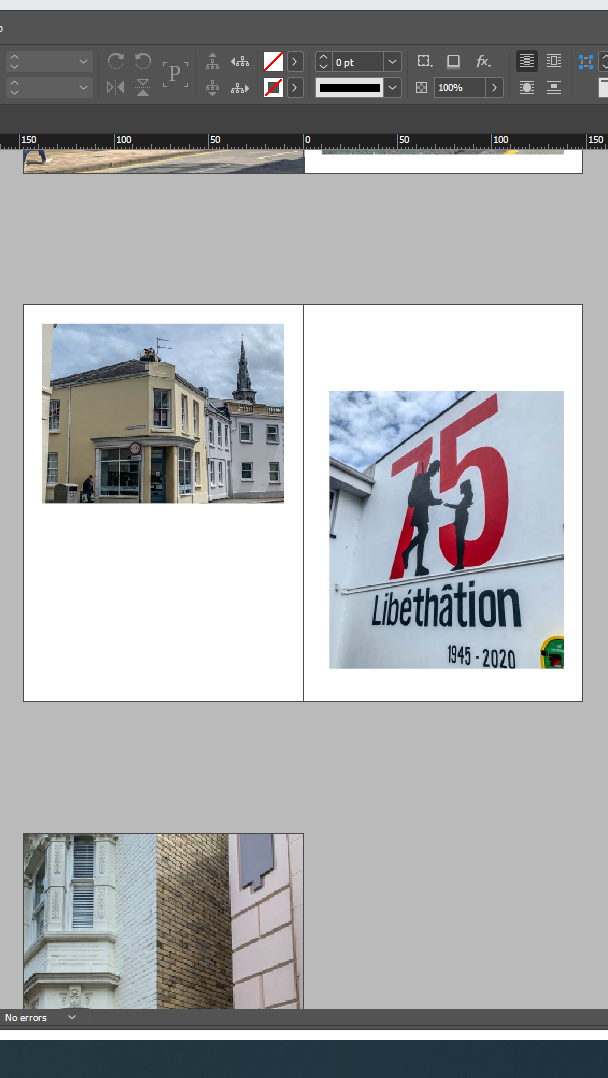
To start off my scenes project, I have been editing everything on InDesign. This software allows me to create a small booklet of all my chosen photos I wanted to use as seen in my previous blog posts that I have edited through Lightroom. Here is my process of how I created my small booklet;

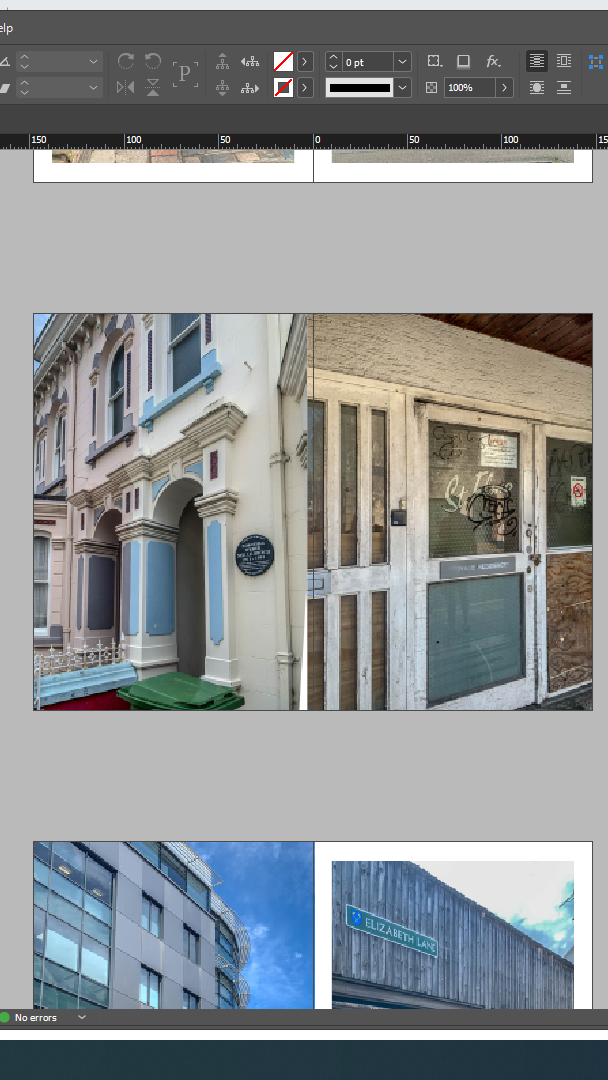
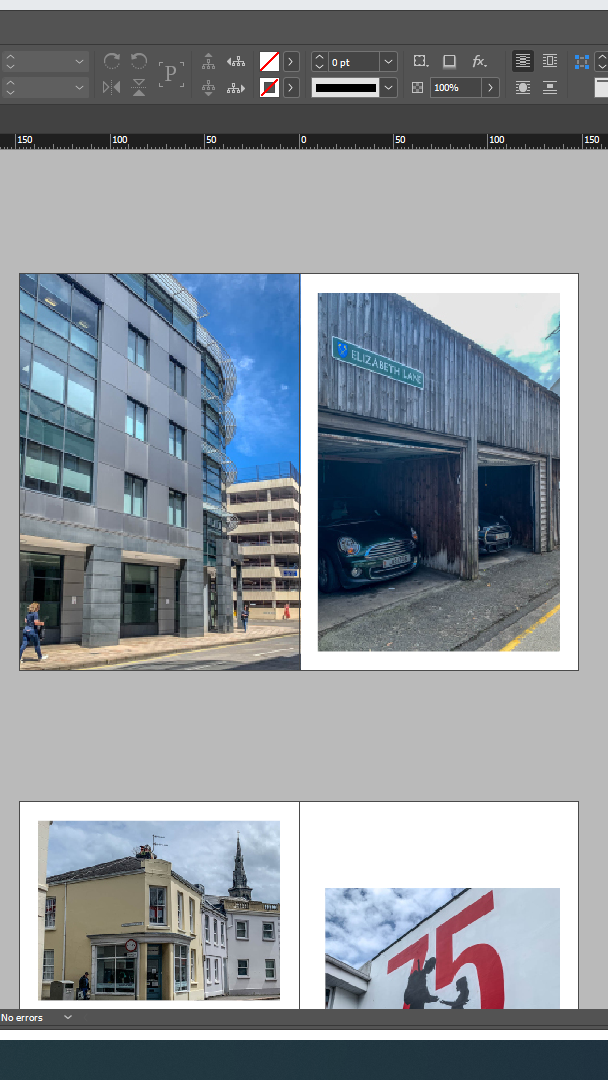
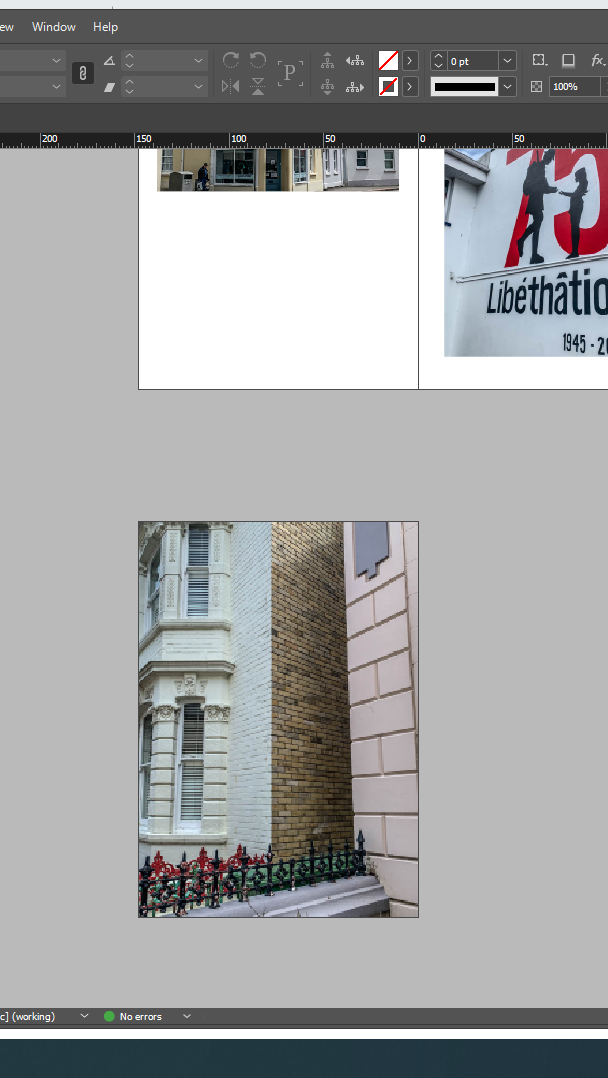
First of all, I had created 16 pages and make sure all the measurements were correct when setting up the layout of m small booklet. I then inserted all my images on each page using a square drop tool and clicking Ctrl + D to insert my photo, which I previously planned out when I created a paper copy version of my scenes booklet. This allowed me to not waste time and already have the order of my images ready and figured out. it took me a while to figure out what size I want my images to be as I had the options of making them really small and position them anywhere I want or make them full bleed which covers every cm of the booklet. I wanted to make sure I have an even amount of sizes distributed across my booklet- where I made some pages full bleed and on the remaining pages I left a white border around the images.

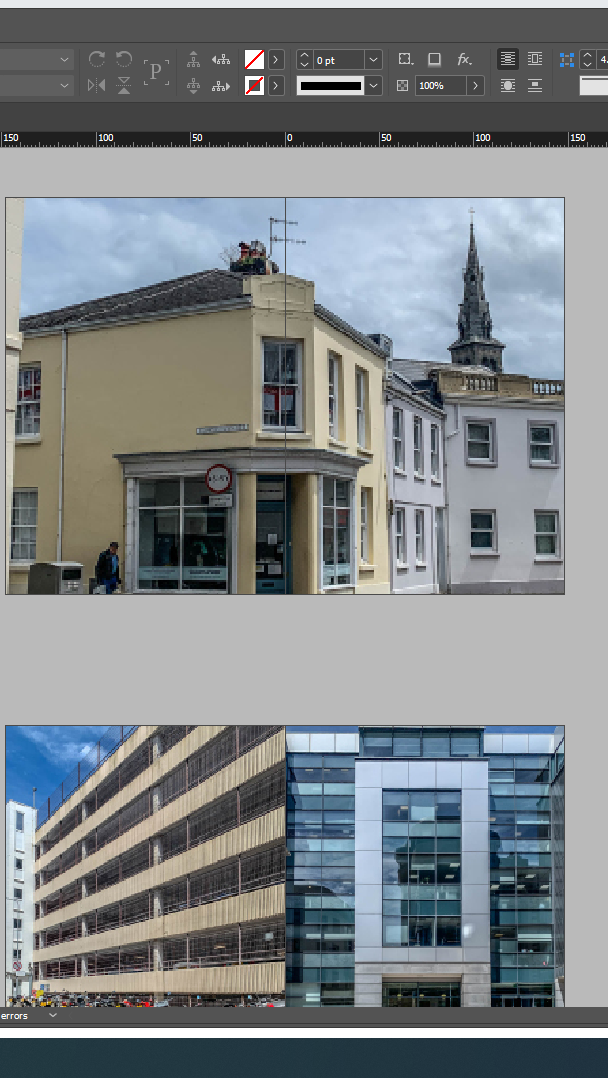
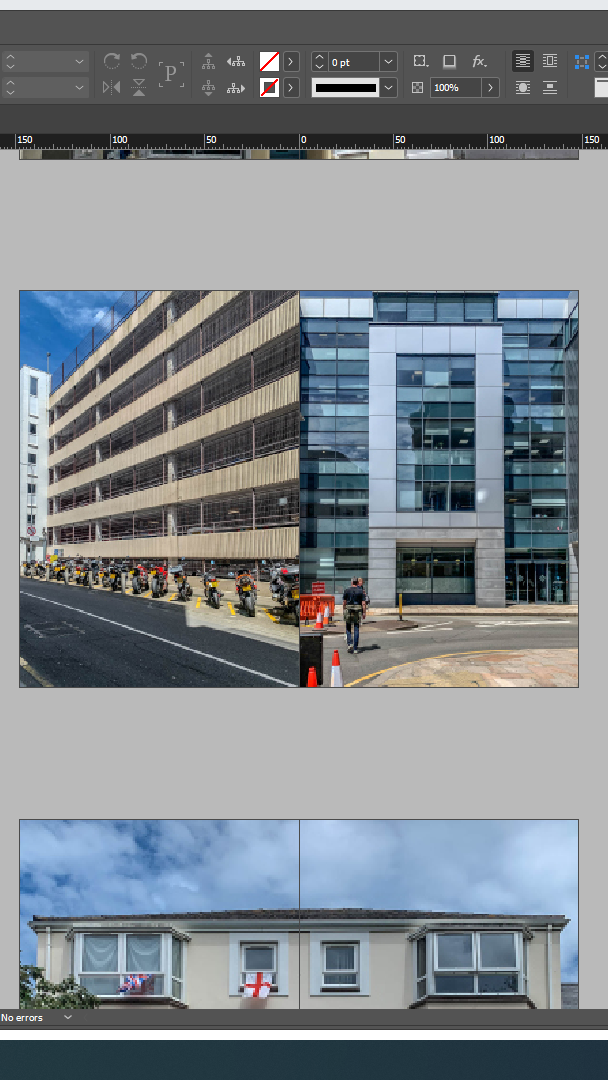
As you can see it took me a while to figure out whether a full photo or white border looked better which is my I normally copied and pasted my pages several times to experiment with the images and see which one I like more and then delete the duplicate copy of it which I no longer wanted. I think it’s important to have a variety of different layouts to make the booklet interesting and not be very repetitive as I think that can be quite boring sometimes for the viewer if they’re consistently flicking through the same page layout.

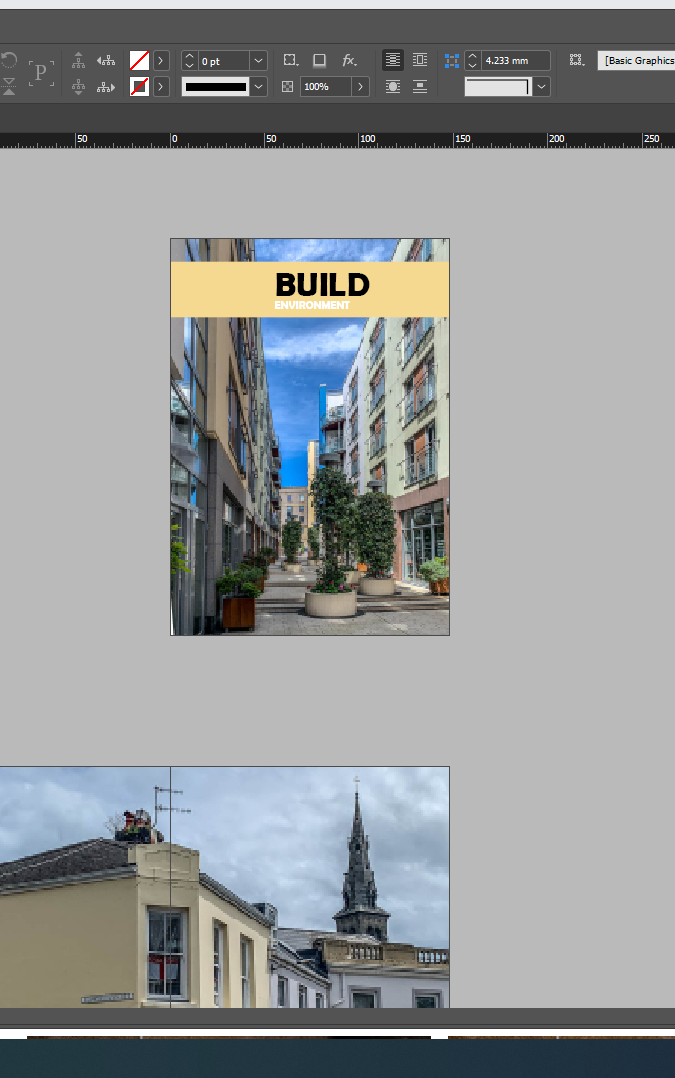
this was my front cover to start off with however I completely changed it after experimenting with different images and realising I had more interesting images to use as the first page which I then added a title on top of as well as a collum block to add some colour. here is the finished front cover…

once I was finally happy with every image on the page I made sure I had a variety of different layouts which ill insert here;

and that is my finished booklet with 16 pages, all edited and with different image layouts which I created on InDesign.