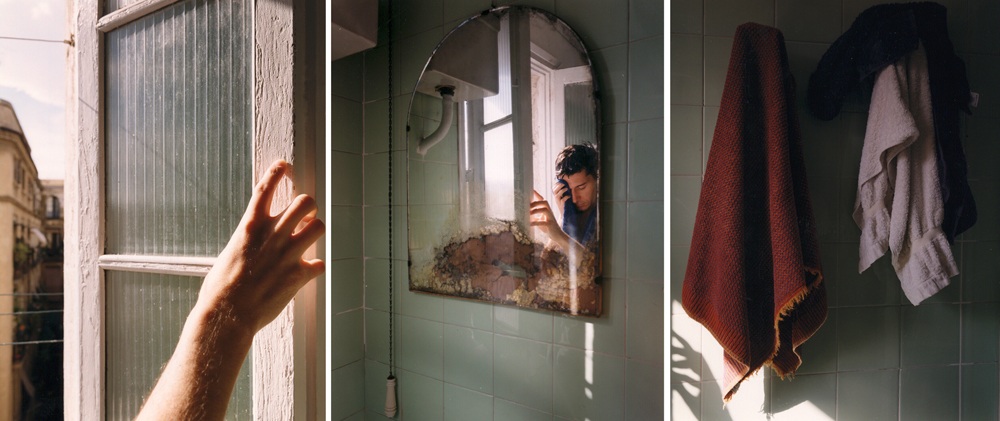
Photoshoot Plan
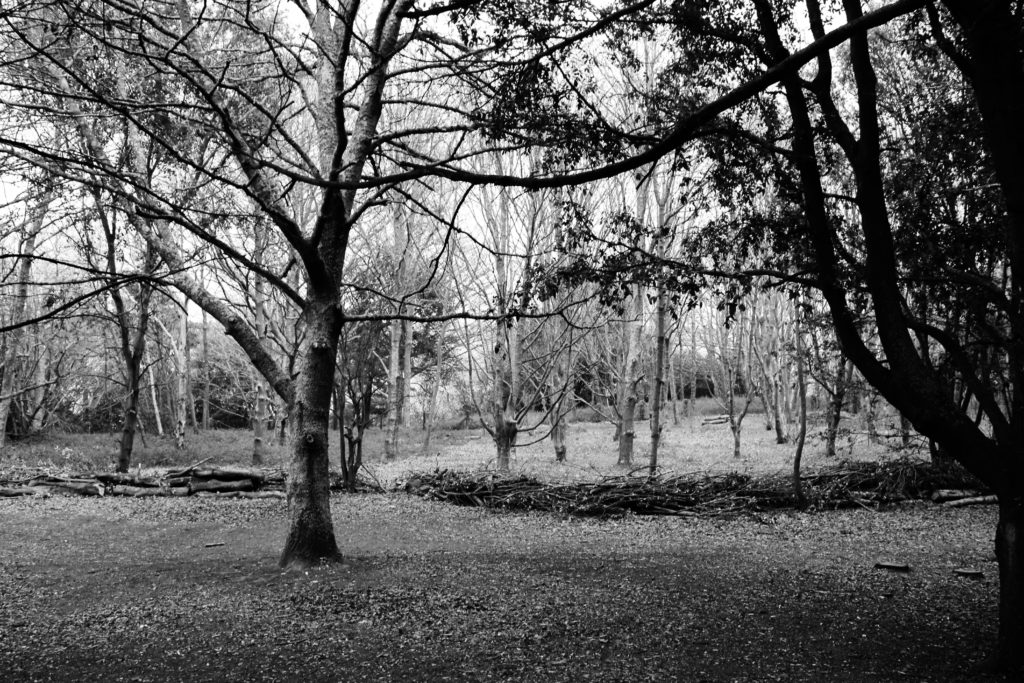
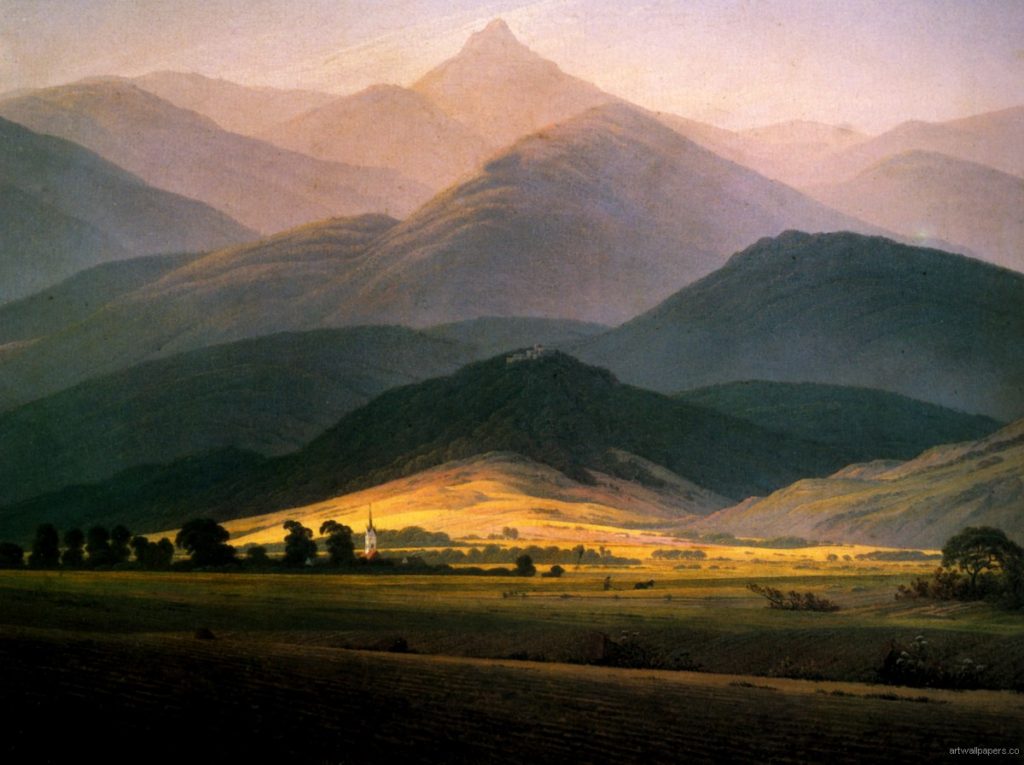
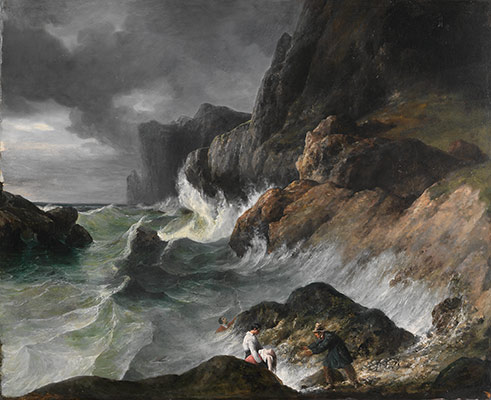
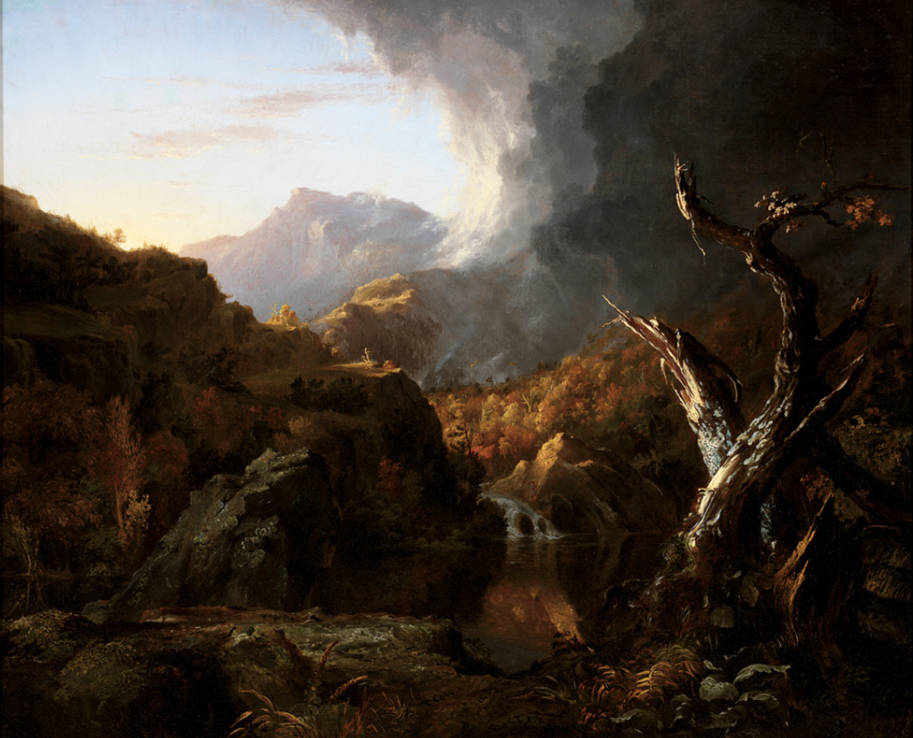
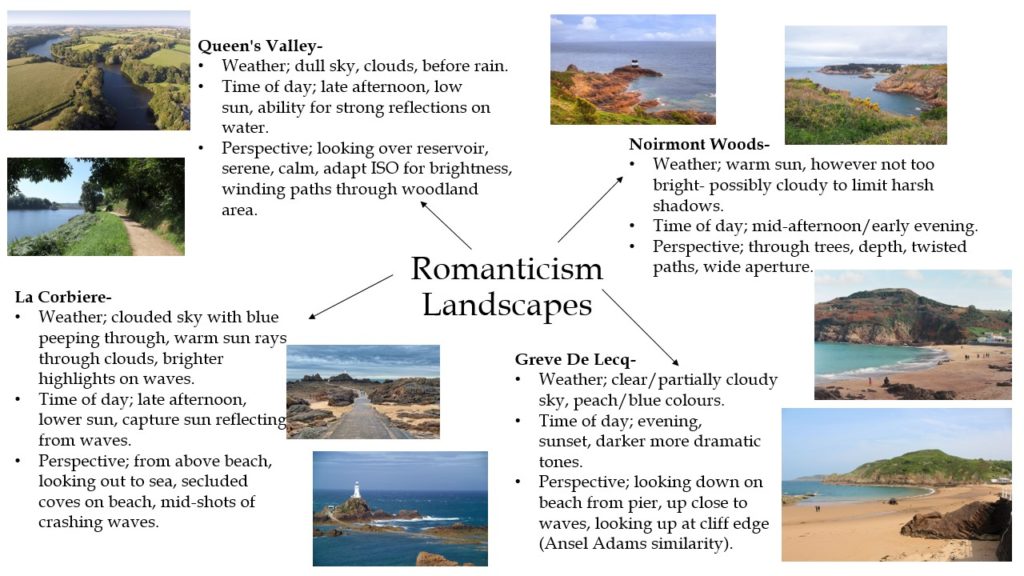
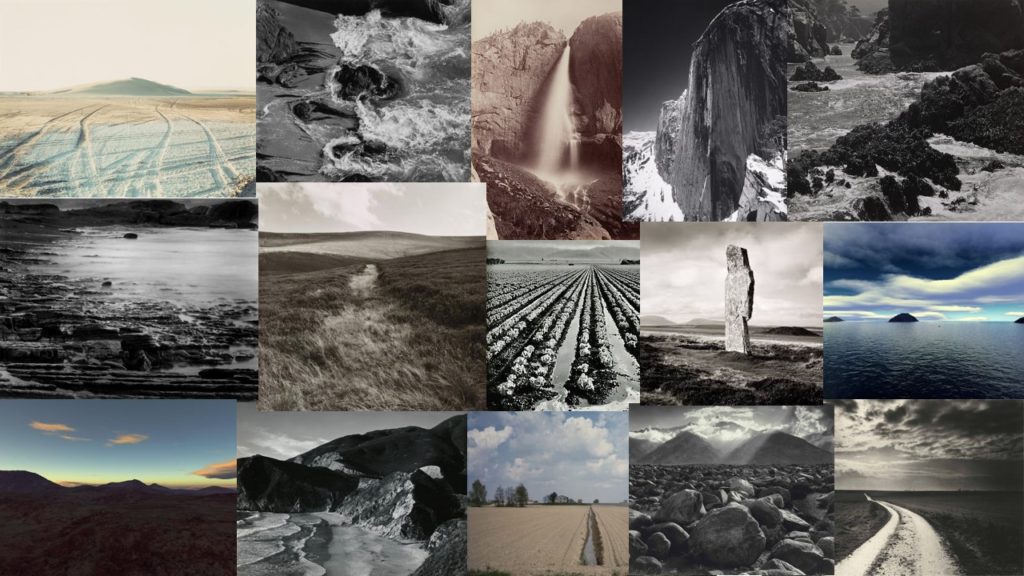
What – My plan is to photograph landscapes around Jersey that link to Romanticism- focusing on the coastline, woodlands and areas with dramatic weather changes. My idea is to capture images from contrasting perspectives, for example through trees, to experiment with how this effects the depth of an image.
Where – I aim to capture these photographs in locations such as Greve De Lecq beach, Noirmont woods, Queens Valley Reservoir and the coastline at Corbiere. I believe these settings will hold romanticized areas that will show the beauty of nature, for example cashing waves, dense forests etc.
When – I plan on conducting these photoshoots over the span of a few days to take advantage of the different weather forecasts. I aim on capturing clouded skies, sunsets, clear skies and dusk to explore how the range of the time of day images are taken effect their quality and the atmosphere they create.
How – To take full advantage of the differing lighting in my images, I plan on experimenting with the ISO on my camera as well as changing the white balance to suit the area I’m photographing. I will also change the image’s perspective by getting lower to the ground for some shots, and then higher looking over the landscape for others.
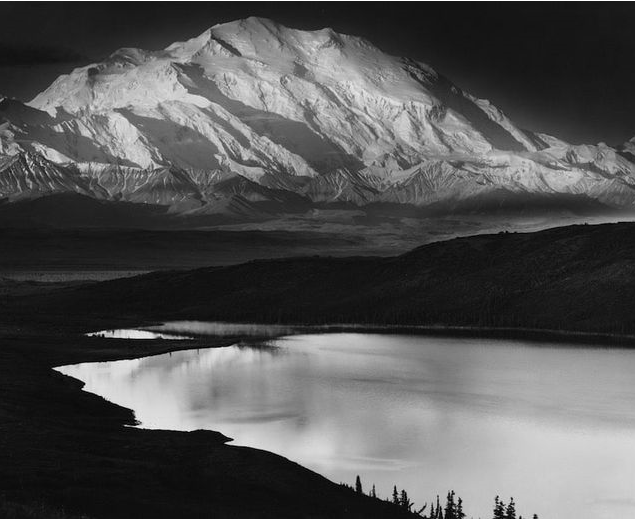
Why – I am conducting this romanticized rural landscape photoshoot to explore the secluded, natural environment of Jersey, capturing images relating to photographers such as Ansel Adams. I want to create drama and atmosphere in my images which I hope to do through the use of vivid contrasts and wide depths of field.
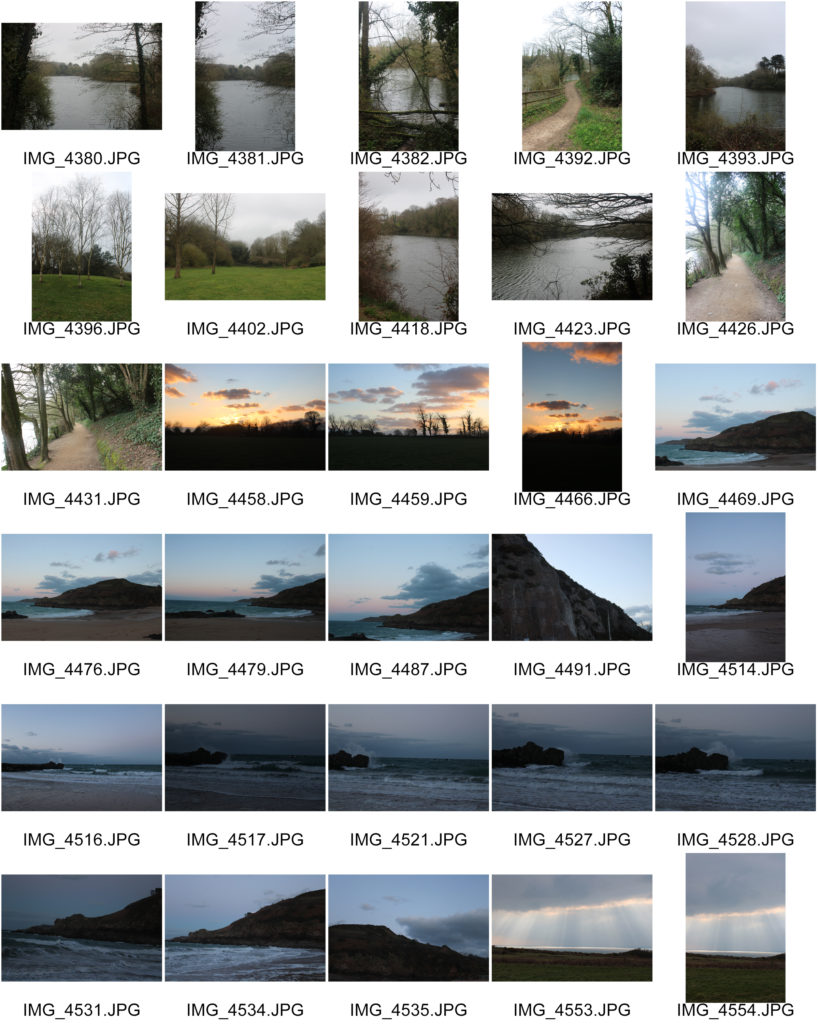
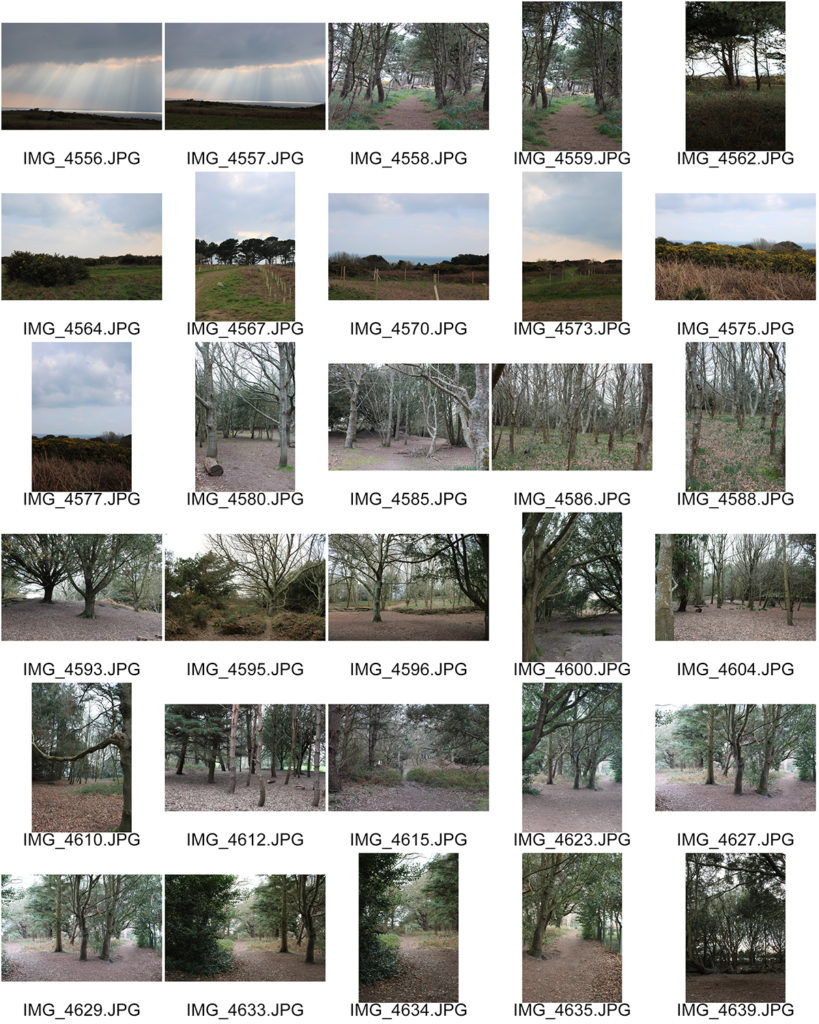
Contact Sheets
Edited Images
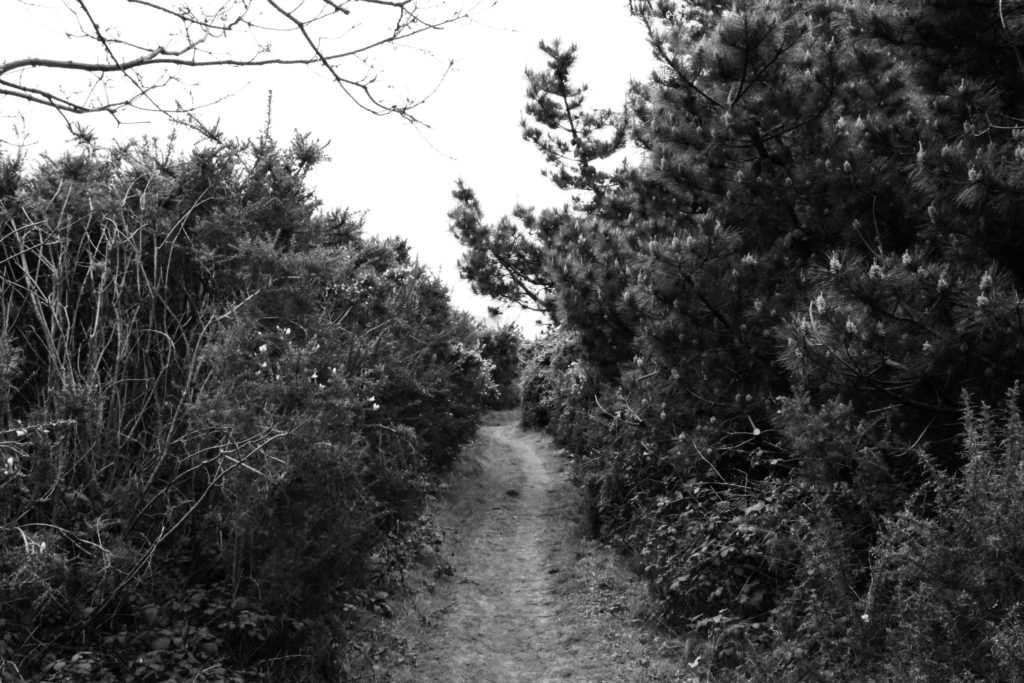
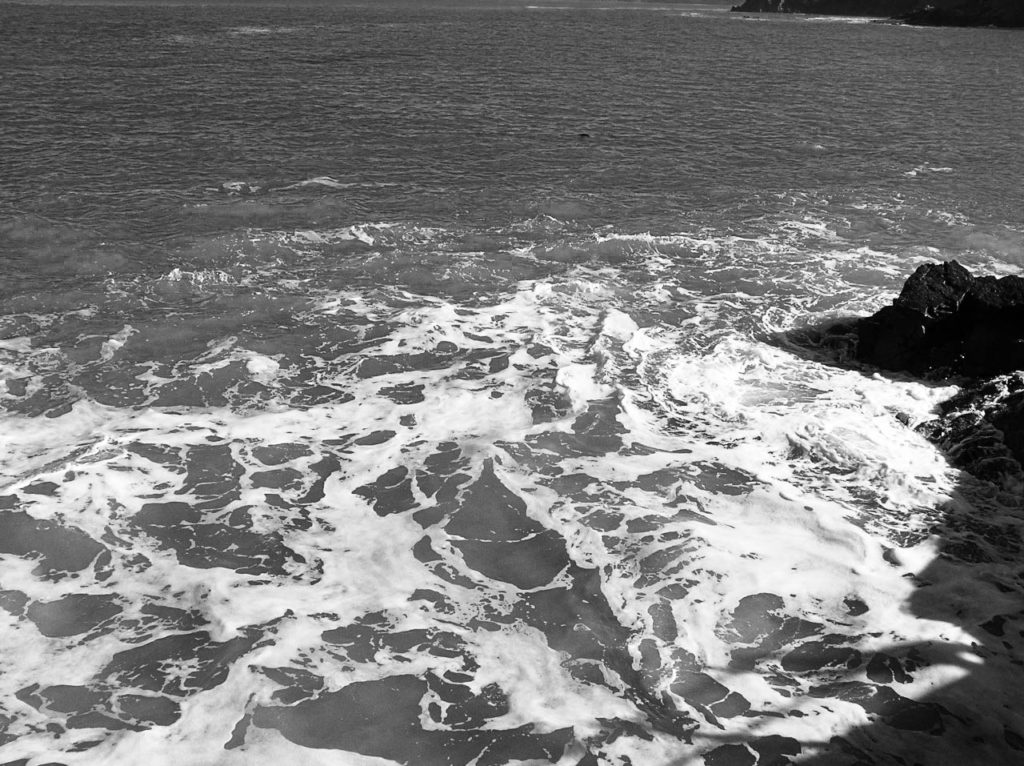
During my editing process, after my first selection of favourite images, I experimented with adding a black and white filter. I did this in order to reflect the work of Ansel Adams, emphasising the dramatic dark and light tones I have captured. I really enjoy how these images look when black and white as I believe that the unsaturated filter adds a mysterious, impactful atmosphere to the images, demonstrating the natural world as a climactic experience for society to view. Additionally, making these images black and white has exaggerated the impression and emotions that these locations have surfaced- similar to the way Adams expressed his feelings on the surroundings of Yosemite National Park.
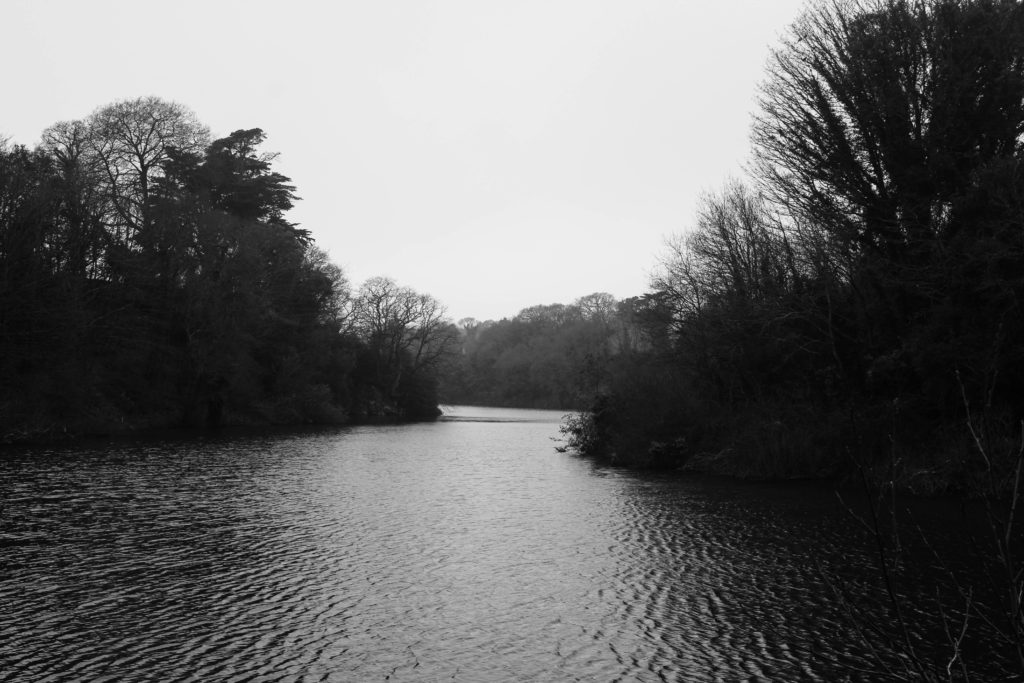
Final Image
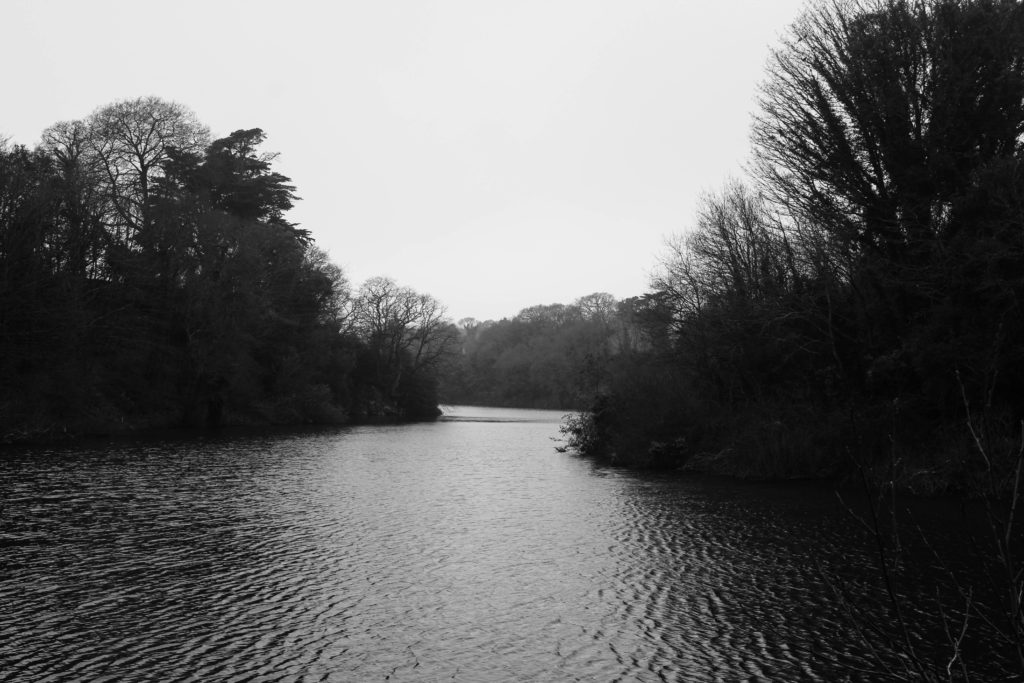
I chose this image, taken at Queen’s Valley Reservoir, due to its wide range of tones, textures and interesting composition. The first element of my image that I really enjoy is the perspective it’s taken at, looking along the reservoir. I believe this composition forms a thick leading line from the foreground to the background of the image, guiding the observers eyeline through the landscape as it disappears into the distance. The wide depth of field that I have captured by experimenting with aperture settings exaggerates the vast scale of the landscape, creating a gripping atmosphere. Furthermore, my composition uses the rule of thirds as the foreground shows the glistening water surface, the middle of the image shows the span of dense trees and in the final third we see the bright sky. This composition technique reflects the landscape photography of Ansel Adams, emphasising the beautiful elements of the natural world in different stages- water, earth and air. Additionally, I really love the way the natural sunlight creates dramatic highlights over the water and shadows across the trees. This contrast in tones shows evidence of Ansel Adams’ Zone System, demonstrating zone 1/2 for the reflection of the trees on the water’s edge (as it is clearly the darkest point of the image however minimal texture can still be seen), and zone 8/9 on the water’s surface. This lighting/range of highlights and shadows creates a rippled texture across the reservoir which contrasts with the spiked texture of the tree tops. I used Adams’ Visualisation technique to imagine how this difference in texture would compliment each other, showing the fascinating patterns nature can make.
Ansel Adams Comparison
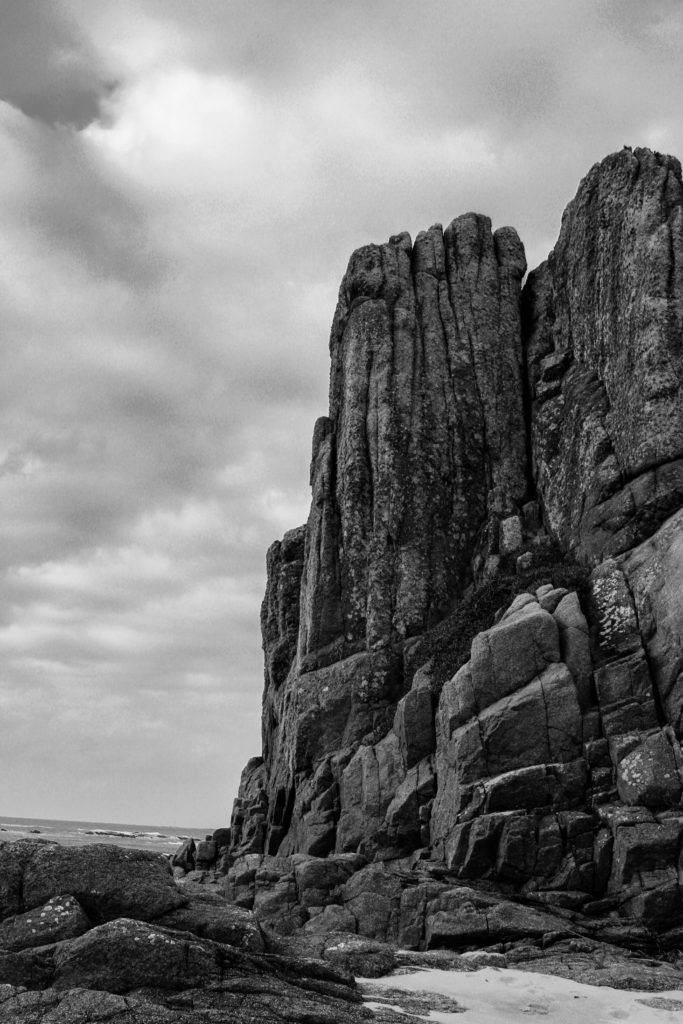
My Image 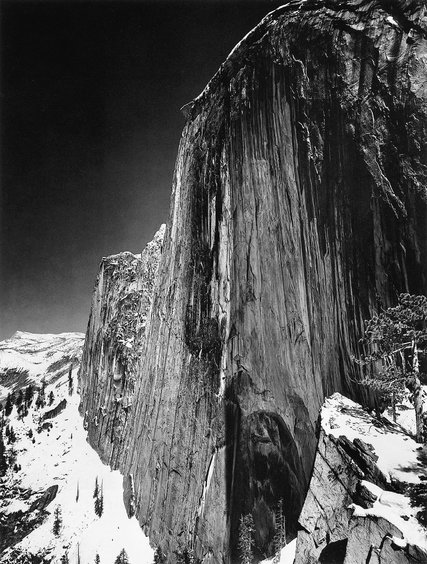
Adams’ Image
I have chosen to compare this image of mine to Ansel Adams’s “Monolith, the Face of Half Dome, Yosemite National Park,” 1927 due to their similarities in composition, subject and also their differences in texture and depth. I captured this specific image at La Corbiere Beach as it is a special place on the island for me and my family, full of nostalgia and childhood memories. It is clear Yosemite National Park was a special place to Adams as it was the main location for most of his landscape photography. Both images share similarities in composition, but both have independent aspects that make the images unique and contrasting, despite both being of rock-like structures. In my original image I captured the structure from a lower perspective in order to make it appear a lot taller than it was, which is a common technique Adams used in his work. Additionally, there is a similarity in the texture of the rock formations with both holding leading lines that fall down the edge of the cliff face. These irregular lines in Adams’ image, while they don’t reflect physical movement, emphasize the vast height of the mountain and create an effect as if the structure is growing taller and taller. In comparison, my image holds a rougher more jagged texture, as the leading lines have more jolted edges and sides- showing how the power of nature can manipulate the shapes and atmospheres of our surroundings.
Furthermore, there is a contrast within the colour and texture of each image’s sky which create differing moods. In the background of Adams’ photograph, he has captured a dark area of negative space making the sky seem as if it is an empty void, with little to no texture. Whereas in my image, I have captured the soft fluffy texture of clouds that disappear into the background creating a wider depth of field, as well as a brighter tone showing the main highlights in the image compared to Adams’ sky as his darkest part. However, I have taken inspiration from Adams’ Zone System in order to help me visualise the dramatic contrast in dark and light tones that I wanted to capture. For example, I have photographed zone 8/9 in my skyline which stands out behind zone 2/3 seen in the tones of the rocks. To create this effect while conducting my photoshoot I experimented with the ISO and shutter speed settings on my camera, this really helped me when editing my images in photoshop as I already captured quite dramatic differences in tone. Similarly, in Adams’ image we can see zone 0/1 in the dark abyss of the sky which contrasts greatly with zone 9/10 seen in the luminous white snow. These aspects of both images mirror the excitement and awe felt in each location, demonstrating how the beauty of nature comes in several forms, though similar; entirely different.


