Inspiration
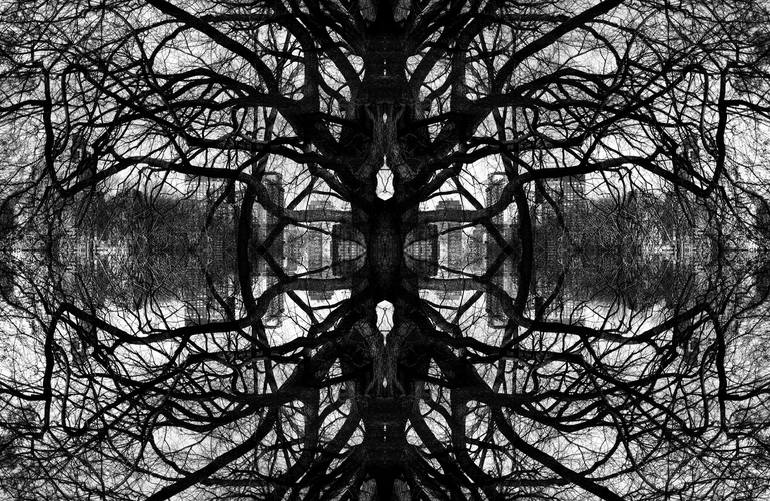
This image was inspired by the following photograph:
This image is of an artists called Marco Andras who explored Kaleidoscope photography.
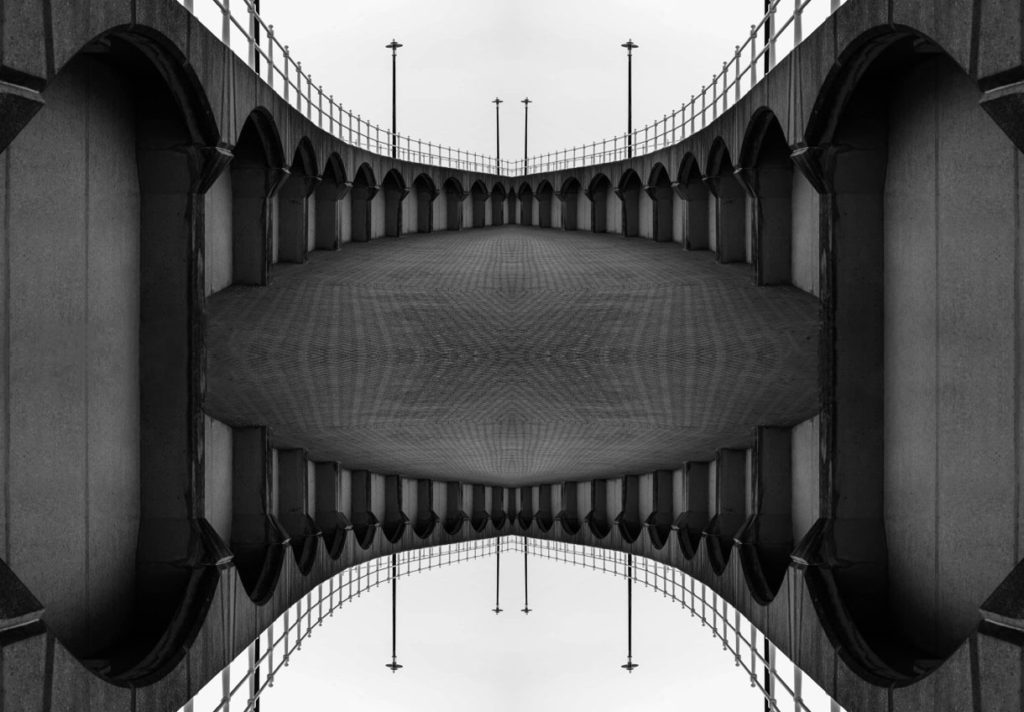
In my image I attempted to create a similar look and feel to Marco’s image. In similarity, both our pictures are taken outside, use natural day lighting, are in black and white, have harsh shadows and dark tones and is uses both vertical and horizontal edits to create a Kaleidoscope image.
This image was also inspired and selected by my project about Alber Renger Patzsch
Tutorial:
Step 1: Open photoshop and select the image you want to use.
Step 2: Select > All, then CTRL + C
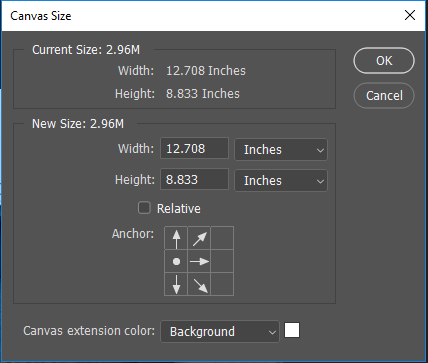
Step 3: Go to Image > Canvas size. A window like this one should pop up:

Then, multiply the width by 2 and input what you got in the width section. After that, anchor the image to whatever side you want it to go then press “Ok”. P.S. You can change the image location through the Move tool.
Step 4: CTRL + V then move the image to wherever suits best.
Step 5: Edit > Transform > Flip Horizontal.
Step 6: Click on the main layer, left click and flatten the image.
Step 7: Select > All, CTRL + C Follow Step 3 but do it for the Height instead.
Step 8: Edit > Transform > Flip Vertical, then CTRL + V.
Step 9: repeat Step 4 then used the duplicate and fix tool to connect the images together to create a feeling that they both go into each other.
Step 10: Go to file > save as, and save your image.

