Over the next two weeks you will be…
- selecting your most successful images (from the abstract unit)
- finalising your most successful images (from the abstract unit)
- displaying your most successful images (from the abstract unit)
So…you must create a set of blog posts that clearly shows your thought process, selection criteria, image enhancement and manipulation, and how you intend to display your final image / set of images.
Selection Criteria
Focus…is the image(s) in focus ?
Exposure….is the images(s) correctly exposed ?
Evidence of learning…does the image refer to at least one of the formal elements?
Connection to a chosen photographer…how close is the relationship ?
Unique / interesting…how sophisticated / complex is your image(s)
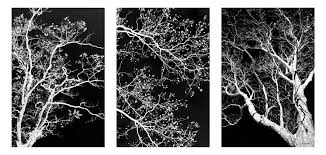
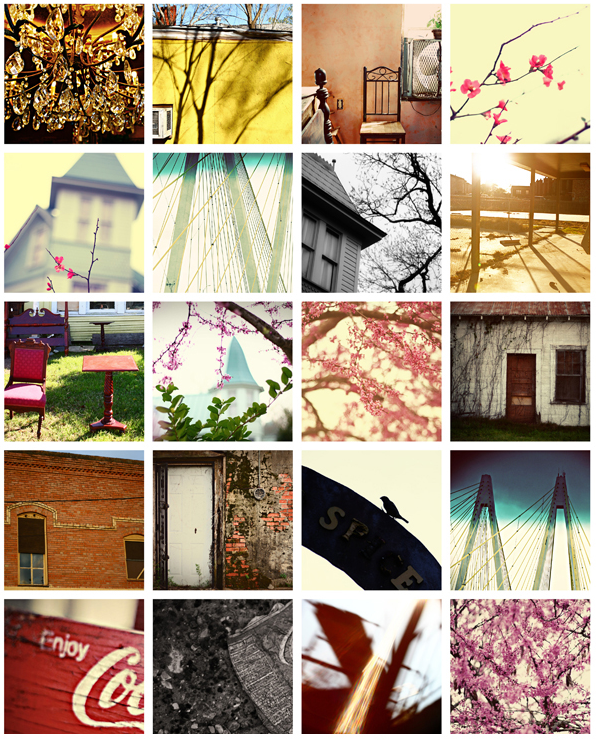
Examples


Research and explore alternative approaches to presenting your final images. This should be an integral part of your concept…not a gimmick…ultimately, the quality of your photography will be the primary focus and your mark will reflect this…
Cyanotype

Virtual Gallery (use Adobe Photoshop)


Always follow the 10 Step Process and create multiple blog posts for each unit to ensure you tackle all Assessment Objectives thoroughly :
- Mood-board, definition and introduction (AO1)
- Mind-map of ideas (AO1)
- Artist References / Case Studies (must include image analysis) (AO1)
- Photo-shoot Action Plan (AO3)
- Multiple Photoshoots + contact sheets (AO3)
- Image Selection, sub selection, review and refine ideas (AO2)
- Image Editing/ manipulation / experimentation (AO2)
- Presentation of final outcomes (AO4)
- Compare and contrast your work to your artist reference(AO1)
- Evaluation and Critique (AO1+AO4)
