This induction task is designed for students who wish to study A Level Photography. The aim of this task is to ensure that the students who have chosen this option both understand the requirements of the course and start as early as possible in their journey towards completing it to a high level. The work you produce in this Induction Task will be used to stimulate a group discussion during the first session as well as form the beginning of Component 1 (coursework) in your 2 year A Level Photography course.
You can explore all / any of the genres below to express your unique ideas…
- Abstract — try close ups and alternative viewpoints and extreme cropping
- Landscape / Architectural — try inside or outside
- Portrait photography — try people / people in places
- Still Life and Objects — try interesting lighting and sharp focus
Show how you can observe, interpret, define and most importantly photograph signs of …
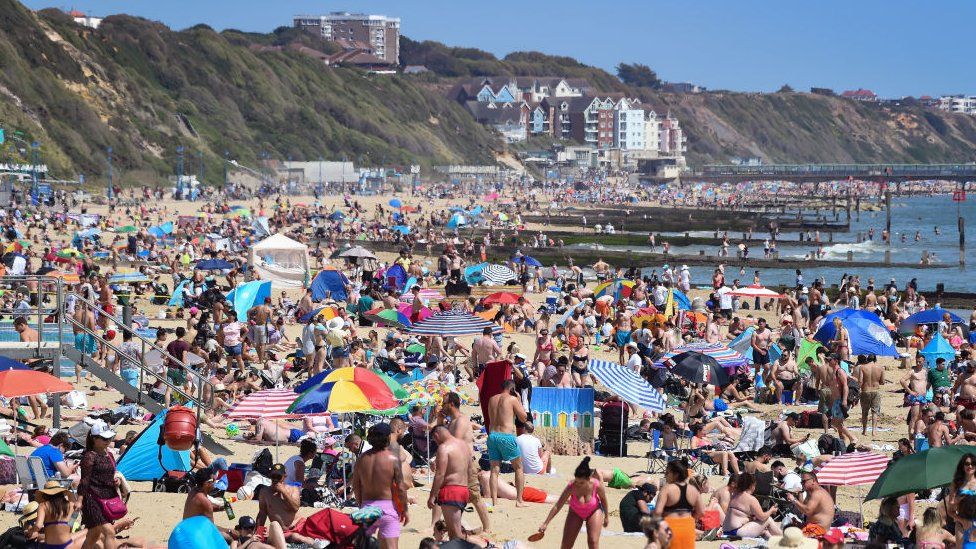
“LIFE AFTER LOCKDOWN“
…influenced by the COVID-19 / Global Pandemic

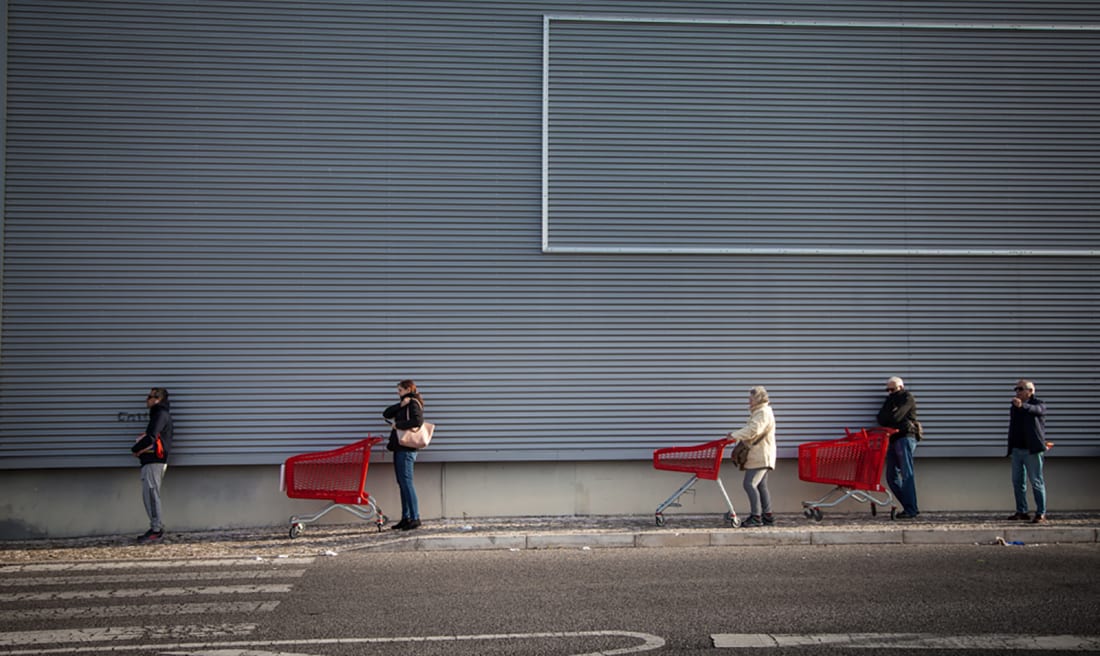
You may want to explore visual aspects, or subtle and nuanced ways of photography various forms of
freedom, liberation, captivity, isolation, loneliness, care, health, separation, mental health, well-being, environmental impact, recovery, family, community, communication, social distancing, before and after etc
…that have an emotional or personal edge. There are many possibilities…some more obvious than others. You may want to compare and contrast these aspects of how our lives have been forced to change in the last few months…
You should / could start by photographing some of the following suggestions… and of course, you may already have some of these images so add them to your project
- yourself
- your home
- your family
- your belongings
- empty places / spaces
- walls, barriers, fences
- self-isolation / quarantine
- homeschooling
- health clinics
- testing centres
- businesses re-opening
- evidence of lockdown / restrictions + rules
- hygiene measures (eg sanitiser, gloves, masks etc)
- social distancing and “shielding”
- re-engagement with nature
- health and fitness
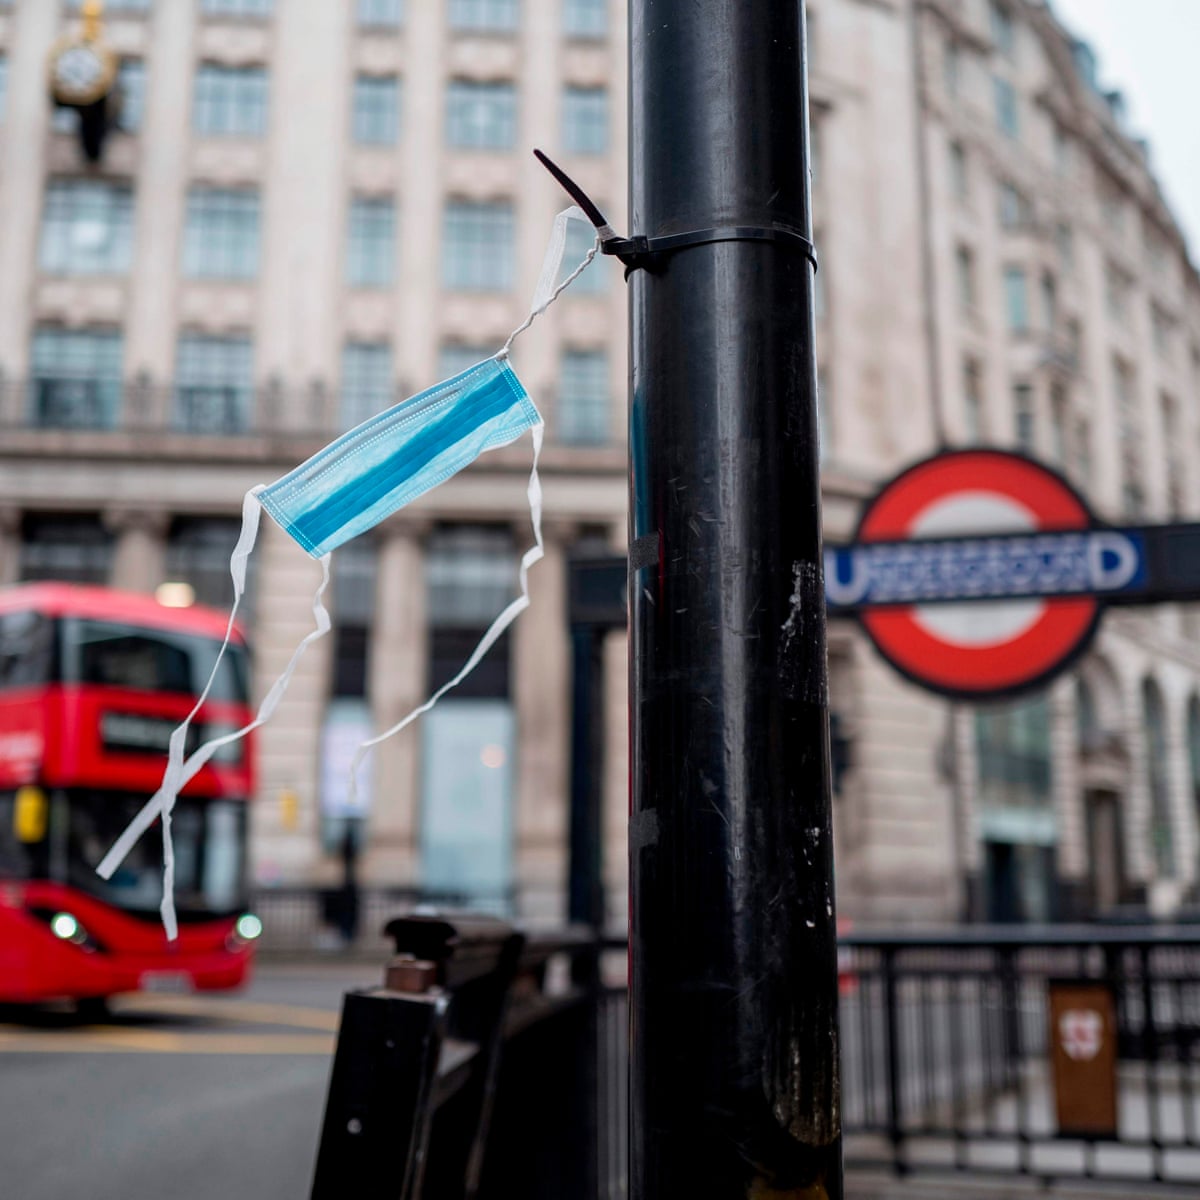
How to proceed:
- Research your own chosen photographer, who is he/she, what type of photography, what does it say to you?
- Analyse his/her work, style, technique, meaning – aim to show knowledge and understanding
- Respond – at least 3 different shoots that show development of your ideas and style as well as your understanding of abstract / portrait / landscape photography
- Edit – make a first selection and cut down the three shoots to the best ten images, and justify your selection in annotation and explanations / captions.
- Experiment – work on cropping / adjustments of brightness/ contrast/ colour correction and show further Photoshop / editing techniques if you can
- Evaluate – describe process of experimentation and reflect on learning etc.
- Present – put all work together in a digital format such as Powerpoint / Word
- Select your favourite outcome, print out as an A4 image if you can and explain why you have chosen it in your final evaluation (at least 200-300 words.)
Some examples…

Focused Examples
Family, environment, isolation, community, hope…
Indirect Selfie


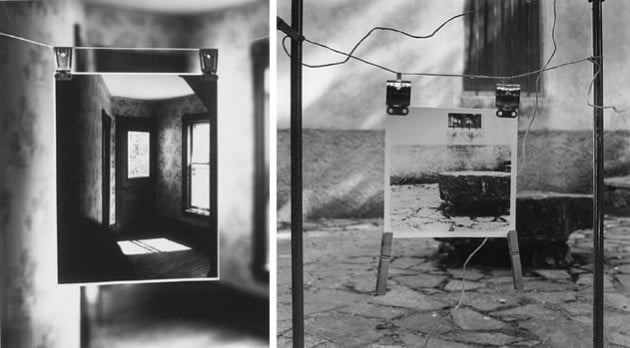
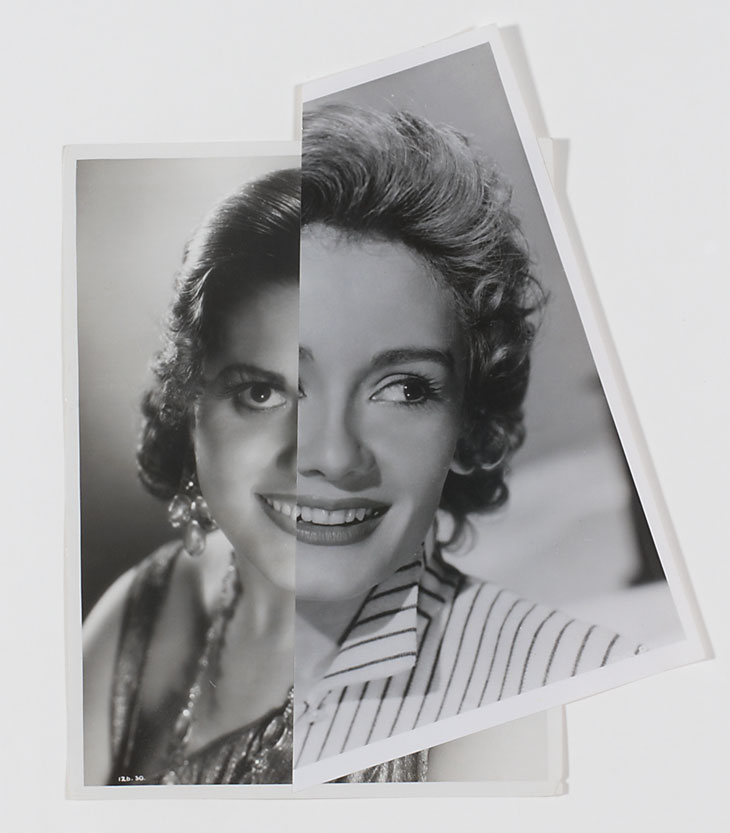
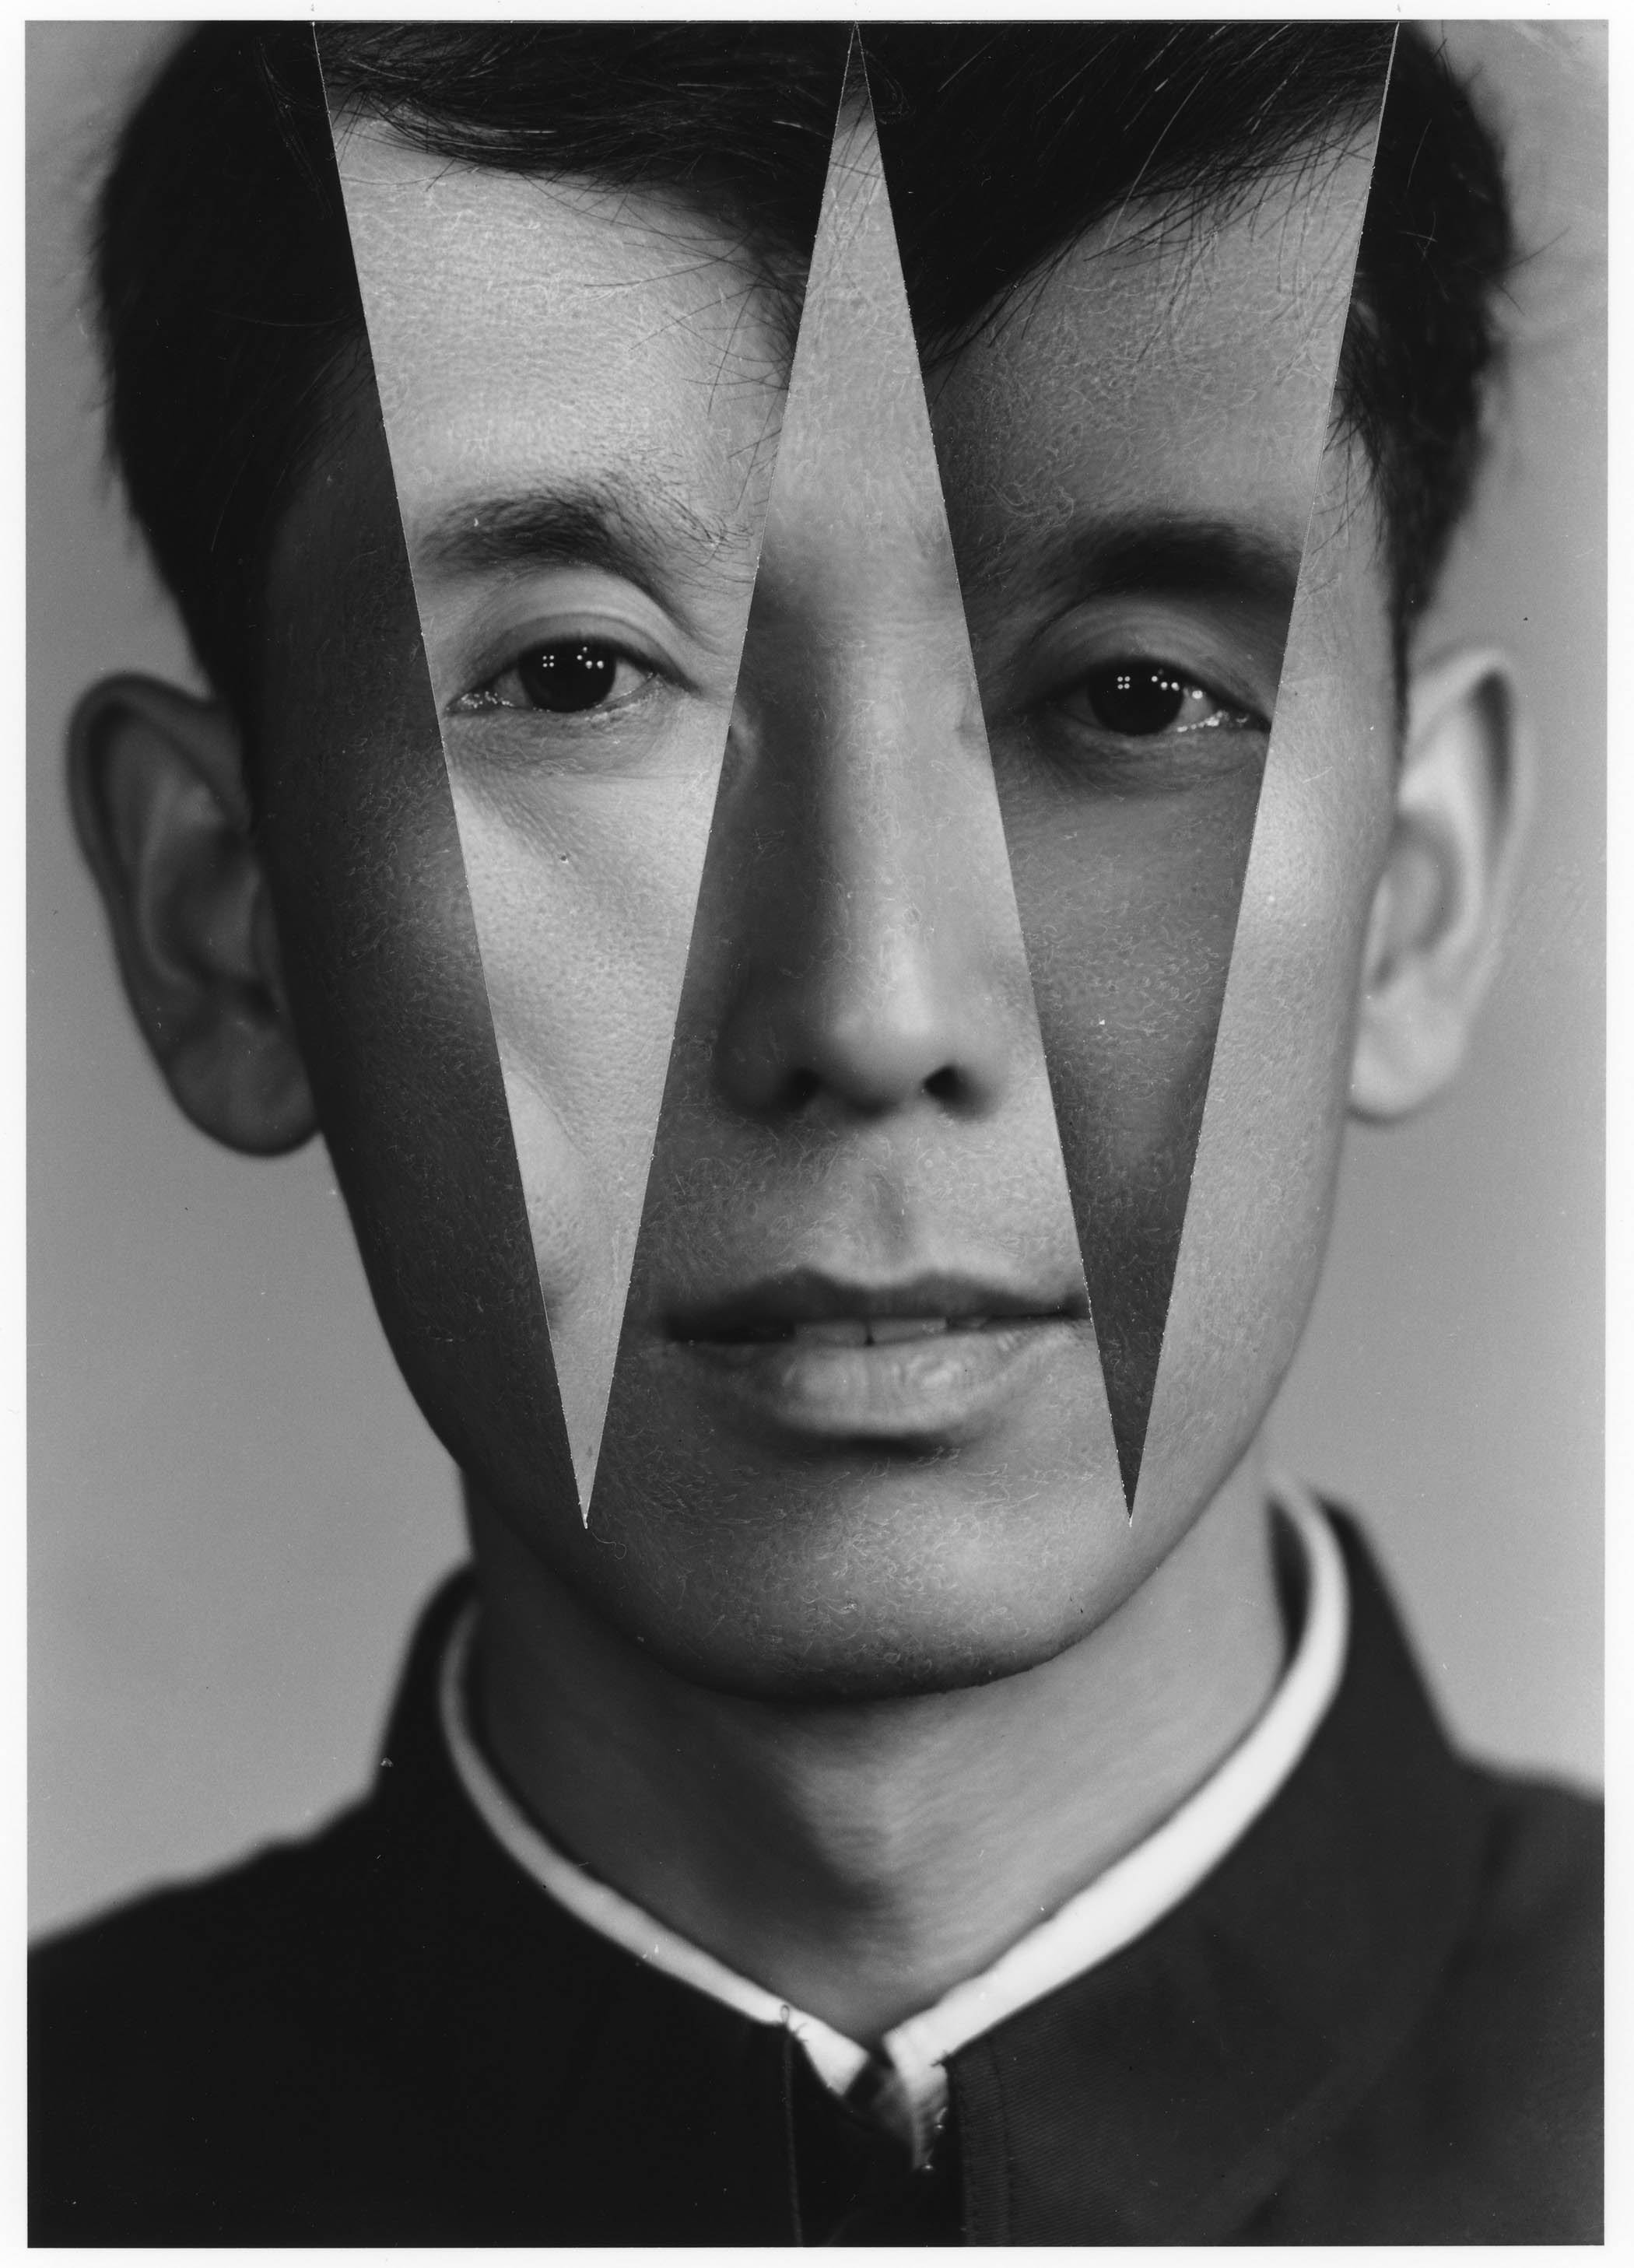


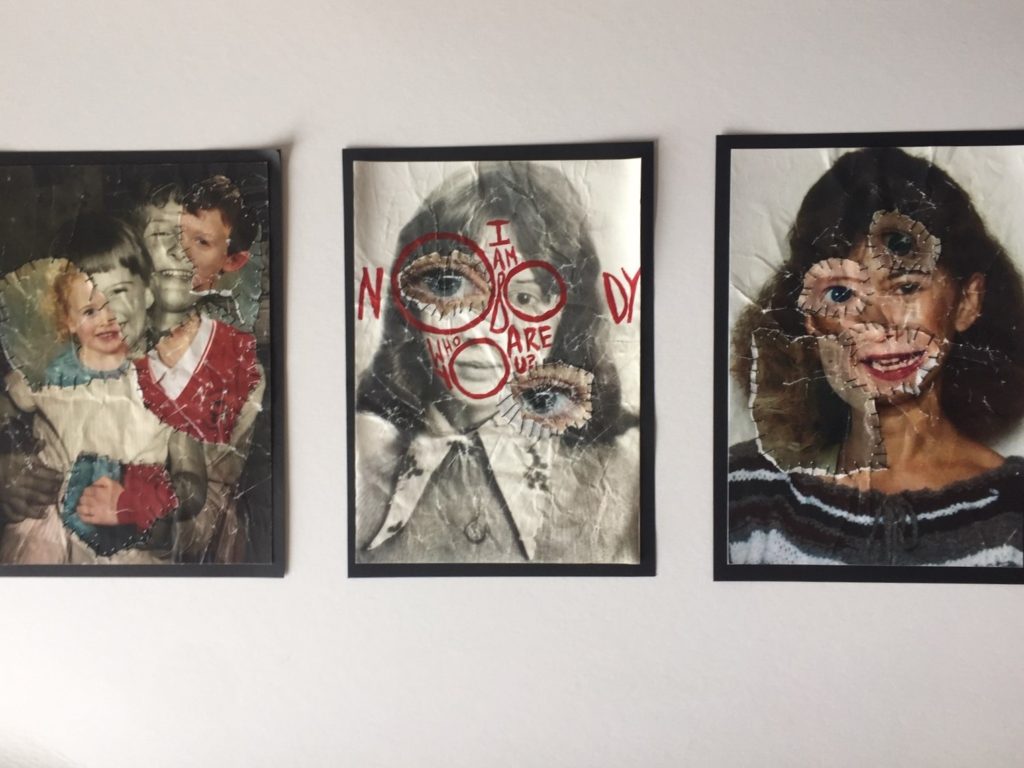
What do his / her photographs say to you?
Look at composition and its visual elements e.g. line, form, shape, colour, tone, contrast, texture, depth, balance, space, perspective, viewpoint, foreground/ mid-ground/ background, rule of thirds. Look at the use of lighting e.g. natural lighting; sunlight, overcast, soft, harsh, directional, contrast and artificial lighting: studio, flash, spotlight, side-light, backlight, reflected light, shadows, chiaroscuro (light / darkness).
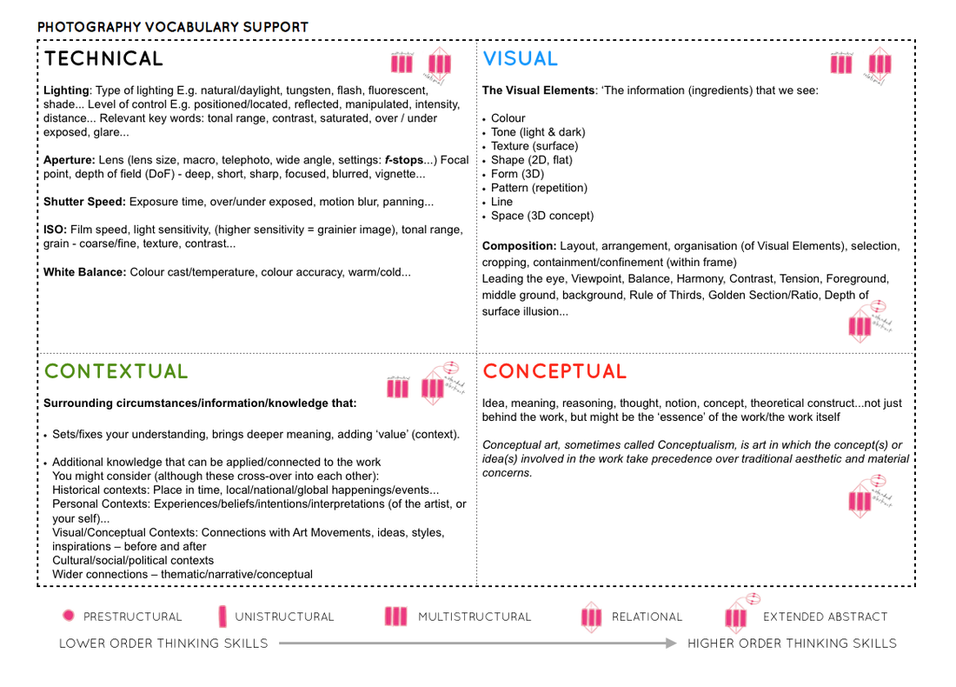
Use photographic language as above in your annotation and consider the artistic merits :
Technical , Visual , Conceptual and Contextual elements
- Write a short introduction about the work of your chosen photographer and the nature of their work
- Issues to consider:
- His / her attitude to photography and the advantages / disadvantages of the camera as a way of “seeing”
- Are we looking at fact or fiction (or a hybrid of both?)
- The ways in which your chosen photographer explored the formal elements in his / her work e.g. form, light, rhythm, line, texture, repetition etc.
Planning: Once you have spent time evaluating the work of your chosen photographer, plan a shoot using the same techniques and mindset.
You must: Produce a mind map showing your thought process and with breadth of thinking, and a mood board (collage of images) to illustrate the look and feel of your project.
Recording: After planning your idea, gather together what you need. When you take pictures try and think about everything that you see in the frame – what’s in the foreground, mid-ground, background. To achieve this you must think about composing your picture (use your zoom lens and/or distancing yourself from subject/object), focussing (sharp, soft focus), use creative exposure tools on camera like fast/slow shutter speed to either freeze or blur a sense of movement, different aperture settings to control the area of focus and sharpness in your picture. E.g. a high aperture setting like f5.6 will make the background soft and out of focus whereas an aperture of f16 will make everything in the picture sharp from foreground to background. Also by zooming in or using a telephoto lens you can throw the background out of focus, or conversely if using a wide-angle everything in the frame will be in focus. Crop your images carefully.
Editing: Editing is one of the most important aspects of photographic practice so be critical and selective when you choose your final selection of 5 images and then your best photograph. Think about sequence and relation between images – does your series of images convey a sense of narrative (story) or are they repetitious? Sometimes less is more!
You Must: Gather your images and select your final selection approx 5-10 images, describe each of the images, artistically and share your thoughts on what why you took and then selected the image.
You should: Show your ability to correct or adjust the images using image manipulation software, such as Photoshop, consider the cropping, adjust levels, contrast, colour correction, B/W and balance of the image.
You could: Use Photoshop to enhance your creativity and expand on the possibilities that photography gives you, include screen grabs to illustrate the techniques you have used.
Presentation: Think about how you present your work in terms of layout, scale, colour and perspective. A Powerpoint presentation is ideal for this and allows you to change and adjust your work easily.
The presentation of your photographs is just as important as your photographic images themselves. Consistency of layout throughout is paramount and try to make your work personal.
You must: Gather all of your work and present it in a logical and aesthetic manner…
A grid format could work well for this exercise

You should: Produce an individual and comprehensive response to both your chosen artist and the inspirations that the artist has given you.

Evaluation: Reflect, contrast and compare the images and ideas that you have taken and make an account of how you made the photos, development of idea and what you were trying to achieve and communicate. This can be done throughout your layout as annotation or at the end as part of your final evaluation. Finally, choose your favourite image and present this separately from your series of images. Accompany this with a brief written analysis (250-500 words) explaining in some detail what it is that you think works well about this image.
Make sure you bring with you: all of your work including your best A4 printed image for your first photography lesson in September 2020.

USEFUL LINKS
Photographs that changes the way we see the world …
Bruce Gilden’s approach to Lockdown portraits…
Julia Keil – re-staging famous portraits
Women Photographers x LOCKDOWN
Photo-Literacy
Good luck and get creative!
Email // j.cole@hautlieu.sch.je
Web // www.hautlieucreative.co.uk
