
Mon 4 – Wed 6 April: Class 13B
Wed 6 – Fri 8 April: Class 13C
DEADLINE: LAST DAY OF YOUR EXAM
PHOTOBOOKS / FILM > FINAL PRINTS > PORTFOLIO > BLOG POSTS
IN PREPARATION FOR EXAM MAKE SURE THE FOLLOWING IS READY IN ADVANCE OF YOUR FIRST DAY:
- Upload new photoshoots and edit in Lightroom – make sure to produce blog posts showing selection process and experimentation of images.
- A draft layout of your photobook/ rough cut of film edit before your Mock Exam begin (that time is used to fine tune design with teacher)
- Review your PORTFOLIO folder and make sure you have a good selection of final outcomes incl: previous Yr 12 projects, zine, NFT film + image, final prints and final essay (published on the blog as a separate post). If there are any gaps, or if you wish to re-do window mounts/ foamboard – make sure you save high-res images in PRINT FOLDER – EXAM
- Make sure you monitor and track your progress by Fri 1 Dec and complete blog posts from previous tasks.
Structure your 3 day Exam as follows:
DAY 1:
Photoshoots/ recordings: Complete final editing images or recordings for your photobook / film + produce blog posts showing selection process and experimentation of images. Use a combination of print screens + annotation. Write an evaluation about what went well and compare/ contrast with artists references and inspirations.
DAY 2
Photobook/ film: Complete photobook design/ edit film + produce blogpost showing a clear design process and evaluate. Use a combination of print screens + annotation. Compare and contrast with photobook artist/ inspiration.
DAY 3
Prints: Select 5-7 prints and consider presentation producing mock up in Photoshop and/or create virtual gallery. Make sure to produce a good blog post evidencing the above.
PORTFOLIO: Review your folder and make sure you have a good selection of final outcomes incl: zine, NFT film + image, final prints, essay (published as a separate blog post) and photobook/ film. If there are any gaps, or if you wish to re-do window mounts/ foamboard – make sure you save high-res images in PRINT FOLDER MOCK EXAM.
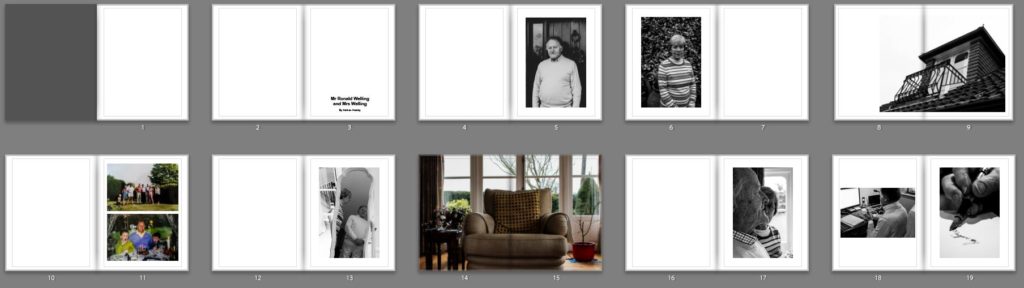
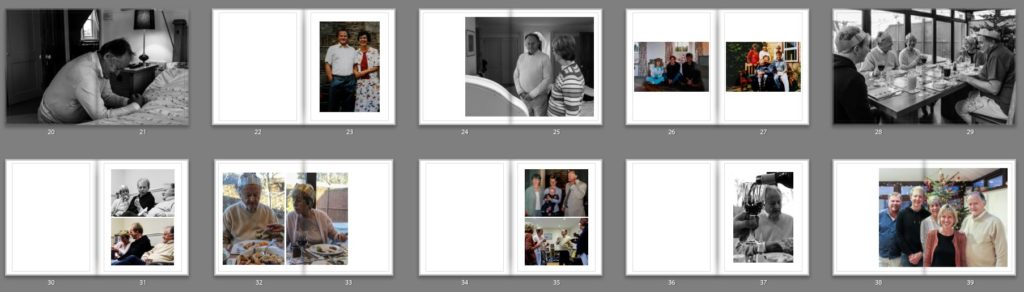
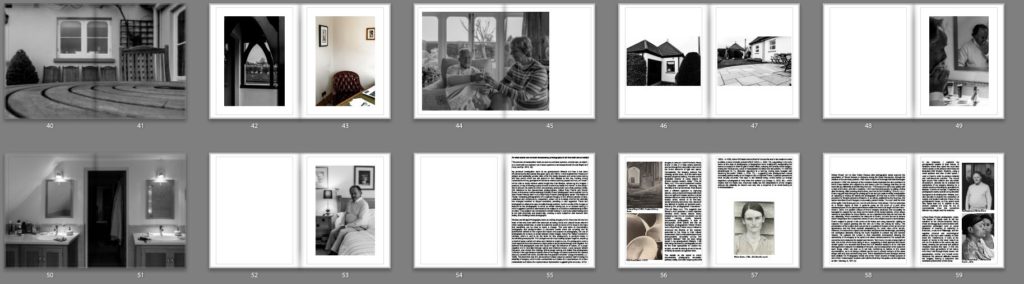
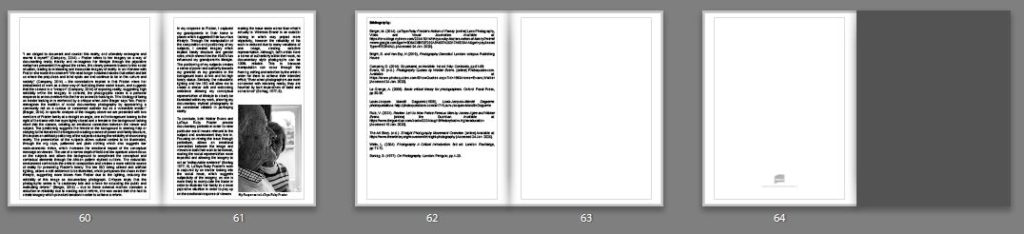
PHOTOBOOK
Make sure you have a made a blog post that charts your design decisions, including prints screens of layout with annotation and write an ongoing evaluation. If you complete it; final book design must be checked and signed off by teacher.
For more help and guidance editing, process and evaluation go to blog post below.
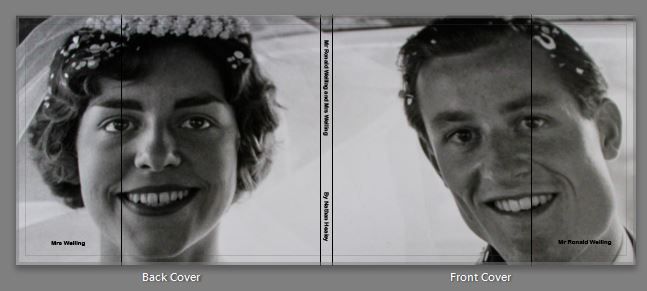
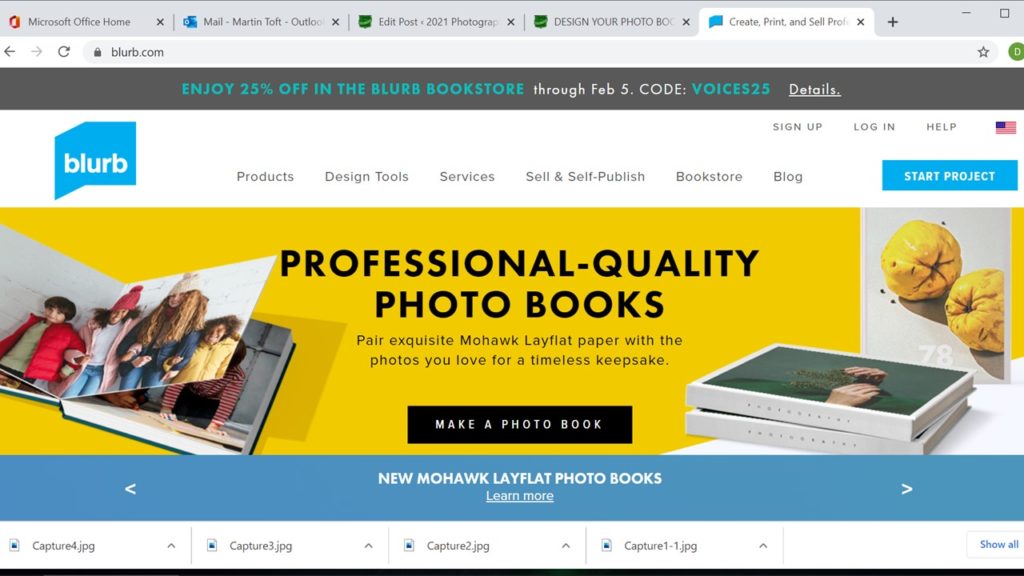
BLURB – ORDER BOOK
Inside Lightroom upload book design to BLURB, log onto your account on their website, pay and order the book.
Consider spending a few extra pounds on choosing better paper, such as Premium Lustre in check-out, change colour on end paper or choose different cloth/ linen if needed.
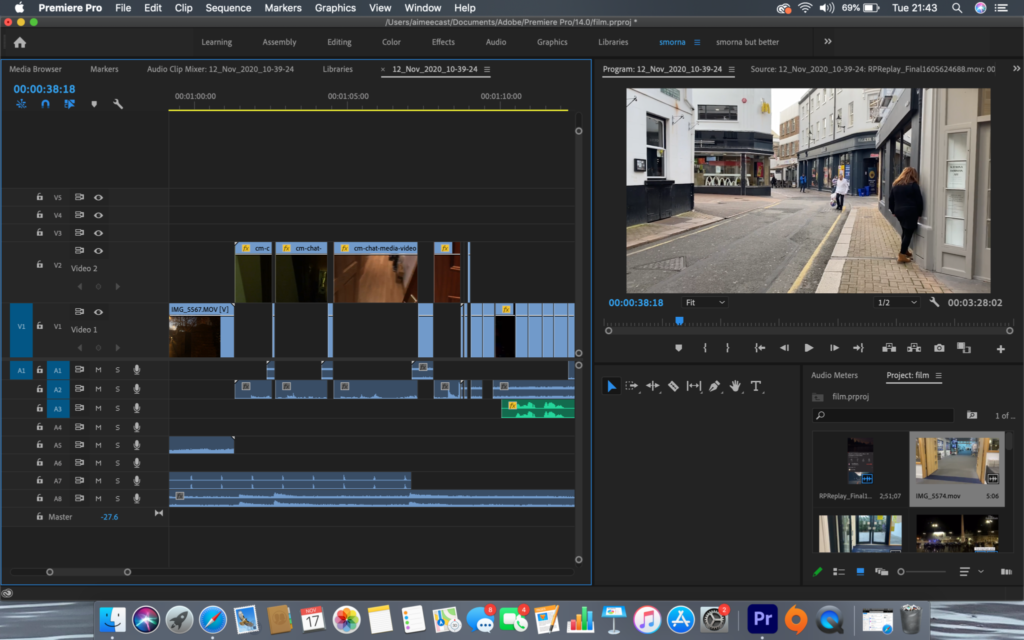
FILM
Make sure you have a made a blog post that charts your editing process, including prints screens with annotation and write an evaluation. If you complete it; final film must be checked and signed off by teacher.
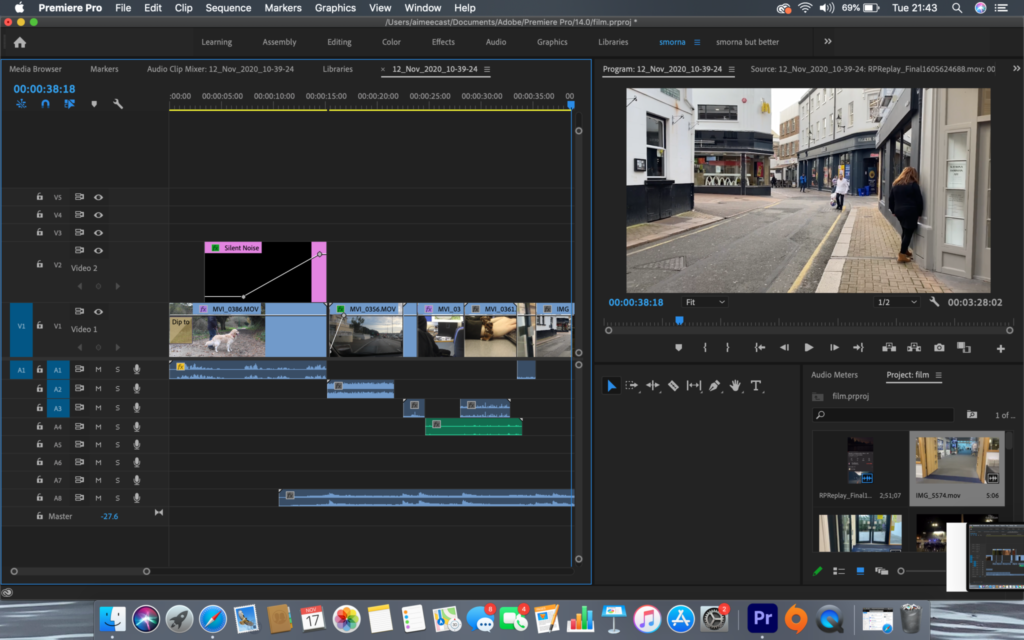
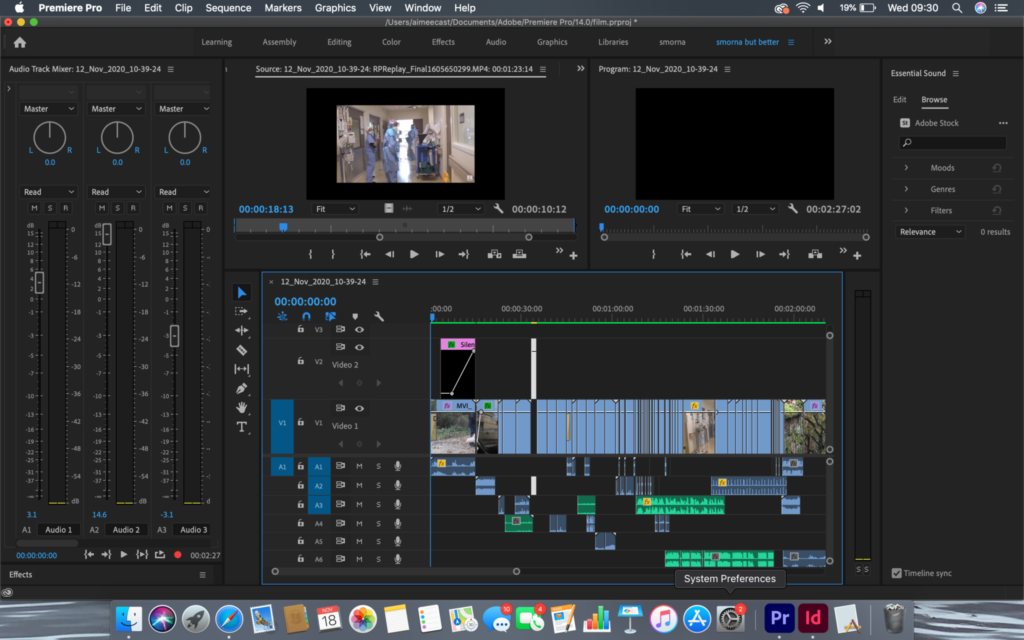
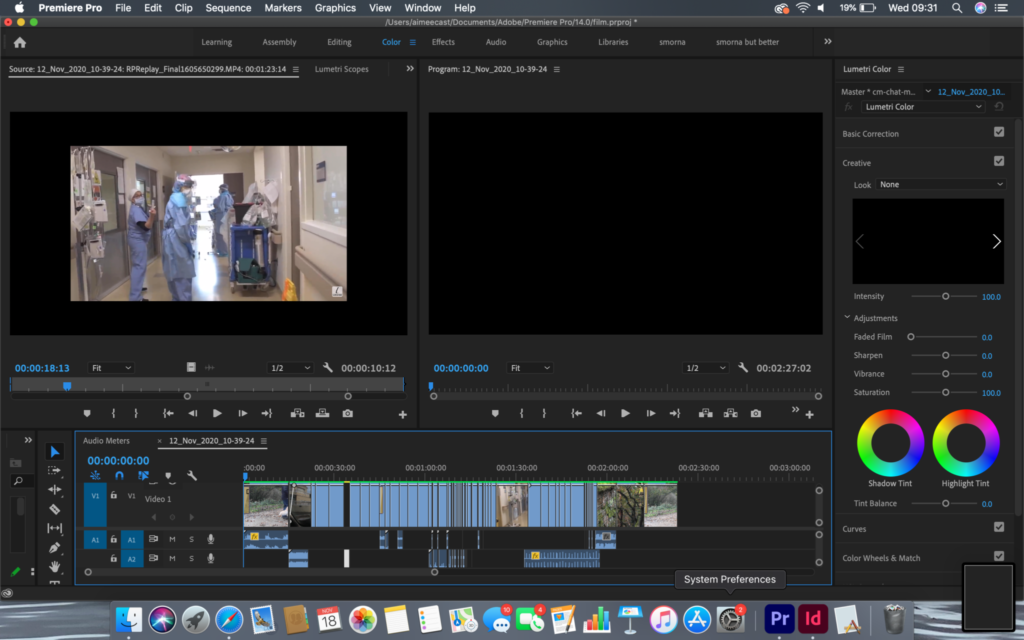
For more help and guidance on editing, process and evaluation go to blog post below.
Export final film as mp4 file and upload to Youtube / Microsoft Streams and embed on Blog. Follow these steps:
- In Premier: Click on Sequence > Render IN/OUT
- File > Export > Media
- Export Settings: Format H.264
- Output Name: use title of your film and save to V:Data drive
- Click Export at bottom
- Using Microsoft Stream: Open up Office 365
- Go to All Apps and select Stream
- Create > Upload Video
- Browse to upload your exported film from V:Data drive
- Write a short description, choose thumbnail and publish
- My Content > Videos > embed film into Blog post with evaluation.
- In Youtube: Set up an account at home (www.youtube.com)
- Click Create (top right corner) > Upload video
- Select file > your exported film from V:Data drive
- Write a short description and choose thumbnail
- Once uploaded, embed film into Blog post with evaluation.
BLOGPOSTS
All blog posts in relation to the above must be published, including any other posts missing from previous work modules since the beginning of A2 academic year, including Zines which must be printed & bound, and NFT film and digital image, including a statement, uploaded to both blog and folders here ready for the exhibition:
M:\Departments\Photography\Students\Image Transfer\IDENTITY & COMMUNITY\NFT
See previous student, Stanley Lucas as a guide on blogposts that needs to be done and published before you the end of your Mock Exam
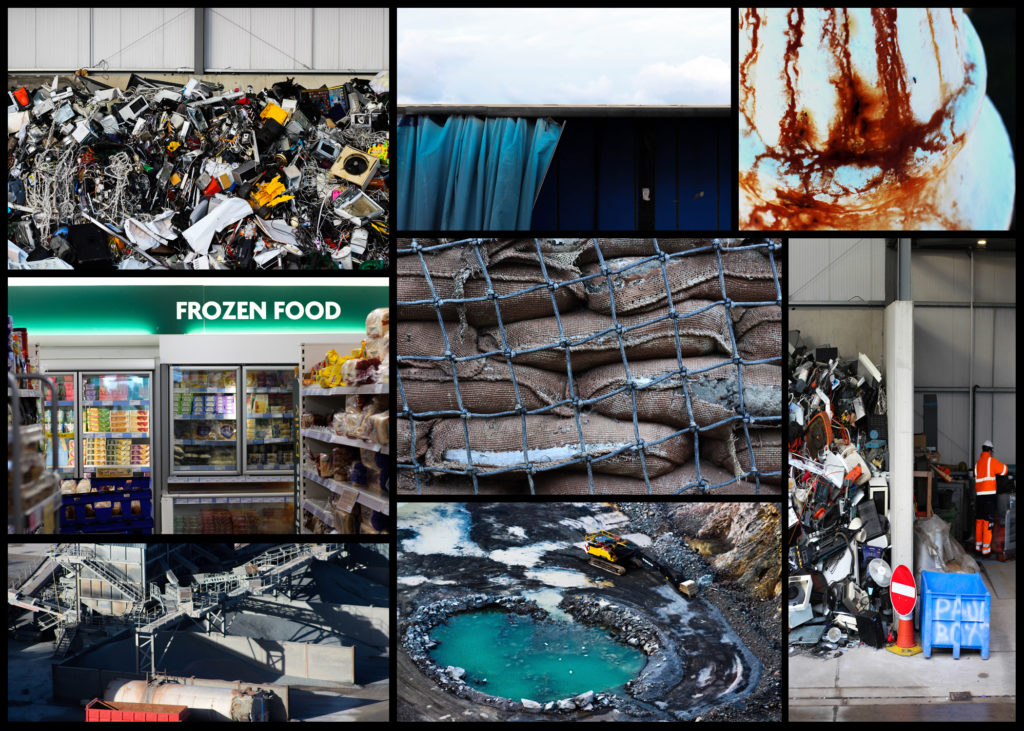
FINAL PRINTS
Select your final prints (5-7) from photobook/ film and make a blog post showing ideas about how to present them.
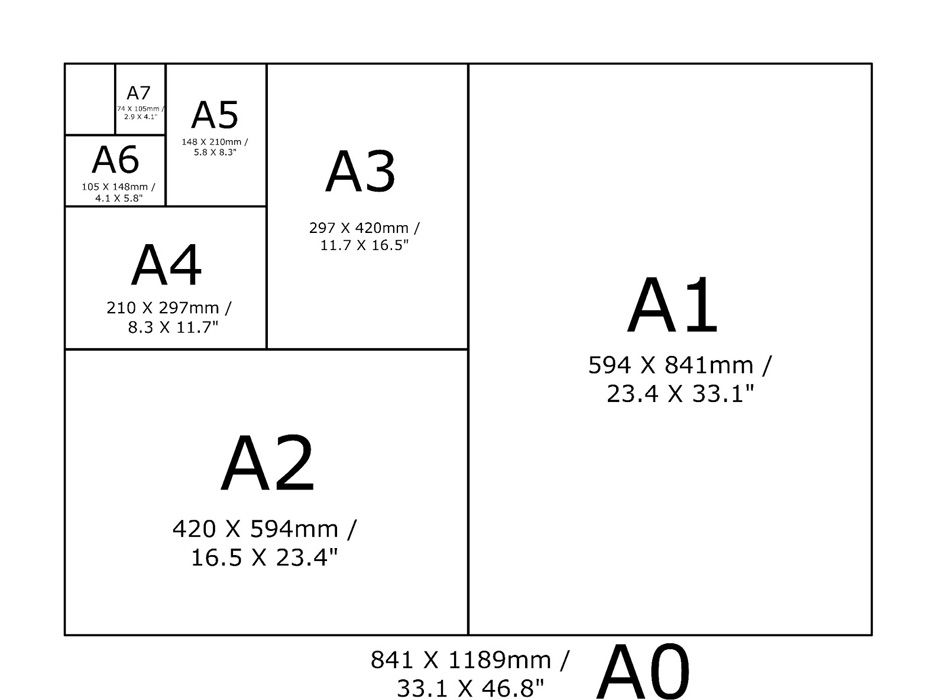
In photoshop produce a mock display (create new document size A1: 594 x 841mm) using different image sizes, for example: A3 x 2, A4 x 2, A5 x 3
PREPARE AND SAVE IMAGES FOR PRINTING:
- Add your images to the print folder here…M:\Radio\Departments\Photography\Students\Image Transfer\PRINTING YR 13 MOCK EXAM
- Complete any unfinished work from last term if you have time, For example: select images for print form Zine and NFT projects.
File Handling and printing...
- Remember when EXPORTING from Lightroom you must adjust the file size to 1000 pixels on the Short edge for “blog-friendly” images (JPEGS)
- BUT…for editing and printing when EXPORTING from Lightroom you must adjust the file size to Short edge for “high resolution” images (JPEGS) like this…

- A5 Short Edge = 14.8 cm
- A4 Short Edge = 21.0 cm
- A3 Short Edge =29.7 cm
This will ensure you have the correct ASPECT RATIO
Ensure you label and save your file in you M :Drive and then copy across to the PRINT FOLDER / IMAGE TRANSFER
For a combination of images, or square format images you use the ADOBE PHOTOSHOP > NEW DOCUMENT + PRINT PRESETS on to help arrange images on the correct size page (A3, A4, A5)
You can do this using Photoshop, Set up the page sizes as templates and import images into each template, then you can see for themselves how well they fit… but remember to add an extra 6mm for bleed (3mm on each side of the page) to the original templates. i.e. A4 = 297mm x 210 but the template size for this would be 303mm x 216mm.
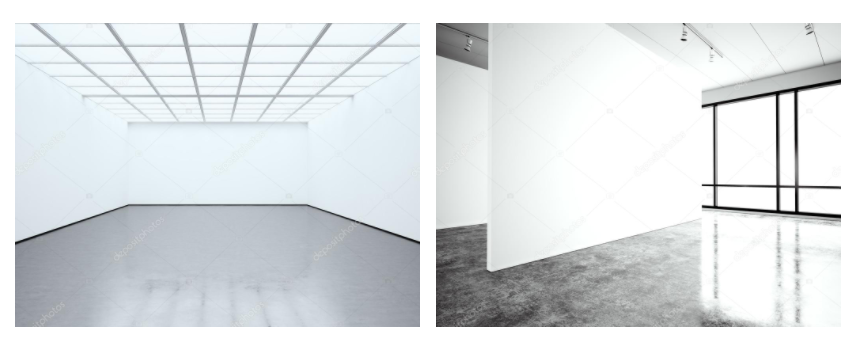
Making a Virtual Gallery in Photoshop
Download an empty gallery file…then insert your images and palce them on the walls. Adjust the persepctive, size and shape using CTRL T (free transform) You can also add things like a drop shadow to make the image look more realistic…

…or using online software
How I did it:
Step 1: Go to www.artsteps.com
Step 2: Sign in / up.
Step 3: Create.
Step 4: Create your own location or choose a template.
Step 5: Upload your images, put them in your exhibition, name it and give it a description.
Step 6: Present / view your Exhibition.