SHOOT 1
For my first photoshoot in my photobook project, I took photographs of old baby and childhood images of myself from my family albums. I also took photographs of some childhood objects, including my hospital and Christening bracelets, and my first stuffed animal. Additionally, I chose some objects from later on in my life, such as an 18th birthday card I received from a friend, and an 18th birthday badge. I decided to include these images and objects as a way to show my transition from baby, to child, to adult, and to add another interesting layer to my photobook by combining old images with new ones, which I think will be more engaging for the reader.
PROCESS
To start my shoot, I set up a tripod attached with two lights on either side on a table so that the lighting would be clear and even. I then placed a plain piece of white paper underneath where the camera would sit so that the background of my images would be clean and bright. I then attached my camera to the tripod with the lens facing downwards, and placed each of my physical photographs onto the paper and captured them accordingly. I made sure that the photographs were positioned as straight as possible to save myself further editing later in the process. I also took care to ensure that the two lights on either side of my camera did not reflect on the glossy surface of the photographs, as this would ruin the effect. Additionally, I also tried to eliminate any shadows that the photographs made on the paper. I then imported all my images onto my computer and into Lightroom, where I began to edit and adjust them as needed.
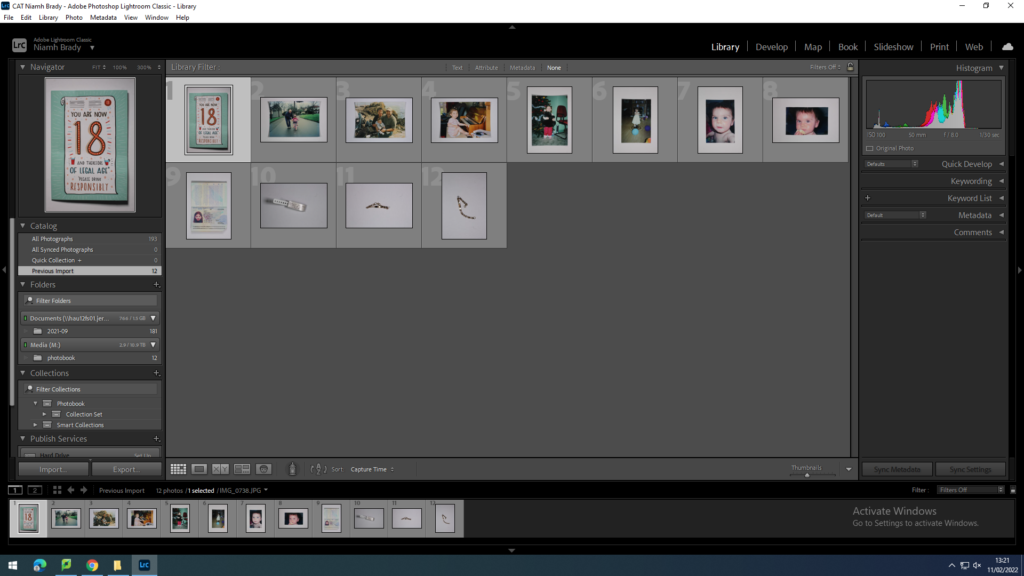
After I had imported all of my new images into Lightroom, I made a new collection called ‘Photobook’, with another collection set inside which I called ‘Shoot 1’, which I imported all of my images into. Usually after this I would go through a selection process, however since I only had a few images and I was happy with them all, I decided to keep them all.
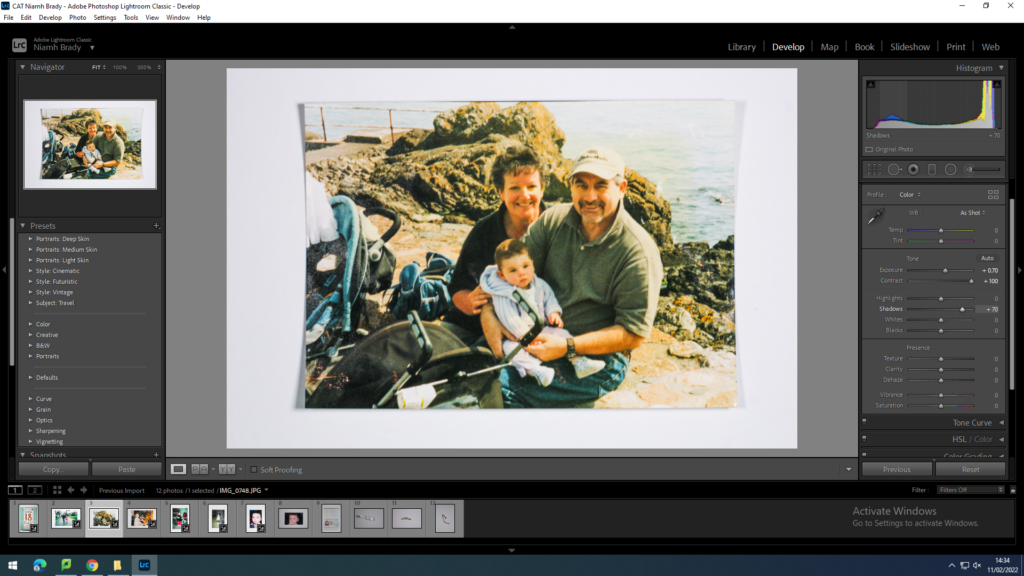
When editing my photographs, I mainly adjusted the exposure and contrast in order to make my images appear older than they actually are, as a way to further emphasise my transition through the different stages of life. By increasing the contrast, I could also add more colour and life to the more worn images, so that the detail within them could still be seen. Additionally, the old look of these photographs would juxtapose the new images, which would be bright and full of bold colours, adding another interesting visual layer to my photobook
SHOOT 2
For my second photoshoot in my photobook, I aimed to capture as many candid and staged photographs of me and my friends when we were all together. I found that the best times to do this was on special occasions, such as friend’s birthdays or parties, or when we were all on nights out together. I tried to incorporate as much colour and life as possible, which would later juxtapose the old, much more muted feel of my baby pictures. I also aimed to keep the images as unfiltered as possible, as a way of allowing my audience to gain a real and raw insight into our lives.
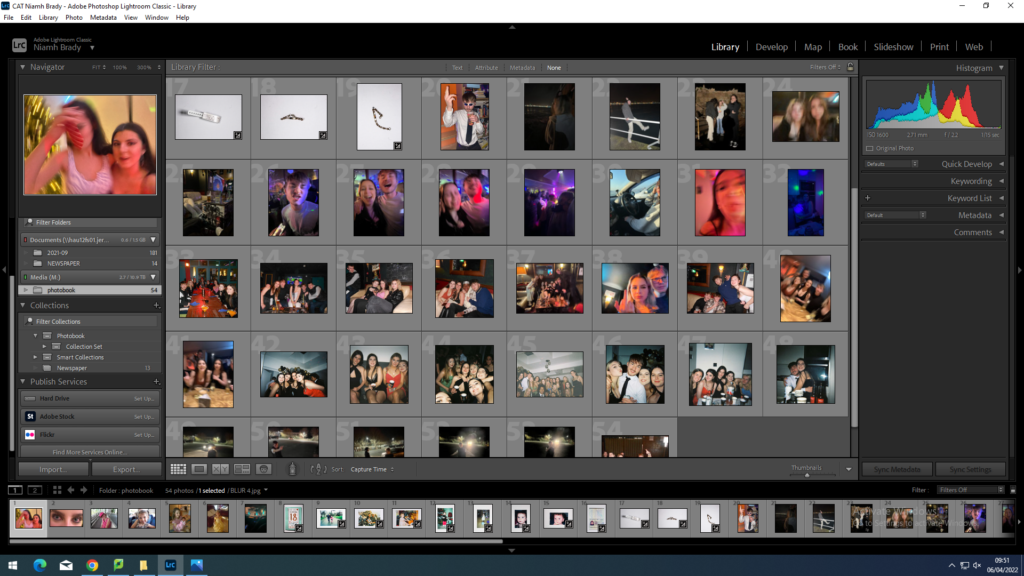
I imported all of my images into Lightroom into a folder I titled ‘Photobook’. I then began the selection process, whereby I filtered out any repetitive images, images of poor quality, or images which I thought didn’t fit in with the rest. By the end of the selection process, I was left with around 60 of my best photographs.
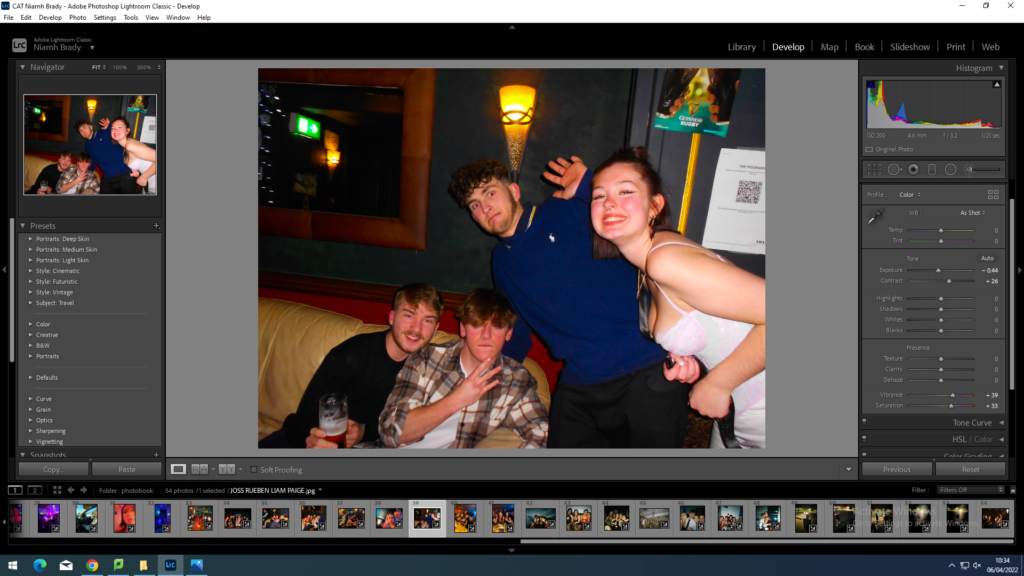
When editing my photographs, I aimed to emphasise all the bright colours already present, so as to make the images full of fun and life, in order to reflect how we were feeling. Additionally, I wanted to create a contrast to my baby photos, which I edited to appear older and more worn out. To do this, I mainly adjusted the vibrance, saturation, and contrast. For the most part I left the contrast the same way it was, as the images were already bright to begin with. I continued to adjust the different settings and features until I had a result that I was happy with for all of my images.
PHOTOBOOK
In order to begin the process of creating my photobook, the first thing I had to do was to decide to do either a portrait book or a landscape one. I decided to work with a standard portrait orientation, as most of the images I chose to include were portraits, and with the landscape photographs I could easily place them in the centre of the page without the book looking too messy or too disorganised.
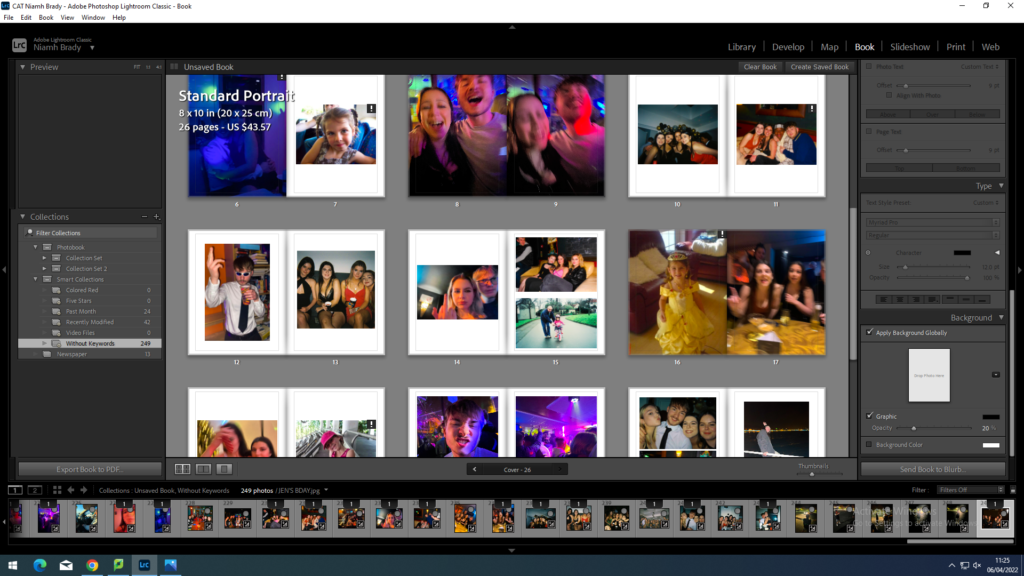
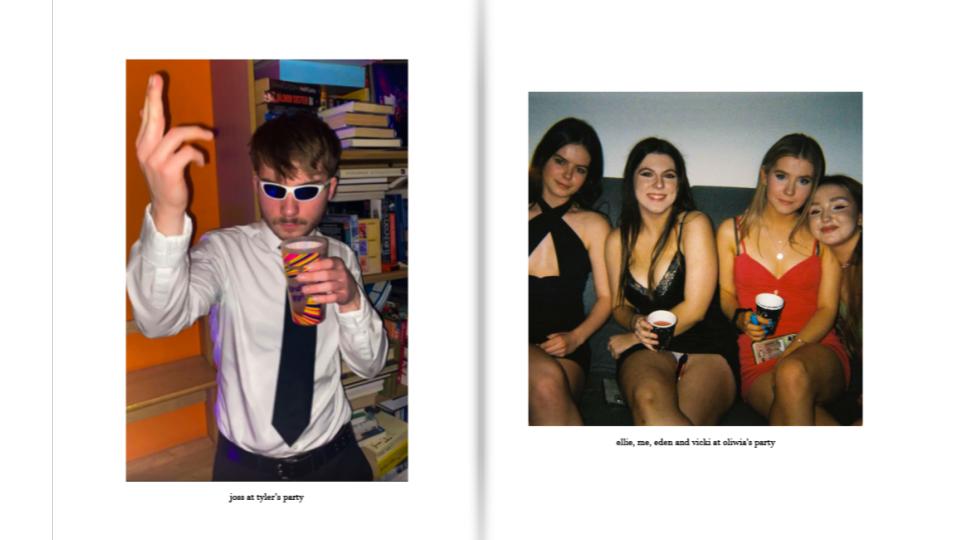
I then experimented with different types of layouts for my photobook, such as full bleed pages and double page spreads. I wanted to incorporate a range of different photograph sizes and layouts in order to keep my photobook interesting and engaging for the reader.
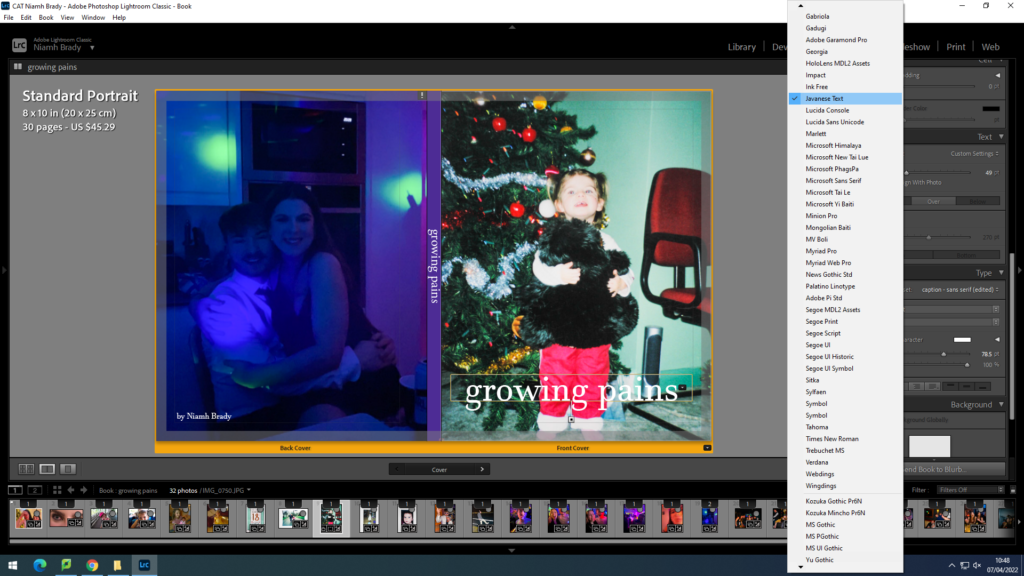
For the cover of my photobook, I decided to use two juxtaposing images; one of me when I was younger on the front cover, and then another of me when I was older for the back cover. I then had to decide on a title for my photobook. I wanted to use a title that would tell the readers what the book is about, but at the same time without being too explicit. I eventually settled on ‘growing pains‘. I chose to keep the title in all lower case letters as I think that it looks more aesthetically pleasing and it also references the younger versions of myself present in the book. In addition, most people my age now prefer to type this way on their phones and laptops, which again references another version of me in the book. I experimented with different text sizes and fonts until I found one that I was happy with; I chose to use the font ‘Javanese Text‘ throughout my photobook.
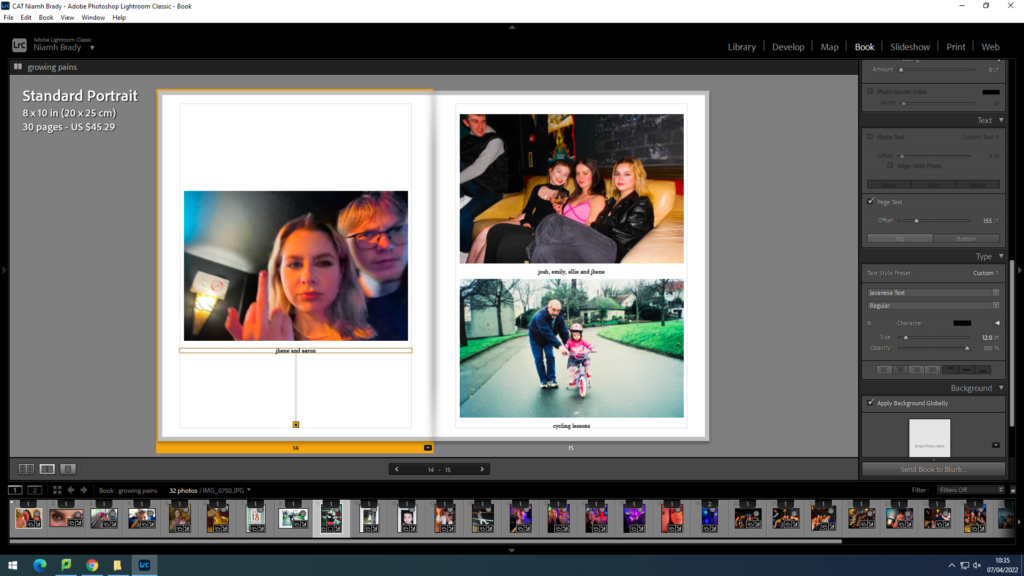
Towards the end of my design process, I also decided to add small captions underneath each of my images in order to help the reader understand more clearly what is happening in each photograph. I think that it adds another interesting layer to my photobook, making it appear more like a personal album rather than a photobook.


