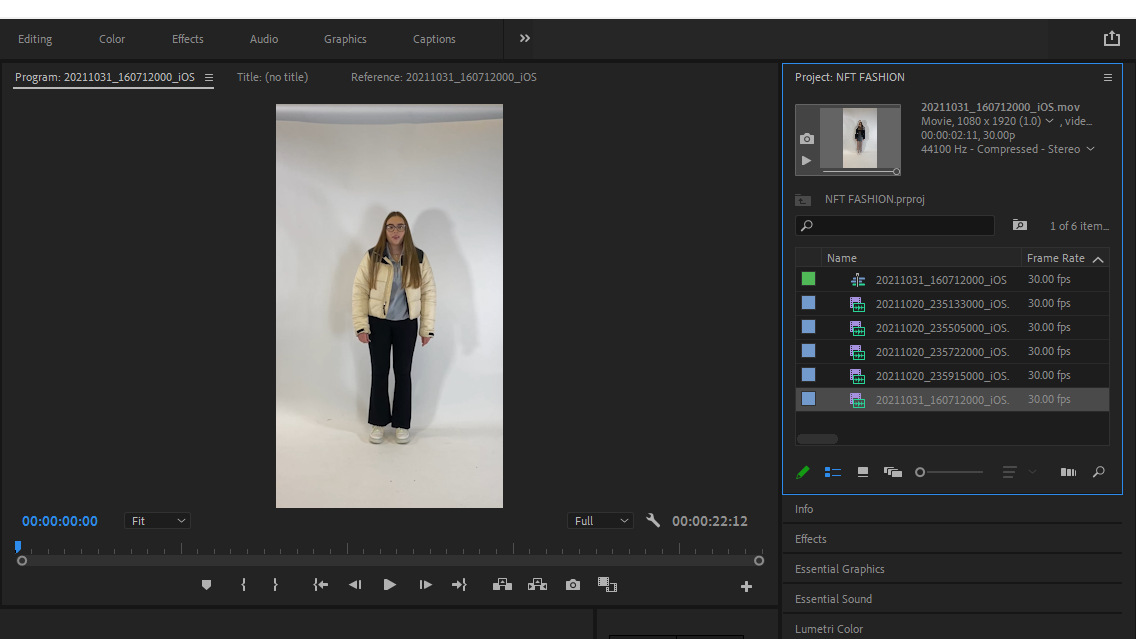
To begin editing our final project, I began by importing all of the individually shot clips from the local drive into Premier Pro, as we had been shown in our workshop with Liam Nunn. I double checked that these were the correct videos by using the small preview tool at the top right corner of the screen, and I also put them in the order I wanted them to be played to make the overall process a lot easier and less time consuming.
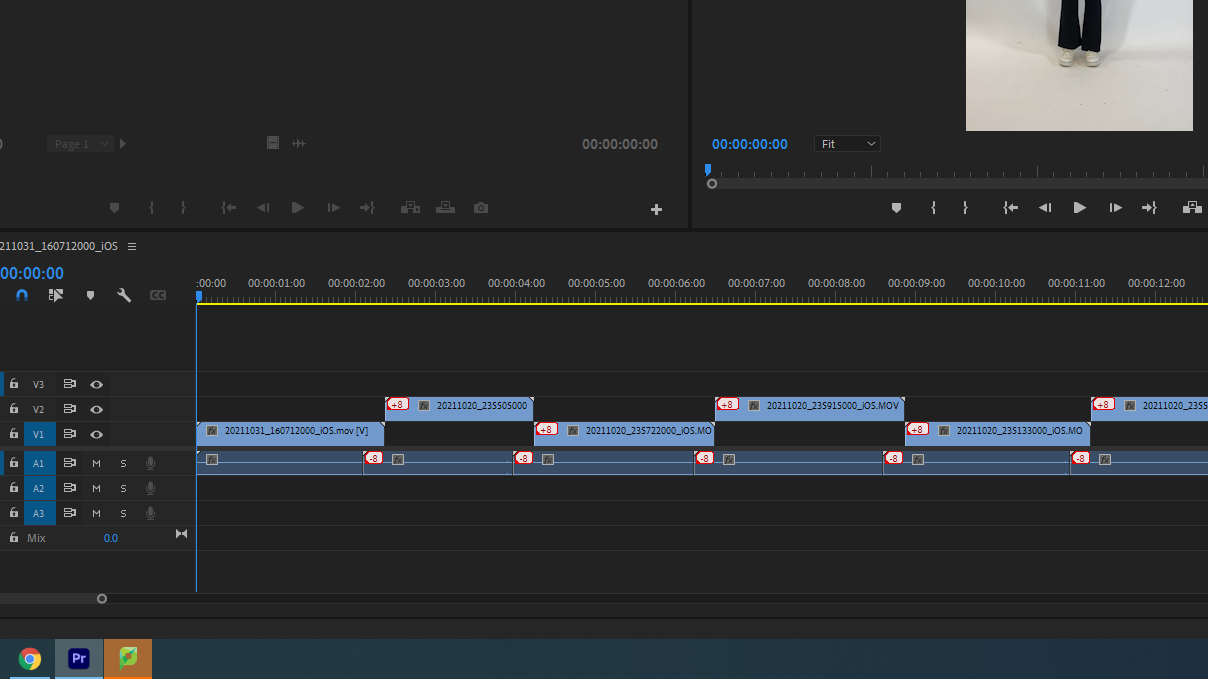
I then dragged and dropped the individual clips onto the timeline, making sure that they did not overlap each other by placing them in a pyramid-like structure using the two middle segments of the timeline. I also stretched out the clips so that they were more spaced out and made the overall video longer.

For the background music, we explored lots of different royalty free tracks until we found one we liked on Bensound called ‘Dreams’. To add it to the video, I deleted the background audio which was already there from the individual clips, and imported the track which I had downloaded and saved to the media drive.
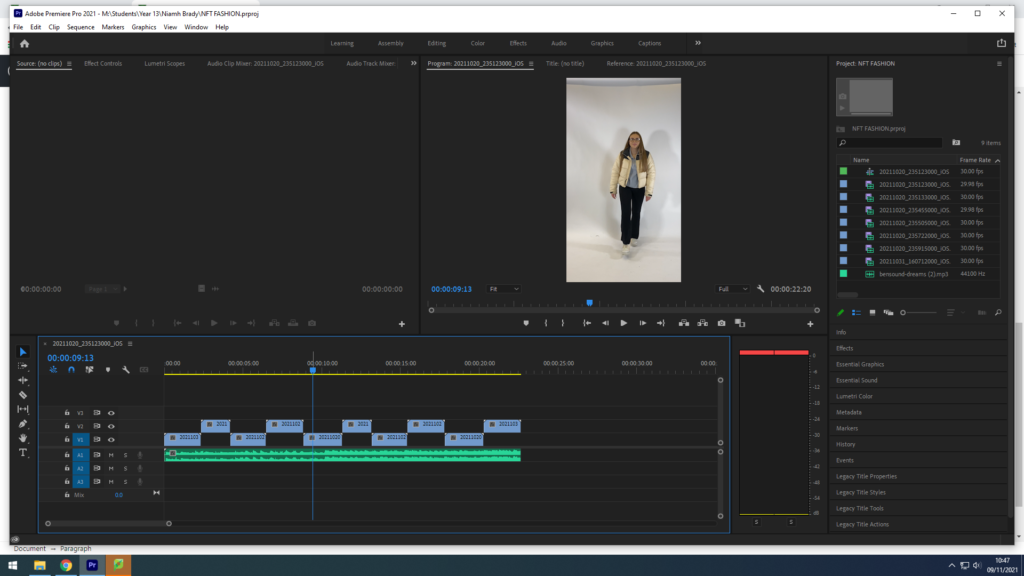
EXPORTING THE VIDEO
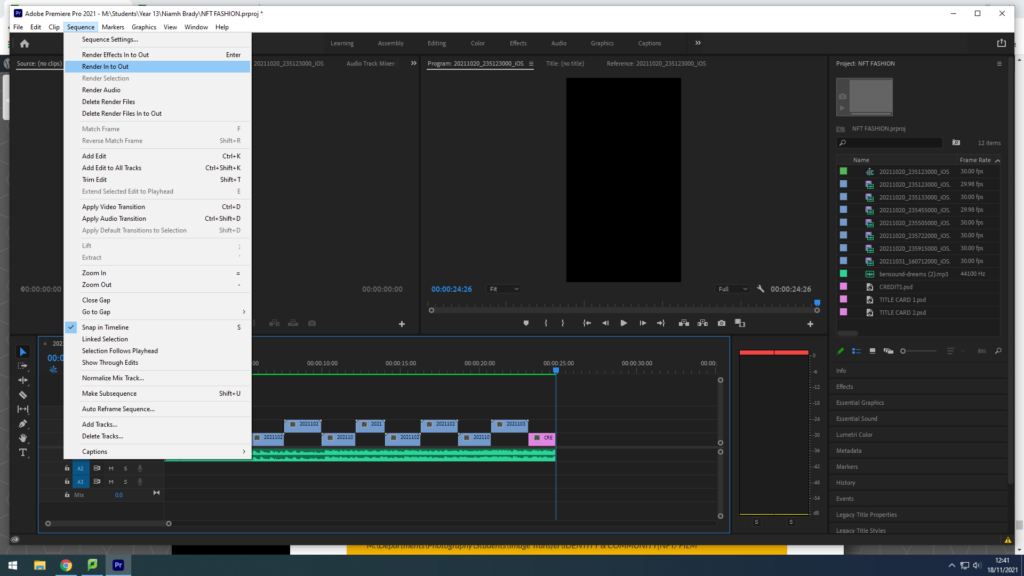
Click on Sequence > Render IN/OUT
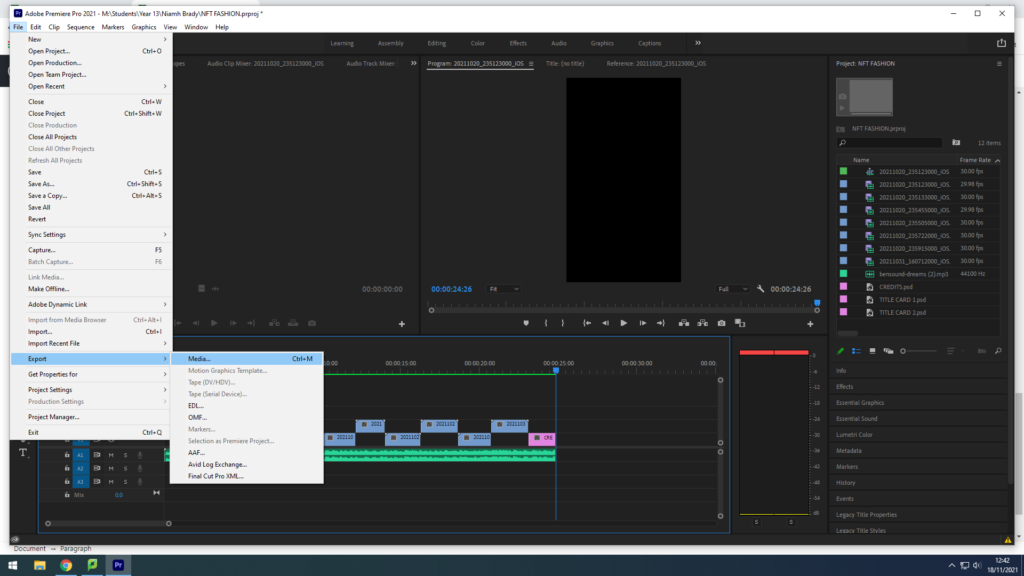
File > Export > Media
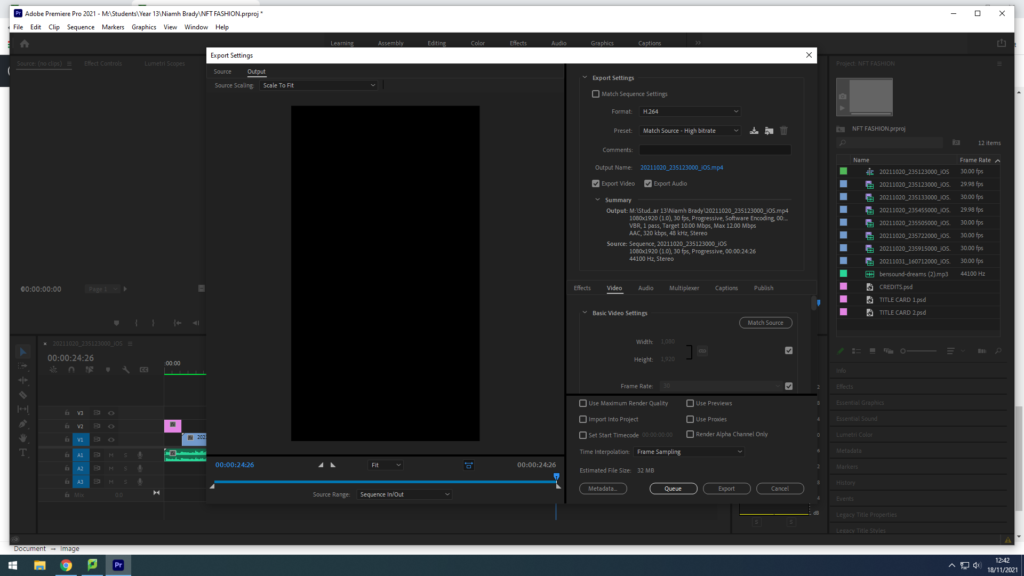
Export Settings: Format H.264
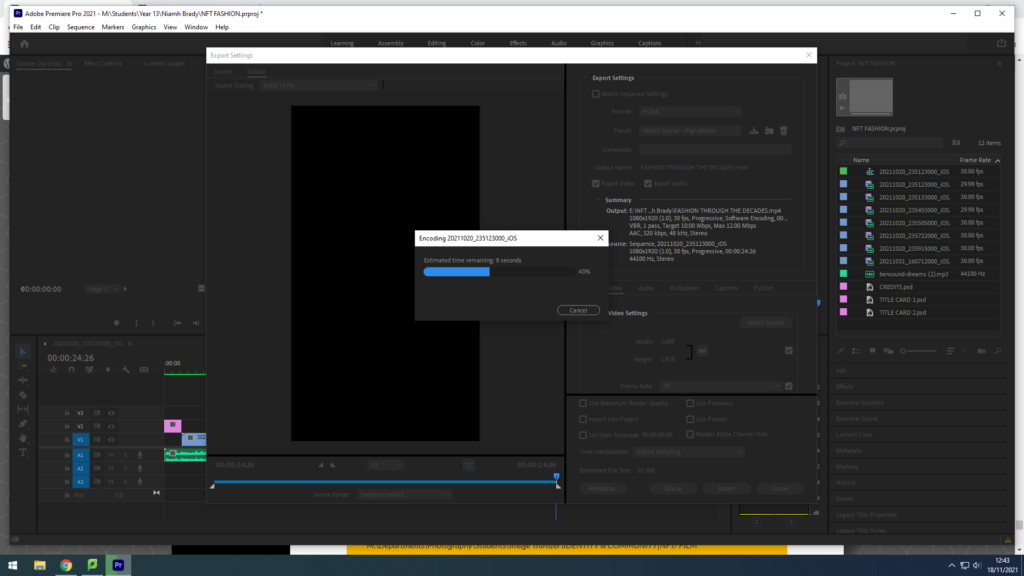
Click Export at bottom
