
From my chosen images in the previous blog post I am going to use photoshop in order to edit my images together.
Firstly I upload my chosen image of st ouens as my starting image as I want to edit over the bay and beach. I then open up a second image of my chosen urban image, I find sections and areas of the image that I think will look good and fit over the coastal image best. Once I’ve figured that out I use the ‘ Quick Selection Tool’ and cut out the parts that I want to use over my first image, I copy that specific area and paste it on top of the image of st ouens. I then moved and dragged it around until it fit into the perfect space and where the buildings looked the most natural. The last tool I use is the ‘Eraser’ tool in order to smooth out the edges on the buildings and to blend the two images together to make it look more realistic.
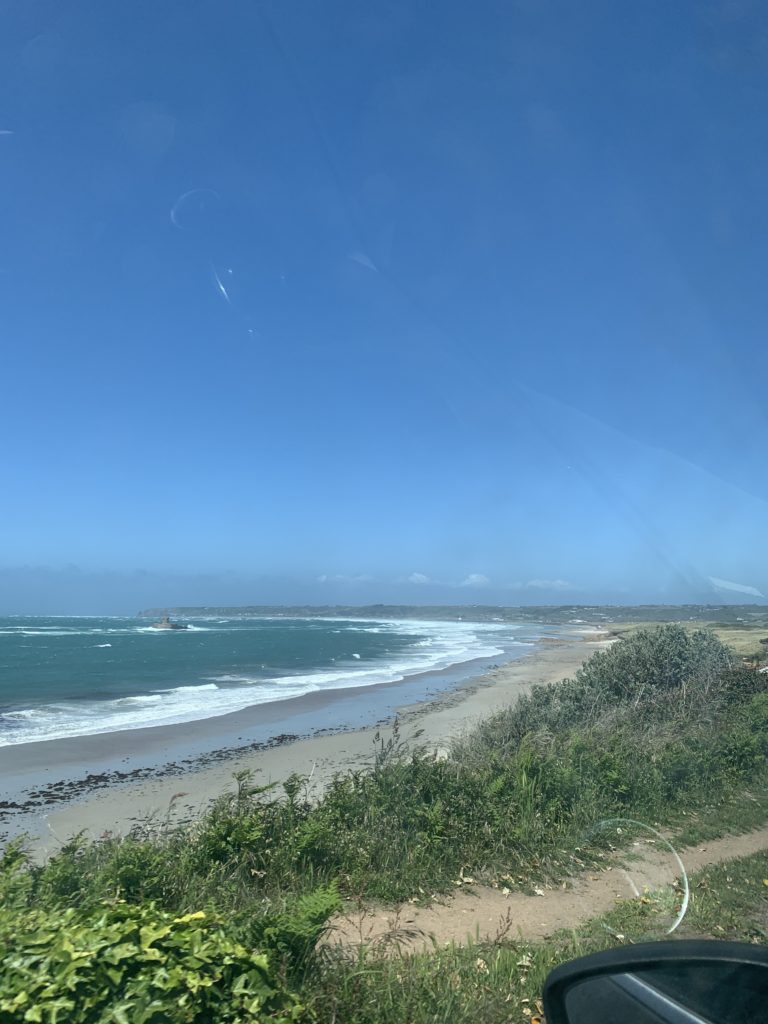
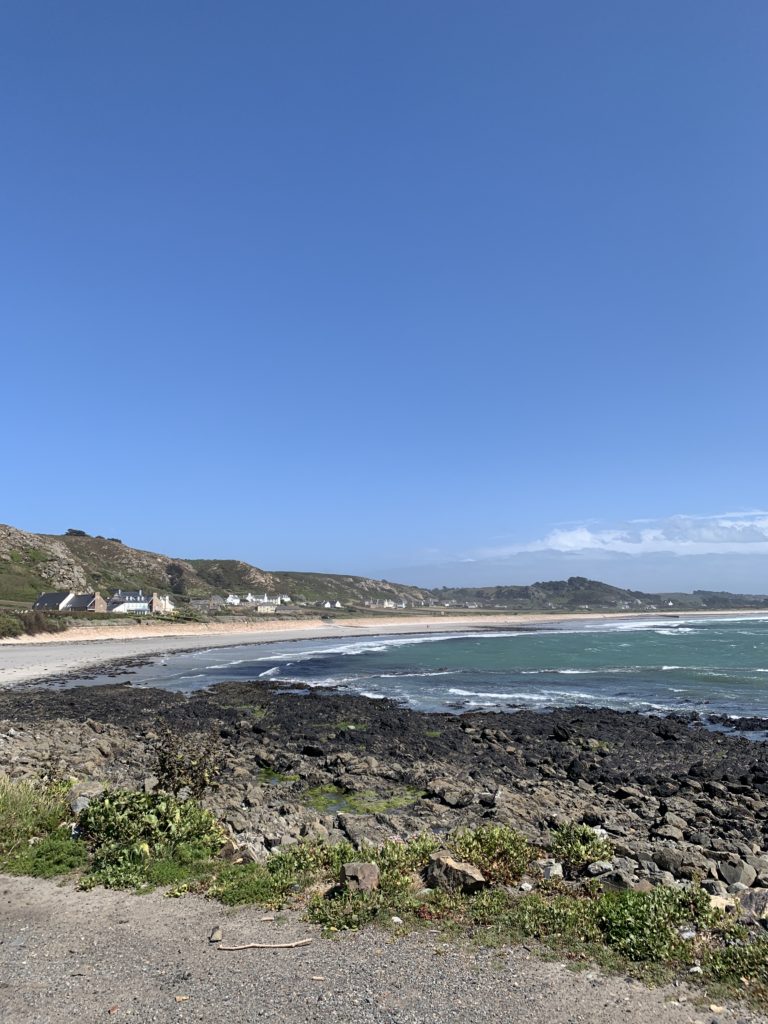
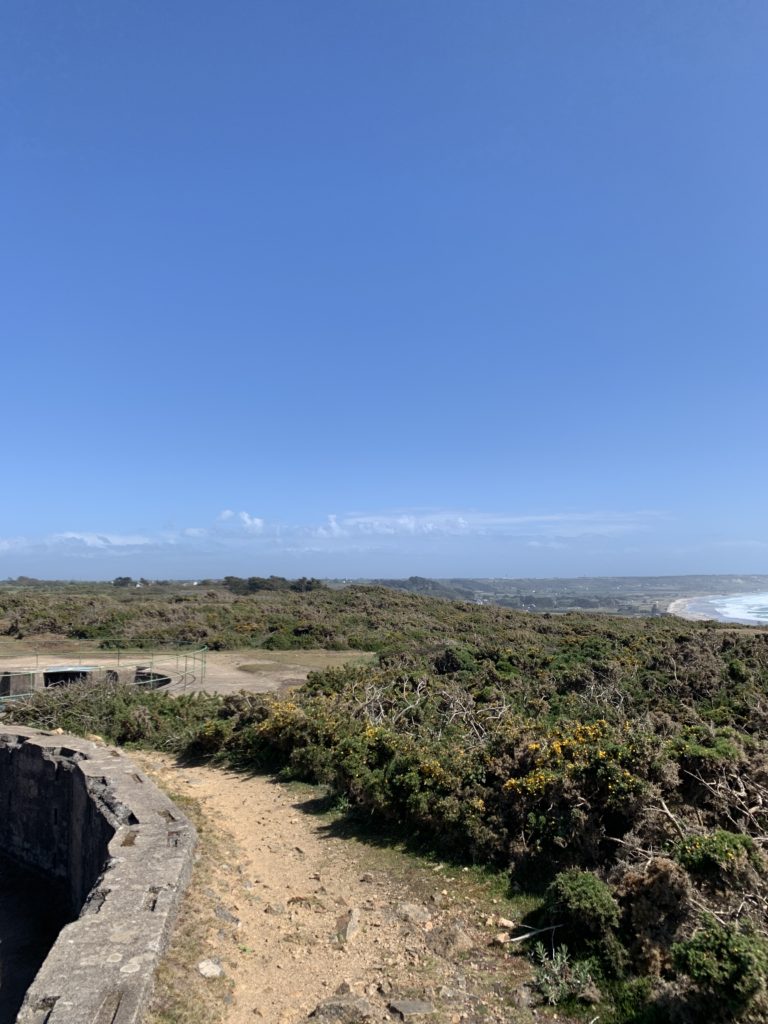
I want to show the original photos first in order to show how I’ve changed and manipulated them using Photoshop skills and the urban images
These are the main images I used for my background / the ‘original’ images;
before and after-
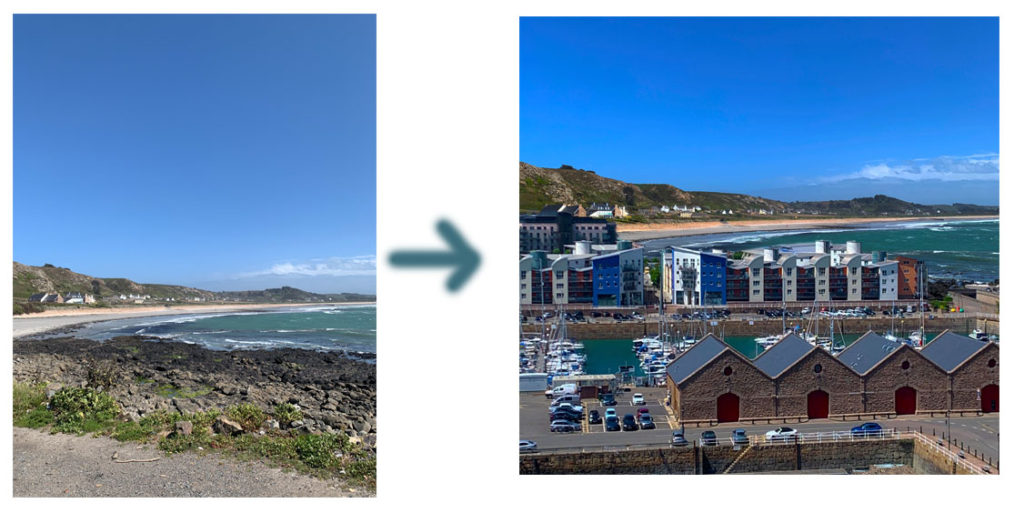
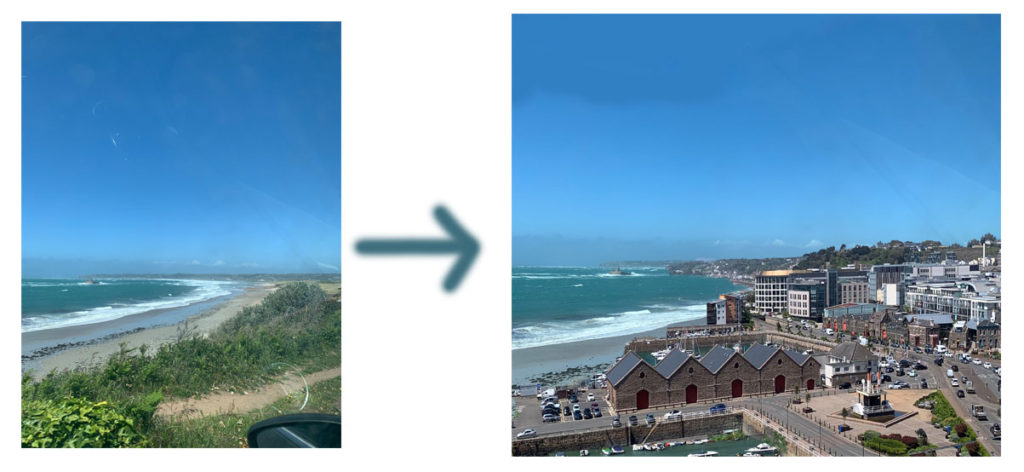
My final and edited images;
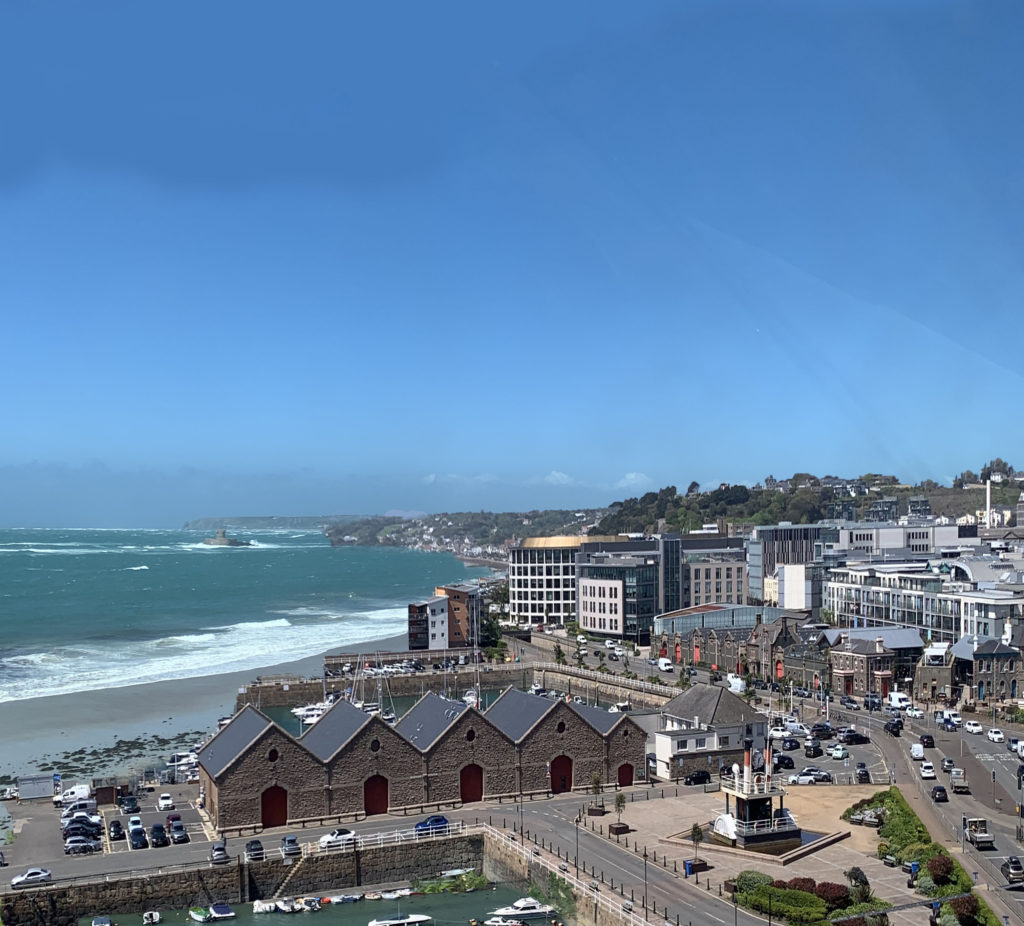

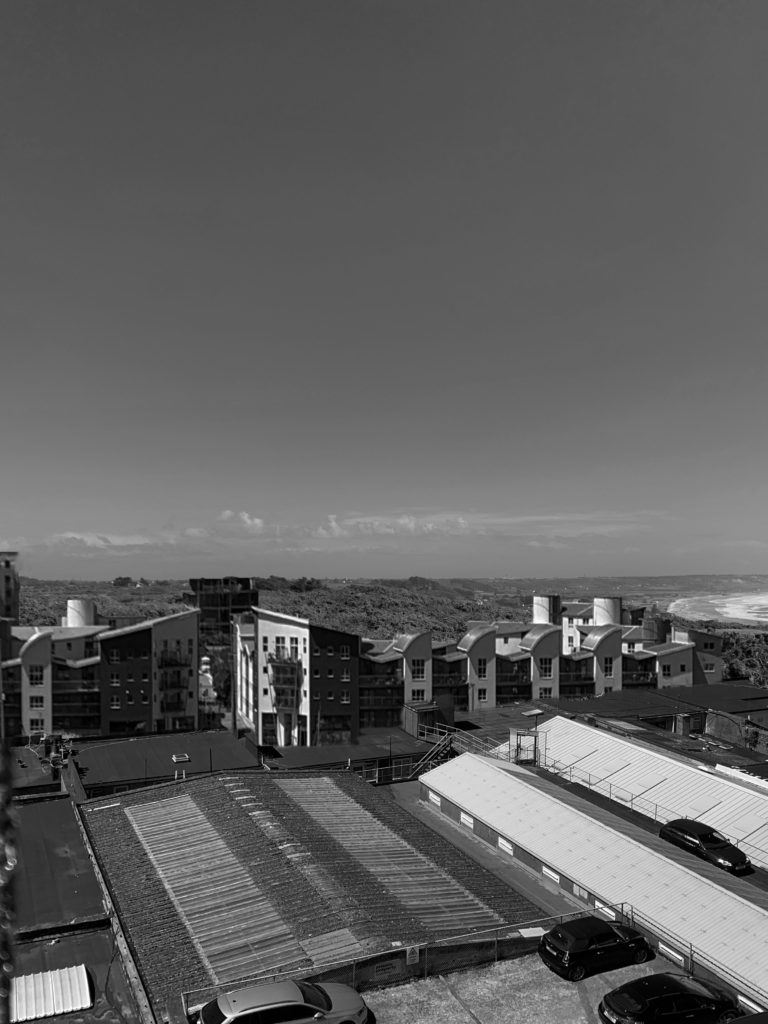
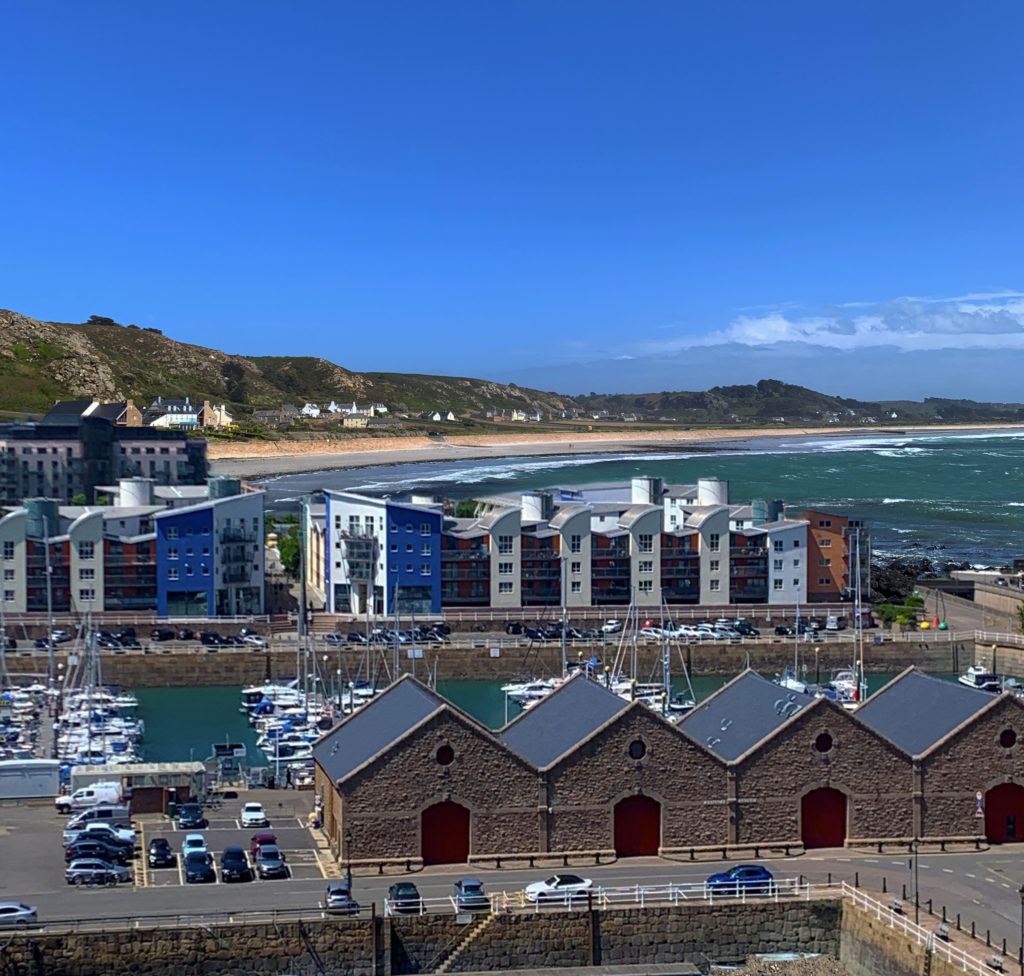
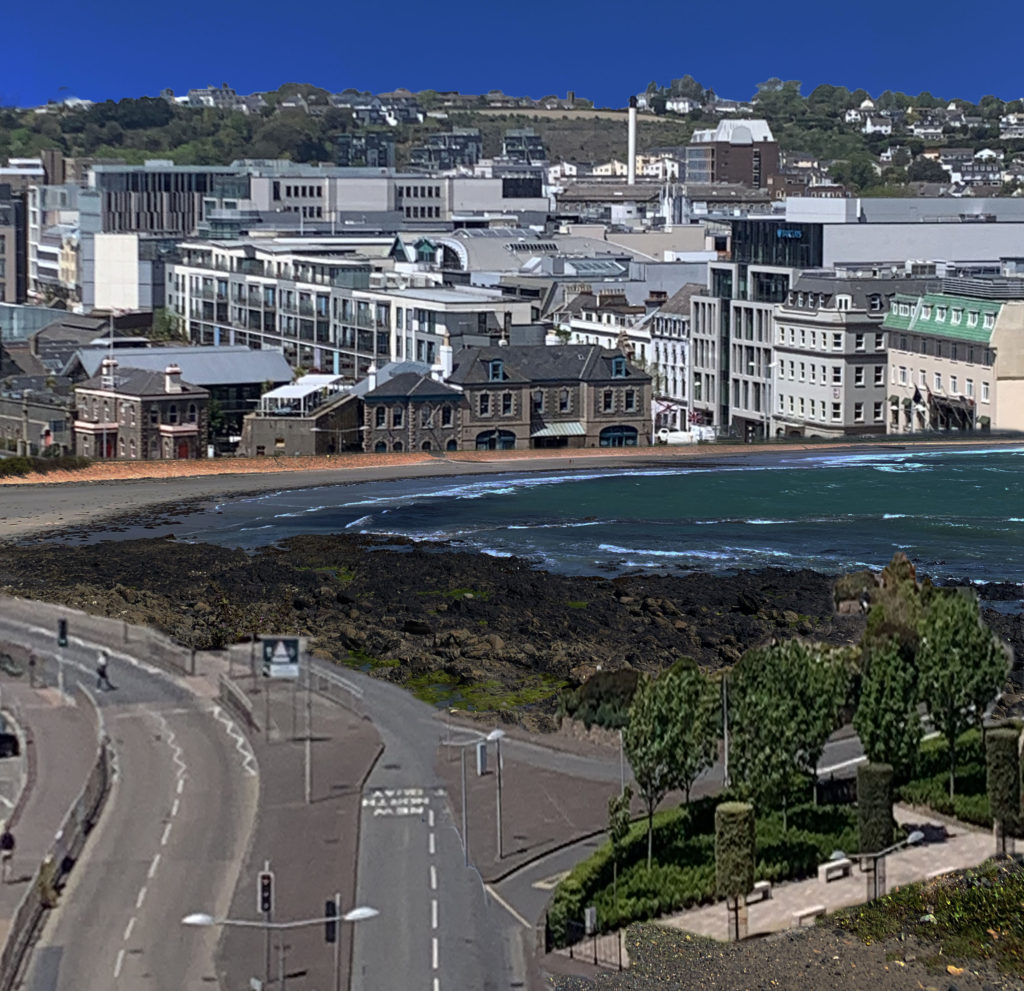
Overall, I’m extremely happy with how my photo-shop/ editing turned out. I used all the sections of the urban photos that I wanted to and the most built up areas in order to create this idea of what the future might look like. I used 3 main coastal images that I used as my background/ base image each time as they were the most open and clear images that allowed me to have plenty of space to edit on and paste buildings into. I used a mix of rows of buildings and buildings from the harbor to create different ideas and impacts. I kept four of my images in colour as my chosen photographers also edit their photos in colour, however I did change one image into black and white to create a more sad atmosphere as the changes in an ‘anthropocene’ topic mostly have a negative effect on our planet. I wanted to explore this idea through building up our natural environments , the beach, with buildings.
Before I was happy with my final 5 images I experimented a few times to make sure I was happy and confident with the ‘Quick Selection’ tool and I would be able to neatly and precisely cut out the buildings I want to use over my St. Ouens images. It also took me some time to make sure I adjusted the shape and length of the buildings that I wanted to use right and they fit into the shape of the bay well enough to make it look natural.
When I was editing I used the ‘eraser’ tool almost every time I pasted in a new section to make sure there were no random edges or background colours that looked wrong and unnatural over my original image. When I was placing and re sizing the images I always wanted to make sure my longer and further away town images were at the back of the coastal image to make it look as naturally placed as I could. Therefore, I then used the photos of the harbor and the roads a lot closer when I edited them over St.Ouens to create an illusion of those buildings being the closest.
When I finished using my Photoshop tools and all the final digital manipulation, I merged or flatted all the images down into one and adjusted the brightness,saturation and contrast to give a more warm and brighter finish. The last part of my editing process was cropping the image down. My original images had a lot of the sky showing therefore I cropped almost more than half of it to make the editing/buildings the main focus as it was placed in the center of the overall image.