To begin my personal study project I decided to experiment with different ideas. I knew I wanted to use childhood images within my photobook so I experimented with different ideas based around childhood and memories. I tried different things like using different tools in photography, photographing landscapes and exploring different ideas and concepts until I found an idea I felt interested me and thoroughly represented my ideas.
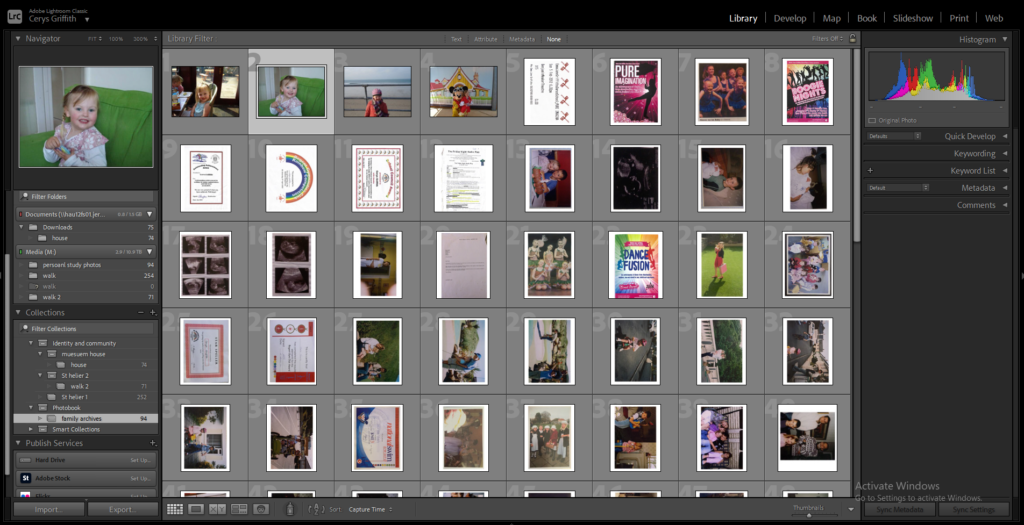
First I imported all my chosen childhood images into Lightroom and into a folder within my photobook folder so I could organise all my images for this project in one place.
Photoshop experimenting
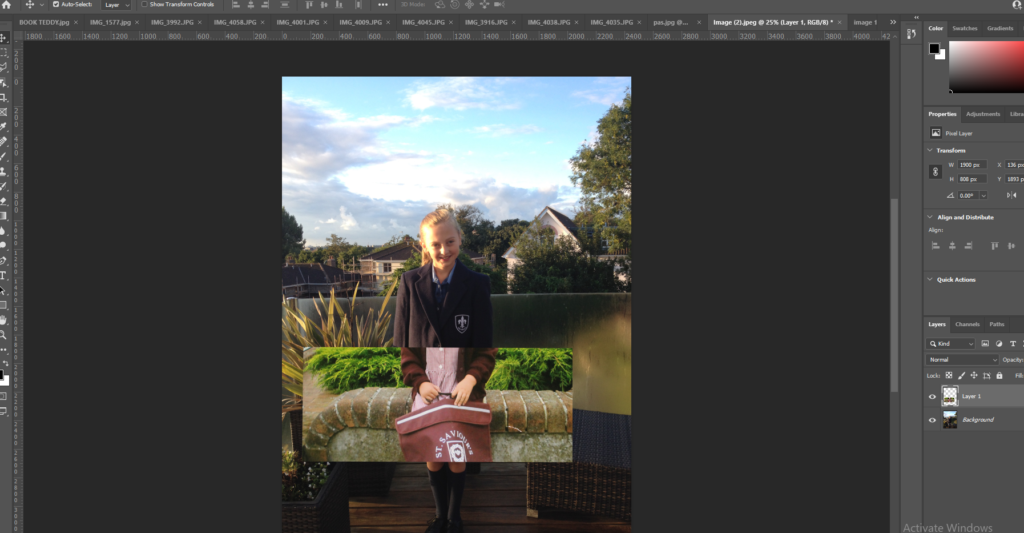
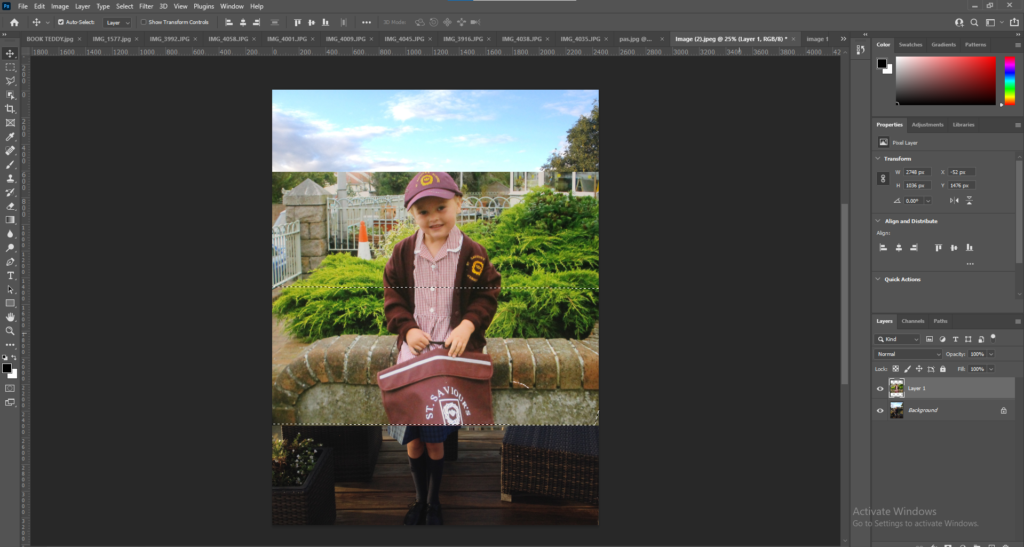
I then began experiment with different tools within photoshop. I started with a basic tool within photoshop by overlapping 2 images and changing the opacity. I liked the final outcome of this image showing what I was and the growth.
I then began experimenting with the polygonal tool and began created different shapes ontop of the image.
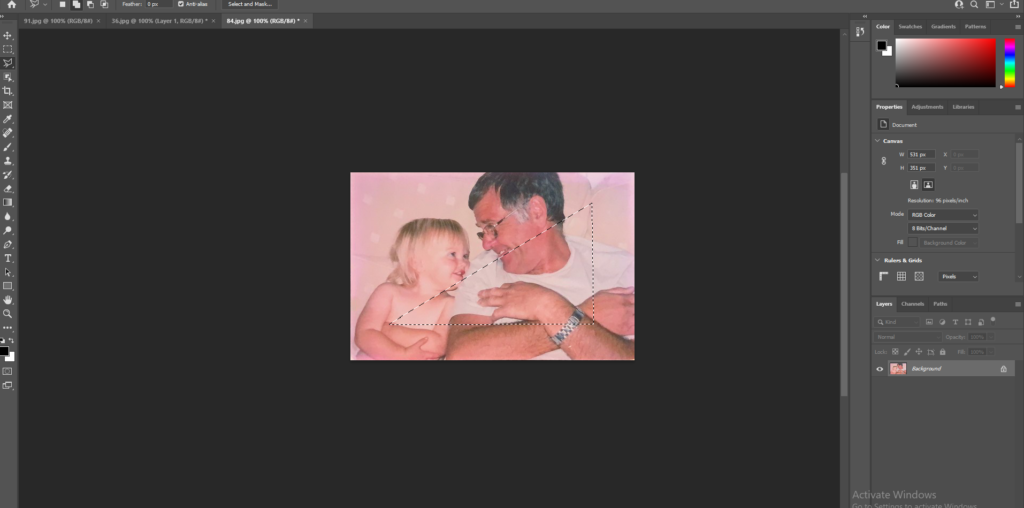
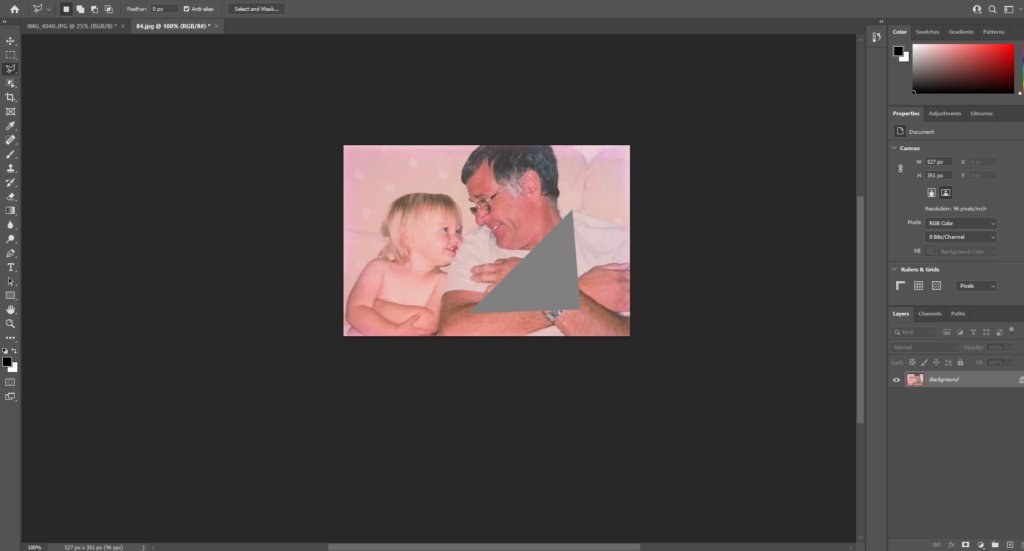
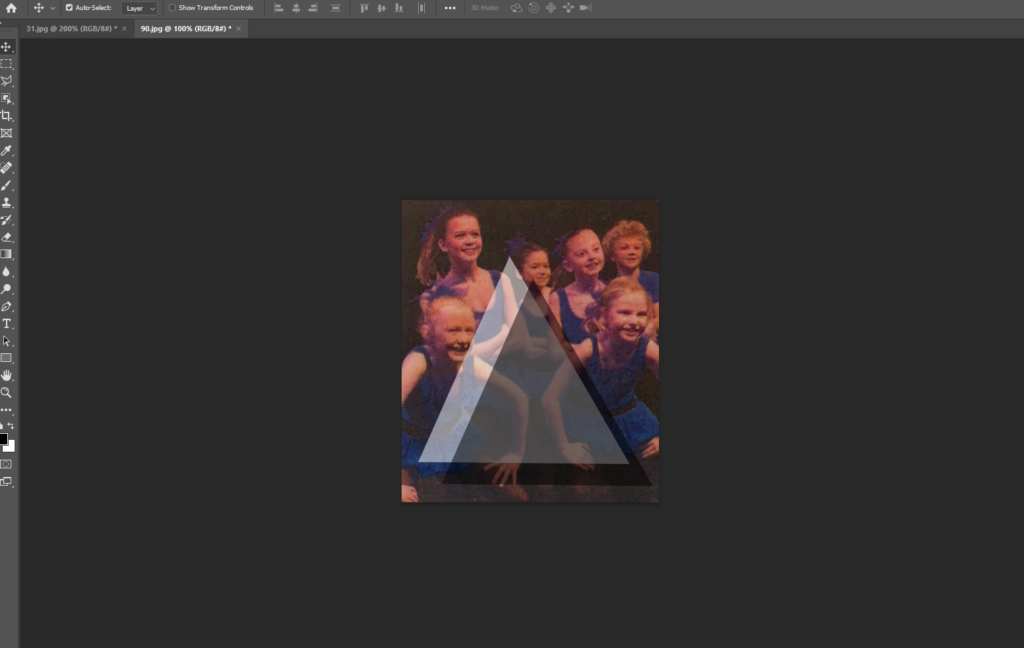
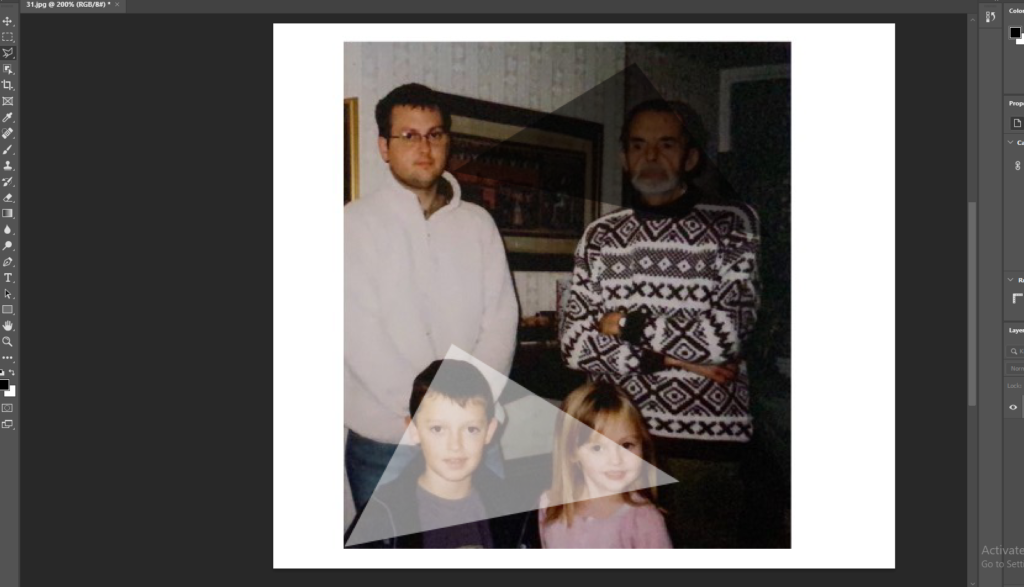
I continued to experiment with the polygonal tool on different images, using different colours shapes and sizes. I liked this experimentation as I felt it added something to the image and gave me freedom to add a different meaning and feel to the image by splitting up the image.
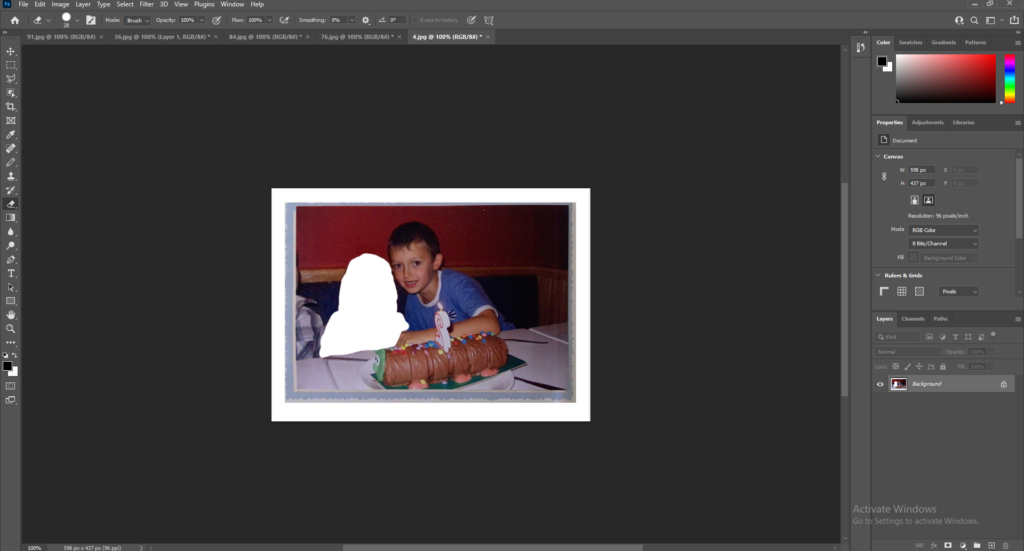
I also experimented with the drawing tool and experimented with cutting people or objects from an image. I didn’t like this option as I felt it looked messy and didn’t represent my intentions well.
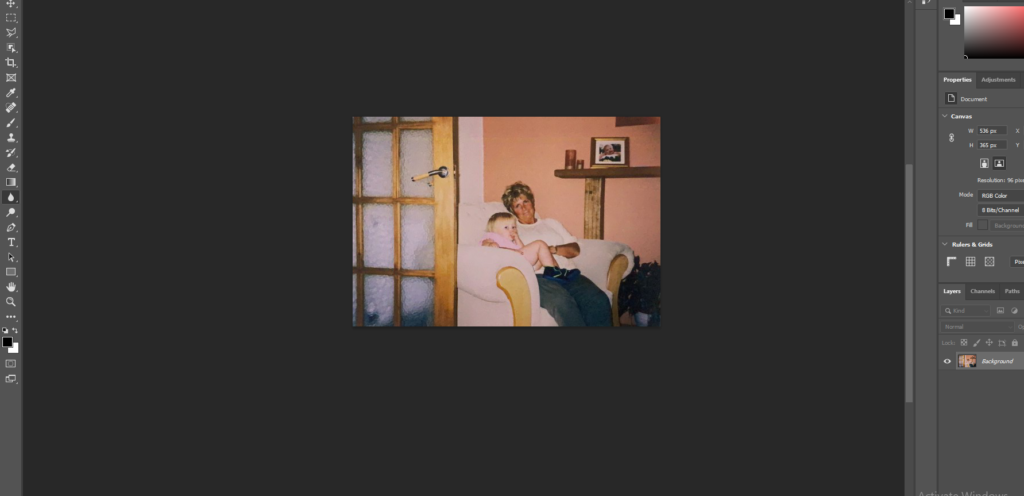
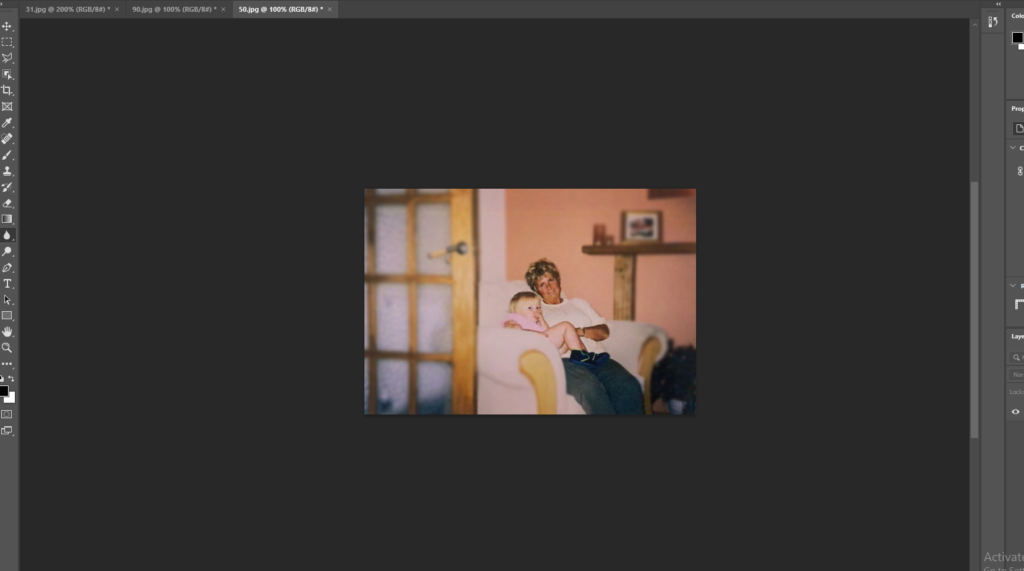
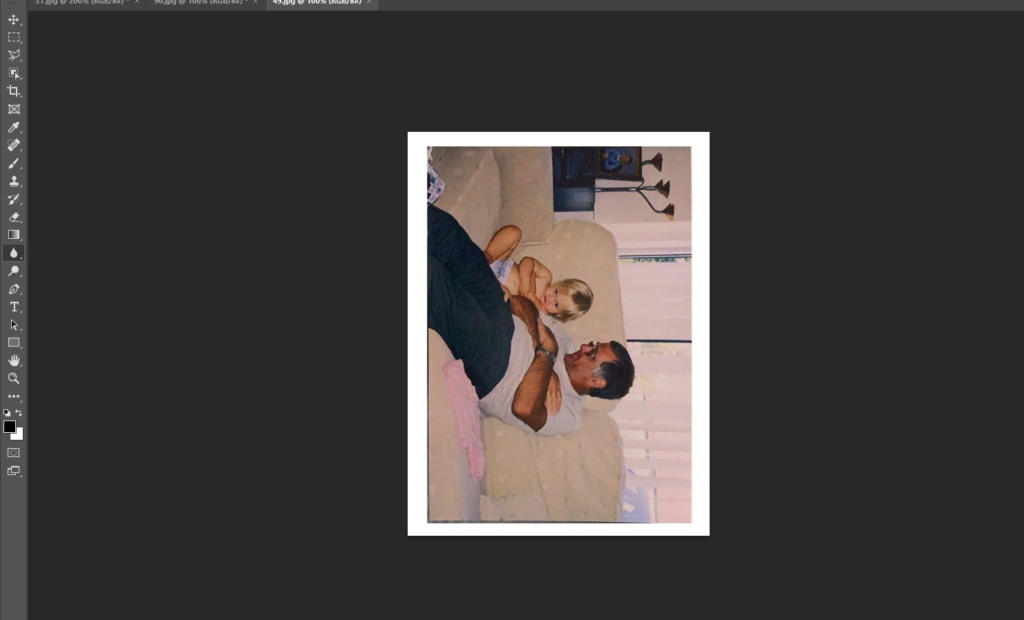
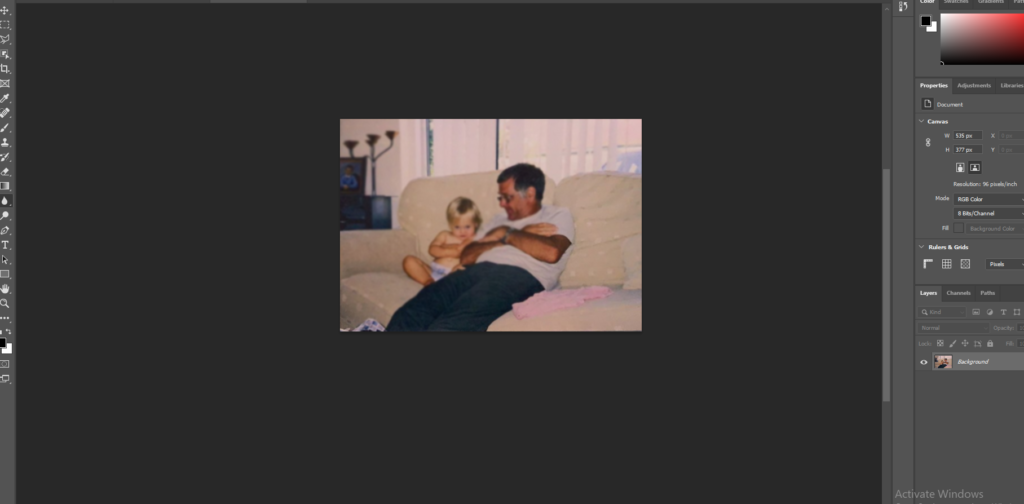
I also decided used the blur tool on a few images. I tried blurring the whole image and just blurring the background of the main subject of the image. I liked this as it created a focus on the subject of the image.
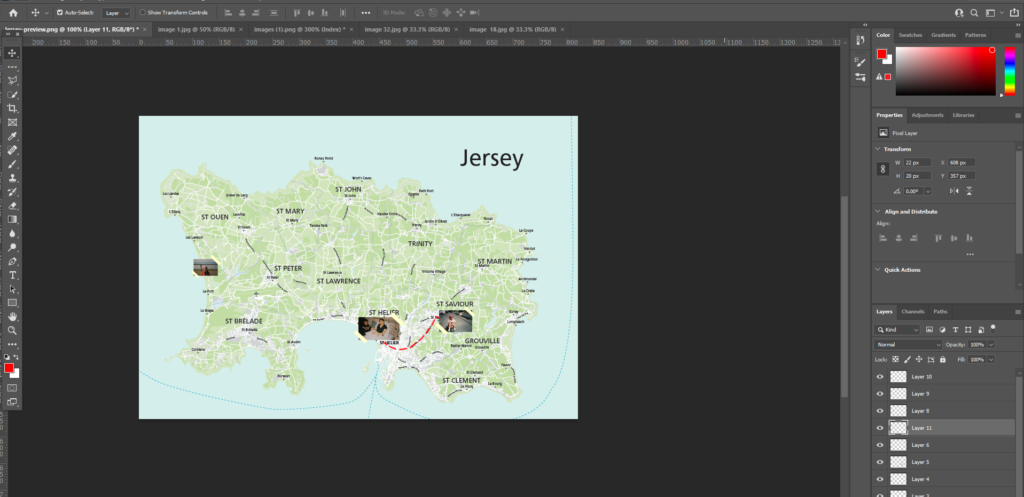
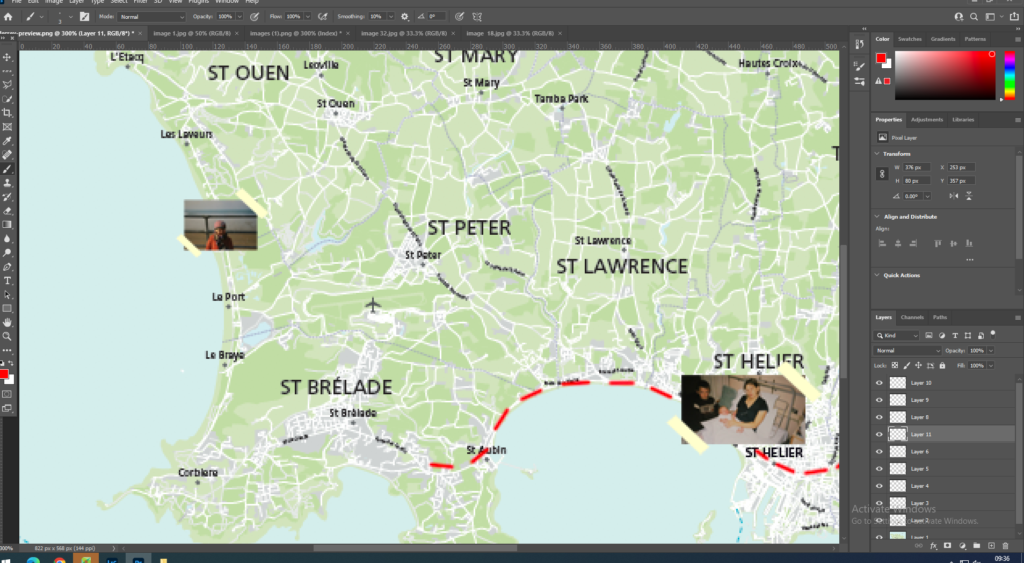
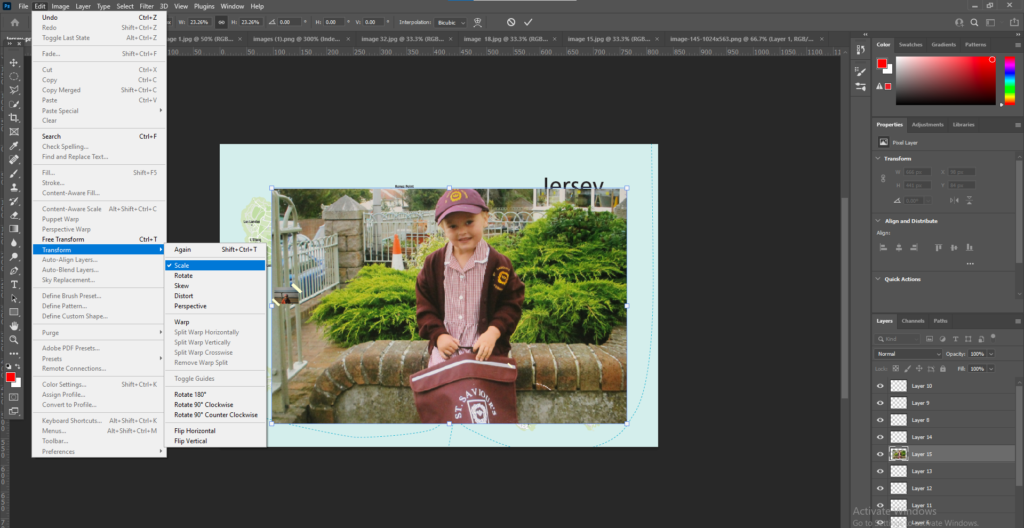
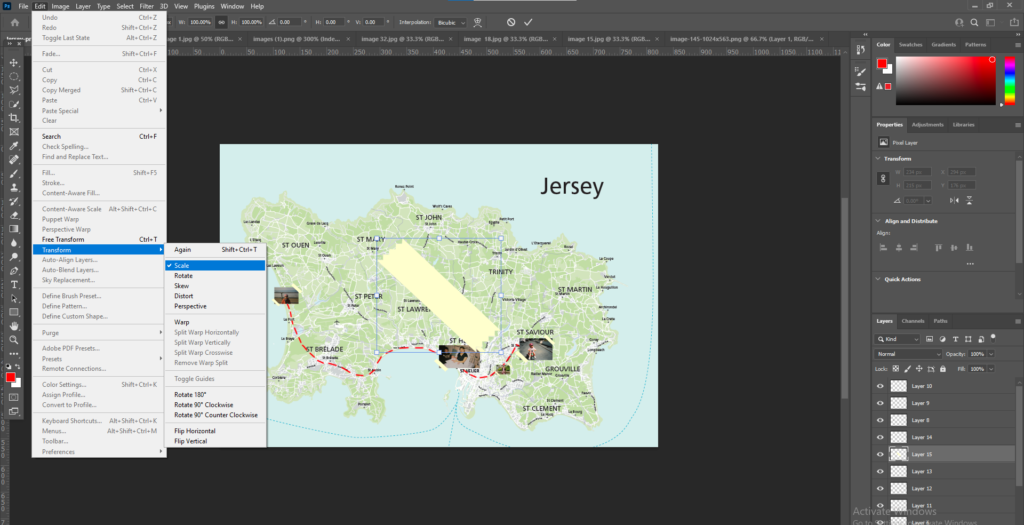
I got an image of a Jersey map and then decided the images I wanted to place on the maps. I then placed these images on the maps and adjusted the scale of the images to the size I wanted by going to Edit > Transform > Scale. I left some images bigger than others as I wanted some images to stand out more than other images.
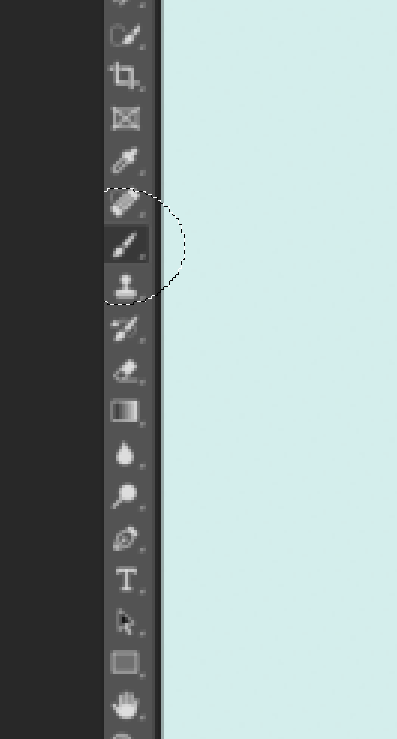
I then used the brush tool to draw lines between all the images and create a path. I chose to use the colour red for the lines to make the path stand out.
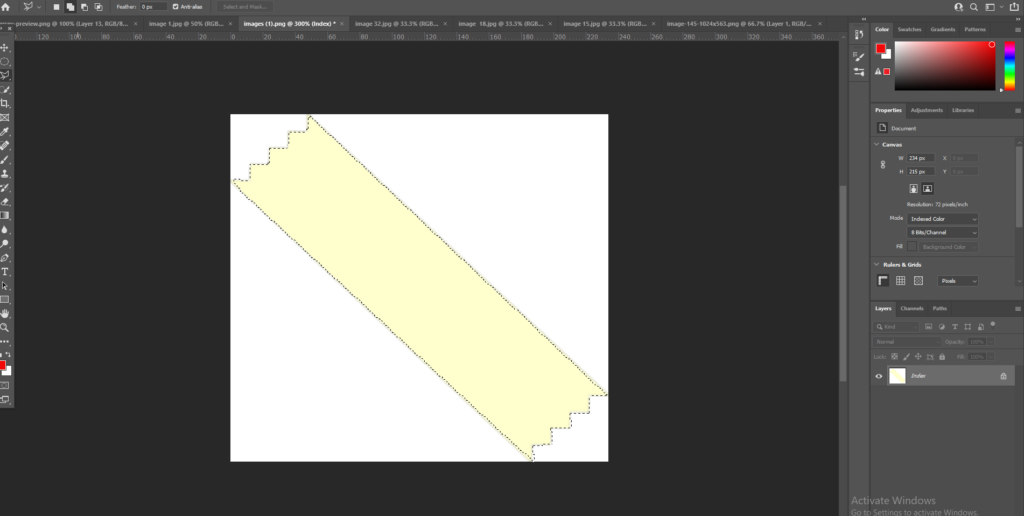
Next I added on some ‘tape’ to make the images look stuck down. I used the ‘Polygonal’ tool to cut out the tape and then pressed Ctrl C to copy the selected part onto the map. I then adjusted the scale doing the same process as I did with the images.
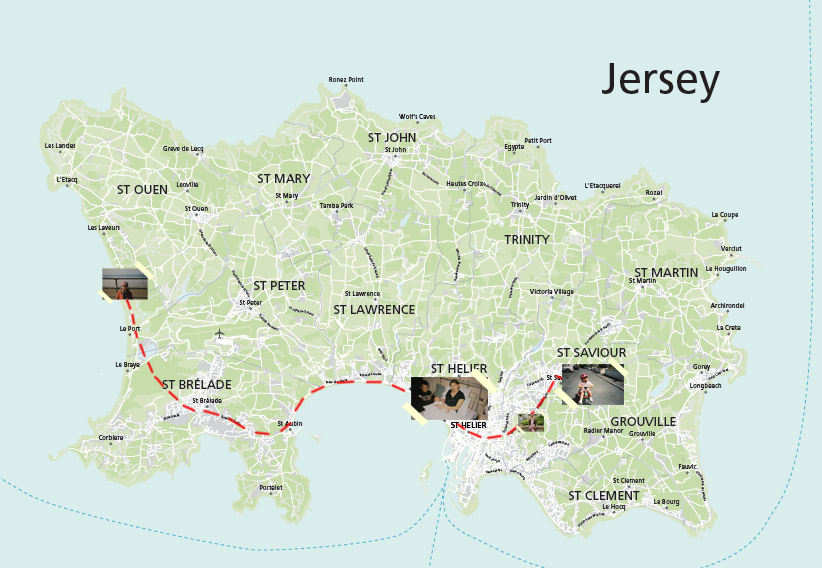
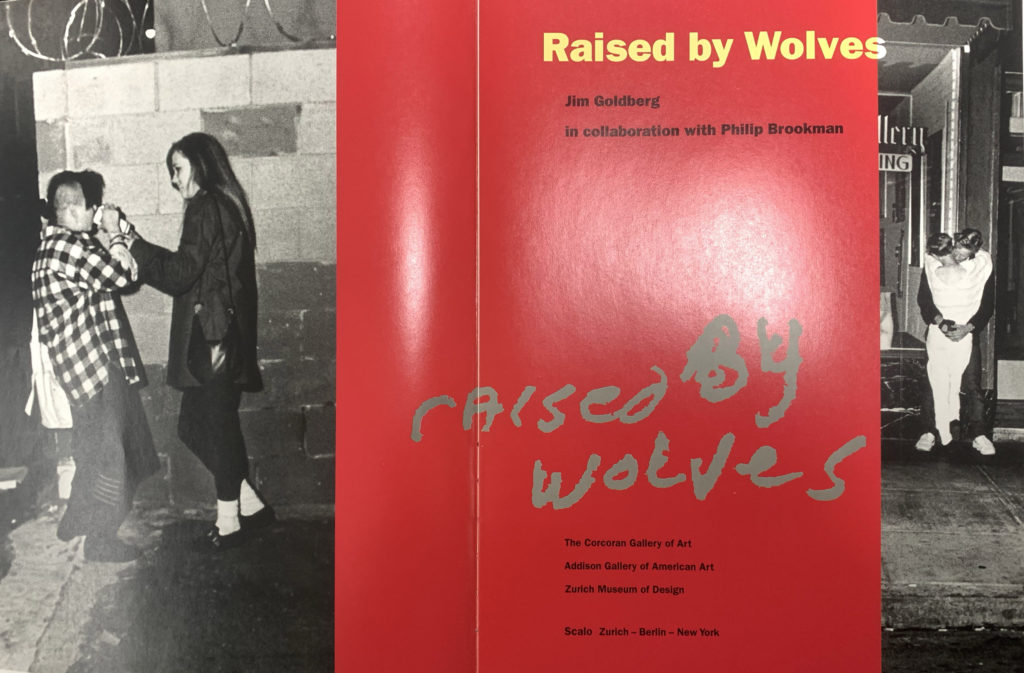
I then took inspiration from an image in Jim Goldbergs book ‘Raised by Wolves’ where he placed images and drew on a map of where he was photographing. I wanted to do this to pin point key images to places around where I live and grew up. I put on images from where I was born to where I first went to school or even core memories.

My work 
Jim Goldberg
Image selection
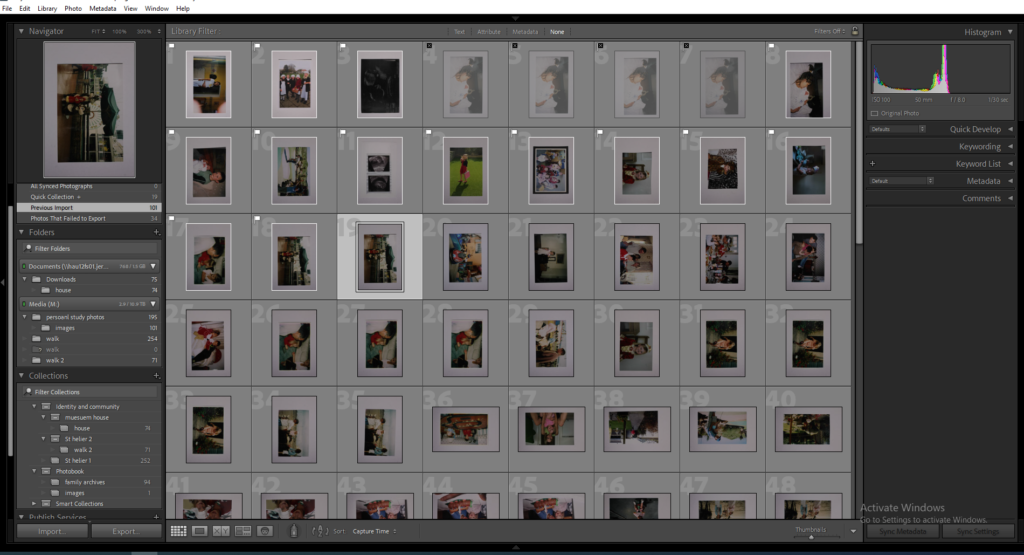
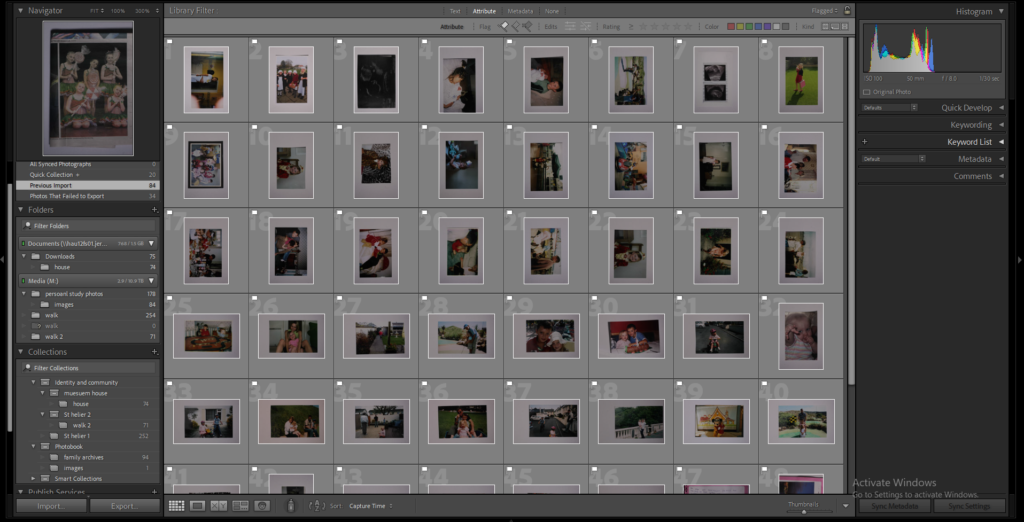
I went through all my images I collected and went through and flagged the images I liked and wanted to start editing and experimenting with. The second image shows all my flagged images.
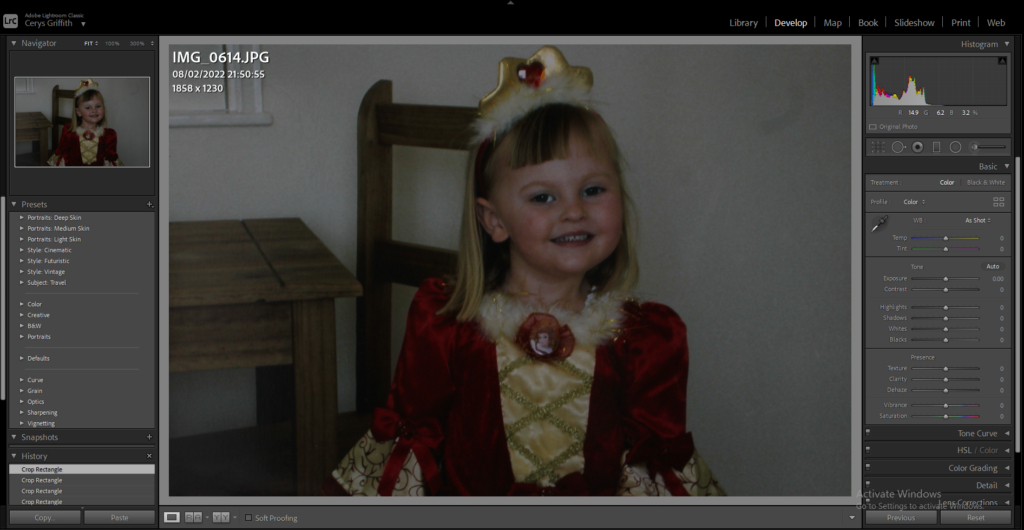
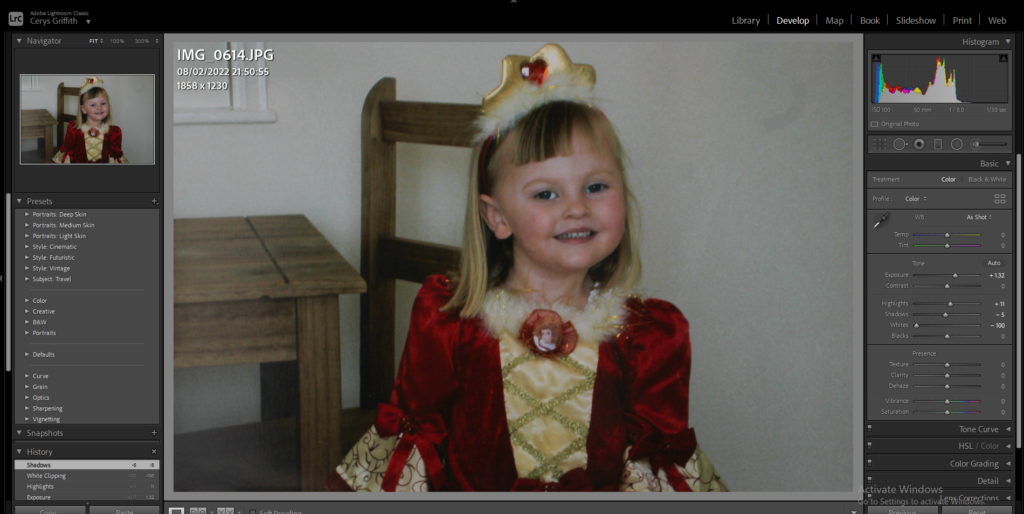
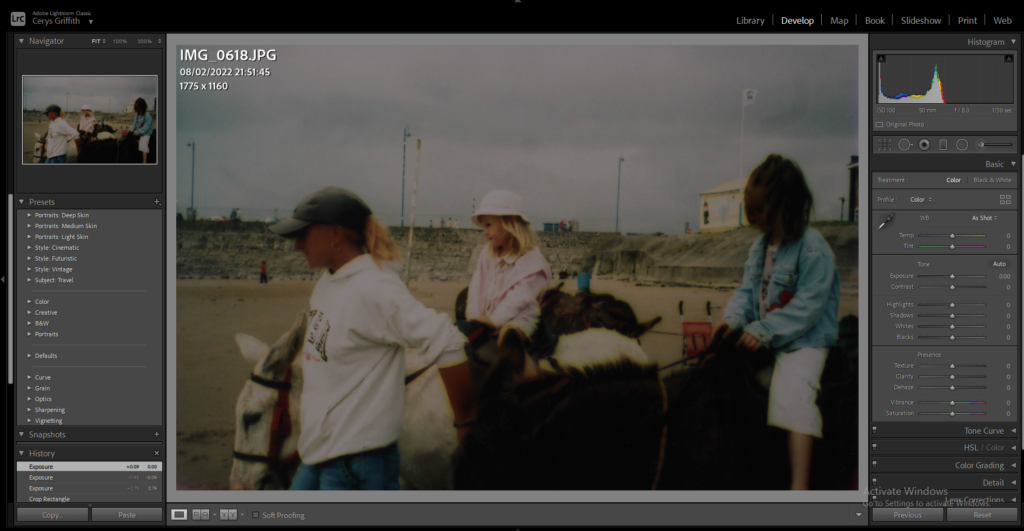
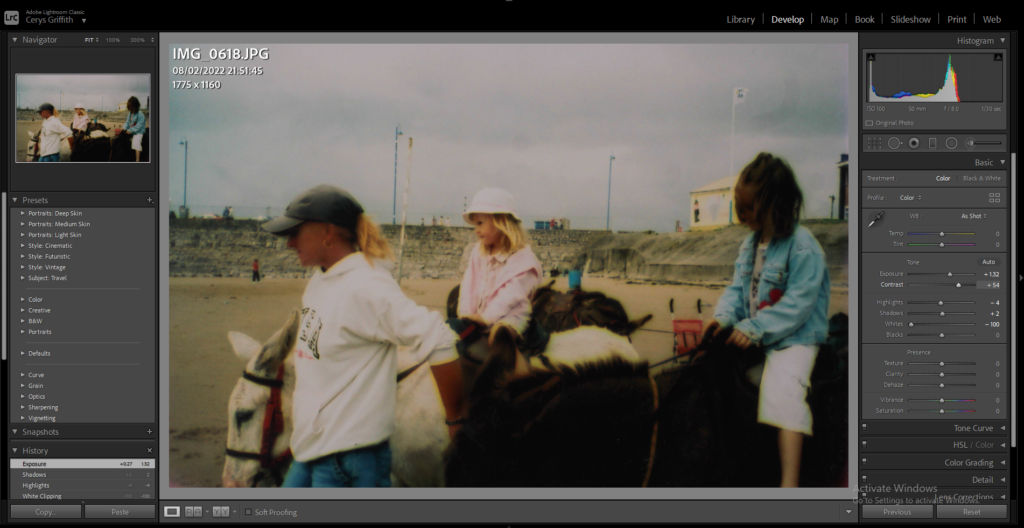
I then went through all my flagged images and began editing them. A lot of my images were very dark so I brightened them up and changed the colours, exposure and contrast on all of the images.
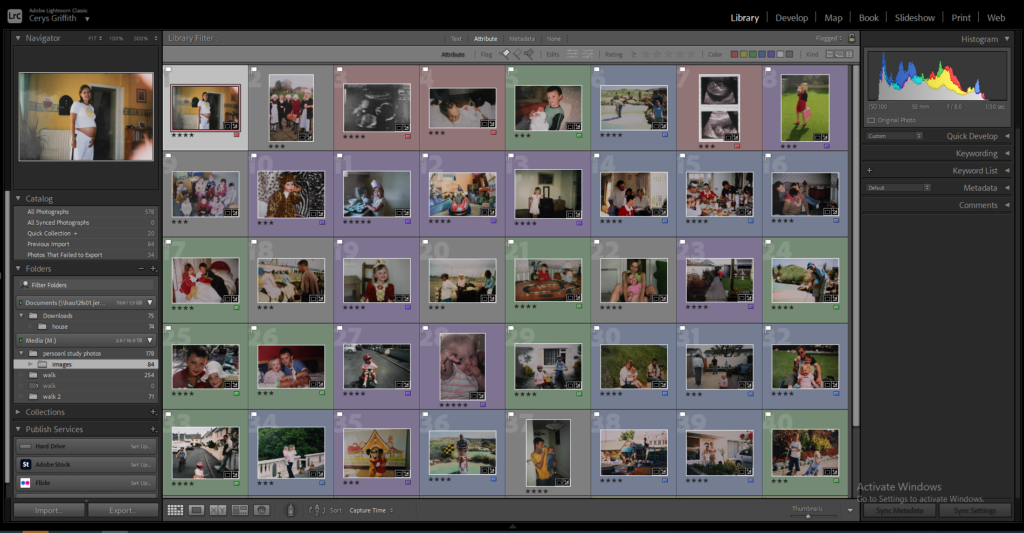
I then decided to colour code my images into different categories, e.g = colours, family members, ages, to make it easier to piece together my final photobook.
Editing
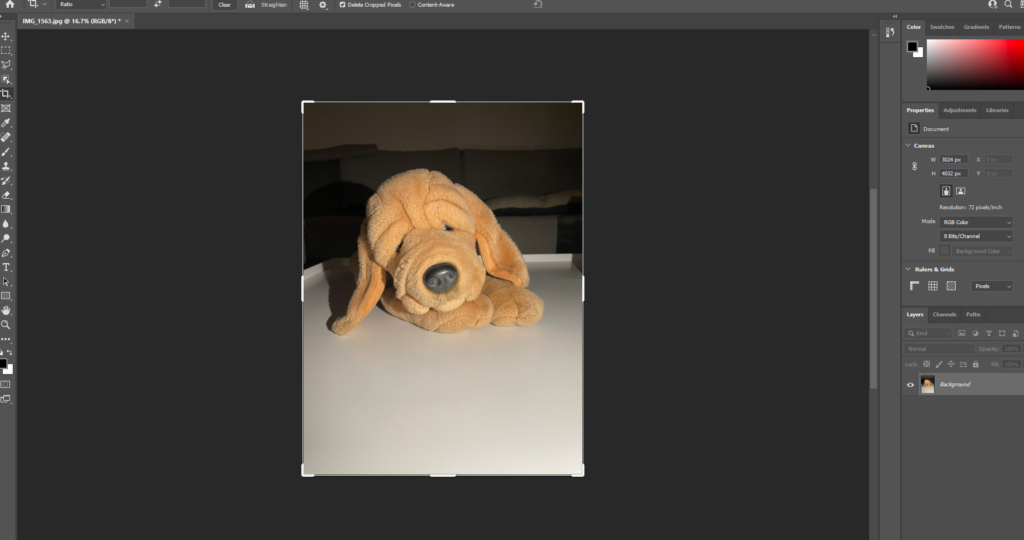
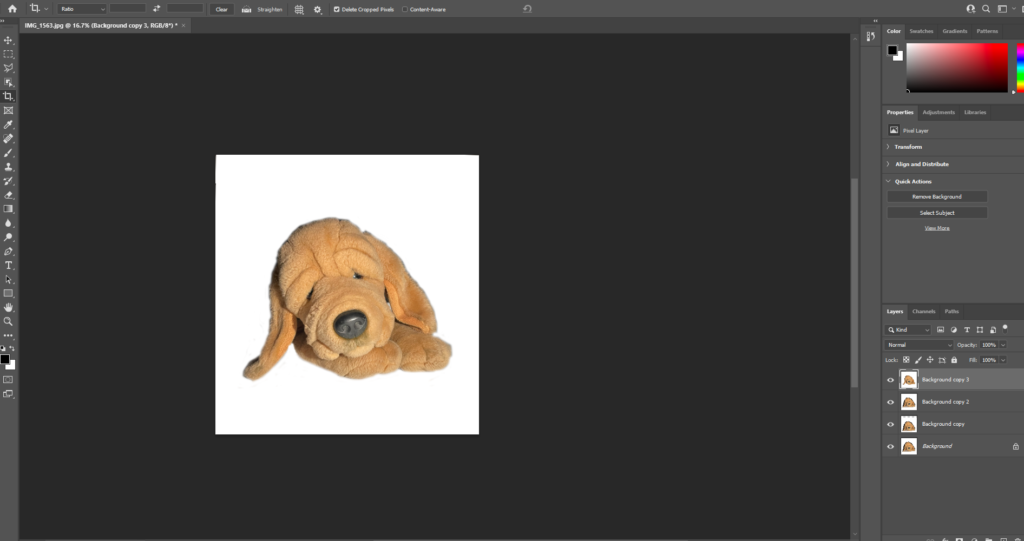
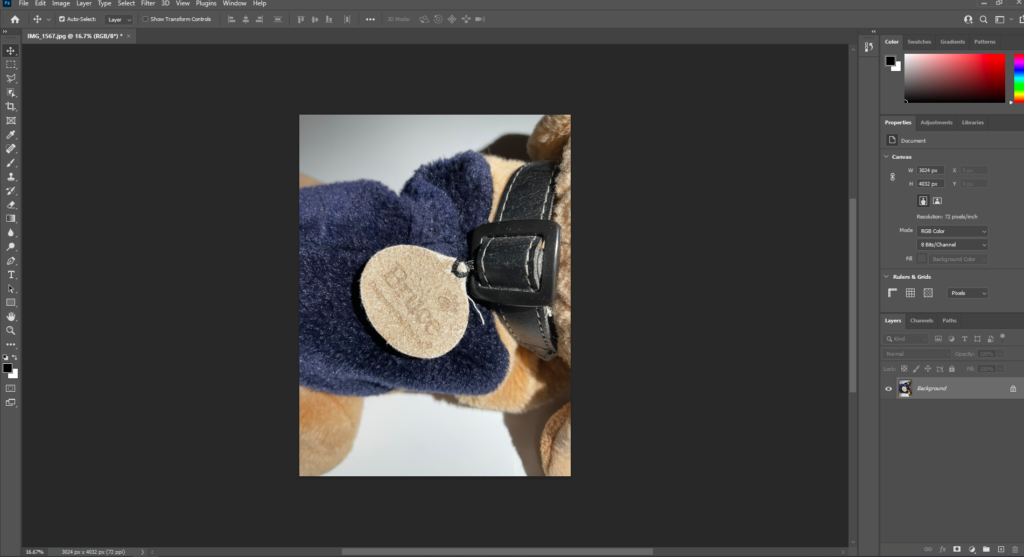
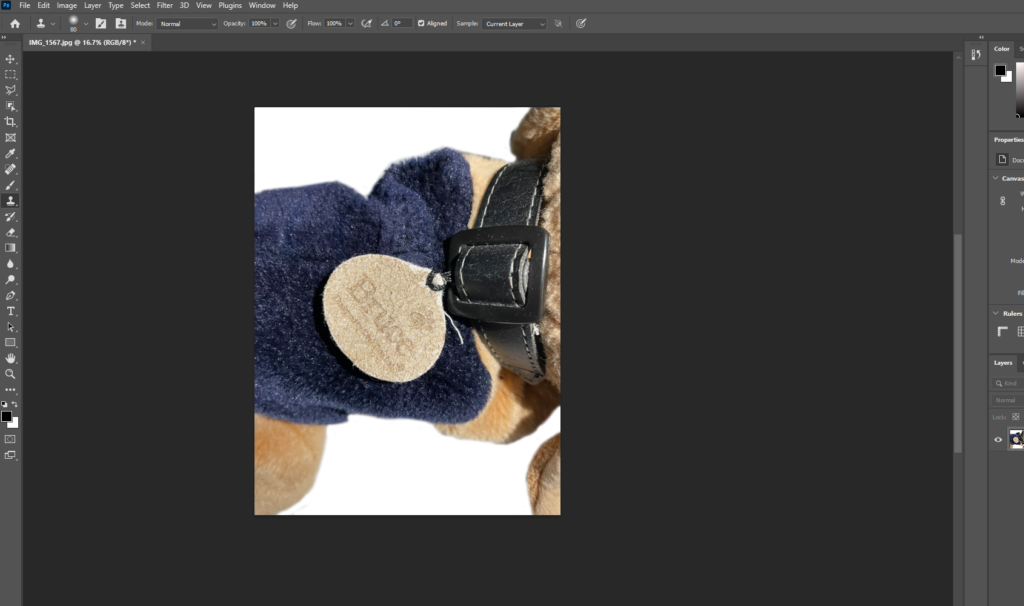
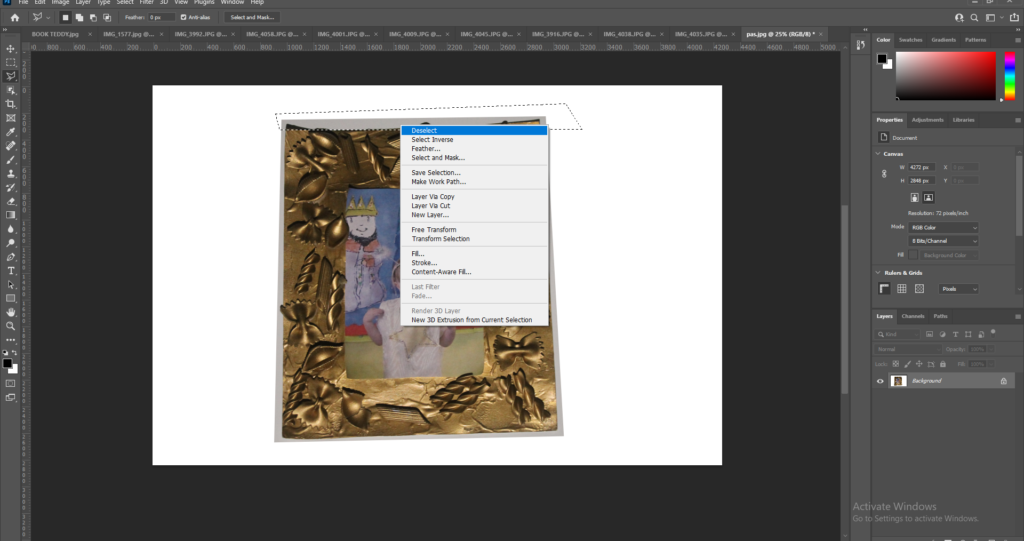
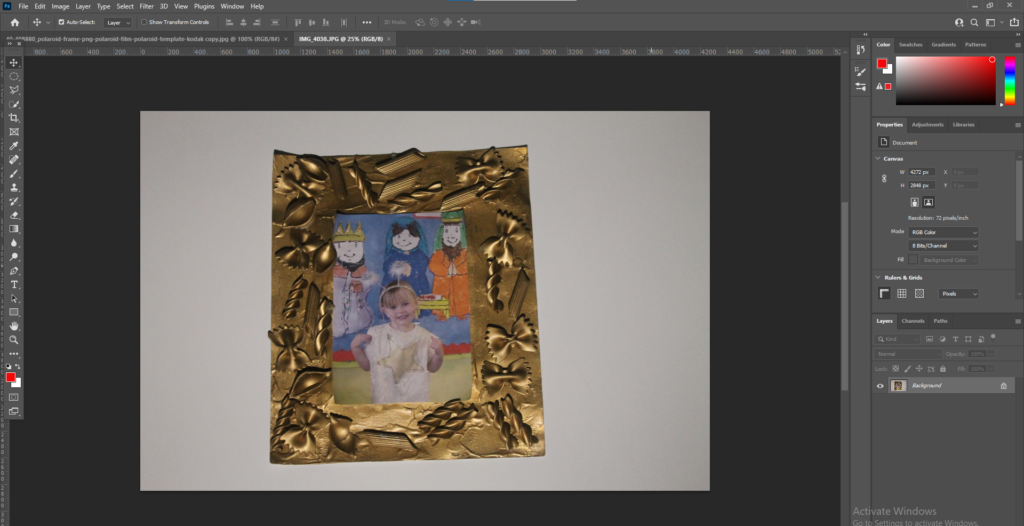
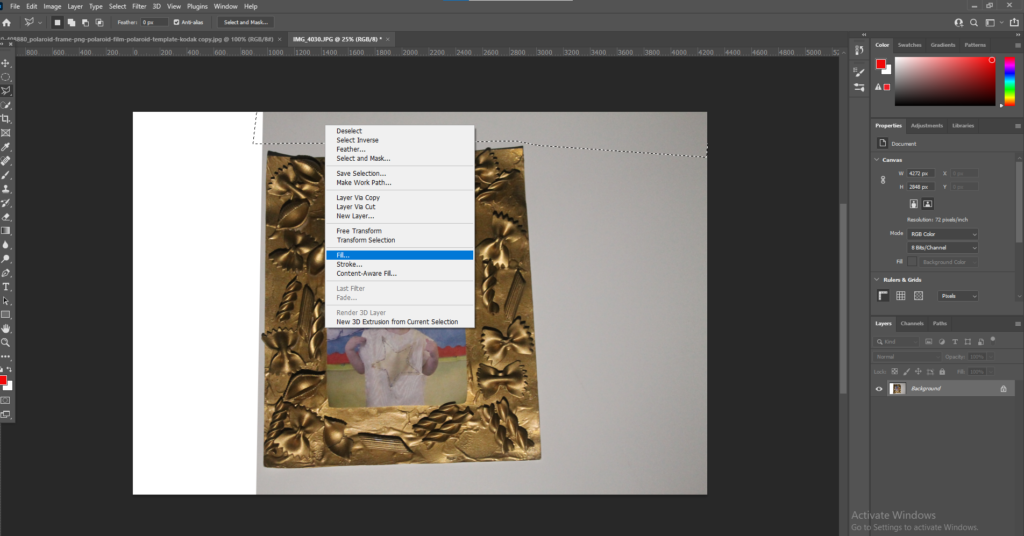
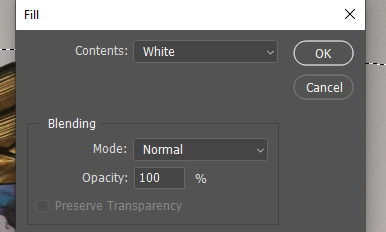
I wanted the images of the objects to have a plain white background so they blended in with the background of the paper in the photobook. To do this I started my using the Polygonal tool and selecting the majority of the background and right clicking on my mouse, it then brings up the option to fill the selected shape. I filled the selection with white to create the white background.
I then used the ‘Clone stamp tool’ to get the finer parts around the object in the image. I help the mouse over the white parts, pressed alt and then with a thin brush went around the object.
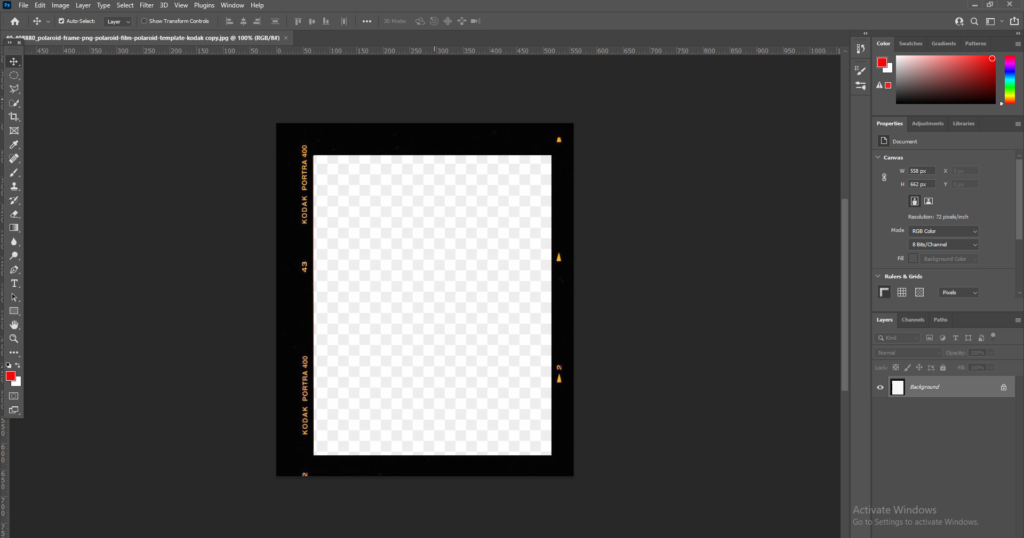
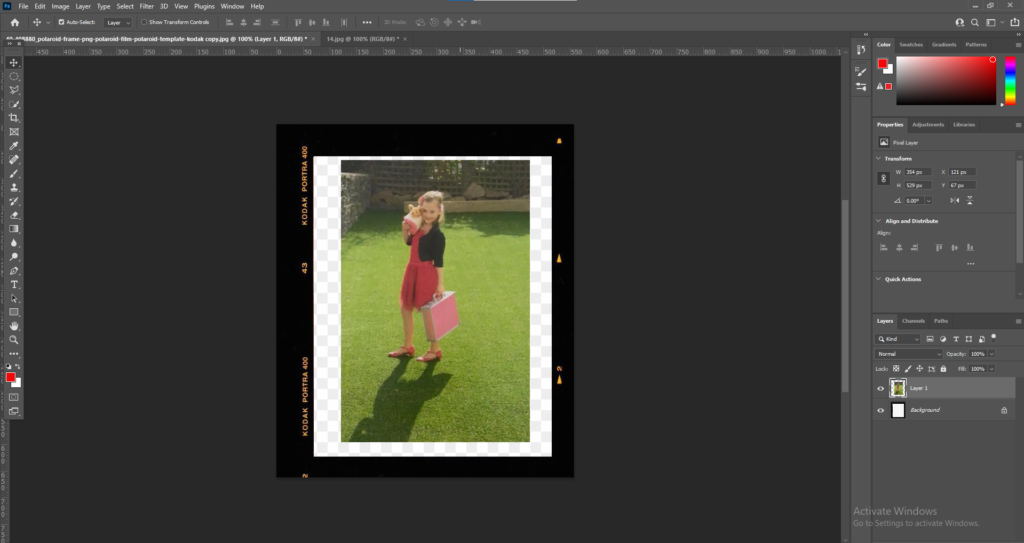
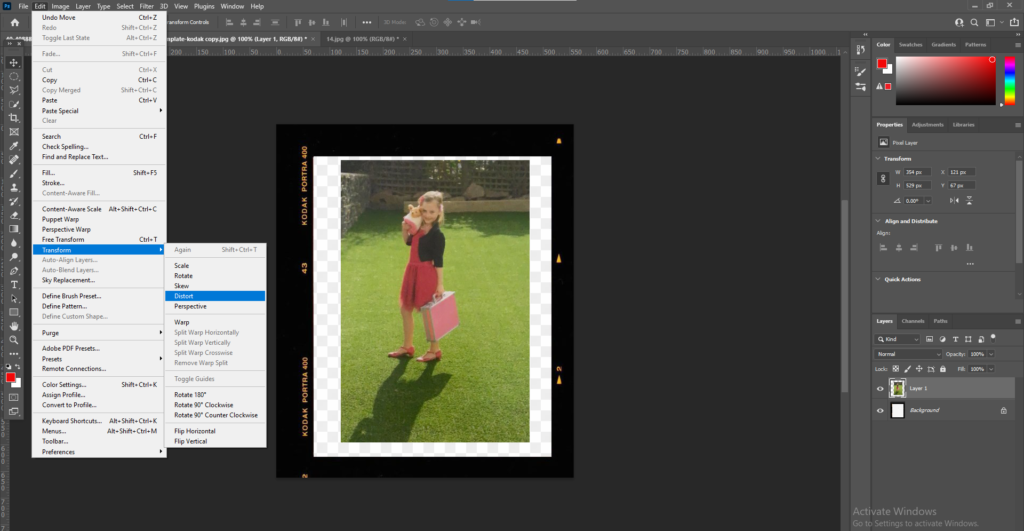
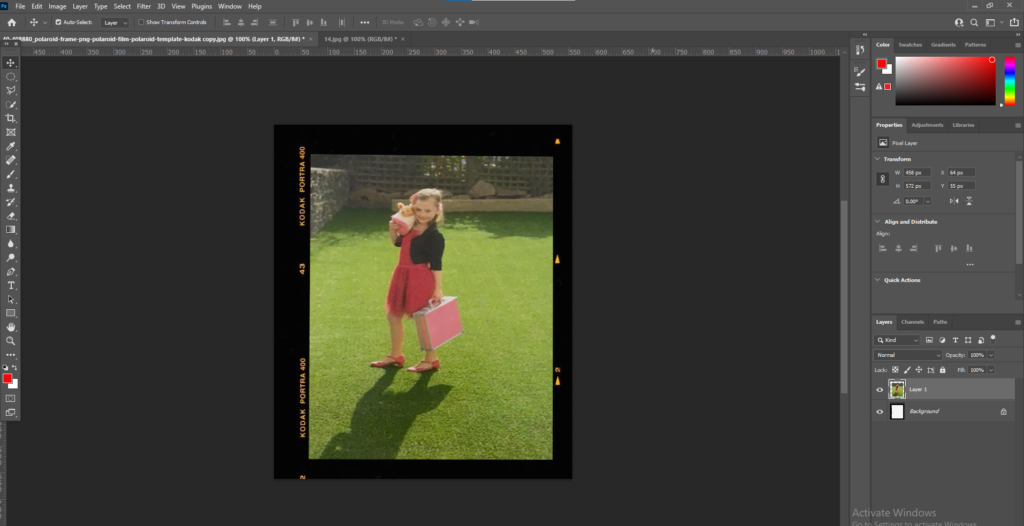
I put lots of my images into a polaroid template as I wanted to create a page in my book full of polaroid’s. To do this I downloaded a polaroid template and opened it within Photoshop. I then placed the image I wanted to use over the top of the template. Then I had to use the distort option in Edit > Transform > Distort and then move the edges to make the image fit into the template.
Inspiration
My main inspiration for my book was from Jim Goldberg’s book ‘Raised by Wolves’. His book was all about the homeless children fending for themselves in Los Angeles and San Francisco. For 10 years Jim Goldberg took to the streets to meet and photograph homeless runaways and then a gather collection of photographs, snippets of conversation, handwritten notes, drawings, snapshots which then created the book ‘Raised by wolves’. Although my book has a very different aspect and meaning behind it I liked the realistic and real view Goldberg took on his book. I also liked the presentation of Goldberg’s book and how he used text to add context and bring the book to life.
Designing photobook
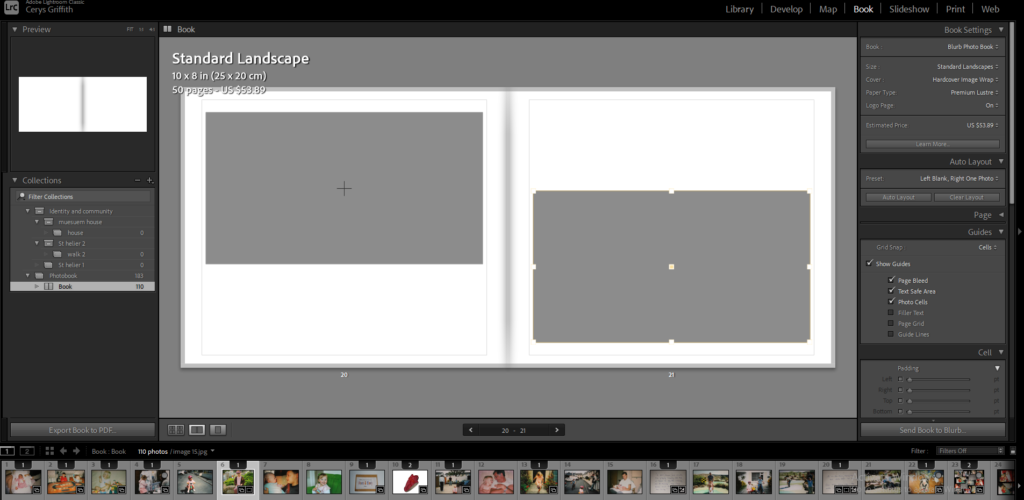
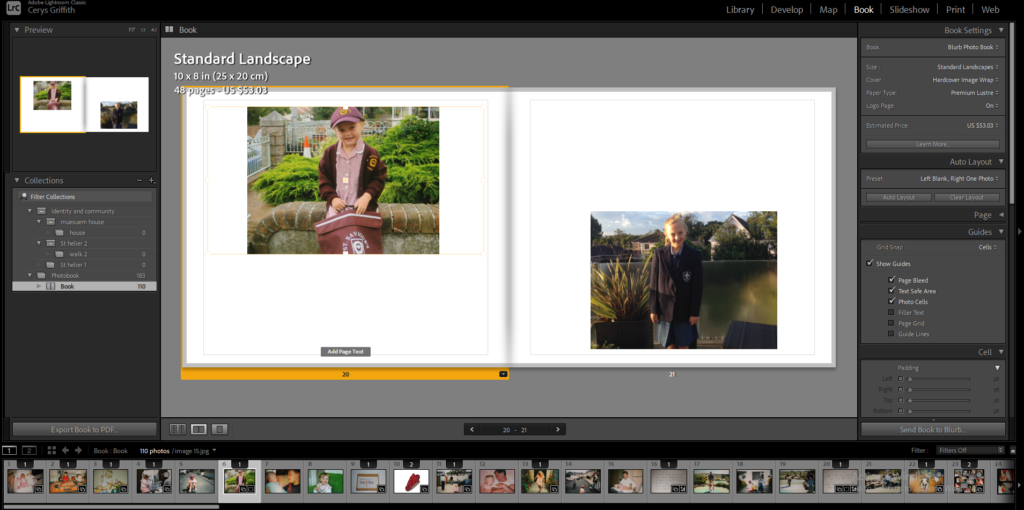
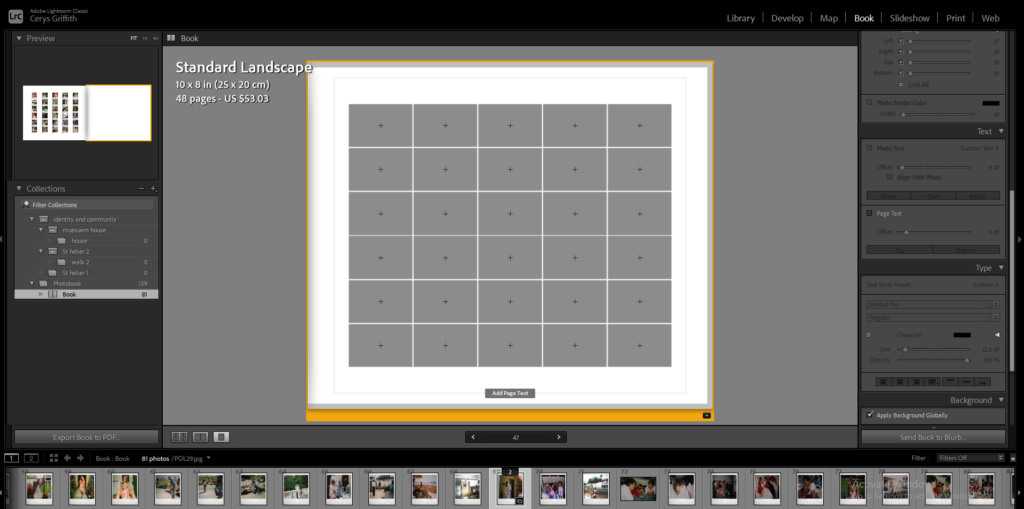
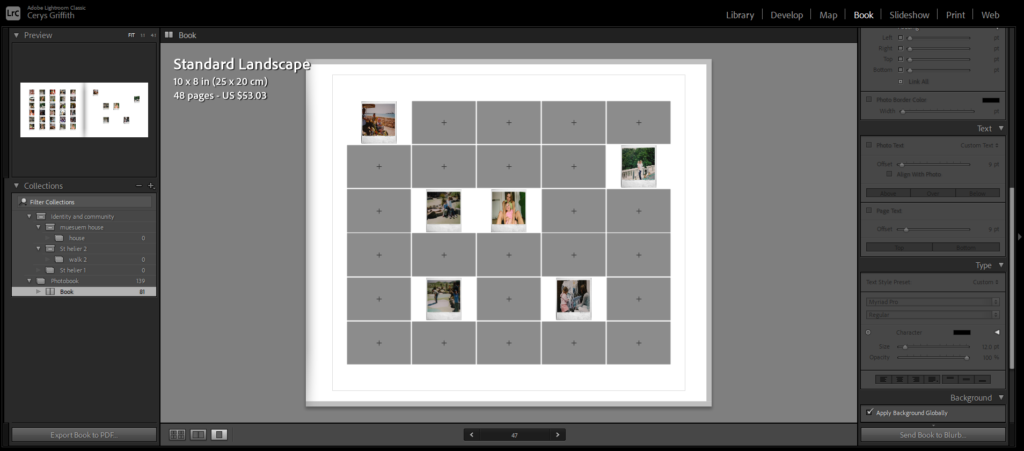
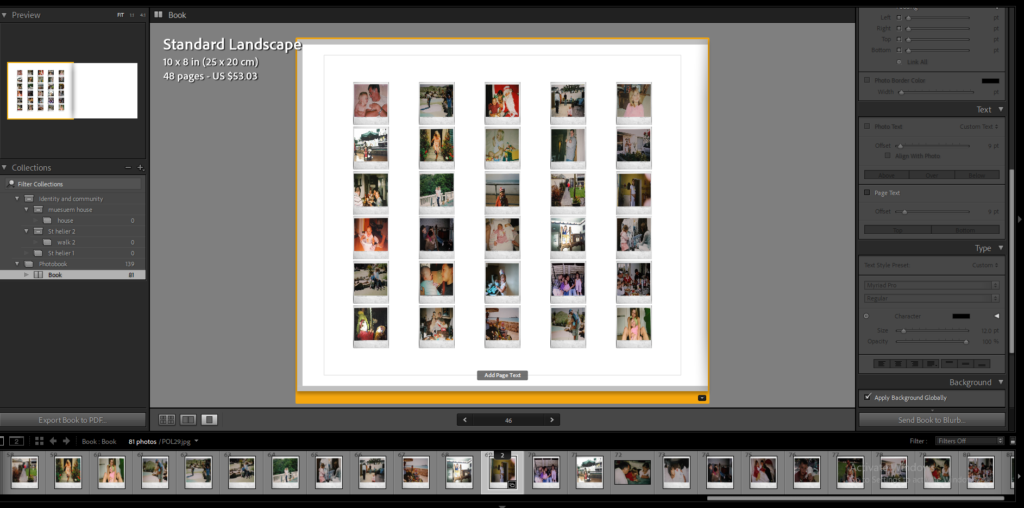
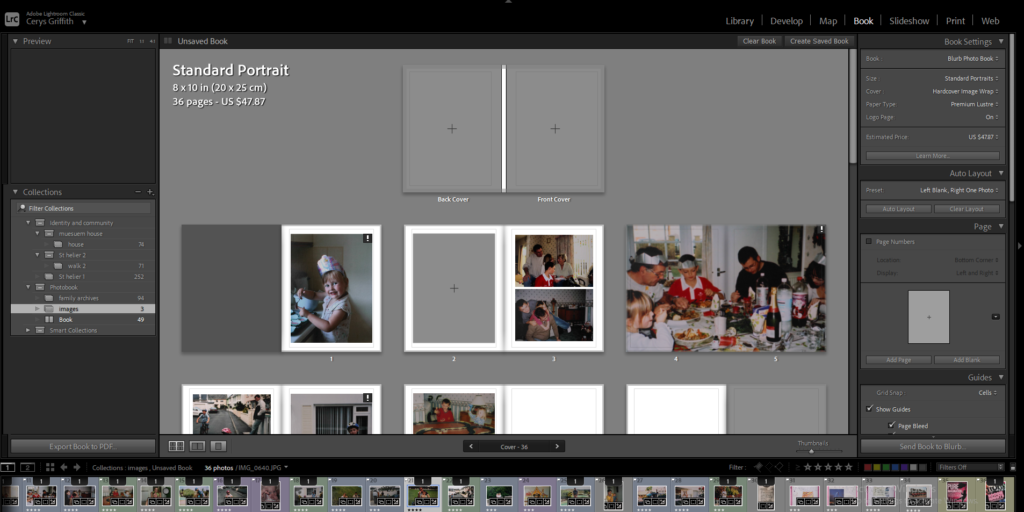
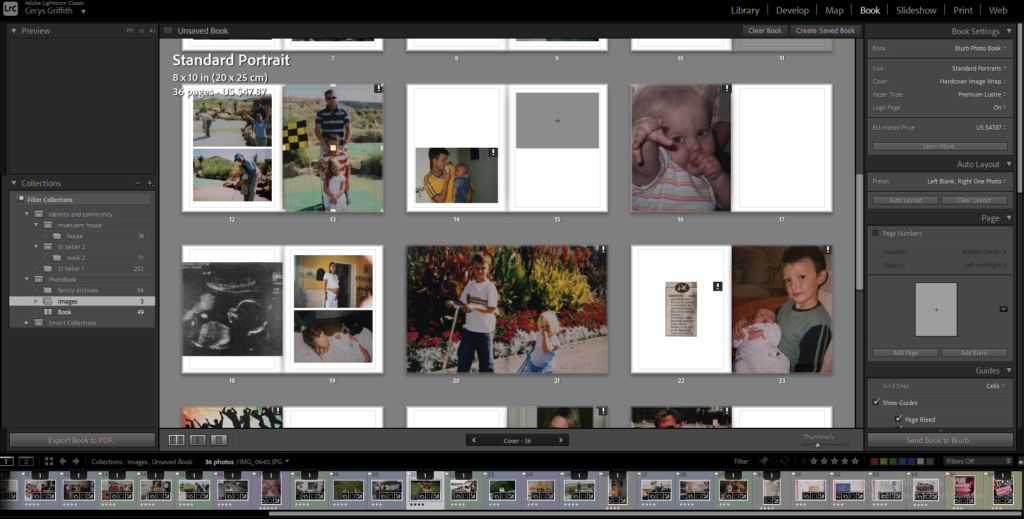
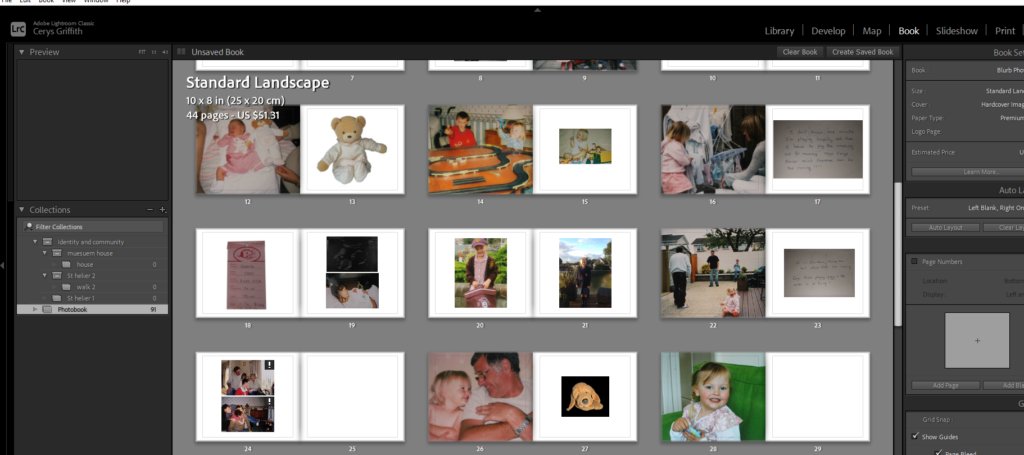
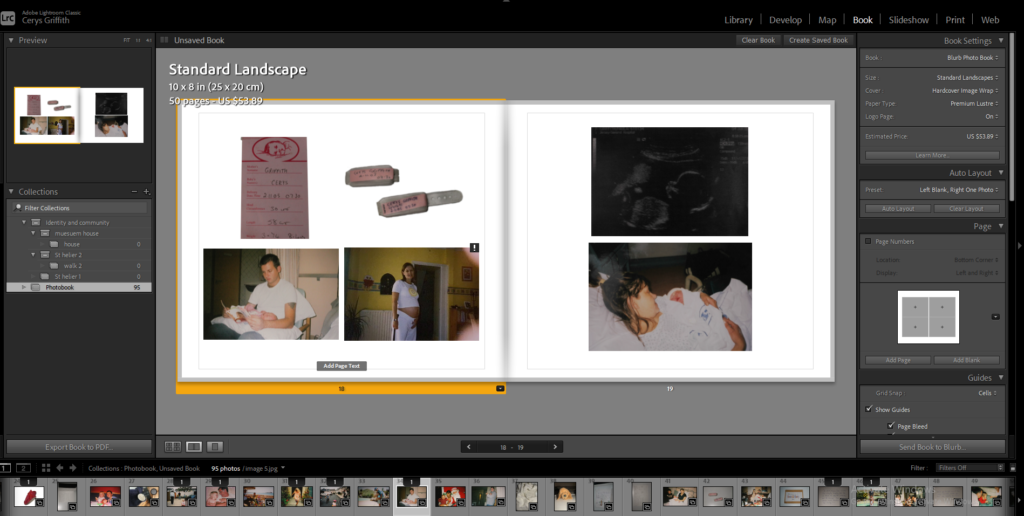
Here I am experimenting with my images to see how I want my final outcome to look and to experiment with different layout options. I experimented with full bleed, images on one side of the page , multiple images on one page. This helped me to gain more of an idea of how I wanted to present my final photobook as I got to see how different images work together and experiment with different juxtaposition’s.
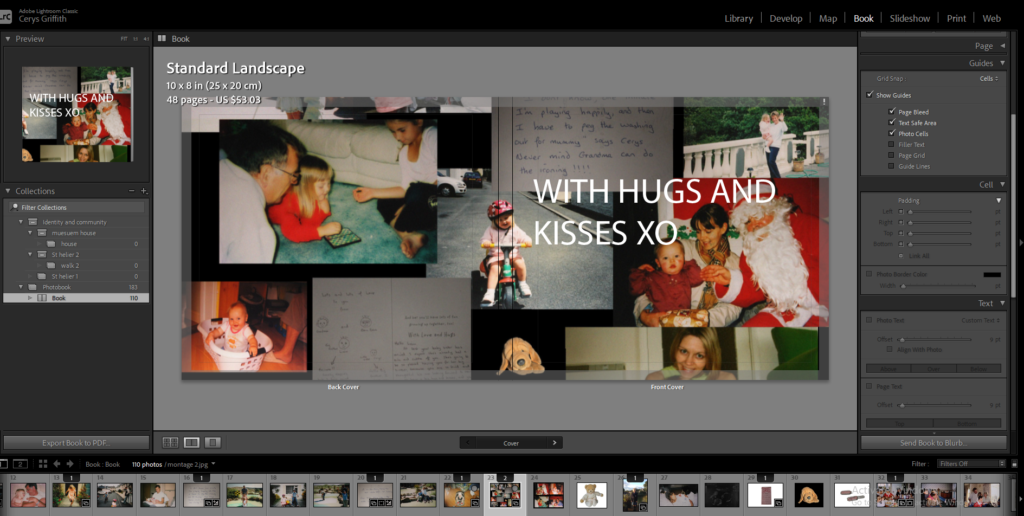
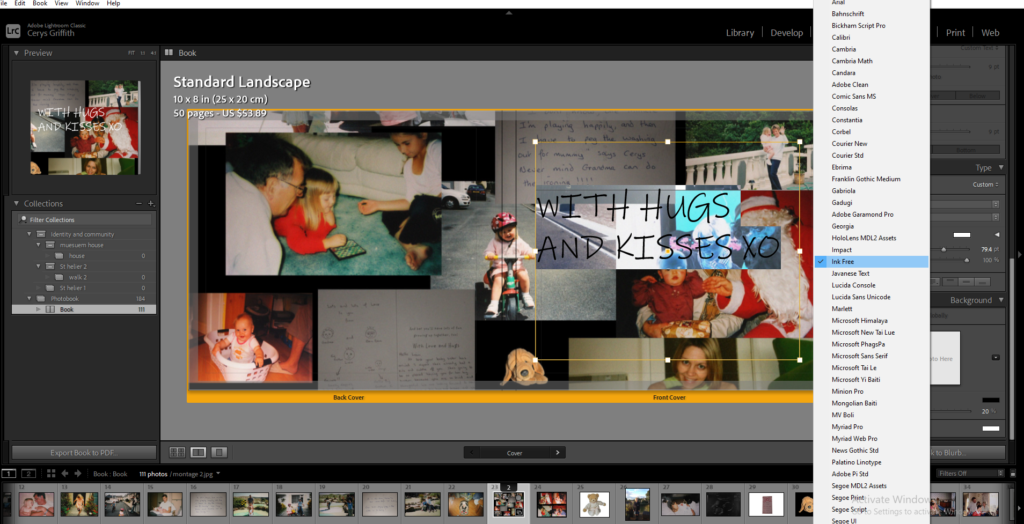
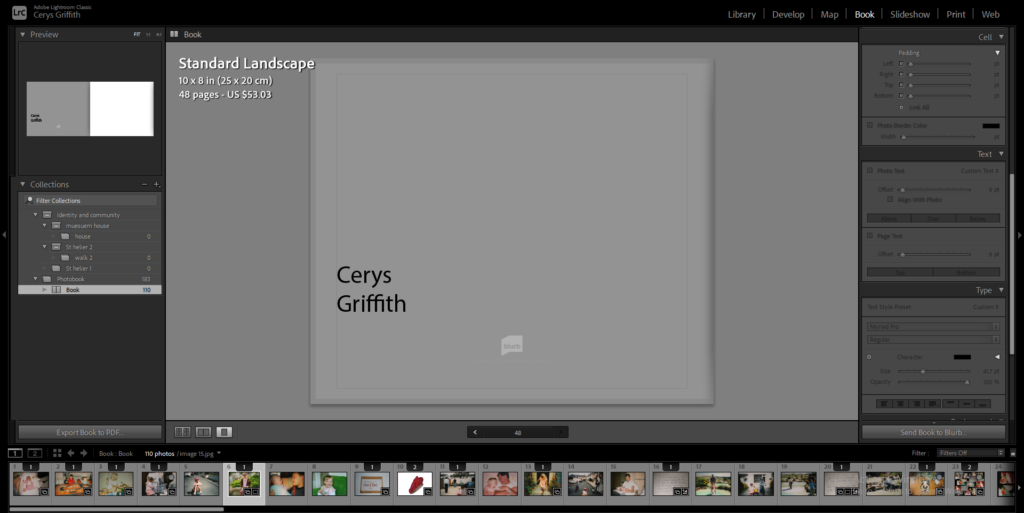
I then had to come up with a title for my book which I took from a card within the photobook. I then changed the the style of the writing to suit my photobook more. I decided to use the font ‘Ink Free’. I also added my name onto the back of my book and changed the colour of my background to a light grey colour.


