photobook editing

To begin my personal study project I decided to experiment with different ideas. I knew I wanted to use childhood images within my photobook so I experimented with different ideas based around childhood and memories. I tried different things like using different tools in photography, photographing landscapes and exploring different ideas and concepts until I found an idea I felt interested me and thoroughly represented my ideas.

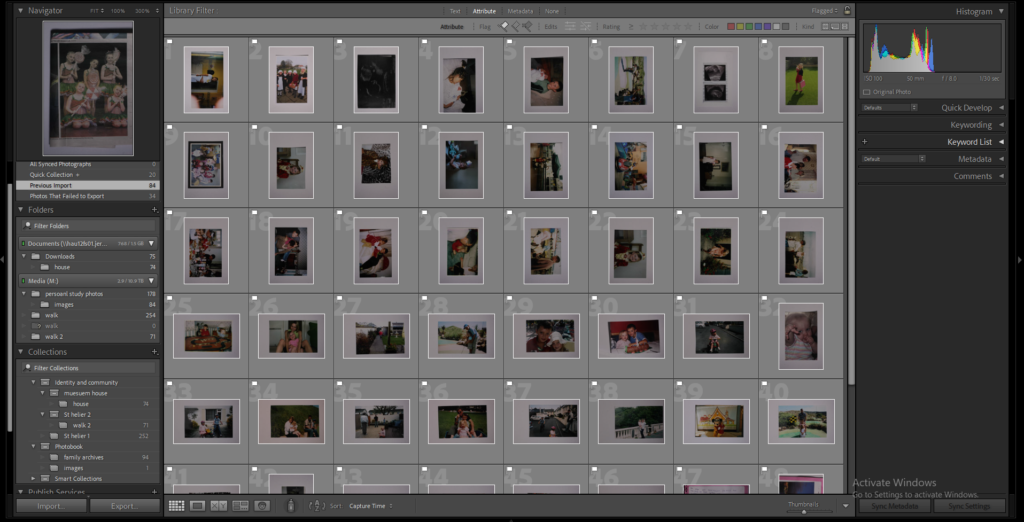
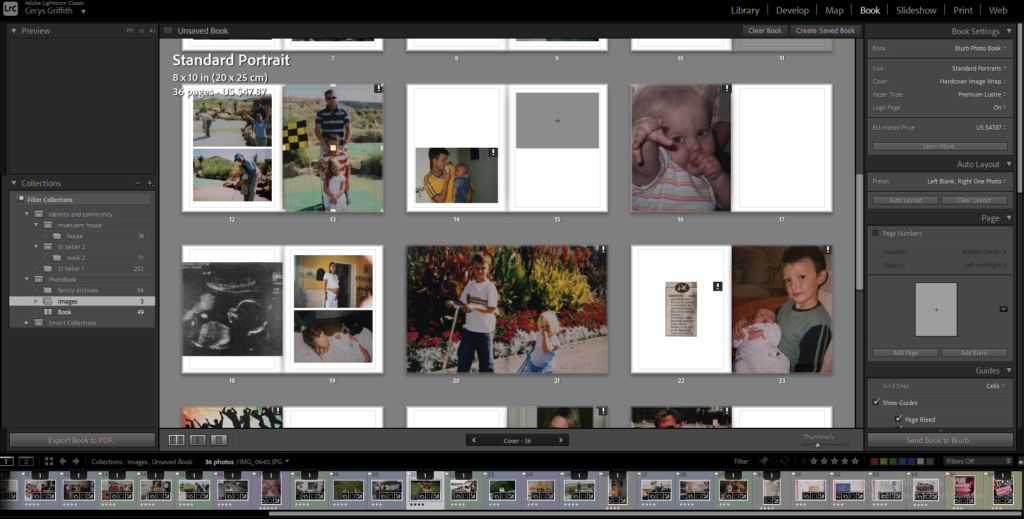
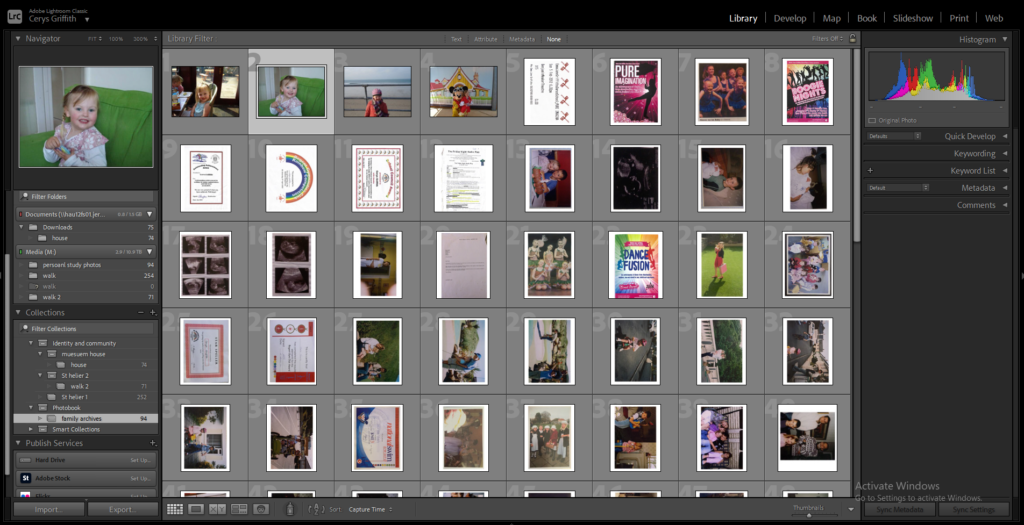
First I imported all my chosen childhood images into Lightroom and into a folder within my photobook folder so I could organise all my images for this project in one place.
Photoshop experimenting
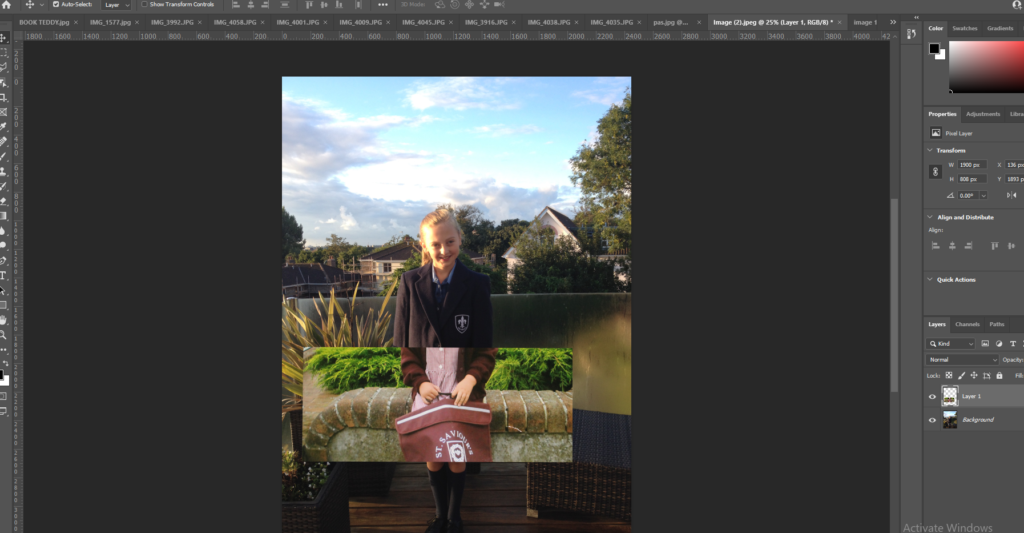
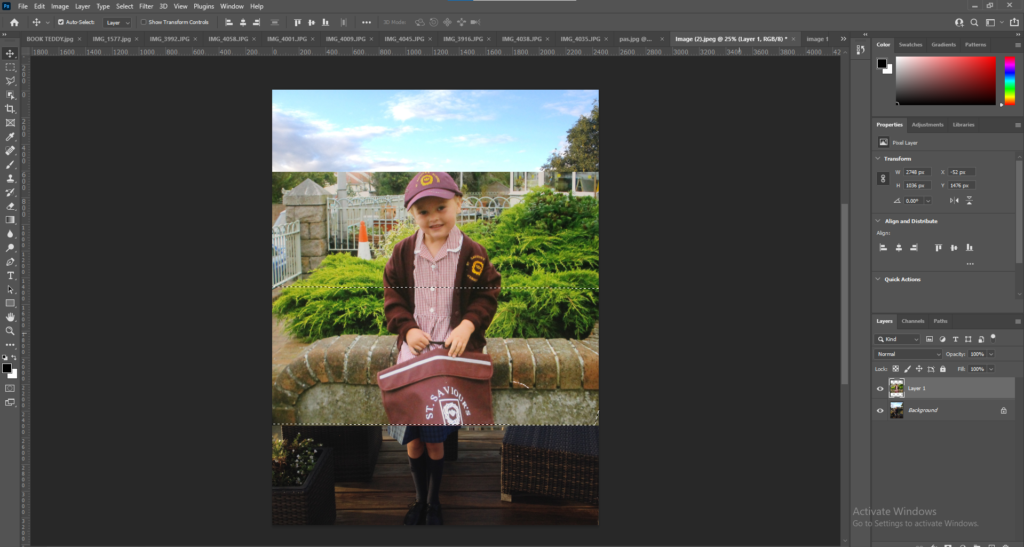
I then began experiment with different tools within photoshop. I started with a basic tool within photoshop by overlapping 2 images and changing the opacity. I liked the final outcome of this image showing what I was and the growth.

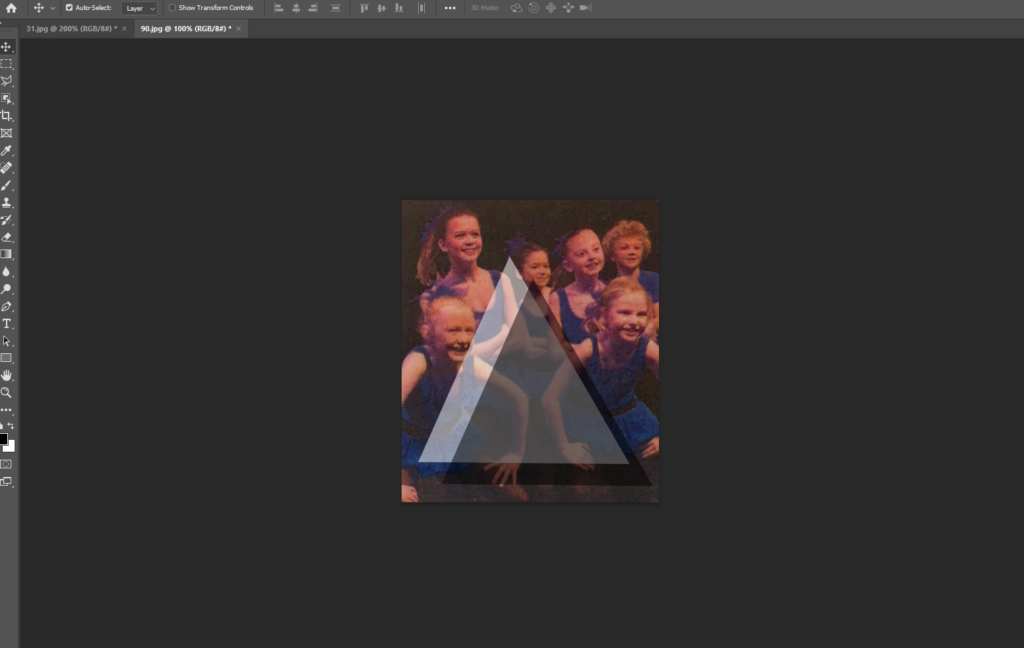
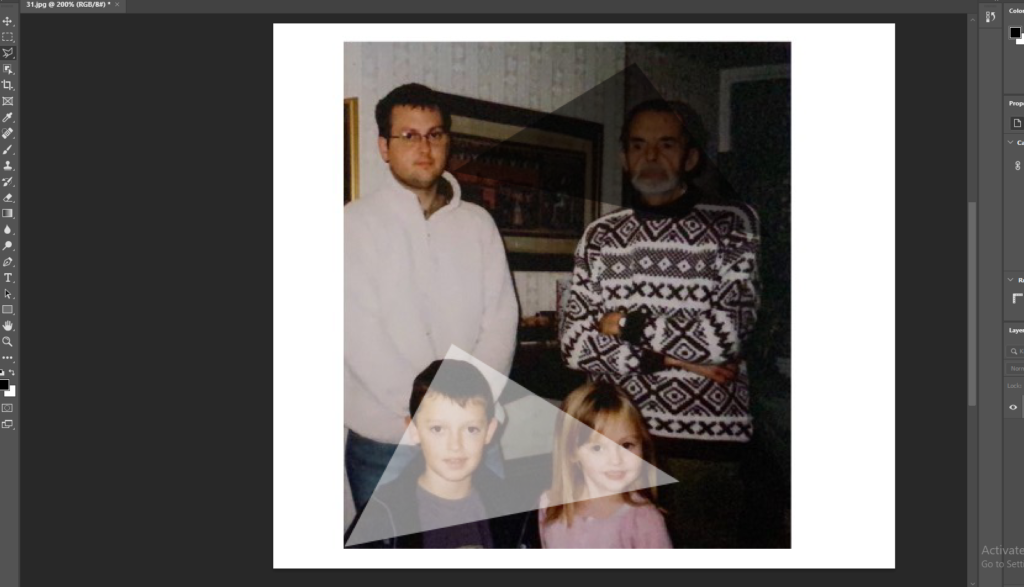
I then began experimenting with the polygonal tool and began created different shapes ontop of the image.
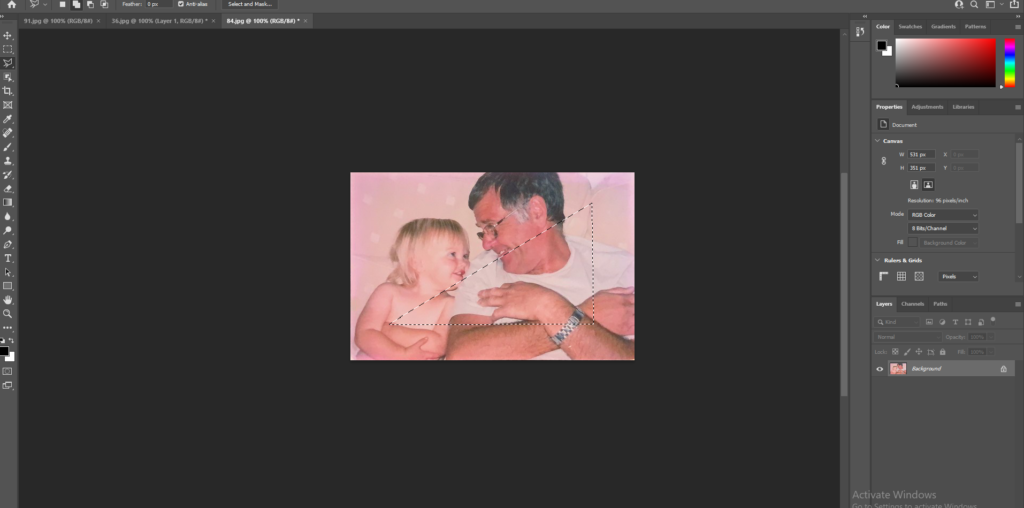
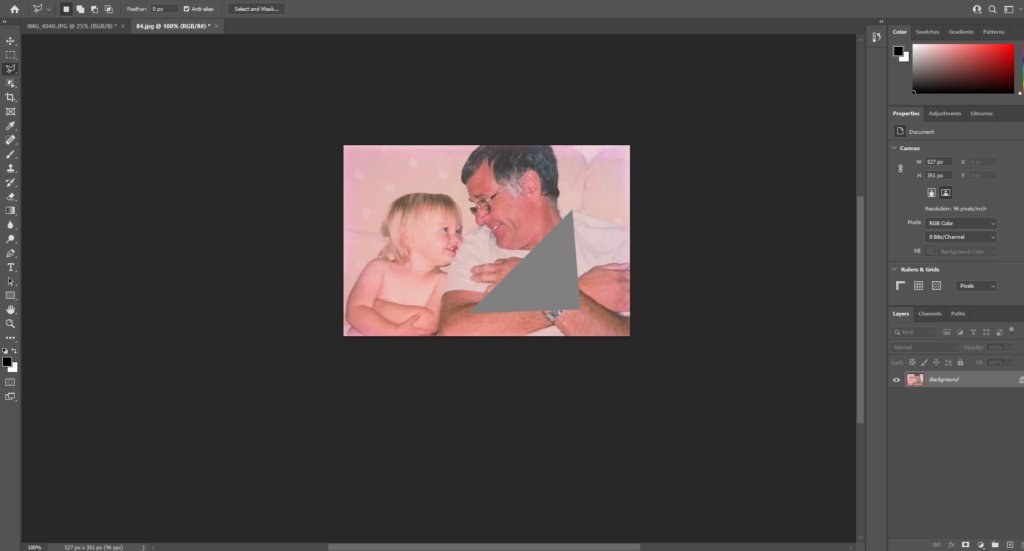
I continued to experiment with the polygonal tool on different images, using different colours shapes and sizes. I liked this experimentation as I felt it added something to the image and gave me freedom to add a different meaning and feel to the image by splitting up the image.
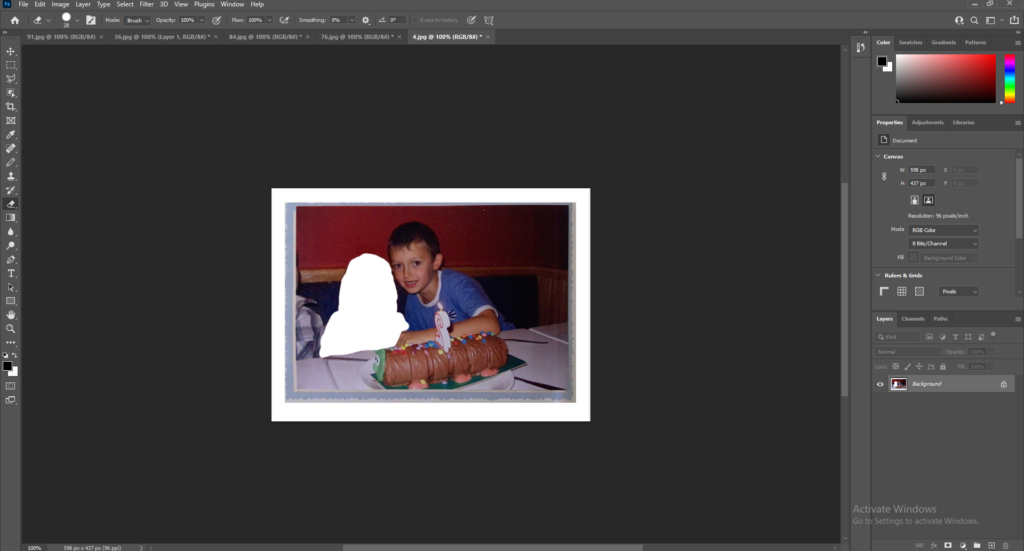
I also experimented with the drawing tool and experimented with cutting people or objects from an image. I didn’t like this option as I felt it looked messy and didn’t represent my intentions well.
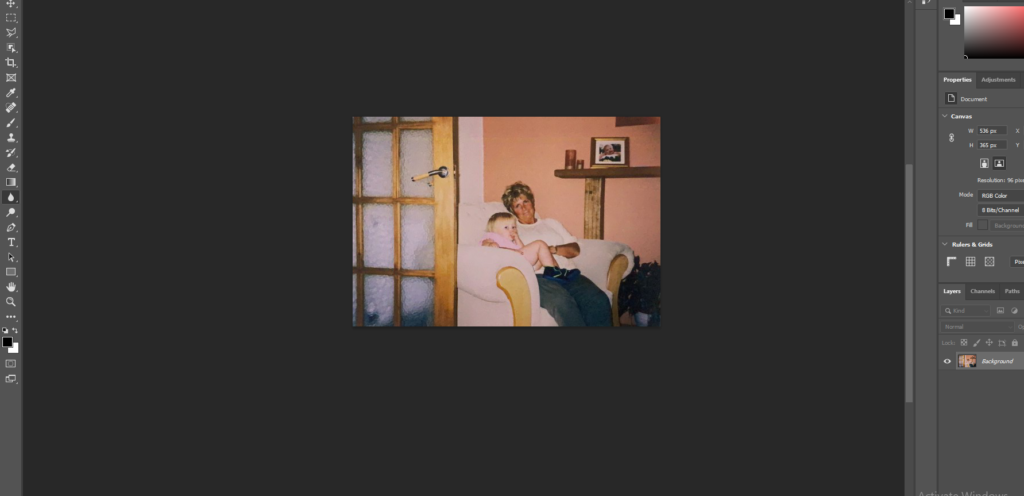
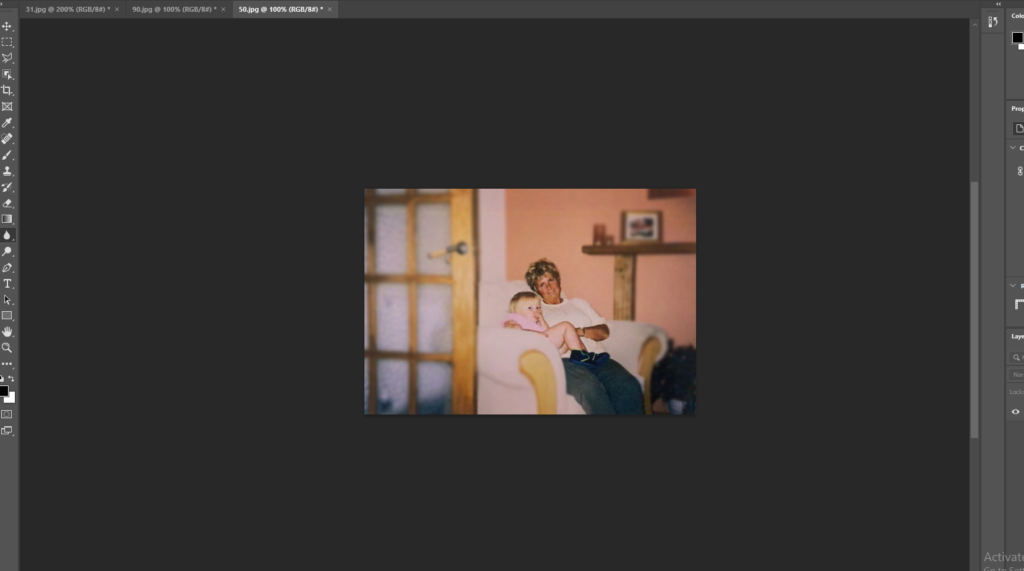
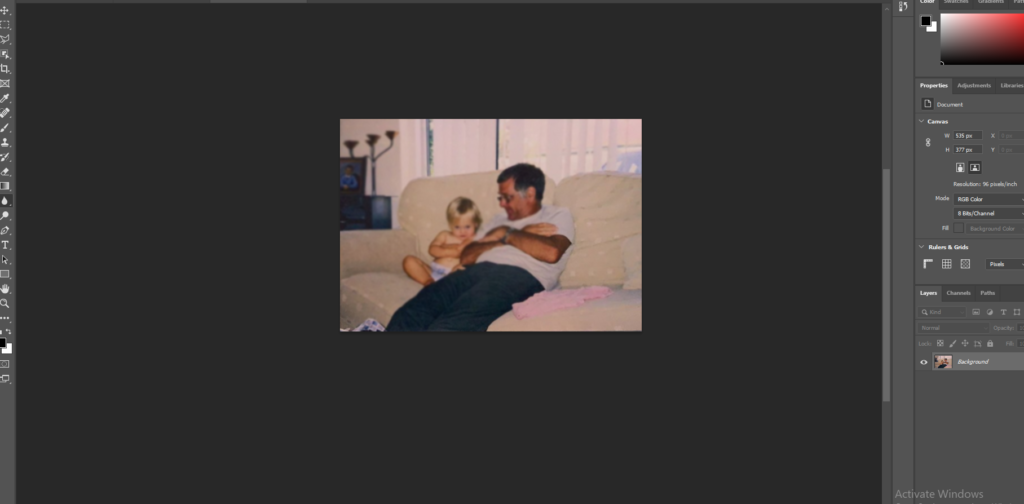
I also decided used the blur tool on a few images. I tried blurring the whole image and just blurring the background of the main subject of the image. I liked this as it created a focus on the subject of the image.
This image has an empty alt attribute; its file name is image-143-1024x497.png

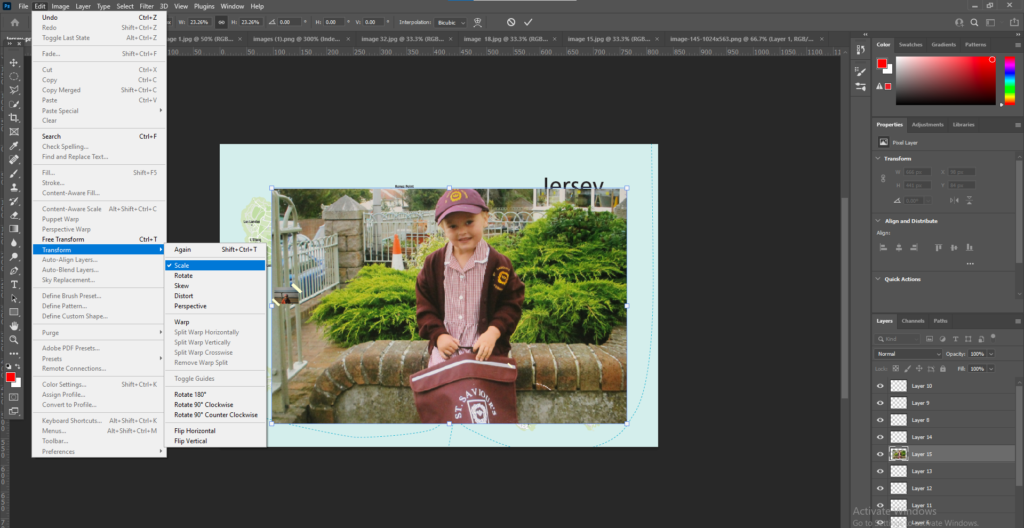
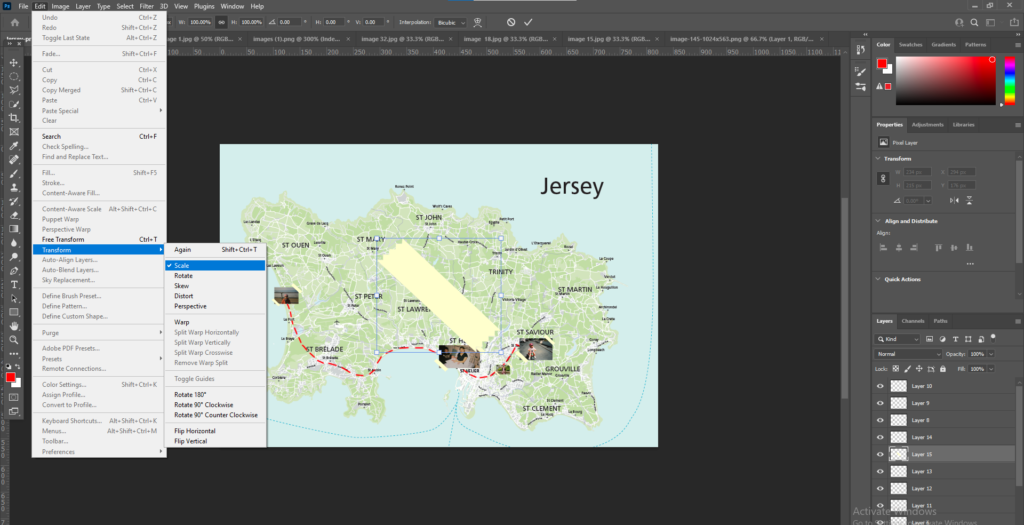
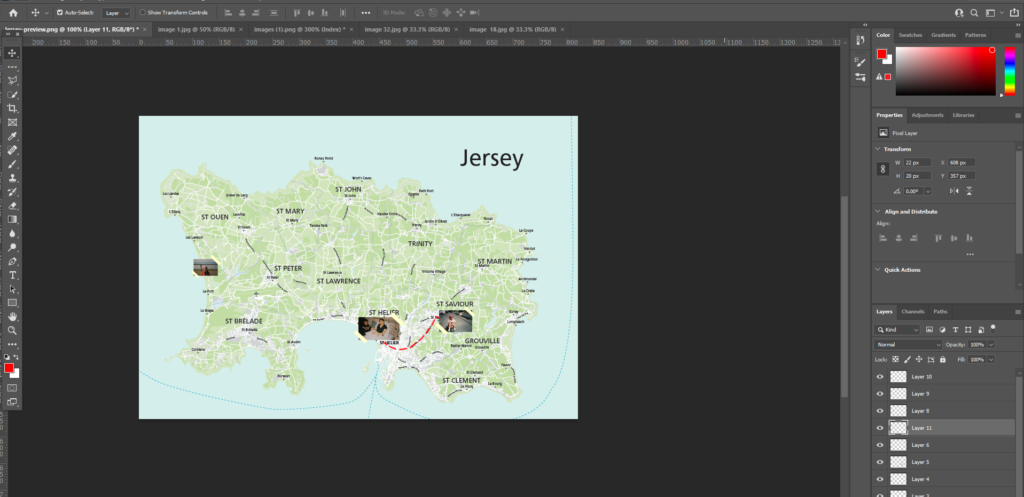
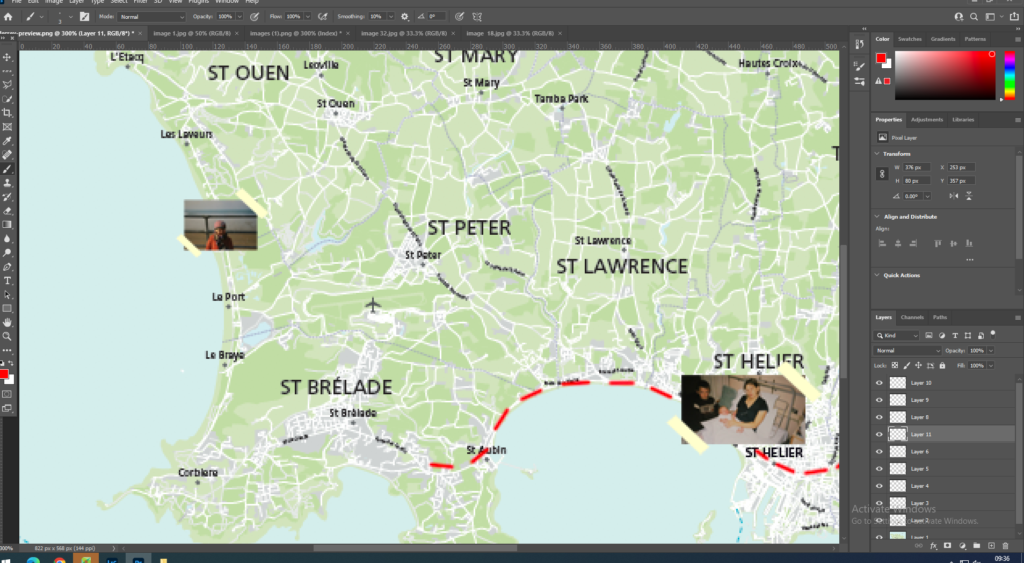
I got an image of a Jersey map and then decided the images I wanted to place on the maps. I then placed these images on the maps and adjusted the scale of the images to the size I wanted by going to Edit > Transform > Scale. I left some images bigger than others as I wanted some images to stand out more than other images.
I then used the brush tool to draw lines between all the images and create a path. I chose to use the colour red for the lines to make the path stand out.
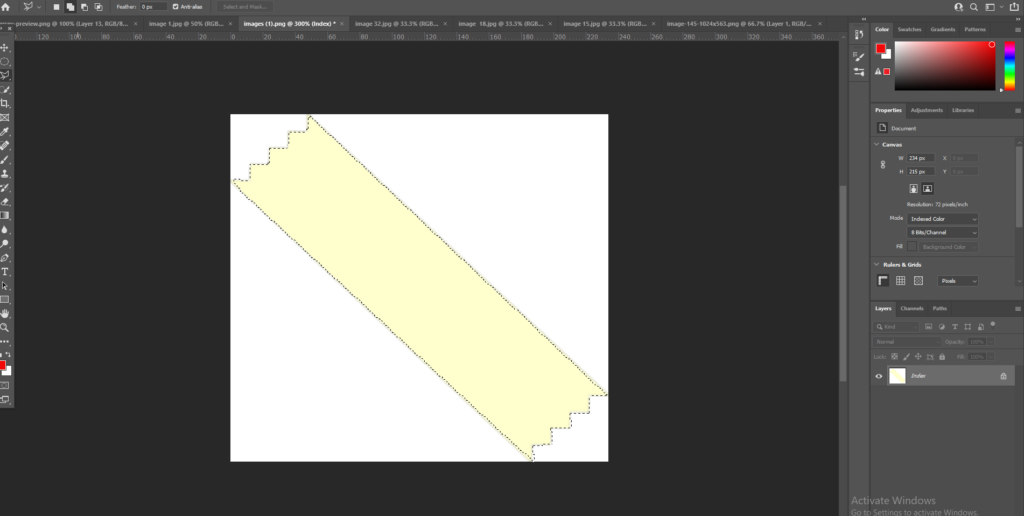
Next I added on some ‘tape’ to make the images look stuck down. I used the ‘Polygonal’ tool to cut out the tape and then pressed Ctrl C to copy the selected part onto the map. I then adjusted the scale doing the same process as I did with the images.
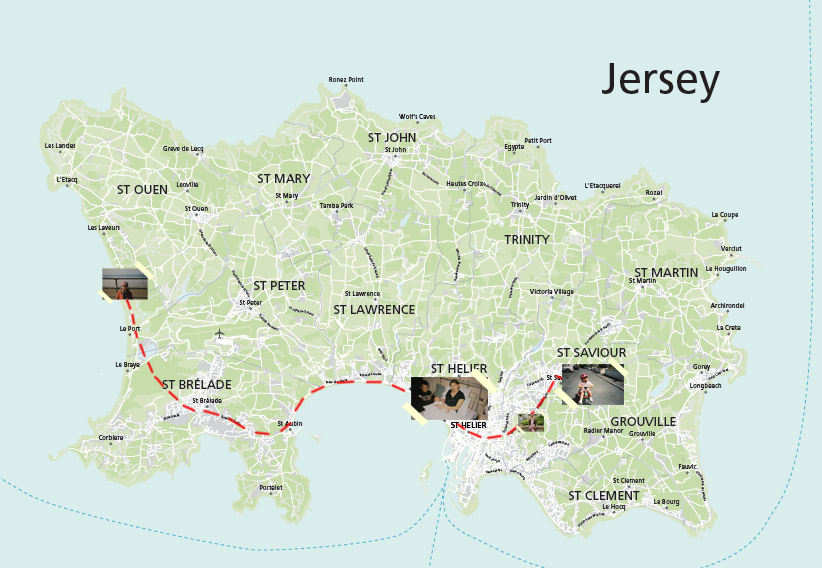
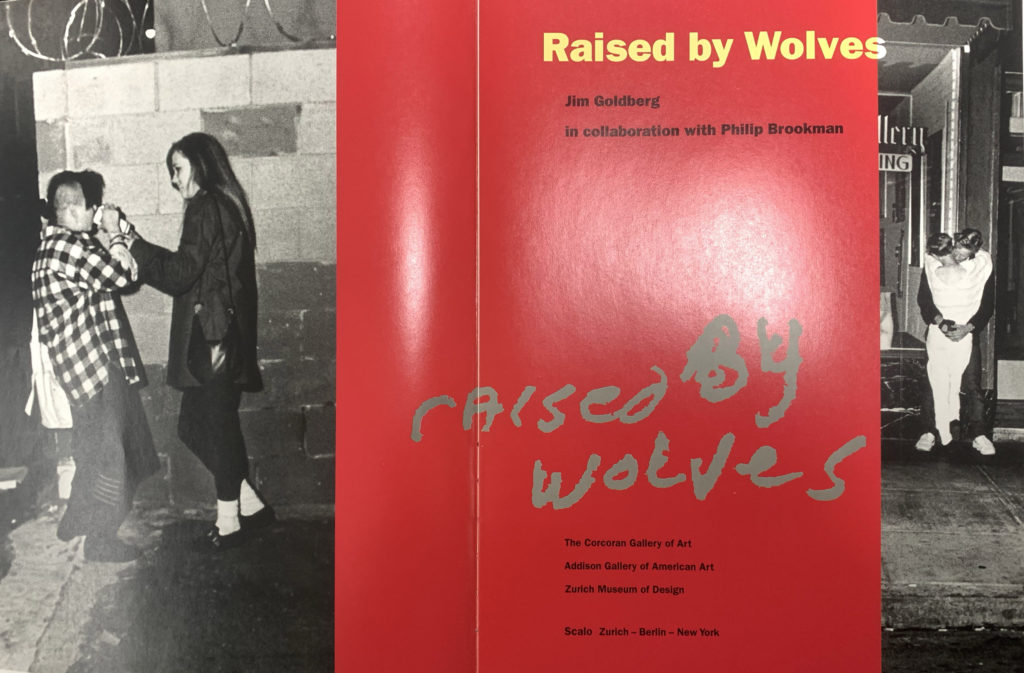
I then took inspiration from an image in Jim Goldbergs book ‘Raised by Wolves’ where he placed images and drew on a map of where he was photographing. I wanted to do this to pin point key images to places around where I live and grew up. I put on images from where I was born to where I first went to school or even core memories.

Image selection

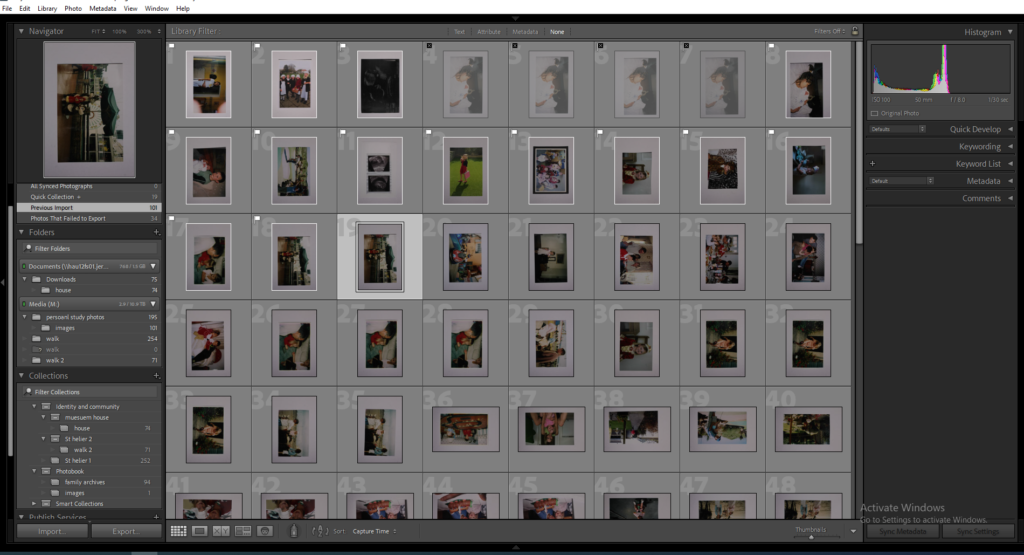
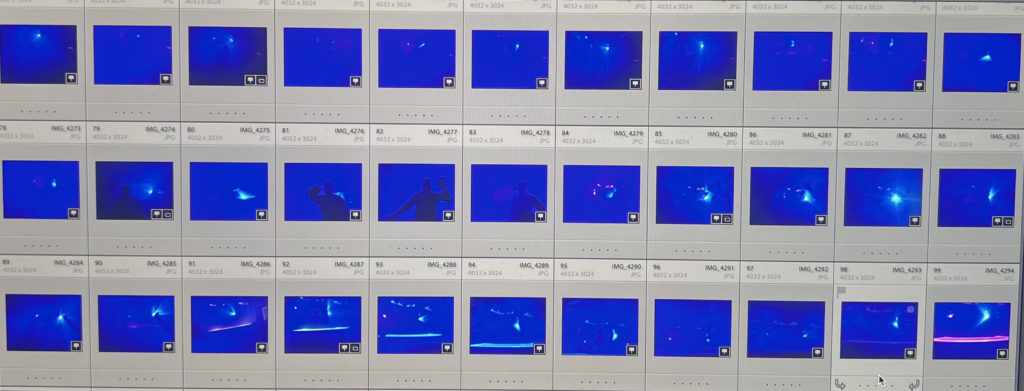
I went through all my images I collected and went through and flagged the images I liked and wanted to start editing and experimenting with. The second image shows all my flagged images.
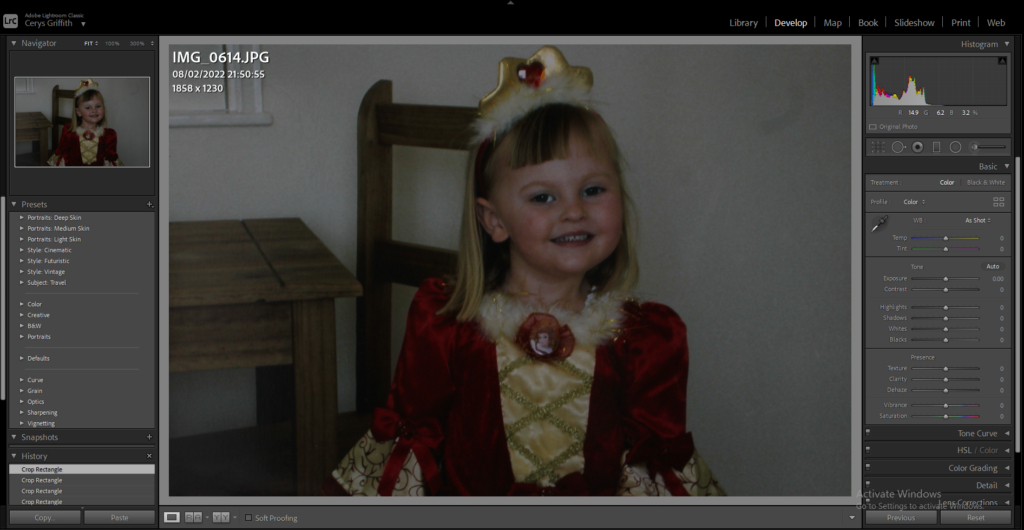
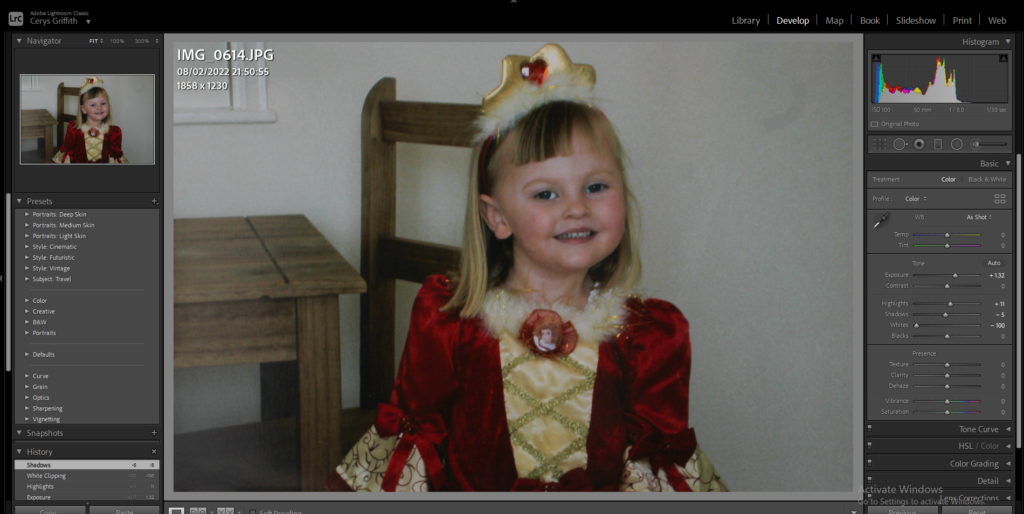
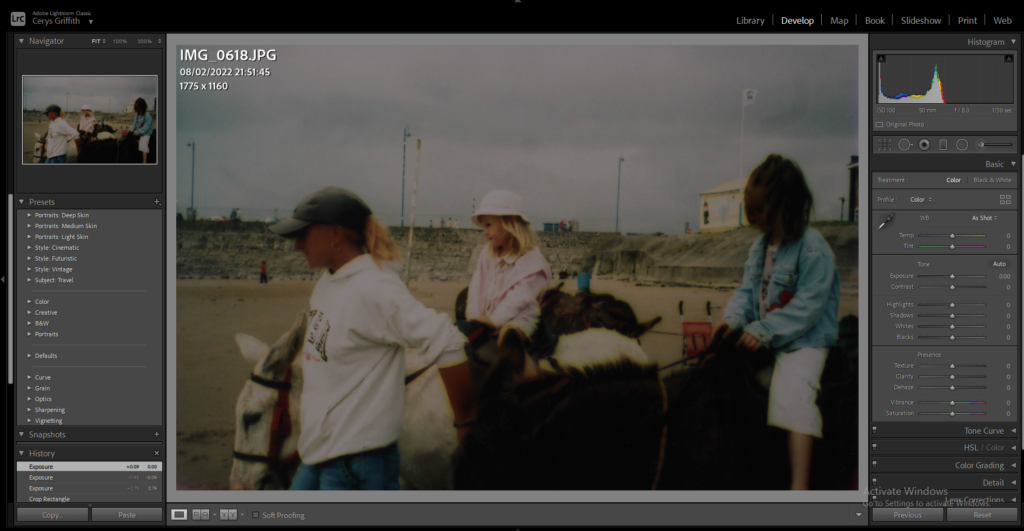
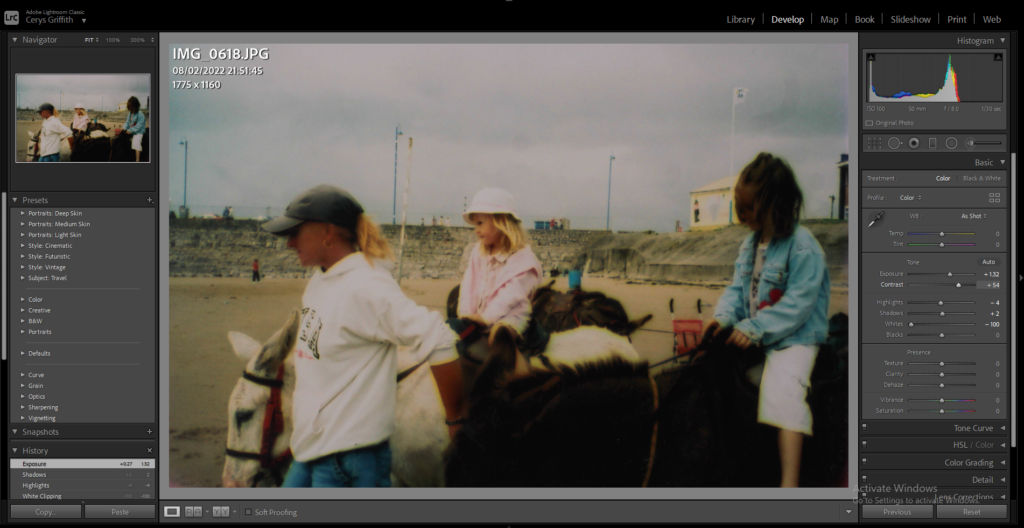
I then went through all my flagged images and began editing them. A lot of my images were very dark so I brightened them up and changed the colours, exposure and contrast on all of the images.
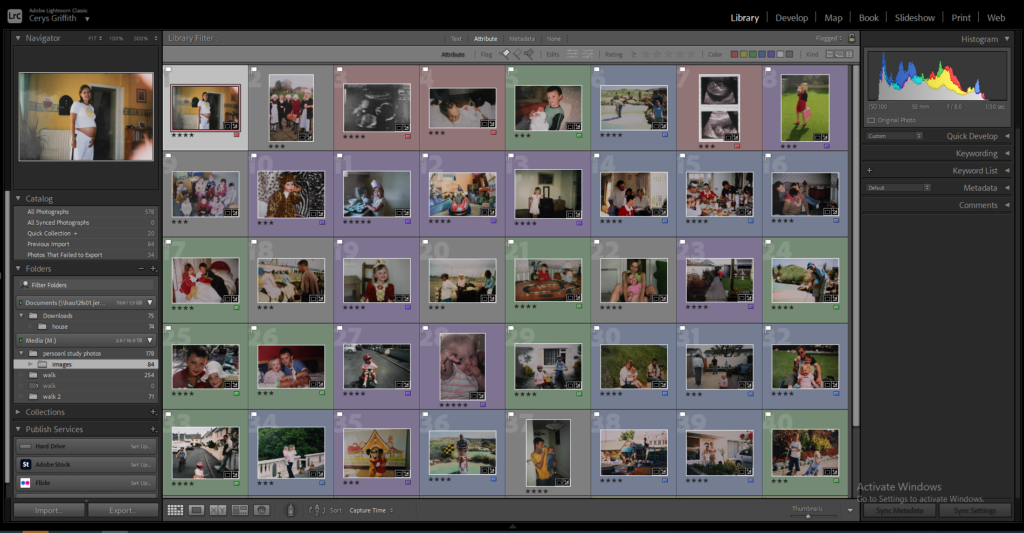
I then decided to colour code my images into different categories, e.g = colours, family members, ages, to make it easier to piece together my final photobook.

Editing
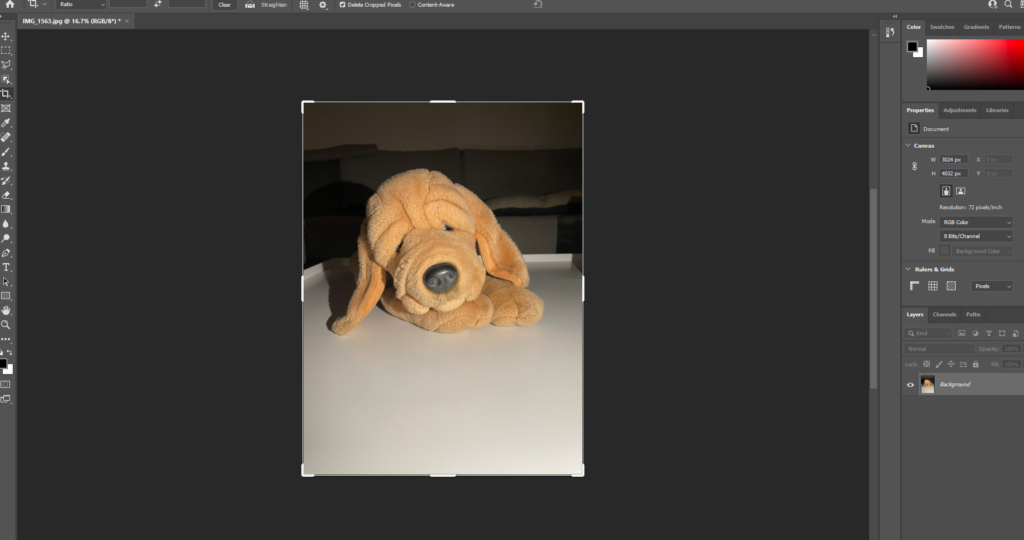
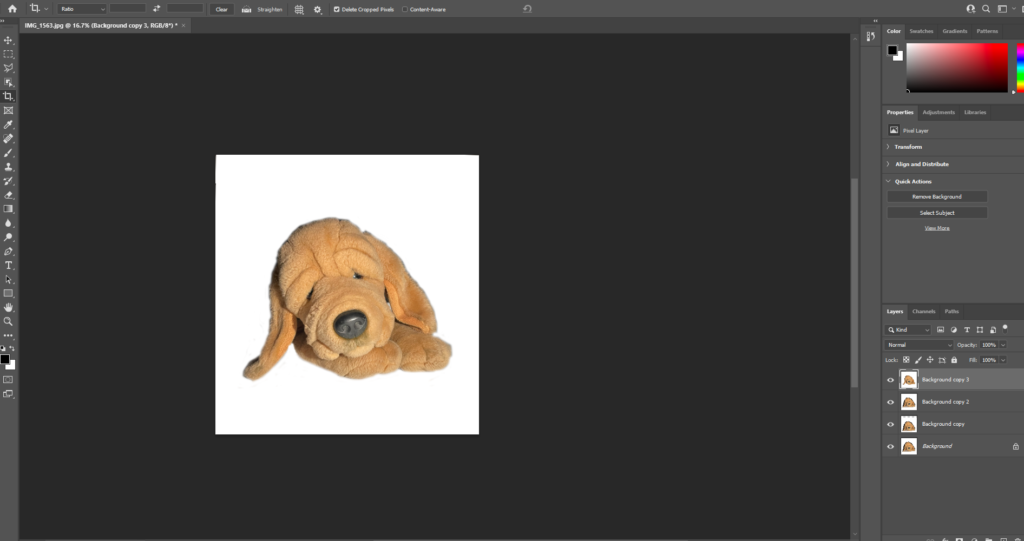
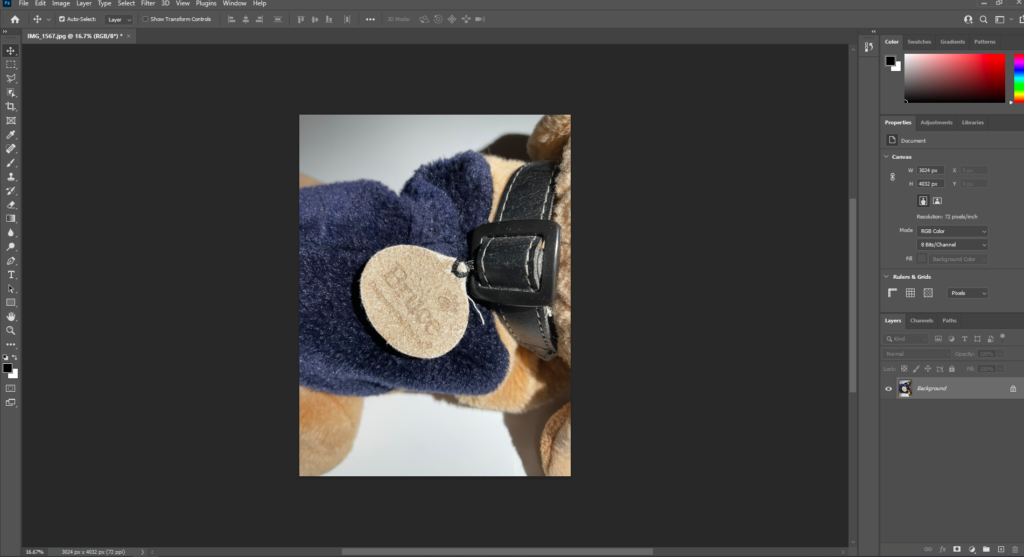
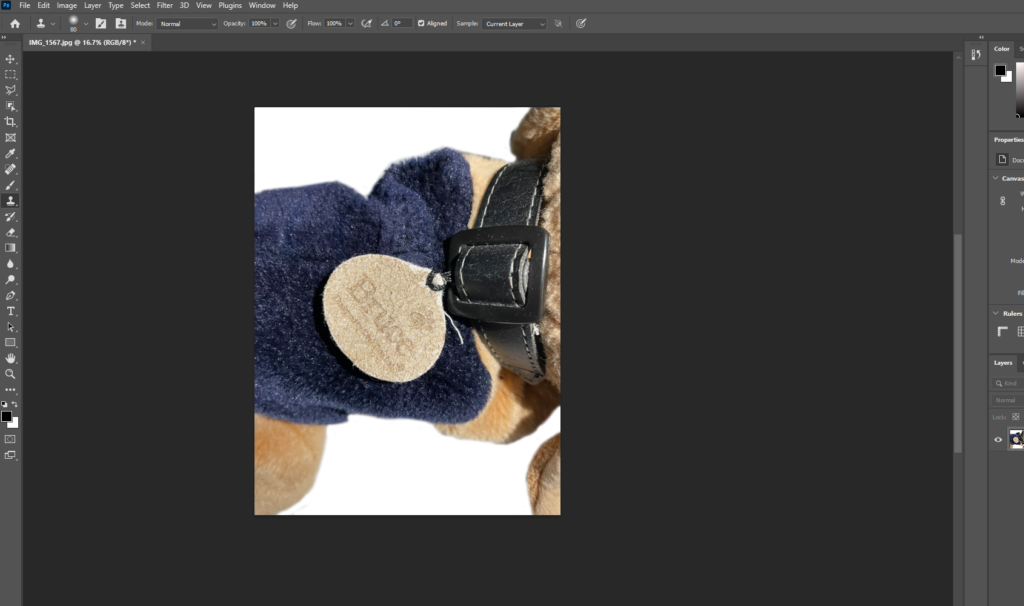
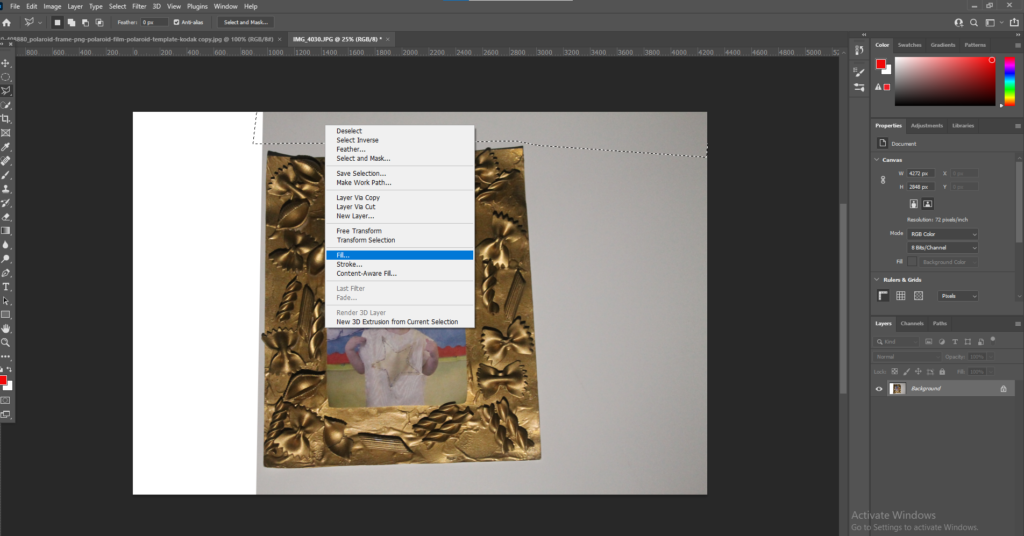
I wanted the images of the objects to have a plain white background so they blended in with the background of the paper in the photobook. To do this I started my using the Polygonal tool and selecting the majority of the background and right clicking on my mouse, it then brings up the option to fill the selected shape. I filled the selection with white to create the white background.
I then used the ‘Clone stamp tool’ to get the finer parts around the object in the image. I help the mouse over the white parts, pressed alt and then with a thin brush went around the object.
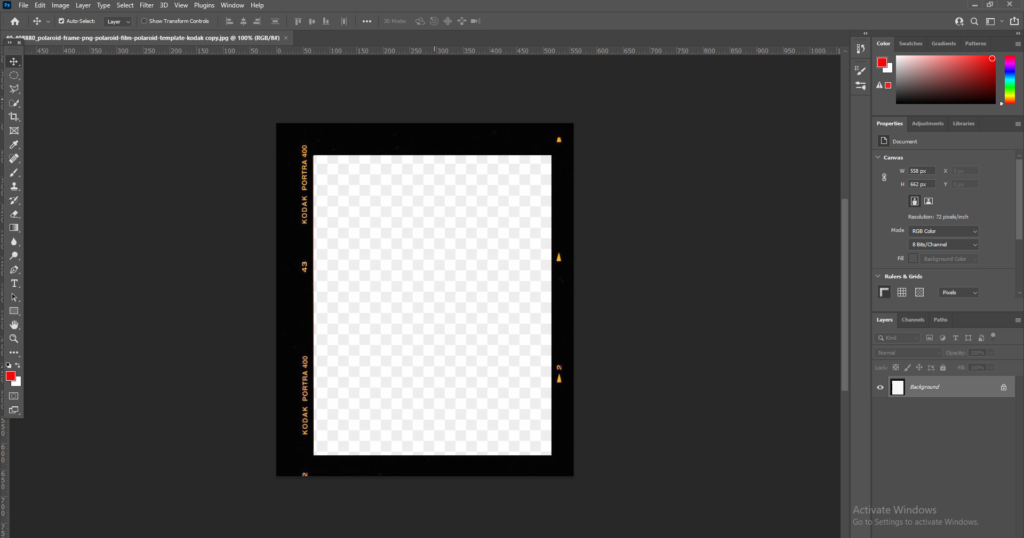
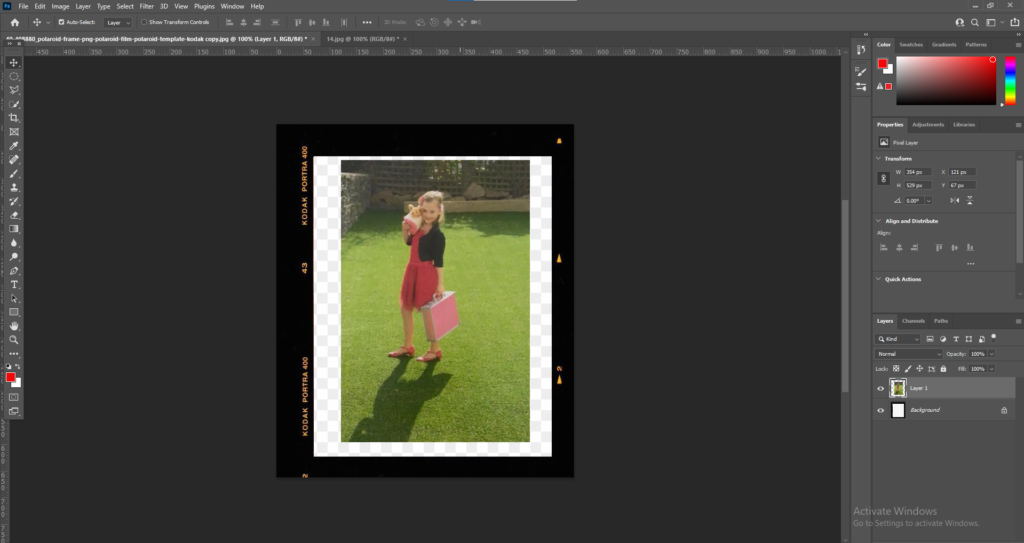
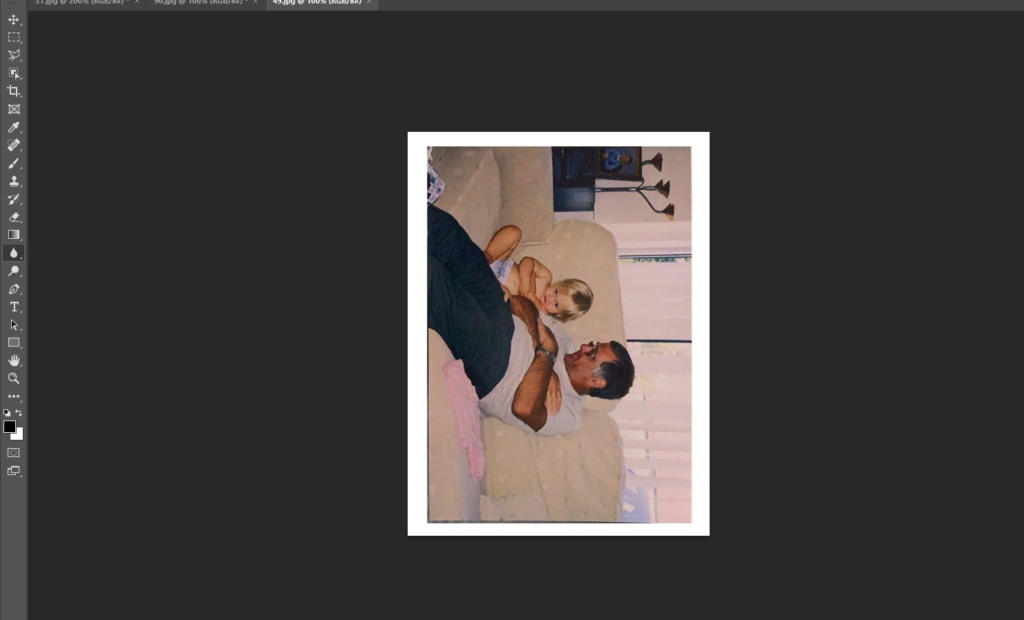
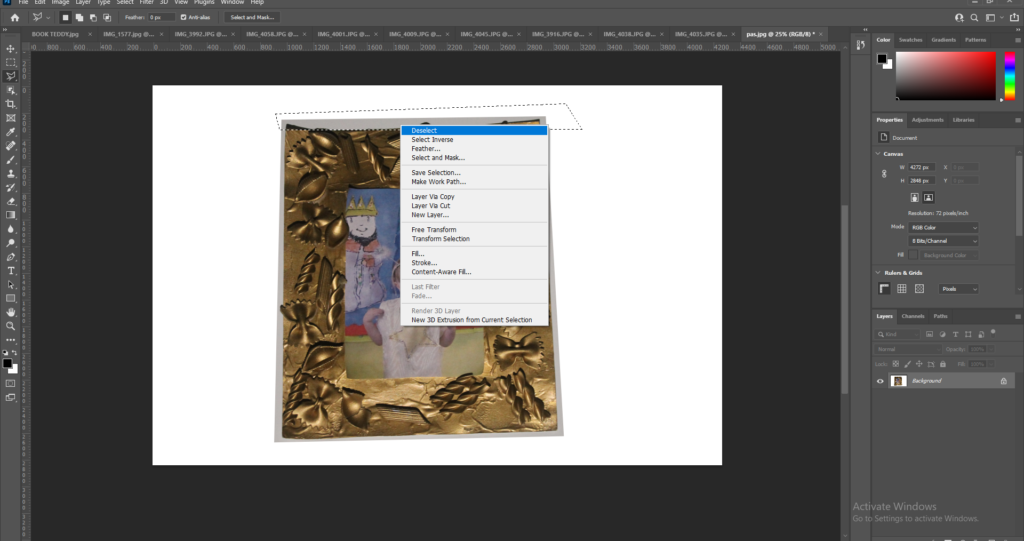
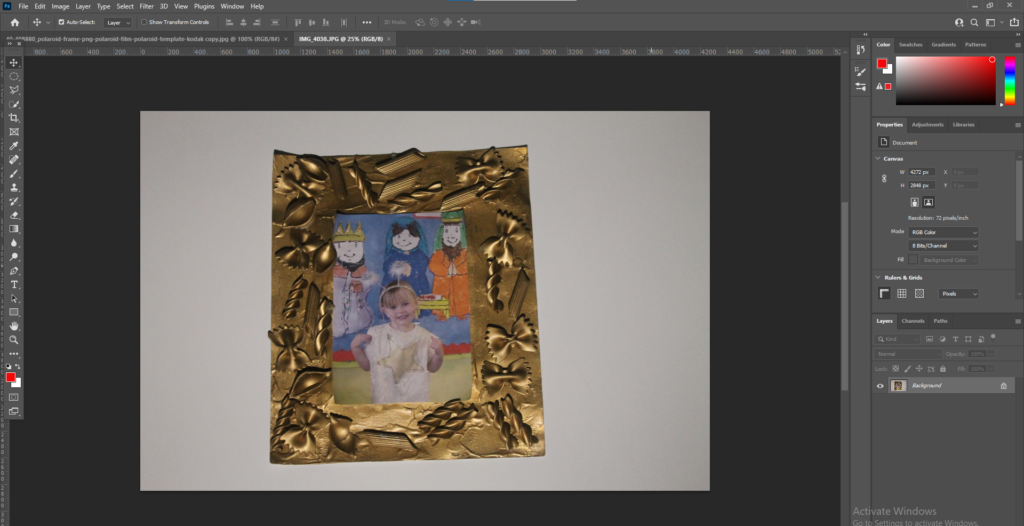
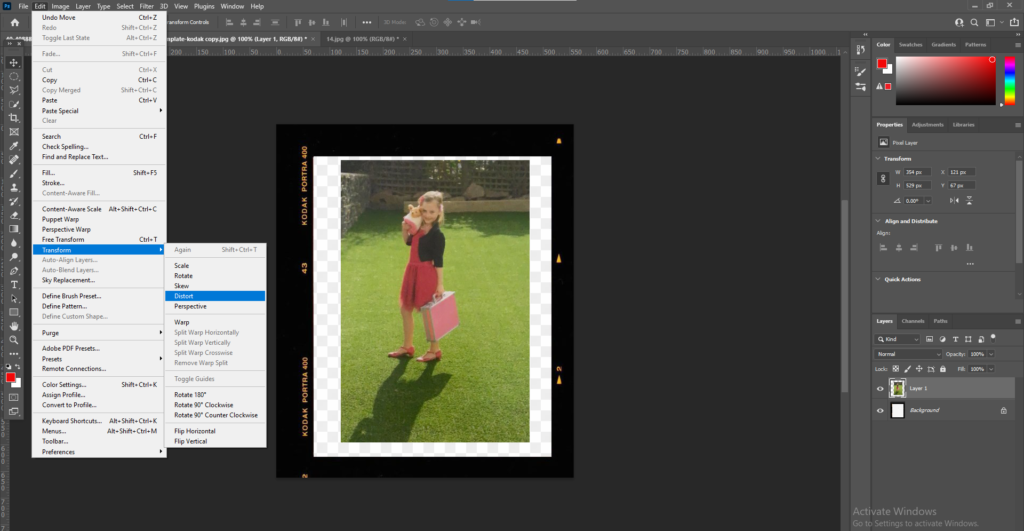
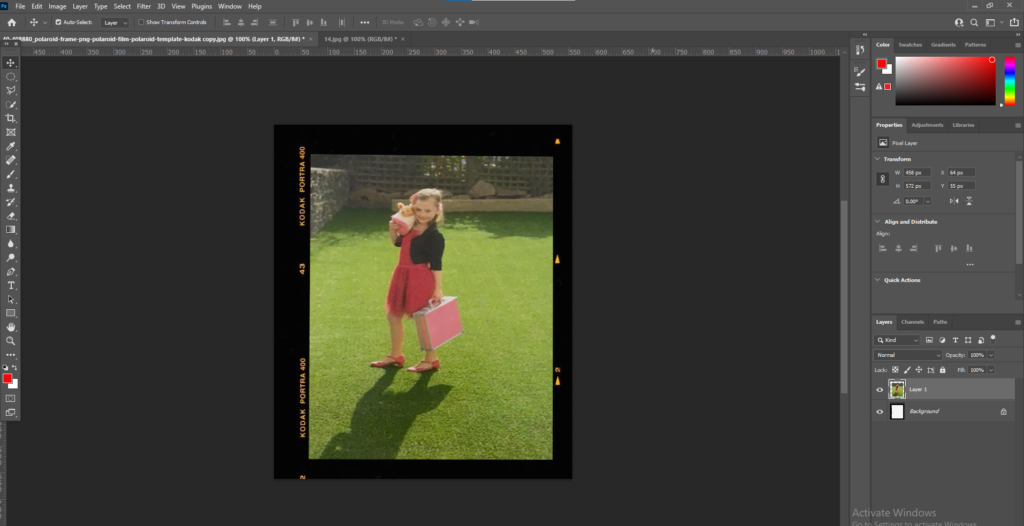
I put lots of my images into a polaroid template as I wanted to create a page in my book full of polaroid’s. To do this I downloaded a polaroid template and opened it within Photoshop. I then placed the image I wanted to use over the top of the template. Then I had to use the distort option in Edit > Transform > Distort and then move the edges to make the image fit into the template.

Inspiration

My main inspiration for my book was from Jim Goldberg’s book ‘Raised by Wolves’. His book was all about the homeless children fending for themselves in Los Angeles and San Francisco. For 10 years Jim Goldberg took to the streets to meet and photograph homeless runaways and then a gather collection of photographs, snippets of conversation, handwritten notes, drawings, snapshots which then created the book ‘Raised by wolves’. Although my book has a very different aspect and meaning behind it I liked the realistic and real view Goldberg took on his book. I also liked the presentation of Goldberg’s book and how he used text to add context and bring the book to life.

Designing photobook
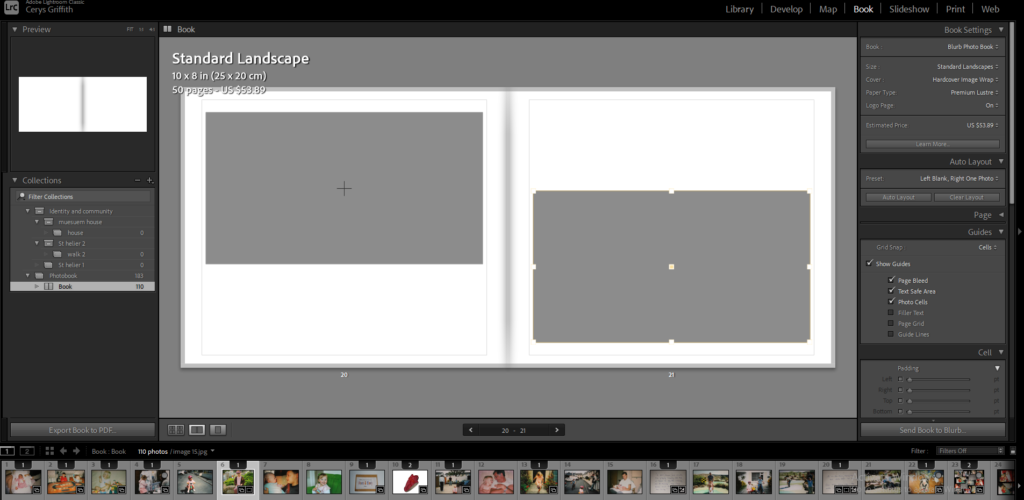
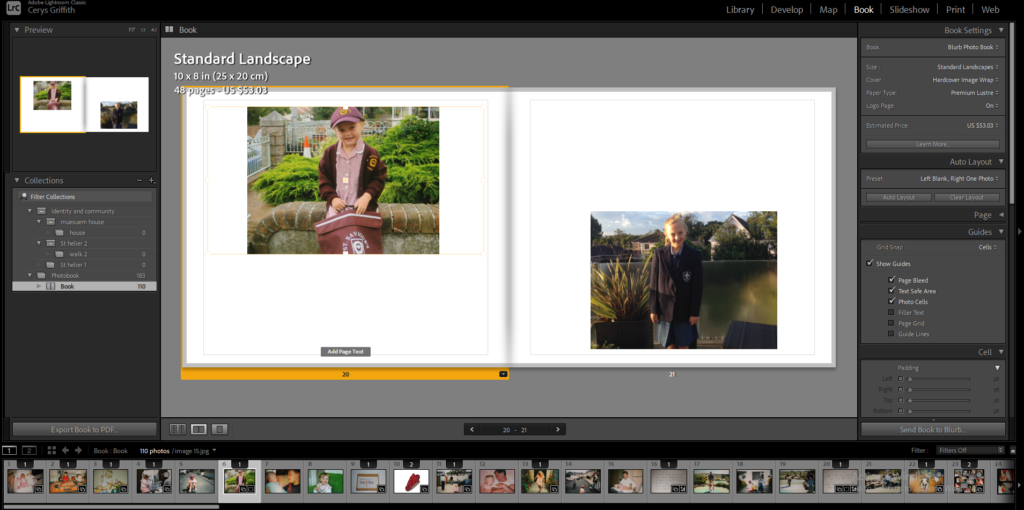
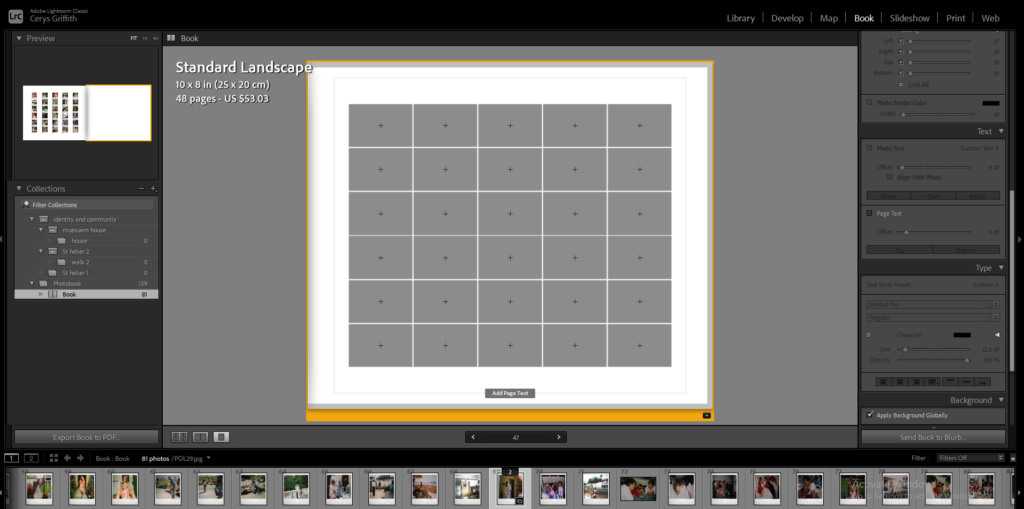
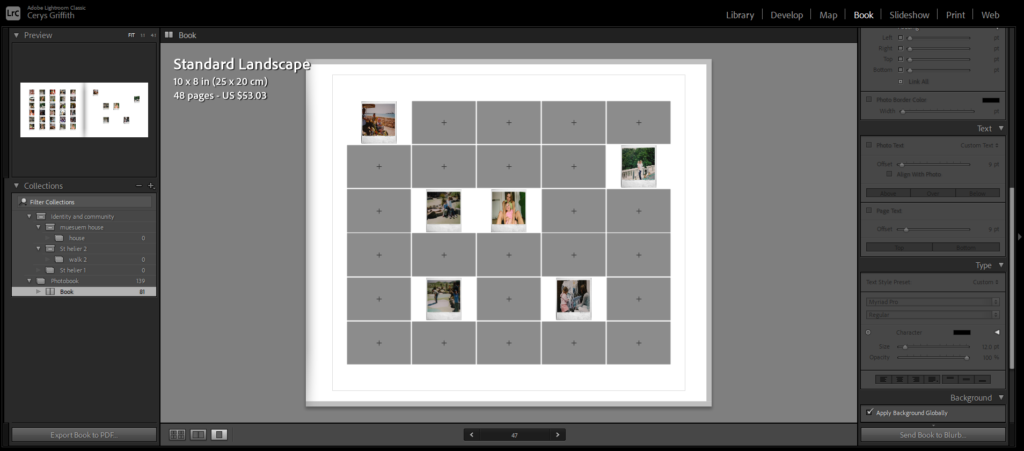
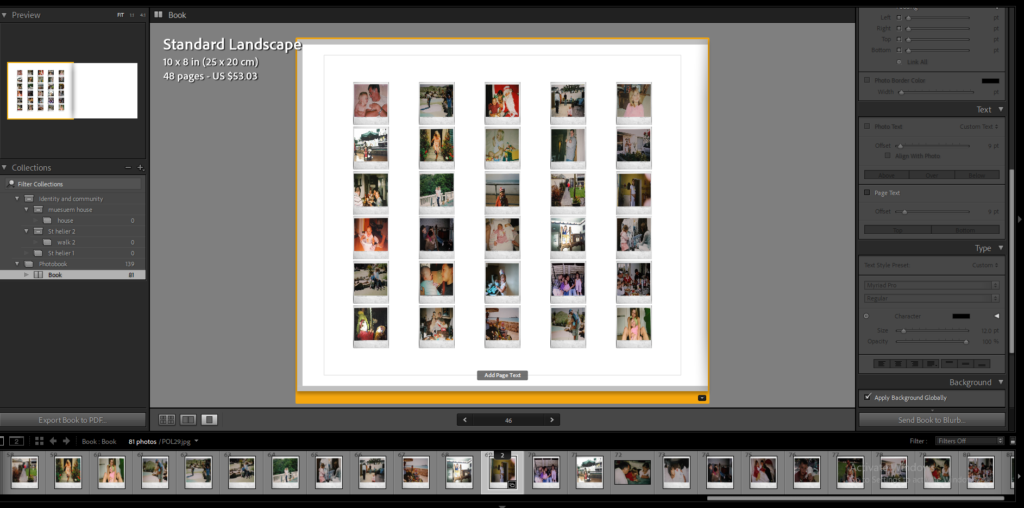
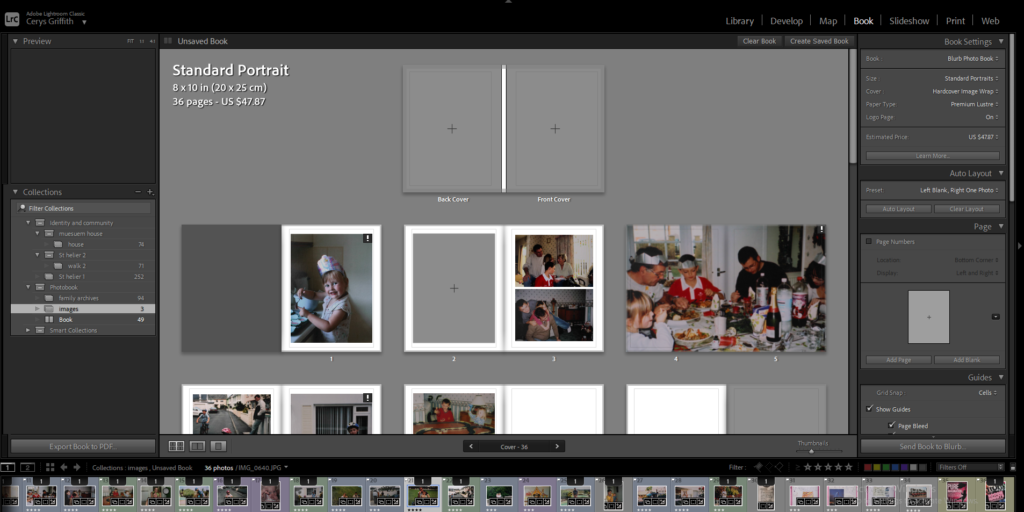
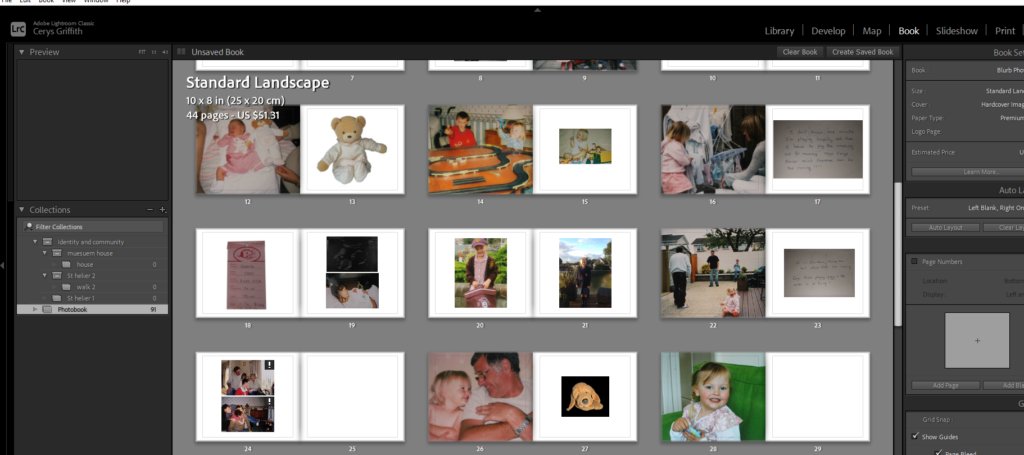
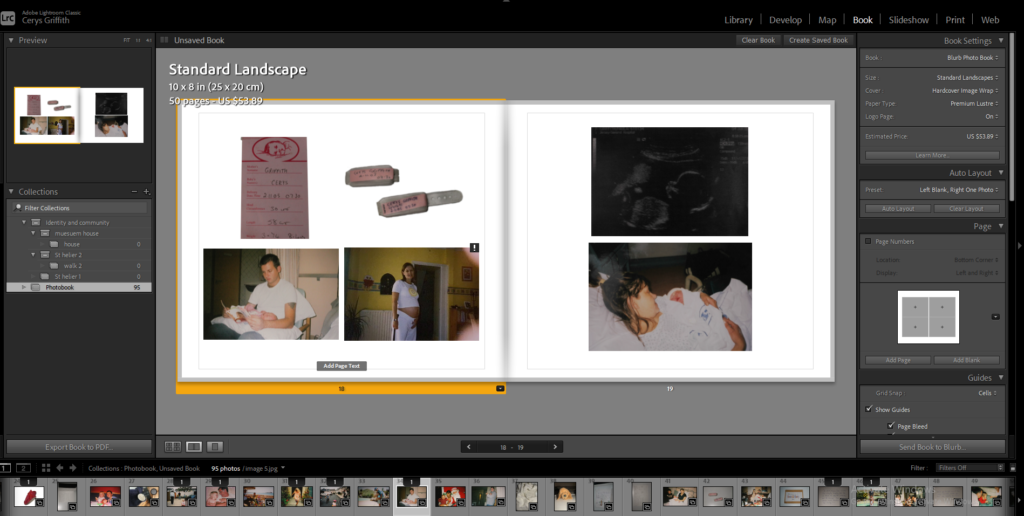
Here I am experimenting with my images to see how I want my final outcome to look and to experiment with different layout options. I experimented with full bleed, images on one side of the page , multiple images on one page. This helped me to gain more of an idea of how I wanted to present my final photobook as I got to see how different images work together and experiment with different juxtaposition’s.
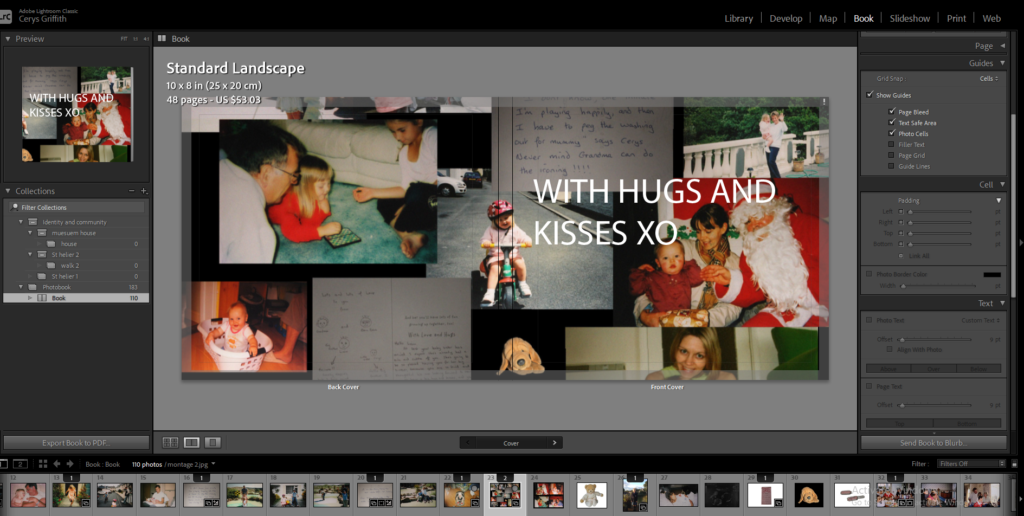
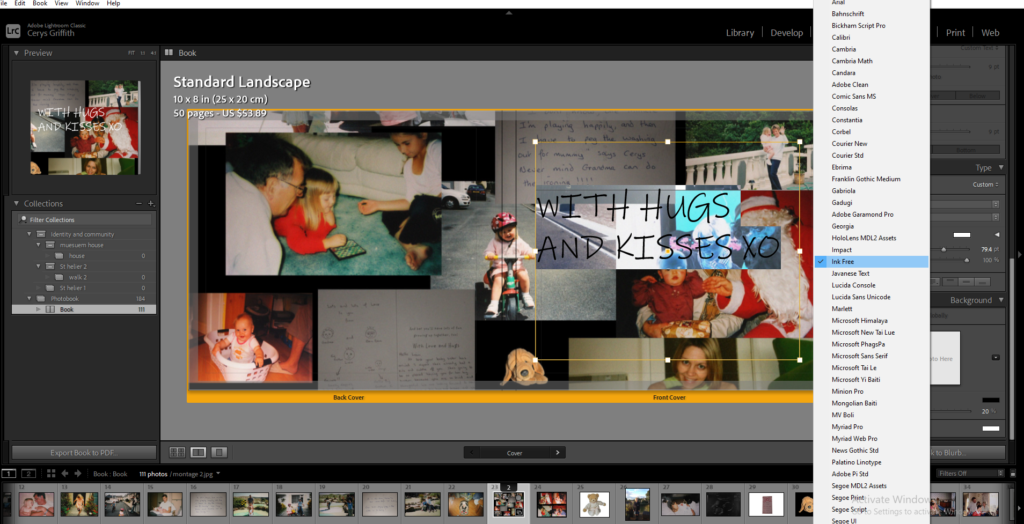
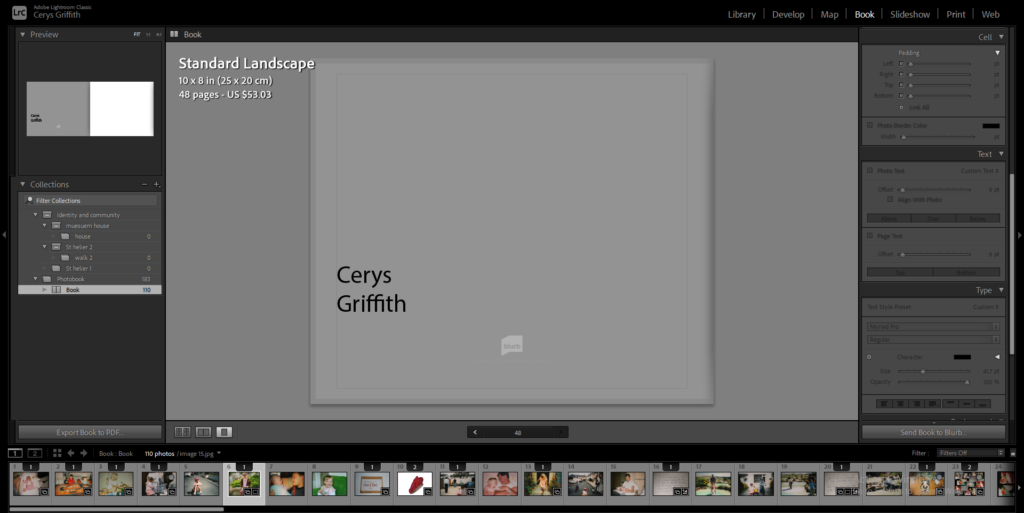
I then had to come up with a title for my book which I took from a card within the photobook. I then changed the the style of the writing to suit my photobook more. I decided to use the font ‘Ink Free’. I also added my name onto the back of my book and changed the colour of my background to a light grey colour.

Photo book layout final design

Below are the images that I will be using for my photobook. All of my images were taken in Drum and Bass events that were upheld in Jersey and the UK. Some of these images where highly edited in the way that the photo has been fully manipulated. Whereas the others are pictures which have not been edited at all.

Write a book specification and describe in detail what your book will be about in terms of narrative, concept and design with reference to the same elements of bookmaking as above.

Narrative: What is your story?

Describe in 3 words?

Drum and Bass

A sentence

Showing outsiders the drum and bass culture from an insider’s perspective.

A paragraph

As an individual who is in the culture of the drum and bass scene. I want to be able to portray the drum and bass culture to outsiders, who don’t understand the drum and bass culture. Furthermore, giving a deeper understanding on drum and bass on what it is and how this culture is even relevant.

Design: consider the following

How you want your book to feel

I want a softcover on the outside and for the book to be glossy so it looks similar to a magazine.

Paper and Ink

I want the ink and paper to be glossy so that the bright colours in my images really stand for people to view.

Format, Size and orientation

My book is going to be a small square with the dimensions of: 7 x 7 in (18cm x 18cm).

Binding and cover

I am going to want the cover to have an image of a crowd of people. This is because I want people to get an understanding on what type of book they are looking at.

Title

My title is going to be called “The Sesh”. This is because some people will understand the slang term and some won’t. For those who don’t understand it, hopefully after looking at the book they will know what it means.

Design and layout

Single full bleed images

Single images non full bleed black border

three images on one page

Editing and sequencing

I want to sequence my images how people usually end up going through a night out, from the start to the end of a night out.

Images and Text

Above is the front and back cover of my photobook. To make it, I put the title “The Sesh” in the middle bottom of the book and included my name and title on the spine. The front and back cover on my book have a full bleed spread of an image of a crowd at one of the drum and bass events. I had to zoom the image out abit in order for it to sit perfectly across the front and back cover.

Above is the finalised layout of my photo book with images of the photo shoot i had taken, with finalised images selected across a sequence. During the creation of this photo book, I have experimented with different page layouts. For example, instead of having one photo on a page, I put three images laid out with two small ones on top and a bigger picture going across the bottom of the same page. In my opinion, this final photo book layout is the best due to the way the pictures are put together on each individual page.

Above is one of the first images that was edited/ manipulated in order to make the image look hallucinogenic. This appears to be an effective edit because I was able to manipulate the picture, in a way which people would believe that’s what it would look like to consume drugs at a drum and bass event. Moreover, this image would give outsiders an idea on the atmosphere to expect at these events being; loud, bright and wavy etc…

The next edited/ manipulated image was only changed from its original colour to black and white. This image is a golden gem to me because the picture was taken in a way where the flash stayed on with the persons face with the camera having a wide aperture. Therefore, the image looks edited however it isn’t and that is amazing because even if I wanted to recreate the image I couldn’t, making it a 1 of 1. Furthermore, the image once again could give off the impression of distortion/ hallucination. Giving people a further understanding on what the experience could be like at these drum and bass events.

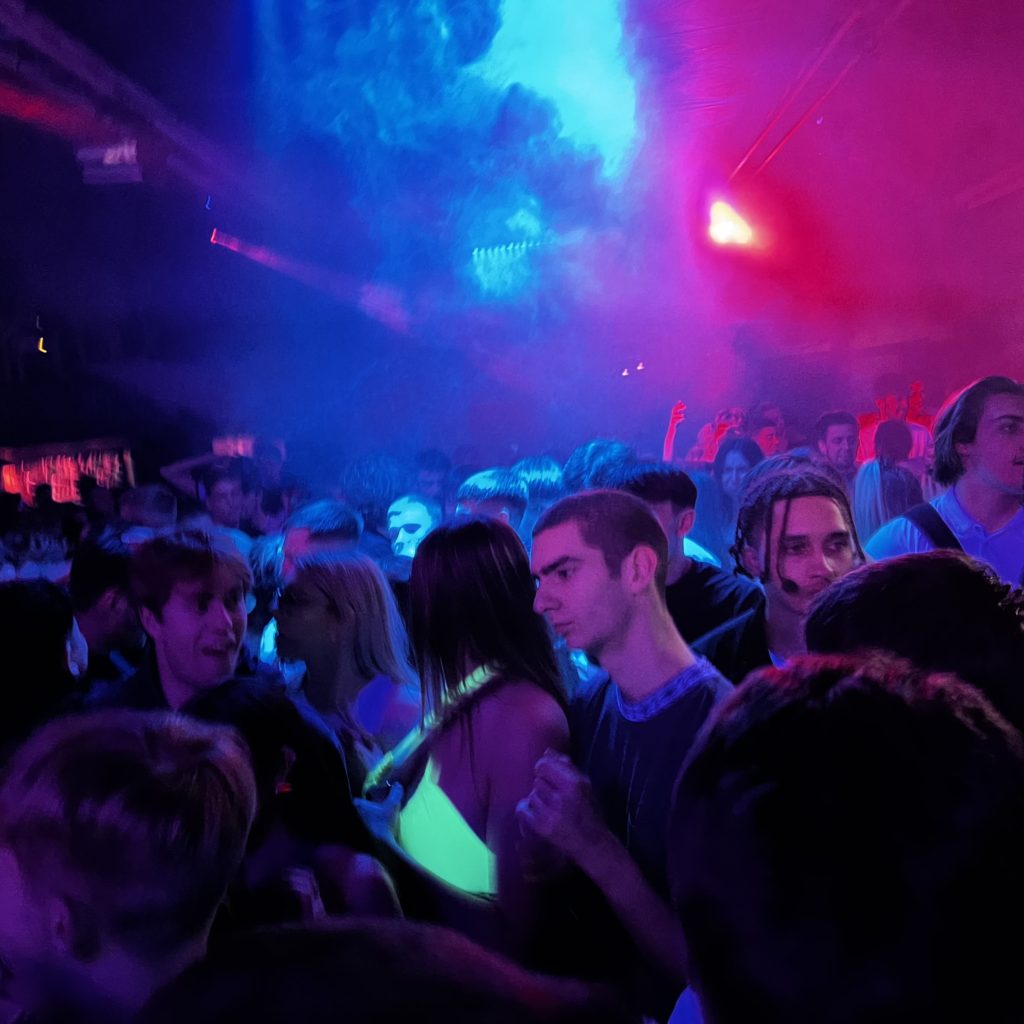
Finally, this is an image captured at one of the drum and bass events attended to get images. This image is strong I believe because it wasn’t edited, making the picture fall under the subclass of realism. Moreover, the image is engaging as I was able to capture the coloured smoke in the background of the image. This was effective as it made it engagging to viewers. Finally, the image being realistic is great for outsiders looking in because they are able to see an authentic image of what happens in these drum and bass events. From the atmosphere, emotions, facial expressions, clothing etc…

Above is an image that demonstrates the different types of options you can select in order to layout your pictures. This was great as I was able to move my layouts around to whatever I preferred.

The Outcome

The outcome from the photobook project is a book which reflects the culture of the drum and bass community. It shows what the potential experience of a night out to a drum and bass event could be like, from the start, to the end of the night. Moreover, the book is also meant to show “outsiders” who aren’t involved with the drum and bass community, showing what the community is about, cancelling out any stereotypes that people might assume within the drum and bass culture. For example, because of the what the music sounds like, people assume that people are aggressive at these events, causing fights between the crowd. However, as an insider to this culture, I can say that the people in the crowd are very in tuned with the music. Meaning that everyone is happy and not bothered by any pushing or shoving in the crowd. This is because, people accept that they are in a tight space which is the reason as to why pushing and shoving occurs occasionally on accident. Moreover, everyone in the crows is there for the same purpose which brings the community together as people share similar interests in music and clothing. Furthermore, the occuring themes of garments are sunglasses, bucket hats, costumes/ coordinated outfits and bumbags. Some of these garments such as sunglasses and bumbags, are mainly used so that people can carry drugs with and not have people look into there eyes for suspicion. Drugs are heavily influenced in this culture due to that fact that the audience are mainly young adults. Also, because people want to enhance their experience for a better time, memories and having moments of euphoria.

https://www.blurb.co.uk/bookstore/invited/9557142/c16ebd0fbd857f5b16ed60642793160214f86f16

Image Evaluation

Technical

photo-shoot 2

Plan

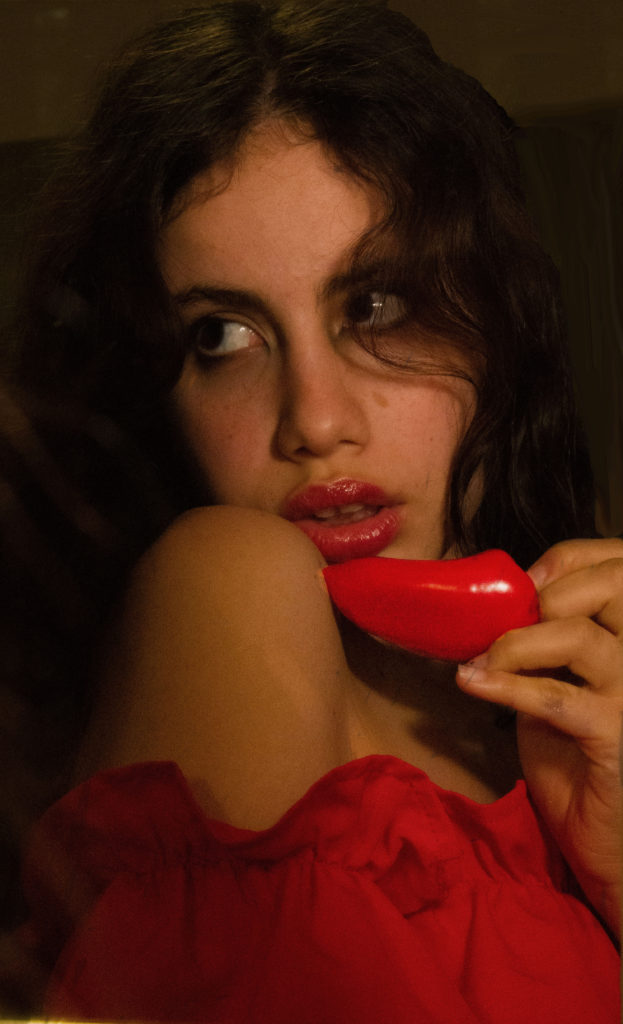
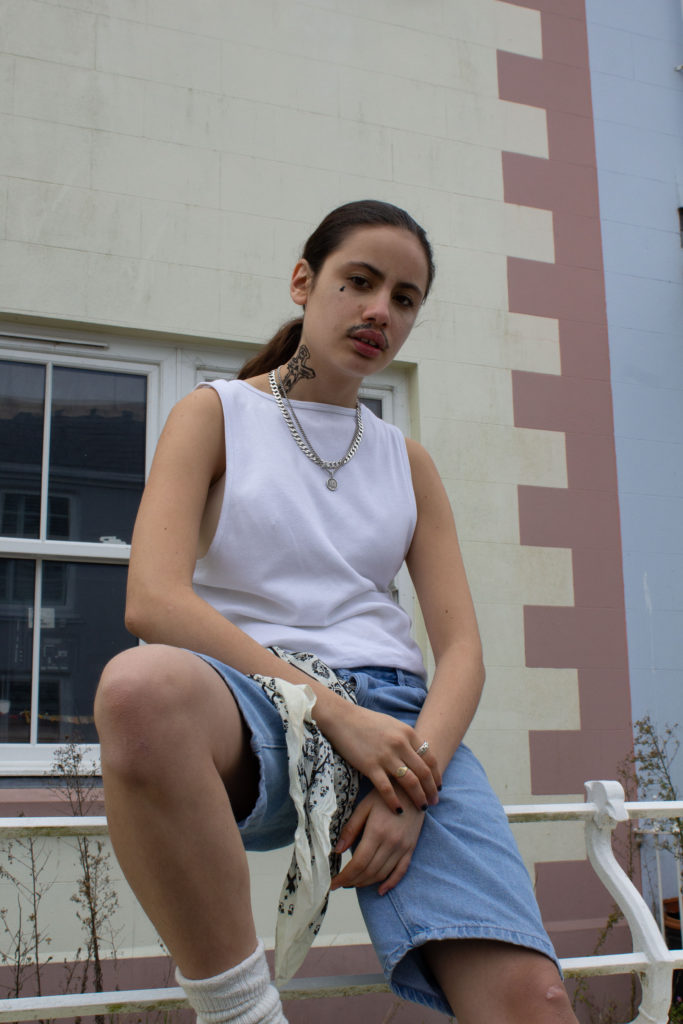
  1. what? what stereotype should I put in Mise en scene : gangs in movies ; La Mexicana ; Gardner and ”spicy” Latina
  2. how? Pay attention to details like the clothes, the accessories, make-up, background, lights, the mood… to create the Mise en scene.
  3. when? March
  4. where? I want each photo to be a different story so for me it would be more suitable if I do each photo in a distinct location, They mostly be in house but I want to be spontaneous so anywhere that reminds of Mexico or I think is a perfect place for one of my stories would be great.

Edit

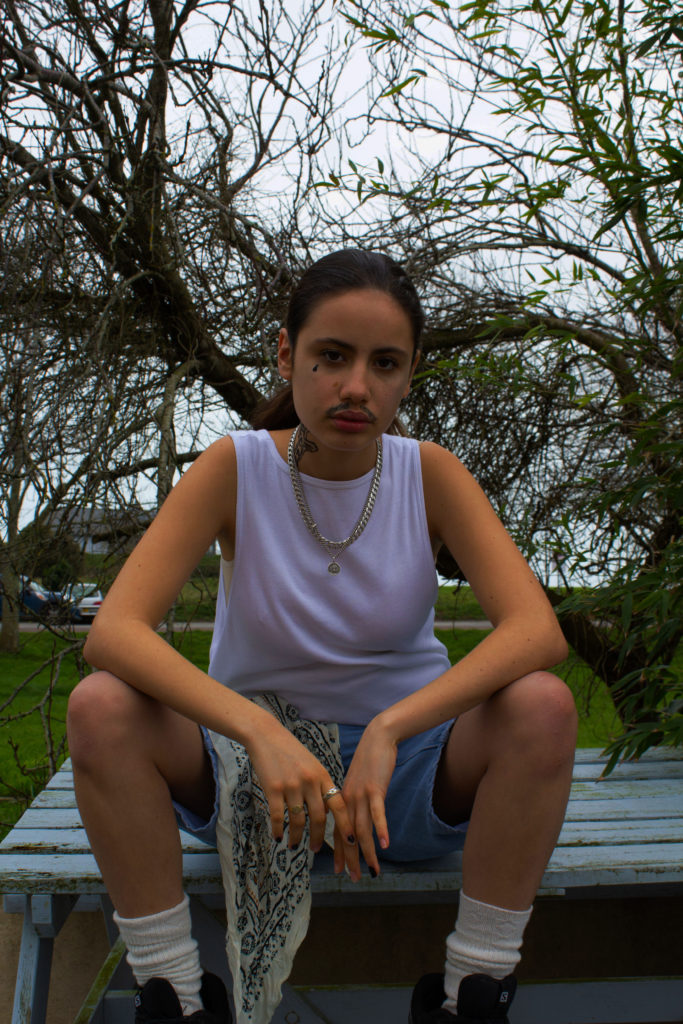
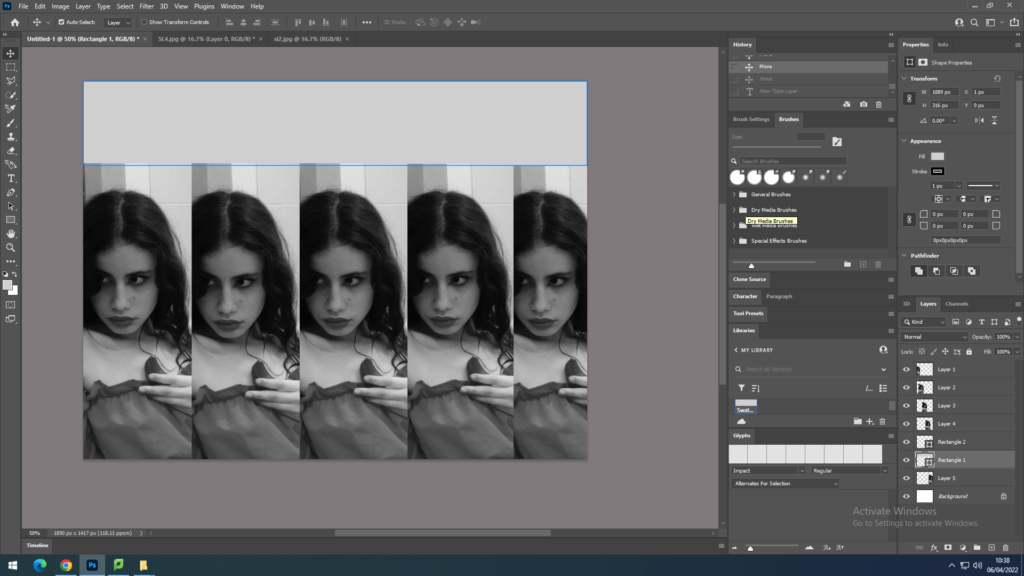
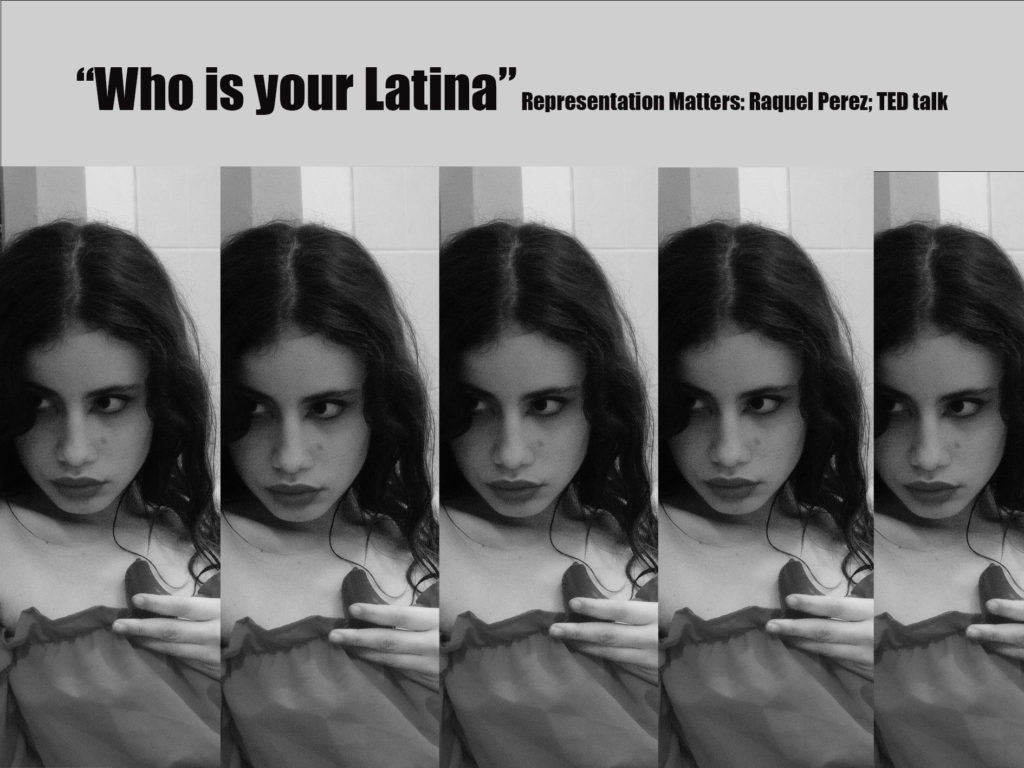
For my project I wanted to do some research on the consequences of Latinos stereotypes. I watched a TED by Raquel Perez which is about the representation of Latinos in society. She talks about how frustrating it is when you are not Latina ”enough” because we don’t know the language enough, the colour of our skin is not tan enough. Because we don’t look like the Latino stereotype that we see on the TV therefore we must not be. I decided to edit one of my images and called it “who is your Latina”. The meaning behind the title is to question society how or who do we have to be to be considered Latina. To edit my image is use photoshop, I started by selecting my image. I copy, pasted my image to another white plain image. I had to cut it so it fit proportionally and paste the same image five times. I wanted to put the title at the top of my collage so I selected a rectangle above. I then used the eye dropper tool which helps you to have a sample of a colour of your image. Finally I wrote the title and flattened the image.