
Digital Edits
When creating digital edits of my images to go into my photo book, I first used Adobe Lightroom to adjust the image qualities such as the contrast, exposure, tone, shadows and highlights. After doing this, I then exported my images out of Lightroom, making sure they had a large image size, and then used photoshop to rework them. I altered these images in a style similar to Carole Benitah, although making sure that the adjustments I made made sense and improved my photo book narrative in particular. I did this using both newly produced photographs as well as archival material. On photoshop I edited the images in order to make products such as photo montages, as well as using ideas from my experimentation with this style to create pieces that I believed would appear better if altered digitally opposed to stitching or other handmade alterations.


Using Photoshop, I digitally altered the images using different techniques to create singular edits. For example, in one edit I made multiple, red hexagonal shapes around an archival image of my grandparents. I then traced over an image of the Manchester worker bee, making it into a PNG, and then placed these around the photograph as well. I chose to do this as my family is from Manchester and the worker bee is one of the best known symbols for Manchester, representing the population’s hard work ethic and the city being a hive of activity. This symbol is often seen in mosaics around the city, which I believe the broken apart hexagons help represent also. In another edit I used Photoshop to erase sections of my great-grandparents. I did this by using samples of the gold-leaf texture from Carolle Benitah’s work, in order to create this appearance digitally without the material. To copy this texture digitally I used the clone stamp tool to create a silhouette of their upper halves. I believe that this texture adds to my narrative as it resembles a faded image and can be said to represent a faded memory of the people in the image, unable to fully recall their character. This also applies to my personal connection with them as I never met them however know of their memory through photographs.
Handmade Edits
When creating edits of my images by hand I first printed off images that had been slightly edited in Lightroom, with qualities such as contrast, exposure, tone, shadows and highlights. Here I used a mixture of both archival material as well as my newly produced photographs. With these, I decided that the method of stitching would work best to improve the narrative function of the images. To ensure that when stitching into the photographs that they didn’t rip I printed them off on card, providing a sturdier material than paper but still containing the levels of detail and saturation that may not have appeared if transferred onto fabric. When stitching, I stuck to the colour scheme of red, white and black thread, with red being the main colour used to symbolise blood lines and family. I used larger needles and thread to create the more basic patterns and create bolder shapes, and used a smaller needle and thread for the more intricate and smaller patterns, using a back stitch to achieve all of these pieces.

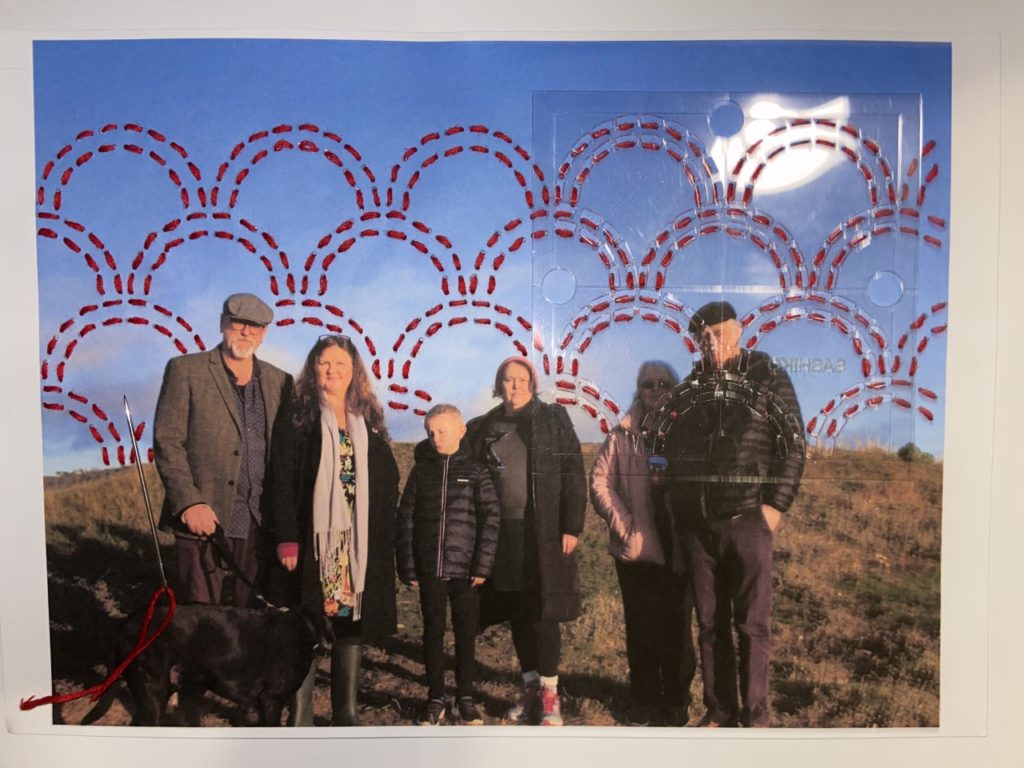
With this method, I made similar designs to my digital edits making sure they were coherent. For example, for one of the images I stitched into I created red hexagonal shapes and embroidered bees around the image, resembling the digital edit displayed above. I did this using a medium size needle for the hexagons and a small needle with smaller thread for the bees, as they were smaller and harder to stitch. I also used patterns to alter my photographs, such as using an arch template to plan my stitches, allowing them to be uniform and neat. For all of my stitched images, I first punctured holes into the card for where I would embroider. This ensured that the stitches were similar lengths.