Photobook Process
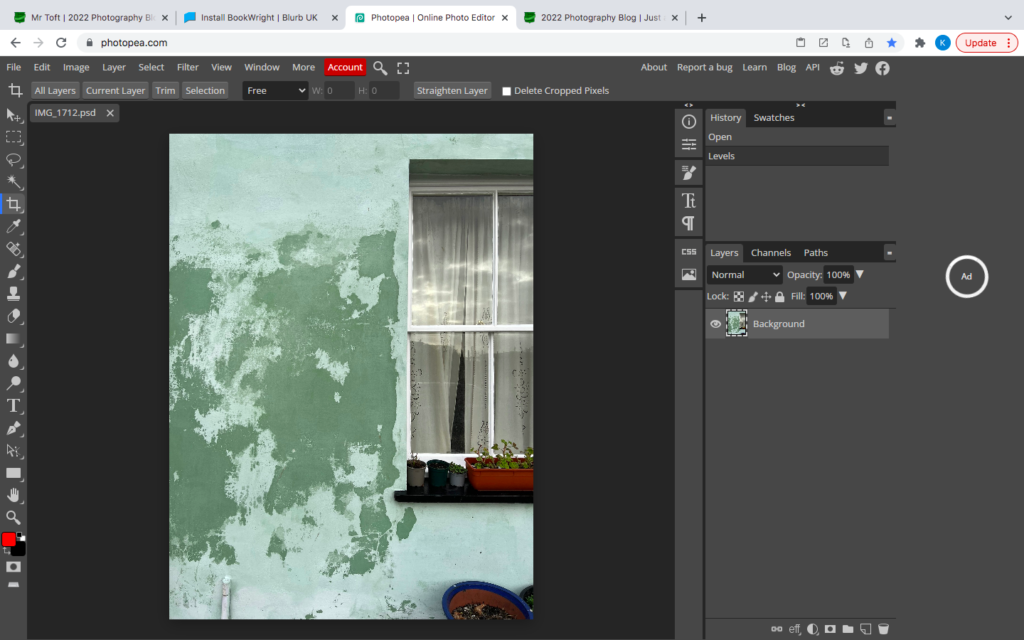
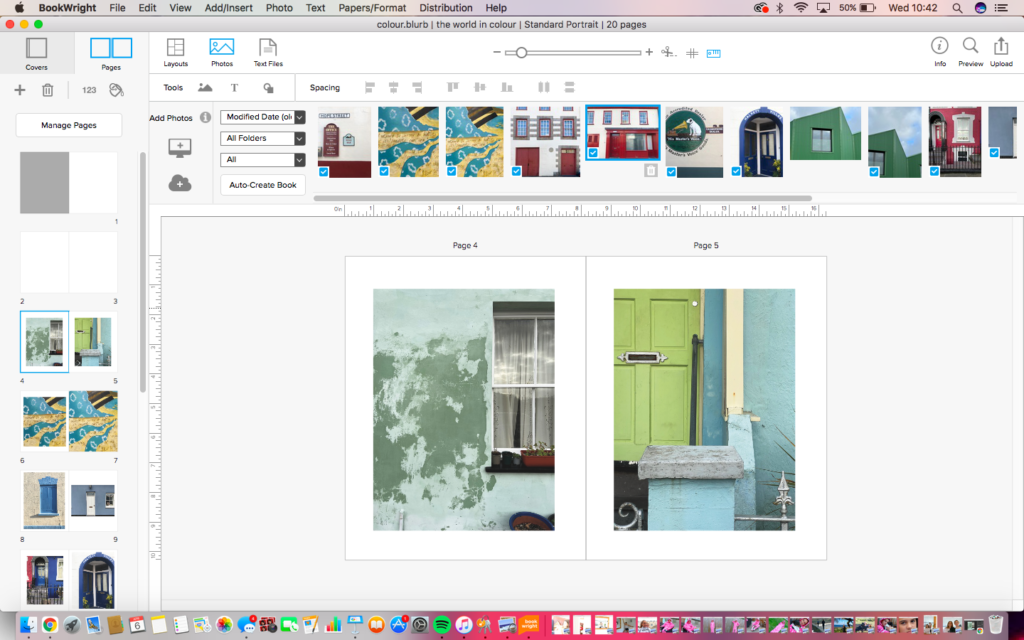
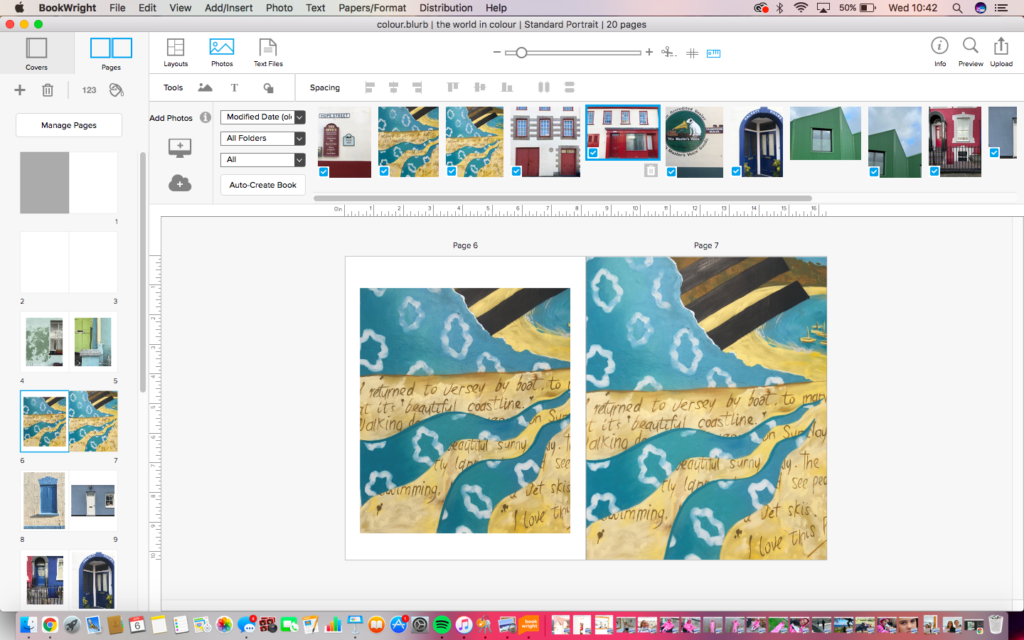
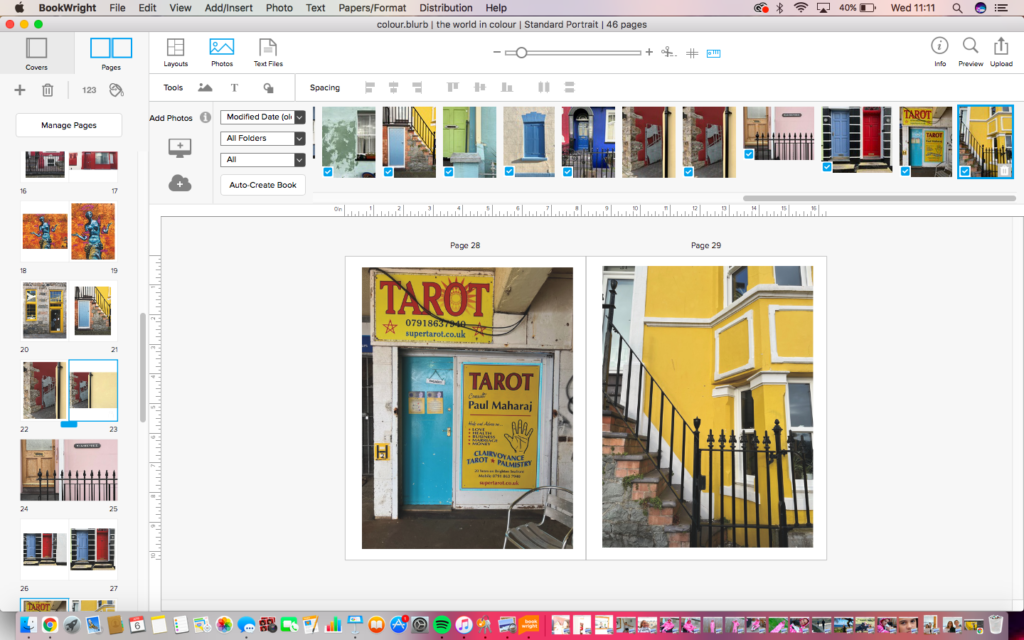
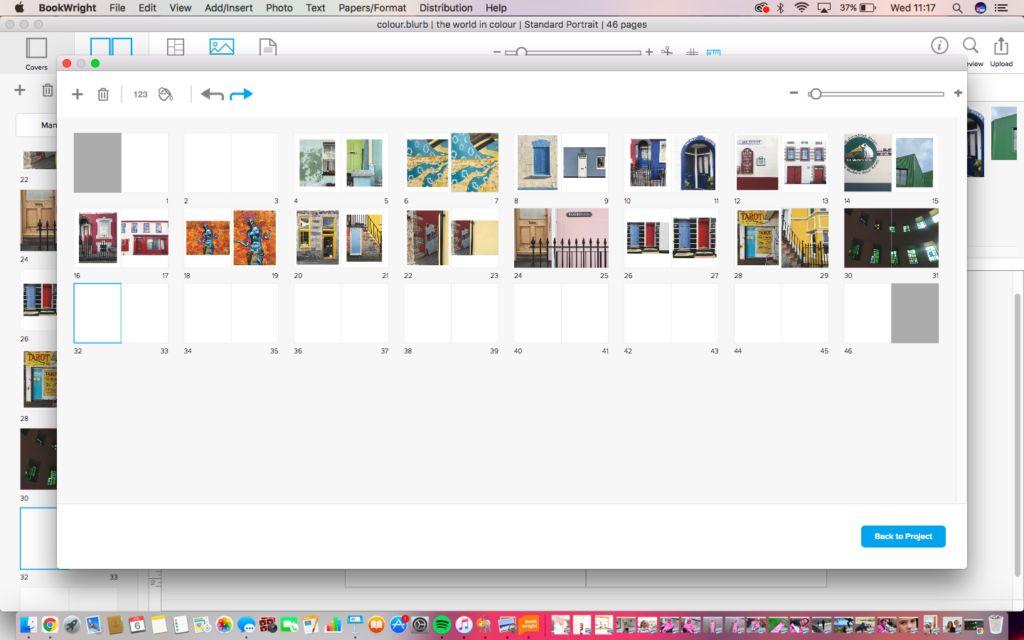
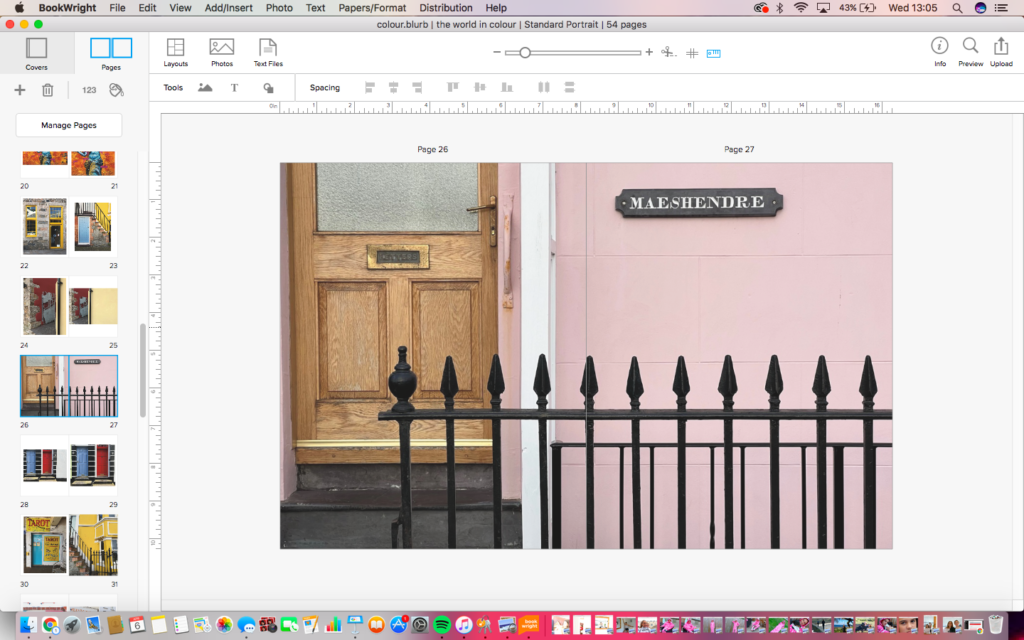
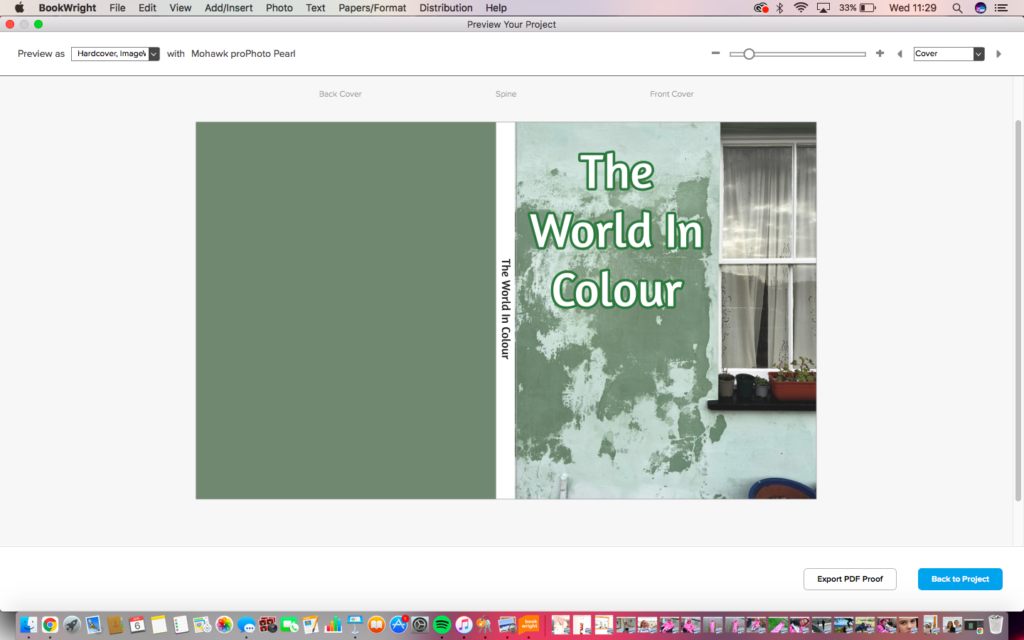
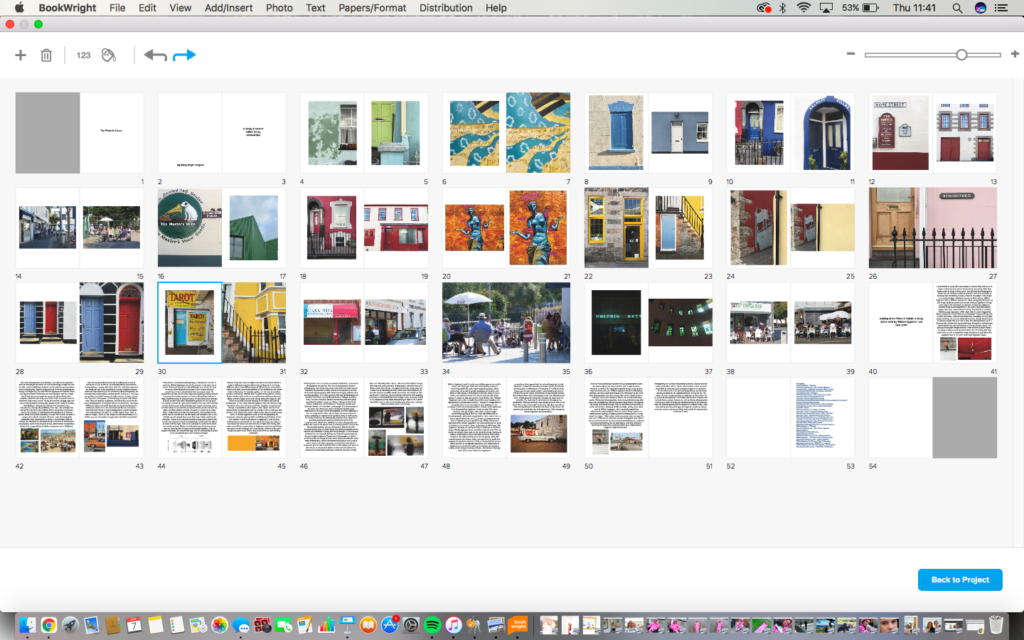
I started making my photobook on blurb by selecting the book type I wanted and the number of pages. I originally had 20 pages but ended up having to add around 30 more. I edited my images on photoshop before and decided which images I wanted to use by placing them on the photobook and moving them around to see if they fit the look I wanted. Most images that I placed next to each other were similar in colour as I liked the way it looked. To make the front cover of my photobook I chose one of my favourite images and enlarged it to fill the page, I then used the eyedropper tool on photoshop to match the colour of the dark green paint on the wall for the back cover. With the title I placed it to the side as I like the way the window frames the title.
