My pervious work over Year 12 and Year 13, that showcases some of my best images and interesting photographic techniques
Formal Elements
My first project I started was based on the formal elements using formalism, where I scrunched up and teared up paper into shapes such as, balls, holes, and different textures, then took photos of the paper. I set up multiple different lighting environments to shoot in.
Firstly, I used 1 light source, which was the camera flash, for the image of the paper ball I also made the exposure darker to emphasis the contrast between the highlights and the shadows which made creases in the ball more noticeable, additionally it made the black paper background even darker so that you couldn’t see any of the marks on the paper. This is using minimalism to direct the focus of the image to the main focal point.
In the other photos I used 2 phones to emit different coloured lights, which made the colours clash as the paper as at different heights as it was crumpled up.

In Photoshop, I didn’t really do much adjustments image were very basic. All I adjusted was the contrast and saturation, to boost the colours, or the opposite to make it black and white by setting the saturation to 0.
Surface and Colour
In this topic I used serval different camera lens to gain a different perspective. However, most of these image were shot using a macro lens.
This allowed me to achieved a really close up shot were you can clearly see the pattern and the repetition of shapes and the different textures of the subject. Additionally, I was able to use a shallow depth of field, which created a focus onto key features by blurring the edges.

Having these images in black and white helps remove any distraction of colour and helps the viewer focus on other aspects of the photo, such as the subject, the textures, shapes and patterns, and the composition.
Abstract
To create these images I played a colourful video on my laptop and shot the images through different glasses, eg, wine glasses and perfume bottles to distort the video, which created a unique and abstract effect. I also used the glass to make reflections to act like a mirror.
To also create some of these images I changed my camera to manual focus and made it super blurry, then I took photos of different glasses in front of the screen, using the same method.

Minimalism – (Artist Reference / Kevin Saint Grey)
Kevin Saint Grey is a photographer I studied who is a primarily black and white LA based photographer with a minimalist approach to his subjects which creates a drastic contrast. He shoots mostly landscape and architecture, and his work distinguishes itself for the serendipity of black and white, “humanness” and silent images. He accomplishes this by using techniques such as, symmetry and long-exposure, and he manages to get amazing, creative photographs, by using camera movements while exploring unique angles while shooting architecture.
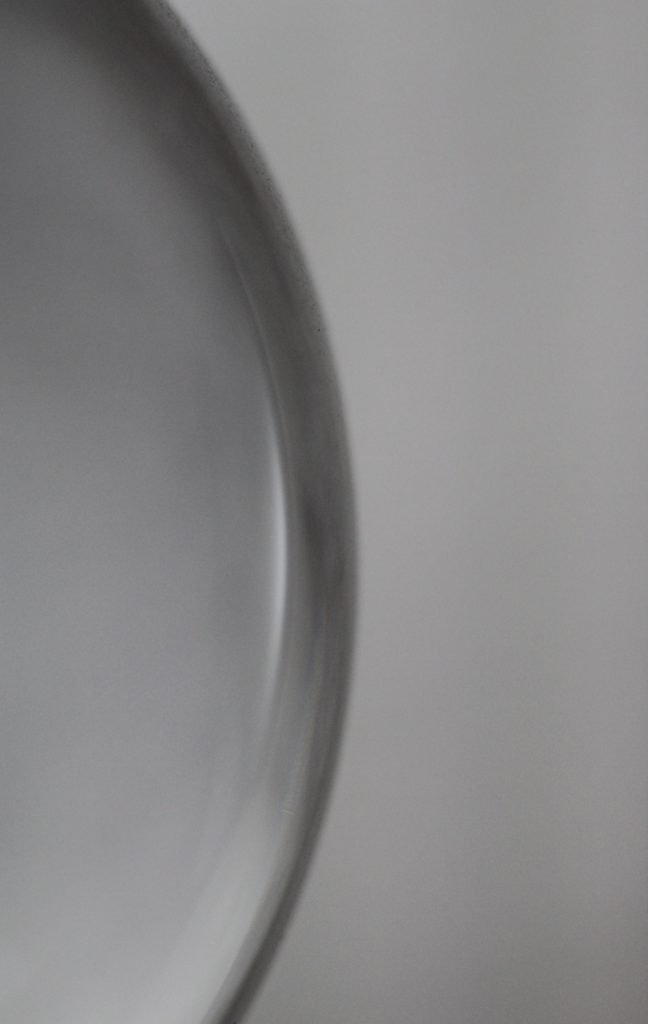
This is one favourite minimalistic images I took, it is of a glass lamp stand. I made it so the full object is not in view as it creates a minimalistic effect, that features the curve of the sphere, and the light which reflects off of it.
I submitted this image to a photography competition hosted by the Jersey Arts Centre on their Facebook page, and it won “Best minimalistic photo of the day.”
Portrait/Close Up

I have used the photography studio when taking portrait photos. This allowed me to experiment with different lighting colours, set-ups, etc.
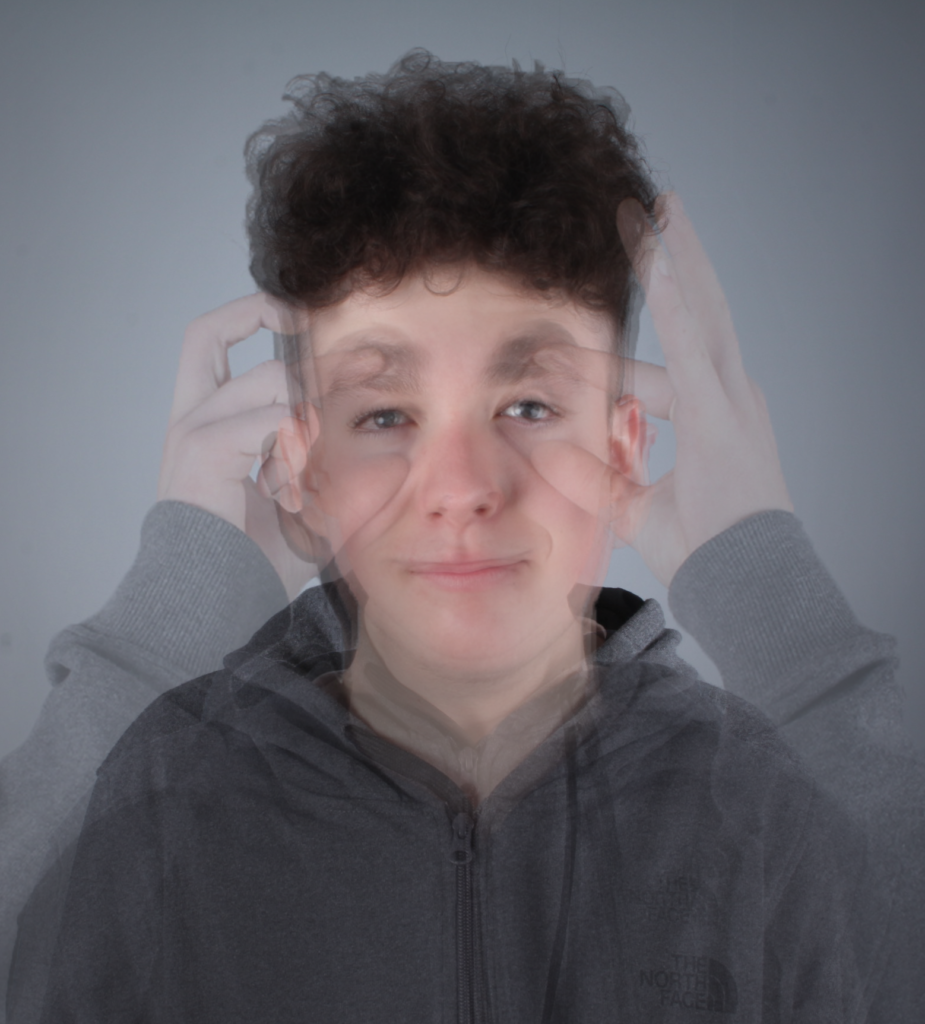
I have created a photomontage using post-processing techniques in Photoshop by using layers after lining all the images up, which created a multi-exposure image.
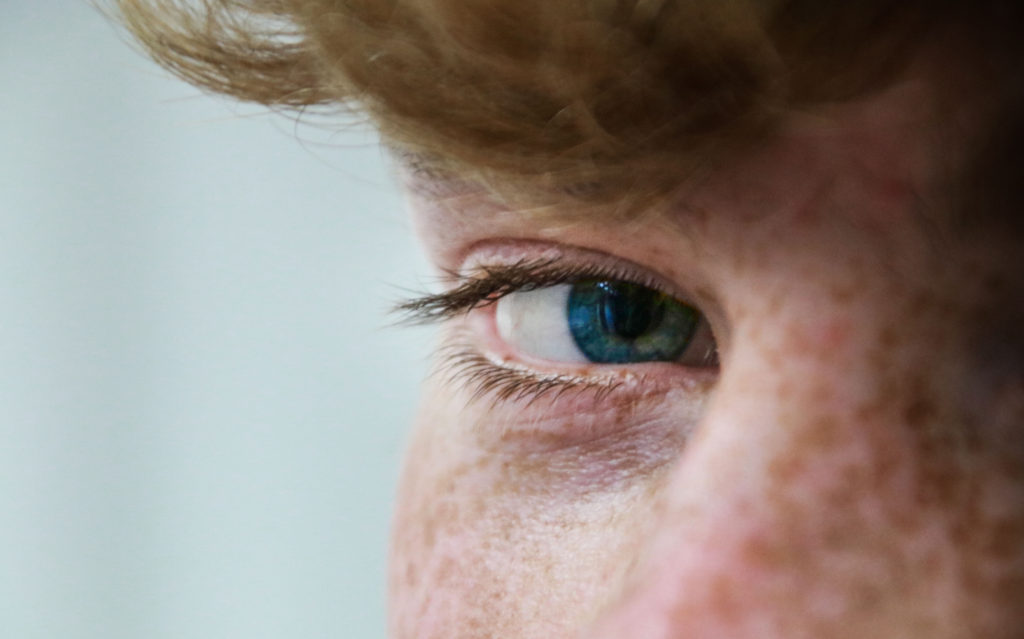
The eye contact with the camera makes it a stronger image as there is more of a direct and emotional atmosphere between the viewer and the image.
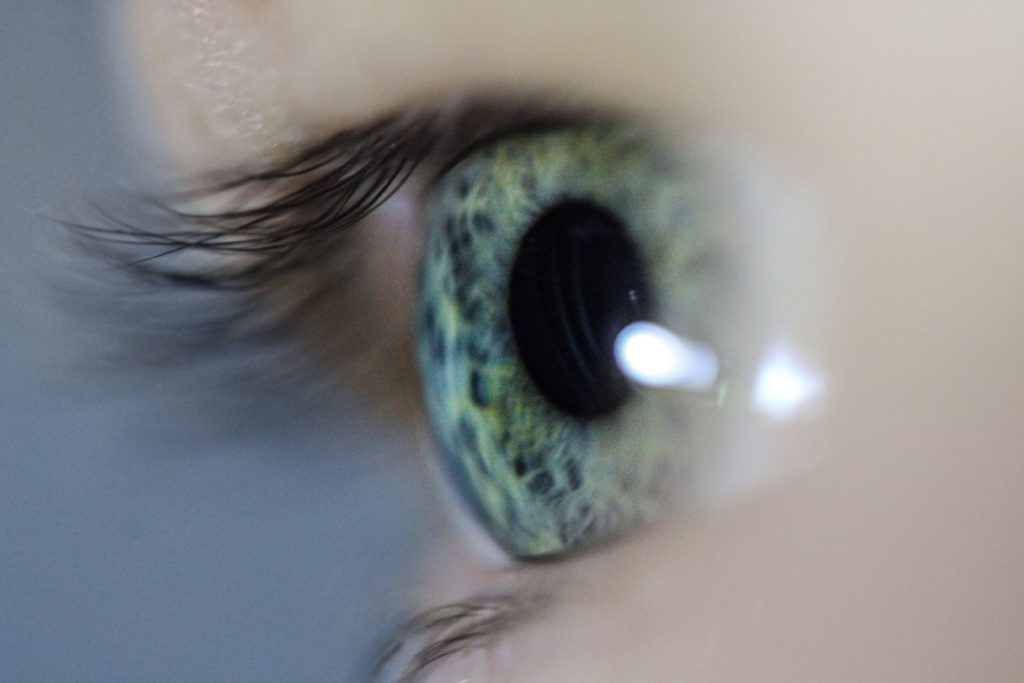
Since I used a macro lens I was able to create a shallow depth of field. This made it so the eye and part of the eye lashes were focused, and the rest wasn’t, which draws more attention to the eye itself. Macro photography is one of my favourite ways to shoot however, it one of the hardest to get right, as its only manual focus. This means you have to move closer/further away from the object or adjust the focal length.
Landscape
The landscape project was heavily inspired by Ansel Adams. Ansel Easton Adams was an American landscape photographer and environmentalist known for his black-and-white images of the American West. Also, he is considered the most important landscape photographer of the 20th century.

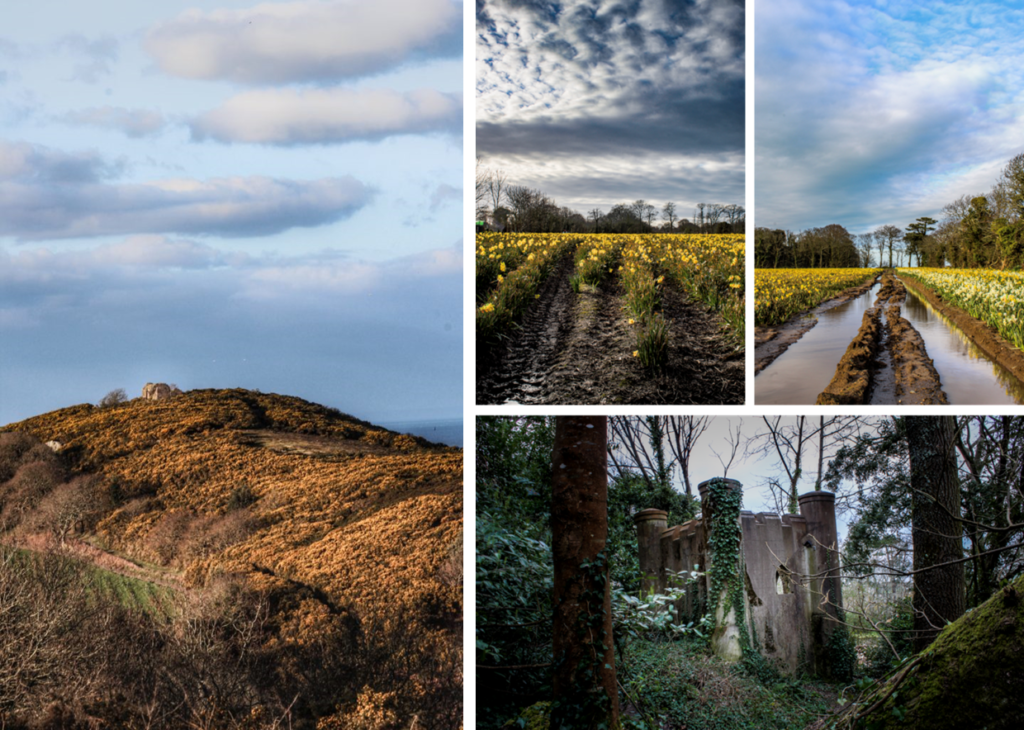
Both images are of natural landscapes, which display rock formations and both cover the whole of tonal zone system, going from 0, being black through to 10 being white, displaying different shades. This really puts emphasis on the highlights as it creates a high harmonious contrast.

These two images demonstrate the 3 levels of tonal values, is what makes this image stand out. It consists of the blacks in the foreground, with the grey behind it, then finally to the light-grey figures in the background which the lighthouse is apart of. Overall the harsh contrast between the sky and the rocks juxtapose each other against light and dark. I achieved the star effect caused by the sun, by using a high f-stop value, eg. f-32.
I used multi-bracket exposure to capture these images. The camera takes 3 photos, 1 over exposed, 1 normally, and 1 under exposure image. I edited it in Photoshops Camera Raw Filter after Photoshop merged the 3 images to create a HDR image. (High Dynamic Range.)
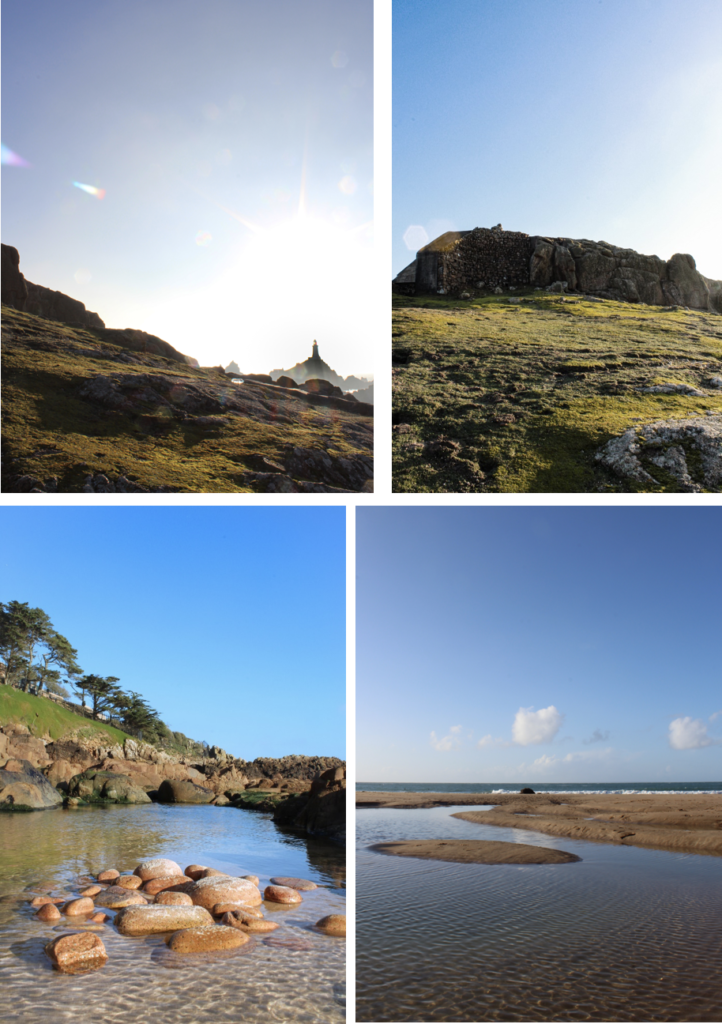
These 4 images are more generic landscape photos, however do include unique aspects such as lens flares and reflections from the water.
This are some of the urban landscape photos I took at night in town, using long exposure. Since the exposure time was so long I had to use a tripod so that the camera was stable to create a clear image. Long exposure is one of my favourite photography techniques, as it creates unique images every time.
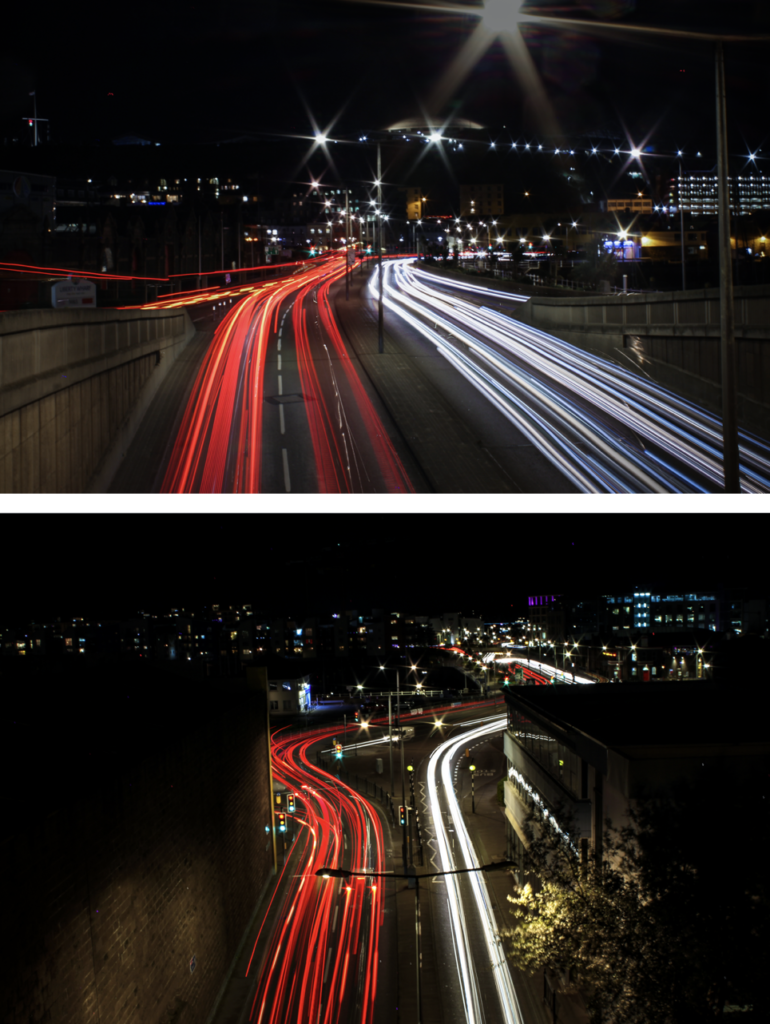

This is my favourite image from the whole urban landscape topic. It captures a bus driving past a traffic light. However it did take many attempts to capture this shot, which is part of the fun.
Long Exposure – Water Photo Shoot
On the topic of long exposure these are 2 strong images that where apart of another topic, that I really like.

Street Photography/ Candid Photography

These 2 images were tableaux (set up/knew they were being photographed) Overall, I didn’t really like asking people if it was ok to take their pictures. However, it did allow me to capture the subjects closer compared to the photos below.

Where as, these 2 images aren’t set up and captures peoples natural state, emotion, and pose. Therefore, i fell that they poses more of a story.
Anthropocene
For my Anthropocene project I split it into 2 sections. The first was space, and the second was plastic water pollution.


These were some of my favourite photos I got of the full moon at 4 AM. I used a telephoto lens and a tripod to capture the moon.

These are my attempts astrophotography, I went to the west of the island at 12-1 AM and used a 18mm lens, with a low aperture using a long shutter speed of 20 seconds to capture the stars. Before I took the photo I had to manually focus the camera on the north star, this is so that the stars would in focus. Overall, these turned out good, however it wasn’t the right season, so I could do better when the milky way is more visible.
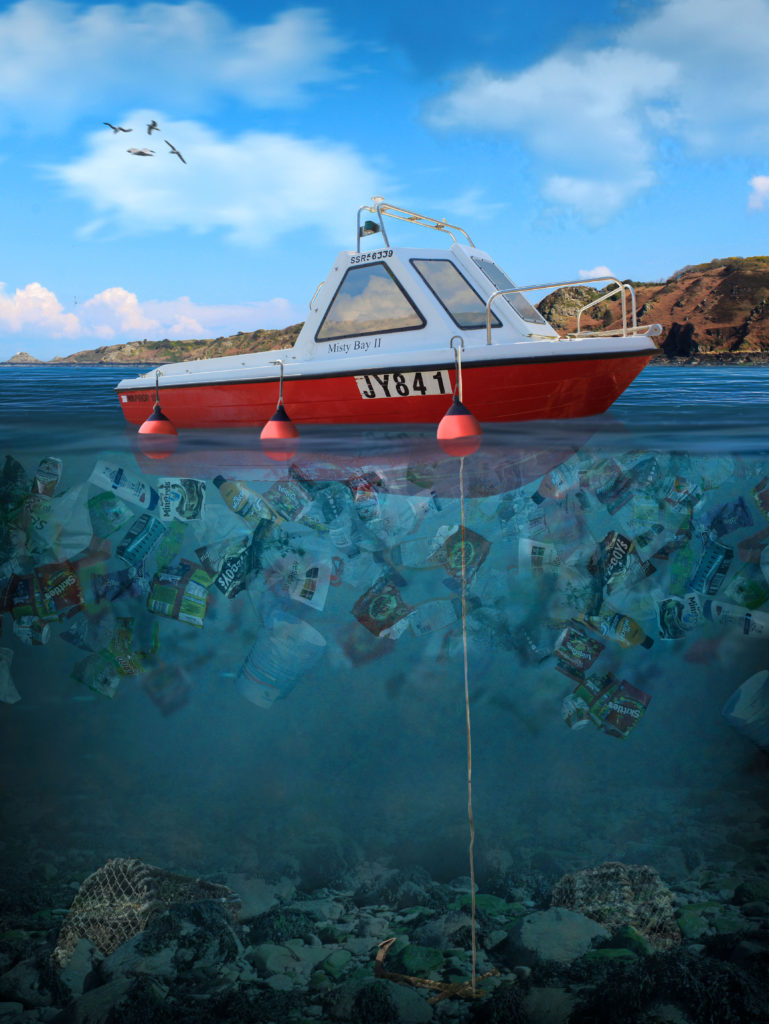
This is my best final piece which I made in Photoshop, using my own images to create a concept image using photo manipulation of plastic water pollution in Jersey. This took approximately 7.5 hours, using over 500+ layers inside photoshop, where I documented the process on my blog. I have lots of experience in photoshop and a great knowledge of the software.
Identify and Community Photoshoots Best Images
These images were taken whilst I was walking around town. This is one of my favourite ways to photography unique and different things in a new place/area.

In these images there was a metal chain across the car. This was very distracting so I removed it in Photoshop which improved the image. I also made the black background darker to remove the small details to create an old, minimalistic style.

These images work well in black and white. The image on the left demonstrates depth of field and unique angles, however the right image captures motion of flying pigeons.

These images use framing to create a focus on the key features and remove distractions around the outside of the image.
