Importing files
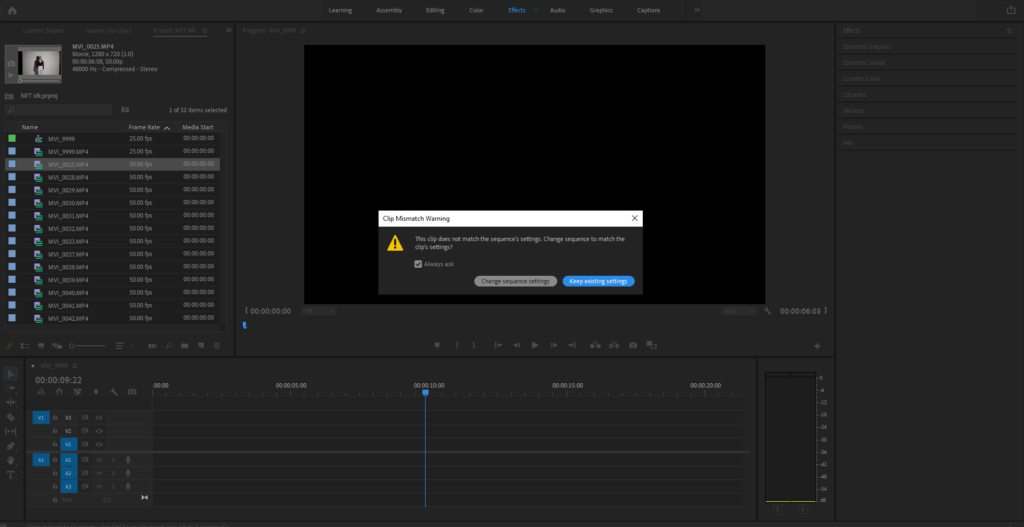
To start, I pressed Ctrl + I to import my videos from my video data and started with my first clip.
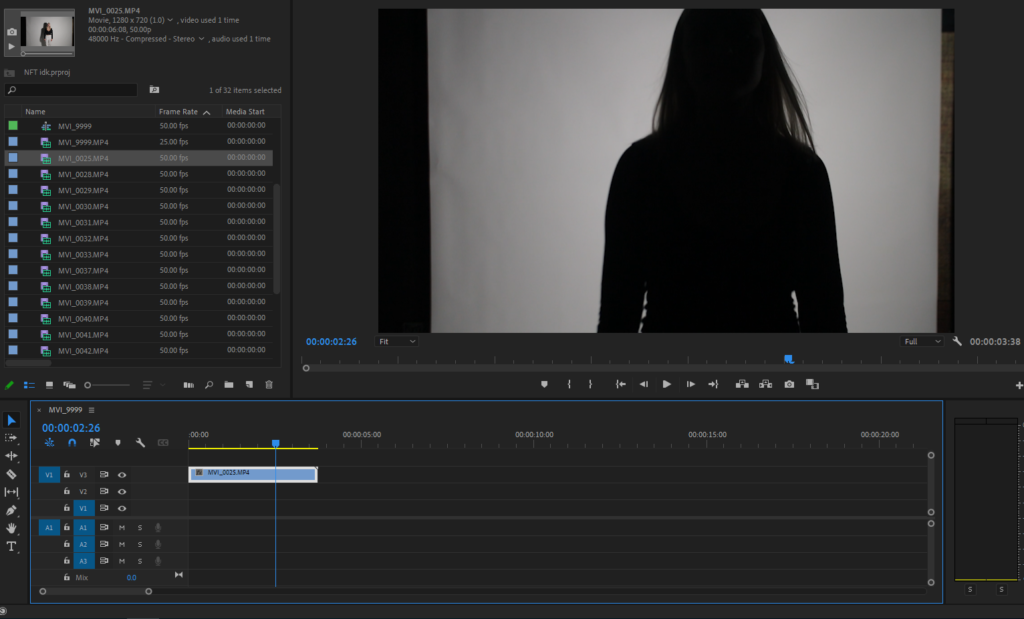
I then cropped the beginning and end off of the clip, leaving me with the part of the video that I needed.
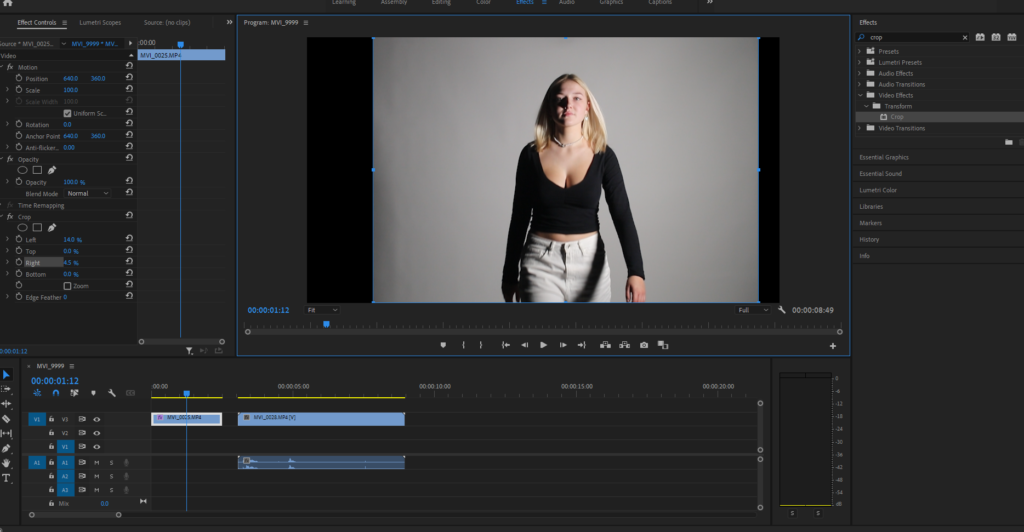
I continued to add each clip to the timeline, cutting and cropping the clips to fit into the animation.
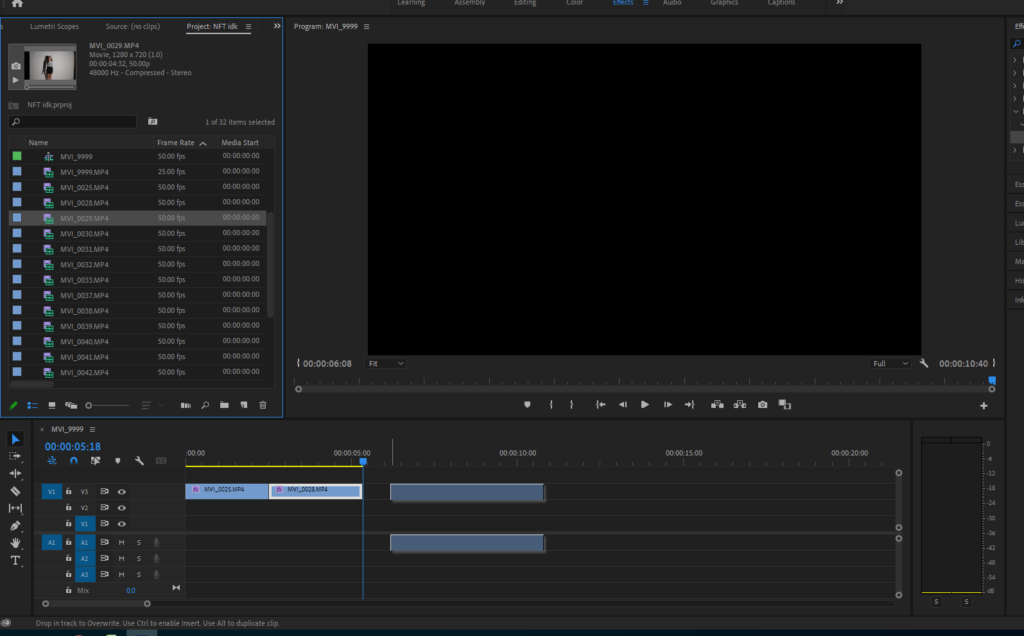
Multiple Clips
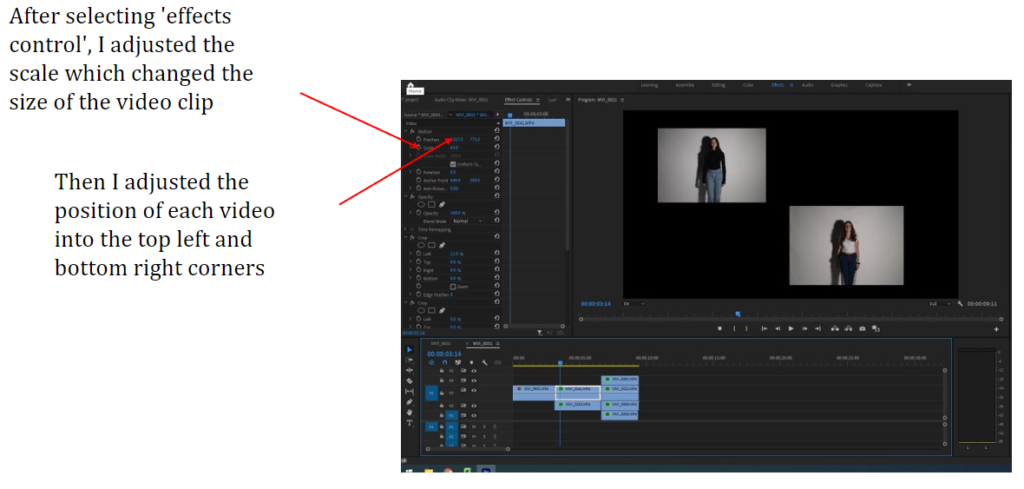
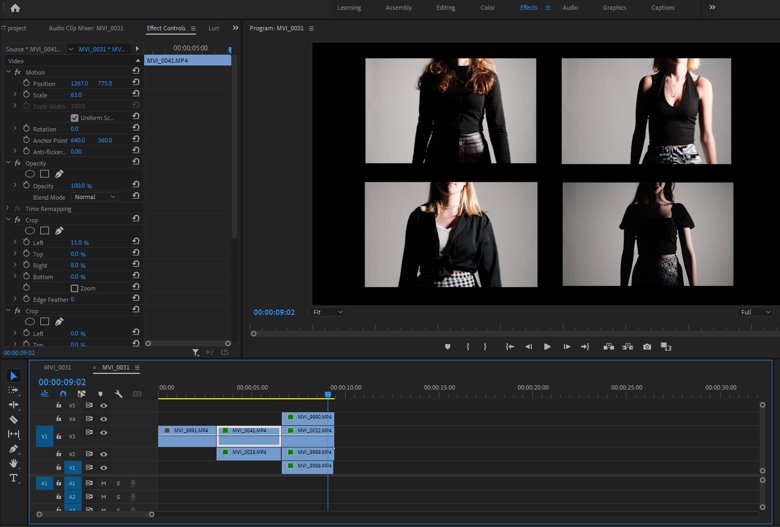
I then repeated this process with another 4 clips, layered on top of one and other so each clip plays at the same time.
Changing Speed
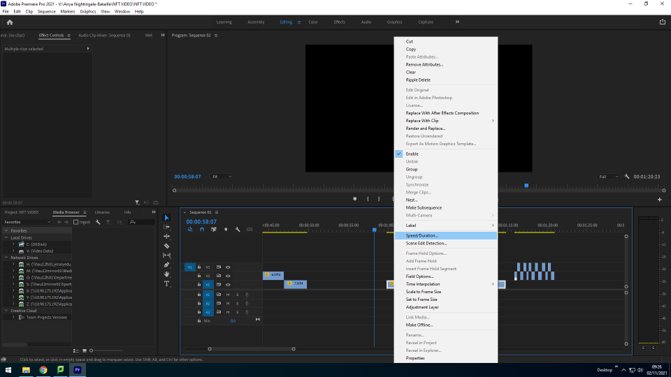
To adjust the speed of a clip, right click and select “speed duration”. Then change the percentage to make the clip faster or slower.
Title
Digital Image
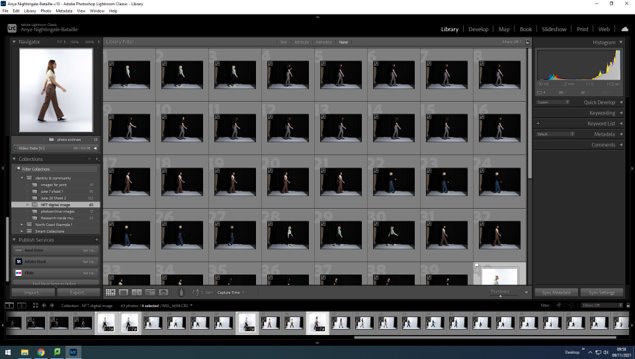
To start off, we imported the images we took into Lightroom and flagged the images we wanted to use for our digital image.
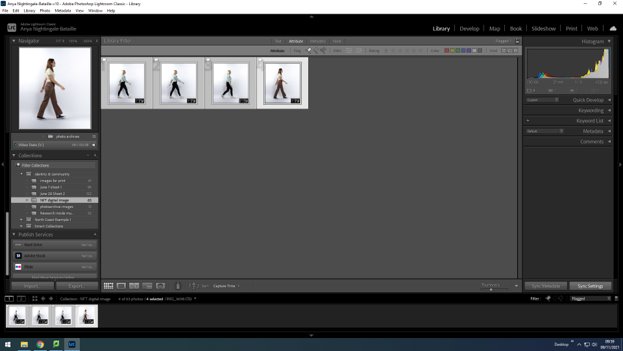
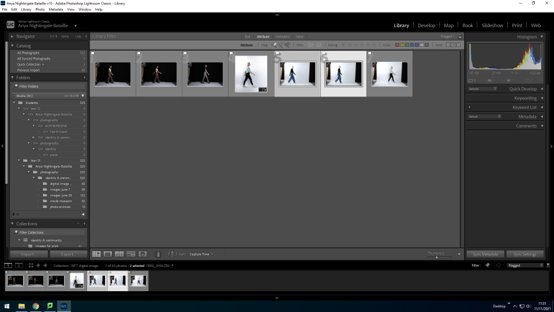
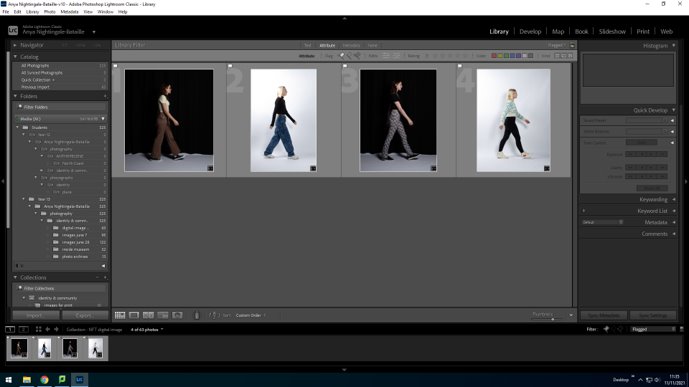
Once we decided on our final 4 images, we began editing them, adjusting the lighting, contrast, exposure and highlights.
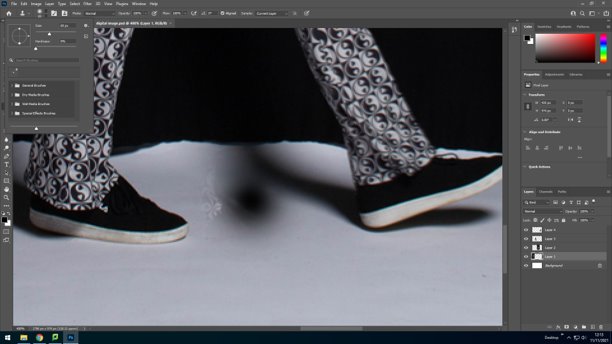
For the images with a black background, we had to edit around the shoes to make the whole image black. To do this, we opened the images in Photoshop and used the Clone Stamp tool, selected a black area and drew around the feet.
From this:
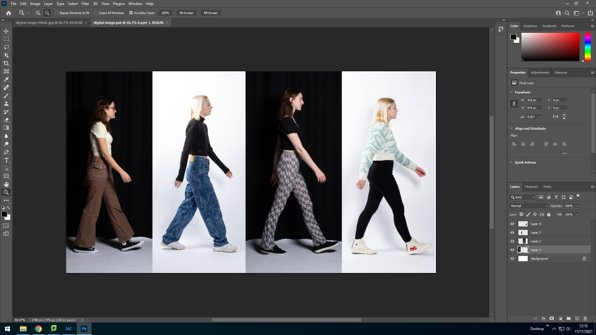
To this:
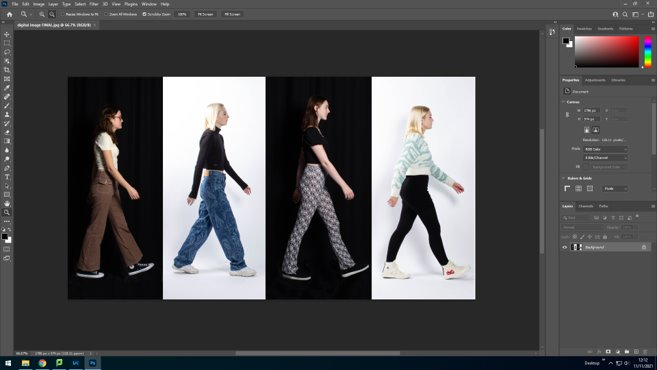
Our Final Digital Image
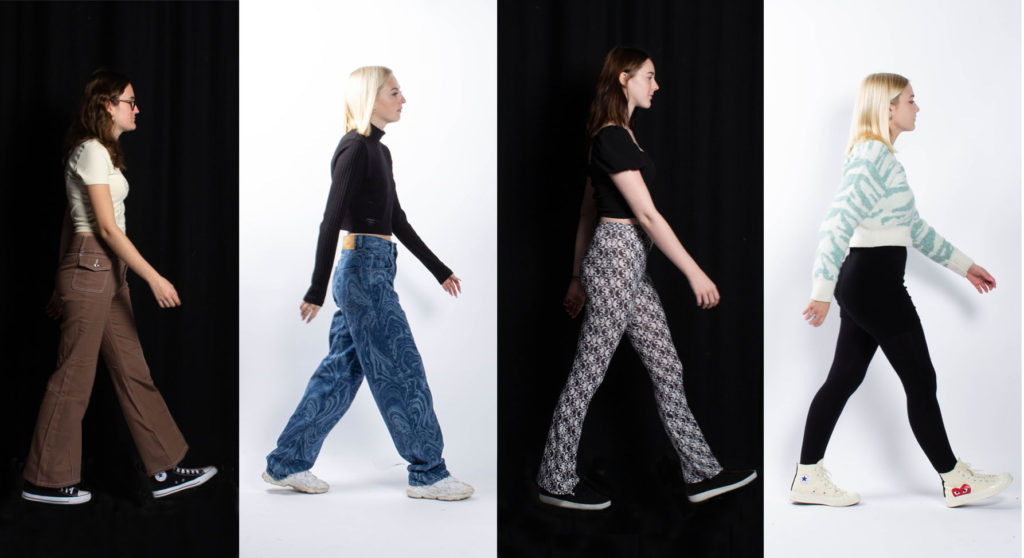
Final NFT
https://web.microsoftstream.com/video/8c3bf225-0b55-436d-9ce7-387214bea506


Missing blogposts from NFT:
1. Final image + Statement for 2 Lives exhibition (I know you have the image embedded in another blog, but it will look good if you had a separate post with your final work)
2. Final film + evaluation