Film Editing

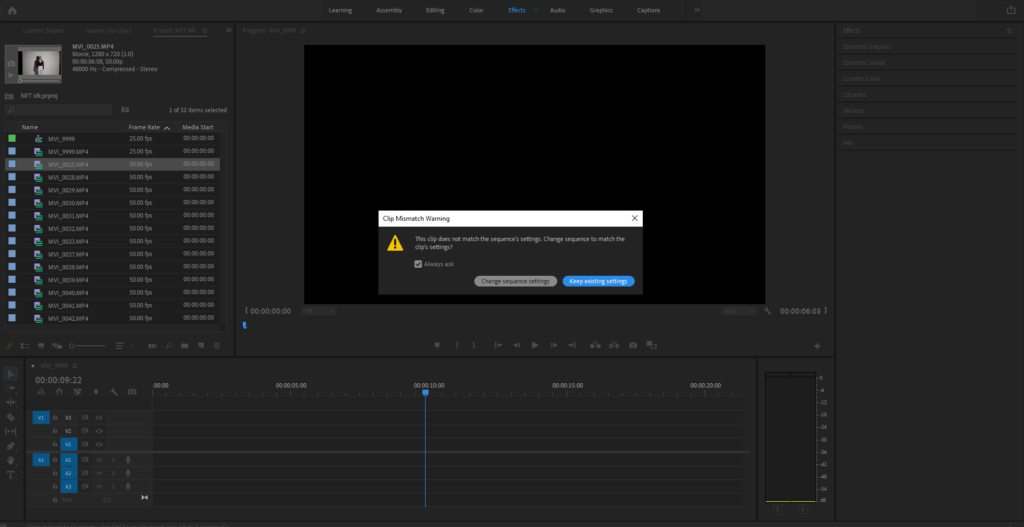
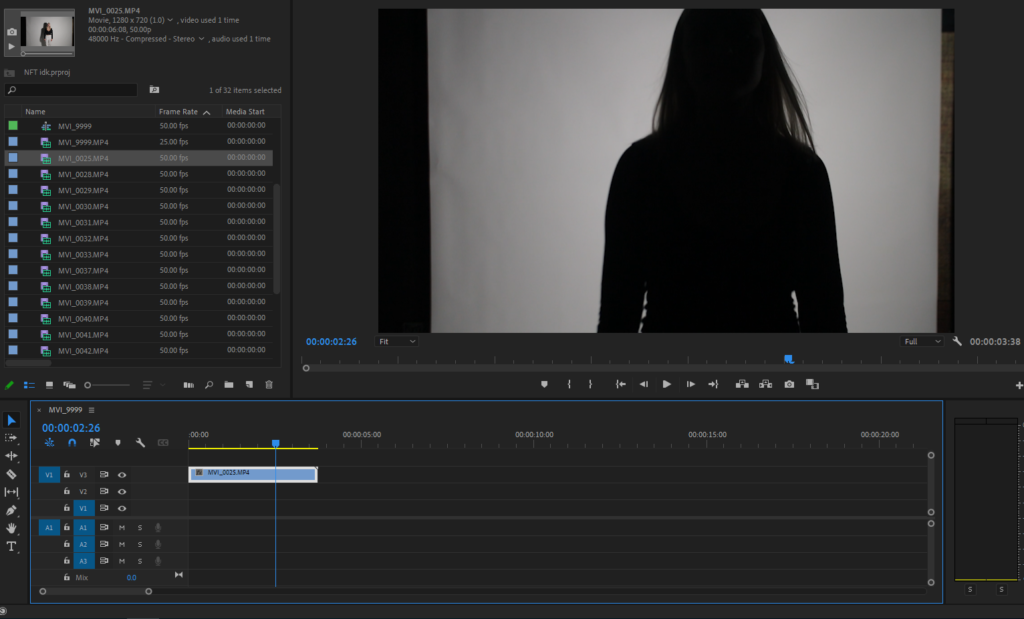
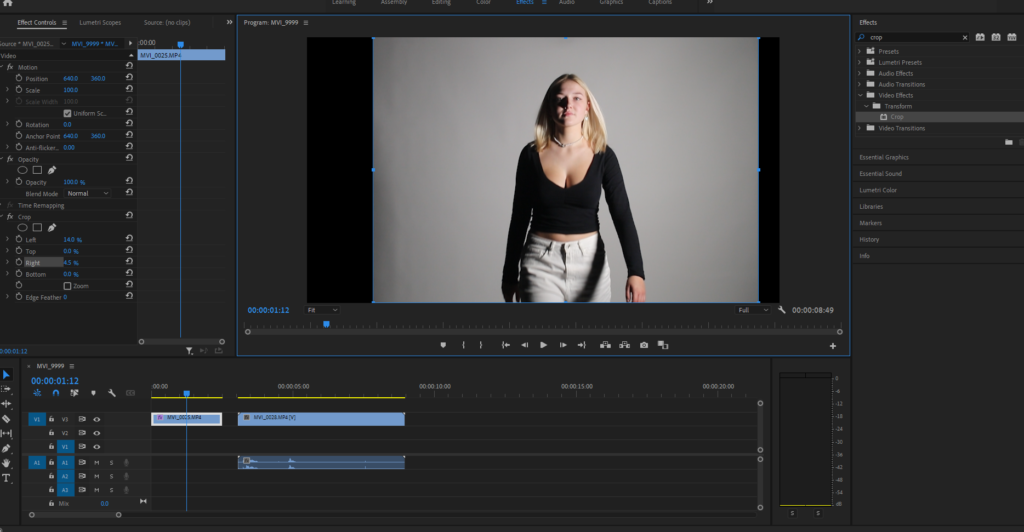
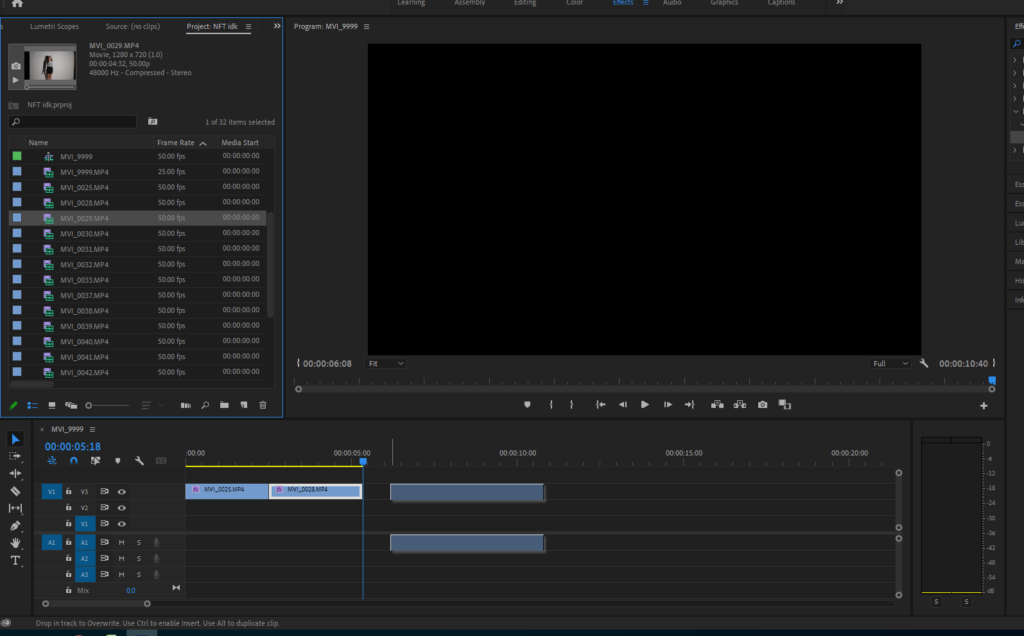
During the editing process for our short film, Tiago took screen shots at different stages to show our thought process behind the way in which we are piecing together the scenes from our film. For our film we obtained a soundtrack that we believed would match the mood of the film. We did this by searching for classical and cinematic music from websites that provided royalty free audios. Finally we managed to find a piece that we thought would work best which was named Sailing Away by Shane Ivers. When editing the film, Tiago first arranged the video clips in the order, showing the storyline, then went on to cutting these clips down and trimming them, in order to present the best part of the footage and cut to the beat. In addition to the audio of the music, we also have included a clip of a spoken Bible passage that quotes “Love thy Neighbour”, relating to the title of our film. This has been placed at the end of the film to conclude the message we are aiming to put across.

Here we chose to alternate the scenes of serenity and chaos to show the binary oppositions of faith and interpretation that are seen in religion, particularly Christianity. We obtained these clips of riots through searching for royalty free stock footage, as we believed using a real life documented event would be more impactful to the message of prejudice and homophobia that is presented through our film. In addition, we also thought that these clips in particular would work best, as they fit the colour grading in the film, with the fire replicating the sunset in the dream sequence and the warm tone of the church pews.

Accompanying the spoken Bible passage, we chose a scene of the couple reading and pointing at the Bible as the final shot as not only does it display the passage in which we are referring to, but it also links back to the idea that a strong faith is capable of withstanding the challenges and tribulations that are inflicted by the people who show hatred to others. Here Tiago added a cross fade in order to transition from the violence and chaos of the riots to the peaceful final scene smoothly.

Finally, Tiago added a credit scene at the end of our film, which displays the our names, the film title, the credits for the royalty free music and riot clips, the names of the actors and our school name. This was transitioned into with a crossfade also, as well as the end of the credits. He also faded out the music to give the film a gradual ending, using the constant gain audio effect.

evaluation

For this NFT project we started by researching what exactly an NFT is (non-fungible token) and then continued our research by looking at examples of NFT’s and really trying to understand what they are. We then discussed as a group what the question, ‘What will the future of Jersey look like as a community in the Metaverse?’ means and how we will go about creating a 30 second animated video to link to the question. We started by creating mind maps of what a community is and what it means to be a community. We then created mind maps and mood boards on our chosen theme; which we decided to create a film based on fashion. After we made the mood boards we created a statement of intent to decide exactly what we were going to do and how we were going to do it. Within the group we decided on multiple different ideas which varied from using a projector to project different sort of patterns onto a model wearing plain and simple clothing to the model wearing clothes that replicate fashion trends over the years. Additionally we also spoke about how we may be able to use Photoshop or a similar software to edit over peoples original clothing, which may show that the digital world of fashion can be easily manipulated. Our last idea was to print out original photos which we have taken of our models and either collage or embroider over them to create different designs. We decided that we were going to have our model wearing clothes that best replicate fashion trends over the years. We then done a contextual study on NFT artists that link to our theme of fashion and researched NFT artist Toby Evans who focuses on digital fashion. After that we done a contextual study on the Bayeux Tapestry as it also links to the embroidery project we are also doing with Yulia, where we each made an individual embroidered piece that links to Jersey. After discussing more as a group how we were going to create the film we created a story board. We decided we’re going to start off with a wide shot and then zoom into a person wearing a 70’s inspired outfit (flares and a crop top), after that there would be an outfit change. Next, there will be another outfit change into a 80’s inspired outfit (mom jeans and a bomber jacket), then there will be a change into a 90’s inspired outfit (black dress). The clips will be shot with the model facing the camera and the clips will cut between outfits as the model walks forward towards the camera. The model will then change into a 2000’s inspired outfit (tracksuit) followed by an outfit inspired by current fashion (baggy jeans and a top). After deciding exactly how we were going to film it we brought in different pieces of clothing that we had at home to try to recreate old fashion trends. Making the outfits look as though they were from the 70’s, 80’s and 90’s was one of the biggest challenges we faced as we only had our own clothes to use. We decided on which clothes best fit each year and then booked out a space in the studio so we could start filming. We started by preparing the studio for filming by setting up all the lights and getting are model in the first outfit. We decided to film on our phones so that the videos would be portrait. We had our model walk towards the camera in the first outfit as we recorded her and then repeated this in all the other outfits. We then chose our favourite clips and started by importing all the videos onto Adobe premier. We then cut each clip at specific times to make it look as though she was walking towards the camera while her outfits changed. We then decided which music to use as a group and uploaded it to the video. After the video was filmed we made a digital image from the video. We decided to edit the images we took on the day of filming in photoshop to make them more interesting. To edit the images I duplicated the image and then used the FX tool on the duplicated layer to turn off the green and blue channels on the layer. I then moved the bottom layer slightly to the left to create a 3D effect. As well as the edited photoshop image we also created a Gif. We used all of our images and copied one image after another to make it look like stop motion and create an illusion that the image is moving. We copied each image over another and created a new animation layer in order to play them one after another and create a frame. This turned out well as it achieved our aim of showing the different changes in fashion through decades by creating a gif and making it look like its one big moving image. Once all of the layers were there we included all the images we wanted to use and created a timeline to create the final gif. We also done an embroidery workshop that links to the question about community in Jersey. For the workshop we took all of the individual pieces of embroidery we have done as a group and placed them together on a big piece of fabric. We sat around the table as a group and decided whether or not we liked the positioning of the individual pieces on the larger piece of fabric.  As there wasn’t enough individual pieces to fill up the fabric we had to overlap some and leave some spaces in the fabric. Once we decided that we liked the placement we all chose thread colours that we like and started stitching the pieces onto the fabric.

Final Digital Images

Final Tapestry

Final Film

Evaluation

Looking back at the progress we have made and the end product we have achieved I am really proud of myself and my group for the effort we have put in and end skills we have acquired. We ended up with a really great film that I genuinely think is a good film and have learnt a lot about NFTs although I am still unsure about their whole concept and the validity of the work as a monetary value. As a team we have worked well together, all contributing work towards our final piece, and I would happily work with this group again. The piece works well within is prompt to create an NFT based on the idea of jersey in the metaverse as we have explored the past to show us why the present looks the way it does as well as its potential to change in the future. If we were to make any changes to our film I would say that it could have been made more interesting if we had played around more with animation and special effects however, considering our limited skill set in that particular area, we could not have done anything else to improve it.

Statement

WomanKind

The concept of our NFT film is to explore the three major waves of feminism in the last 100 years and to celebrate the women who have fought for women in the present to have equal rights to men. The name of our film came from a play on words for Mankind, because as a society in general we are referred to in regards to men, by switching the prefix Man to Woman we are making a statement on the power of women collectively. We Capitalised the K in kind as an ironic reference to the stereotype of women as gentle and sweet-tempered as our film commemorates the strong and courageous women who allowed women their rights today.

Creators: Carmen Kirchner, Sophie Mariette, Karina Smith and Olivia Stoten

editing process – adobe premiere pro

Importing files

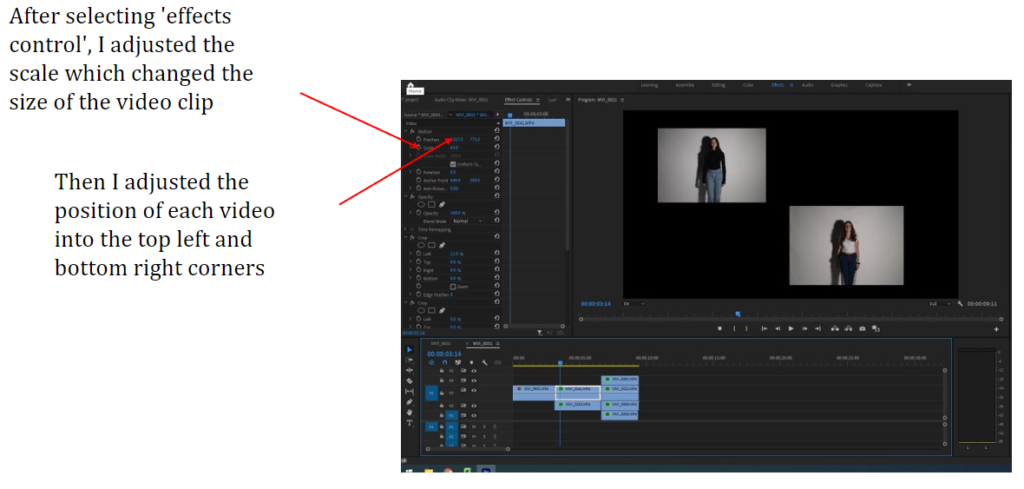
To start, I pressed Ctrl + I to import my videos from my video data and started with my first clip.

I then cropped the beginning and end off of the clip, leaving me with the part of the video that I needed.

I continued to add each clip to the timeline, cutting and cropping the clips to fit into the animation.

Multiple Clips

I then repeated this process with another 4 clips, layered on top of one and other so each clip plays at the same time.

Changing Speed

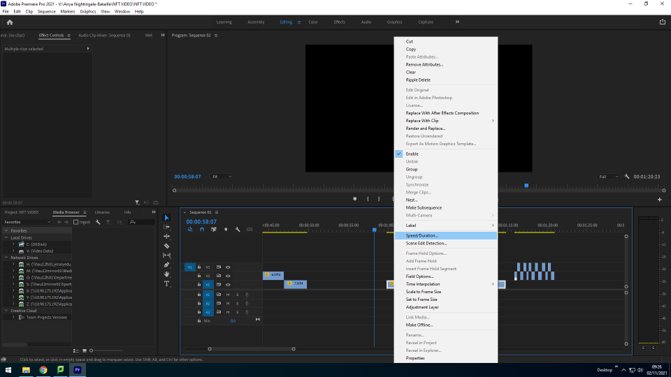
To adjust the speed of a clip, right click and select “speed duration”. Then change the percentage to make the clip faster or slower.

Title

Digital Image

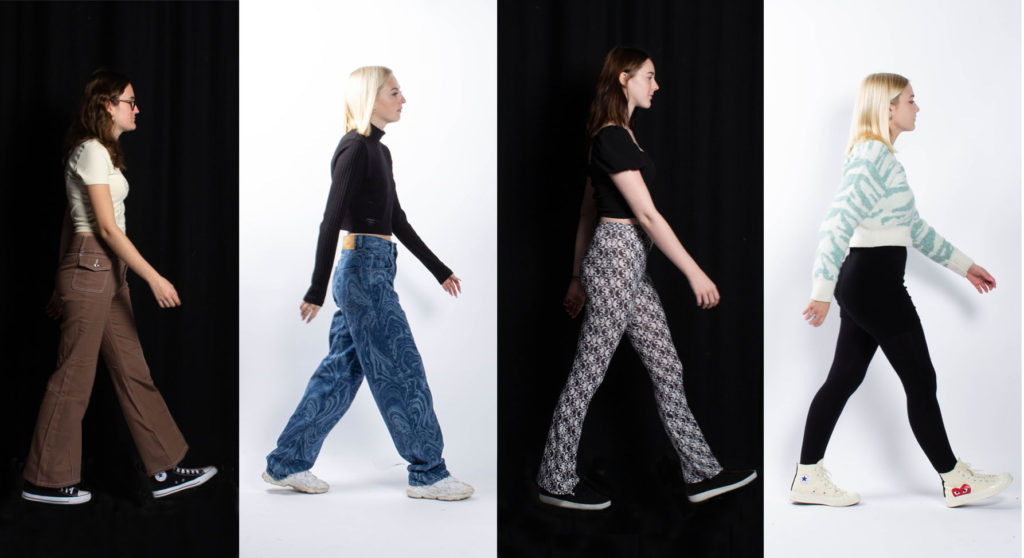
To start off, we imported the images we took into Lightroom and flagged the images we wanted to use for our digital image.

Once we decided on our final 4 images, we began editing them, adjusting the lighting, contrast, exposure and highlights.

For the images with a black background, we had to edit around the shoes to make the whole image black. To do this, we opened the images in Photoshop and used the Clone Stamp tool, selected a black area and drew around the feet.

From this:

To this:

Our Final Digital Image

Final NFT

https://web.microsoftstream.com/video/8c3bf225-0b55-436d-9ce7-387214bea506

NFT Digital image

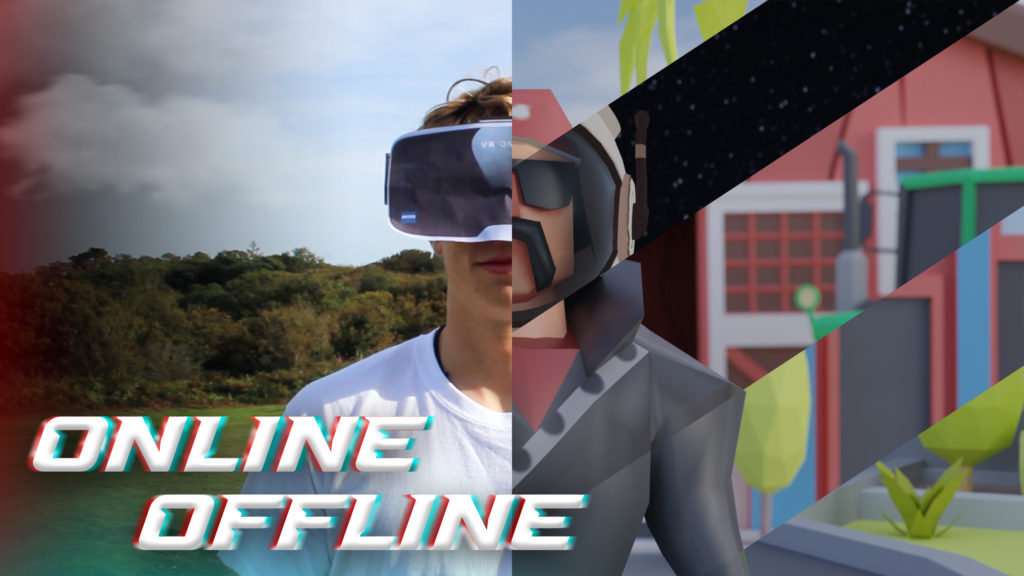
I made the the digital image in photoshop. I used a screen grab from one of the videos of Michael wearing the VR, and the 5 animated scenes all at the same timeframe so the character lines up.

I then added some glitched text effect by using 2 layers behind each text. To make it better I added some blending mode features, such as, emboss and bevel, etc.

I used shapes and clipping layers to add all the images into to insure all the shapes are even.

This is the final image which represents the whole NFT film. It shows the most important scene, which is the split scene that includes the animation as the NFT exhibition is called 2lives (online and offline), it shows the real world and the virtual meta verse.

embroidery workshop

For this workshop we took all of the individual pieces of embroidery we have done as a group and placed them together on a big piece of fabric. We sat around the table as a group and decided whether or not we liked the positioning of the individual pieces on the larger piece of fabric. As there wasn’t enough individual pieces to fill up the fabric we had to overlap some and leave some spaces in the fabric. Once we decided that we liked the placement we all chose thread colours that we like and started stitching the pieces onto the fabric.

My Piece

Tapestry

Recording And Editing

We used our storyboard to organise our shoots, to know where/what/when we were going to shoot.

We decided that Michael was going to be Model 1, which would mostly be in the start of the video, and Reuben was Model 2, who was only in the last half of the video. Matt (me) was recording everything, and Ollie was the director and manager.

We had to make a VR headset using a printed off image of a VR headset and then we taped it to some sunglasses.

Shooting

First, we went to a open green area, which we filmed most of our scenes at.

We started off with the main walking headshot video, then we recorded the drone shots of Michael wearing the VR. After I recorded the scene where Michael and Reuben meet in real life and the last scene where they are talking on a bench.

After, we went to record the scene where Reuben takes off the VR headset at a gaming setup.

We couldn’t record a drone shot of a house, as you can’t fly within 50m of houses/property.

Editing

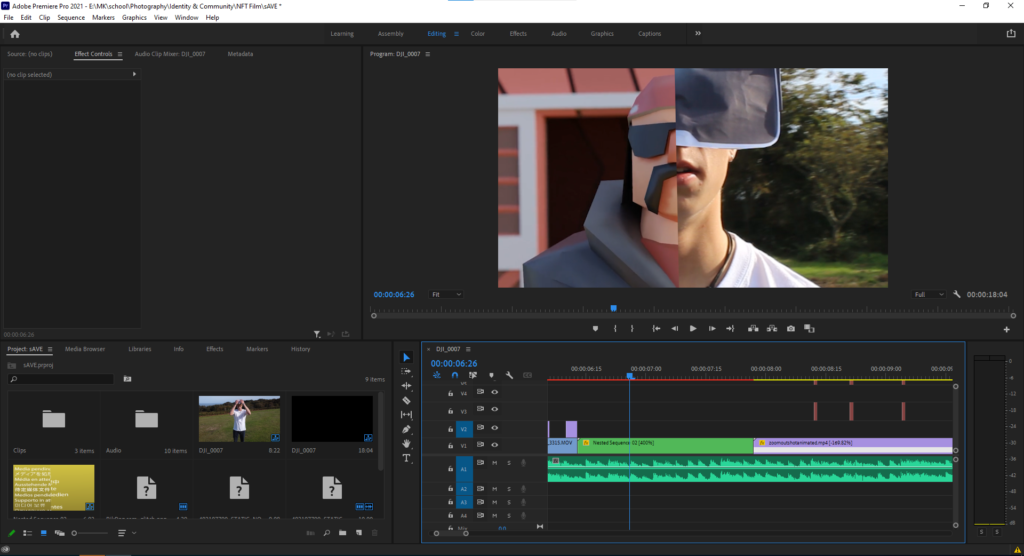
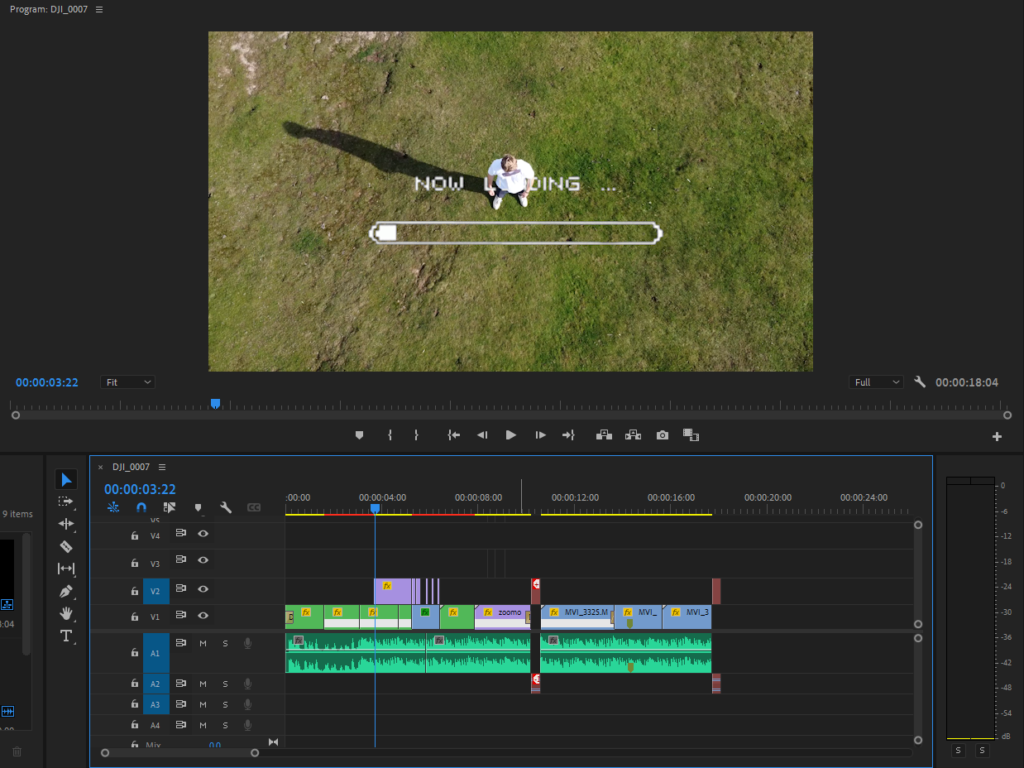
Once we had all the recordings Michael and Reuben started to edit the video on Adobe Premier Pro. They used special effects, such as the loading… visual effect, and static sound effect, etc. They also time-mapped some clips to match the beat of the music.

This shows the half and half effect, with the timeline on the bottom half of the screen.

This is one of the special visual effects, which is used at the start of the video. Also, the timeline is zoomed out, so you can see all of the film on the timeline, and all its layers.

This is how the time-remapping was done, as seen on the left. He used key frame to change the speed of the clip at different time intervals.

Final Image and Evaluation

Matthew made the digital image and took a screen grab of one of the drone shots of Michael and took a section of the the video in which Matthew animated a character in different environments. He then mixed the two and made some cool text that give the feeling of old 3d glasses.

He also added a red and blue outline on the left and bottom of the left hand side of the image. He finally embossed and made the text 3d.

The image represents the idea of two lives but further links to the idea of endless amounts of lives that can be achieved on an online platform. It shows what can happen on the meta verse.

Evaluation

Overall, I believe that the digital image is very successful in telling the story of how the meta verse links to real life. It also references the idea of escapism and how people try and escape from real life in many different ways from film, tv, video games and many more.