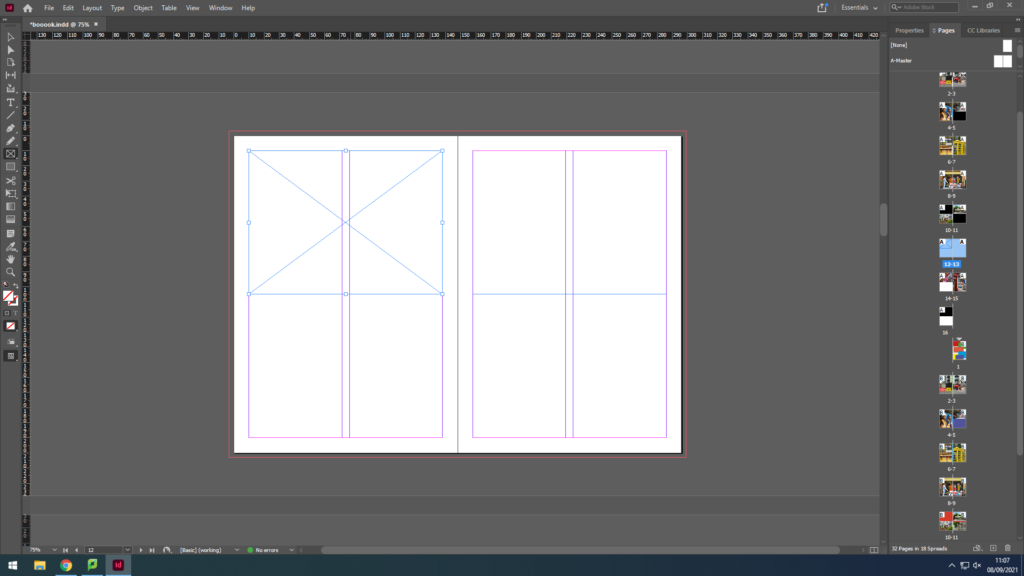
I started by setting up the layout for my zine and how many pages I want for this. Then I selected the frame for my image to go into.
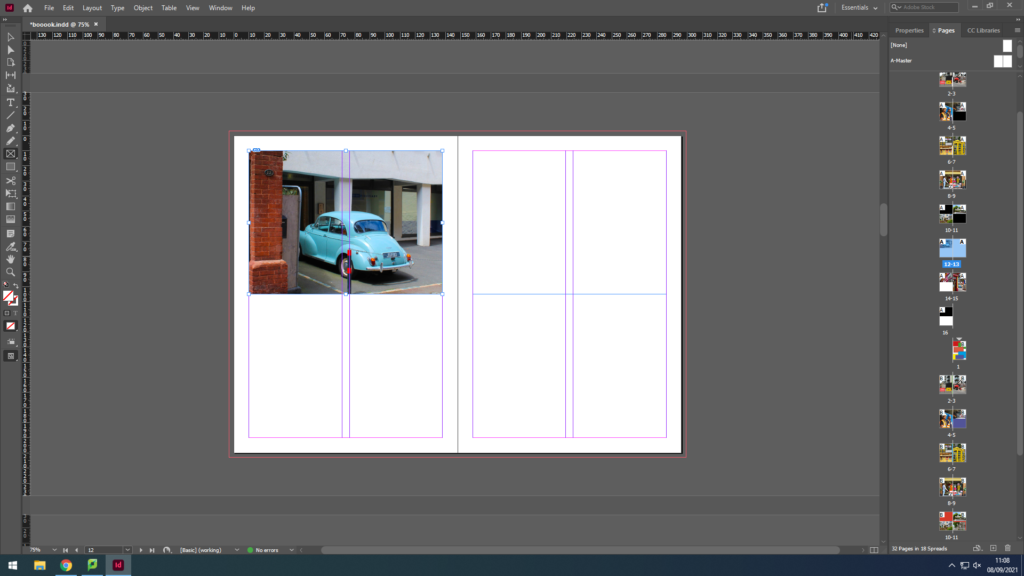
I pressed control D which I selected the image I wanted to put into which in this case was the blue car.
To make the image fit the frame I selected the image then clicked on fitting then fit content proportionately so the whole image fits in the frame.
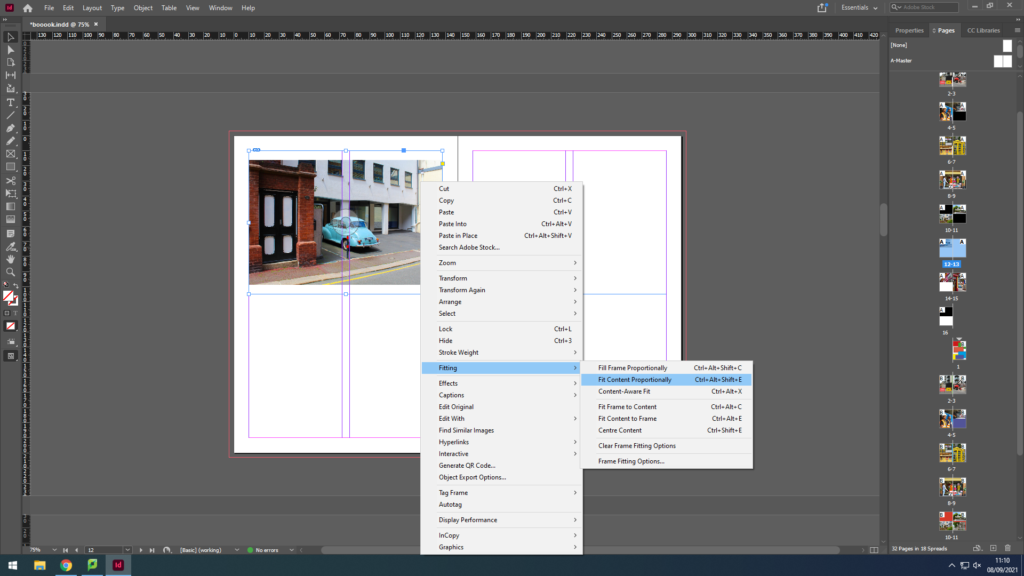
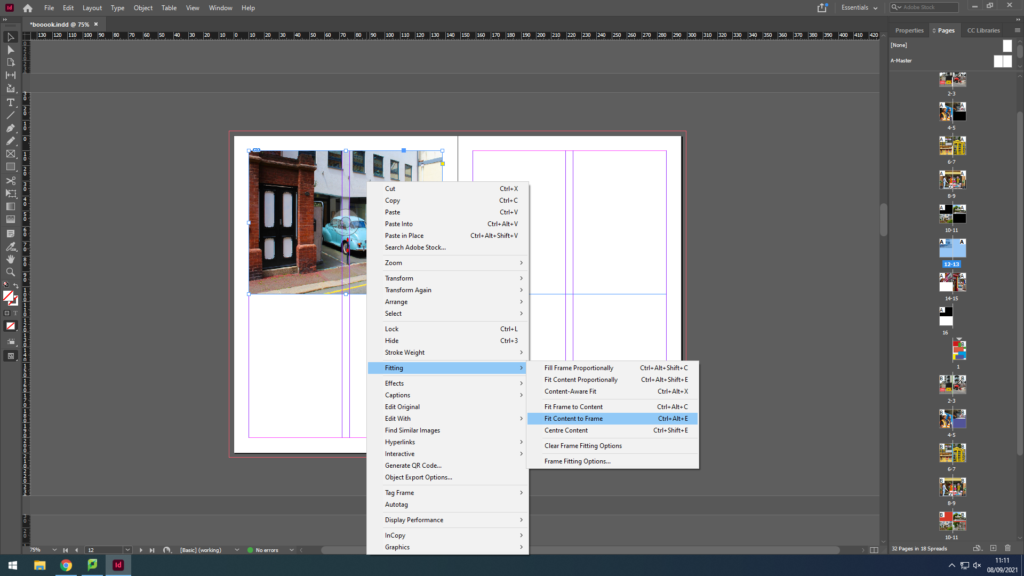
After that I did the same again but clicked on fit content to frame so the image would fit the frame perfectly.
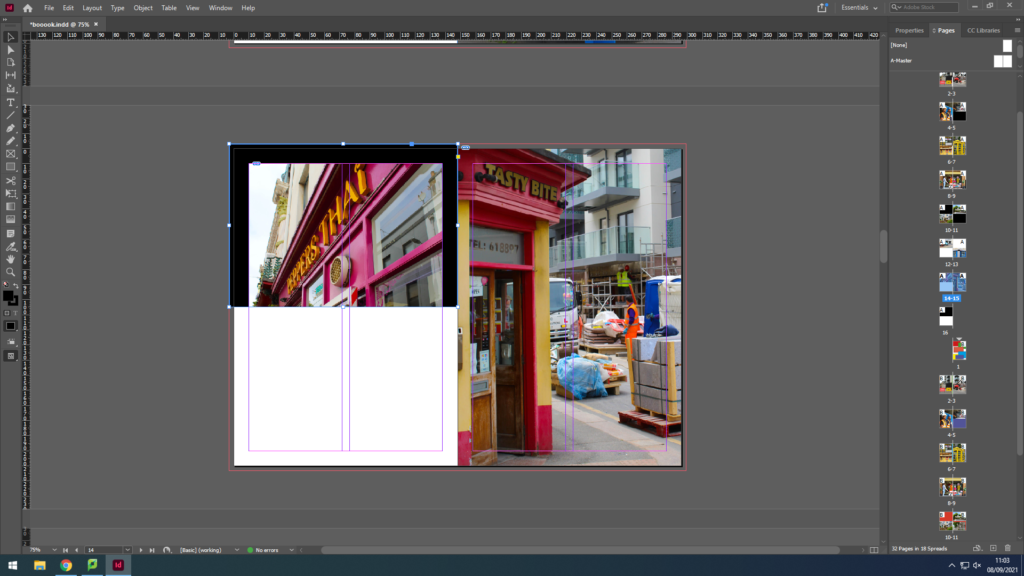
After fitting the images where I wanted them to be I then started playing about with the background by starting with a black and white background but I found that it didn’t fit as the images were too colourful.
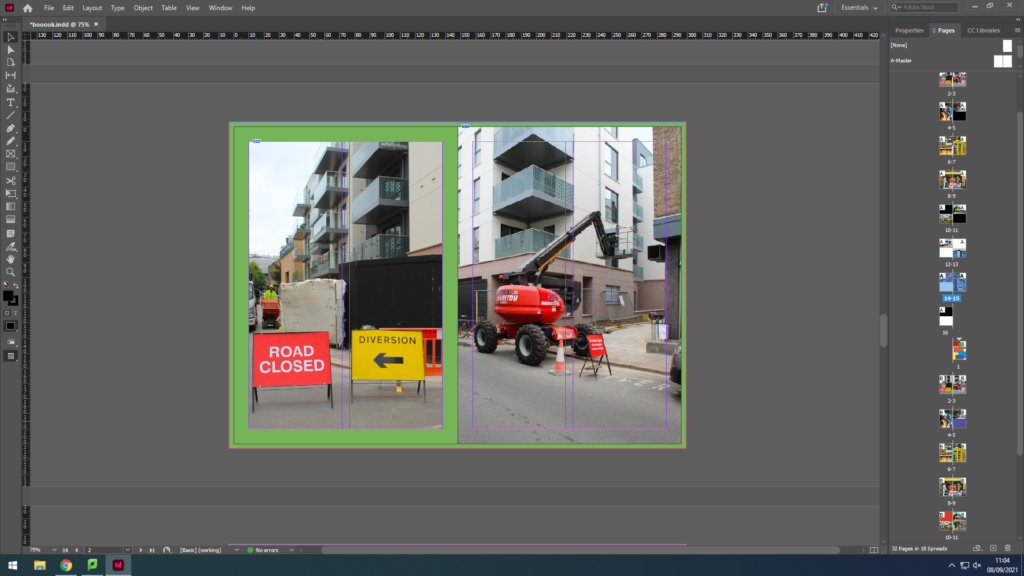
I then explored with different colours and colour theory where I decided to have contrasting colours for the background. For example in the images it has mostly red so the background colour would be green.
I found the original colours I used were too dark so I tried lightening the colours which I found made the images stand out more.
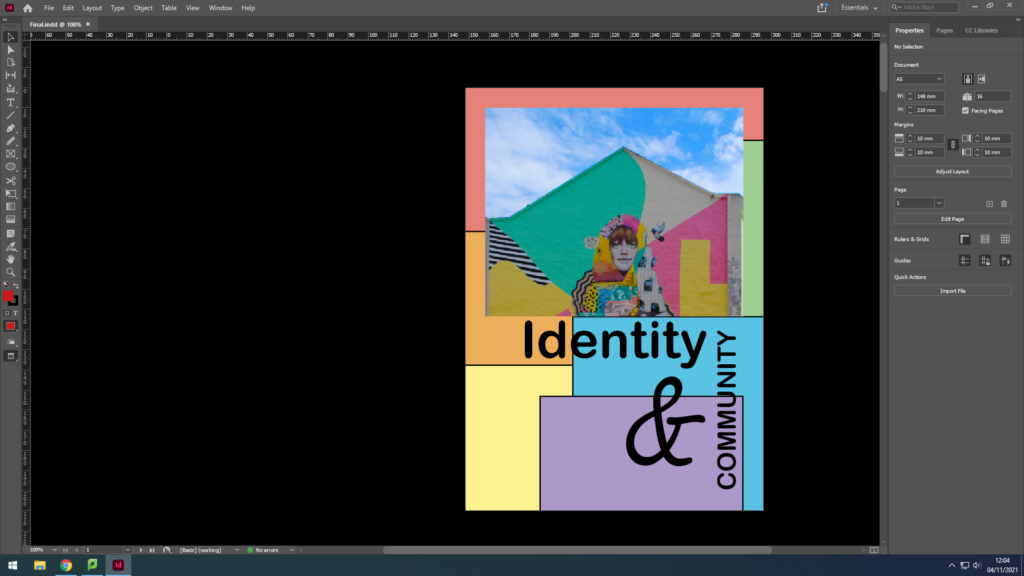

I then decided to play around by flipping some images 90 degrees or even 180 degree and then added some colourful shapes for the empty space to make the zine more fun and colourful.