Photo-Shoot
When we went to the archives to learn about what archives contain and are, we also went on a second walk around town. We went to places linked to the French quarter of the Community.


Filter Through Images
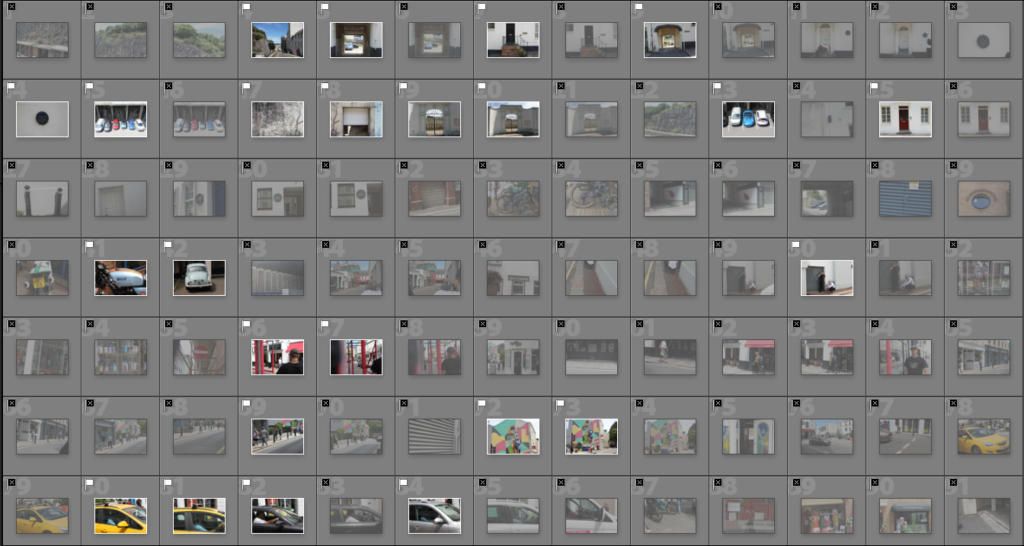
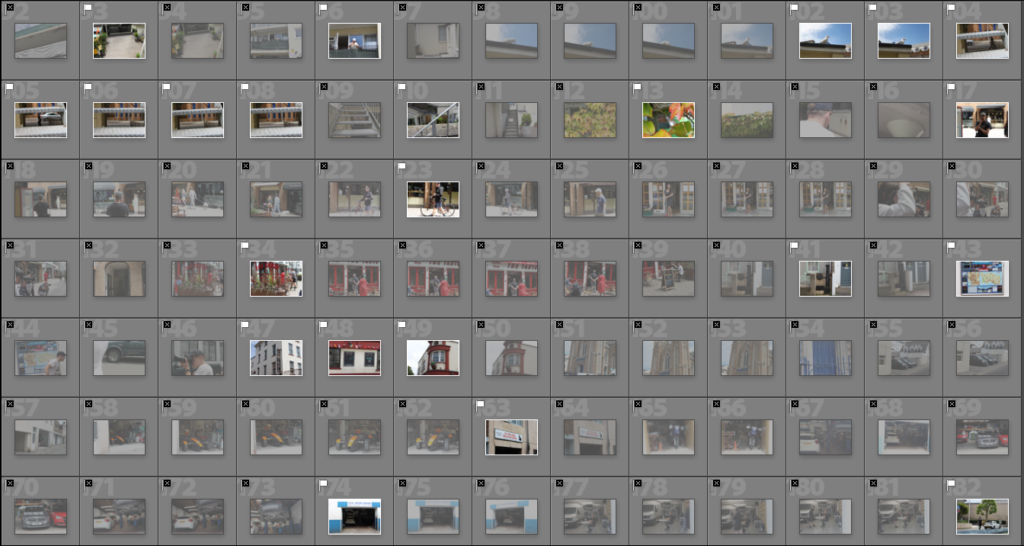
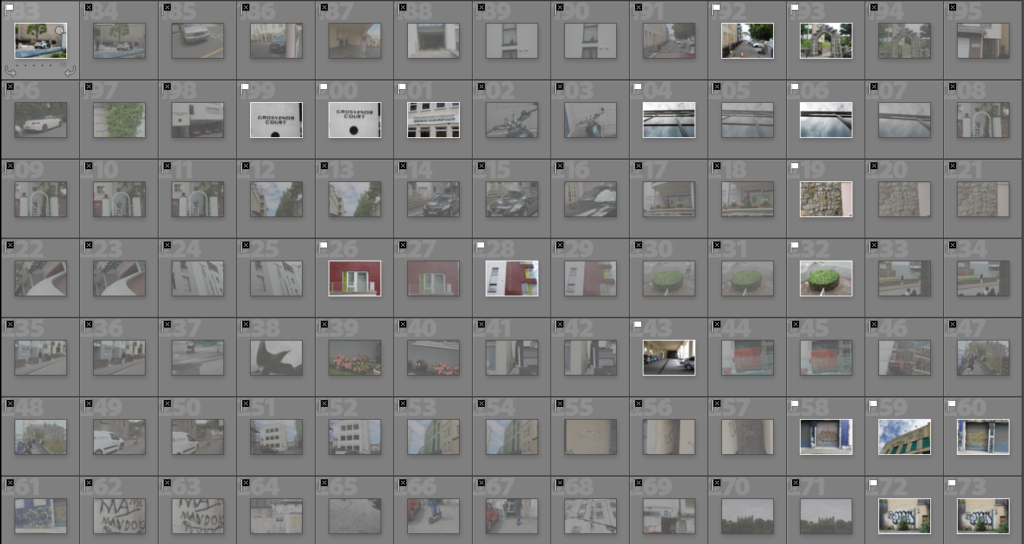
From the 395 images taken on the walk, I chose to flag 68 of the best to then choose a few for my final outcomes.
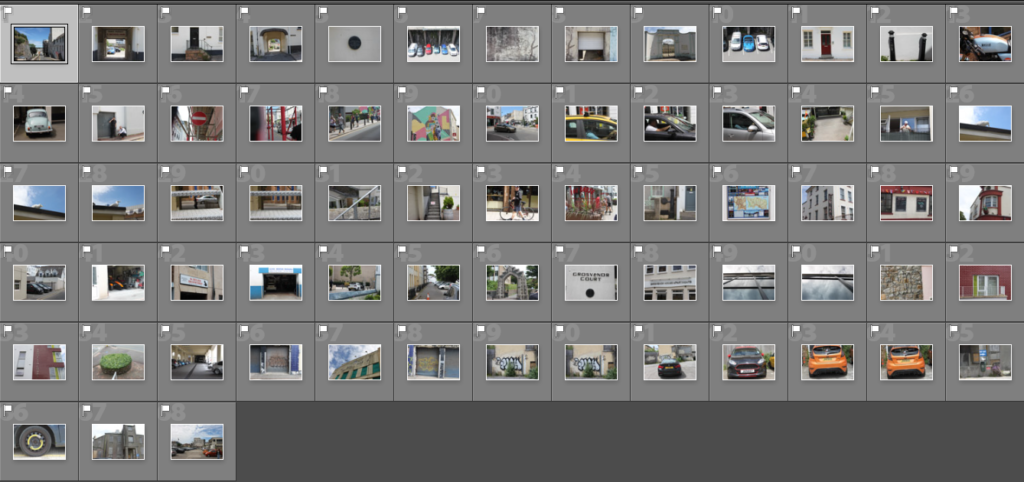
I then went on light room and gave each of the remaining 68 images a colour. Either green for the best, yellow for the ones I am unsure about and finally red for the ones I will not use.

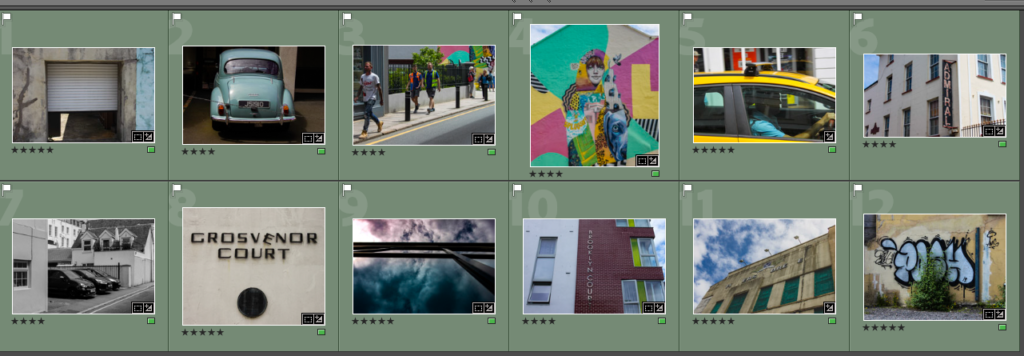
From the 68 images I flagged as good, I only gave either green or yellow to less than half of them leaving 30 to be looked at further and finalized. I chose to use the 13 images I rated as green that would be edited and used as the best from the photo shoot.

Before and After Edits

To edit the original image above, I cropped and aligned the image before adding the photo colour preset vivid to the image. This preset added drama to the clouds making them slightly blue and much more distinct. Next I slightly lowered the exposure bringing out the details in the highlights. I then increased the contrast making the blacks darker and whites lighter creating a deeper sense of drama in the image. I then lowered the highlights as I felt that the image was too bright and the clouds didn’t have a lot of detail because of the brightness. I then increased the dehaze removing the foggy feel of the clouds bringing out a contrast between the blue window and red sky. Finally I increased clarity slightly to make the clouds more vivid and dramatic.

To edit the image above, I cropped the image so that the image was aligned with the pole to the right of the image. I also changed the colour preset to vivid to bring out the harsh blacks and bright whites to contrast each other. It also gives the plants a deeper green and flowers brighter yellow. I also slightly lowered the exposure to bring out the finer details and increased the contrast to make the blacks darker and whites lighter.
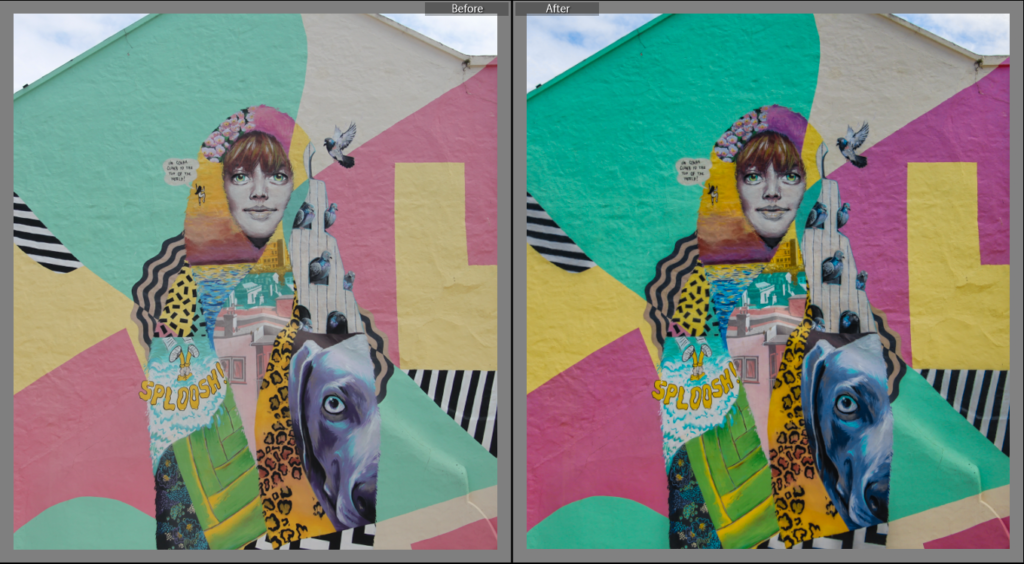
To edit the image above, I first cropped the image so that the figure was central and was the only focal point. I next applied the vivid filter to bring out the diverse colours and slightly played around with the temperature. I then increased the contrast and played around with exposure. I then decreased highlights slightly and played around with the hue and saturation of all the colours to make them pop more. Finally, I increased clarity to make the contrast between the colours sharp and precise.
Edited Final Images
