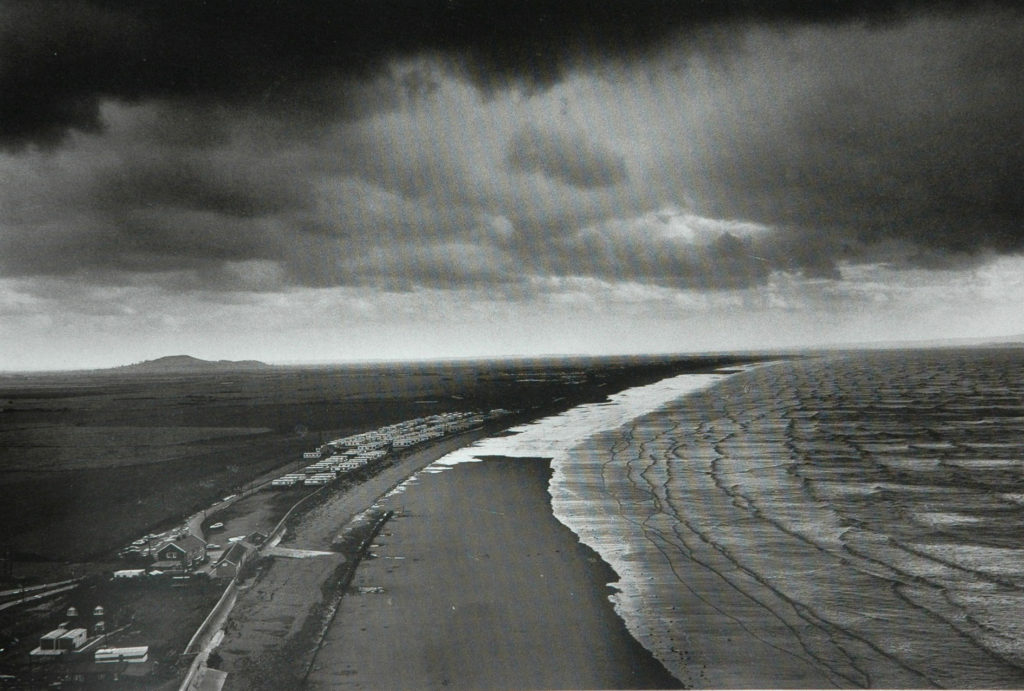
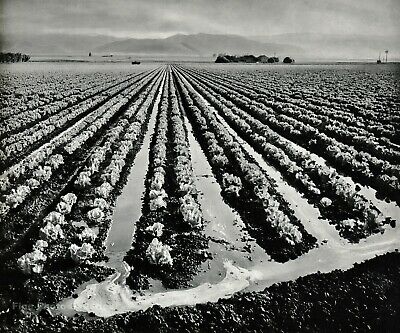
Introduction to Landscape Photography – 2 week project
Go to
M:\Departments\Photography\Students\Planners Y12 JAC\Unit 3 Sept-Dec Landscapes
for resource pack
We will be looking at Romanticism as a starting point and if you click here you will have a better understanding of some of the roots of landscape in contemporary photography….
The focus of your study and research this week is natural landscapes and the notion of ROMANTICISM in Landscape Art and then later, Photography.
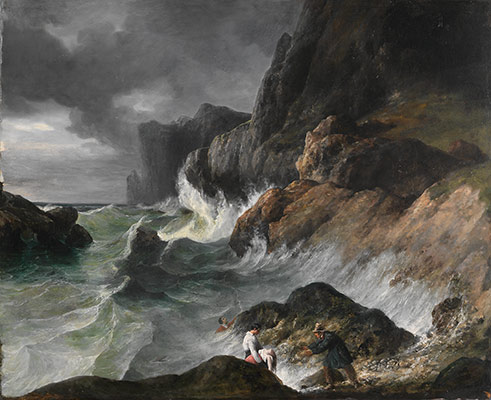
Department: European Paintings
Working Date: (1830)
RESEARCH
The Age of The Enlightenment (1700-1800ish)
VS
The Age of Romanticism (1800-1900ish)
“Writers and artists rejected rationalism for the same reason that rationalism was rejected by the movement as a whole- it was in rejection of Enlightenment, which had sucked emotion from writing, politics, art, etc. Writers and artists in the Romantic period favored depicting emotions such as trepidation, horror, and wild untamed nature.”
“The ideals of these two intellectual movements were very different from one another. The Enlightenment thinkers believed very strongly in rationality and science. … By contrast, the Romantics rejected the whole idea of reason and science. They felt that a scientific worldview was cold and sterile.”
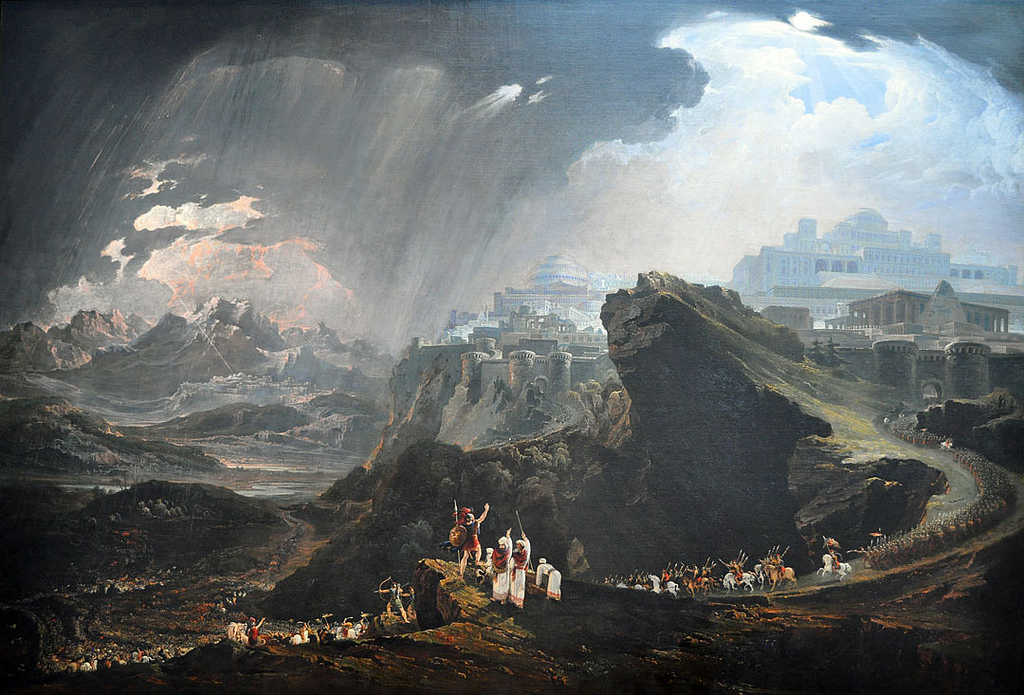
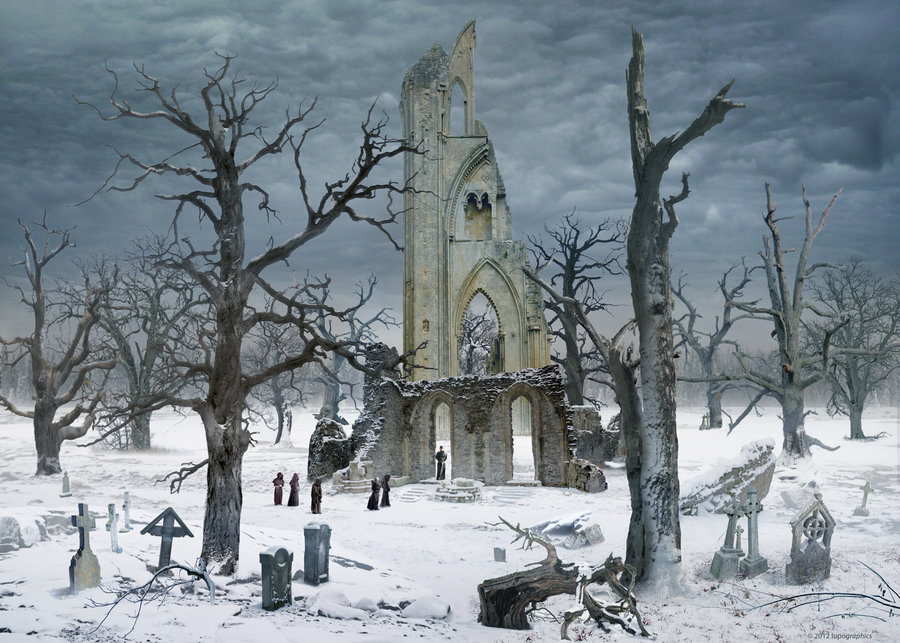
PAINTING VS PHOTOGRAPHY
Roger Fenton inspired by nature and romanticism revisited a spot in Wales where previously Samuel Palmer had been inspired by the natural beauty of this river valley.
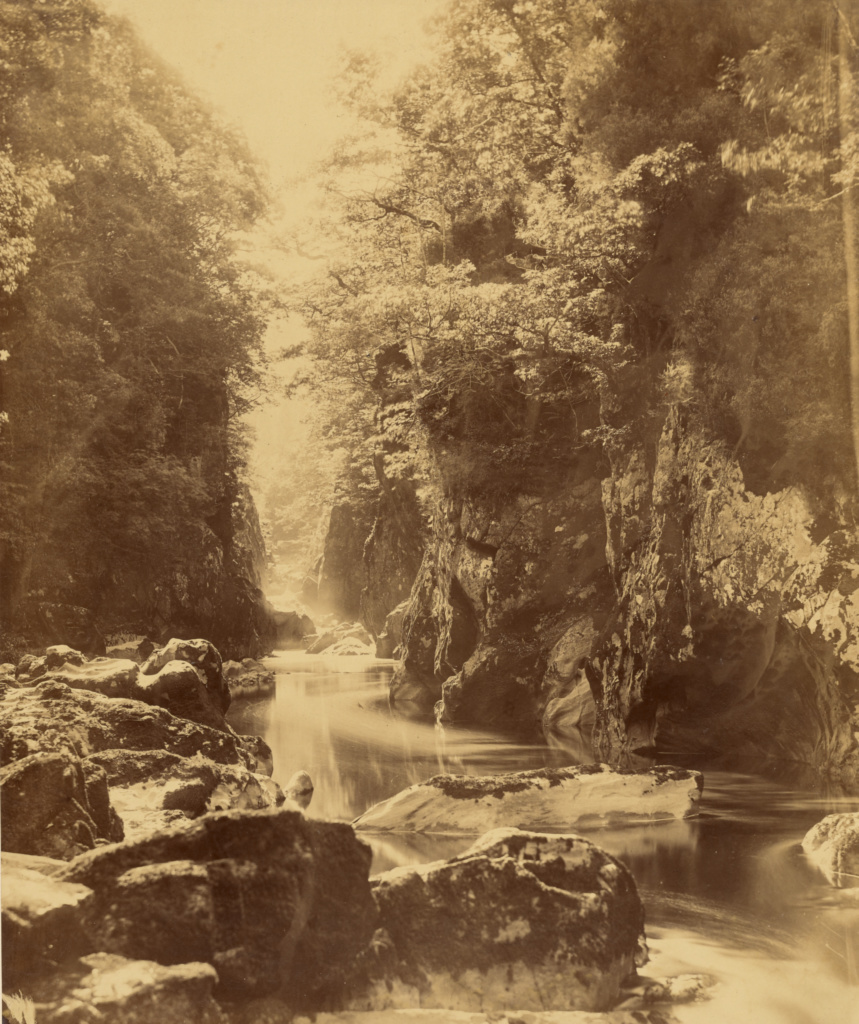
Roger Fenton c. 1852-62 
Samuel Palmer c. 1840-45
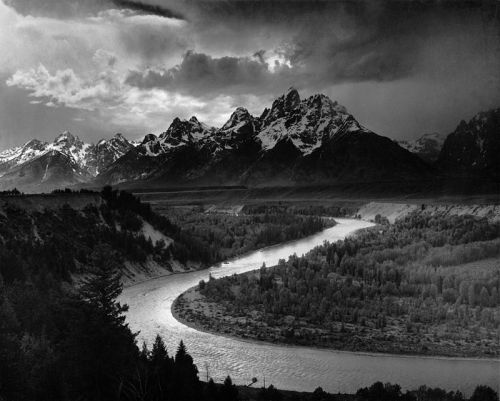
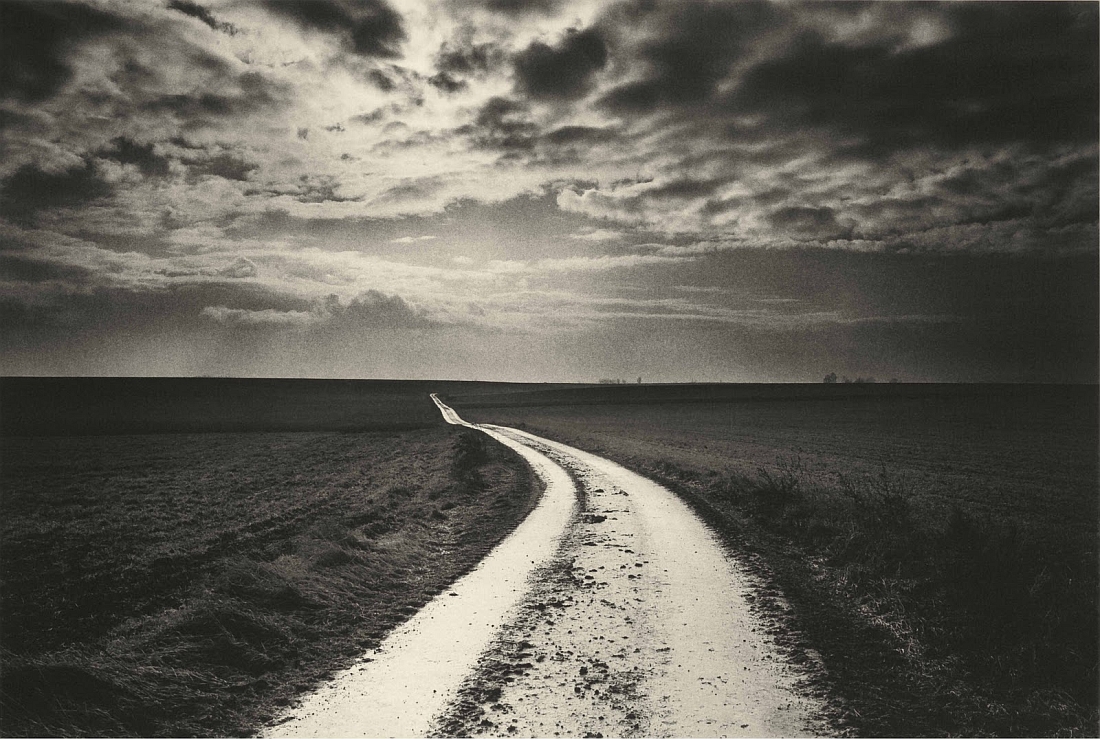
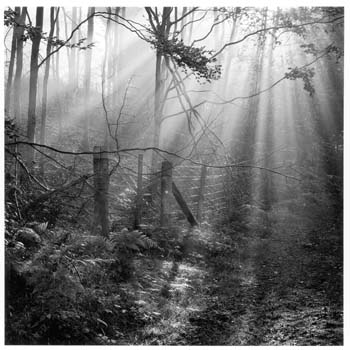
ANSEL ADAMS: Photography With Intention
LANDSCAPE PHOTOGRAPHERS
Joan Fontcuberta
Richard Misrach
Wynn Bullock
Luigi Ghirri
Fay Godwin
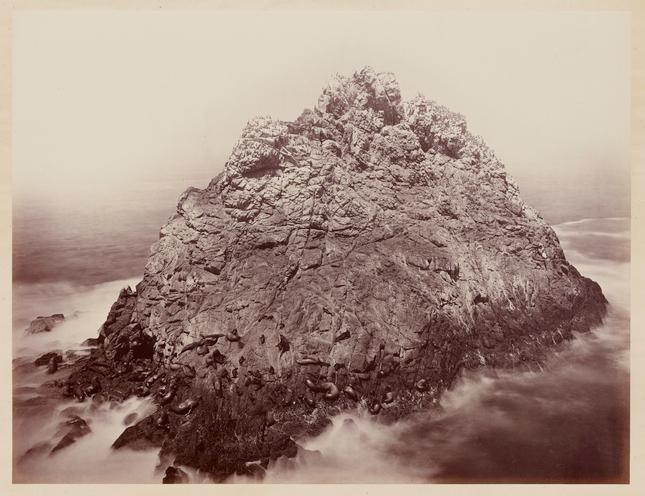
Carelton E. Watkins
Eliot Porter
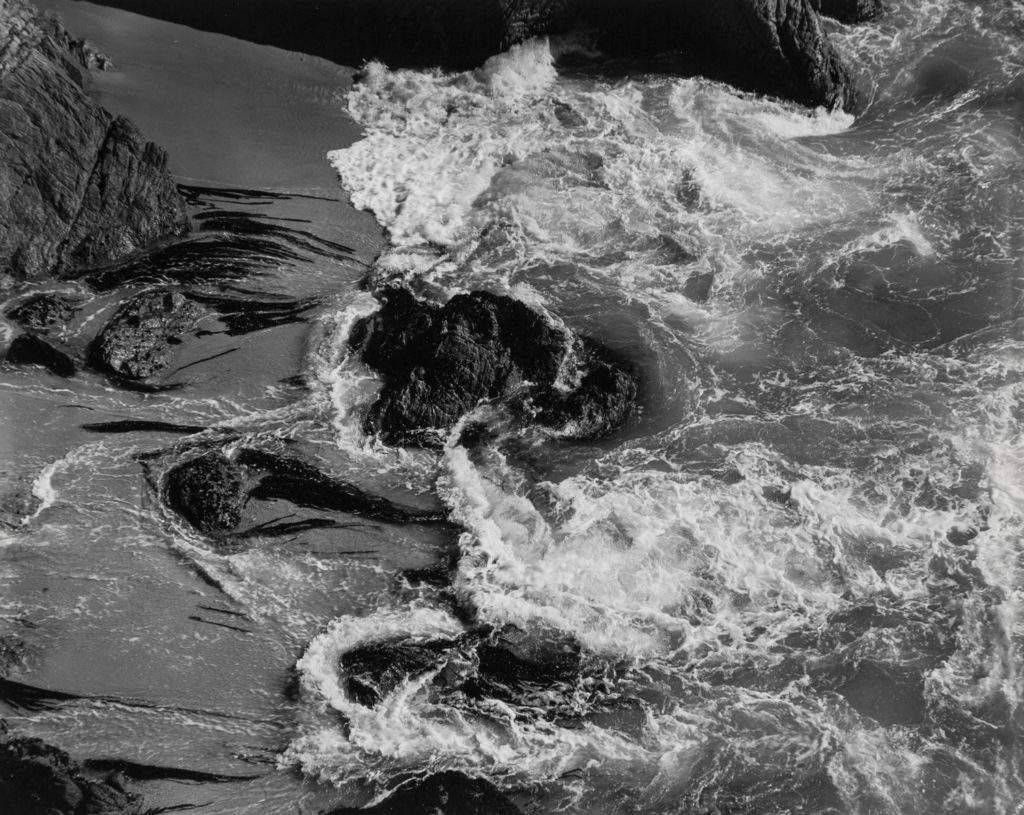
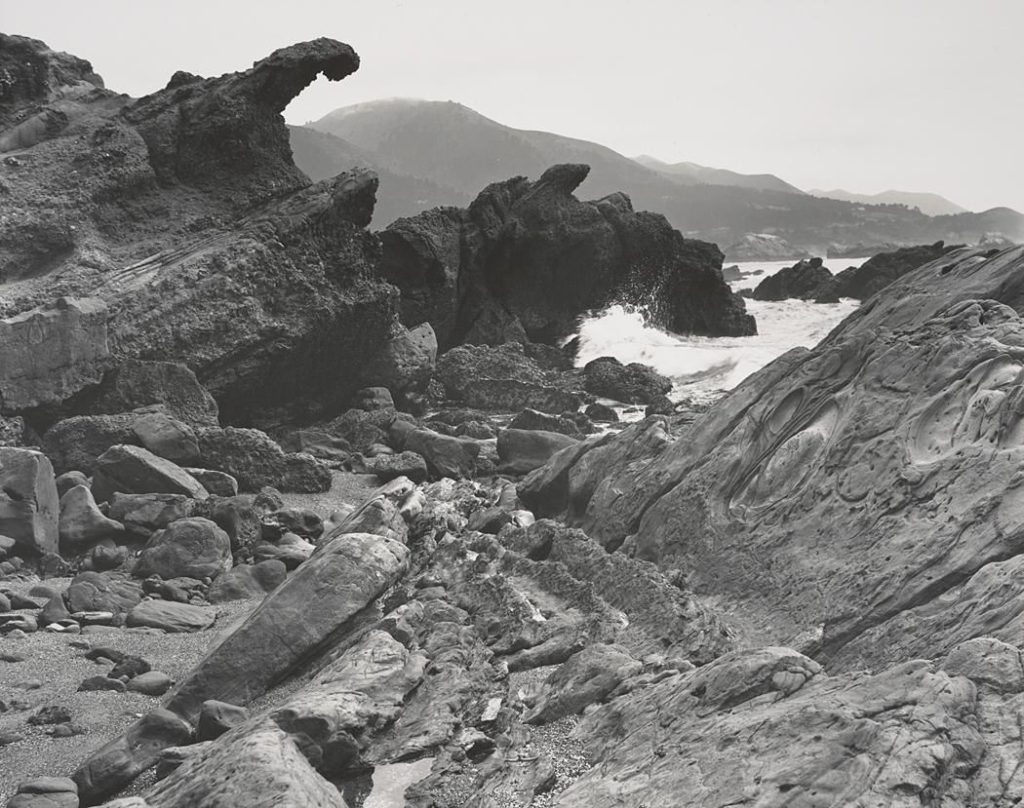
Edward Weston
Minor White
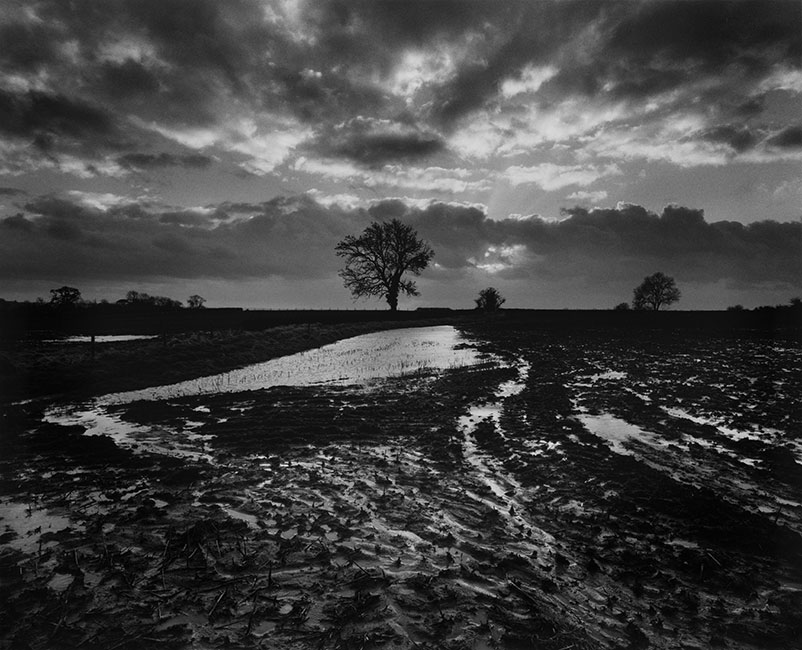
Don McCullin
Ansel Adams
BLOGS
- An introduction to rural landscape photography, including a definition and mood-board of influential images
- Create an in-depth case study that analyses and interprets the work of a key landscape photographer…EG: Ansel Adams or Edward Weston or Fay Godwin or Don McCullin (or similar)
3. Create a blog post that defines and explains what Romanticism is in Landscape Photography…include examples and make reference to Romanticism in other art-forms eg painting
4. Create a mind-map / mood-board of potential locations around Jersey that you could record and create romanticized landscape photographs of….look for extremes (either calm or wild, derelict, desolate, abandoned or stormy, battered and at the mercy of nature)
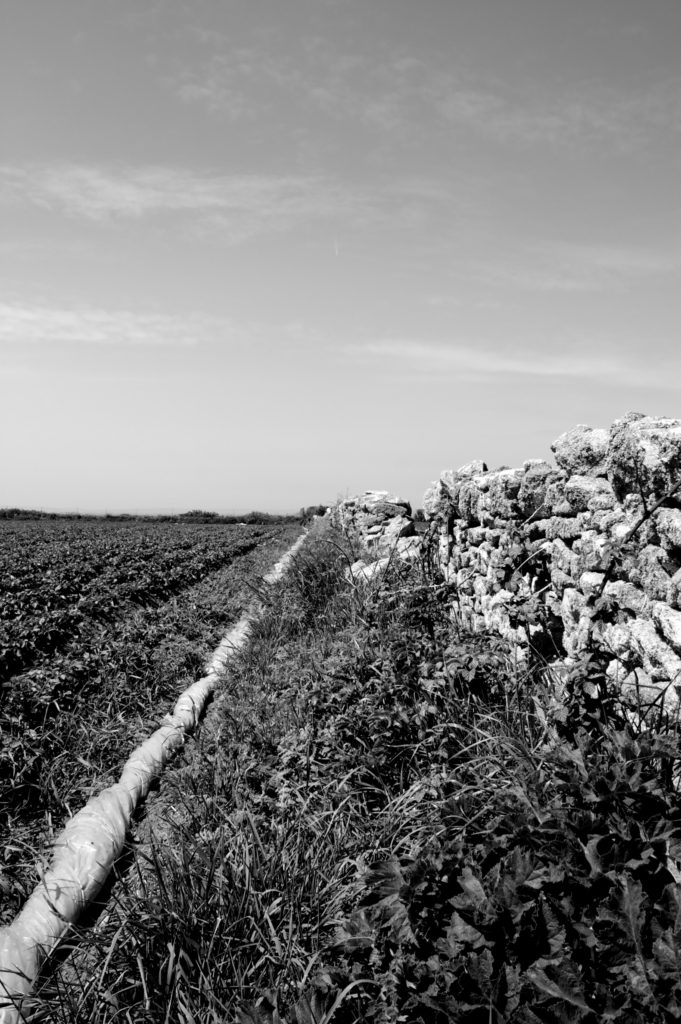
AIM to photograph the coastline, the sea, the fields, the valleys, the woods, the sand dunes etc.
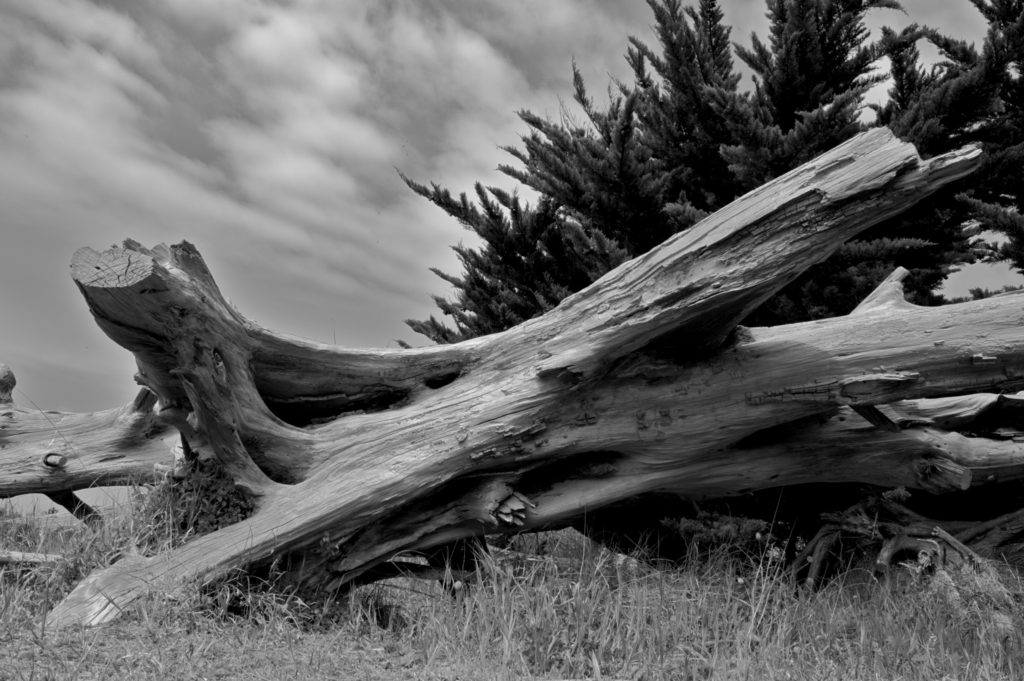
USE the wild and dynamic weather and elements to help create a sense of atmosphere, and evoke an emotional response within your photo assignment.
PHOTOGRAPH before dark, at sunset or during sunrise…and include rain, fog, mist, ice, wind etc in your work.
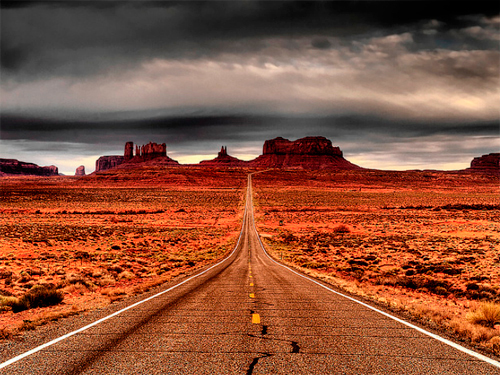
LOOK for LEADING LINES such as pathways, roads etc to help dissect your images and provide a sense of journey / discovery to them.
5. Take 150-200 photos of romanticised landscapes. Show evidence of using exposure bracketing technique. Add your edited selective contact sheets / select your best 3-5 images / include edits and screen shots to show process.
6. Produce comparative analysis between one of your images and a landscape photographer – discuss similarities and differences.
REMEMBER you MUST use TECHNICAL / VISUAL / CONTEXTUAL / CONCEPTUAL to analyse effectively.
Ensure that you include the following key terms in your blog posts…
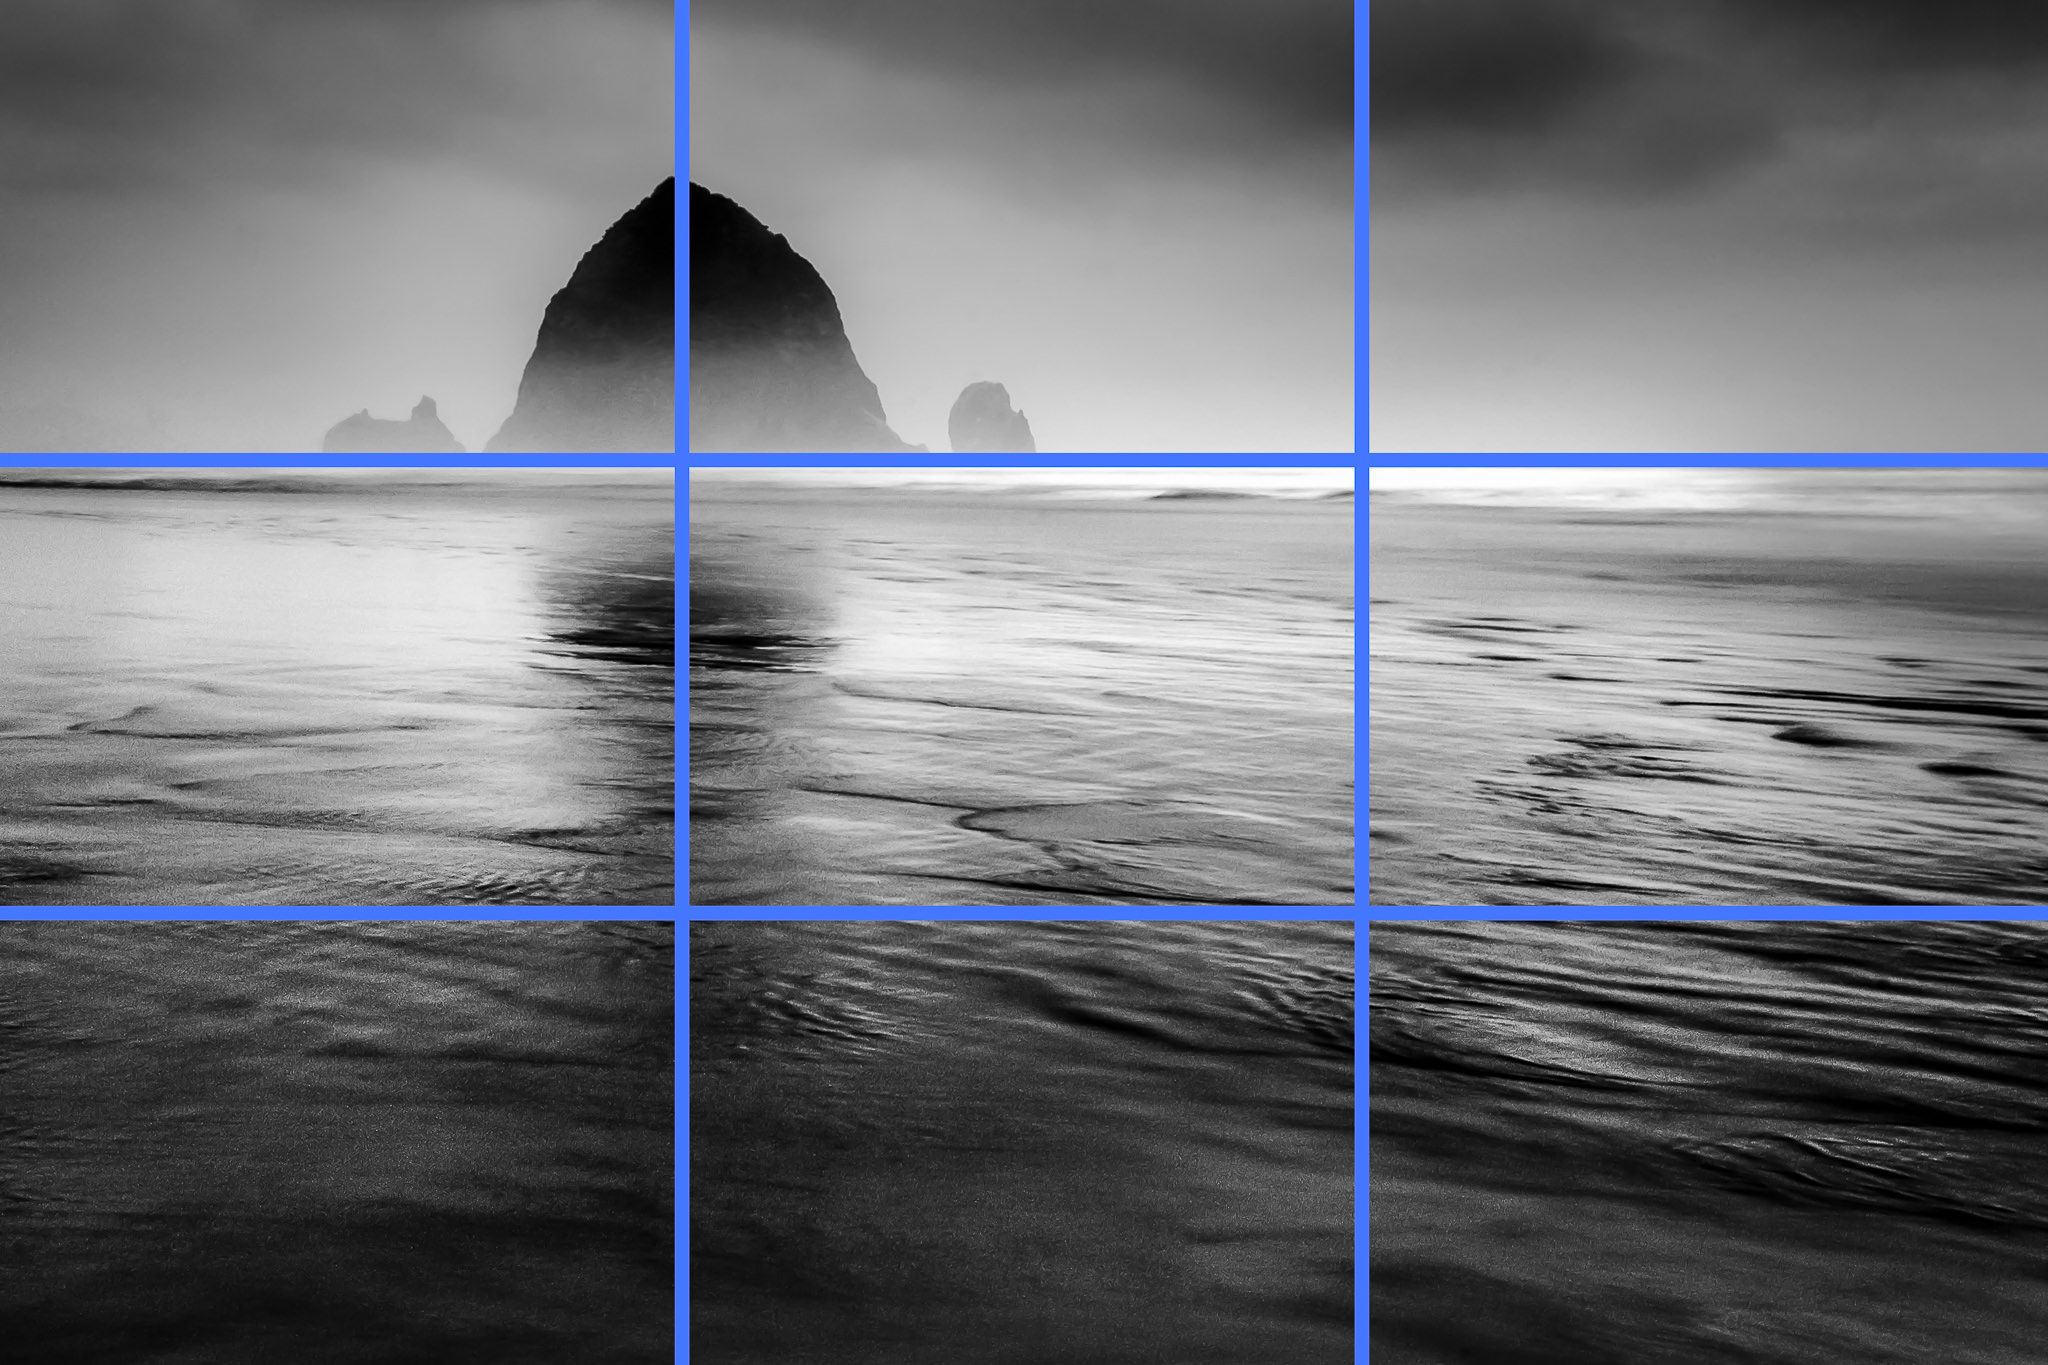
- Composition (rule of thirds, balance, symmetry)
- Perspective (linear and atmospheric, vanishing points)
- Depth (refer to aperture settings and focus points, foreground, mid-ground and back-ground)
- Scale (refer to proportion, but also detail influenced by medium / large format cameras)
- Light ( intensity, temperature, direction)
- Colour (colour harmonies / warm / cold colours and their effects)
- Shadow (strength, lack of…)
- Texture and surface quality
- Tonal values ( contrast created by highlights, low-lights and mid-tones)

EXPOSURE BRACKETING
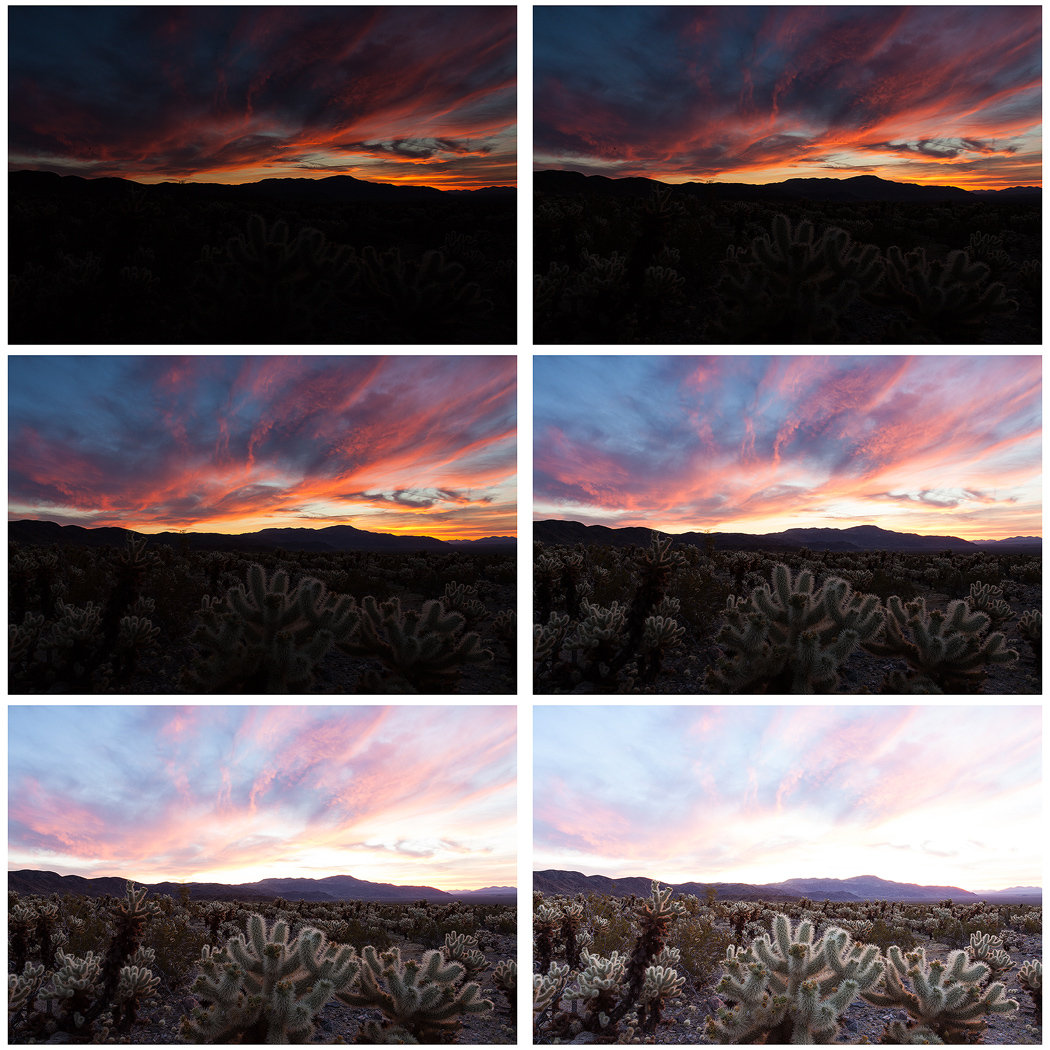
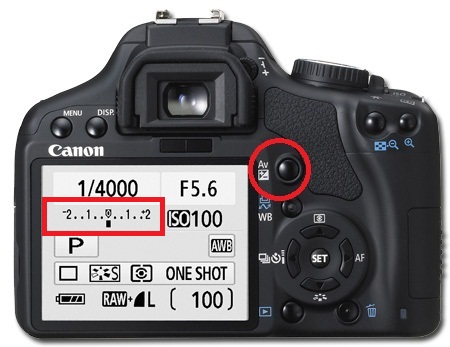
Exposure bracketing means that you take two more pictures: one slightly under-exposed (usually by dialing in a negative exposure compensation, say -1/3EV), and the second one slightly over-exposed (usually by dialing in a positive exposure compensation, say +1/3EV), again according to your camera’s light meter.
TASK : try a few variation of exposure bracketing to create the exposures that you want…you may already have pre-sets on your phone or camera to help you do this, but experimenting manually will help your understanding!
Exposure Bracketing
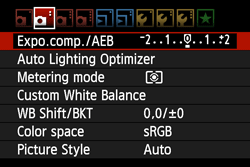
Many digital cameras include an Auto Exposure Bracketing (AEB) option. When AEB is selected, the camera automatically takes three or more shots, each at a different exposure. Auto Exposure Bracketing is very useful for capturing high contrast scenes for HDR like this…
…by taking the same photograph with a range of different exposure settings
You can use Exposure Compensation to quickly adjust how light or how dark your exposure will be using these controls…
Or set the amount of “bracketing” like this…
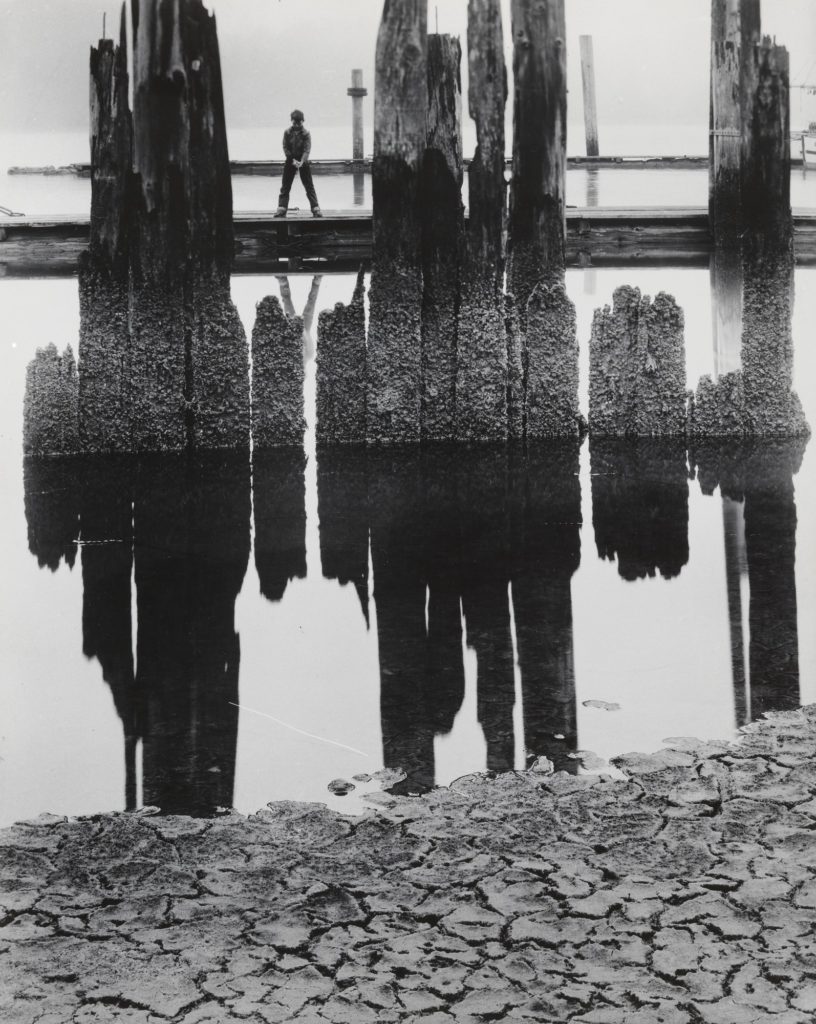
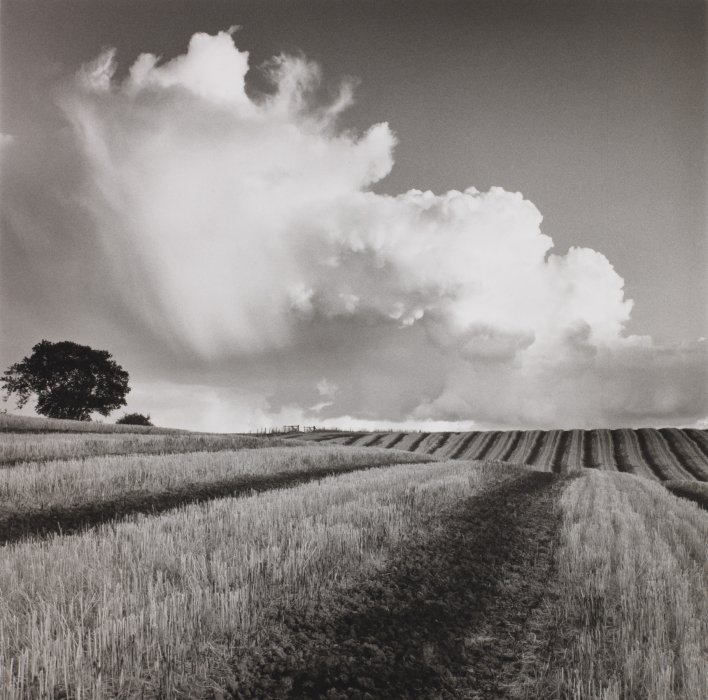
PAST WORK
