CANDID PORTRAITS AND STREET PHOTOGRAPHY

IntroA candid photograph is a photograph captured without creating a posed appearance. … However, if the subject is absolutely unaware of being photographed and does not even expect it, then such photography is secret photography, which is a special case of candid photography.

Image result for robert frank
Robert Frank ; “Trolley — New Orleans,” 1955.

Street photography is photography conducted for art or enquiry that features unmediated chance encounters and random incidents within public places. It can capture everyday life of strangers without them knowing you took photos of them.

Urban & Street Photography – Auckland
unknown

Mind map of ideas-

My photoshoot action plan

  1. who? strangers walking through town or someone working but unaware that they’re being photographed
  2. where? in King Street or any busy place
  3. when? after school just before it gets dark
  4. why? to show the everyday lifestyle of people walking through town and what street life is like when it’s filled with different individuals.
  5. how? on my phone during the day time

CONTACT SHEETS-

My favourite edited image- i increased the brightness levels as well as decreasing the contrast to make the christmas lights really stand out in the photo. I then increased the saturation slightly to get the red light on the street to reflect back. I chose this image as I like that it’s not busy and barely any people. This makes town look empty and create this feeling of being alone yet peaceful as not many people are around you.

Photo montage 2

John Steazaker was born in England in 1949 and is currently working in London. Stezaker is one of the leading artists in modern photographic collage and appropriation. Employing vintage photographs, old Hollywood film stills, travel postcards and other printed images, he creates fascinating small-format collages that bear qualities of Surrealism, Dada, and found art. Stezaker overlays and conjoins distinct images to create new personalities, landscapes and scenes.  His works have been featured at The Museum of Modern Art in New York, the Tate Modern in London, Tel Aviv Museum of Art and many others.

Analysis of one of his photomontages

This image is called ‘Bridge’ and comes from Steazaker series , ‘Mask XIV’. Mask XIV is a collage created by superimposing a postcard on a black and white photograph. The photograph is a film publicity portrait of an unidentifiable actor taken during the 1940’s or 1950’s. The postcard is a colour image mounted over the actor’s face. This image shows a rocky cavern in which a sandy track curves around a central pillar. On the bottom left the card is captioned ‘Zig zag path, Folkestone’. Folkestone is a port town in Kent, the town lies on the southern edge of the North Downs at a valley between two cliffs. The postcard covering the actors face appears to have been taken from inside of a cave looking out through two openings towards the light.  Stezaker has positioned the postcard on the actor’s face so that the dark silhouette of the rocky openings and the natural curves of the cave line up with the contour and shape of the actor’s face making it look like his ‘eyes’. The way Steazaker has placed the postcard has created a humanlike approach to the image as the two openings of the caves create an eye shape look and the middle rock looking like a nose. This gives the viewer a very real view on the image and gives us a sense of the two images merging into one and framing a new person. The fact the actors face is covered makes the image feel more mysterious as we don’t know who this is and why he is being covered.

HEADSHOTS – DOUBLE / MULTI EXPOSURES

Double/Multi exposures


A double exposure is a combination of two images into one where one image is overlaid on top of another with an opacity less than full opacity. Often done with artistic intention. In digital photography, double exposures can be made in Photoshop specifically to achieve digital double exposures.

Selected

Plan

What:
Transform old pictures I took in double exposure.

When:
Monday 5th of February.

Where:
In a studio.

Why:

To try different effects with my pictures

Images:

Result:

Images:

Result:

Images:

Result:

STREET PHOTOGRAPHY

Street photography is a genre of photography that records everyday life in a public setting. The publicness of the setting enables the photographer to take candid pictures of strangers, normally without their knowledge. Street photography does not necessitate the presence of a street or even the urban environment. Though people usually feature directly, street photography might be absent of people and can be of an object or environment where the image projects a decidedly human character in facsimile or aesthetic.
Street photography also includes candid portraits, which is often used to refer to the type of portrait taken when the subject is unaware of the photographer.

Examples of street photography:

Here is a video of Bruce Golden , an American street photographer known for his candid close-up photographs of people on the streets of New York City, in action on the streets of New York.

Street photography can tell a lot about a persons lifestyle, class and a lot about a persons existence. Street photography captures people in their rarest moments which can show a lot about a persons true emotions. Usually it’s a form of candid photography, when the person isn’t aware they’re being photographed, which creates more realistic and powerful images.

Mindmap of ideas

Self reflection post (CC)

Now that it’s over, what are my first thoughts about this overall project? Are they mostly positive or negative?

My first thoughts on the project are that I feel like it went quite well and I now have a further understanding of what a photography exam is like

If positive, what comes to mind specifically? Negative?

I think everything went well for example my research and photos etc

What were some of the most interesting discoveries I made while working on this project?

The amount of work needed to be put in and also what improvements can be done to take the photo shoot to the next level to improve my grades

What were the challenges?

Time management so how I used my time wisely giving myself enough time to explain and plan photo shoots, research and outcomes

What is the most important thing I learned personally?

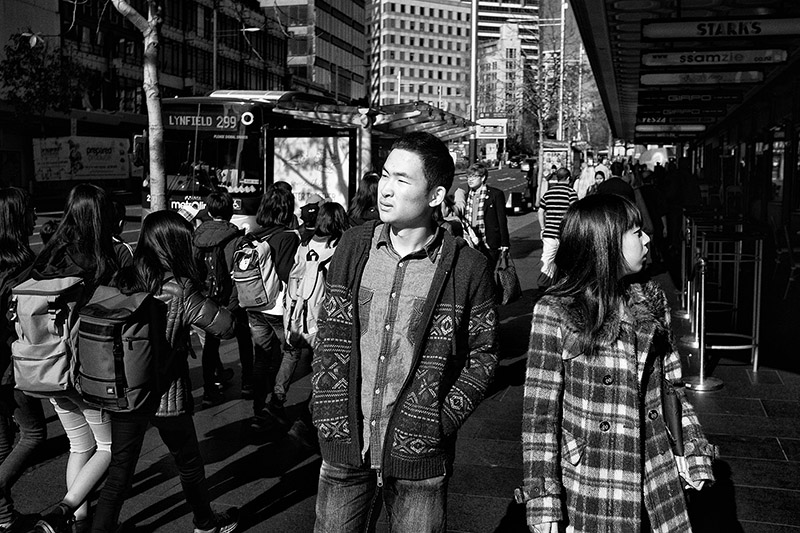
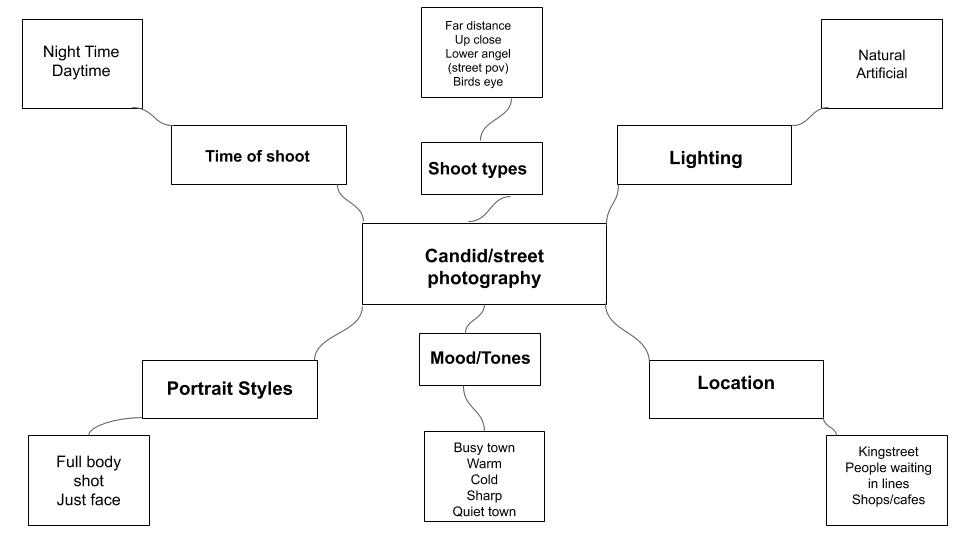
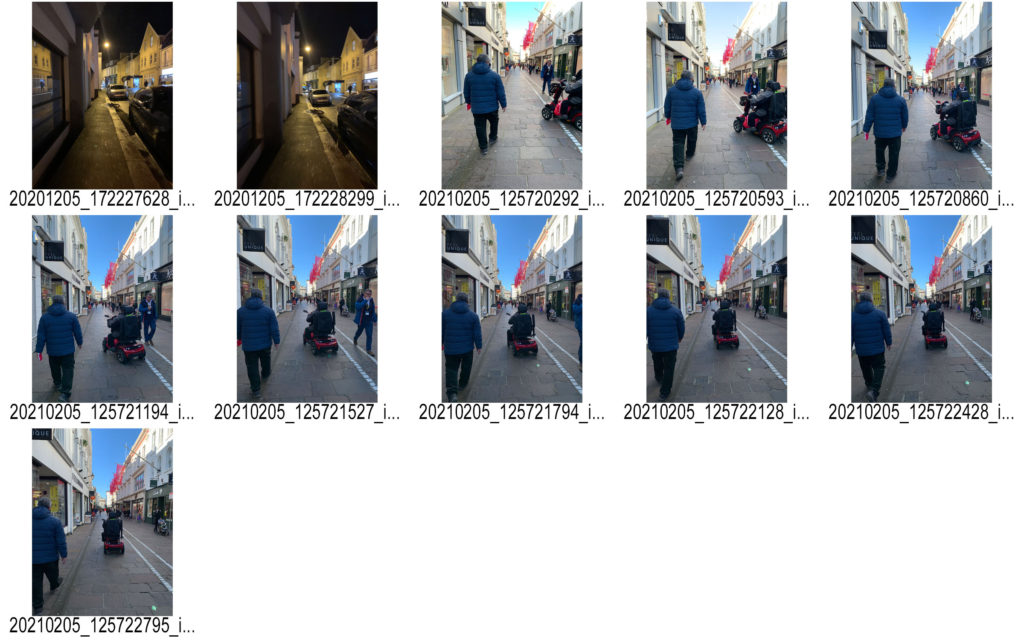
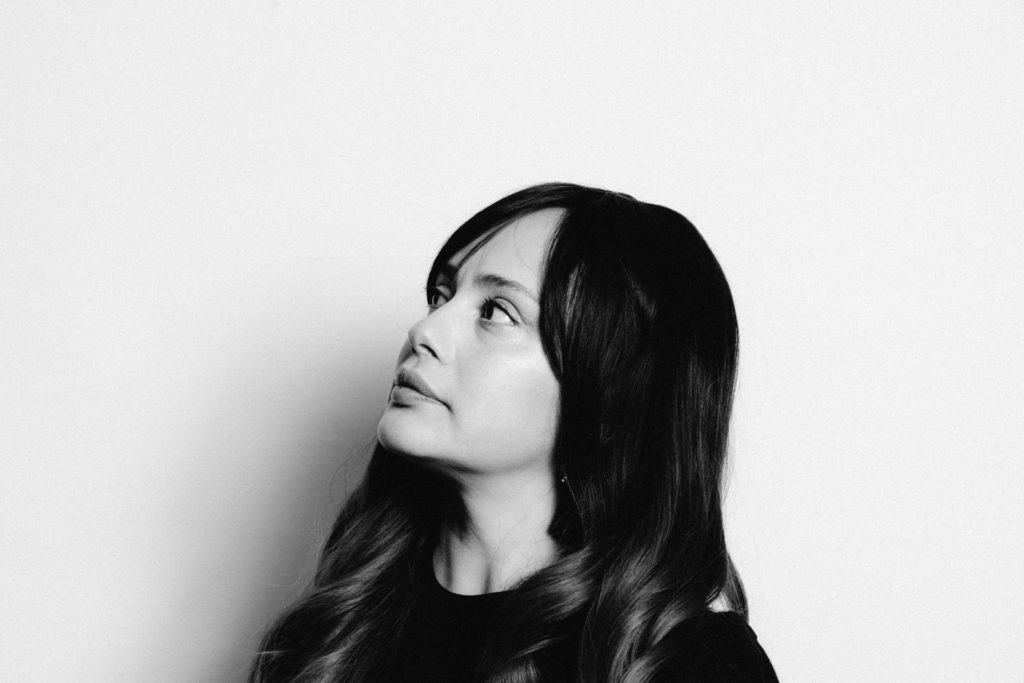
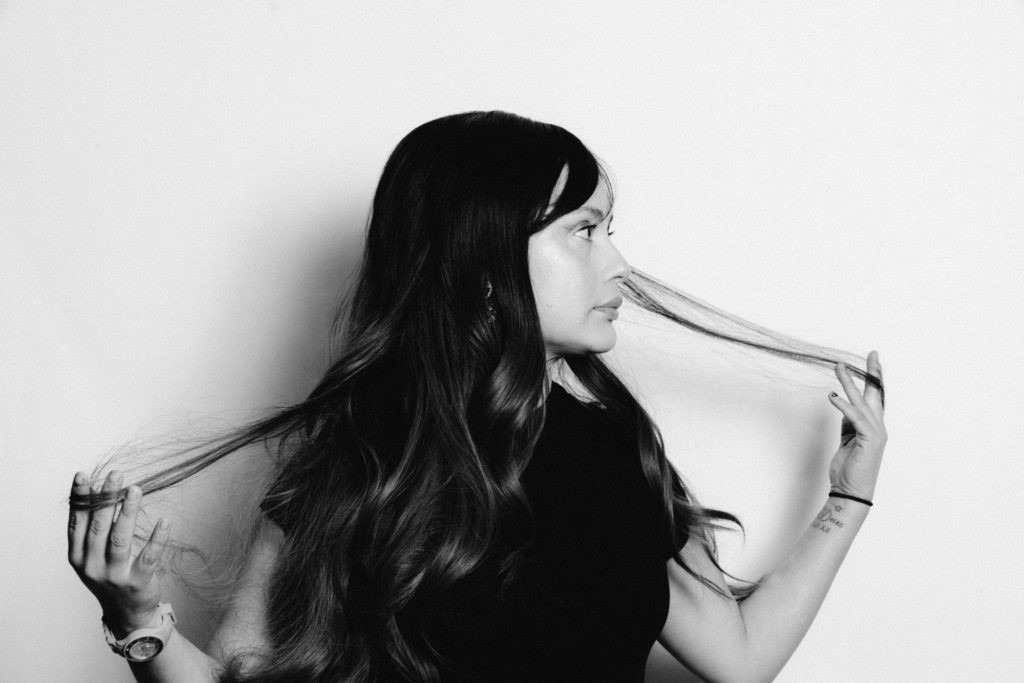
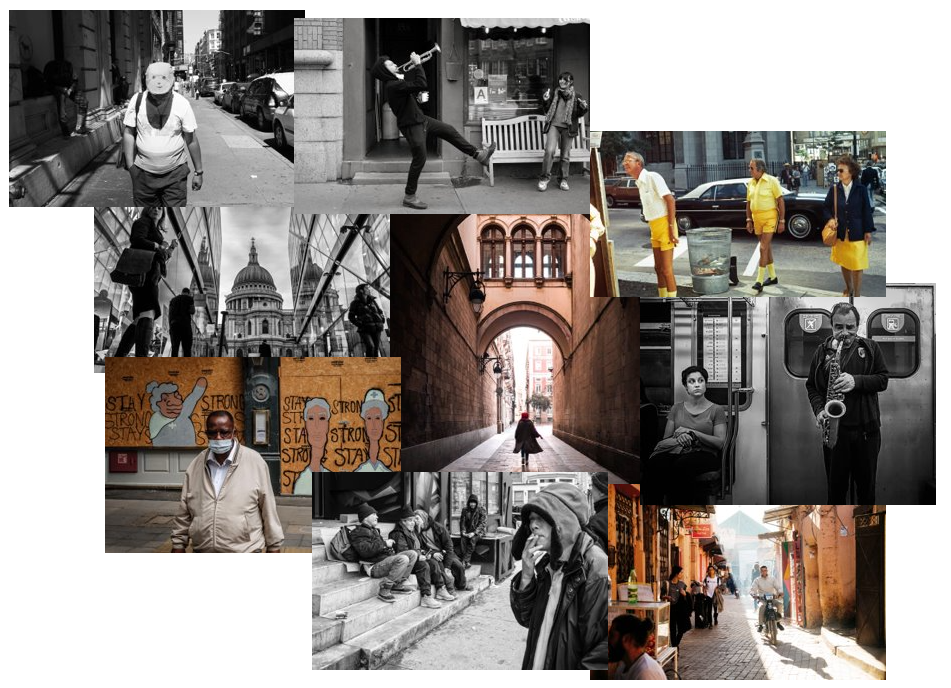
That I needed to have a wider variety of photos/ photo shoots that needed to be taken with different lenses, effects, locations, weather and time.

How did I come up with my final best solution?

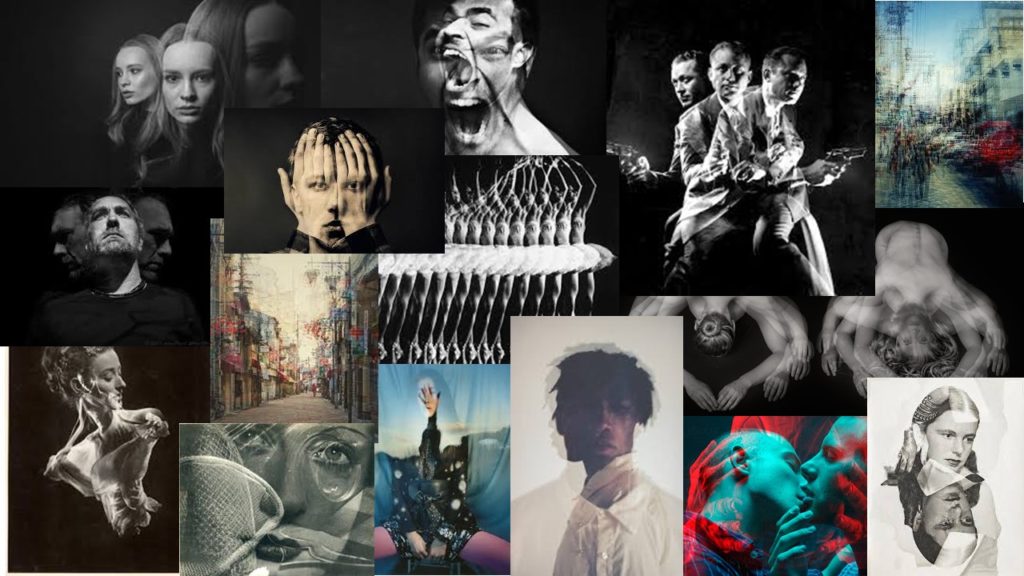
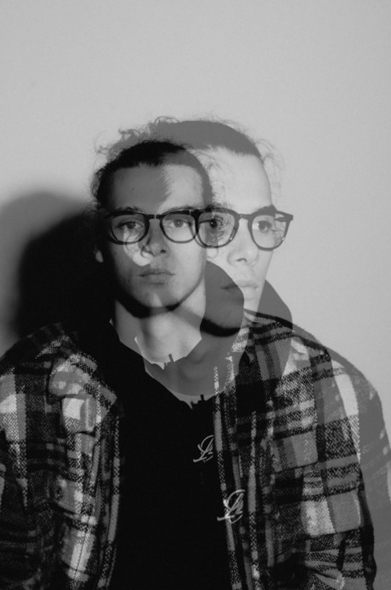
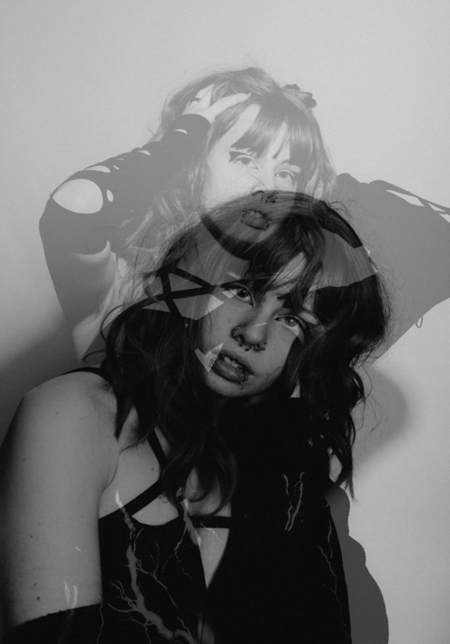
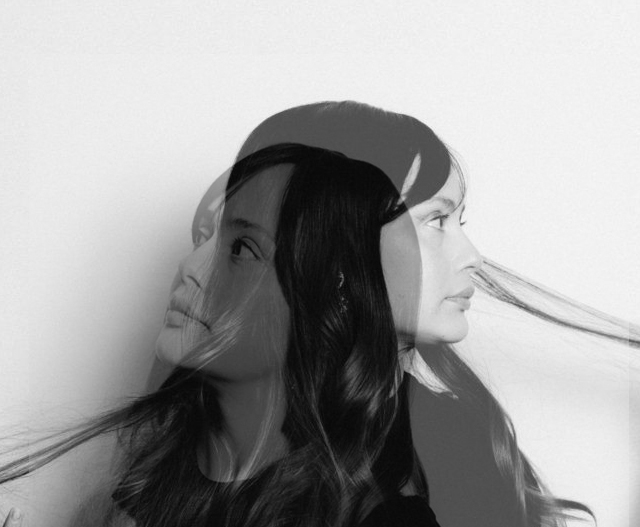
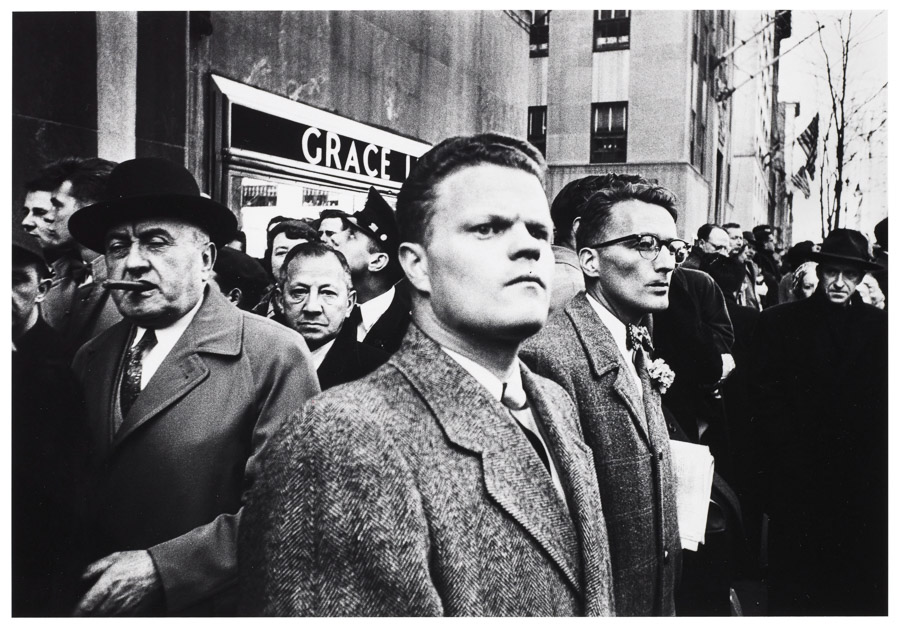
I saw on the blog a post about a guy called Kensuke Koike who used photography to edit photos and take snippets from different images and put them all together. This really changed my idea of how I could create identity because I could now make a final outcome that had loads of different images in one photo

What most got in the way of my progress if anything?

The time constraint as I didn’t realize how fast time goes when working

What obstacles did I overcome?

The edit I was trying to create was not working in Photoshop so I left it and came back and it brought a new light to the idea and i was able to overcome the obstacle

What did I learn were my greatest strengths? My biggest areas for improvement?

I completed everything I needed to during the time constraint. I also believe my Photoshop skills have improved and my way of showing photo shoot plans and contact sheets. I believe my areas for improvement are planning my photo shoots in advance so that weather and time aren’t problems. This would aid me in creating a wider variety of images that showcase different emotion, weather, light and feel

What would I do differently if I were to approach the same problem again?

As I have previously said, I would plan photo shoots in advance to collate a wider variety of images

What could I do differently from a personal standpoint the next time I work?

I would collect my best images to reduce the amount of time spent on going through my images to find the best

What can I improve?

I can improve knowledge on further Photoshop skills to help me create more complex images that could potentially bring my grades up and also to know exactly how to edit in certain ways so that I could explain in depth with use of screen shots how I did everything

How will I use what I have learned in the future?

Plan everything in advance and prioritize what is the most important and what should be done before the rest during the exam

WWW – WHAT WENT WELL

I believe my edits and outcomes from my 3 photographers went the best as I responded to my images and criticized and compared them to images by my photographers

What are your strengths and weaknesses?

My edits, outcomes and plan were my strengths

My time management, photos and research need to be improved

EBI – EVEN BETTER IF

I feel like I could improve my analysis, research and range of photos if I did this again or on a future occasion